Note: This is the conclusion of a previous post, “Level Up With Light Painting: Correcting the Color of Your Flashlight (Part I).”
In my last post on flashlight color I demonstrated how LED flashlights produce a cooler light than I prefer. I went on to show you how to analyze and correct the color using simple gels from the Roscolux Swatchbook.
In that post, the filtration I worked out for my favorite flashlights—the Coast 300-lumen Coast HP7R and 185-lumen Coast HP5R—was a Roscolux 1/2 CTO combined with a 1/8 minus green. This combination works well when my Nikon’s white balance is set to Direct Sun (Daylight on a Canon). Night photography, however, often requires a significant deviation from our common white balance settings.
Finding the Fix
Direct Sun white balance has an approximate Kelvin temperature of 5500. Although, as I mentioned in my last post, Lightroom may display your Kelvin temperature higher or lower depending on Adobe’s interpretation of your camera. Adobe interprets my Nikon’s D4s’s white balance as 4900 K. For the remainder of this post I’ll refer to the Kelvin setting on the camera rather than Adobe’s interpretation.
When using the Direct Sun white balance setting, subjects photographed under average midday sunlight will be rendered properly with regard to color. If, however, your white balance is set to Direct Sun and you photograph a subject under a different light source, the subject will take on the color cast of that light source. For example, for the photo in Figure 1, I kept my camera set to Direct Sun white balance while photographing under the heavy orange cast of the sign lights. Figure 2 shows the color-corrected version at 2000 K.
Figure 1. 5500 K (Direct Sun) white balance
Figure 2. 2000 K white balance
Lowering that white balance had the effect of adding in a blue cast, counteracting the orange/yellow cast it had before. Now imagine if I had used my somewhat blue LED flashlight to paint the people in the foreground. After color correction, the subjects illuminated by the flashlight would be even more blue due to the lower Kelvin temperature.
So while the filter combination I used for my flashlight worked well with Direct Sun white balance, that same filter combinations would turn the flashlight light to blue when using white balance settings typical of night photography.
Finding the Filters
How to resolve this issue? Once again I turned to my X-Rite ColorChecker chart for my visual tests. I began by setting my camera’s white balance to Tungsten, which is roughly 3200 K. This is a setting I often use for night photography. Next I light-painted the chart with my standard filtration of 1/2 CTO combined with a 1/8 minus green. This produced the color in Figure 3.

Figure 3. 3200 K white balance, Coast HP7R filtered with Rosco 1/2 CTO and 1/8 minus green filter gels
The chart is noticeably cool due to the lowered white balance setting of 3200 K. So I experimented with a variety of gels, looking for the right mix to produce a more accurate color balance. After experimenting, I settled on a Roscolux Dark Bastard Amber, which when added to my 1/2 CTO and 1/8 minus green, produced the effect we see in Figure 4.

Figure 4. 3200 K white balance, Coast HP7R filtered with Rosco 1/2 CTO and 1/8 minus green plus Dark Bastard Amber filter gels.
You can see that new combination of filters has produced a color cast that is neutral to slightly warm when shooting with Tungsten white balance.
Putting This Into Practice
For the last step, I took a new clear plastic filter from a Coast LF100 filter kit and again traced and cut out a 1/2 CTO, a 1/8 minus green and a Dark Bastard Amber, and taped them all to the filter. Now I can easily interchange the two plastic filters (one with my original gel combo and the second with the original combo plus Dark Bastard Amber) when I change my white balance from Direct Sun to a Tungsten.
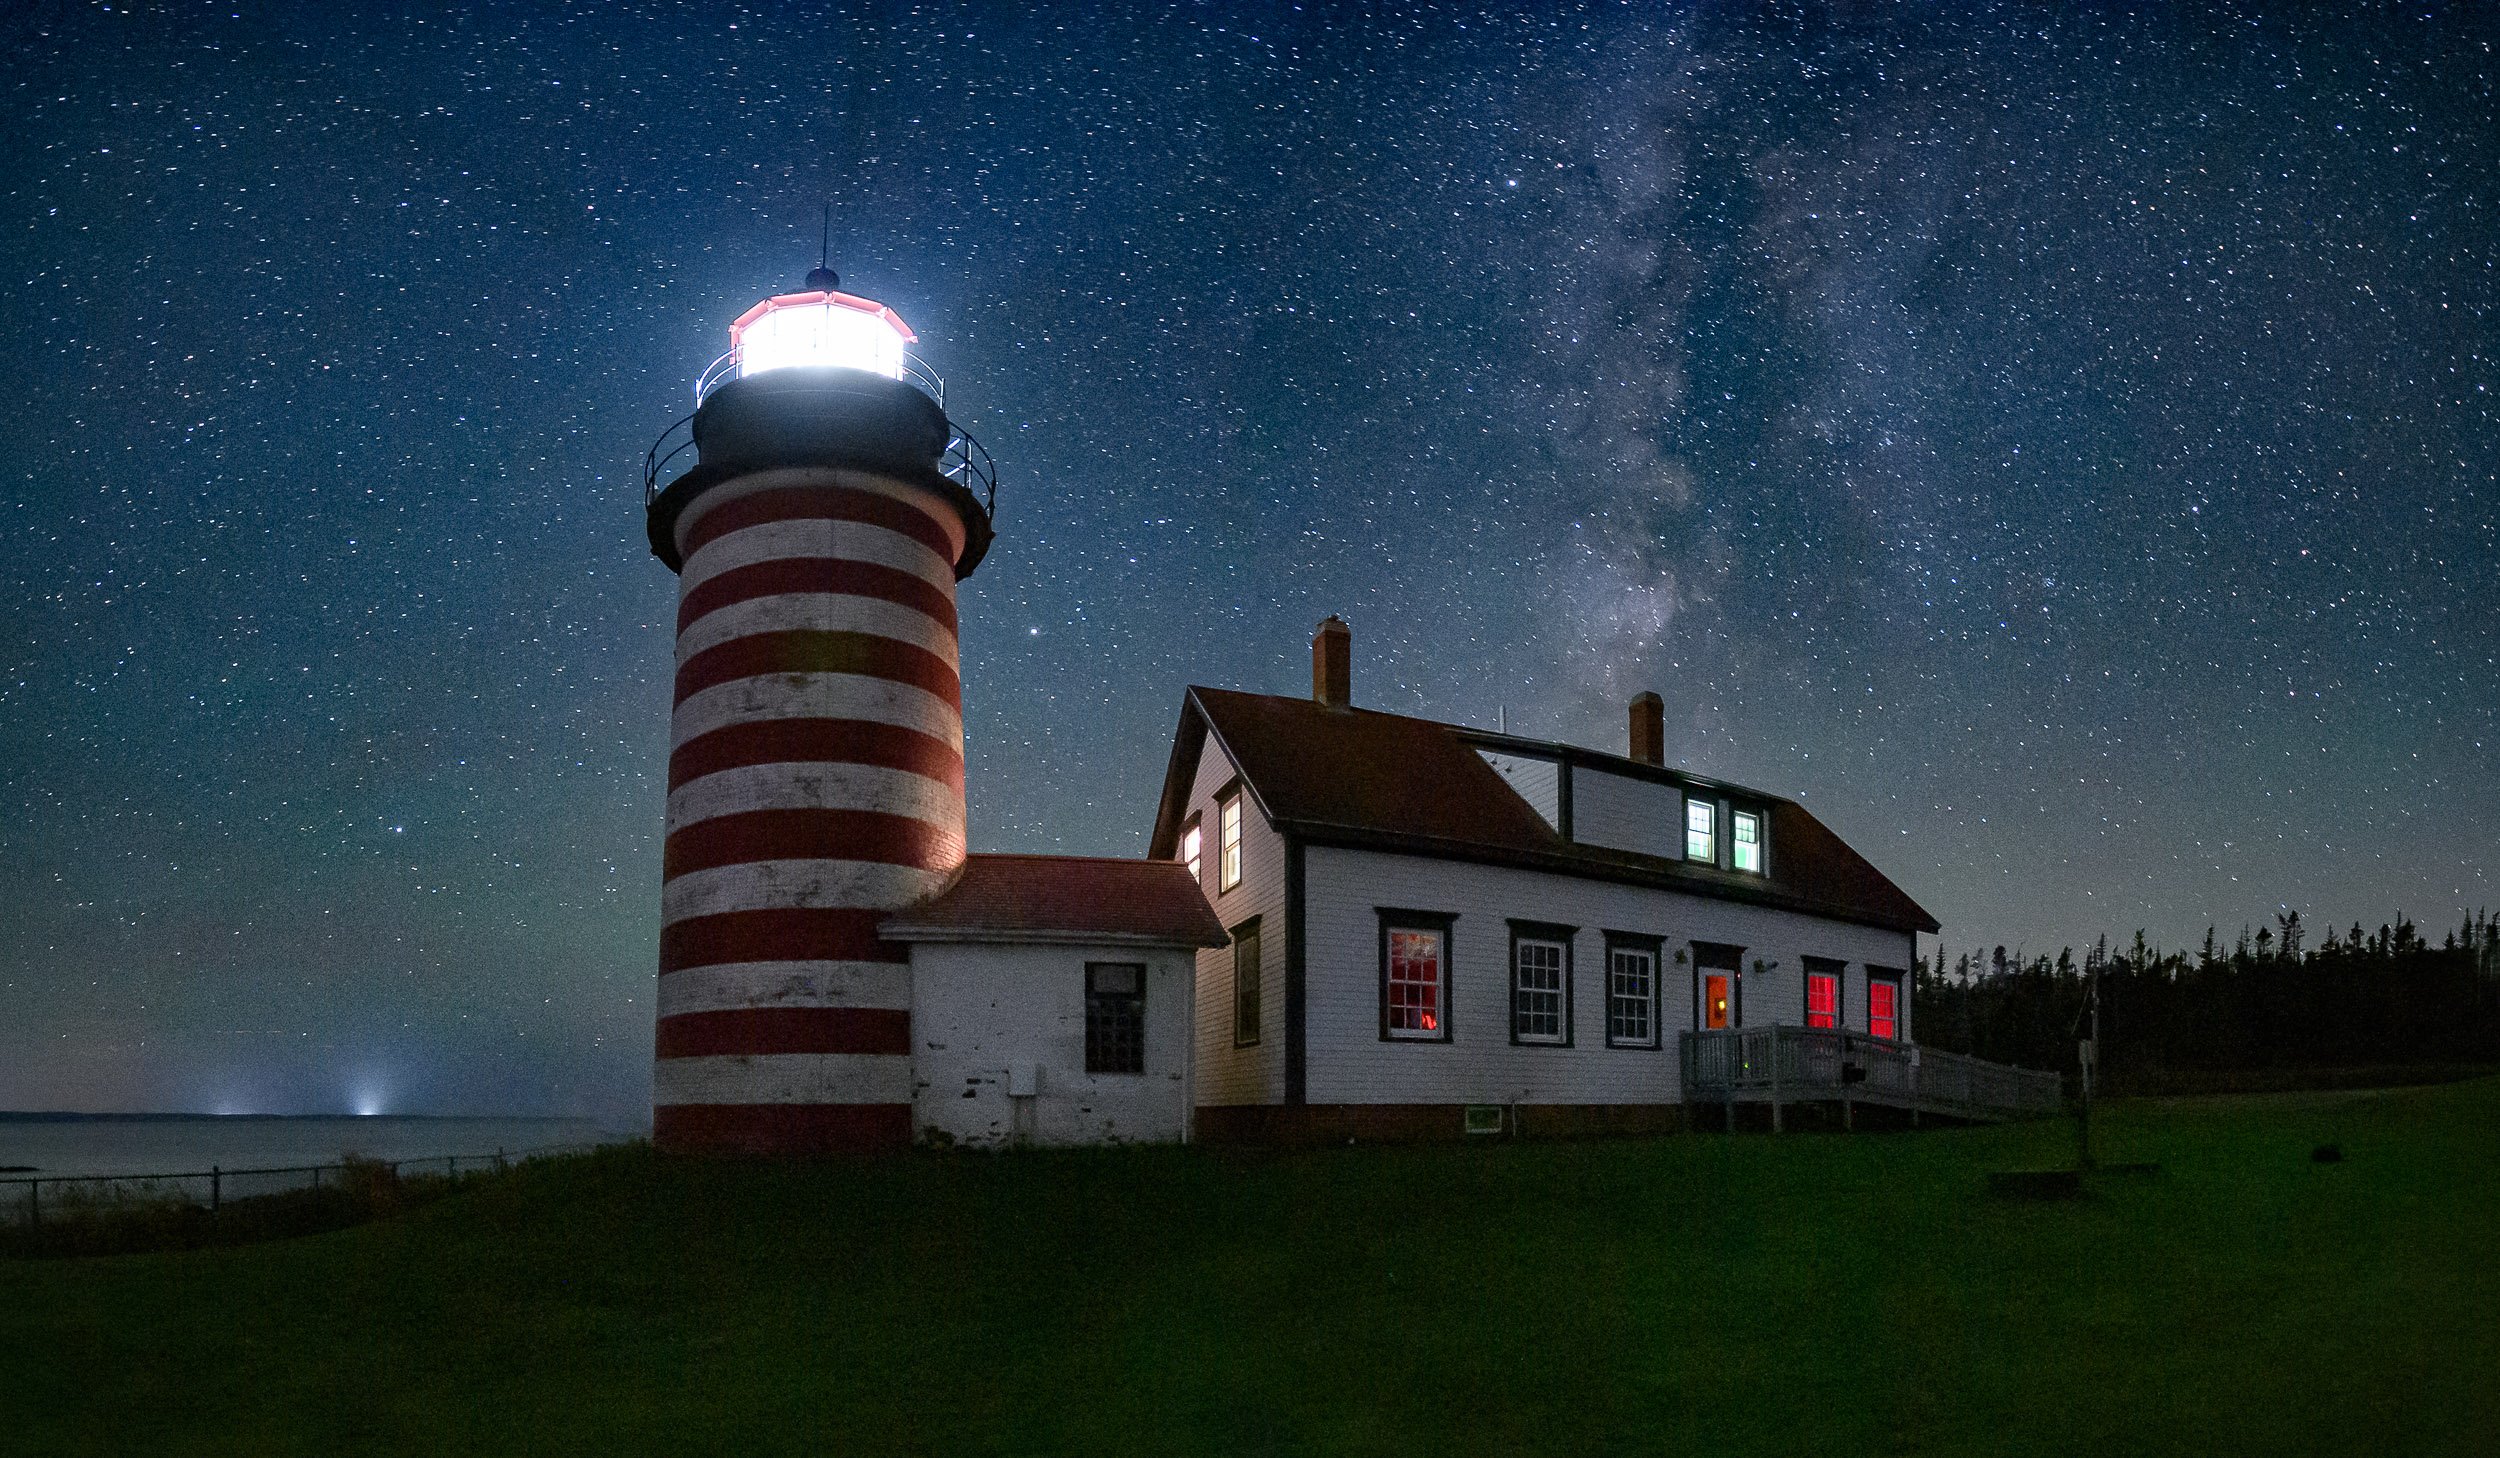
Figures 5 through 8 show a real-world example of how this affects the color of a scene. In Figure 5, my camera’s Direct Sun white balance produces an overly orange image due to the sodium vapor lights (common in most city lighting) illuminating the building.

Figure 5. Direct Sun white balance
Figure 6 shows the same scene after I changed my camera’s white balance to Tungsten (3200K). Notice the nearly neutral color of the metal and white door.

Figure 6. Tungsten white balance
For Figure 7 I kept the white balance set to Tungsten and illuminated the door with my unfiltered flashlight. The door becomes very blue due to the cooler white balance setting.

Figure 7. Tungsten white balance with unfiltered flashlight illumination
Figure 8 shows the same scene with my camera still on the Tungsten white balance setting, but light-painted with the flashlight gelled with the 1/2 CTO, 1/8 minus green and Dark Bastard Amber combination.
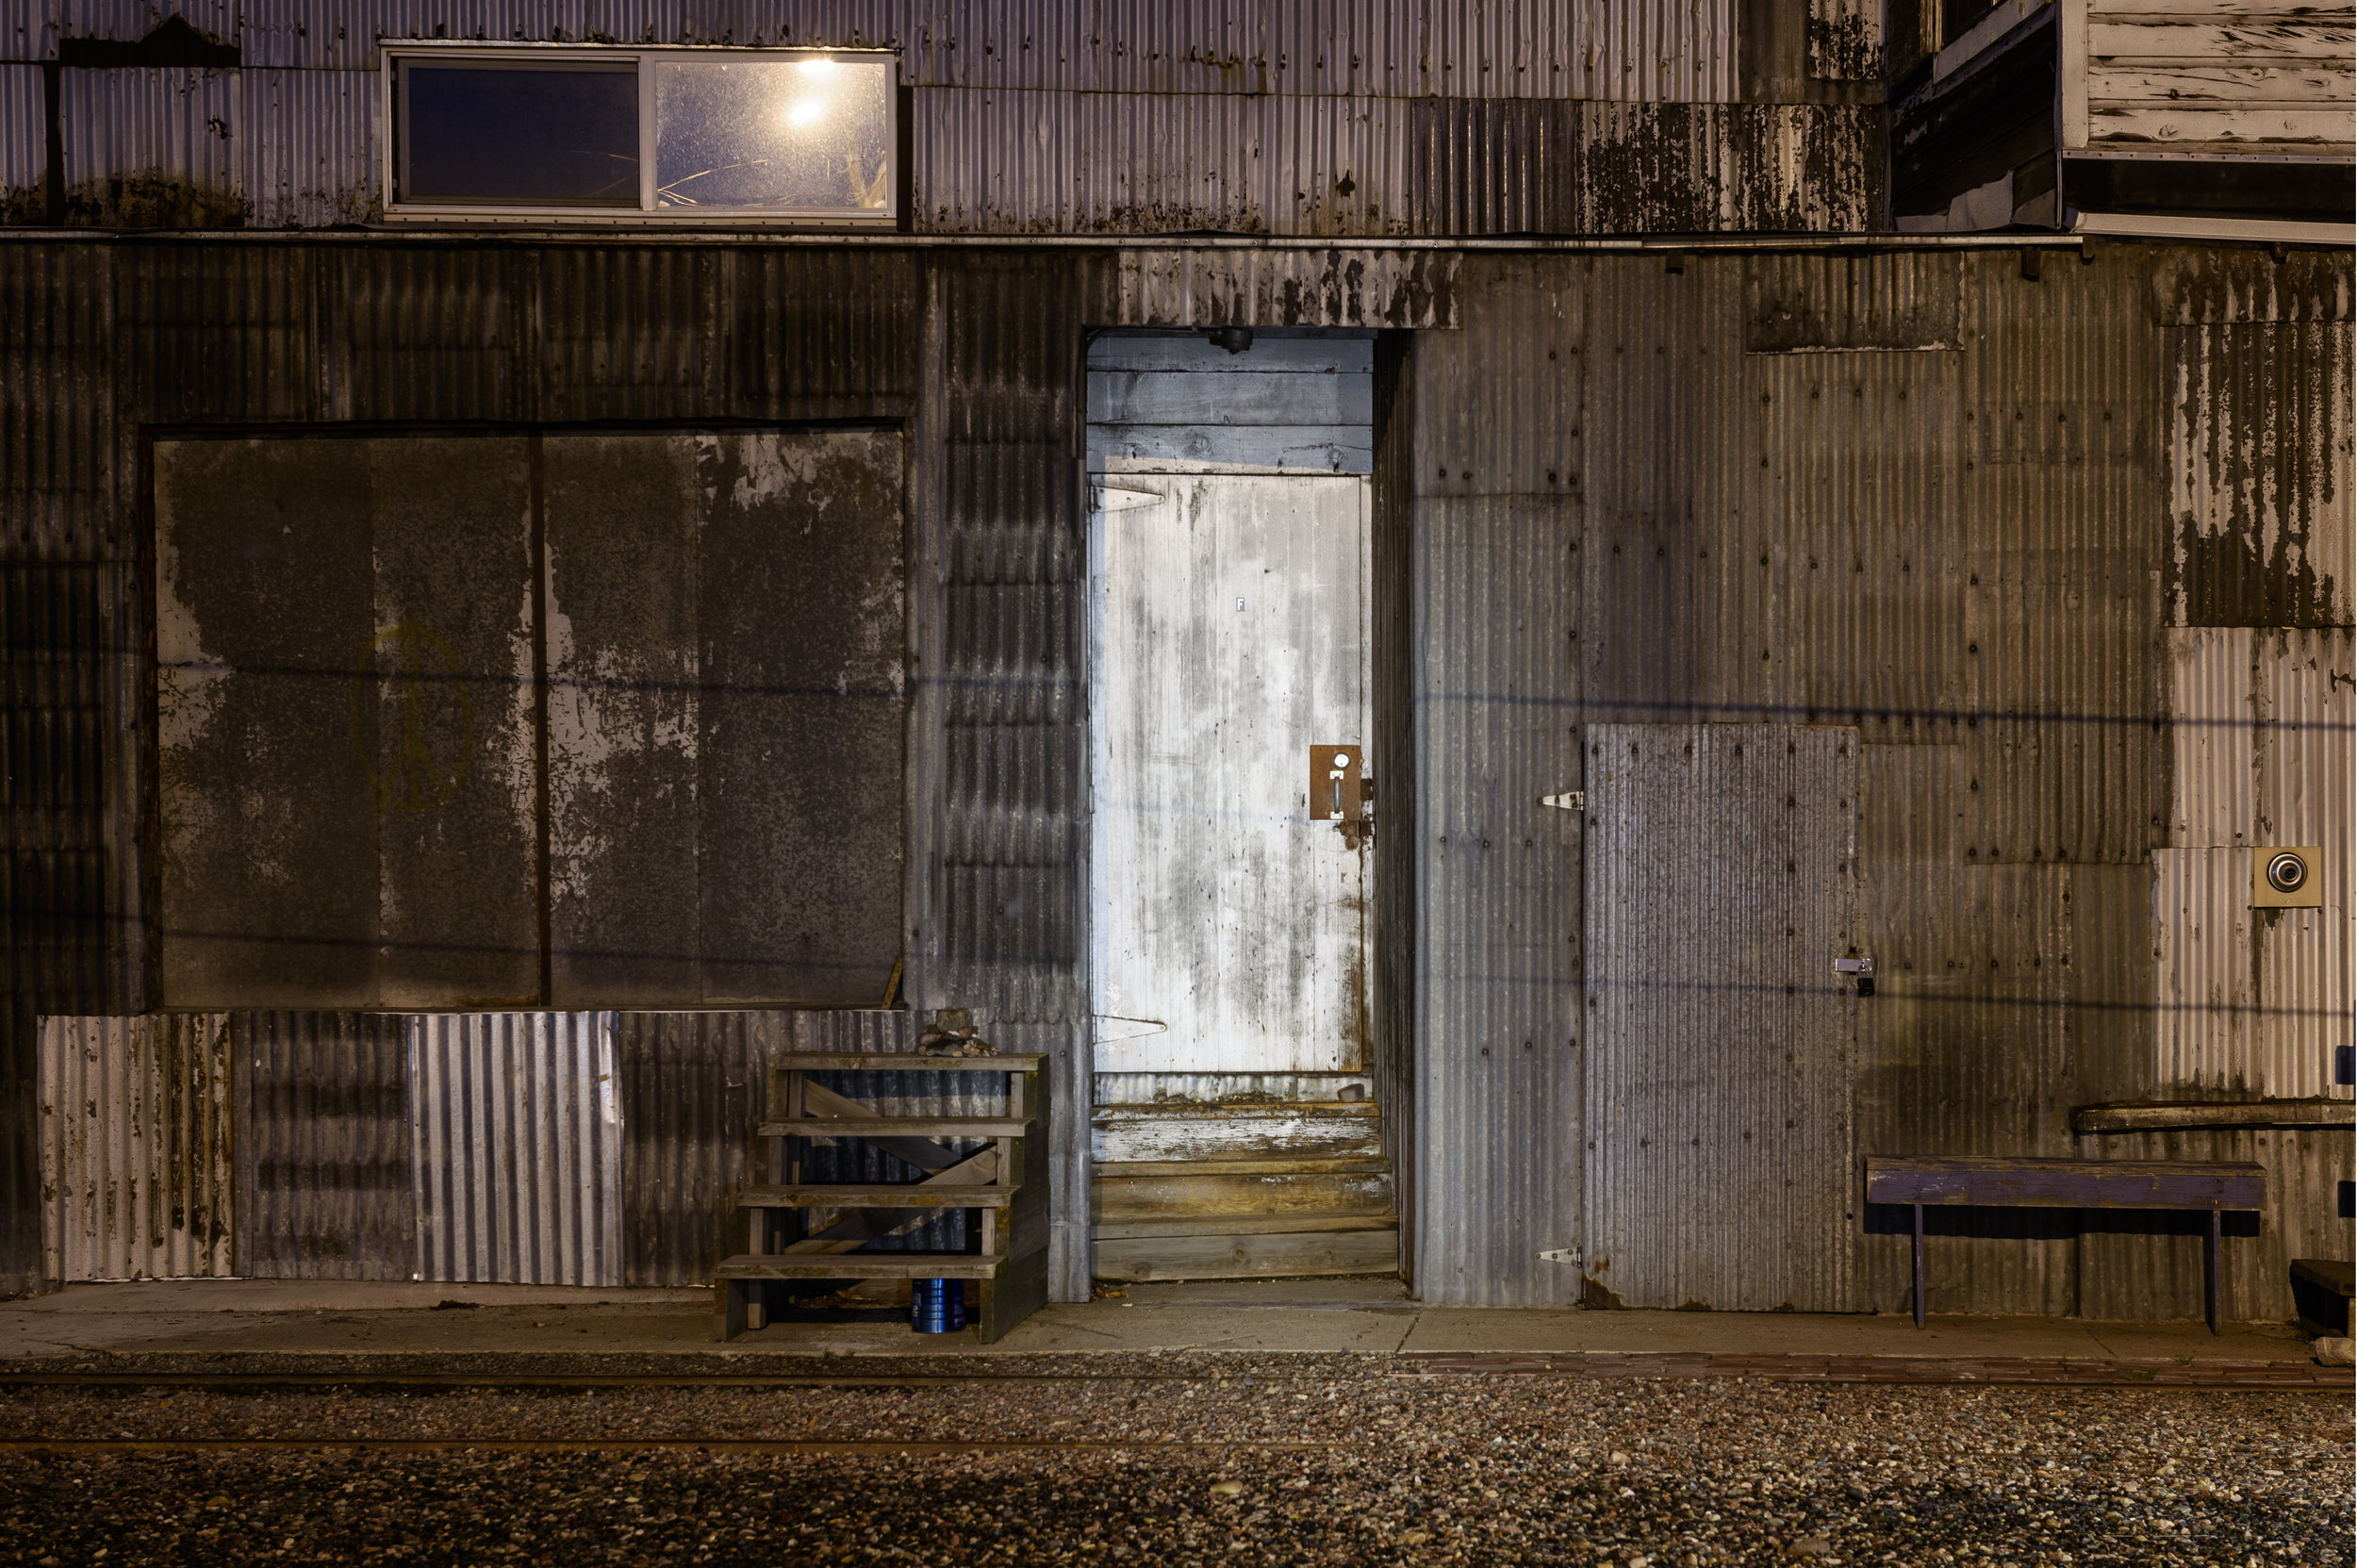
Figure 8. Tungsten white balance with filtered flashlight illumination
Of course, Tungsten white balance is not the only setting I use for night photography. My night settings range from 3200 K to 5500 K, with 3800 K being the setting I use most often. So, you may ask, why did I run my test at 3200 K if use 3800 K more often? In a word, warmth. I like my flashlight illumination to be somewhat on the warm side. A gel that produces a neutral cast at 3200 K will produce a warmer cast at 3800 K. Just how I like it!
Remember, no LED flashlight will produce perfect color. But, with a little testing and experimentation, you can create your perfect color for your light-painting illumination!