About a month ago, fellow NPAN instructor Chris Nicholson and I had the honor of teaching at the Out of New York Photography Conference. During the event we led a night walk, but when we met the students, there was a surprise for us—none of them brought tripods!
Tripods had been listed as required gear on the instructions list, but … well, I guess things happen. We could have cancelled the walk, but Chris and I chatted and decided on a different tack: Let’s teach how to overcome the challenge of shooting at night without a tripod! There are thousands of makeshift tripods on the streets of NYC—so we went out to find them.
What happened next was a magical “letting go” and a total embrace of what the night has to offer. We started by leaning our cameras against poles, buildings and even mailboxes (yes, there are a few left in NYC!). We challenged the students to place the cameras higher and lower than their normal point of view, and the sidewalks and stairs became our stabilization. We searched for movement in cars, people and water fountains, and we braced our cameras against chairs, tables and benches.
It was one of the most fun nights out that I have had in a long time. We were constantly searching for something stable, and we were smiling back to each other when—Eureka! We got it! This forced all of us way out of our normal clicking boxes, which is always an excellent place to be.
With that in mind, I wanted to share a few of the tips that helped us survive a night without tripods. As much as good support is some of the most important night-photography gear, these tips will help you in a pinch, not to mention stretch your creative capacity.
Bursting for sharpness
Burst Rate is your friend. I like it for a few different reasons—it greatly helps your “hit rate” when shooting handheld below 1/60 second (but no longer than 1/4 second). Set your camera to its fastest frame rate, hold the camera as still as possible, then fire off a bunch of frames.

Your first couple of shots will be blurry because of the shake created by triggering the shutter, as will your last few because of taking pressure off the shutter release. But if you keep your finger on the button for 10 to 15 shots—you’ll most likely get 2 or 3 in the middle that are acceptably sharp.
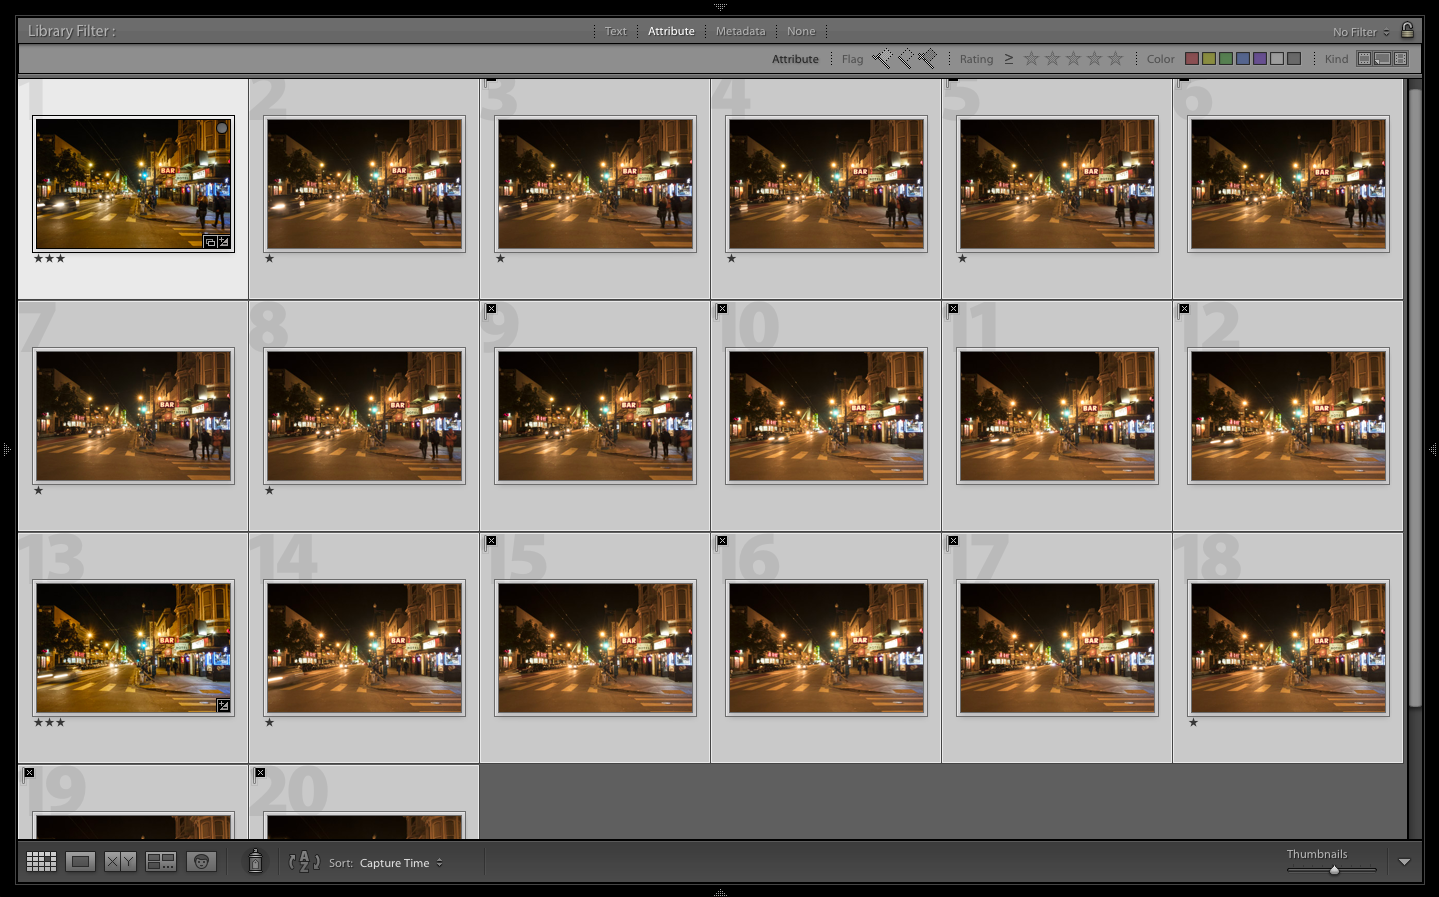

Above you can see the two bursts of approximately 10 shots I did at shutter speeds of 1/8 and then 1/4 to get more movement in the cars. The starred frames are the ones sharp enough to use and the ones flagged with an X are too blurry. (Click the “Next” arrow to see the two sharpest frames.)
To gain a little more stability, here’s a more advanced technique: If your camera has a strap, wrap the strap around your neck, and then extend your arms and the camera until the strap is taut (see below). The tautness will help you keep the camera a little more stable while shooting your burst.

And as for all those extra photos, you don’t necessarily need to delete them. It will require more editing afterward, but you could see how they look as an animated GIF. That is my second reason to shoot in burst mode—I love creating little GIFs or flip books of these moments.

Animated GIF created from a burst of photos.
Grounding for stability
Of course, everyone has their limit to how steady they can hold a camera. I can typically shoot as slow as 1/4 second, but if I need to go 1/2 second or 1 second, I’ll tuck in my arms and try to lean against a wall to create more stability. Breath in and then trigger that burst on the exhale. Your hit rate will be substantially less with these longer exposures—maybe 1 in 10 frames will be sharp enough to use.
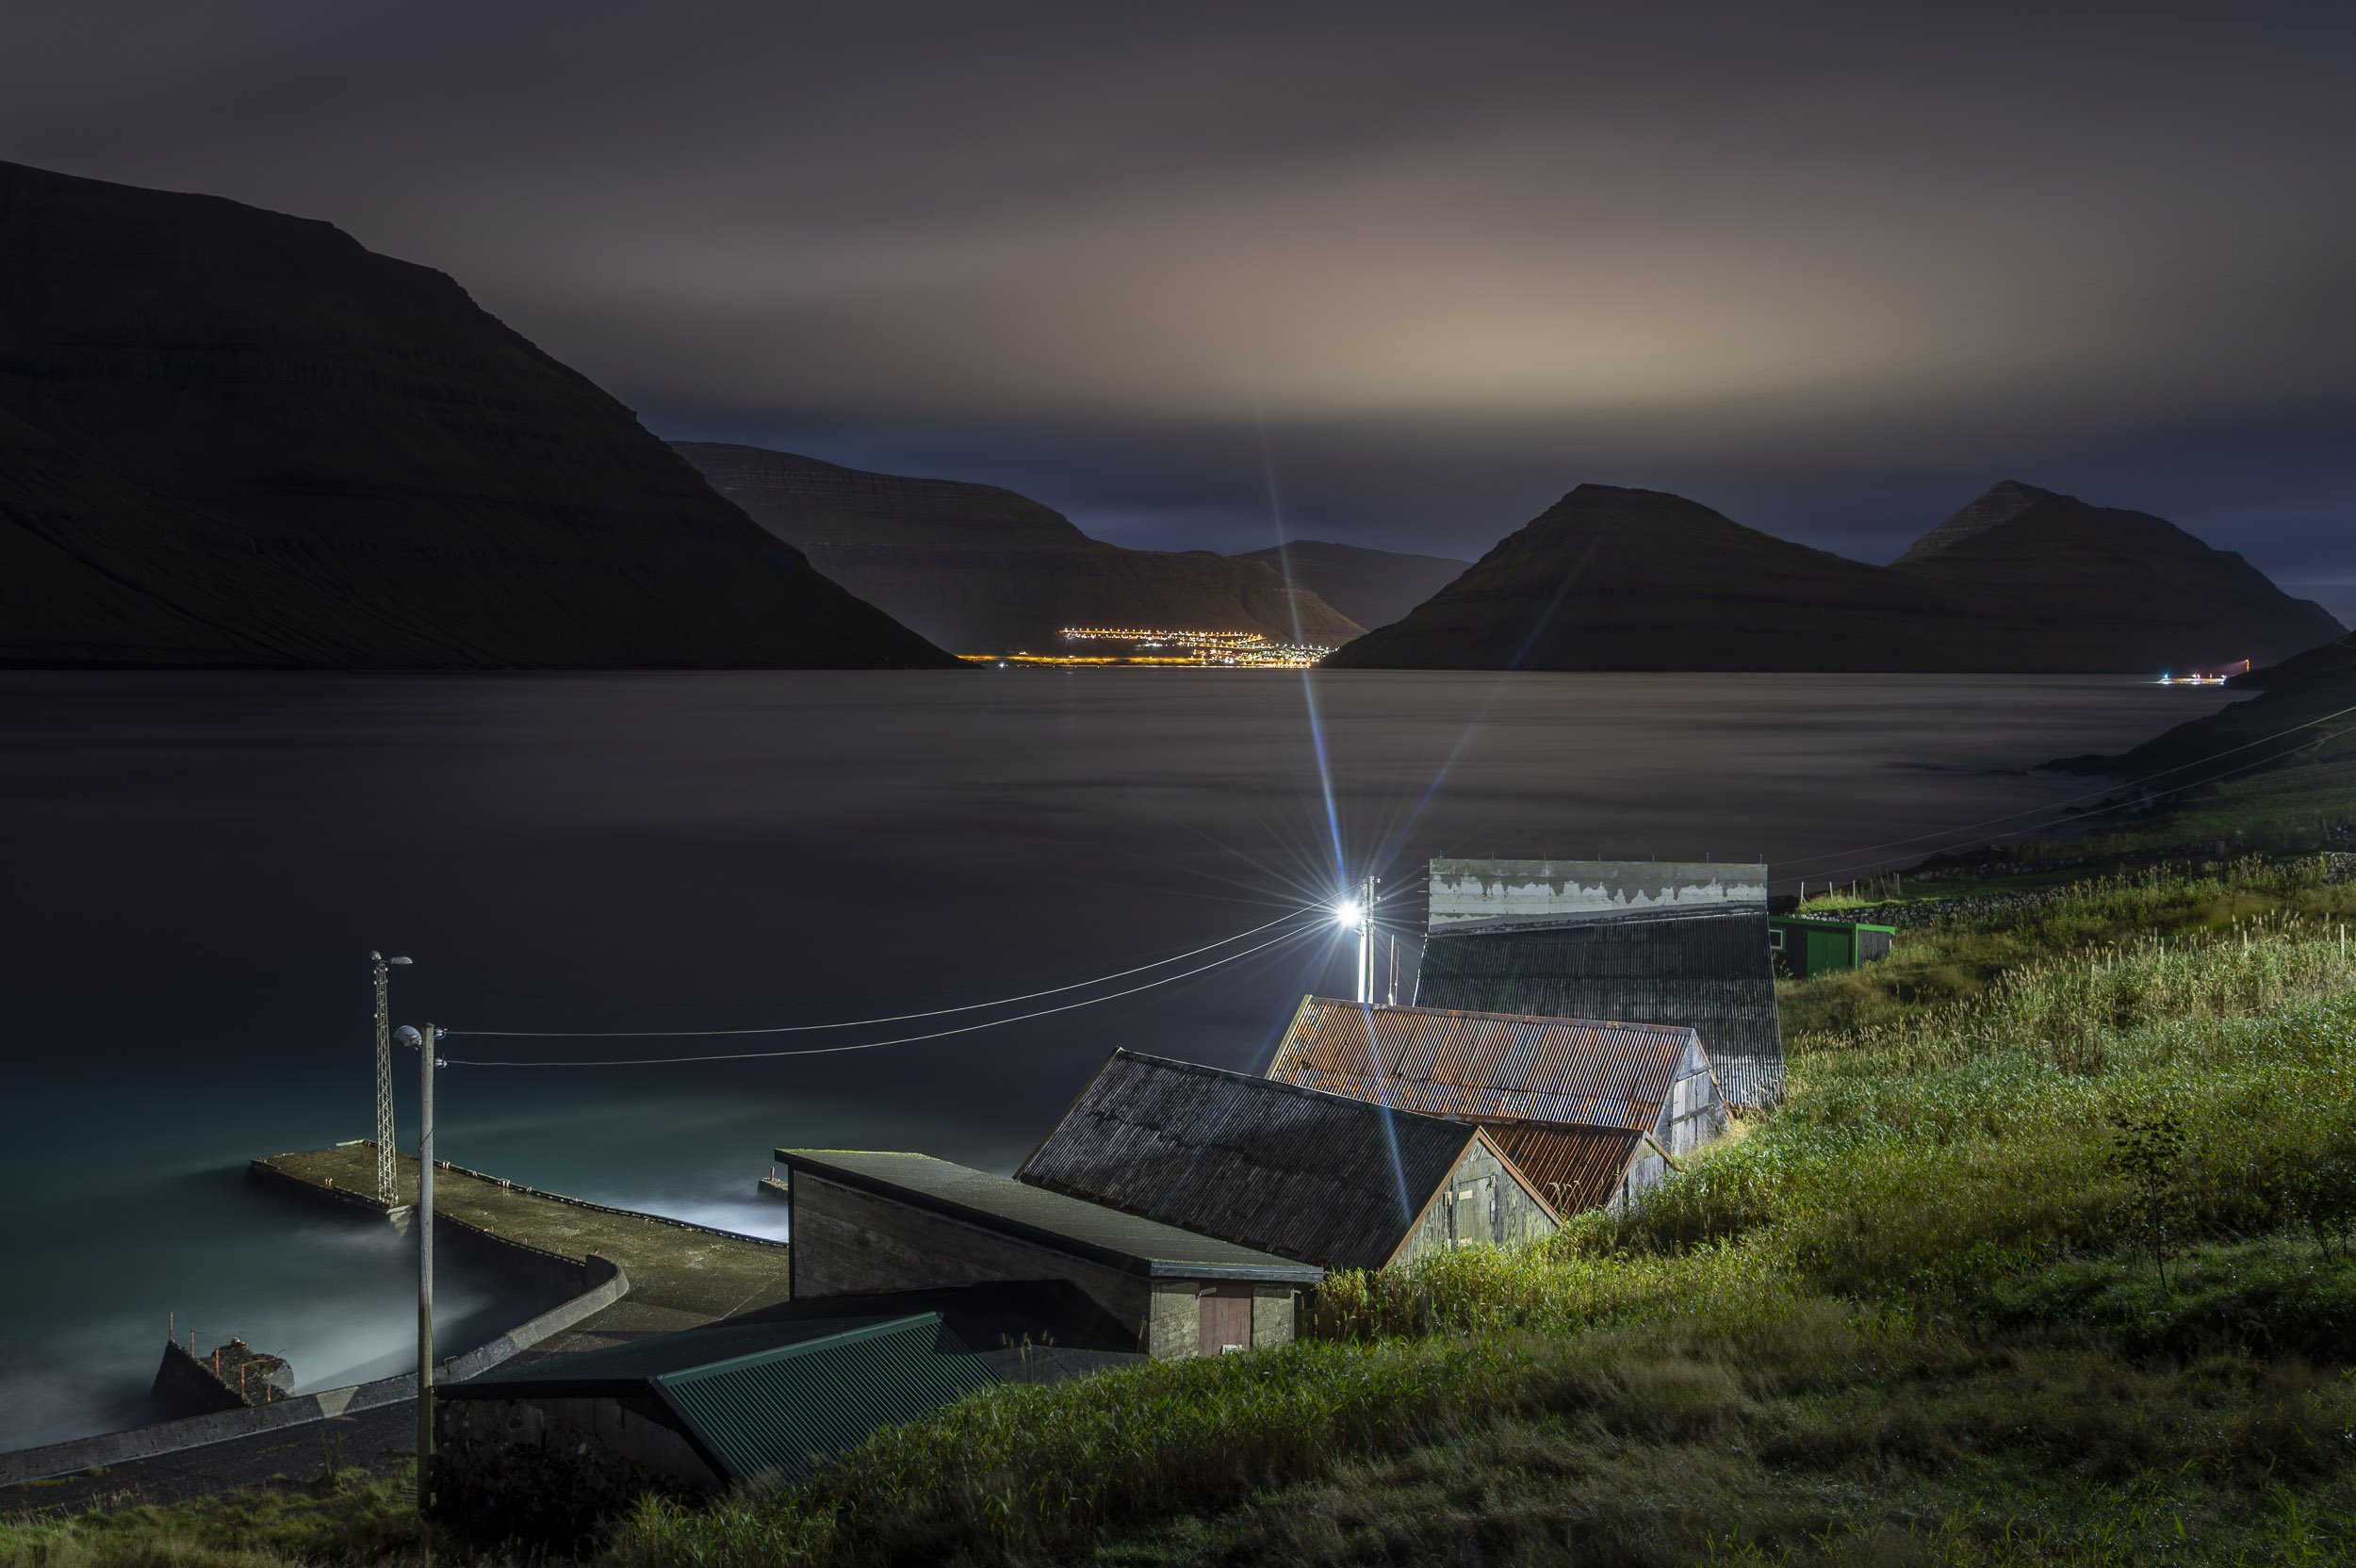
I typically don’t advise hand-holding for exposures longer than 1 second. When opening the shutter for that long, you need find something solid to place your camera on. Be creative. In an urban environment, find stable objects like we used in NYC. In the wilderness, use the ground, a boulder, a ledge, a tree stump, a sturdy branch, etc.

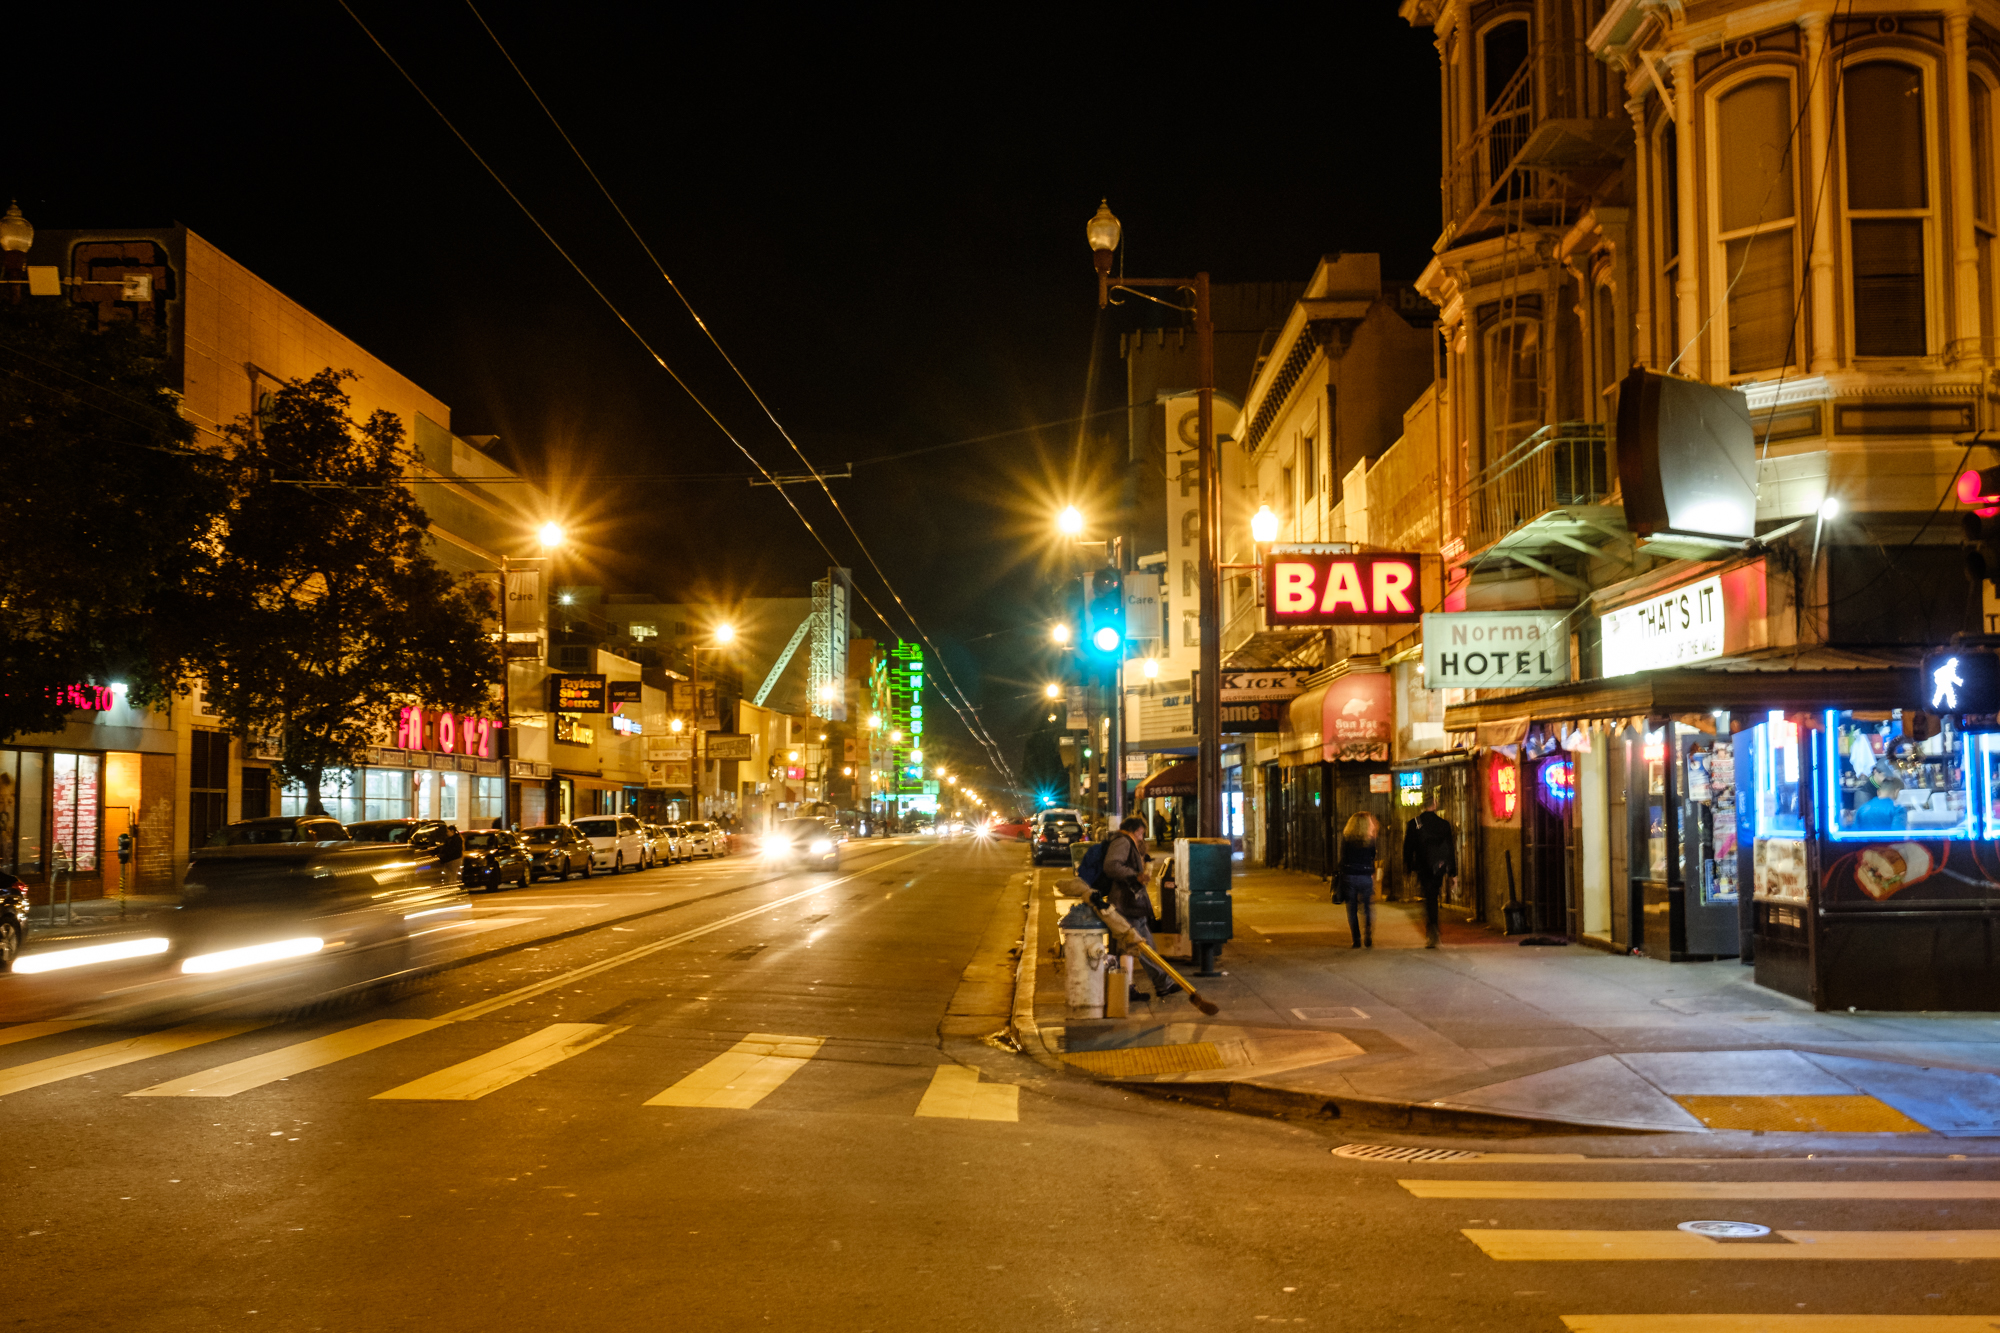
Hand-held at 1/15.
If you happen to have a cable release, great—use it. But chances are, if you forgot your tripod then you probably didn’t bring your cable release! In that case, use the camera’s self-timer—generally 2 seconds is sufficient. That way any vibration caused by you pressing the shutter release will subside before the shutter opens.
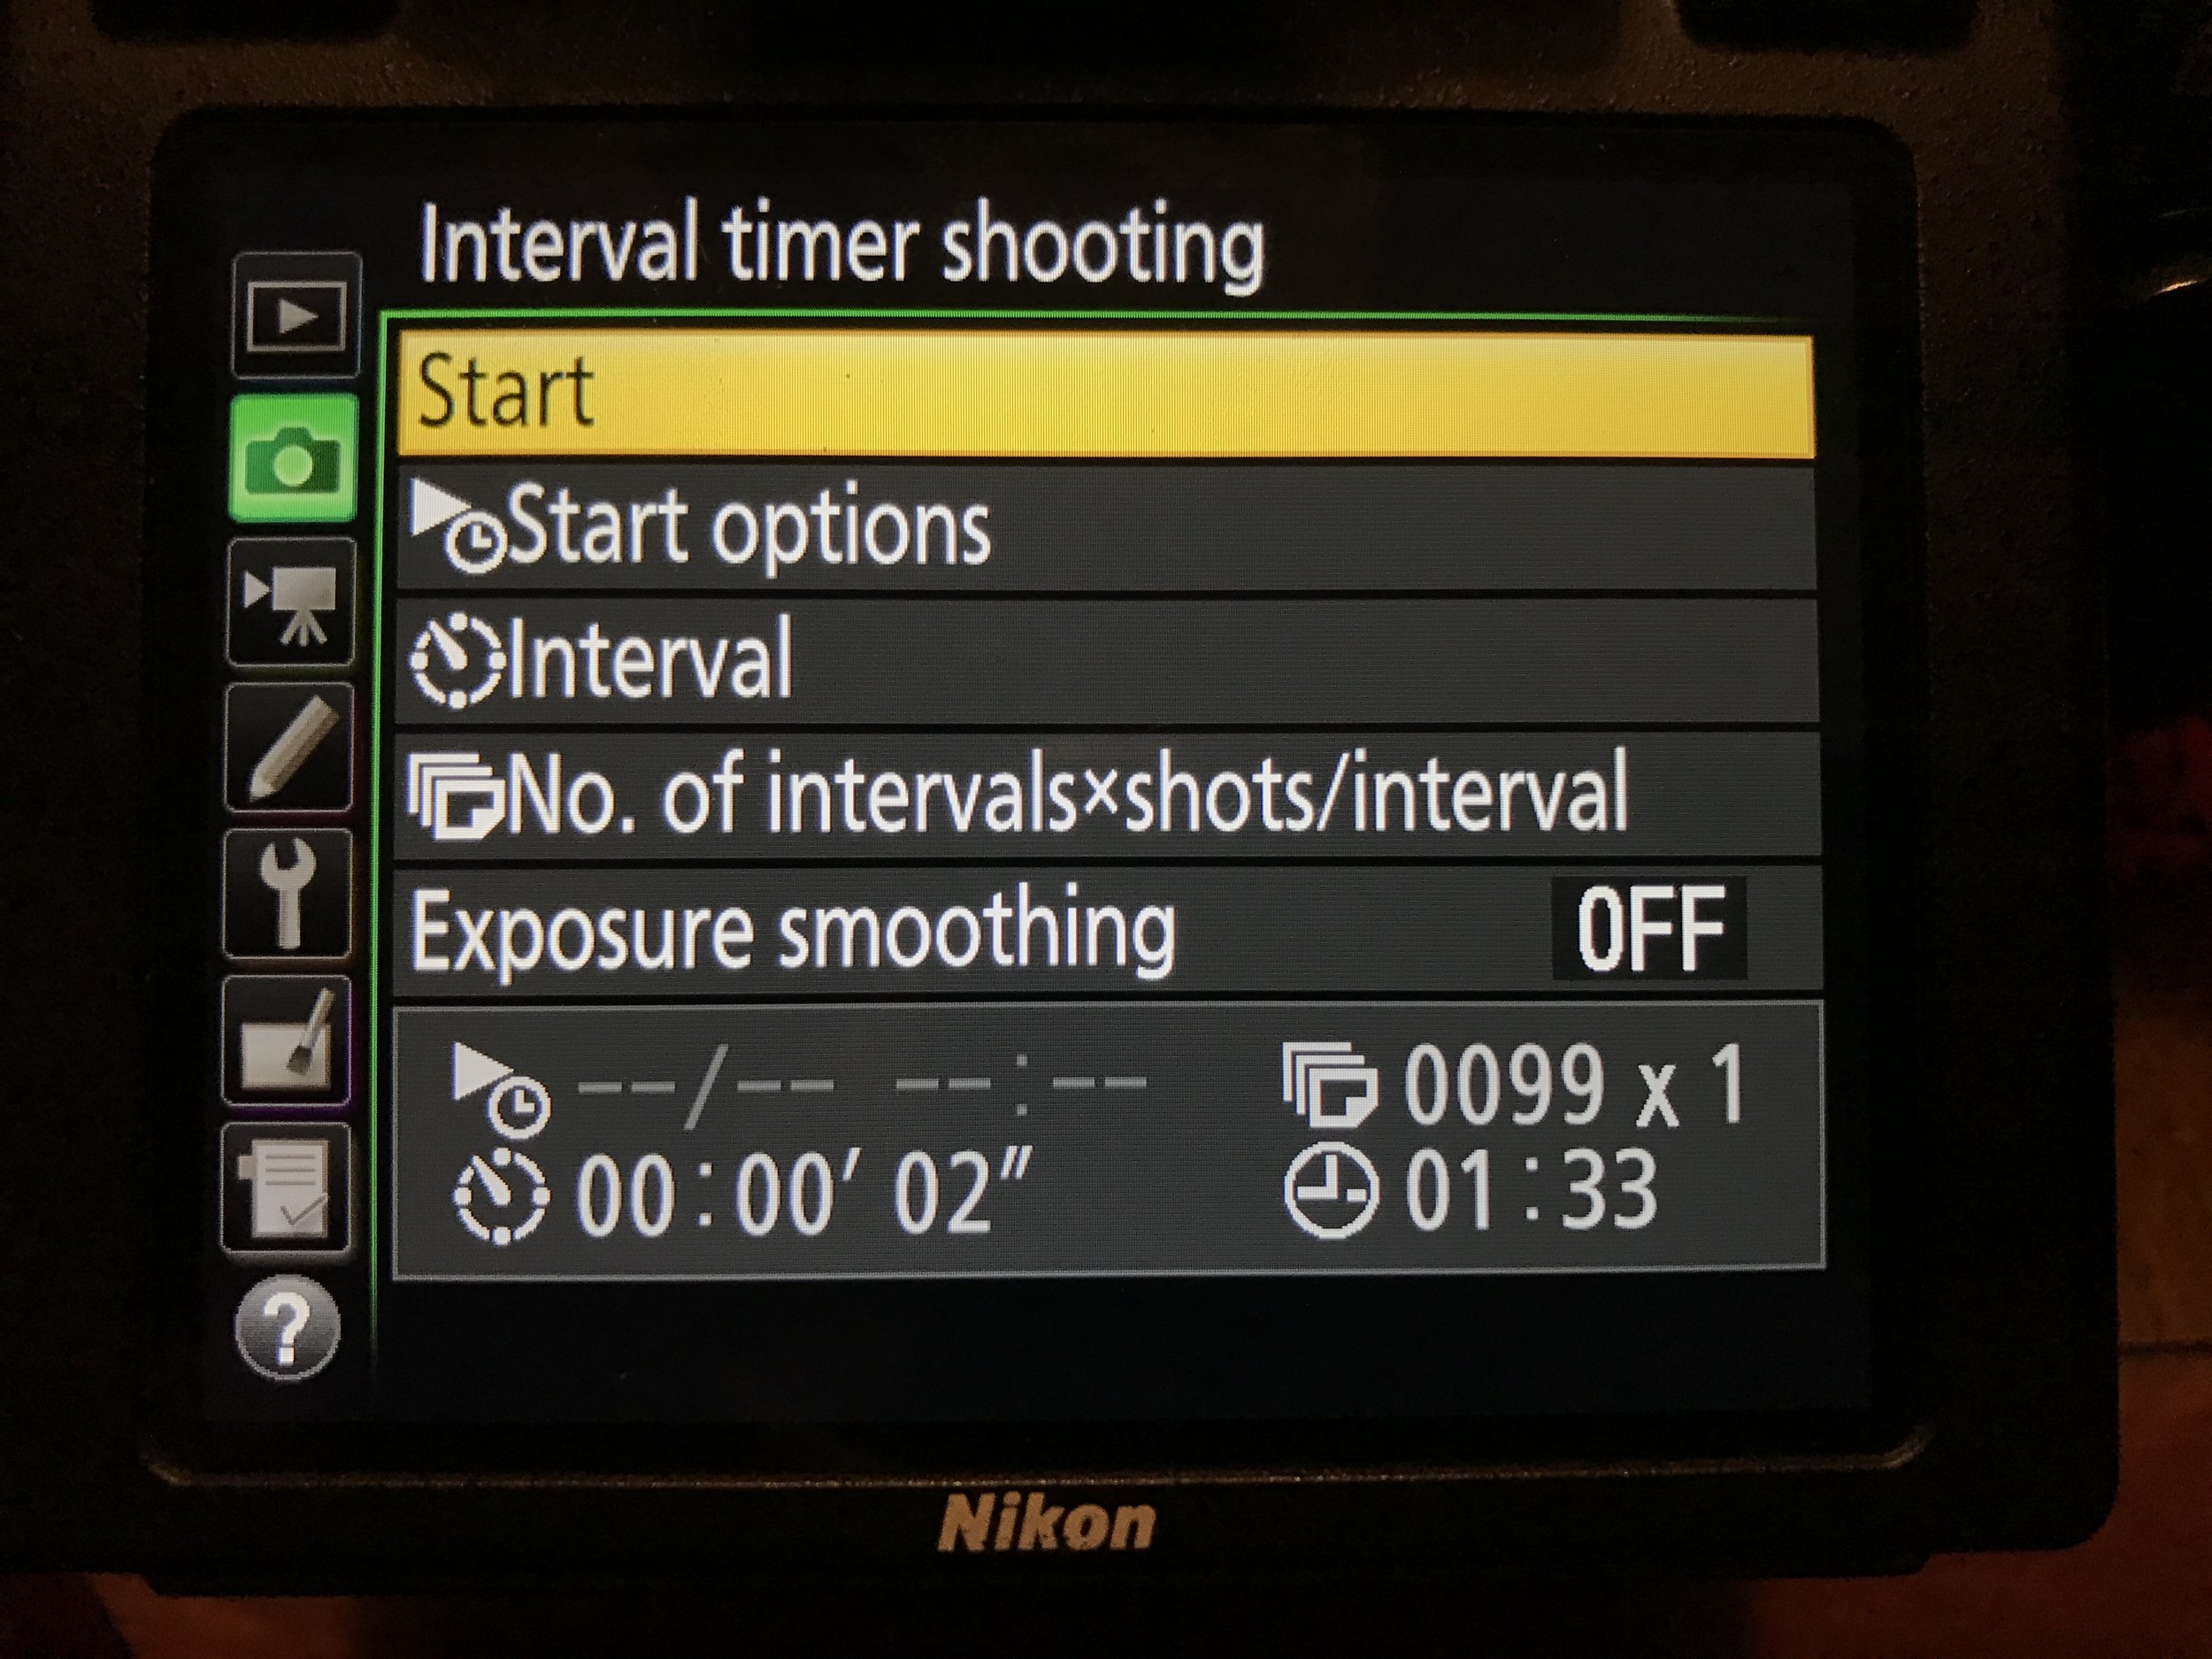
Also, many modern cameras have a built-in intervalometer. This is a good solution for shooting car trails, or anything else with lots of constant motion. When using the built-in intervalometer, turn off the self-timer. Set the interval timer to fire every 2 seconds for 10 to 20 frames or more. The first shot might be blurry because of manually triggering the camera, but the subsequent ones should be sharp.
I hope these tips will help you keep on clicking for longer exposures even when you forget your tripod. We had so much fun that night that we are thinking of offering an annual no-tripod night walk—stay posted for that!
Traveling light
Lastly, one final tip. If you didn’t “forget” your tripod but rather just don’t like the idea of carrying one around, then at least consider investing in a travel or lightweight model. Even though the above tips can save your night, using the right tool for the job—a quality tripod—will guarantee you get the steadiest shot possible.
Our favorite travel tripod at NPAN is the Gitzo 2545, which weighs only 4 pounds and can hold up to 26 pounds of gear (which is well under pretty much any DSLR and lens combo). This tripod can easily fit into a messenger or tote bag and is a professional joy to always have with you. It is pricey, but that’s because it’s one of the best. Moreover, it will last you a lifetime.
If you are on a budget, check out the Manfrotto 190go! tripod (available in aluminum or carbon fiber), which you can match with the head of your choice.