Puente Nuevo, Ronda at Night. Nikon Z 6II with a Nikon Z 24-70mm f/2.8 S lens at 40mm. Foreground: shot with a 10-stop neutral-density filter at 20 seconds, f/11, ISO 100. Sky: 460 stacked frames shot at 3 seconds, f/8, ISO 800.
The Location
Dream location—conquered!
The rich history of Ronda, Spain, dates to the Neolithic Age. The Phoenicians, Romans, Muslims, Christians and the Spanish have claimed this remote outpost as their home. The Spanish Inquisition, Napoleon War and Spanish Civil War all had major impacts on the town. Ronda is proudly known as the birthplace of the modern style of bullfighting and has influenced and attracted such artists as Orson Wells and Ernest Hemingway to call it home.
Beyond this colorful past, what attracted me to Ronda were the images of this cliff-clinging town and the historic bridges that unite the old and new settlements over the 400-foot-deep gorge known as El Tajo. The most famous of the three bridges is the Puente Nuevo, or New Bridge, that was completed in 1793. (Imagine how old the older bridges are!) It could be one of the most dramatic bridges in the world and definitely one of the most photographed sites in Spain.
Figure 1. Puente Nuevo, or New Bridge, is in the mountaintop city of Ronda, Spain. (Satellite imagery courtesy of Google Earth.)
I had an image of this in my notes as a place to visit if I ever went to Spain again. Truth be told, that image has been in mind for a long, long time. I had been dreaming about Ronda and the New Bridge since I was a child.
One of my favorite children’s books growing up was Ferdinand the Bull, the story of a gentle bull who refused to fight. Ferdinand was from the Andalusia region of southern Spain, and there is a scene in the book where they send Ferdinand off to fight in Madrid. The illustration backdrop is Puente Nuevo!
Figure 2. The image I remember so well from Munro Leaf’s The Story of Ferdinand, illustrated by Robert Lawson.
The Shoot
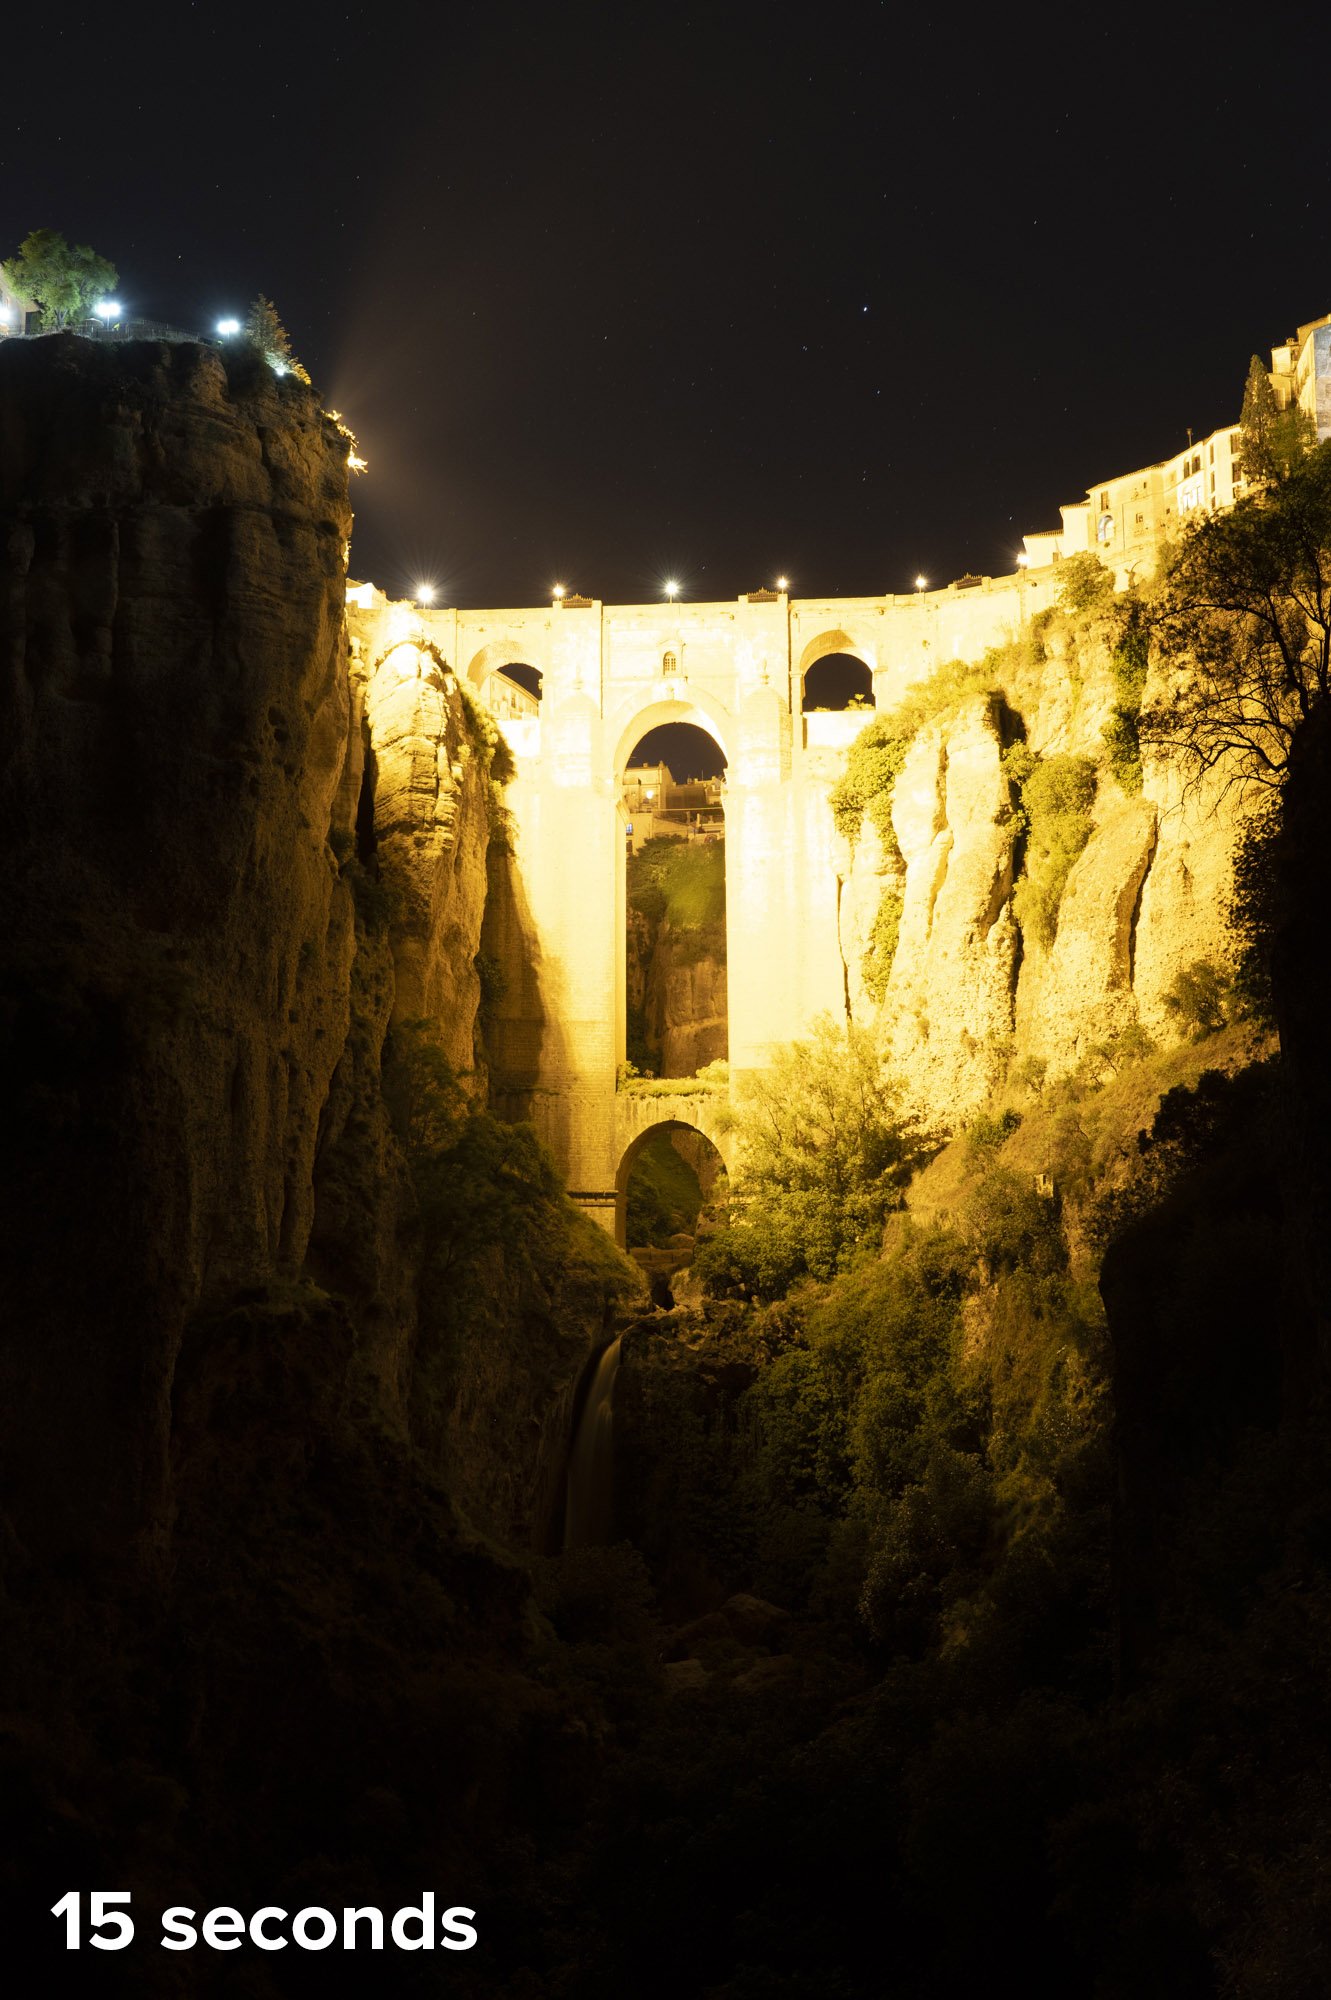
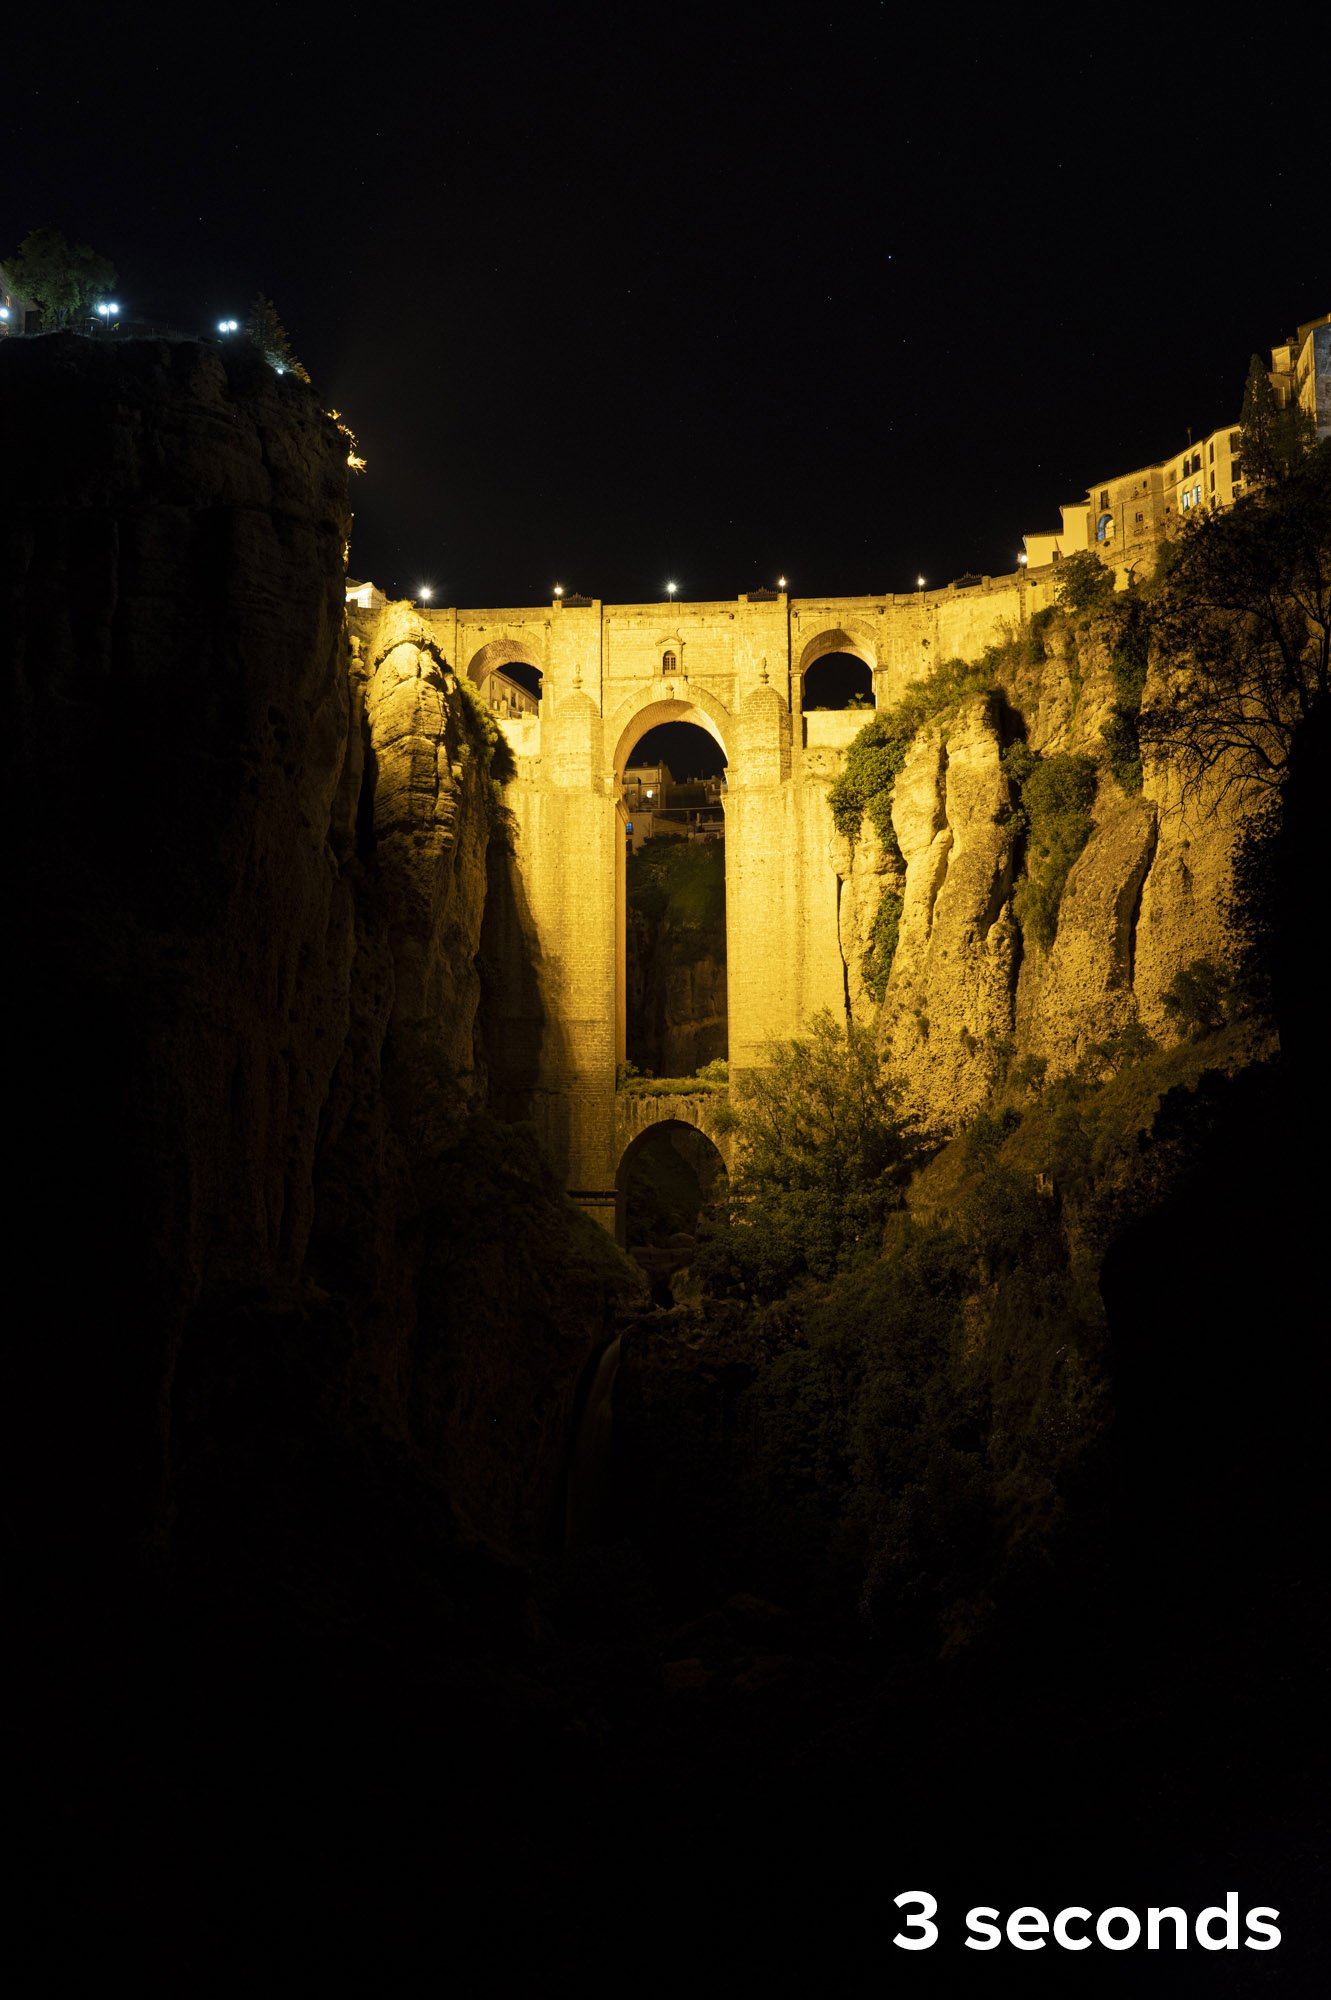
In researching the town and looking at pictures of Puente Nuevo, I found very few pictures of the bridge at night, and none with stars. This is because the bridge is lit by sodium vapor floodlights that make it difficult to see anything in the pitch-black night sky.
The typical prime time to take photographs of Puente Nuevo is when the sun sets directly opposite the bridge, basking it with golden light, or during civil twilight when the sky is still a bright rich blue that perfectly complements the golden floodlights (Figure 3). But I’m always one for a challenge, so I set off to capture it at night.
Figure 3. Twilight at Puente Nuevo. Nikon Z 6II with a Nikon Z 24-70mm and a 10-stop neutral density filter. f/2.8 S lens at 40mm. 20 seconds, f/11, ISO 400.
My strategy was this: Combine a twilight blend with a star stack. This is a fairly common technique, but it would definitely prove to be difficult given the high contrast between the lit bridge and the surrounding darker rocks and sky.
So I hiked down the gorge to a vantage point I liked and shot the bridge during twilight. This foreground shot perfectly balanced the bridge and its lights (which had just come on) with the rocks and waterfall that were lit by the ambient light of twilight. I shot a few more frames and chatted with rock climbers and other folks coming down the path as I waited more than an hour for the stars to come out.
An additional challenge was the inky black sky of the moonless night. Having even a little moonlight would have helped the visual transition from a bright bridge to a more illuminated sky.
Yet another challenge was the lack of stars in the frame. With my naked eye I could see one star in my composition. I could have shot wider to include a bigger part of the sky that was unaffected by light pollution, but then the waterfall would have been too small and lost in the image. I chose a tighter 40mm focal length to get the viewer into the landscape, and I left one-fifth of the composition for the sky.
I could have opened my aperture to f/2.8 or gone to a high ISO to help my camera record more of the fainter stars, but that would have resulted in more of the streetlight spilling into the sky. Instead I chose an aperture of f/8 to control the direct light from the lamps and an ISO of 800 so the stars would retain some of their color and not blow out (Figure 4).


It definitely felt weird to think of star-stacking a series of 3-second exposures. I would need a lot of frames to create a lengthy trail. But I felt this exposure gave me the best balance to blend everything together to create the final photograph that I was envisioning.
I was facing east, the only angle possible for this shot, so I knew the stars would trail downward toward the left. I planned for at least 1 hour of exposure, because I knew that would yield nice long star trails. I was shooting with my Nikon Z 6II, which is a 26-megapixel camera. With my shutter speed at 3 seconds, I used the built-in intervalometer to continually take successive shots.
As busy as this location is during the day, I bumped into only three people during my shoot. It is a bit of a hike down to the lookout, and people just don’t explore at night. So I dangled my feet over the fence and thought of Ferdinand the bull and all the historic places I had visited in Ronda that day.
After half an hour my eyes were adjusted enough and I could see that the brightest star had most likely moved out of the composition. That star had started in the middle of the frame, and because I was zoomed in with a 40mm focal length it had traveled a considerable distance to yield a long star trail. So even though I really didn’t see many other stars, I felt confident I had what I needed to put it all together in post.
The Post-Production
After loading the frames into Lightroom, I made only one adjustment: I turned off the automatic lens corrections. I always advise turning this off for stacking stars, otherwise you run the risk of creating moiré in the final stacked image. I was using 460 frames, which would result in about a 30-minute total exposure for the star trails.
Even though I have a fairly new souped up MacBook Pro M1, to stack 460 30-megabyte files would have definitely caused it to choke. So I stacked the images in sets of about 100 to create a series of five star trail images. Each stack followed this process:
Select the frames in Lightroom.
Choose Photo > Edit In > Open as Layers in Photoshop.
In the resulting Photoshop file, select all the layers by clicking on the first, scrolling down, then shift-clicking on the last.
Change the blend mode to Lighten.
If desired, review the individual layers to edit out plane trails, stray light, etc.
If desired to save hard drive space, flatten the layers.
Save and return to Lightroom.
I then brought each of the five flattened stacks into Photoshop as layers, and used the Lighten mode on them to connect all the trails (Figure 5).
Figure 5. My five sequential star-stack images combined into one long stack.
Finally, I added the twilight shot as the top layer, and I and used a variety of masks and adjustment layers to match the exposures and blend them together as one cohesive image.
In the final photograph (Figure 6), look at the foreground areas outside what’s being illuminated by the streetlights. They are very dark, and that’s why I needed the twilight shot—just to bring out a little bit of detail in the rocks, waterfall and the rest of the foreground to make the overall image more pleasing, and to complete the visual story.
Figure 6. Nikon Z 6II with a Nikon Z 24-70mm f/2.8 S lens at 40mm. Foreground: shot with a 10-stop neutral-density filter at 20 seconds, f/11, ISO 100. Sky: 460 stacked frames shot at 3 seconds, f/8, ISO 800.
All in all this photograph took me about 1.5 hours of post-production work—the same amount of time I committed to shooting the image in the field!
Wrapping Up
Ferdinand didn’t want to fight, but I didn’t mind fighting all of those obstacles to get the shot that reminded me of one of my favorite stories from boyhood.
I’m pretty happy with it. I set out to create a complex photograph of a dream location under conditions I couldn’t control. I put my stamp on it, and hopefully inspired you to seize the night no matter what the scenario!


