Desert Queen Ranch panorama, as team-photographed by our workshop, April 25, 2017. Photograph by Deane Hall, Jeannine Henebry, Romit Maity, Kurt O’Hare, Priscilla Spencer, Lance Keimig and Chris Nicholson.
If you’ve read our blog in the past, you may have seen our series “How I Got the Shot.” This time we’re doing something similar, but a little different: How We Got the Shot. It’s about how a group of workshop students came together to collaborate on a night image that took a lot of planning, communication and teamwork.
The Location
This week we completed our first workshop of 2017, at California’s Joshua Tree National Park. On the last night of the workshop, we were granted special access to Desert Queen Ranch (otherwise known as Keys Ranch), a spot that’s usually locked off from park visitors. The only way to see the site is to attend a group tour. Night access is rare, but we were able to bring our workshop photographers to the ranch through a partnership with Desert Institute, the educational outreach program at Joshua Tree.
“Desert Queen Ranch is a goldmine for photographers ...”
The ranch sits in a rocky canyon in the Mojave Desert. From 1910 to 1969 it was home to Bill Keys, who, along with his wife Frances, raised a family there and lived off the scarce resources of the environment.
Today the ranch is preserved as a National Historic Register Site. It’s a goldmine for photographers, offering subjects such as the small-frame clapboard buildings, old cars in disrepair, mining and ranching equipment, hand-hewn wood fencing, and more. There’s also the same subjects you find in the rest of the park, including rock formations, lizards and snakes, cacti, and Joshua trees and other yuccas.
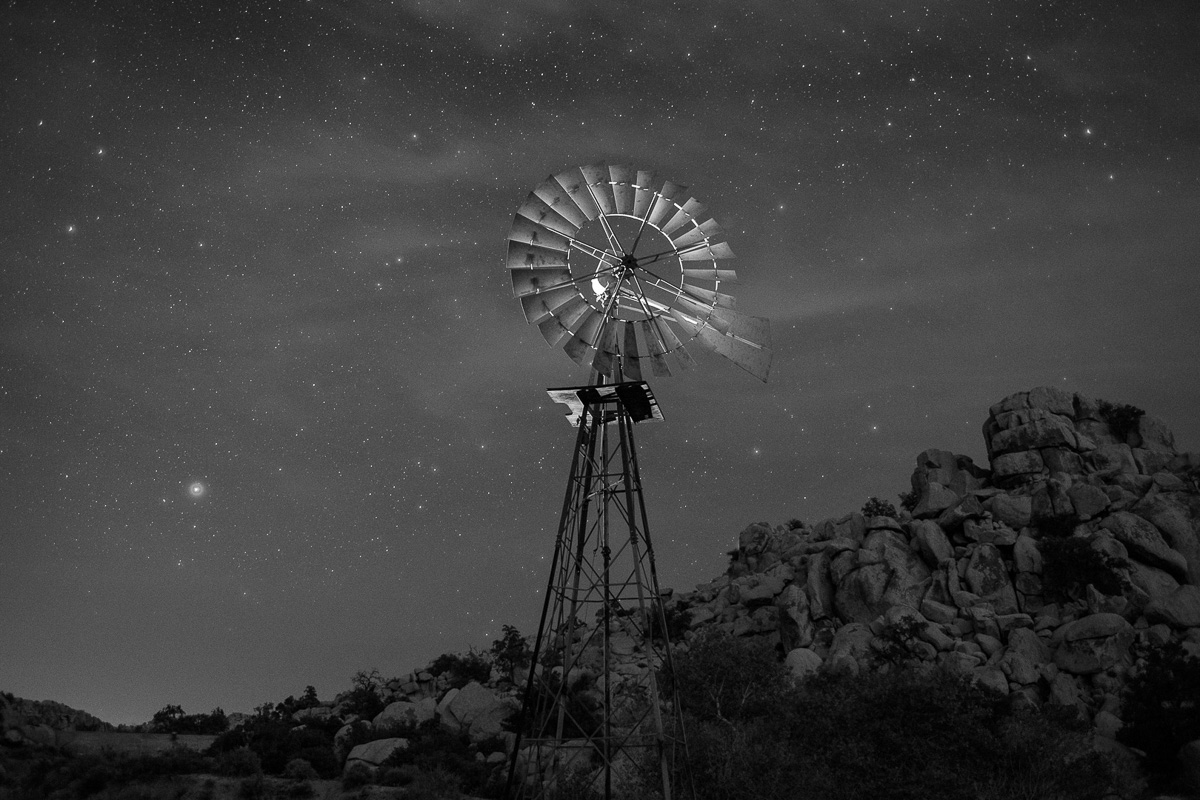
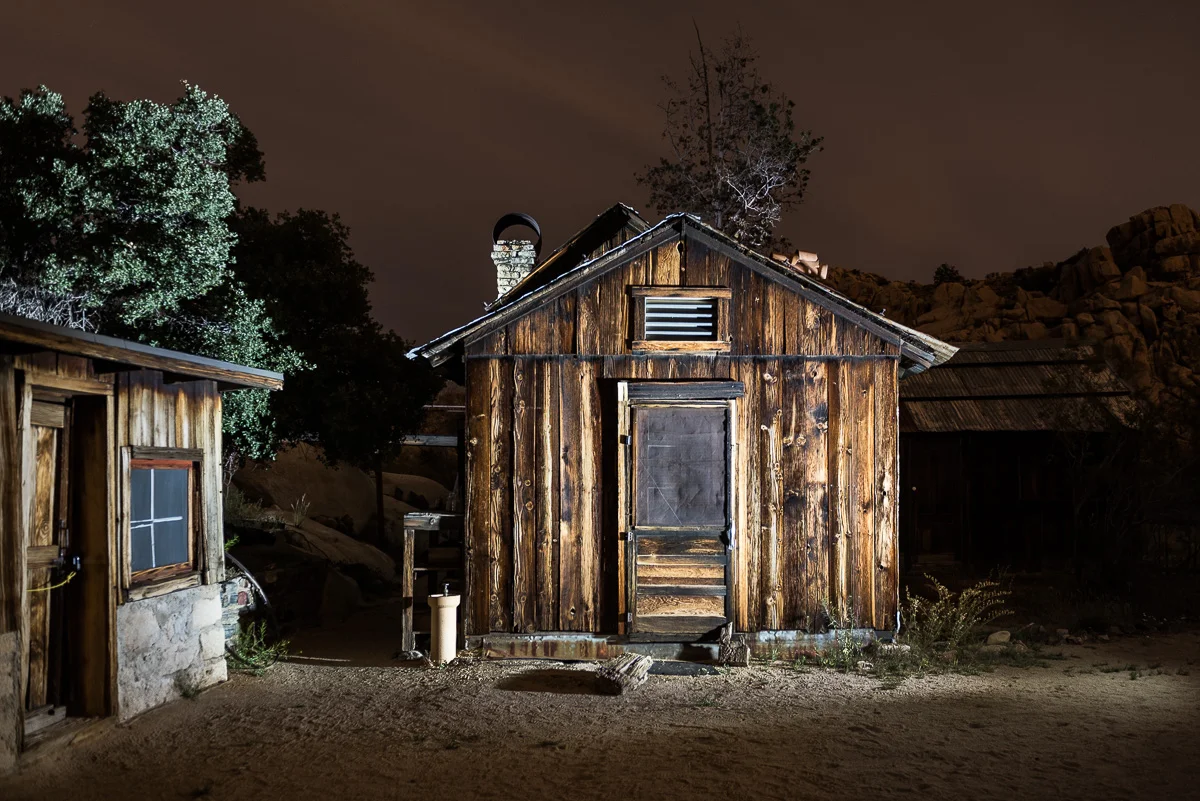
To give you a sense of the photography opportunities at the ranch, here are some other images by our group from that evening:
The Photographers
Seven photographers at our Joshua Tree workshop (five attendees and two instructors) contributed to making the final image:
- Deane Hall
- Jeannine Henebry (www.thehenebrys.com)
- Romit Maity (@romitphotography)
- Kurt O’Hare (@lens.side.out)
- Priscilla Spencer (www.priscellie.com)
- and Lance Keimig and myself, who were leading the workshop
The Planning
We arrived at Keys Ranch with our Desert Institute guides shortly before sunset, which gave our photographers time to scout ideas for compositions. One of the more popular subjects was an old, rusting Jeep in the center of the site. As dusk began to darken into night, we noticed that by standing to the west of the Jeep, you get a nice side-to-side view of the ranch structures, including the house, old store, Jeep, windmill, water tank and workshop building.
We immediately knew the scene would make a great panorama, but would be quite a project that could be accomplished only by a good number of us pulling together to contribute. About two-thirds of the workshop was excited by the idea, so we regathered at 11 p.m. to see if we could pull it off—hopefully with the Milky Way rising over the ridge that flanked the eastern edge of the ranch.
Because we didn’t have time for every photographer participating to shoot their own frames, we decided we would do one setup and execution, and we’d all share the RAW files to edit in our own ways. To provide the best image quality for everyone to start with, we chose to use a Nikon D5.
When the time came to start working on the photo, we carefully staked a spot for the tripod. We opted to use my Gitzo 3541LS, as it’s strong and steady, and we could rely on it to stay put during all the movements we’d be putting the ball head through. Using the bubble level on the tripod, followed by using the bubble level on the ball head, we were able to perfectly level the setup within a couple of minutes.
The scene stretched from left to right by about 160 degrees from the tripod mark. (In Figure 1, you can see how wide an area we needed to cover.) We couldn’t back up much because of a fence behind us, so we needed to use a wide angle lens—specifically, the Nikon 14-24mm f/2.8, one of the sharpest tools in the night-photography shed.
Figure 1. Satellite image of our pano subjects at Desert Queen Ranch, showing how wide the scene is from camera position. Map data © Google.
Setting the zoom for 24mm framed the scene segments perfectly, but gave us an exposure problem: If we wanted to keep the stars as points, rather than having them begin to trail, then we would be limited to a shutter speed of 15 seconds.
We agreed that a 20-second exposure would be better because it would give us 33 percent more time to light-paint, and would give us one-third of a stop more light to help fill in foreground detail. Using the 400 Rule, we knew that maintaining star points during 20-second exposures would require a focal length of 20mm or wider.
So we set the zoom at 20mm and mounted the camera vertically (which is best for most pano-stitching applications). This setup offered approximately a 60-degree horizontal angle of view within each vertical frame.
The next step was figuring out how much to overlap the frames. The more you overlap, the more information you have for the pano-stitching software to do its job well—overlapping by at least one-third is recommended. We prudently decided to overlap by half, which gave us a 30-degree horizontal change between frames. By using the degree marks on the base of the ball head, we panned the camera in 30-degree increments and determined we would need to shoot five frames to cover the scene from left to right.
The Lighting
We could have photographed the ranch without lighting it, but what fun would that have been? Besides, the low light on the foreground would have obscured the detail of all the interesting objects in front of us. So we decided to light-paint what we believed were the most important and interesting elements: the store, the house, the tree behind the house, the Jeep, the windmill, the water tower and the workshop building—all with 20-second exposures.
Teamwork was clearly required to pull this off.
Priscilla has a film-lighting background, and she shared that expertise to help place two panel lights on the largest subjects: the store and house (Figure 2), and the workshop (Figure 3). For the former we used Priscilla’s Vidpro LED Light Kit, and for the latter we used NPAN’s brand new Luxli Viola 5" Multi-Color LED light panel (which we used for different setups all week, and we loved it!).
Priscilla also stood by the panel on the far left of the image, because she needed to redirect its light mid-exposure. We used in-camera dodging by moving blackwrap in and out of the light to soften the shadow, thereby reducing the illumination on the ground during the exposure.
Figure 2. Vidpro LED Light Kit illuminating the house and store at the far left of our intended pano. This is the setup that Priscilla adeptly modified by moving blackwrap mid-exposure. We weren't concerned about hiding this light source (you can see it in Figures 5 and 8), because we knew it would be cropped out of the final stitched image.
Figure 3. The Luxli Viola LED panel light placed on the far right of the image is perched on a fence post. The only part of it visible to the camera is an LED on the back, which Lance covered with a piece of black gaffer tape so it wouldn't show in the final photograph. So even though the panel is technically in-frame, it disappears into the shadows.
Jeannine and Romit stood to camera-right, about 20 and 30 feet away, respectively. Jeannine light-painted the water tower, while Romit light-painted the Jeep.
Deane and Kurt worked in the background, in-frame, but behind objects so the camera couldn’t see their flashlights. Deane was positioned about center-frame, behind a bush, while light-painting the side of the house. Kurt was positioned toward frame-right, between some tall bushes, light-painting the windmill.
Everyone used incandescent flashlights to provide warm light to the warm-toned subjects. And because the final image would be composed of five stitched frames with overlapping elements, everyone had to repeat the light painting the same way multiple times.
As for the ambient illumination on the ridge, that was thoughtfully provided by clouds diffracting light pollution from Palm Springs. The clouds in the east weren’t as helpful, as they blocked our view of the Milky Way (though you can still discern it if you look closely at the final image). On the other hand, thin and broken clouds can add a good deal of visual interest to a starry sky, and they did exactly that for our composition.
The Shoot
When we were finally ready to execute, we all got into position for our roles. Lance observed the light painting from near the camera to watch for any mistakes that needed to be fixed. (There weren’t any—go team!) I operated the camera, using a Vello FreeWave wireless remote shutter release; I didn’t want to have to touch or even approach the tripod unnecessarily, to avoid the possibility of bumping it in the dark, which would have required us to re-set everything we’d done to that point.
We began by shooting from the right, primarily because that’s the direction the camera was pointing when we were ready to start. I fired the remote release, waited to hear the click of the shutter opening, then called out for the others to begin light-painting. When each 20-second exposure ended, I rotated the camera 30 degrees to the left (again using the markings on the ball head), then repeated the process four times. You can see the resulting images in Figure 5.
Figure 5. The five frames, before processing. All exposed at 20 seconds, f/3.2, ISO 6400. Nikon D5 with a Nikon 14-24mm f/2.8.
We reviewed the photos and everything looked exactly as we’d hoped. But we always say: Once you get the shot right, shoot another just in case. So we re-shot all five frames, and then wrapped the production.
Post-Processing
Back at the hotel at 2:30 a.m., we imported all the images into Lightroom. We made minor adjustments to one frame, then synced the edits to the other four frames so that each had the same adjustments applied.
Perhaps the most important edit we made in Lightroom is a necessity any time you’re stitching a pano: In the Lens Corrections panel, we selected “Enable Profile Corrections.” This removed lens vignetting and corrected barrel distortion (see Figure 6), both of which make it much easier for the software to stitch the images together, and also make for a better final image.
Figure 6. Before applying lens profile corrections (left) and after (right).
We then selected all five frames in Lightroom and clicked Photo–Photomerge–Panorama. Lightroom usually does an amazing job with stitching a pano, but in this case we thought the results looked a little too distorted.
Photoshop’s Photomerge feature has a few more options, so we decided to try that instead. Again with the five frames selected, we clicked Photo–Edit In–Merge to Panorama in Photoshop. We tried the Perspective, Cylindrical and Spherical options, but weren’t thrilled with those results either (particularly Perspective—see Figure 7).
Figure 7. Not the result we were looking for. Sometimes pano-stitch settings fail, and we just have to start over, making new choices.
What did succeed was Photoshop’s Auto option for merging, which is what ultimately produced a result we could work with (Figure 8). This proves the theory that software is pretty smart these days, so always consider trying “auto” first.
Figure 8. The uncropped stitched pano, right out of Photoshop.
Back in Lightroom, we made a few more edits. We cropped out the waste (this is expected—it’s why you should always shoot a pano with extra room on all sides, knowing that you’ll need to crop off artifacts). We brought the Whites up a bit to fill out the histogram. Then we nudged down the Blacks and nudged up the Shadows, which is a nice trick to make an image pop. We increased Clarity a little, and Vibrance a tad.
Those were all the global adjustments we made, which resulted in the image in Figure 9. It was looking pretty good, but there was still more work to do.
Figure 9. Minor global adjustments improved the overall image.
To begin the local adjustments, we immediately cloned out the plane near the center. (No need for editorial integrity—we just pretend that we shot the sequence two minutes earlier.)
To improve the sky, we added a Graduated Filter to the top of the frame, then used the Brush to mask around the ridge. We reduced the Exposure of the sky just a smidgen, and brought up Highlights and Clarity a touch to make the stars shine a little brighter (Figure 10).
Figure 10. The sky pops a little more after making some tweaks with the Graduated Filter tool.
We made some more local adjustments to even out the exposure, reducing the brightness and highlights of the workshop building at the right of the frame, reducing the brightness of the panel-lit ground on the left, and increasing the brightness and saturation (just a bit) of the Jeep (Figure 11).
Figure 11. Local adjustments to slightly darken the ground at left and the structure and ground at right, and to lighten the Jeep in center.
Finally, we pursued the curiosity of one workshop attendee who wondered what the photo would look like if we made adjustments to create more of a “nighttime feel.” To achieve that effect we dropped the White Balance temperature more toward blue, lowered Exposure by one-quarter of a stop, reduced Shadows, and dropped Saturation to -30. You can see the result in Figure 12.
Figure 12. A more night-feel approach to the editing.
The night approach looked great, but we decided that we liked our original take better. So we reverted to the first approach, which really shows the light painting that emphasizes the important elements of the composition. Figure 13 is the final version.
Figure 13. The final image.
Final Notes
Though we all made the photo together, the edited final version in this blog post is from my computer. There are many, many ways to edit digital images, dependent on different artistic preferences. I very much hope that Deane, Jeannine, Romit, Kurt and Priscilla will edit the RAW files as they like and post their final results in the Comments section.
Also, none of this would have been possible if the Desert Institute hadn’t partnered with our workshop and arranged for the special access to this very special space. With heartfelt thanks, we recognize Kevin Wong for his assistance at every stage of planning, and Julianne Koza and Lew Kingman for guiding us to and around Keys Ranch that magical evening.


