
It’s time to talk about something scary that hides in dark corners. It’s an unwanted guest, and has ruined many star parties. The regret comes in the morning, and in the form of a lens aberration called “coma.”
The technical term is comatic aberration. This is not to be confused with chromatic aberration. They sound very similar. Chromatic aberration is color fringing at high-contrast edges in an image, and it’s quite easy to correct in post-processing.
Comatic aberration, on the other hand, has to do with a different type of lens artifact. In night photography terms, coma is when stars start elongating or distorting to look like spaceships or seagulls (Figure 1)—not because of problems with an exposure, but because of quirks in how a lens works. Coma ruins star points, but it’s also a problem with star trails. Imagine: That odd shape drags across the sky, making large, fat trails that can be distracting in a composition (Figure 2).
Figure 1. See the odd shapes of the stars? That’s coma. The shapes can also present as “wings” or diamonds. Fuji X-T1 with 7Artisans 7.5mm f/2.8 fisheye lens. 58 seconds, f/2.8, ISO 6400.
Figure 2. Coma also presents a problem with trails, which will be fatter than normal. Fuji X-T1 with 7.5mm 7Artisans Fisyeve f/2.8 lens. 90-minute stack, f/2.8, ISO 6400.
While not impossible to work with in post, coma is tedious to repair (or to clone out, or to paint out with special brushes). To be frank, I’d rather re-shoot with a better aperture or lens than correct a photo full of coma.
Why Does Coma Matter?
When I got serious about astro-landscape photography, I paid attention to certain things that I believed directly affect the quality of the final image. Coma is one of those things that matters to me. And I know my colleagues at National Parks at Night also care about it at the same level. In fact, Lance Keimig was who first taught me about it.
Now I am at a crossroads. As I move fully to mirrorless on my Nikon Z 6, I want to replace all my F-mount lenses with native Z-mount equivalents. So I am testing a bunch of lenses to see exactly what I want to be carrying in my backpack. As I test, my primary criterion is—you guessed it—coma.
Coma most often occurs on fast, wide lenses. The most common culprits are lenses with apertures of f/2.8 or wider, which are exactly the lenses that are best for astro-landscape photography.
Milky Way over Bryce Canyon National Park, with very little coma. Nikon D750 with a Viltrox 20mm f/1.8 MF lens. Foreground exposure created by blending 25 frames in Starry Landscape Stacker, each shot at 13 seconds, f/2.8, ISO 6400. Foreground exposure 323 seconds, f/2.8, ISO 1600. Blended in Photoshop.
When coma occurs, it is strongest at the corners of the image. It appears less so at the top and side edges, and is unlikely to (but could) appear at the center.
The easiest way to reduce or eliminate coma is to stop down the lens. The aberration is likely to sufficiently diminish by f/5.6. But that’s an aperture that’s not usually wide enough to create shutter speeds that can capture sharp stars in an astro-landscape image.
So the better alternative is to have a lens that doesn’t need to be stopped down to begin with. All lenses have coma to some degree, but some lenses are certainly better than others. In night photography, we want fast ultrawide lenses in which coma disappears or is nearly nonexistent at f/2.8. Why? Because that’s what’s best for star-point and Milky Way photos.
This is the reason we love the Nikon 14-24mm f/2.8. It exhibits almost no coma when shot wide open. This is also why we love the Irix 15mm f/2.4. It too exhibits almost no discernible coma when shot at f/2.8. Both of these lenses are extraordinary.
Unfortunately, my goals for my new kit take me away from these dear optics. While both of those brands are working on Z-mount versions of those lenses, neither has a release date. Also, I do not want to carry an FTZ adapter. While it does allow any F-mount lens to be mounted to a Z-series camera, those lenses tend to be heavier than Z-mounts. Lighter, more compact lenses are part of why I wanted to go mirrorless to begin with. So onward I must journey.
I strive to make the highest-quality photographs I can. I do some printing now, and I plan on doing even more this winter. So when I make 20-inch, 30-inch or 40-inch prints, I want them to evoke the feelings I had when visiting the gorgeous destinations where I made the images.
Night photography is a process of acknowledging which variables are hard boundaries and which are acceptable areas for compromise. Coma is one place I will not compromise. Therefore, I test all the lenses I consider for purchase. I suggest you do the same. To that end, below I will reveal how I recently tested four lenses, and will discuss how to interpret the results.
Preparing a Lens Test
This part is really simple. Grab a notebook and a pen. Draw a grid/table. At the left, write the full apertures of your lenses as rows going downward. Across the top, make a column header for each lens you are testing.
Note: Yes, for sure it’s good to run these tests on lenses you’re thinking of buying. Rent one, borrow one from a friend, whatever. But it’s also good to test lenses you already own, so you know where and when they begin to fail you. Then you can compensate in the field when needed.
My notes from this test. Why am I making notes during the test rather than just checking metadata in Lightroom? Because none of the ultrawide lenses I was testing have electronic contacts, which means the metadata does not contain either the make/model of the lens nor the aperture used in the exposure.
These are the four lenses I recently tested:
B&H Photo kindly sent me the Samyang and Laowa for evaluation. I tested these against my tried-and-true Zeiss Distagon. I own the Viltrox, having chosen it already to replace my 35mm Sigma Art as my standard wide lens and for shooting panos.
Performing the Coma Lens Test in the Field
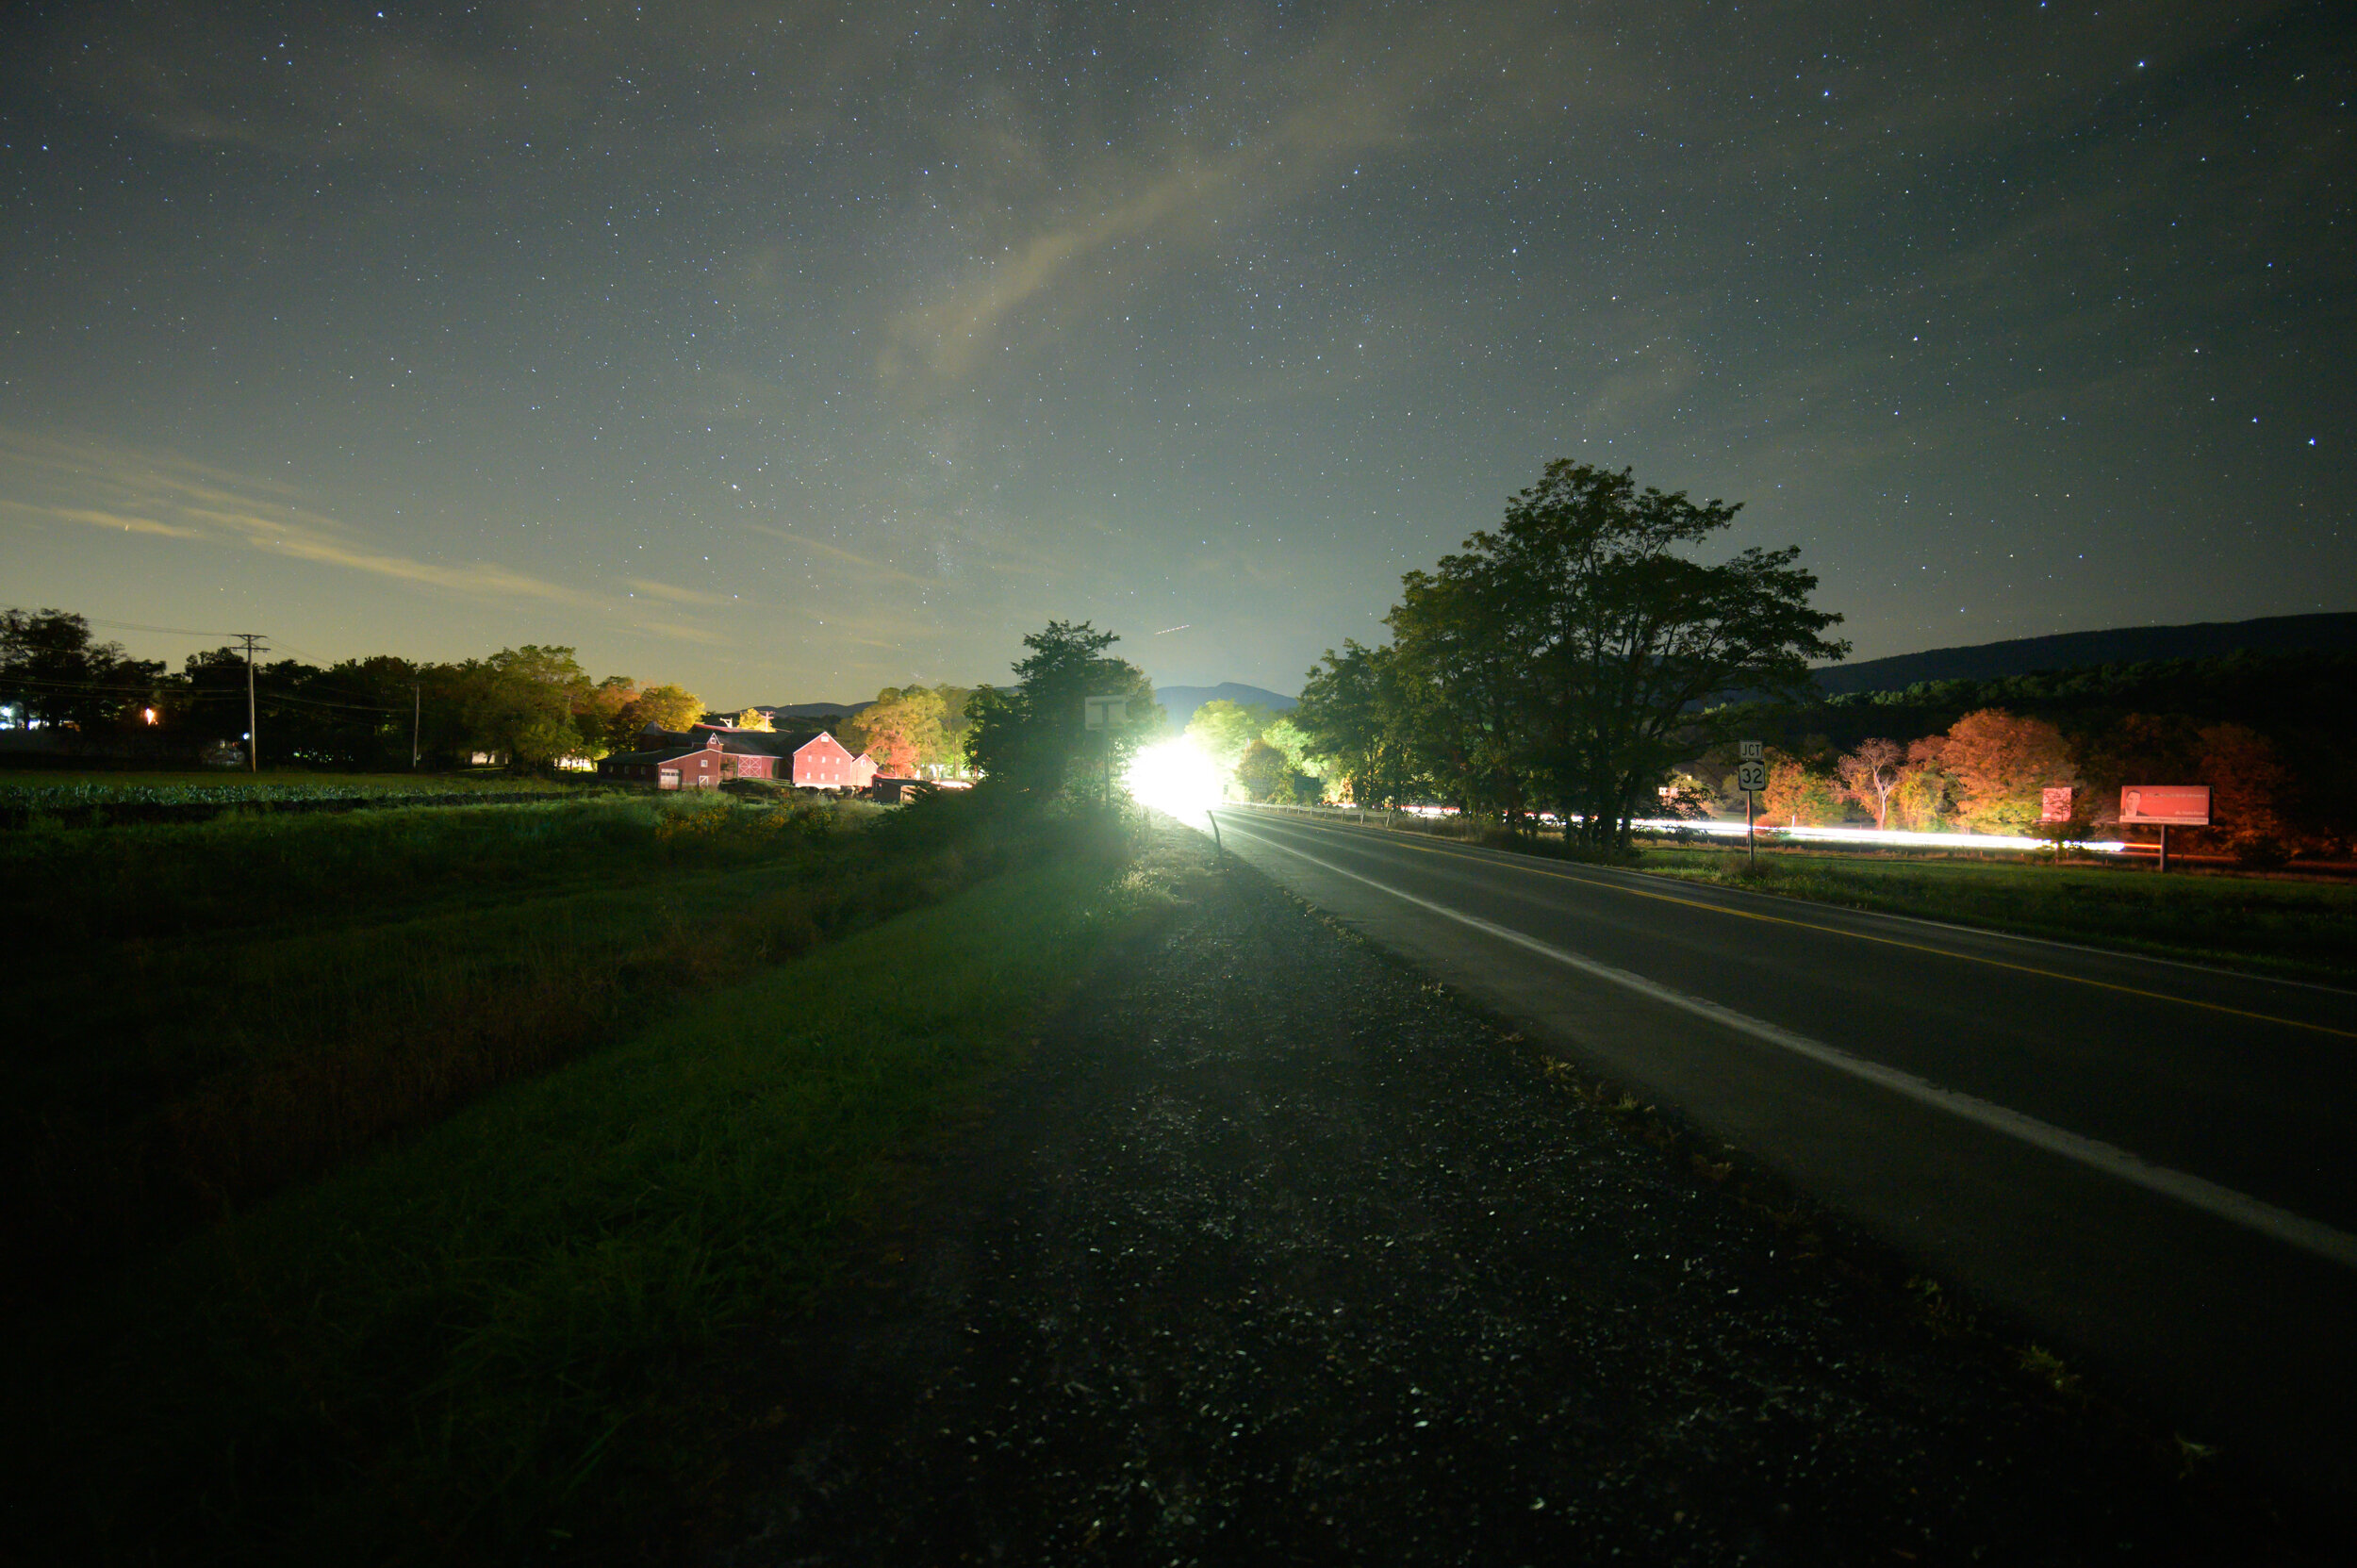
I chose a new moon, and I drove west for 15 minutes out of Catskill, New York, where farmland leaves broad, open, dark rural skies. This combination of choices gave me the maximum number of stars to work with. (If you run your test during a different moon phase, do so a couple of hours before the moon rises or a couple of hours after it sets. You want to be able to see even the faintest of stars.)
Step 1: Nail the focus.
I set up a quarter-mile away from a traffic light so that I could use it to zoom in and really hit the perfect focus. For reference, I took a shot of each perfect focus. See below.


To ensure I ended up with stars that didn’t blur due to movement, I used the following settings: ISO 6400 and the proper NPF calculation for sharp star points (using the Accurate setting in the PhotoPills calculator, as opposed to Default).
Step 2: Make a test shot at each aperture up to about f/5.6.
As noted earlier, this is where coma disappears on most lenses anyway. Moreover, you’re highly unlikely to be shooting star photos at smaller apertures than this.
Step 3: Take Good Notes.
As you make your test images, look at them on the back of your LCD and note the filename in your notebook grid.
OK! That’s all you really need to do in the field. But I suggest that you really take the lenses for a drive. Shoot some star stacks, some star trails, car trails, etc. Get cozy with the lens in general.
Examining the Coma Lens Tests Results

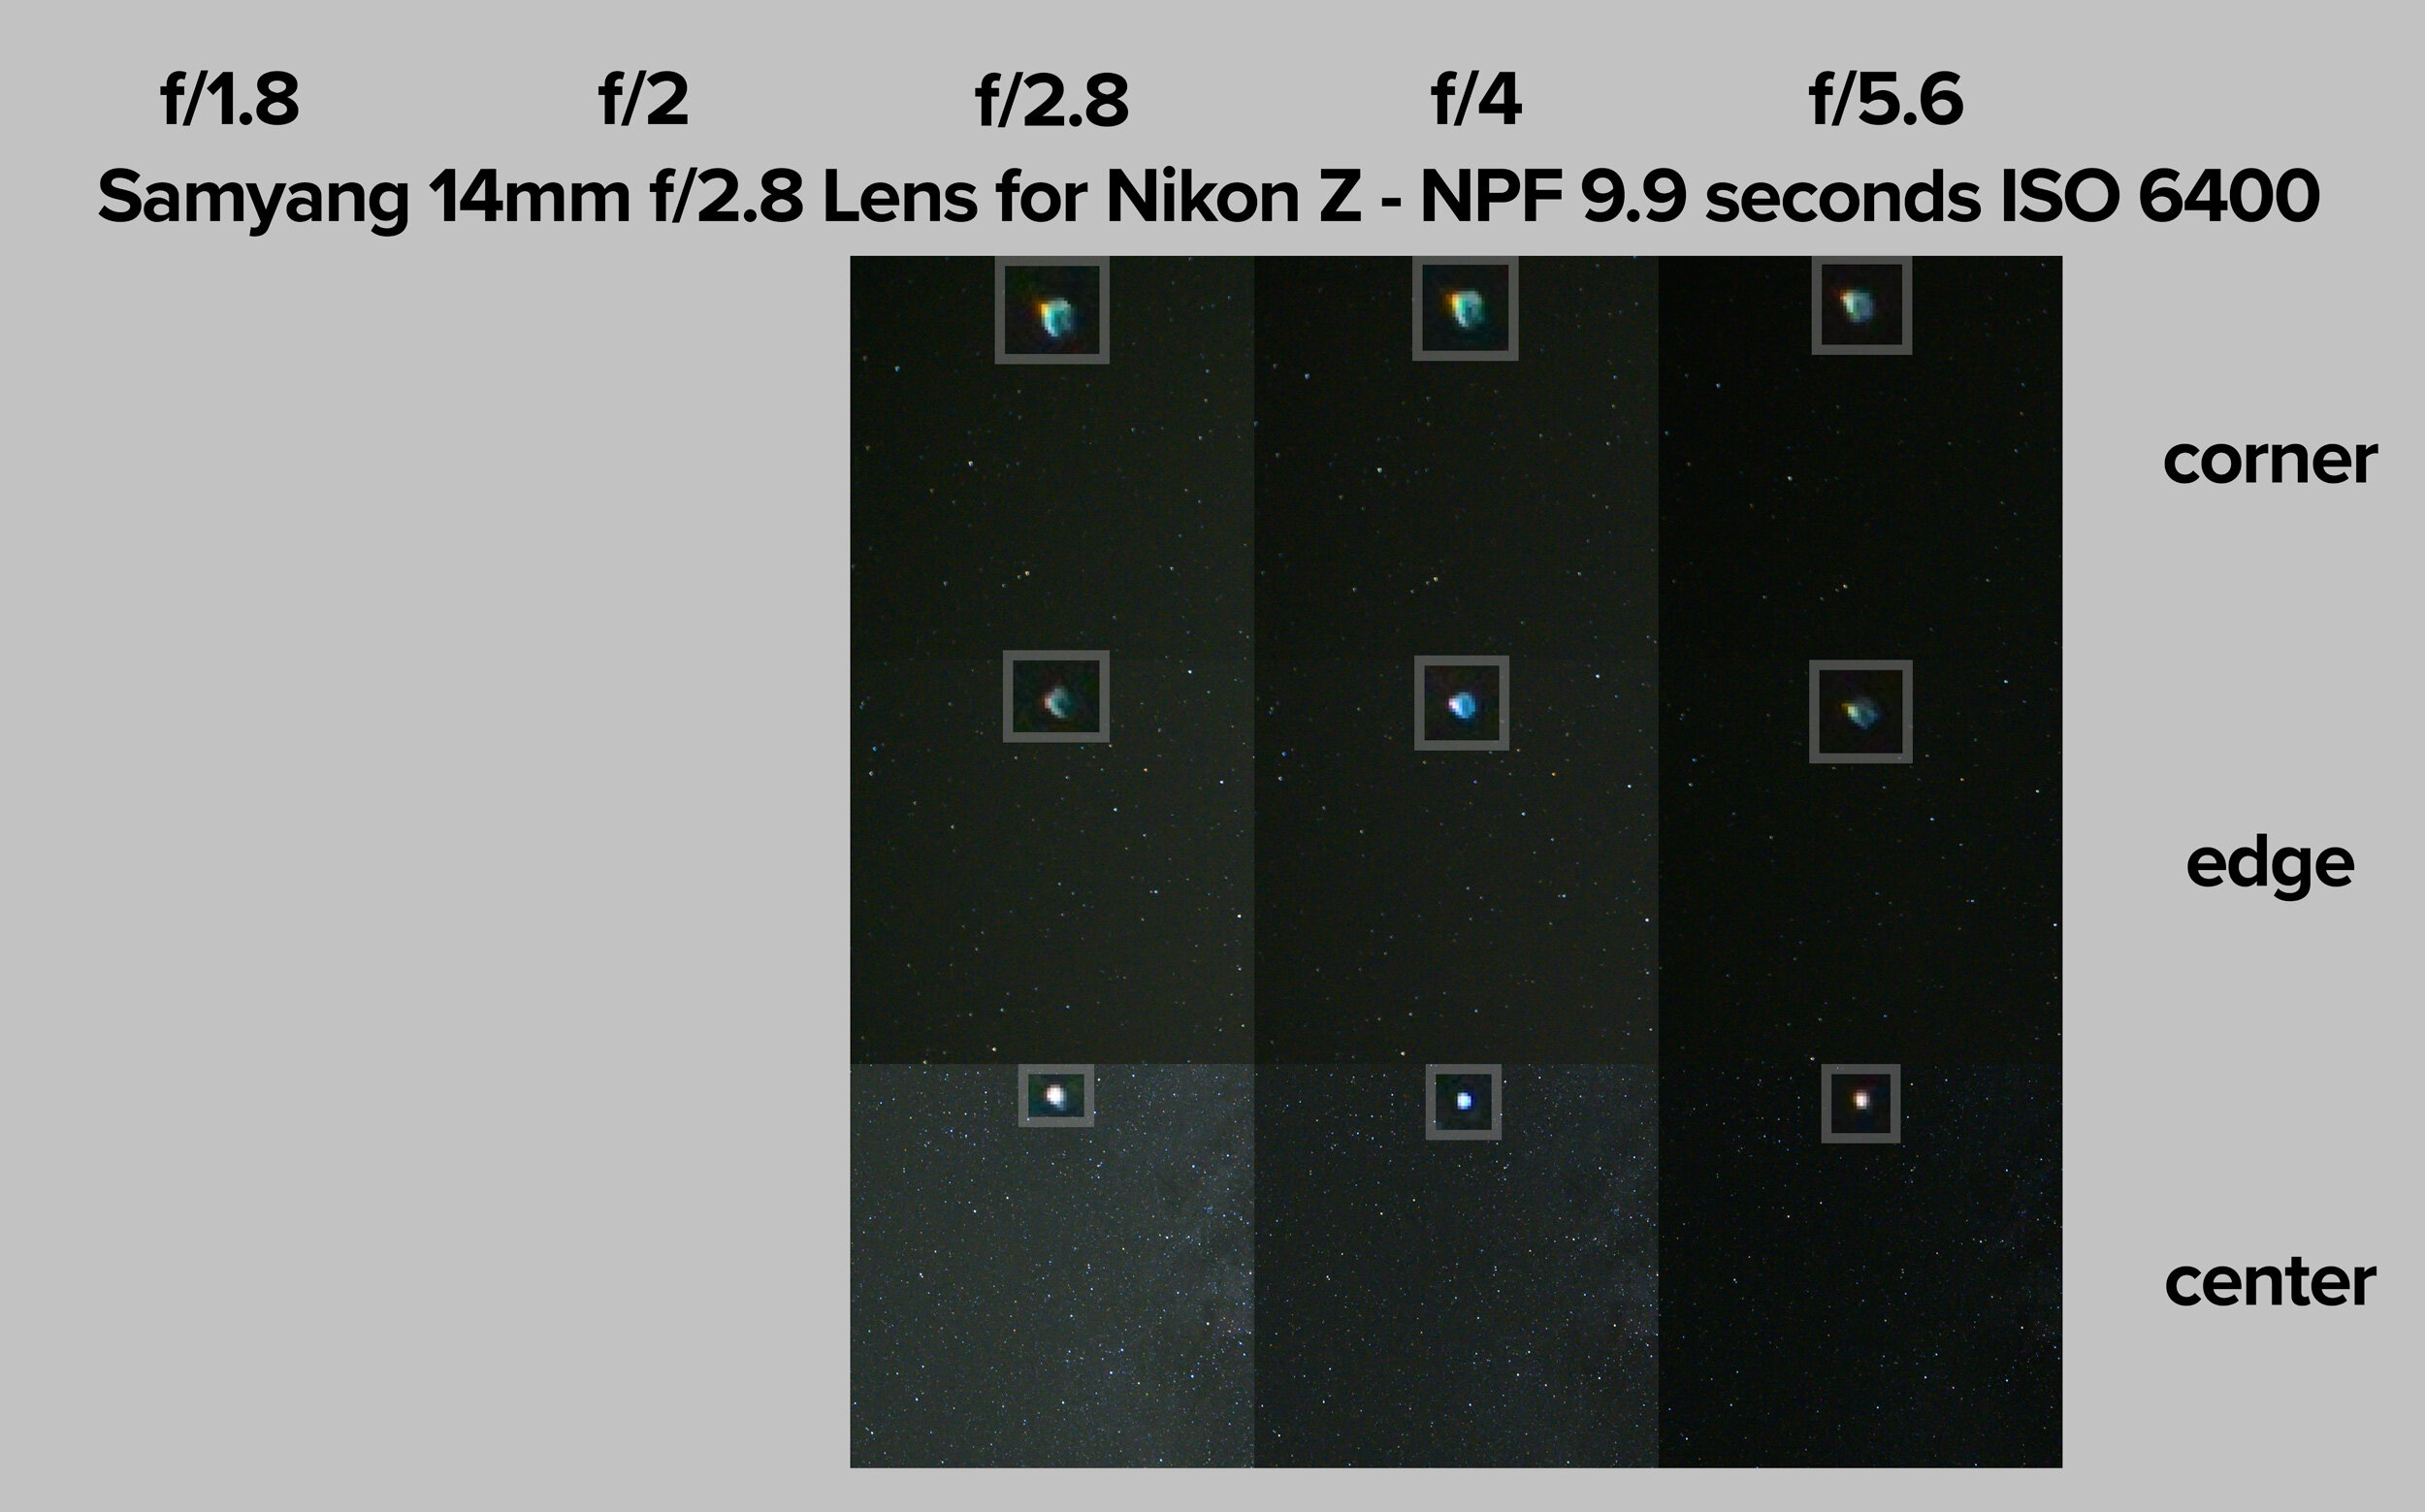


At 800 percent zoom, look at the shape of the stars.
acceptable/ideal = round and crisp
unacceptable/comatic = irregular shapes that look like birds, flying saucers, donuts, cigars, etc.
It’s that simple.
Wanna pixel-peep? Download the full-resolution JPGs from my test:
The results of my lens test?
I am purchasing the Laowa 15mm f/2 Z-mount and selling my Zeiss Distagon F-mount. Surprisingly, the Laowa has a little less coma than the Zeiss at f/2.8. And the former feels like half the size. That’s a double win.
The Samyang has coma even at f/5.6, so it’s not a good lens for astro-landscape photography.
The Viltrox 20mm f/1.8 is a keeper! No coma at f/2.8. Perfect for star points. It’s heavy, but the focus is smooth and it’s sharp as heck.
Now I can rest easy knowing that my first two native Z-mount lenses are friendly to night photography.
I hope this helps you both understand what coma is, and how to perform your own reliable tests. Now go and test your lenses. Share the results in the comments below or on our Facebook page


