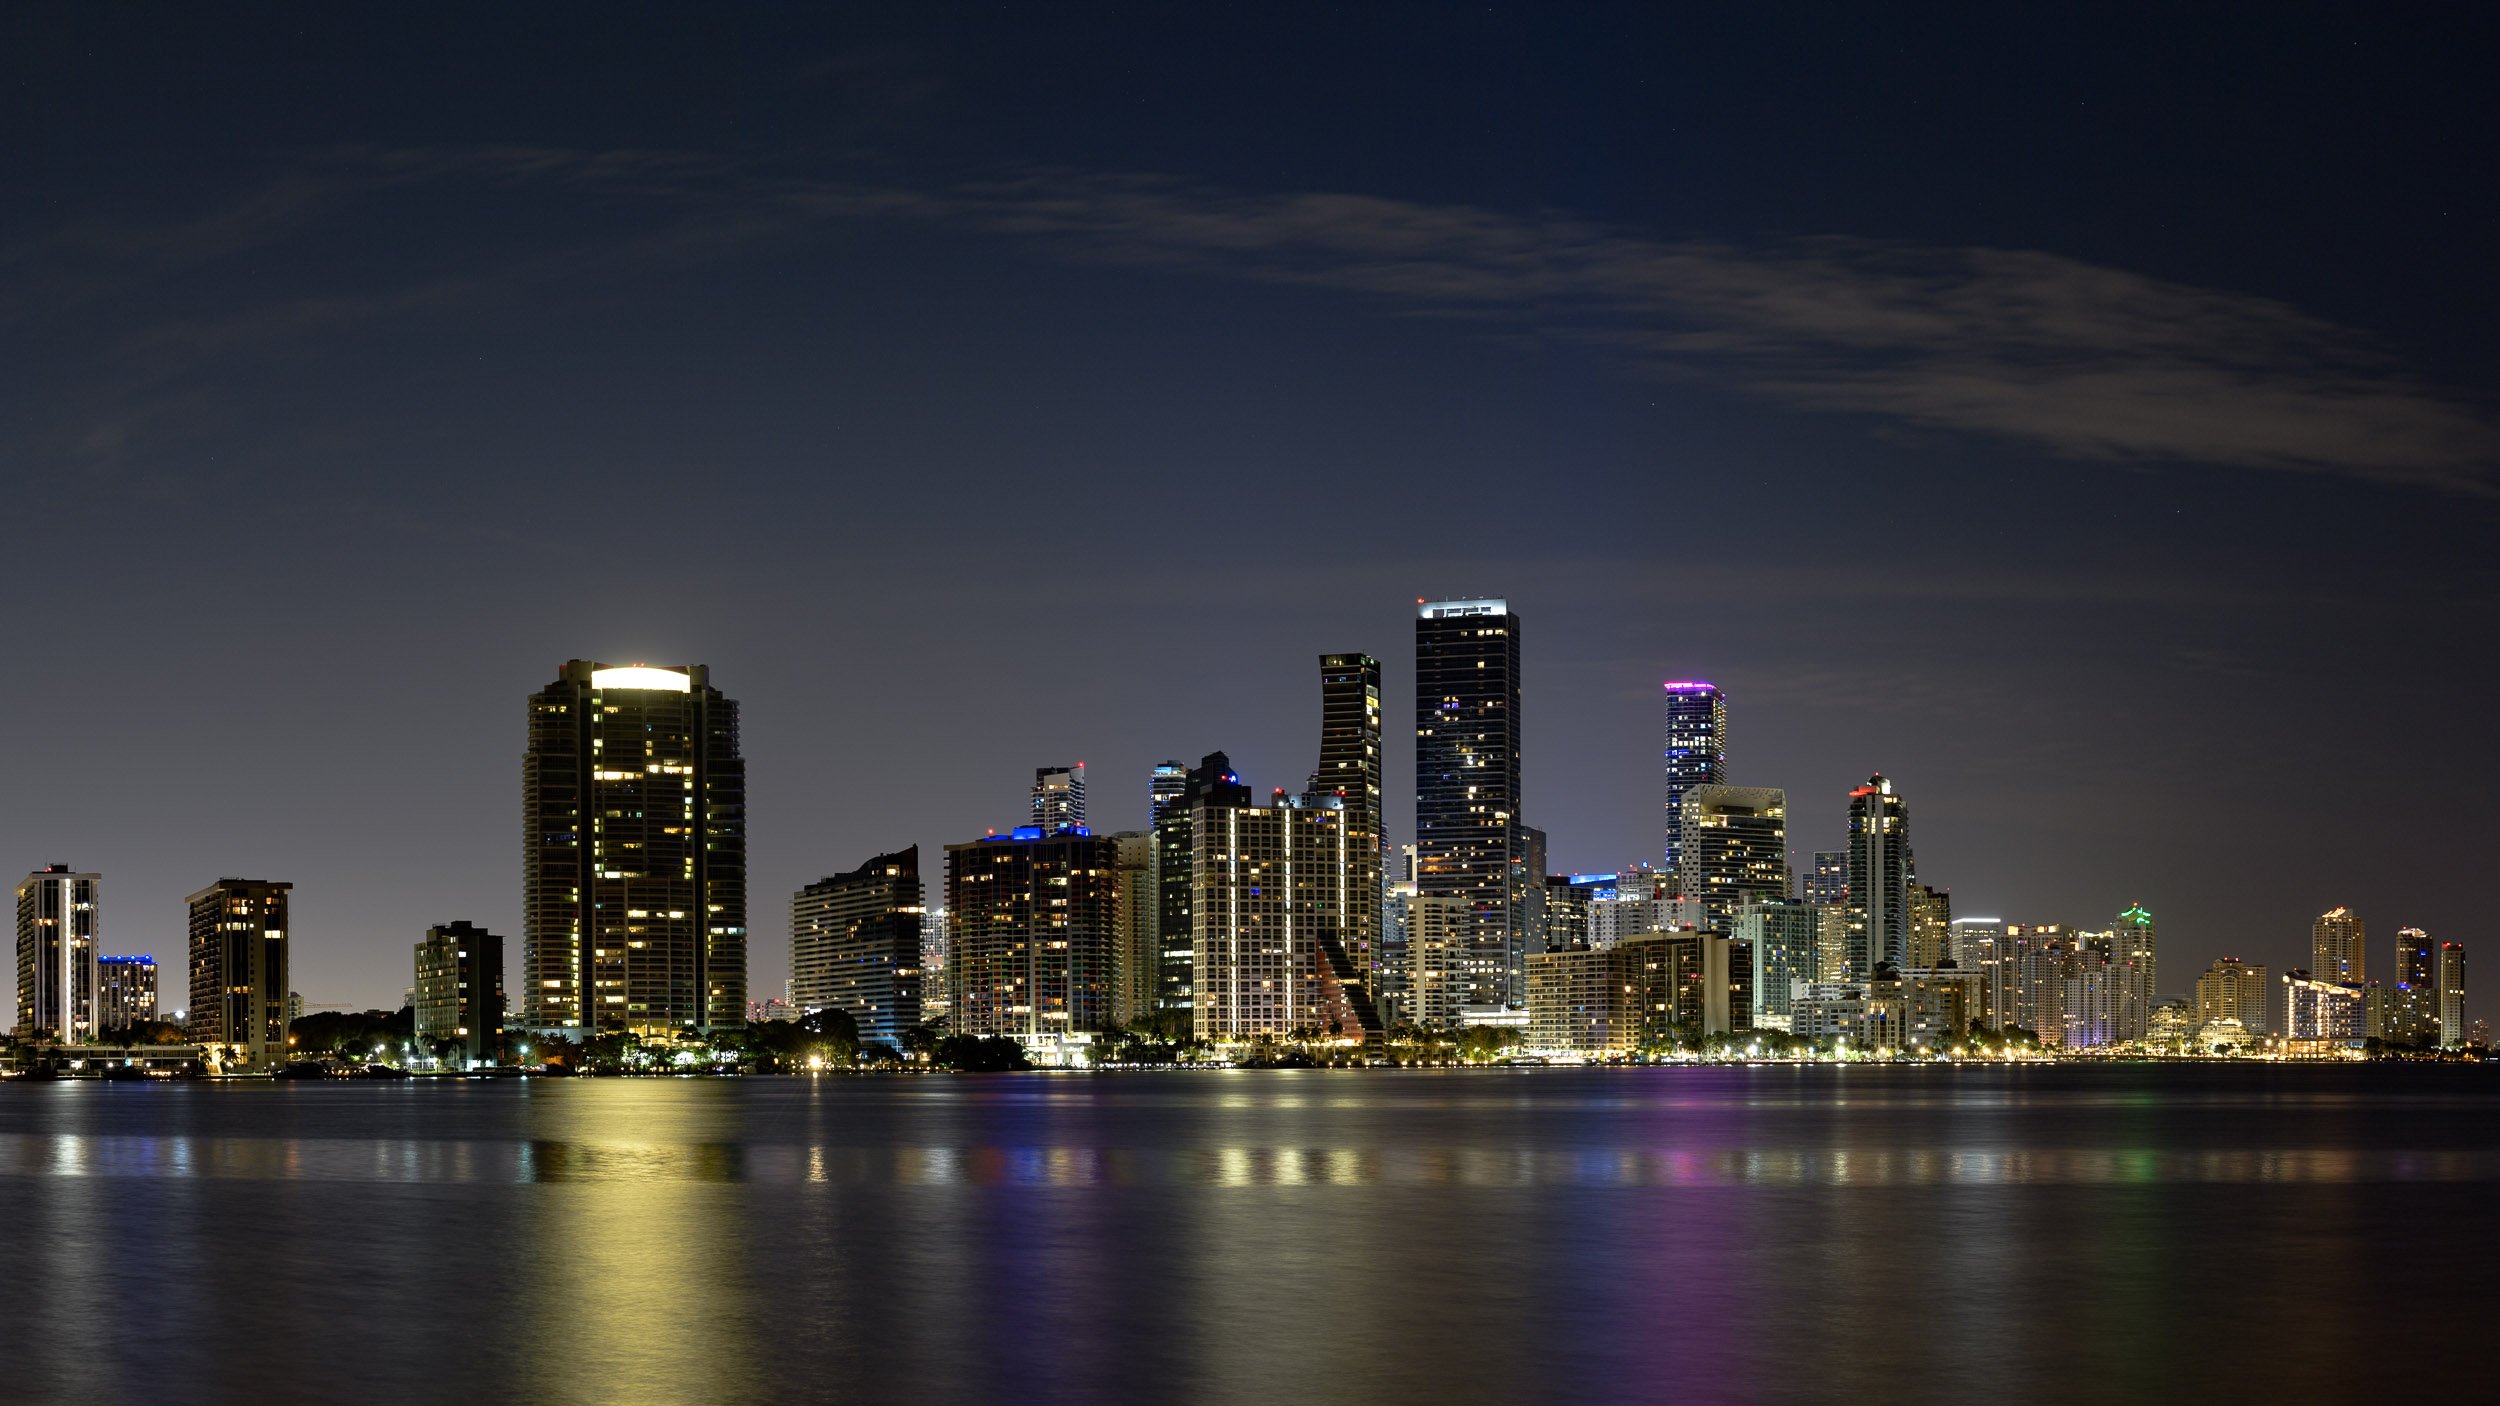
Post-processing photographs has become an everyday affair for modern photographers. Increasing contrast, fine-tuning the exposure and correcting color balance have become as familiar to us as brushing our teeth.
Adobe Lightroom, the industry’s standard editing program, is at the heart of this editing process for most photographers. Its cataloging capabilities are incredible; its Develop module is very intuitive yet extremely powerful. Within that module, most photographers are quite comfortable working with using the sliders and other controls that make global changes to the image: from the Basic panel’s Exposure, Contrast, Highlights sliders, et al., right down through Tone Curve, Detail and Lens Corrections panels, et al.
But many photographers don’t have quite the same level of comfort with the local adjustments—those tools remain a mystery.
So, what exactly is a local adjustment? Well, a local adjustment is when you are effecting a change to only a specific portion of a photograph. A global adjustment, on the other hand, affects the entire image.
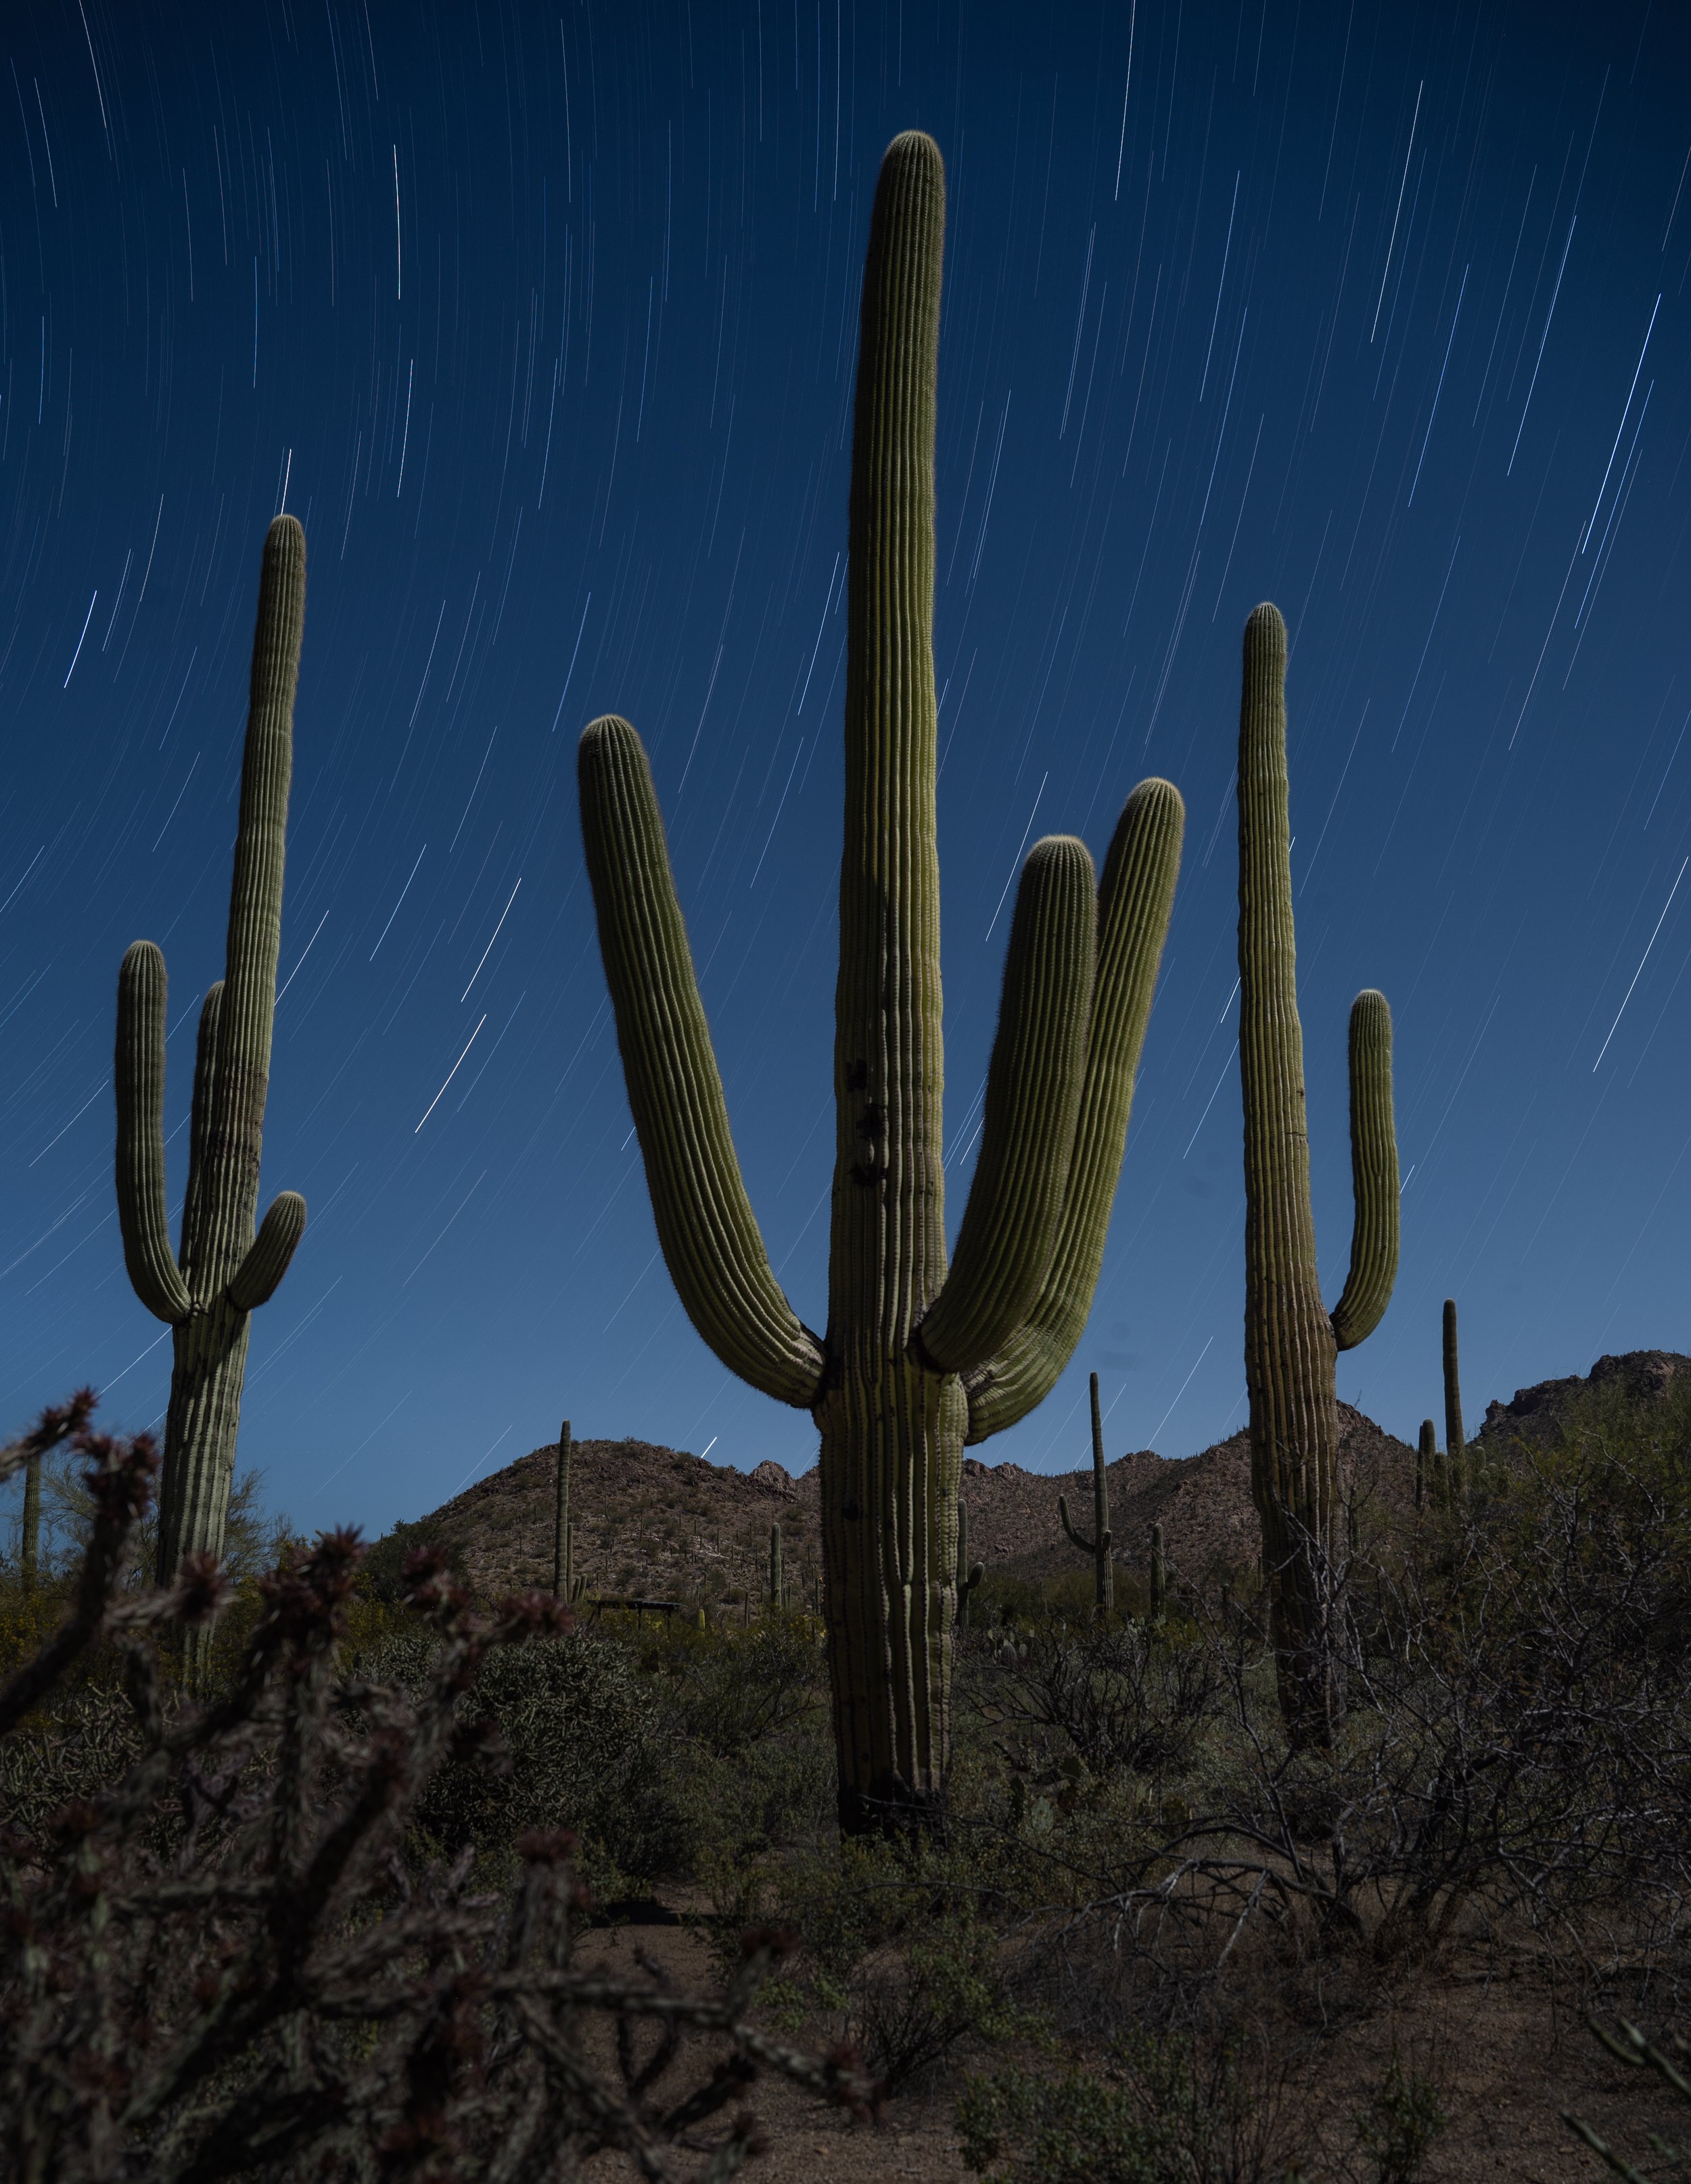
In the following video, I’ll demystify Adobe’s two local adjustment tools—the Graduated Filter and Radial Filter—and show you how can use them to tightly control the look of your night photographs.
See the continuation of this post: “Lightroom for the Night Photographer: Learning to Master Local Adjustments (Part II)”


