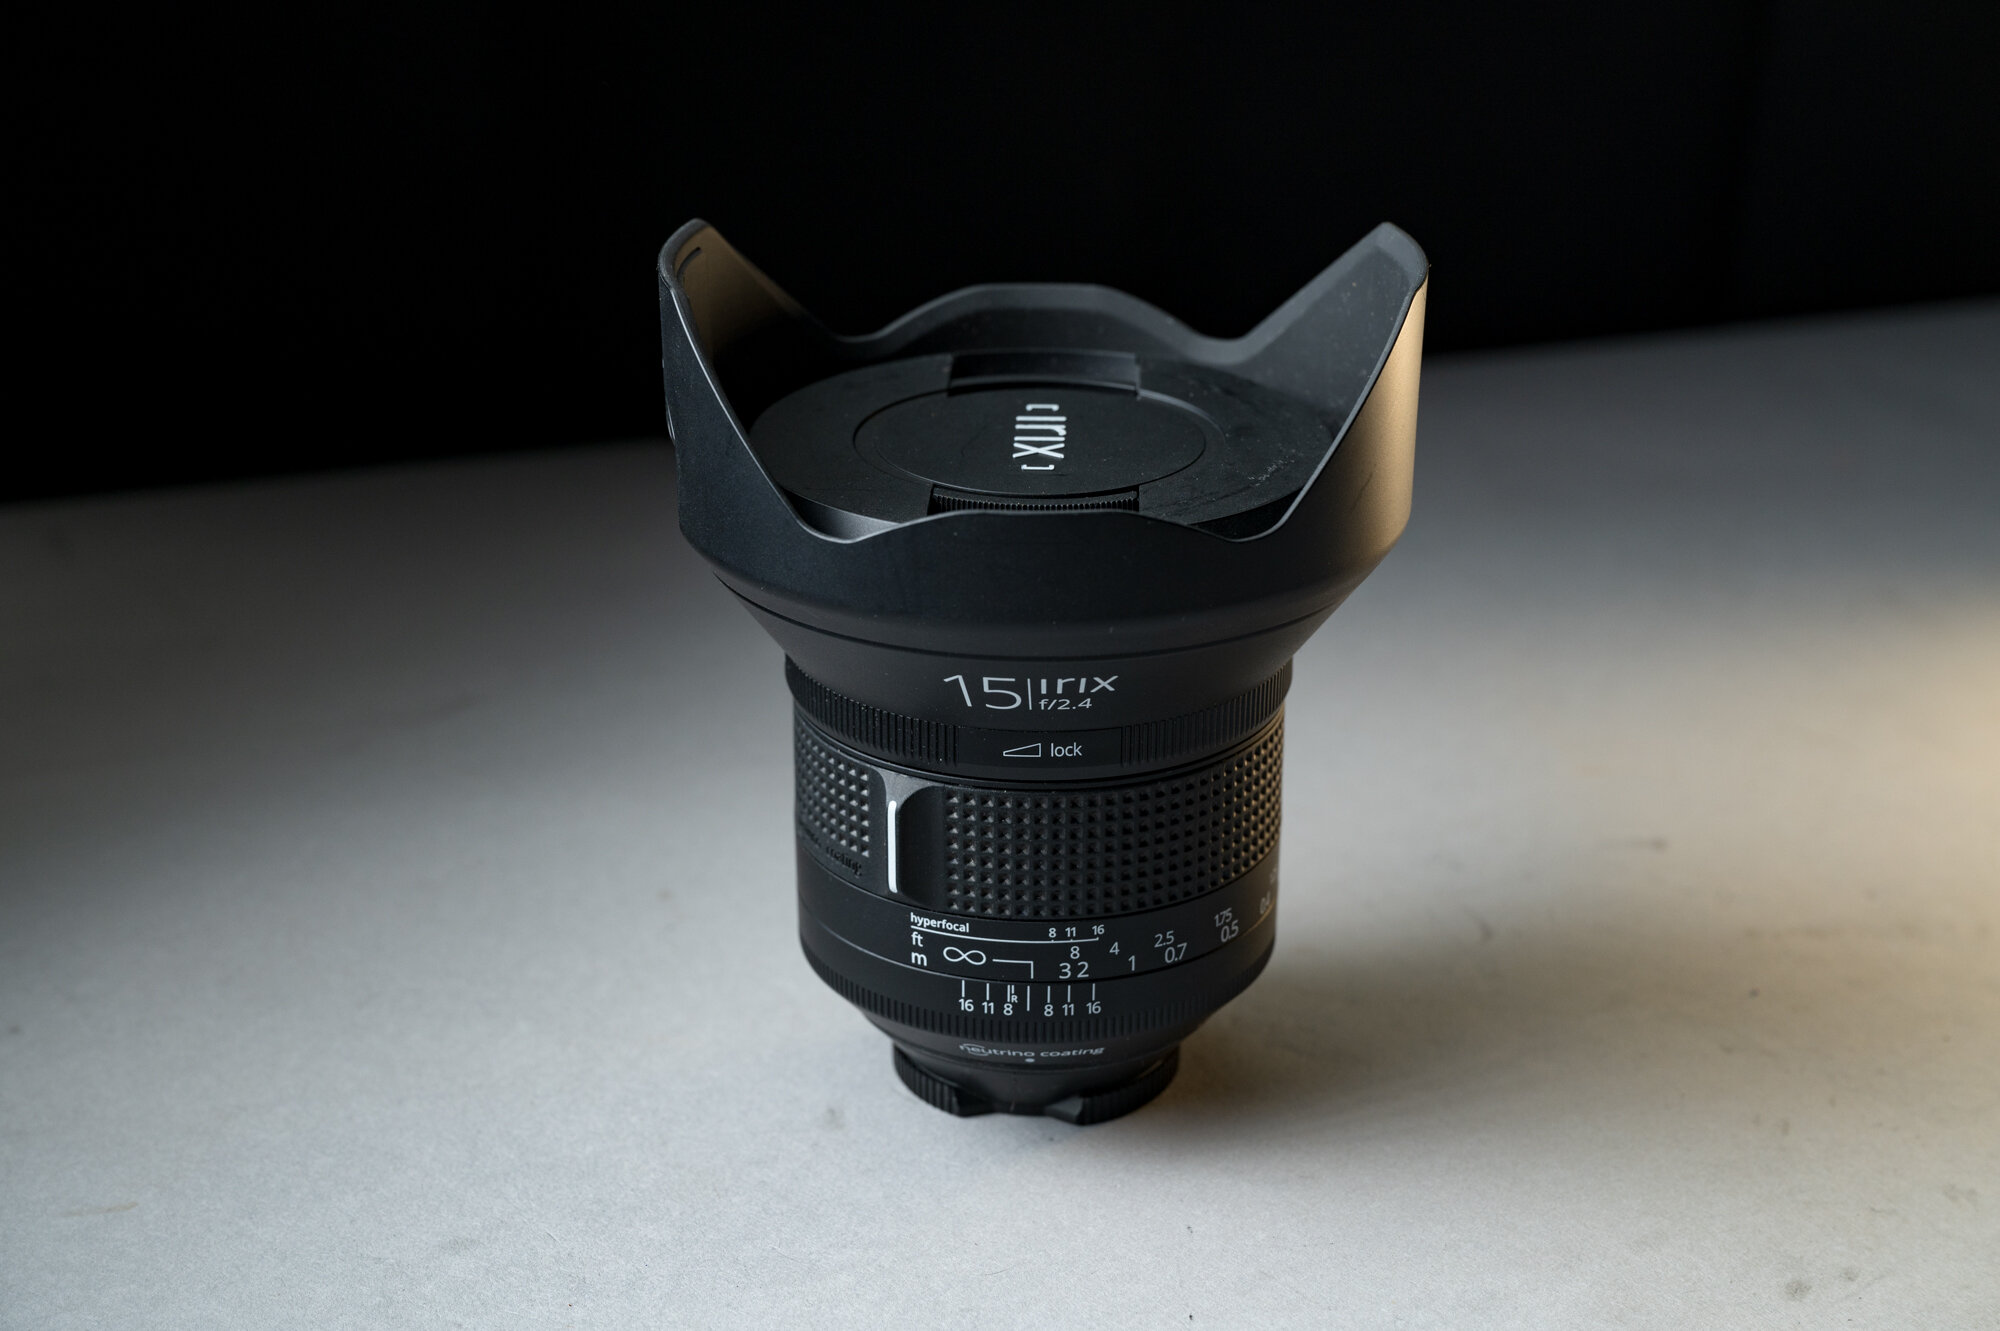
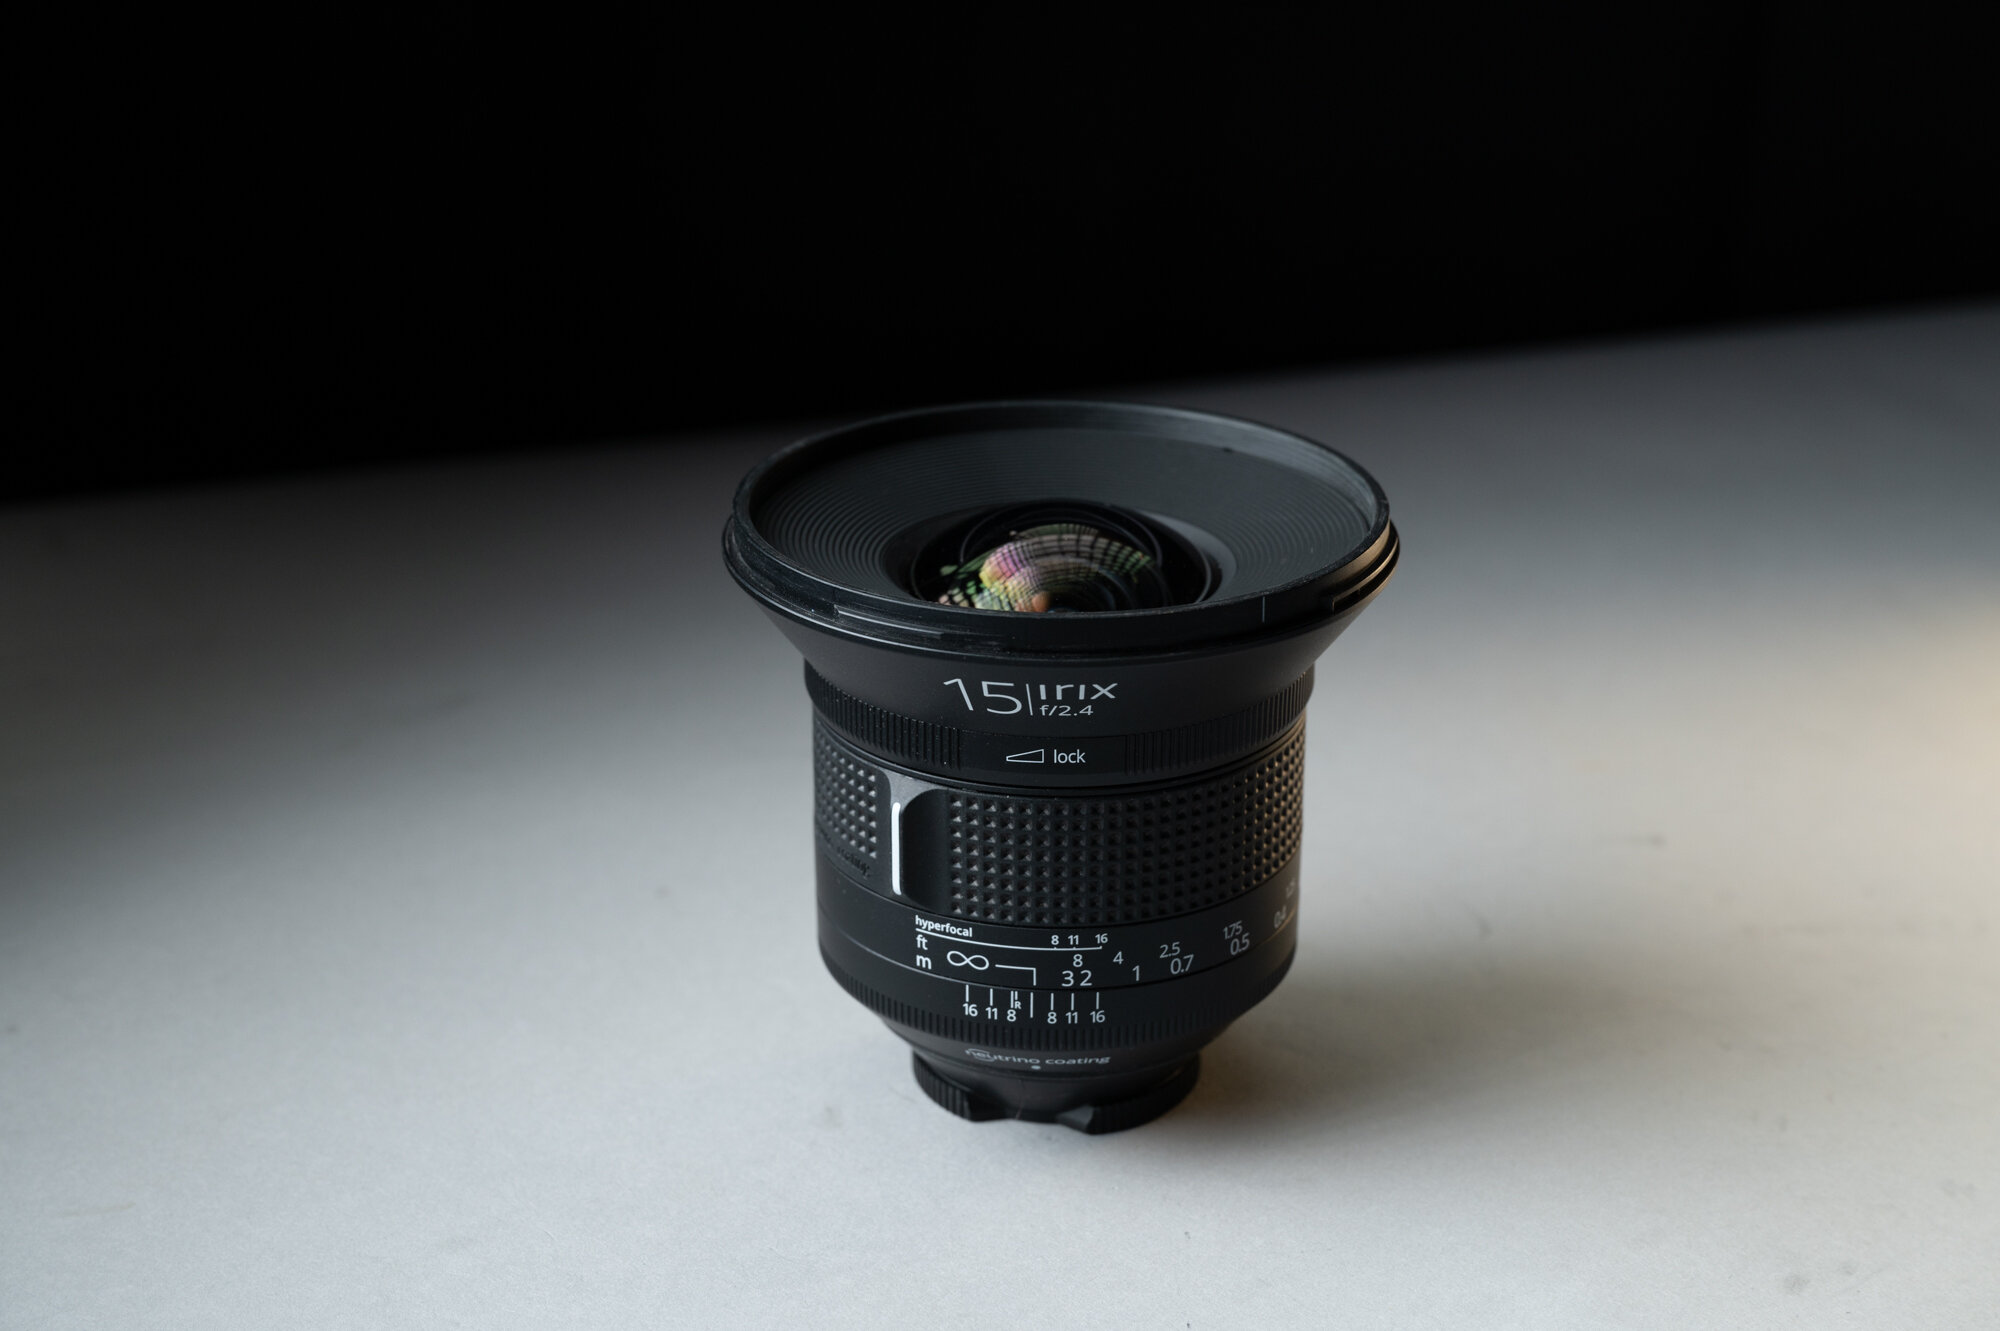
Irix 15mm and 11mm lenses are very popular among the National Parks at Night instructors and our workshop attendees. There are multiple good reasons for that, all of which have to do with sharpness, including:
The lenses have very little coma.
They’re sharp as heck.
The focus ring clicks into place at infinity, giving you tactile feedback for focus, which is so helpful in the dark.
Put all those together, and you pretty much have a guarantee that your stars will be sharp.
Irix has another feature that will allow you to stay sharp too: If you find that the infinity mark is off, you can calibrate it at home.
Why would you need to do this? Our experience is that the focus is perfect as received from the factory. But, as time passes and your lens gets jostled around during travels, it’s possible the focus can drift. It happens to the best of lenses. But with most brands you need to send such lenses to a repair technician, while Irix superwides enable you to self-fix this relatively quickly.
If you own an Irix 15mm f/2.4 wide angle lens or 11mm f/4.0 rectilinear wide angle lens, you can follow the instructions below to calibrate your own infinity focus.
Note: If you have really poor eyesight or your fingers aren’t nimble, you may consider sending it in to Irix instead.
The Irix Calibration Process
What you will need:
camera
tripod
torx T6 screwdriver with a magnetic tip
standard slotted 1/16-inch or 1.5mm screwdriver with a magnetic tip
a clean, dust-free, well-lit space with a white or very light surface
daylight
You use the lens hood, right? You should, for protecting that slightly bulbous front element from bumps and scratches, if nothing else. Anyway, time to remove it, for just a few minutes.
Step 2: Lock to infinity.
As mentioned before, infinity focus is easy with an Irix. Just turn the focus ring until you feel it click into the infinity detent.
Then turn the focus lock ring all the way to “lock.” I use two hands for this and I move slowly so that the focus ring doesn’t move while locking it down.
Step 3: Open the calibration window.
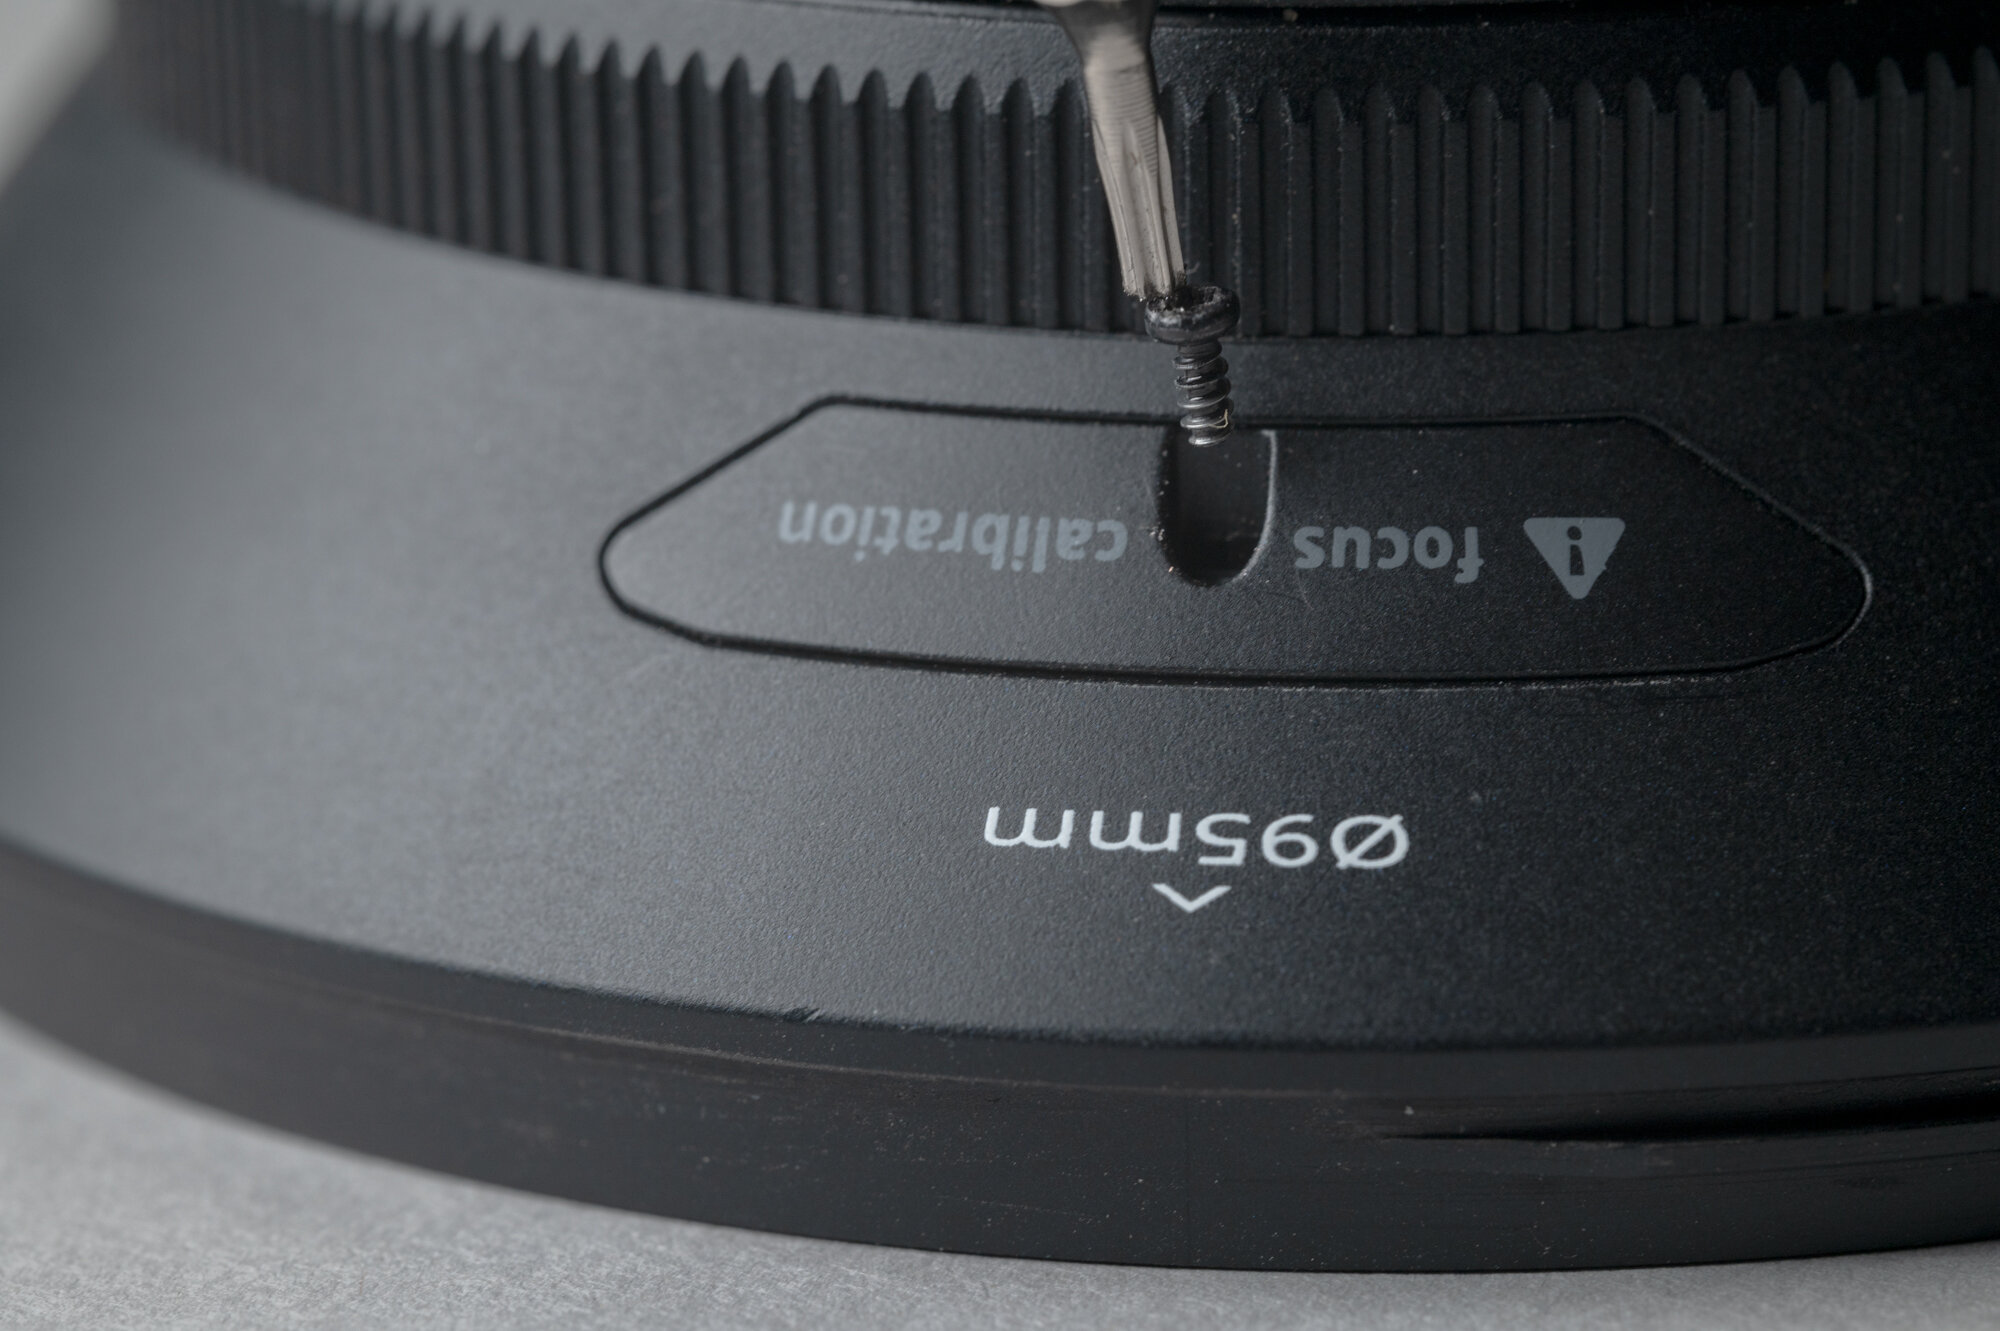
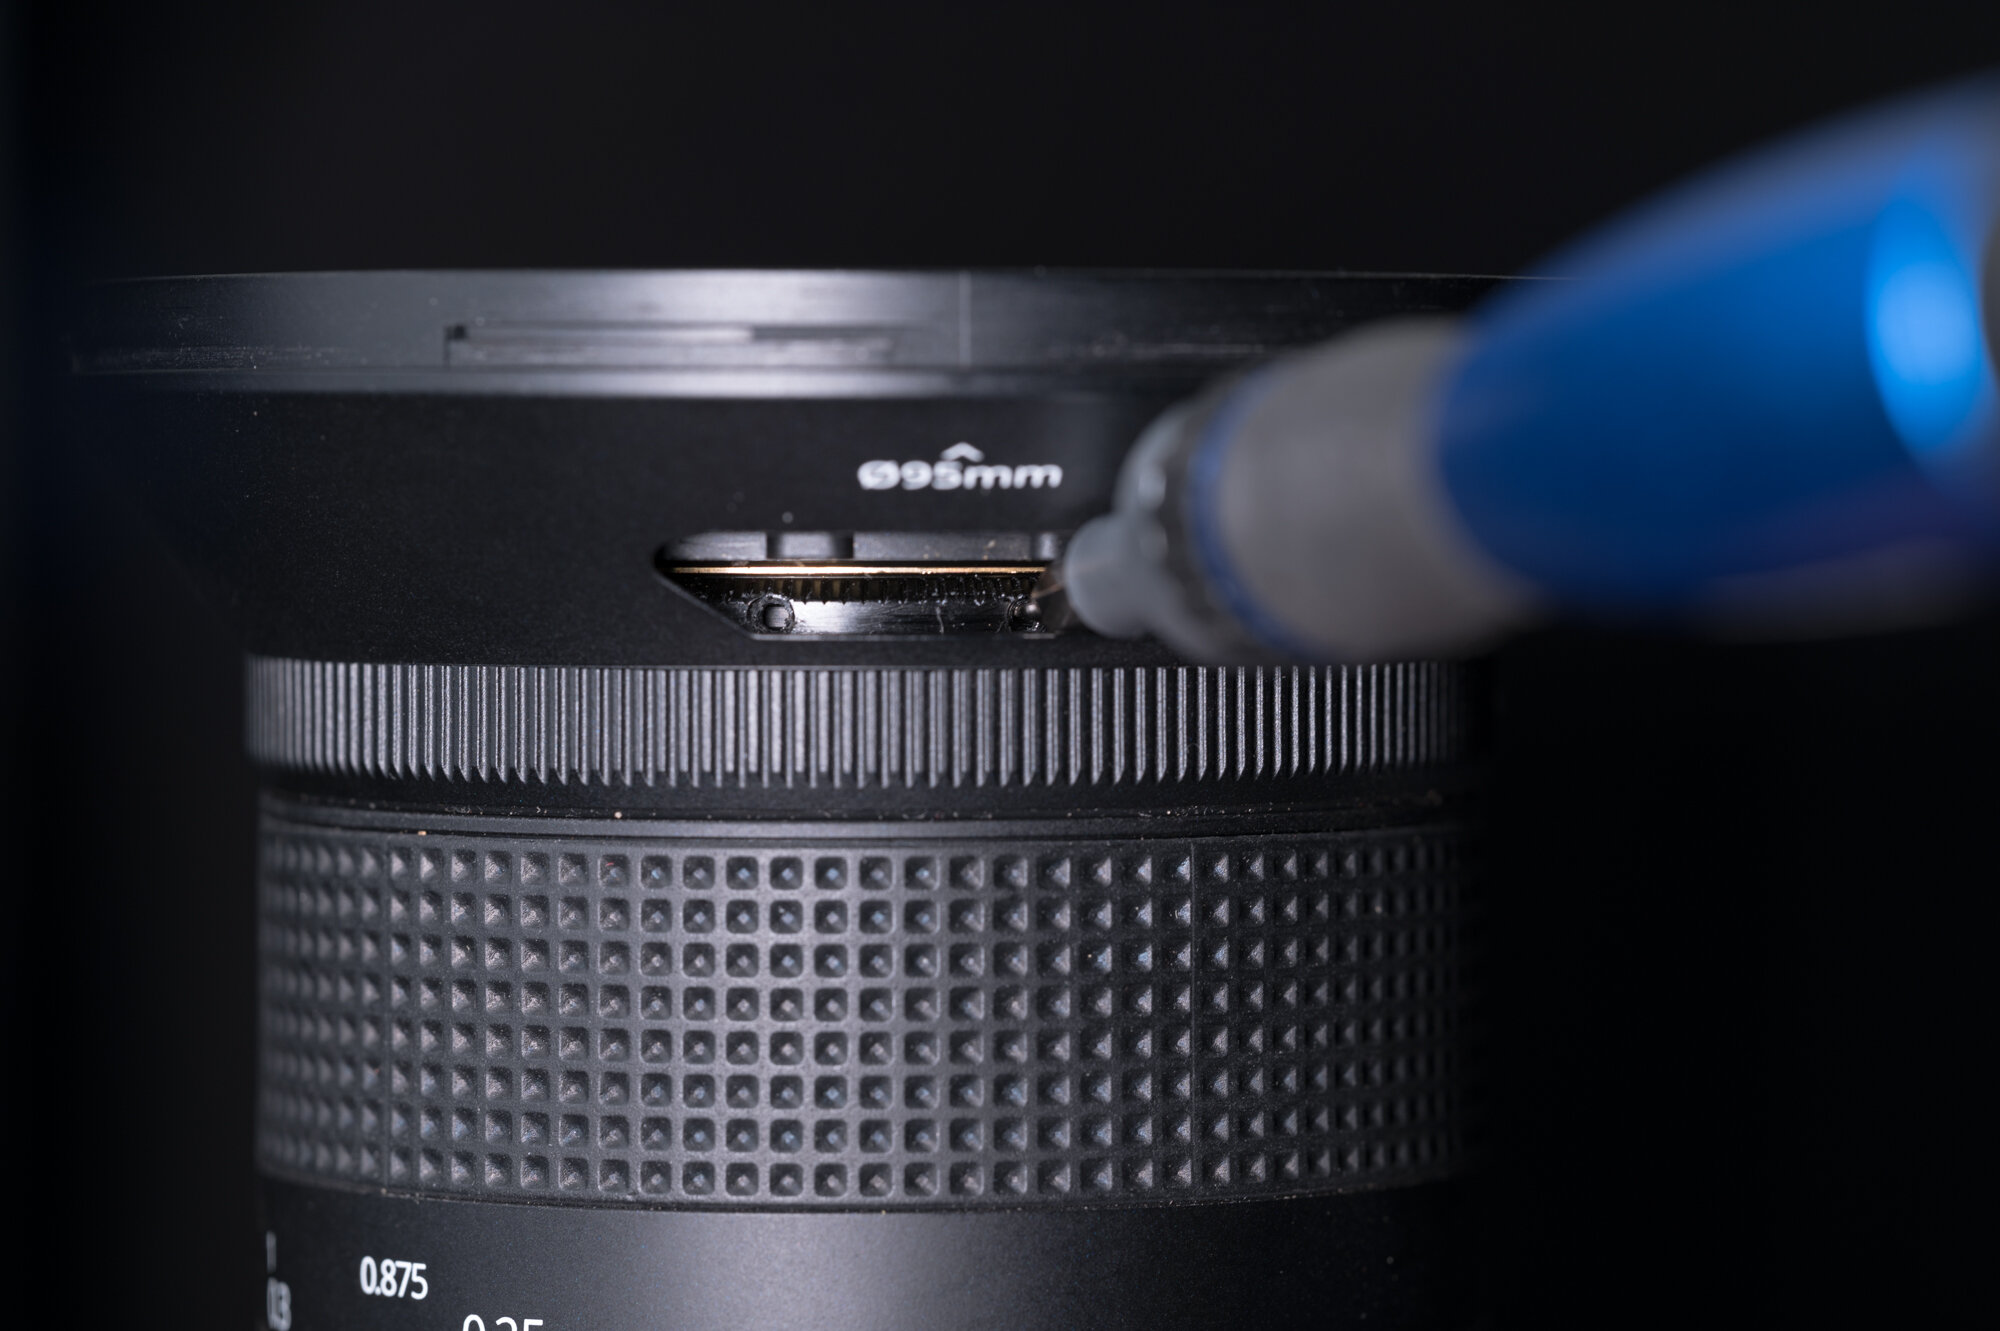
Use a Torx T6 screwdriver to open the calibration window by removing the screw entirely. Set the screw and cover aside in a safe place, such as a small plastic bin.
Carefully slide out the plastic cover labeled “focus calibration” (the head of the Torx screwdriver is convenient for lifting the cover away).
Step 4: Find the interior locking screw.
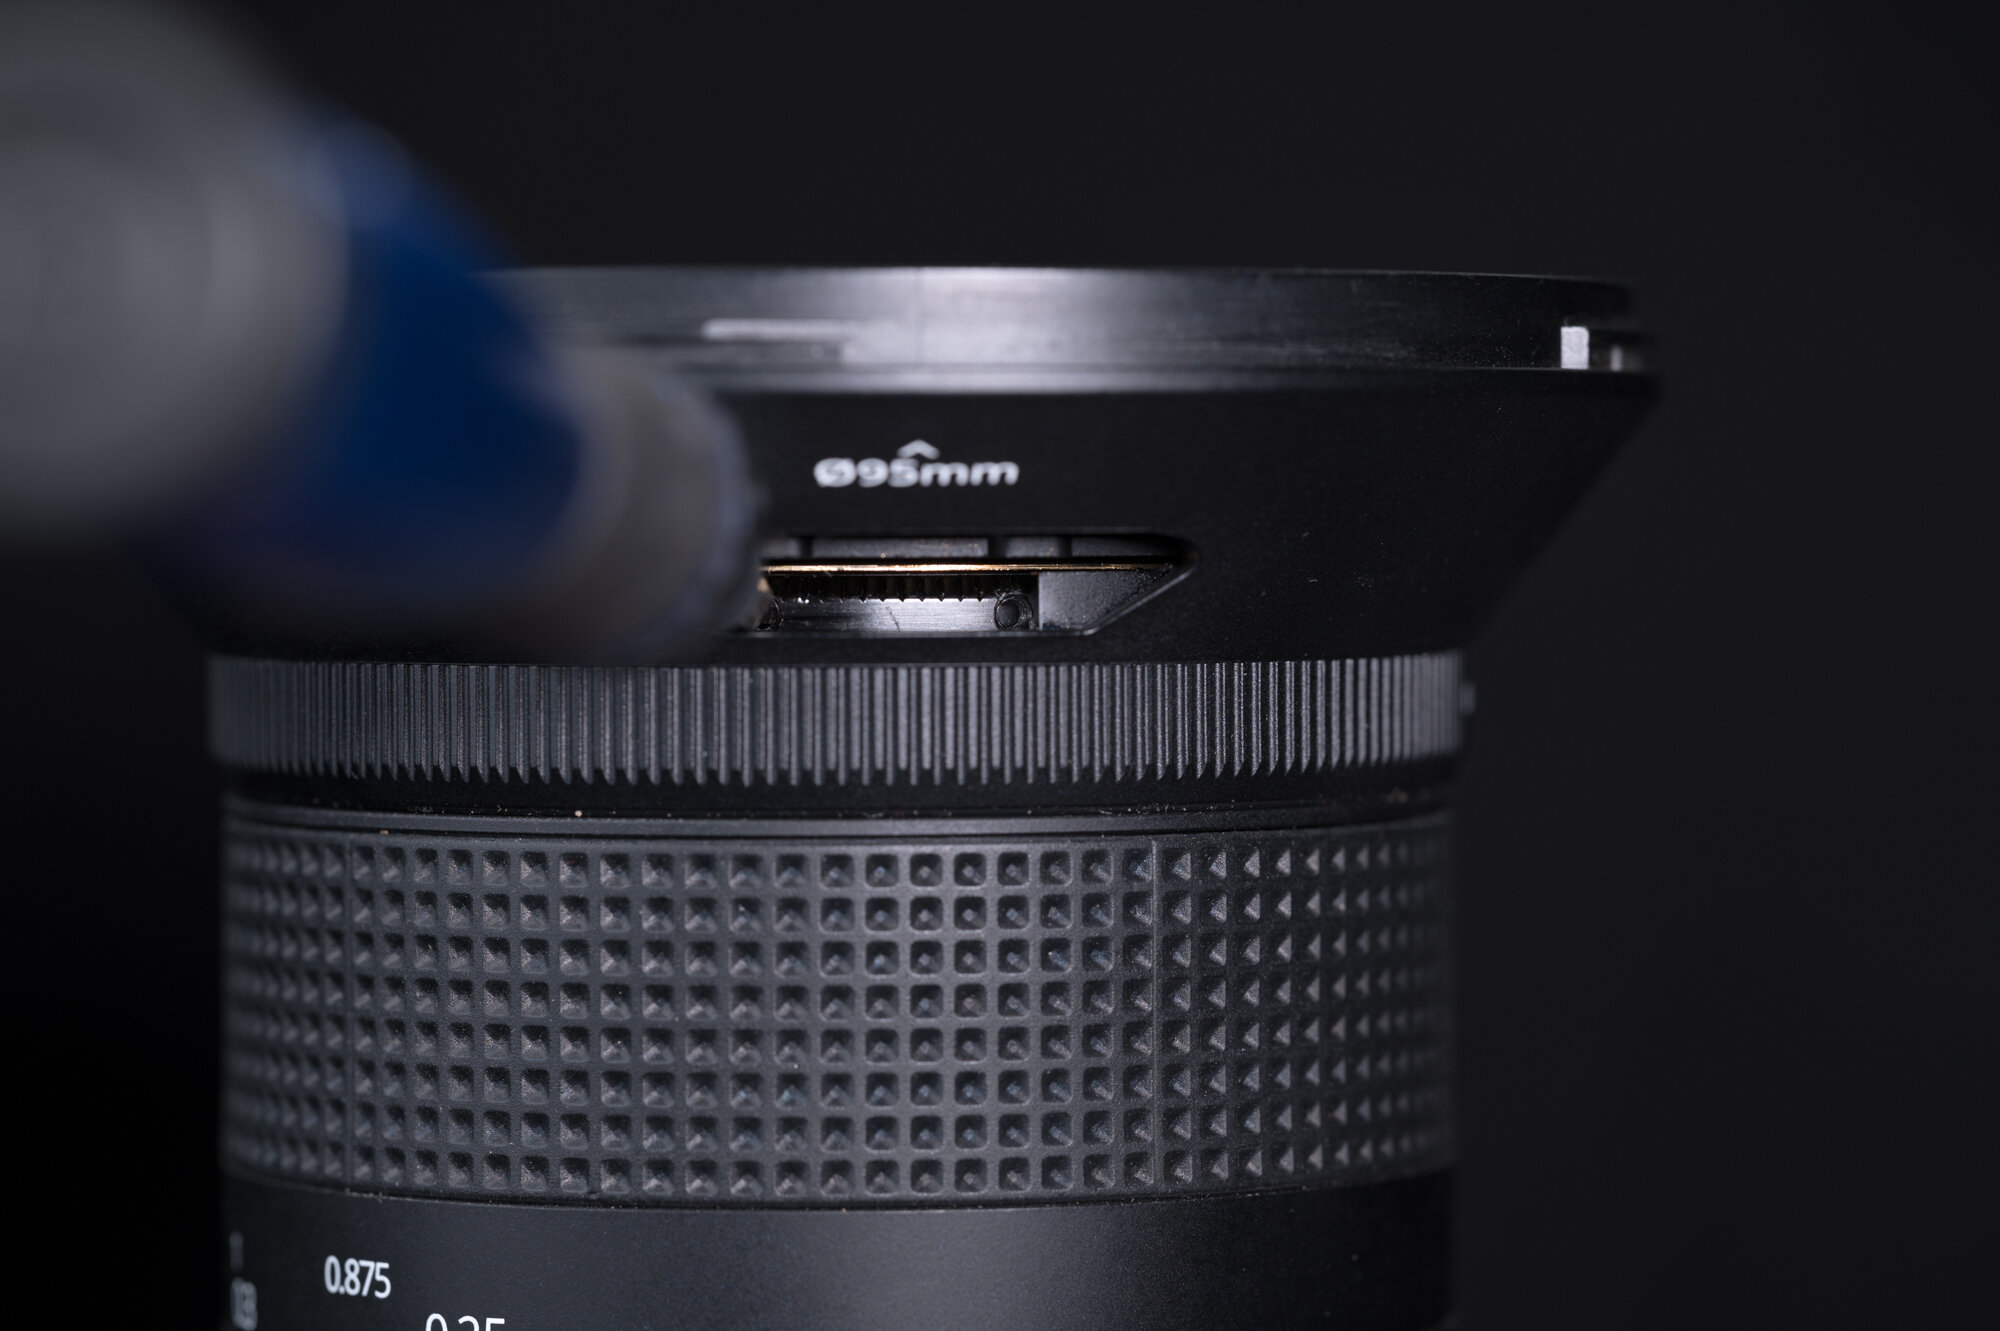
Look inside at the calibration ring, and find a slot screw. If you don’t see one, slightly turn the focus lock ring until you see the screw.
Note: You’re looking for the small slot screw, as opposed to the larger screws that keep the calibration ring in place. You absolutely do not want to unscrew the latter.
Step 5: Unlock the focus
Using a 1.5mm slotted screwdriver, fully remove the small locking screw from the calibration ring and set it aside in a safe place.
Note: This is where it’s vital you have a magnetic head on your screwdriver. You do not want to lose that screw inside the lens barrel.
Step 6: Set the lens.
Mount the lens on a camera and mount the camera vertically on a tripod. Make sure you have easy access to the calibration window.
Go outside in daylight and point the camera at a distant object (at least 36 feet away) with good contrast. Orient this object in the center of the frame and set your focus point to the exact center.
Set the aperture to the widest setting—i.e., f/2.4 for the 15mm or f/4 for the 11mm.
Step 7: Zoom in.
Activate your camera’s live view and zoom in to maximum magnification.
Step 8: Adjust the focus.
Insert the slotted screwdriver into one of the holes in the calibration ring, and then rotate the ring slowly back and forth. (As you adjust, you may need to choose a new hole.)
Keep rotating until the objects at infinity (36 feet away or further) become as sharp as possible on your rear LCD screen or when viewed in your EVF. It’s a very slow process. Take your time. If you have one, use a focusable loupe (such as the Hoodman HoodLoupe) to help you see the changing sharpness even better.
Step 9: Lock it Down.
Once focus is achieved, go back to your work area inside. Remove the lens from your camera.
Look for an open spot to thread the small locking screw back into the calibration ring. Depending on how much you adjusted the focus, that may not be the same hole you removed the screw from earlier.
Using the slotted screwdriver, carefully insert the screw and turn until firmly finger-tight. Do not over-tighten.
Step 10: Close things up.
Slide the plastic “focus calibration” cover back in, then secure it using the Torx screw and the T6 screwdriver.
Unlock the focus lock ring.
That’s it—you’re done! You now have a perfectly calibrated Irix lens for photographing amazing star images. I recommend heading out that night and shooting a few test images of the stars just to be sure.
For those who like to watch, here is Irix’s video version of this tutorial:


