A friend recently asked me if the old adage of Expose To The Right (ETTR) holds true for Night Photography. It’s a good question.
The answer? Different types of night photography require different exposure strategies.
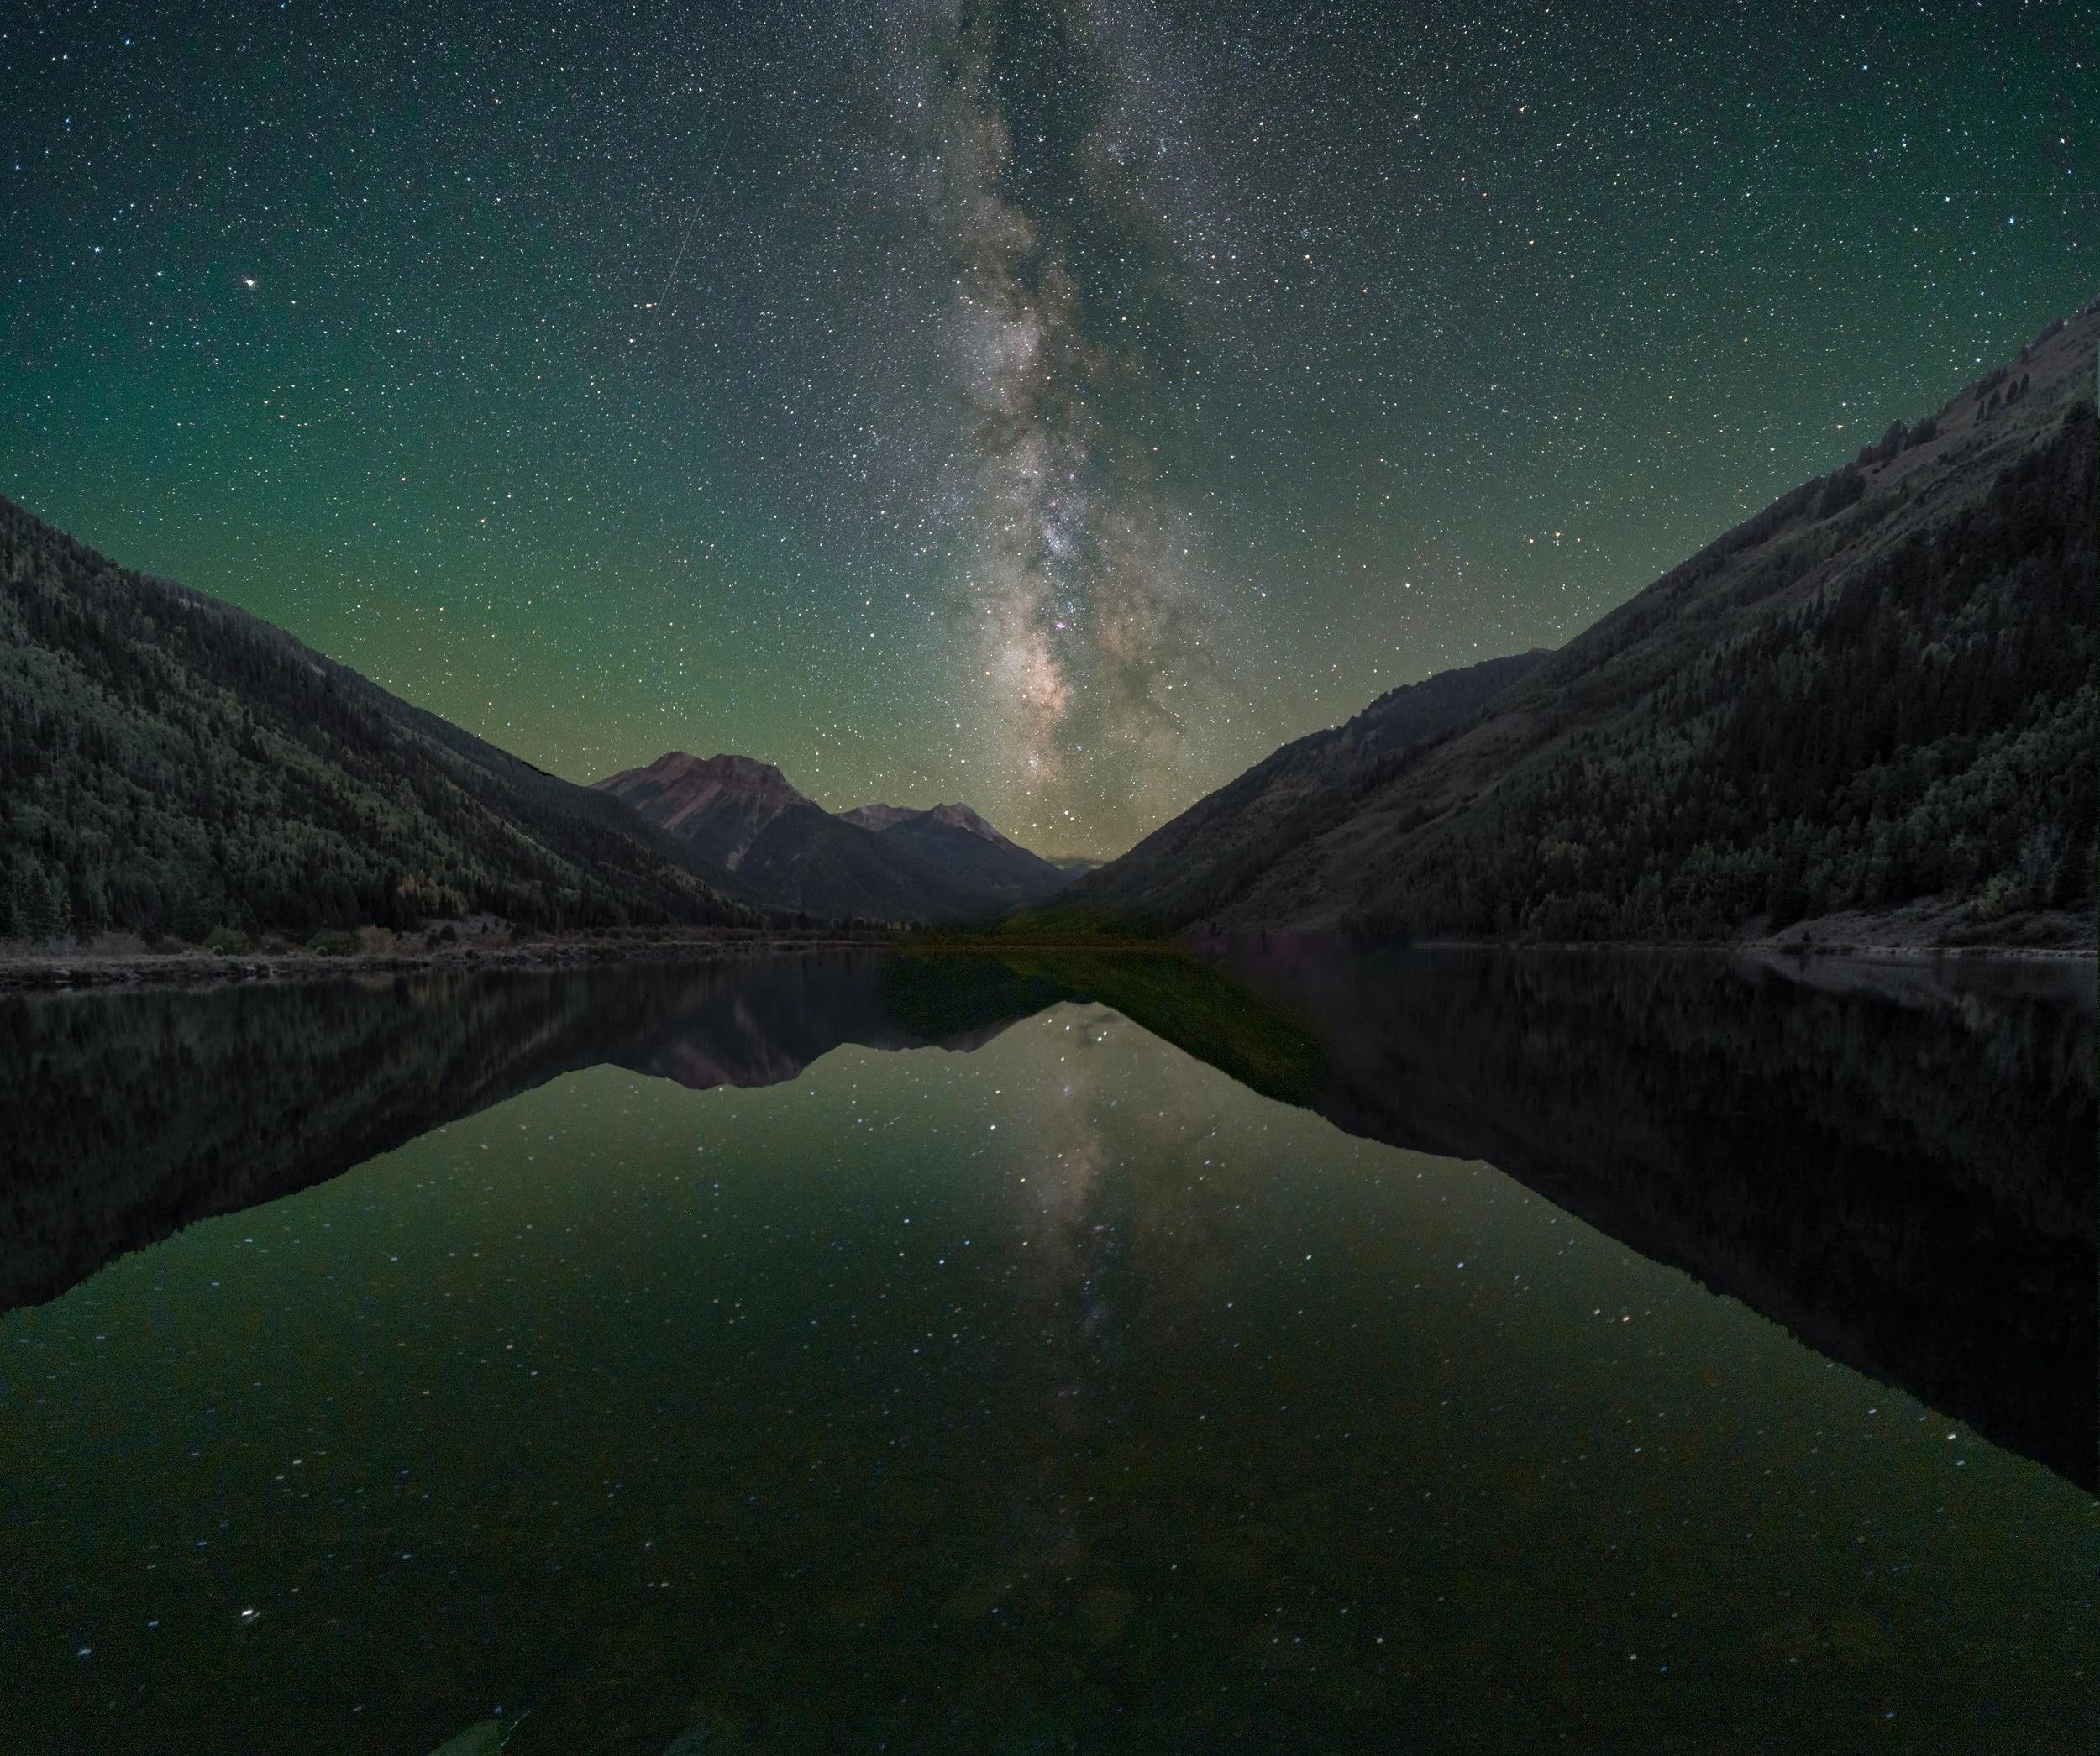
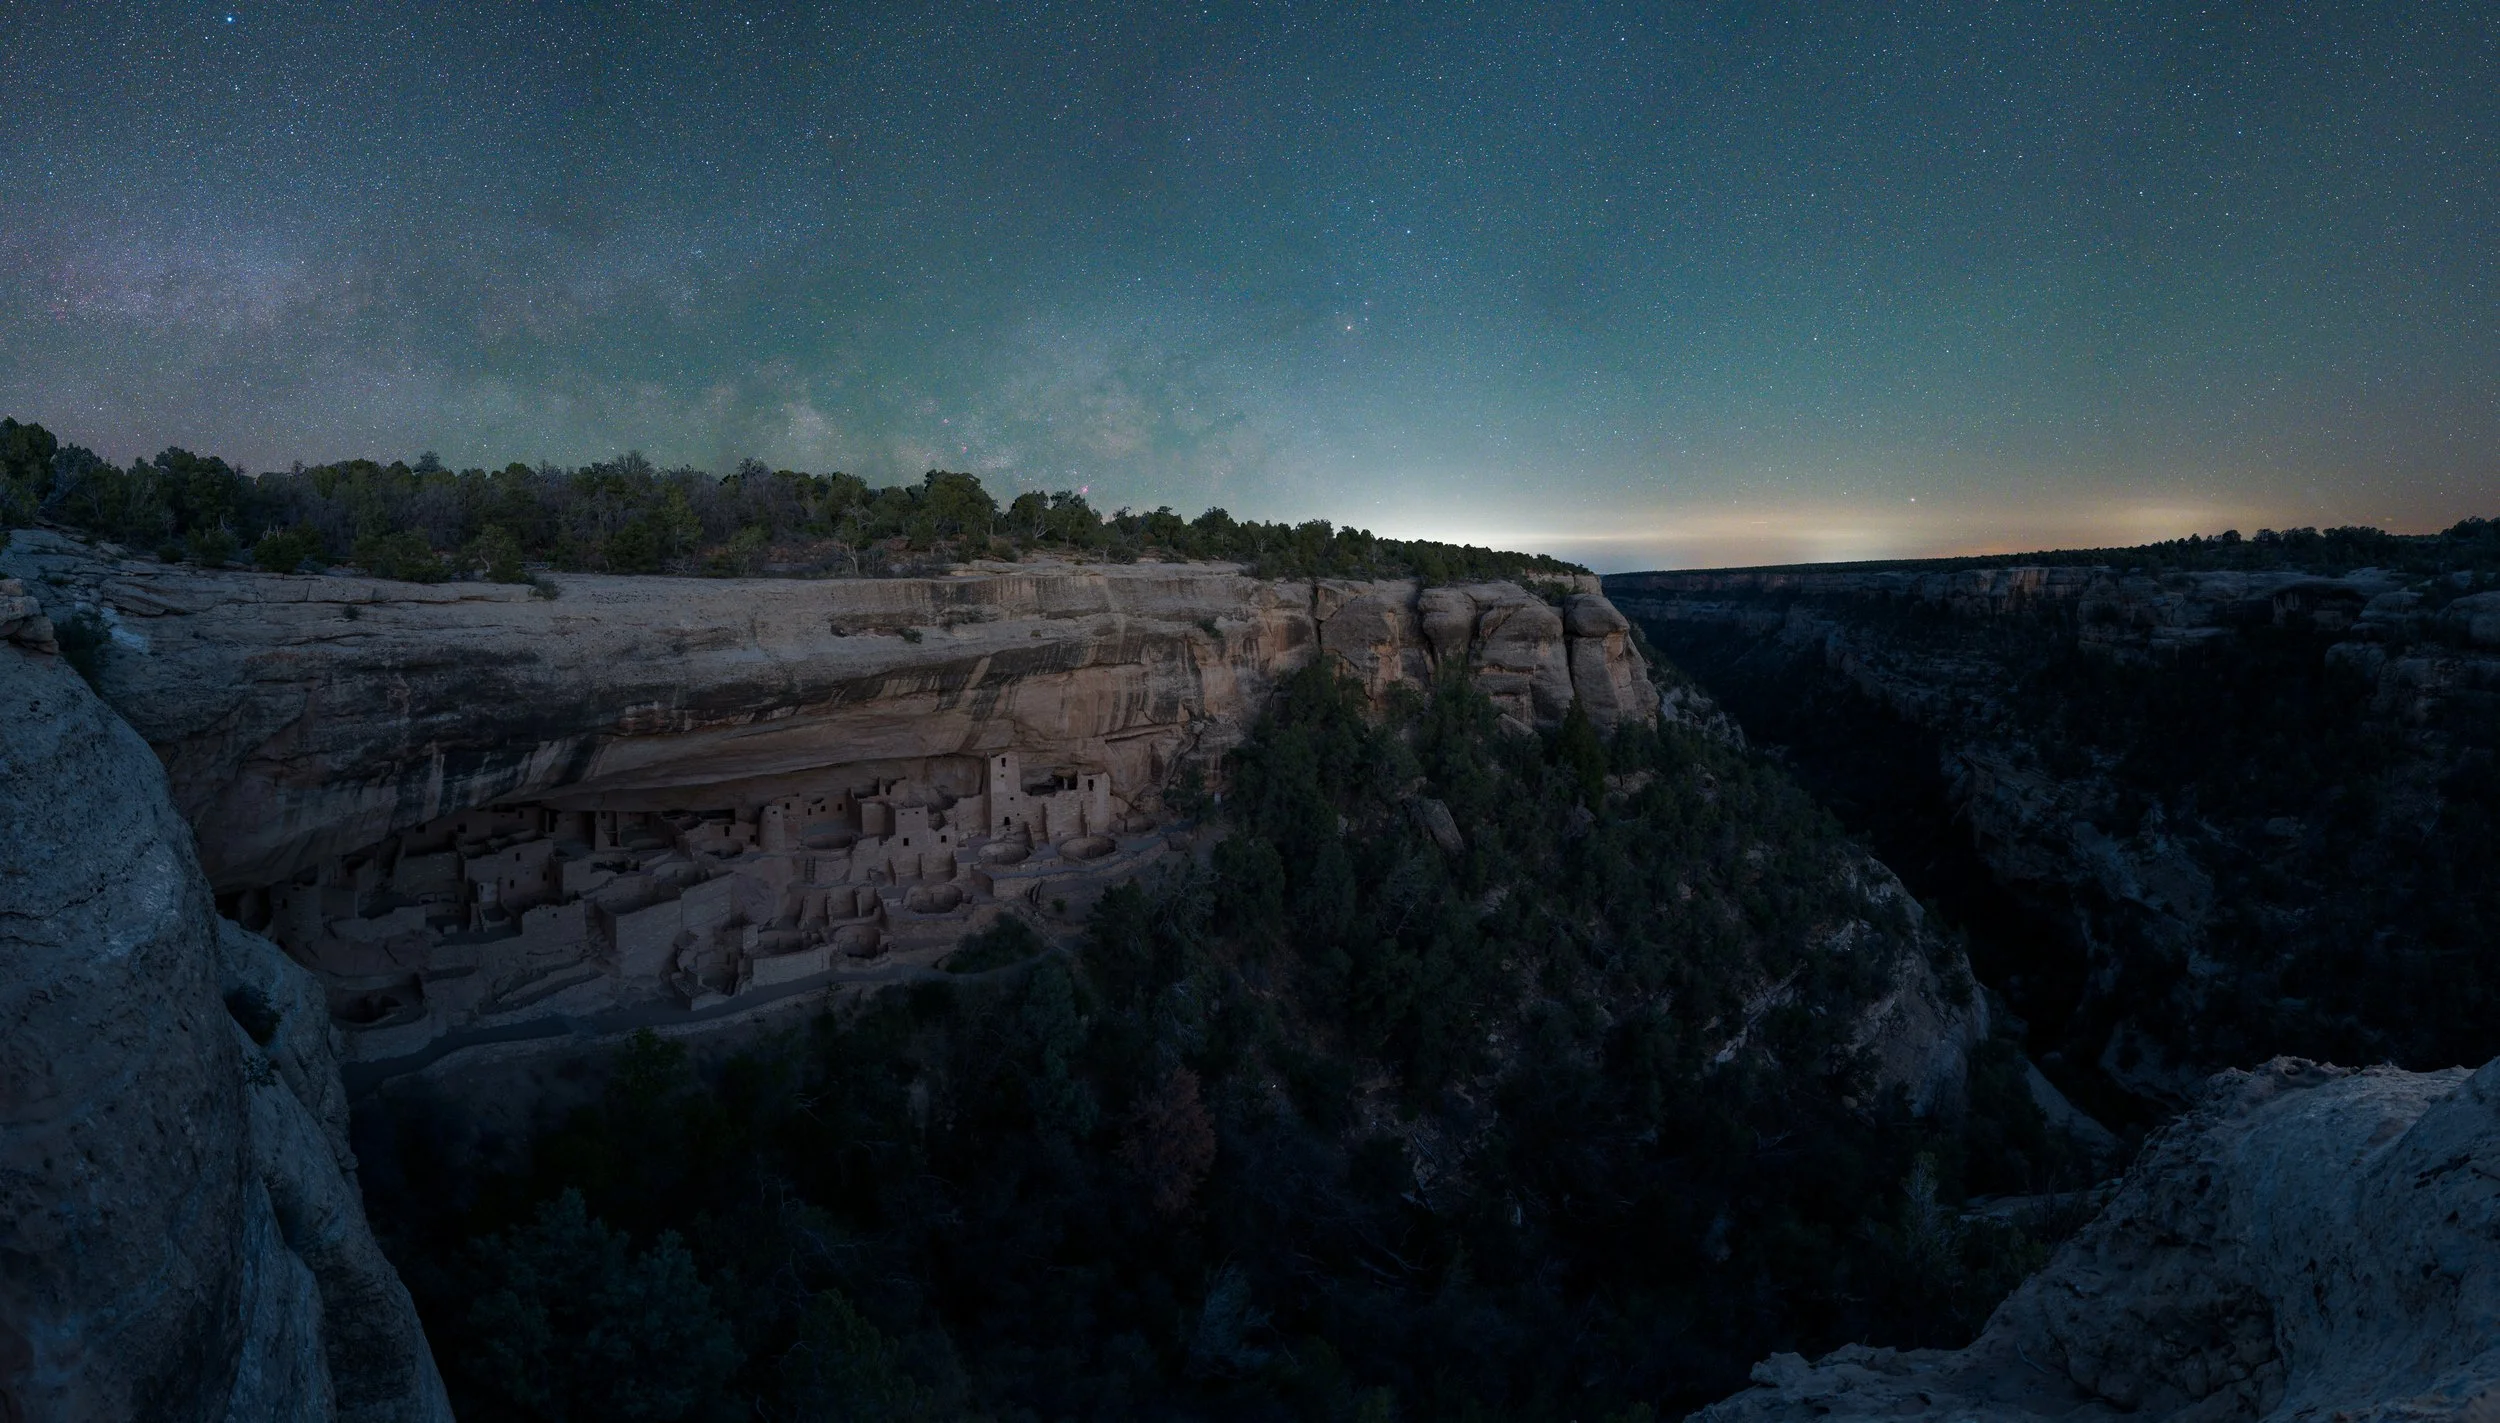
Astro-landscape
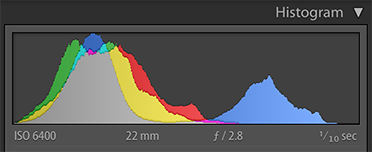
For astro-landscape photography, try to get the histogram off of the left side of the frame—you want just a gap between the left edge and shadow portion of the histogram. You have to push the camera to the threshold of its capabilities, so that’s about the best you can hope for.

A pretty decent astro-landscape photography histogram
At high ISO, maximum aperture, and with the shutter speed limited by apparent stellar movement, a right-biased histogram is not a reality. Fortunately, an increasing number of cameras can stand up to the high ISOs like 6400-12800 that this type of work requires.
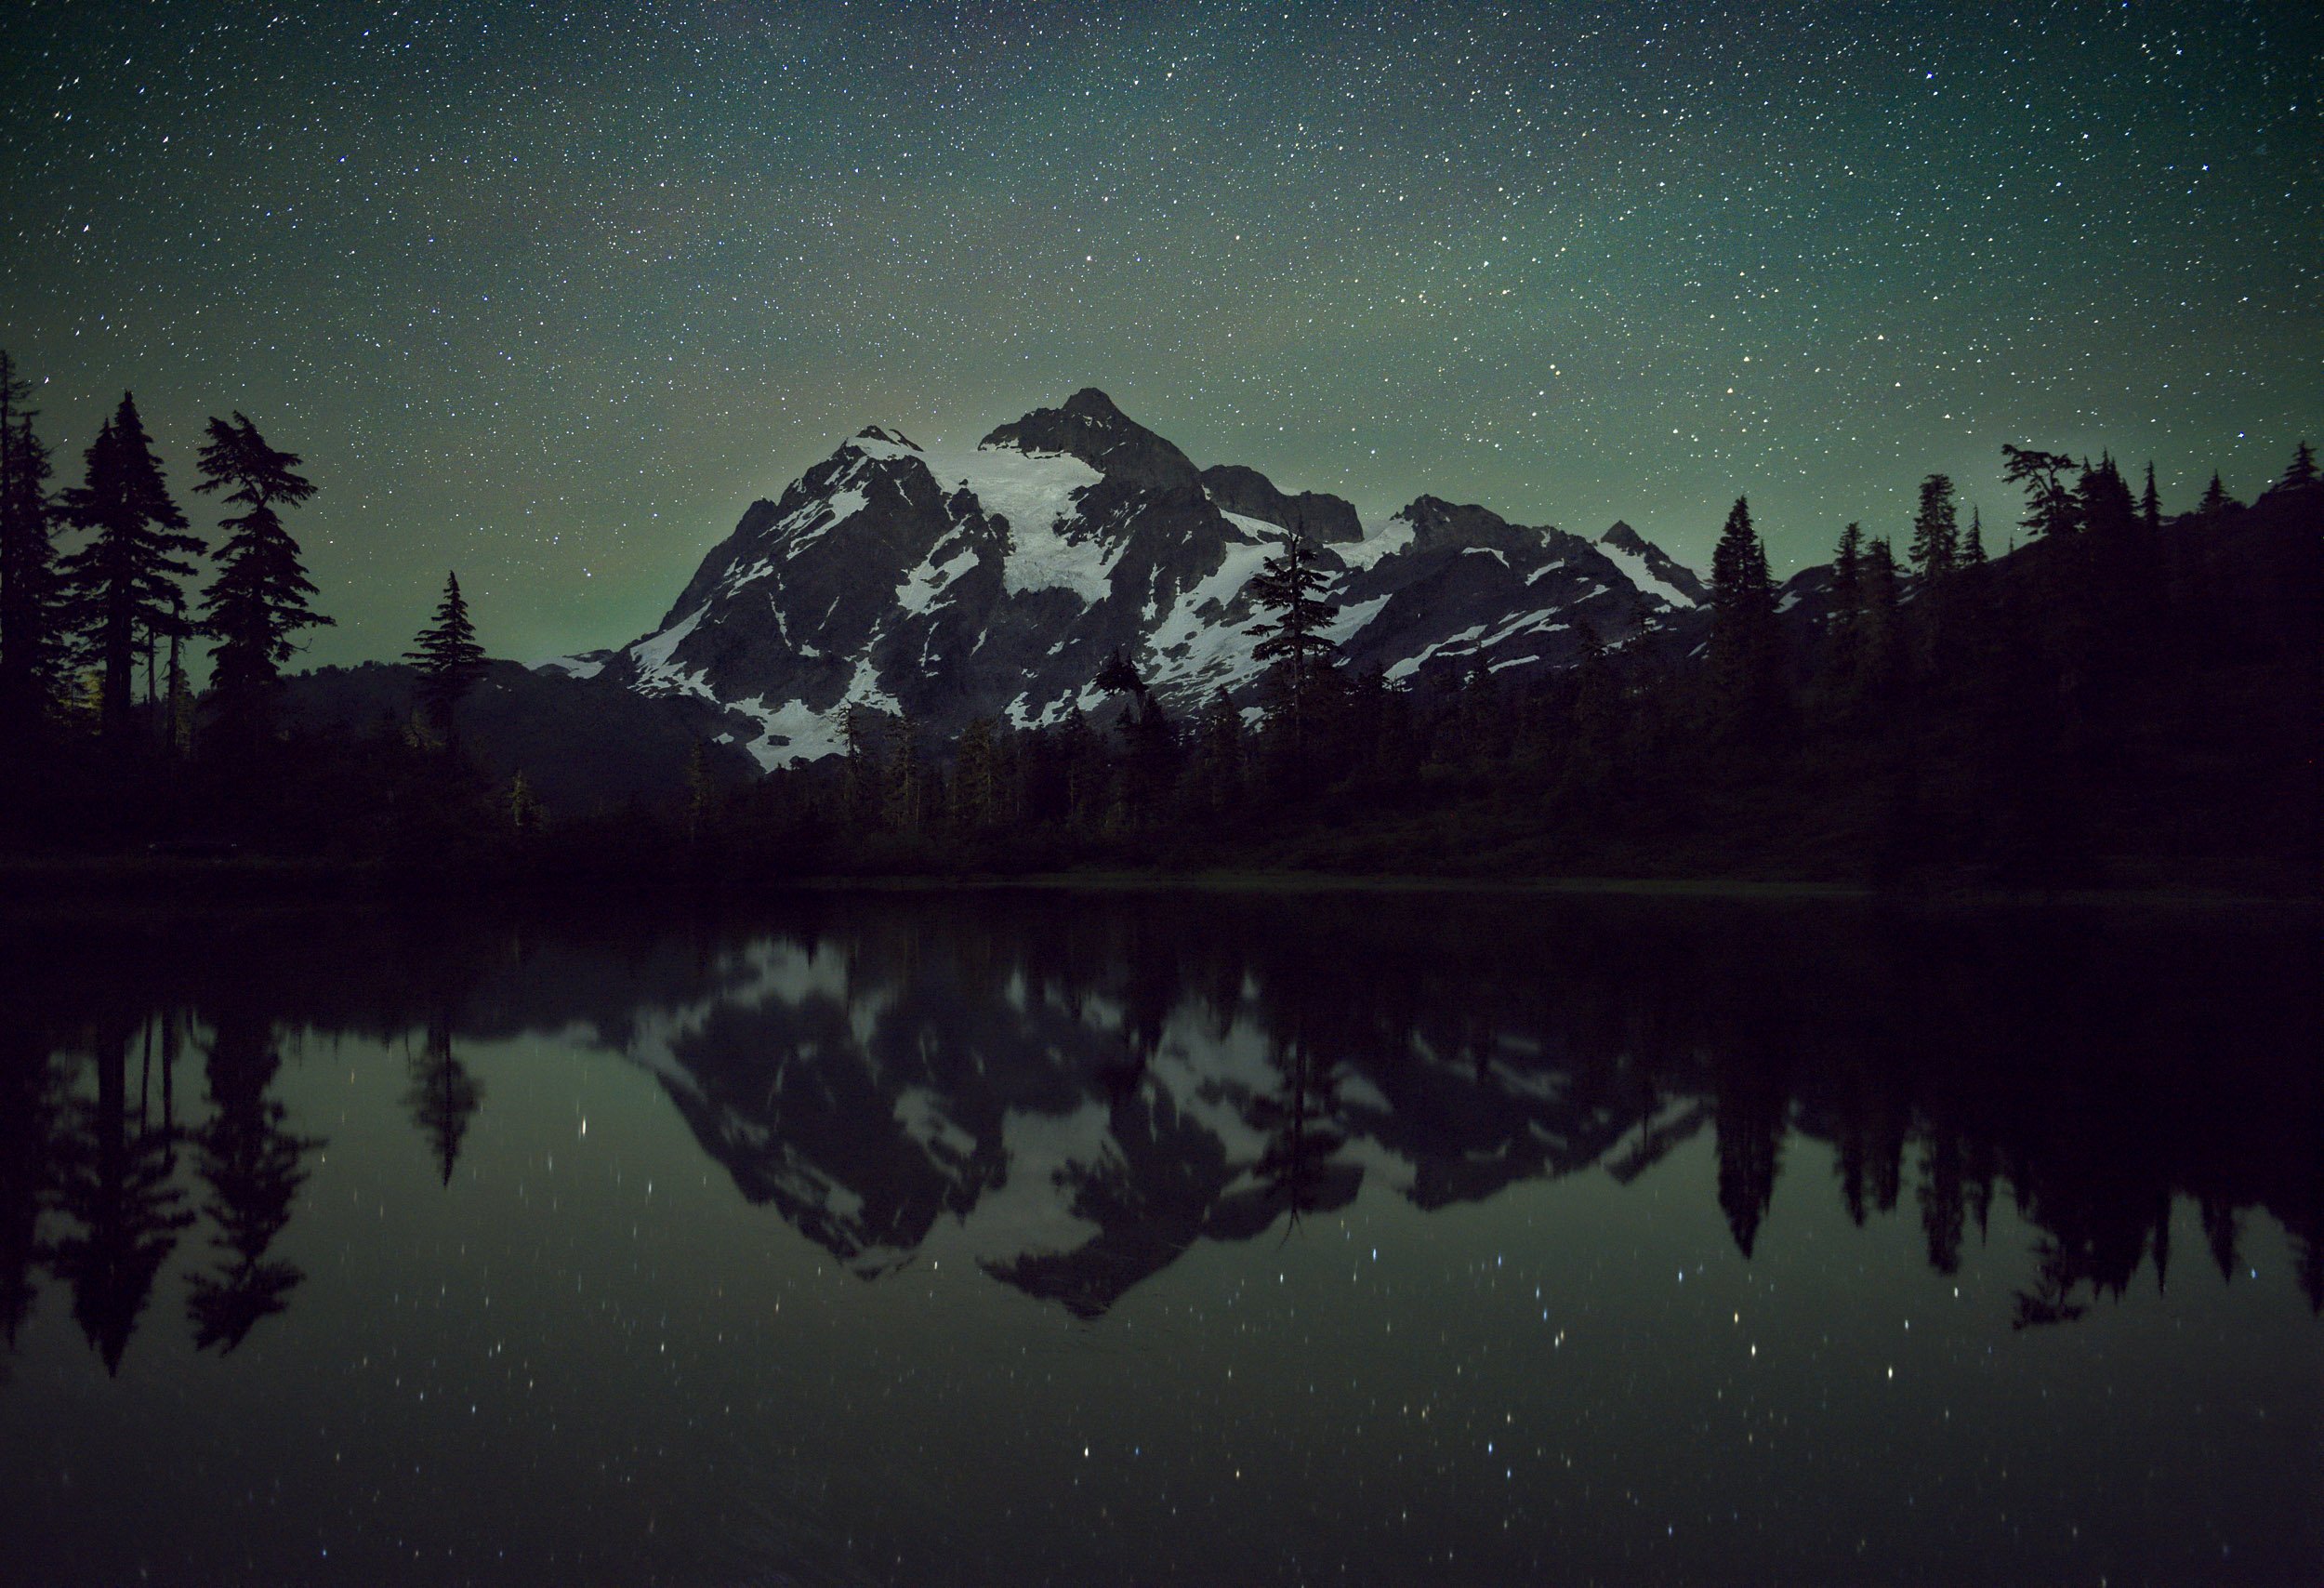
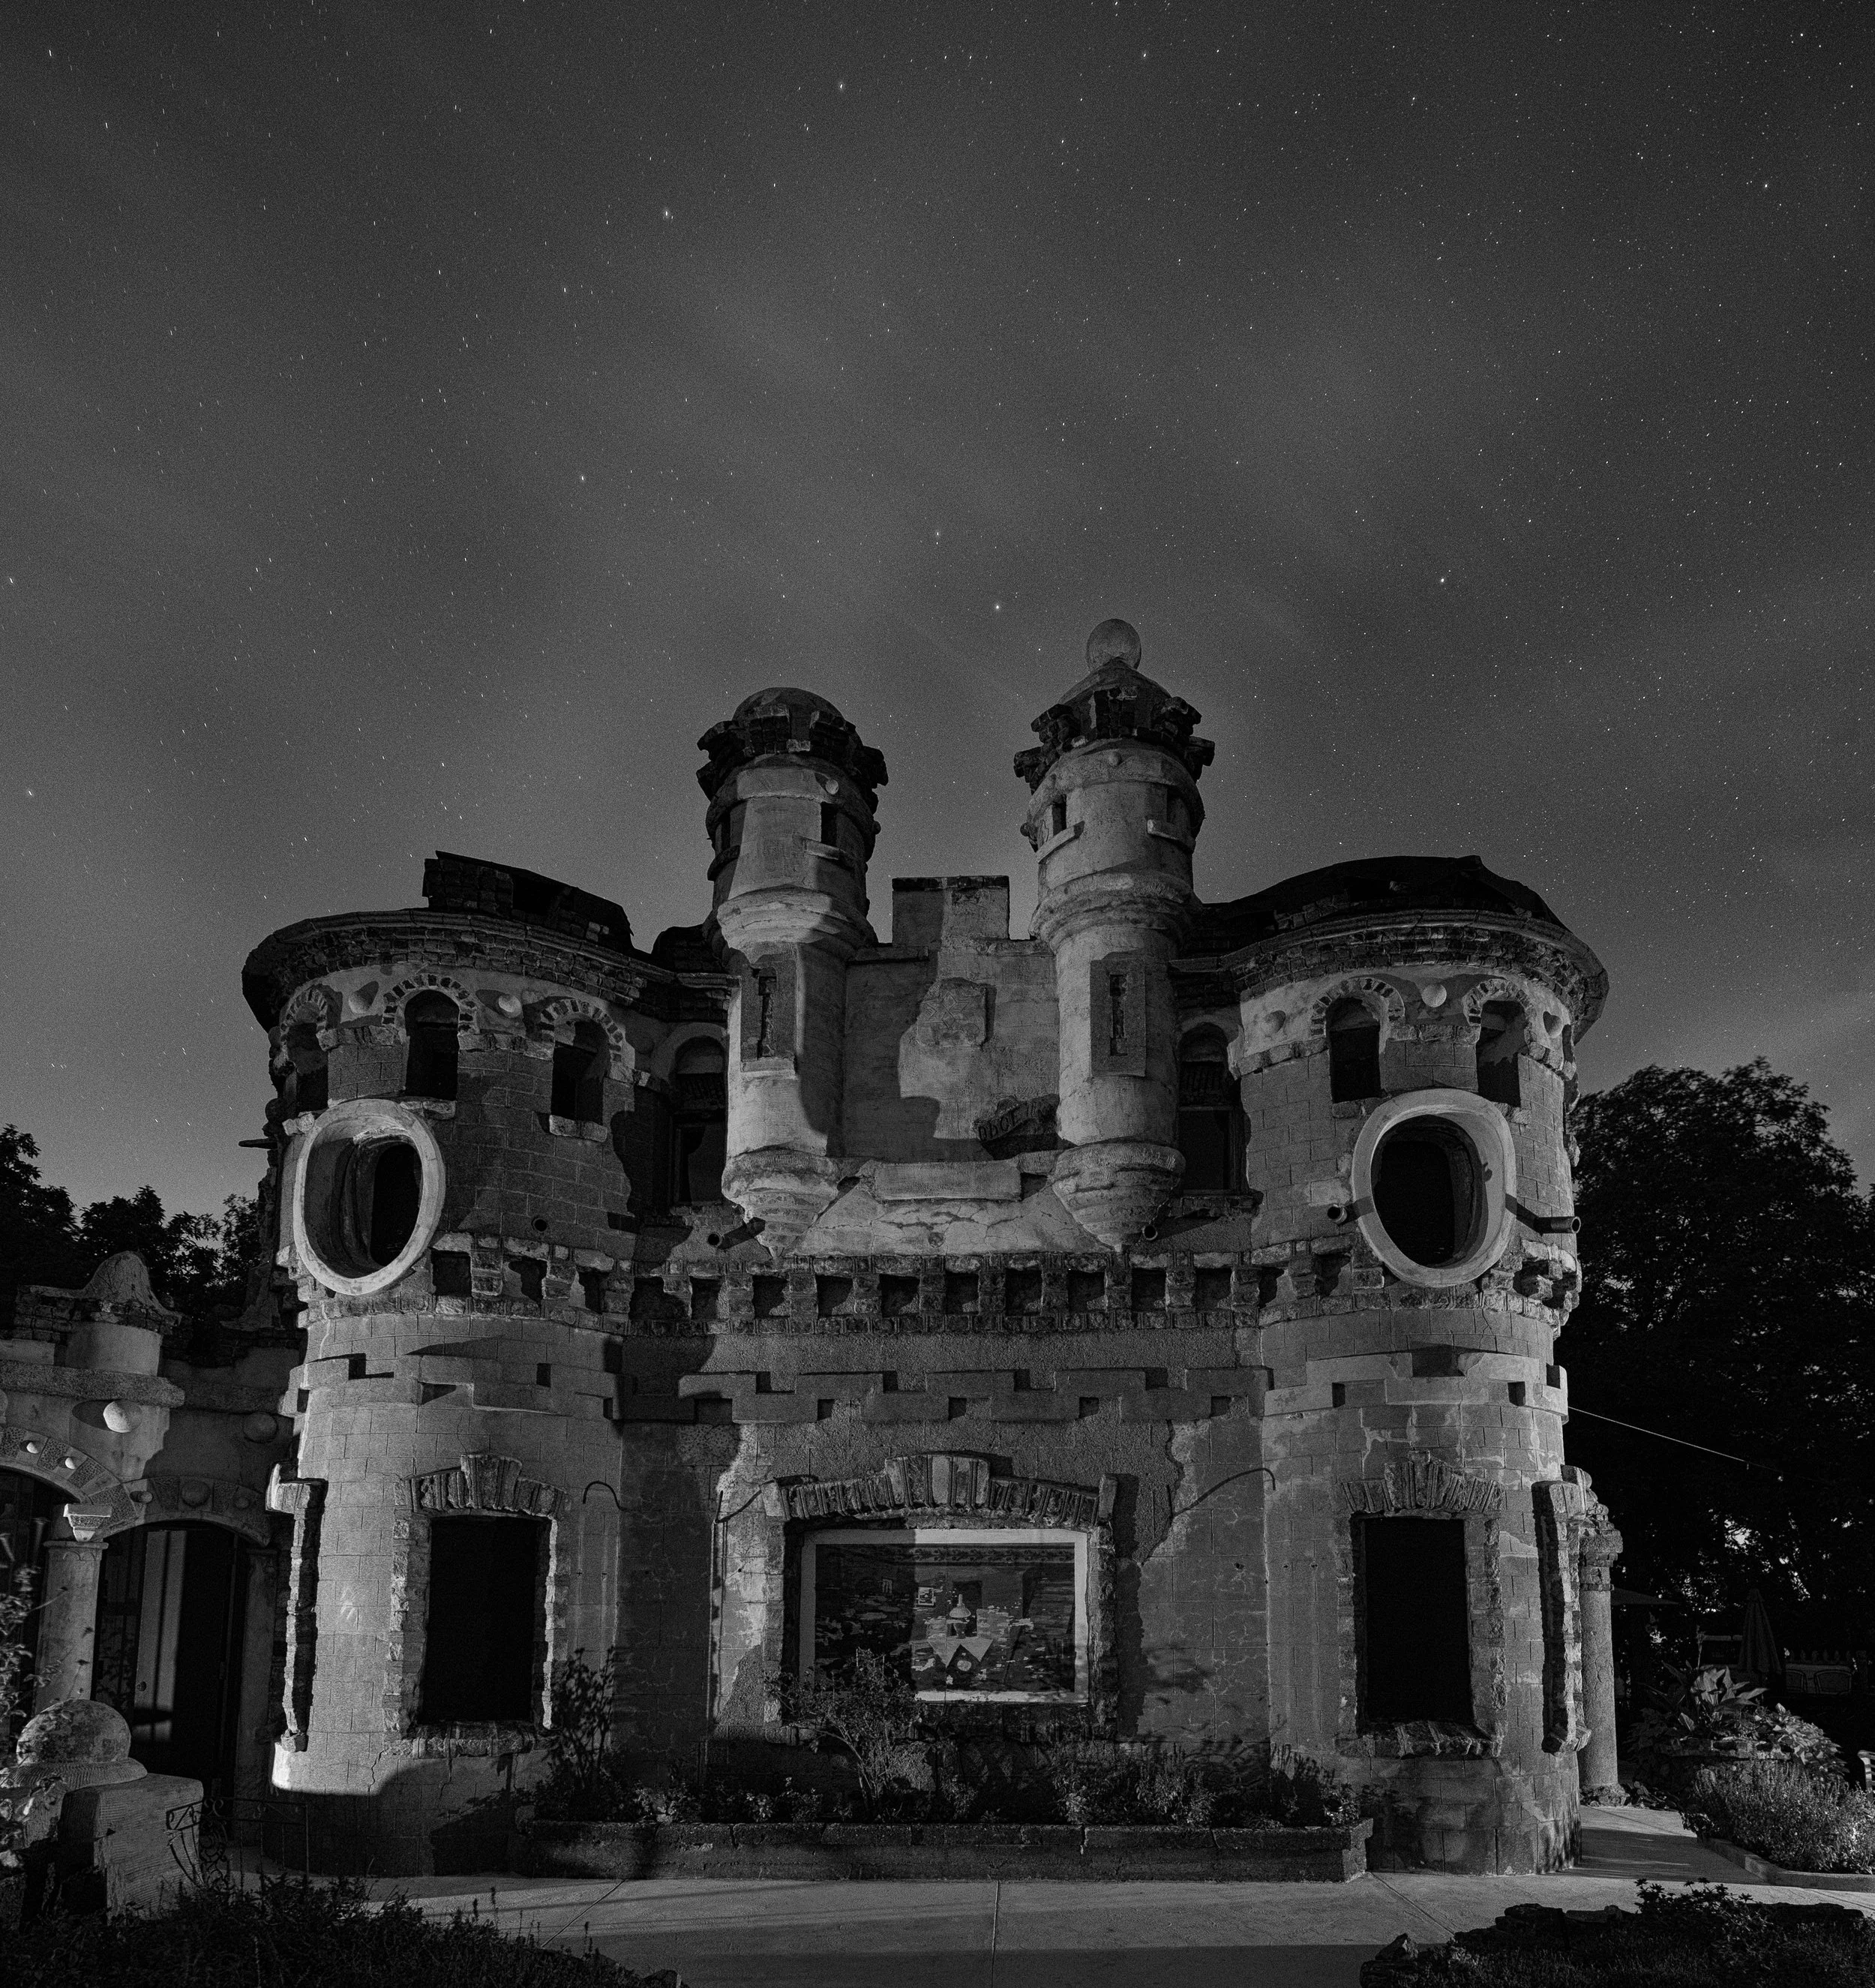
Full moon
For full-moon exposures shot at near-native ISOs, it’s still a good idea to push the histogram a bit further to the right. Just be careful not to make it so bright that you cannot bring it back down in post-production. The idea here is to increase image quality by making sure the shadows are as clean as possible without blowing out any highlights.

A good full moon exposure histogram
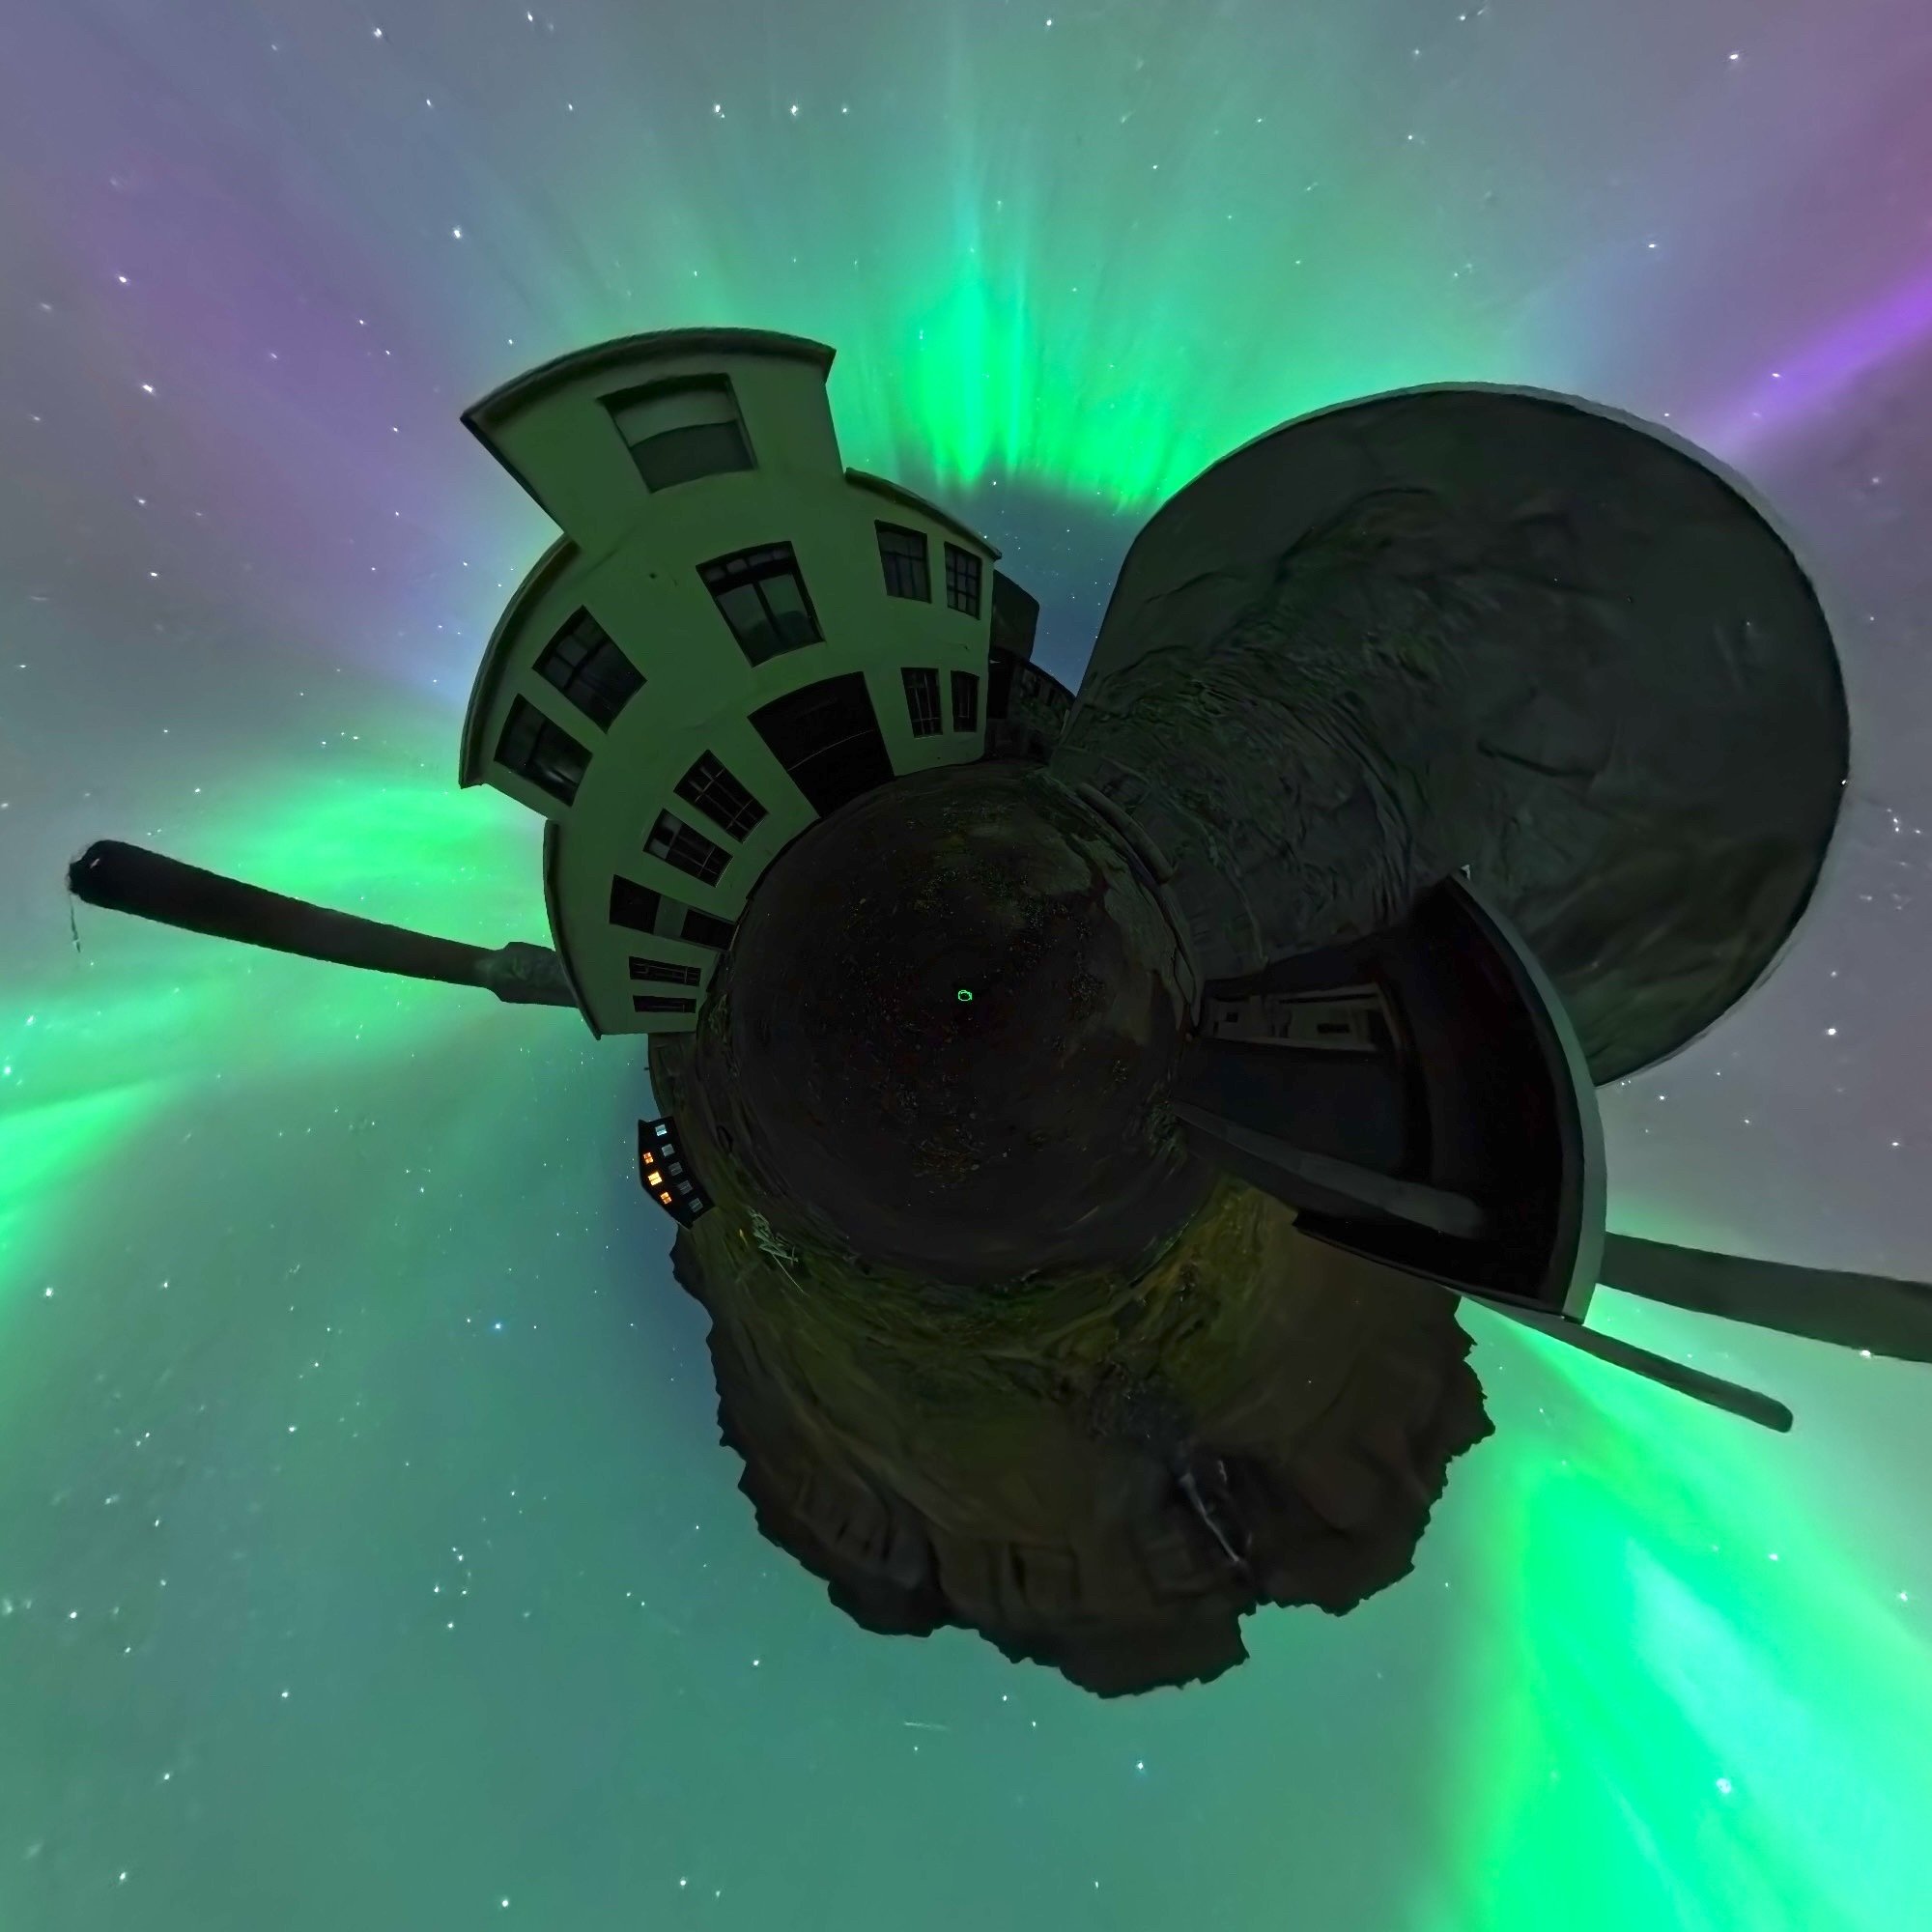
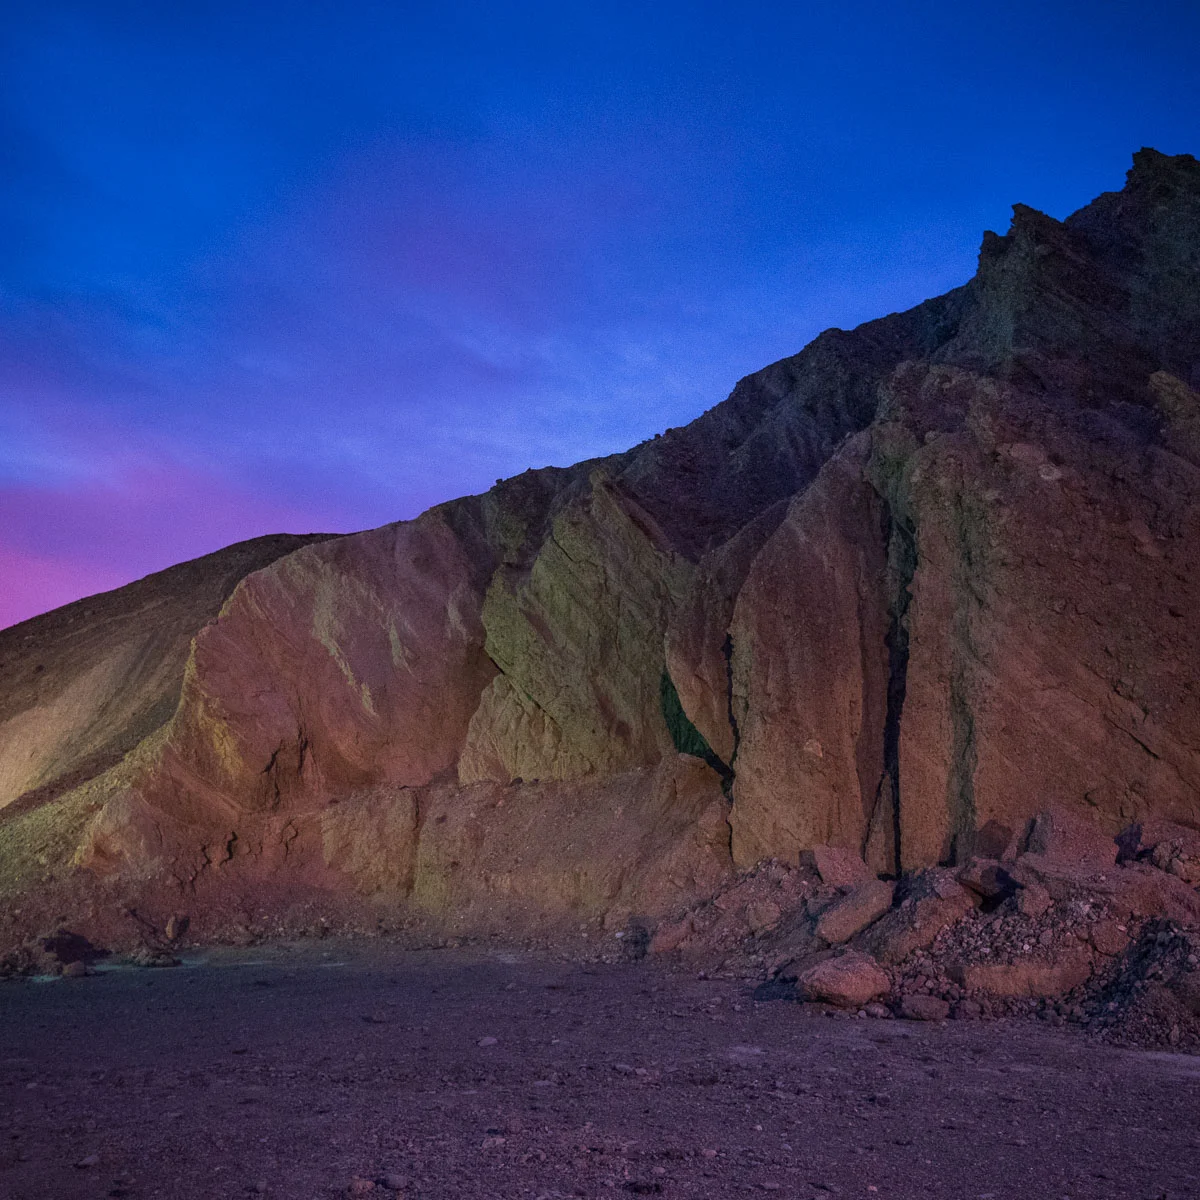
The key to this type of night photography is finding the right balance between ambient and added light. I generally reduce the ambient exposure by 1 to 3 stops relative to my light painting.
Remember that the height of the histogram is irrelevant. It’s how the tonalities extend across the horizontal axis that counts. So if your shadows are well off of the left edge and are rather tall, and your highlights extend almost to the right edge of the histogram, but barely get off of the floor, you are doing it right.
In this image from Death Valley National Park, the night accounts for much of the left half of the histogram (below), and the light-painted rock face and foreground account for much of the right half.
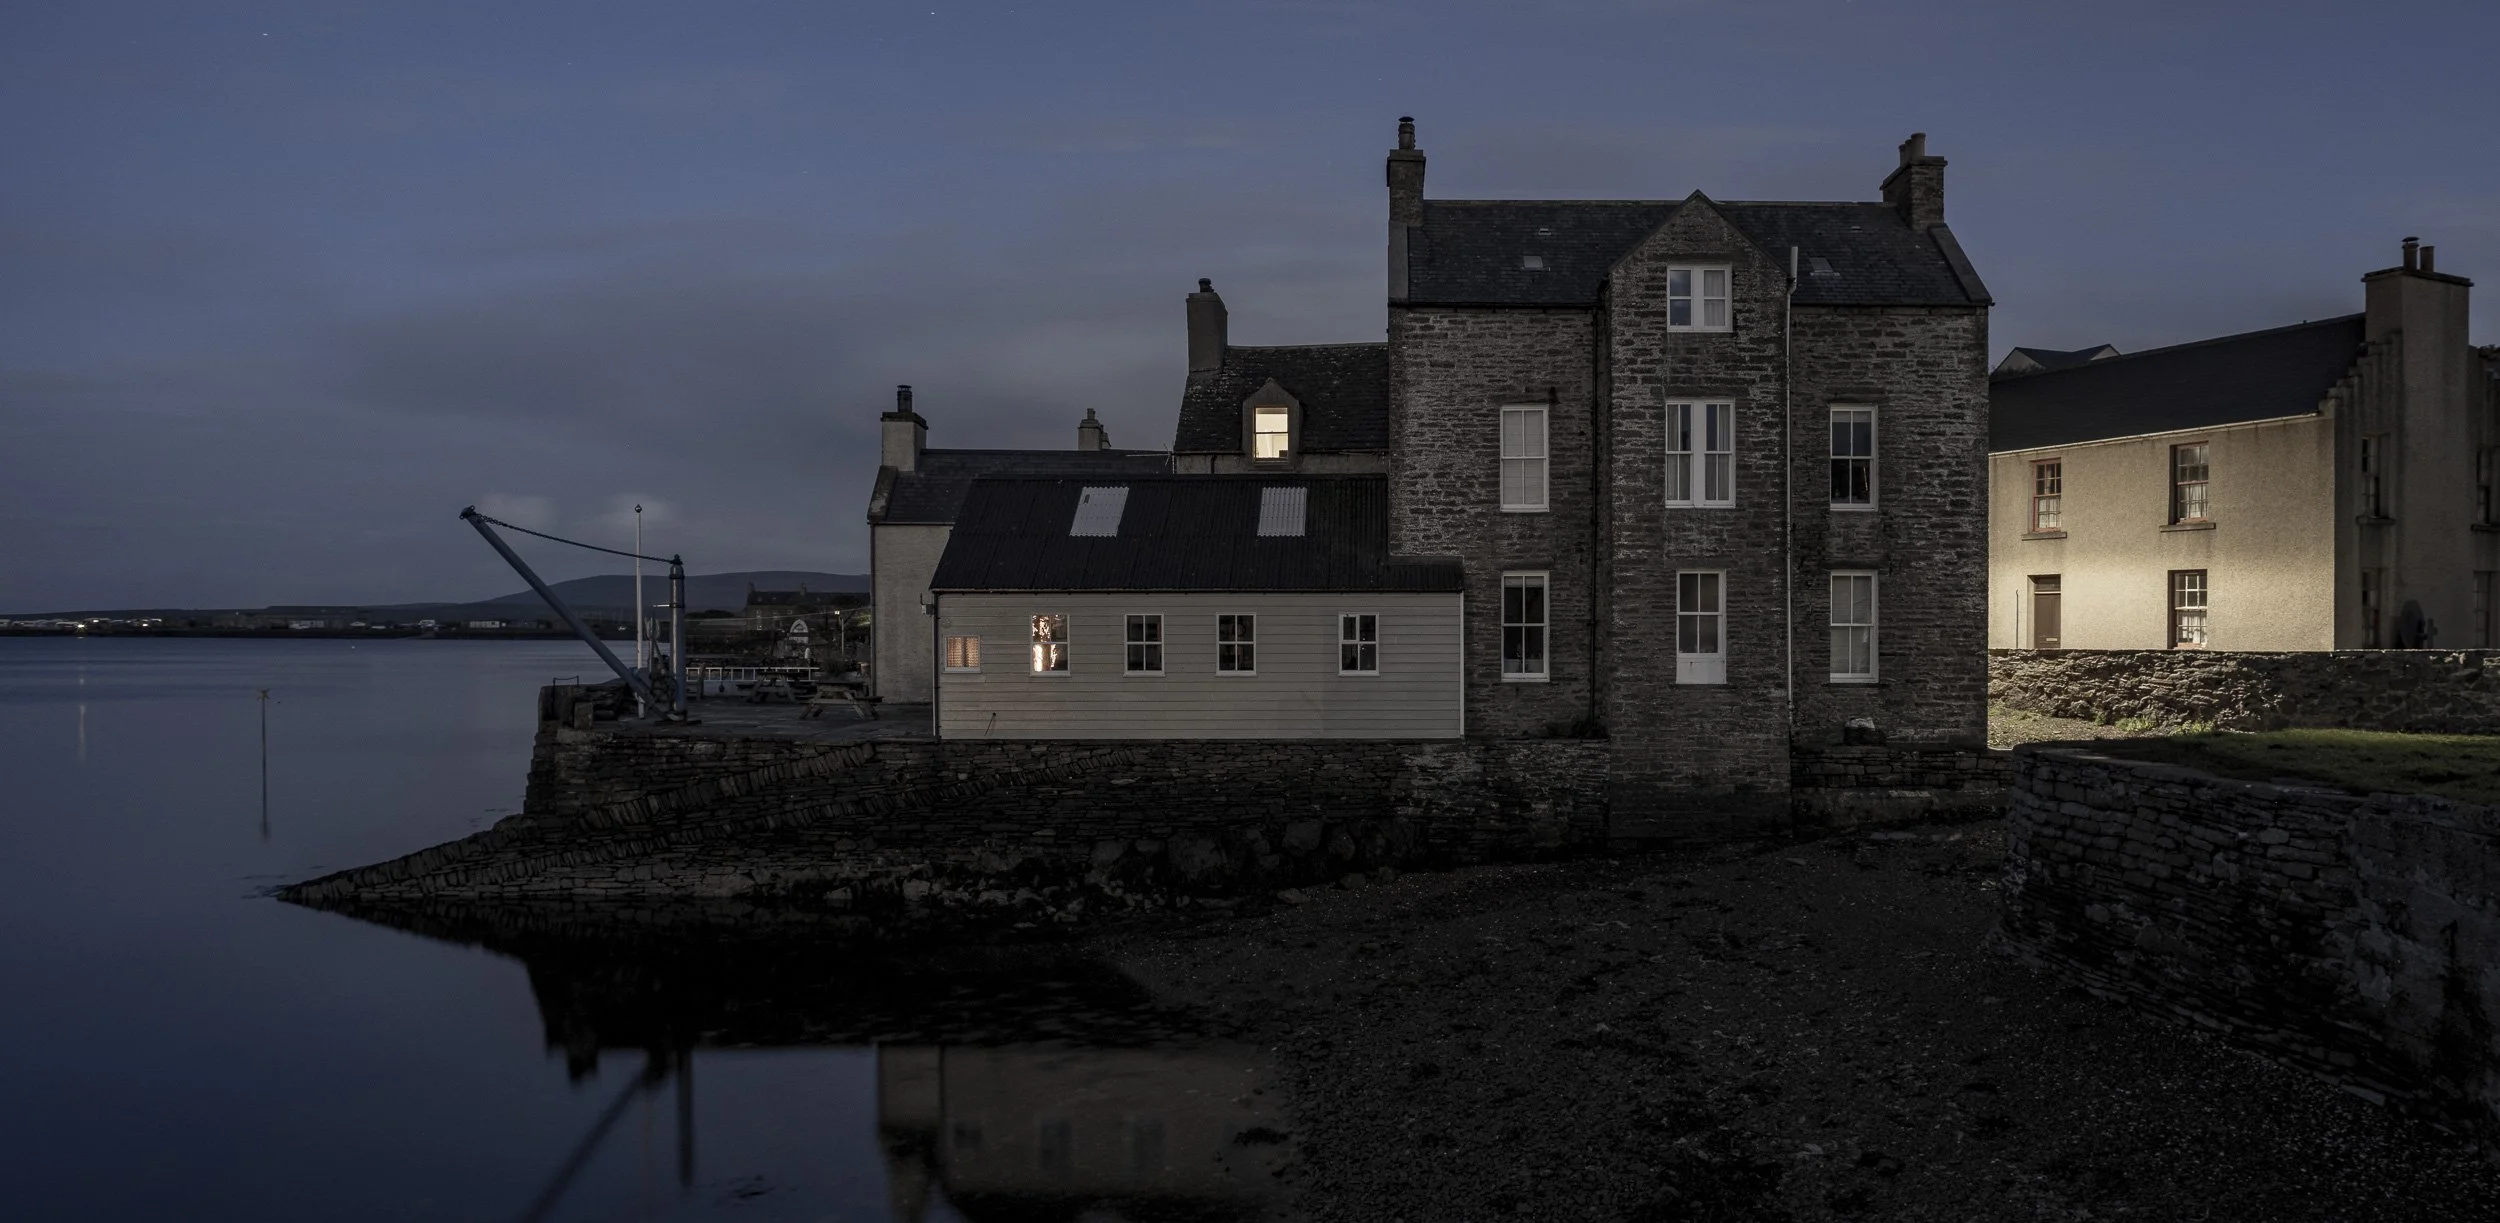
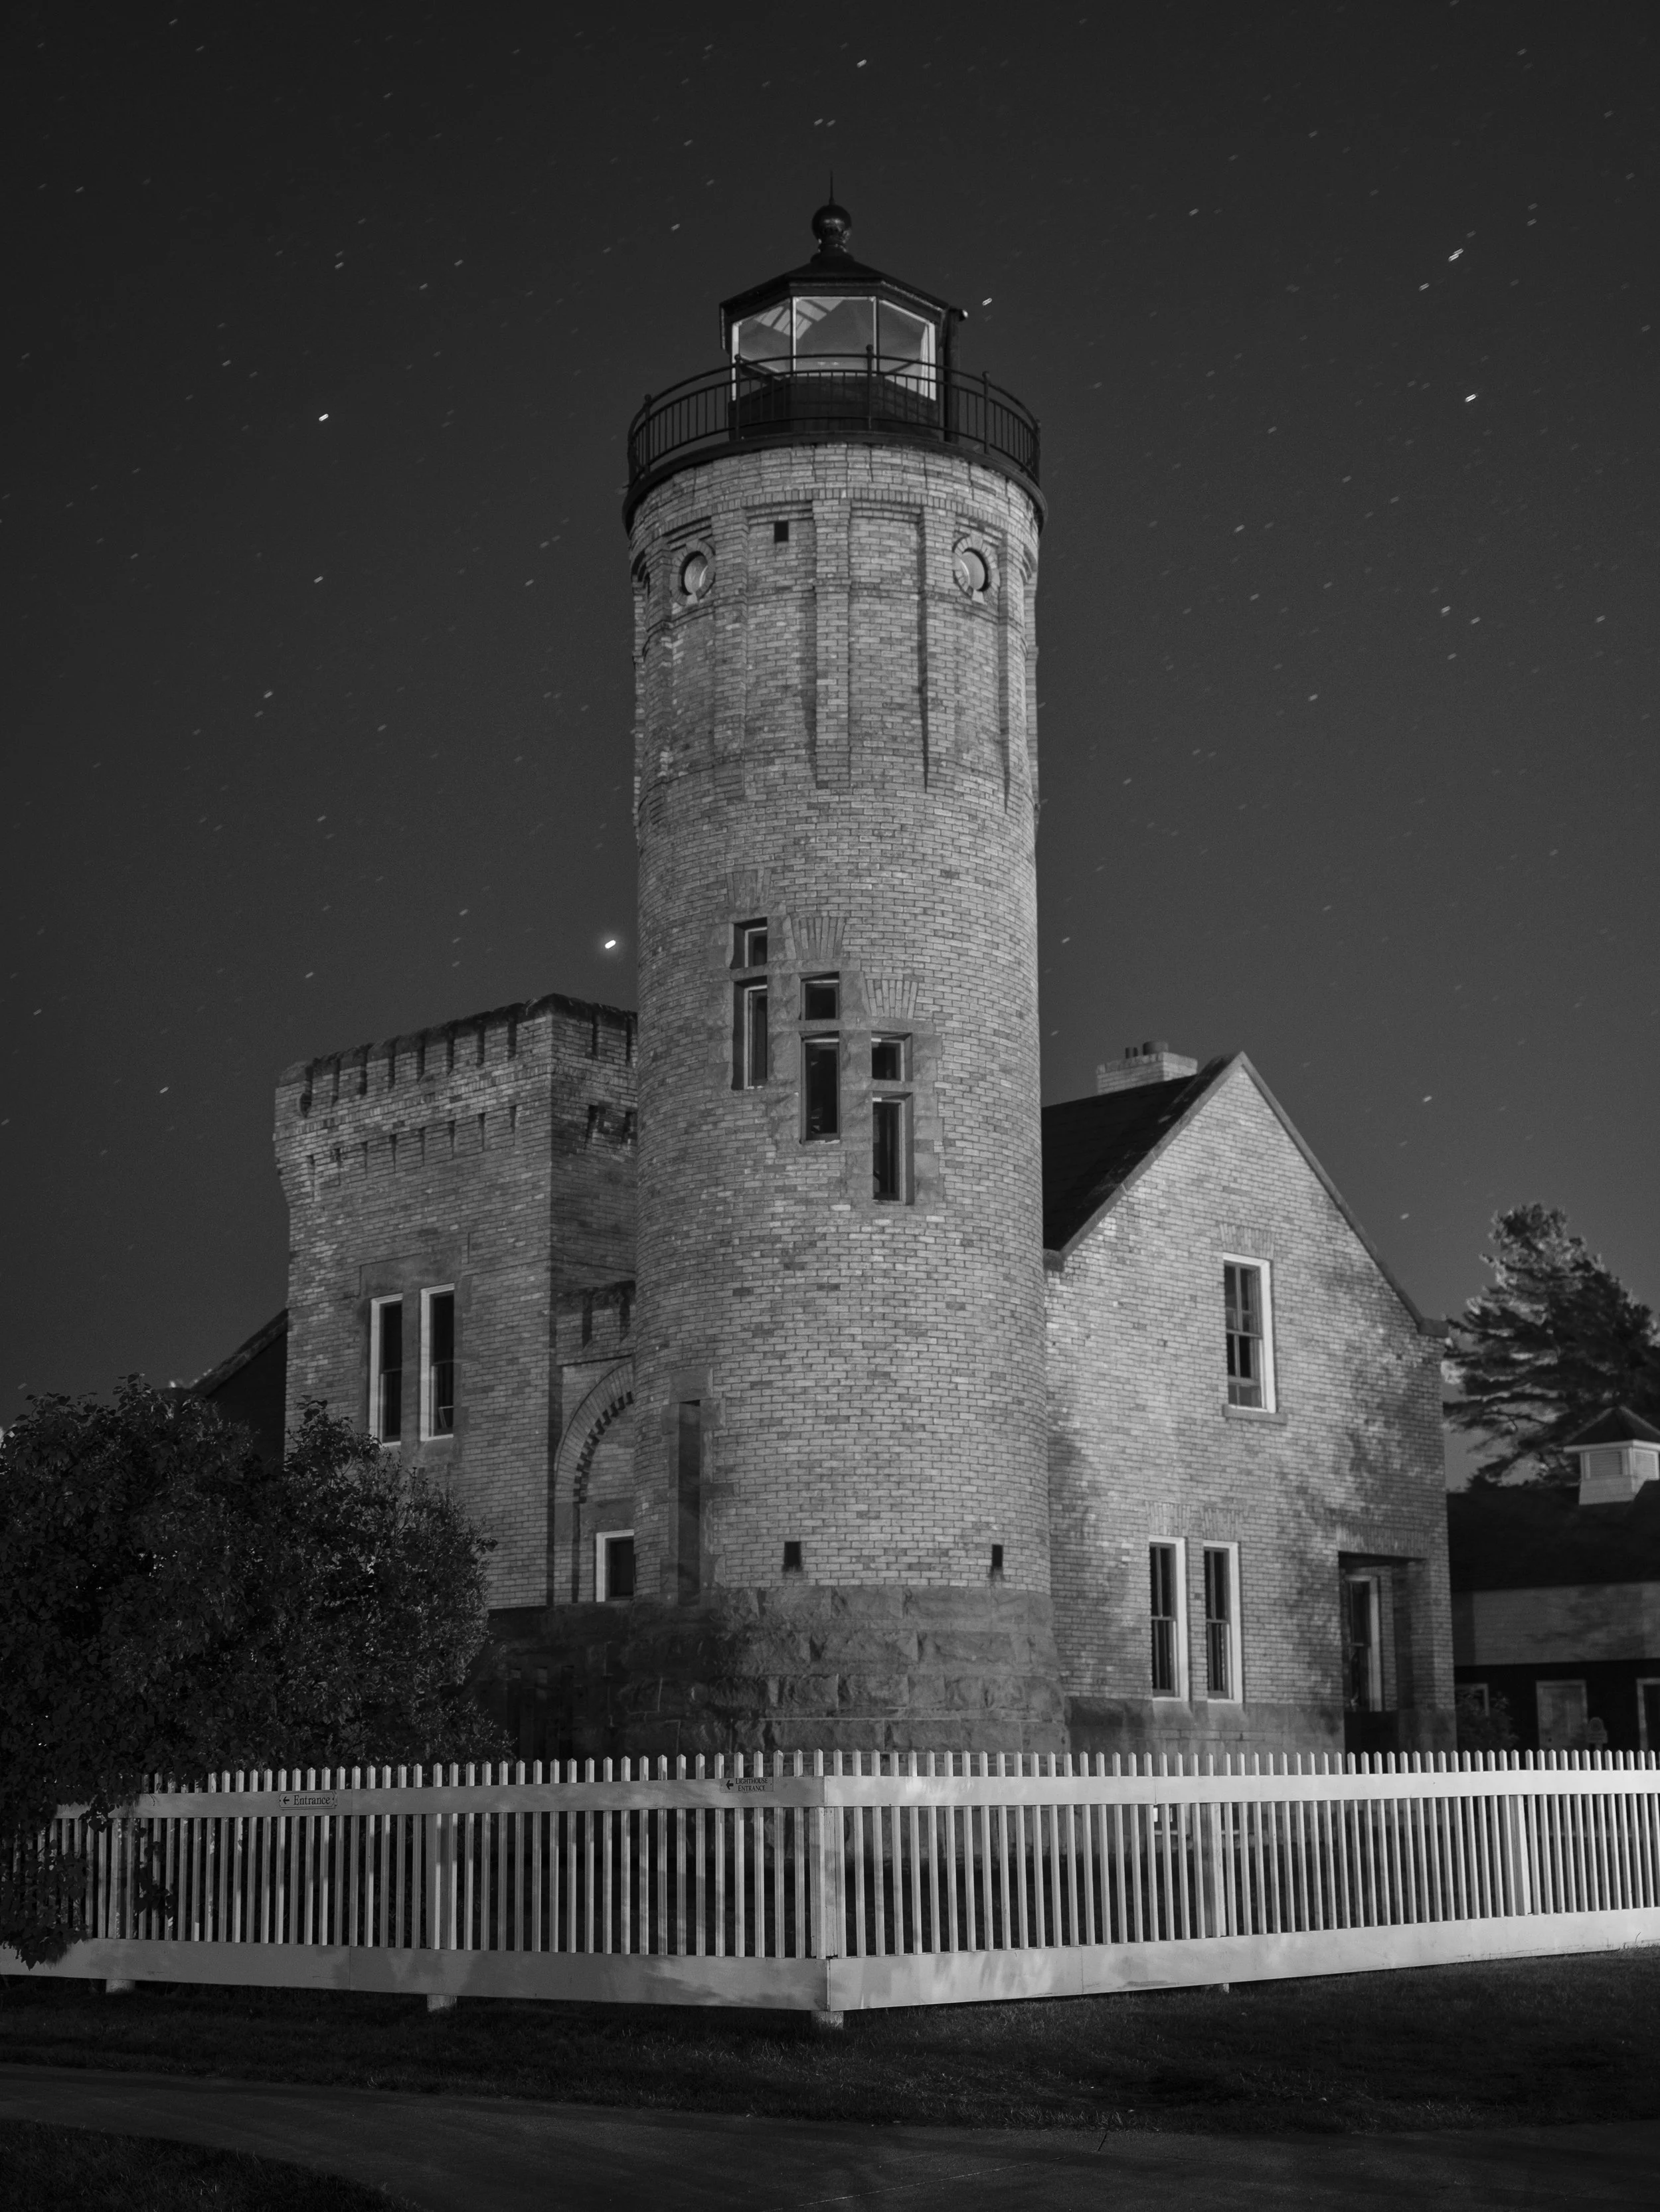
Urban night
With urban night photography, the best approach is to give an image as much exposure as possible without clipping important highlight detail, by using the blinking highlight indicator rather than the histogram. Newer cameras—especially ones like the Nikon D750—do a great job at controlling noise when you bring up the exposure in an underexposed image. This technique didn’t work with older cameras.
The key to successful urban night photography is to determine which highlights are important and which ones to sacrifice. Generally, light sources in the frame should be allowed to clip, but not to blossom out past the edge of the light itself. Flat surfaces like walls or the ground should not be clipped, as it is important to retain detail in these areas most of the time.

About the best histogram you can hope for in urban situations
It’s not necessary to have a big hump on the right side of the histogram—just a long, flat tail that extends almost to the right edge is fine. The goal is to take advantage of the part of the sensor’s dynamic rage which has the greatest concentration of tonality: the highlights on the right side of the histogram!