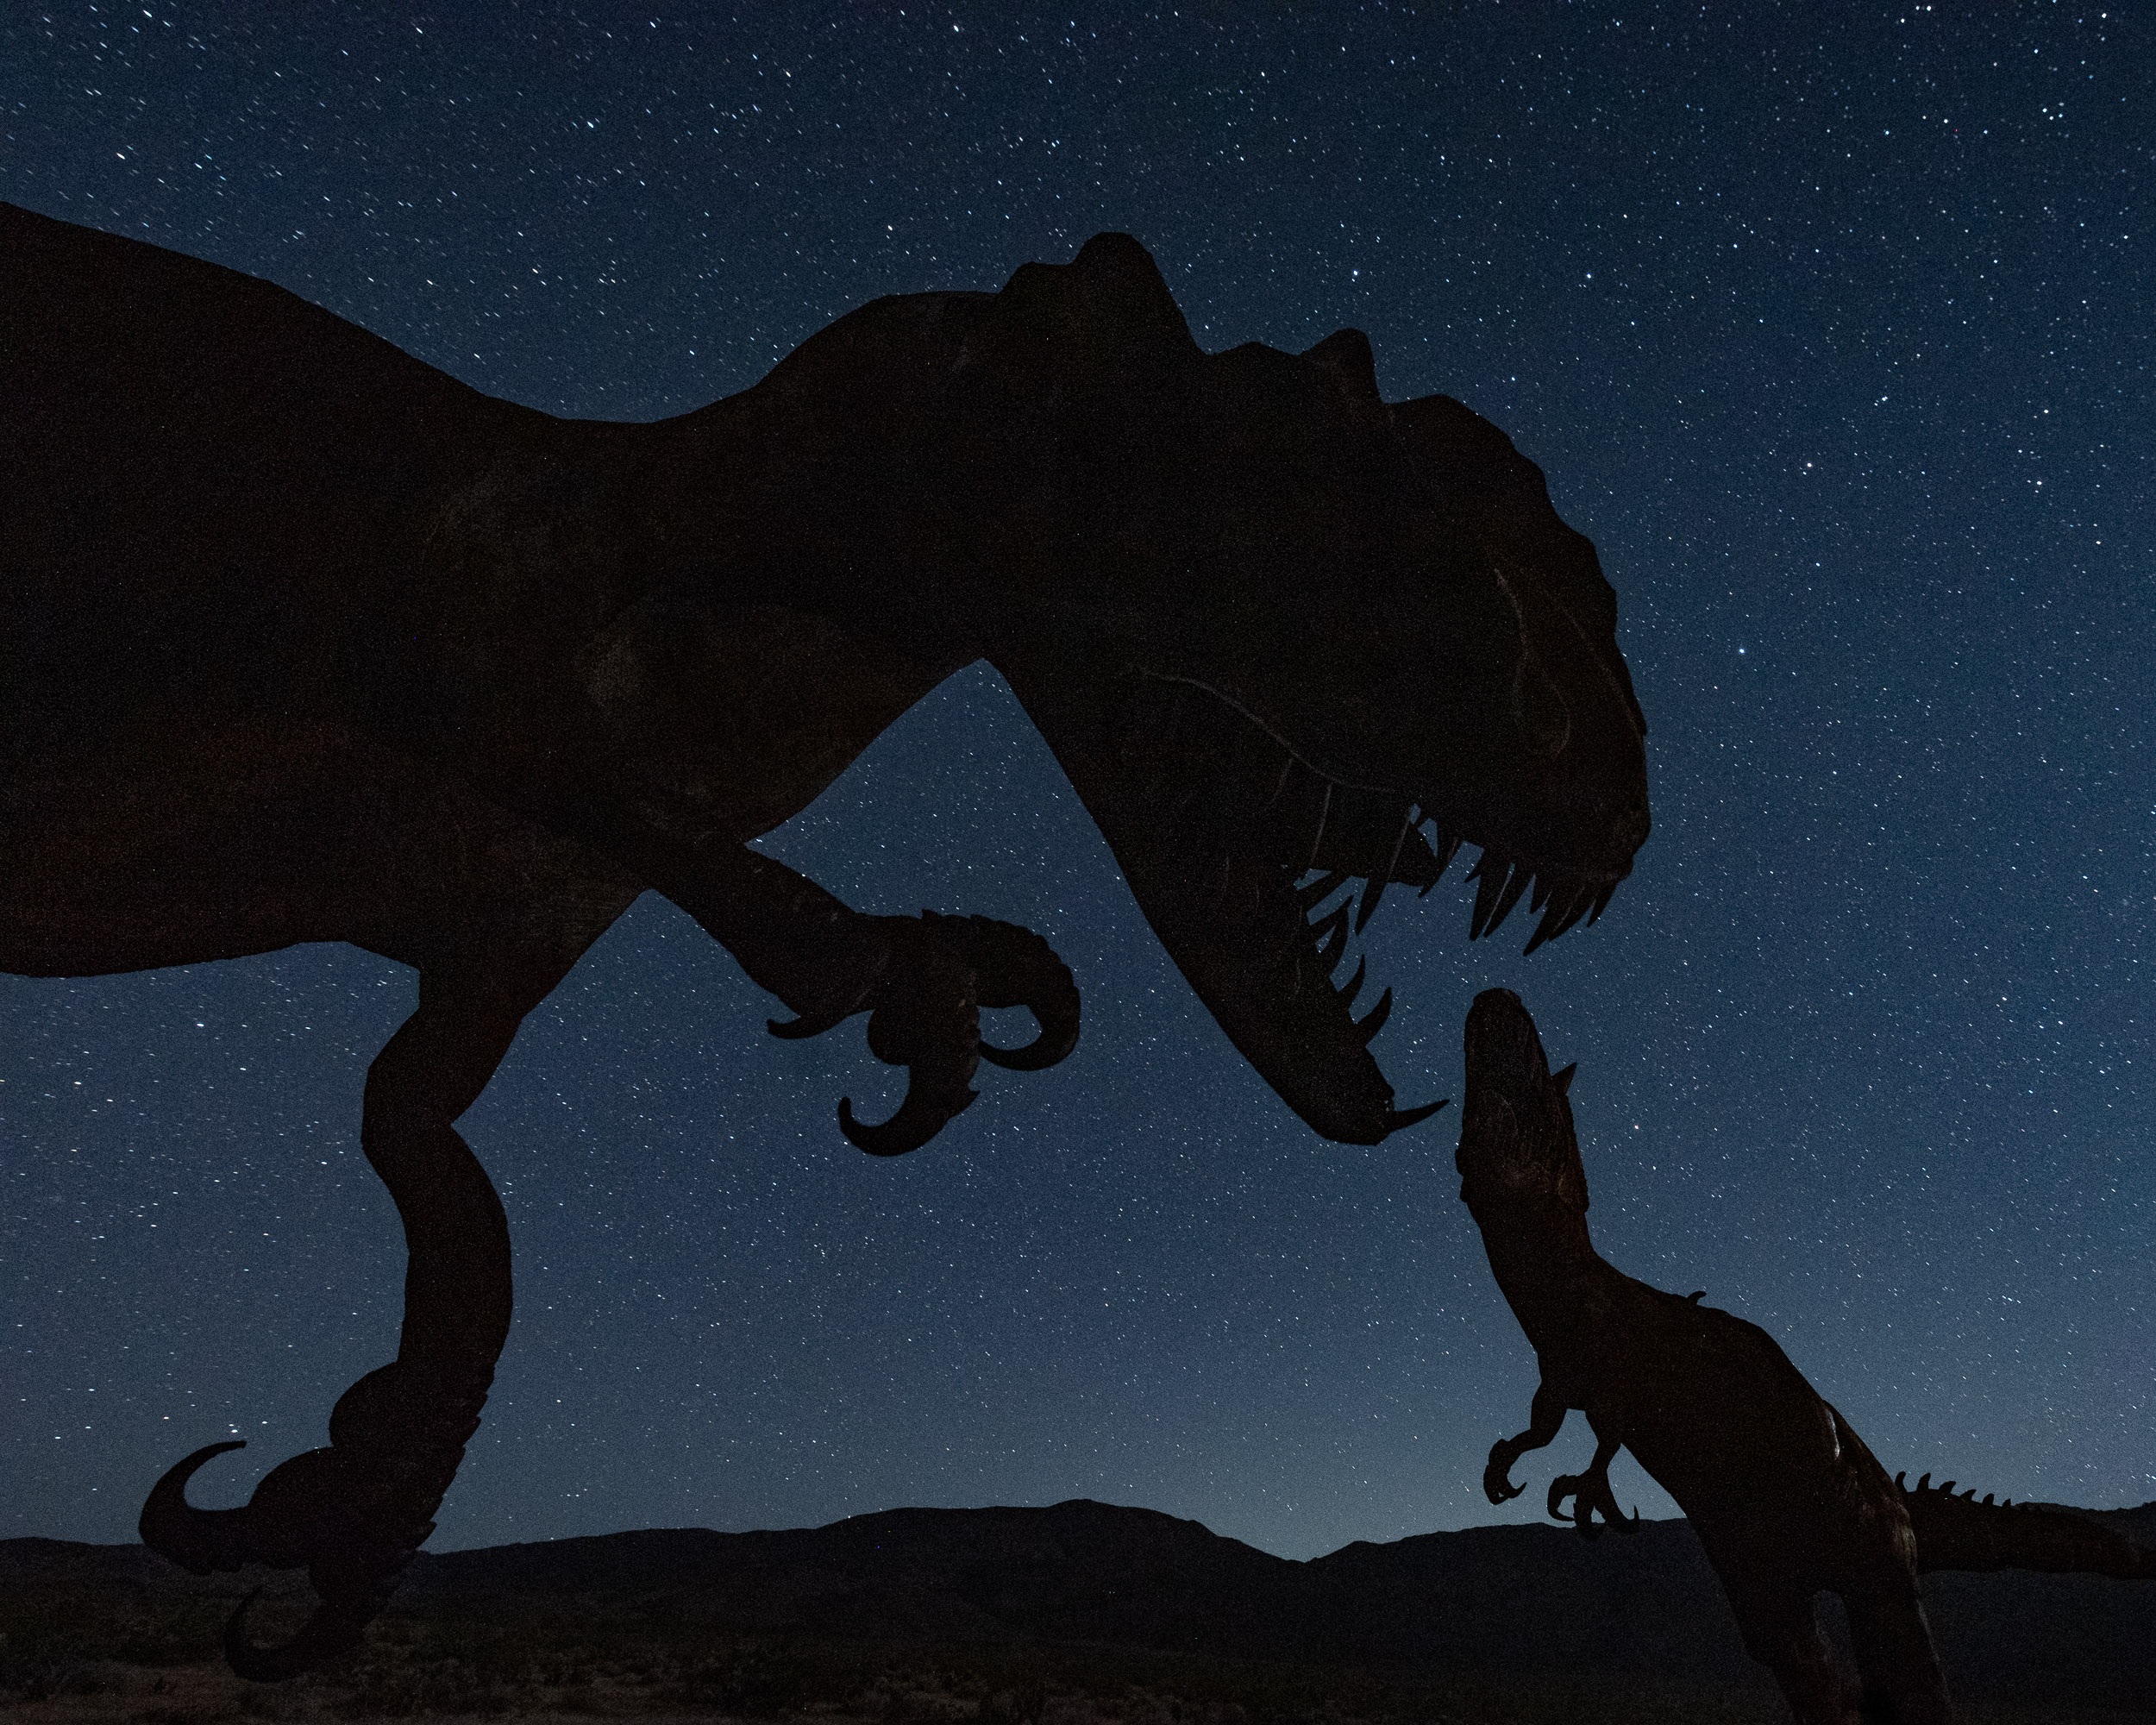
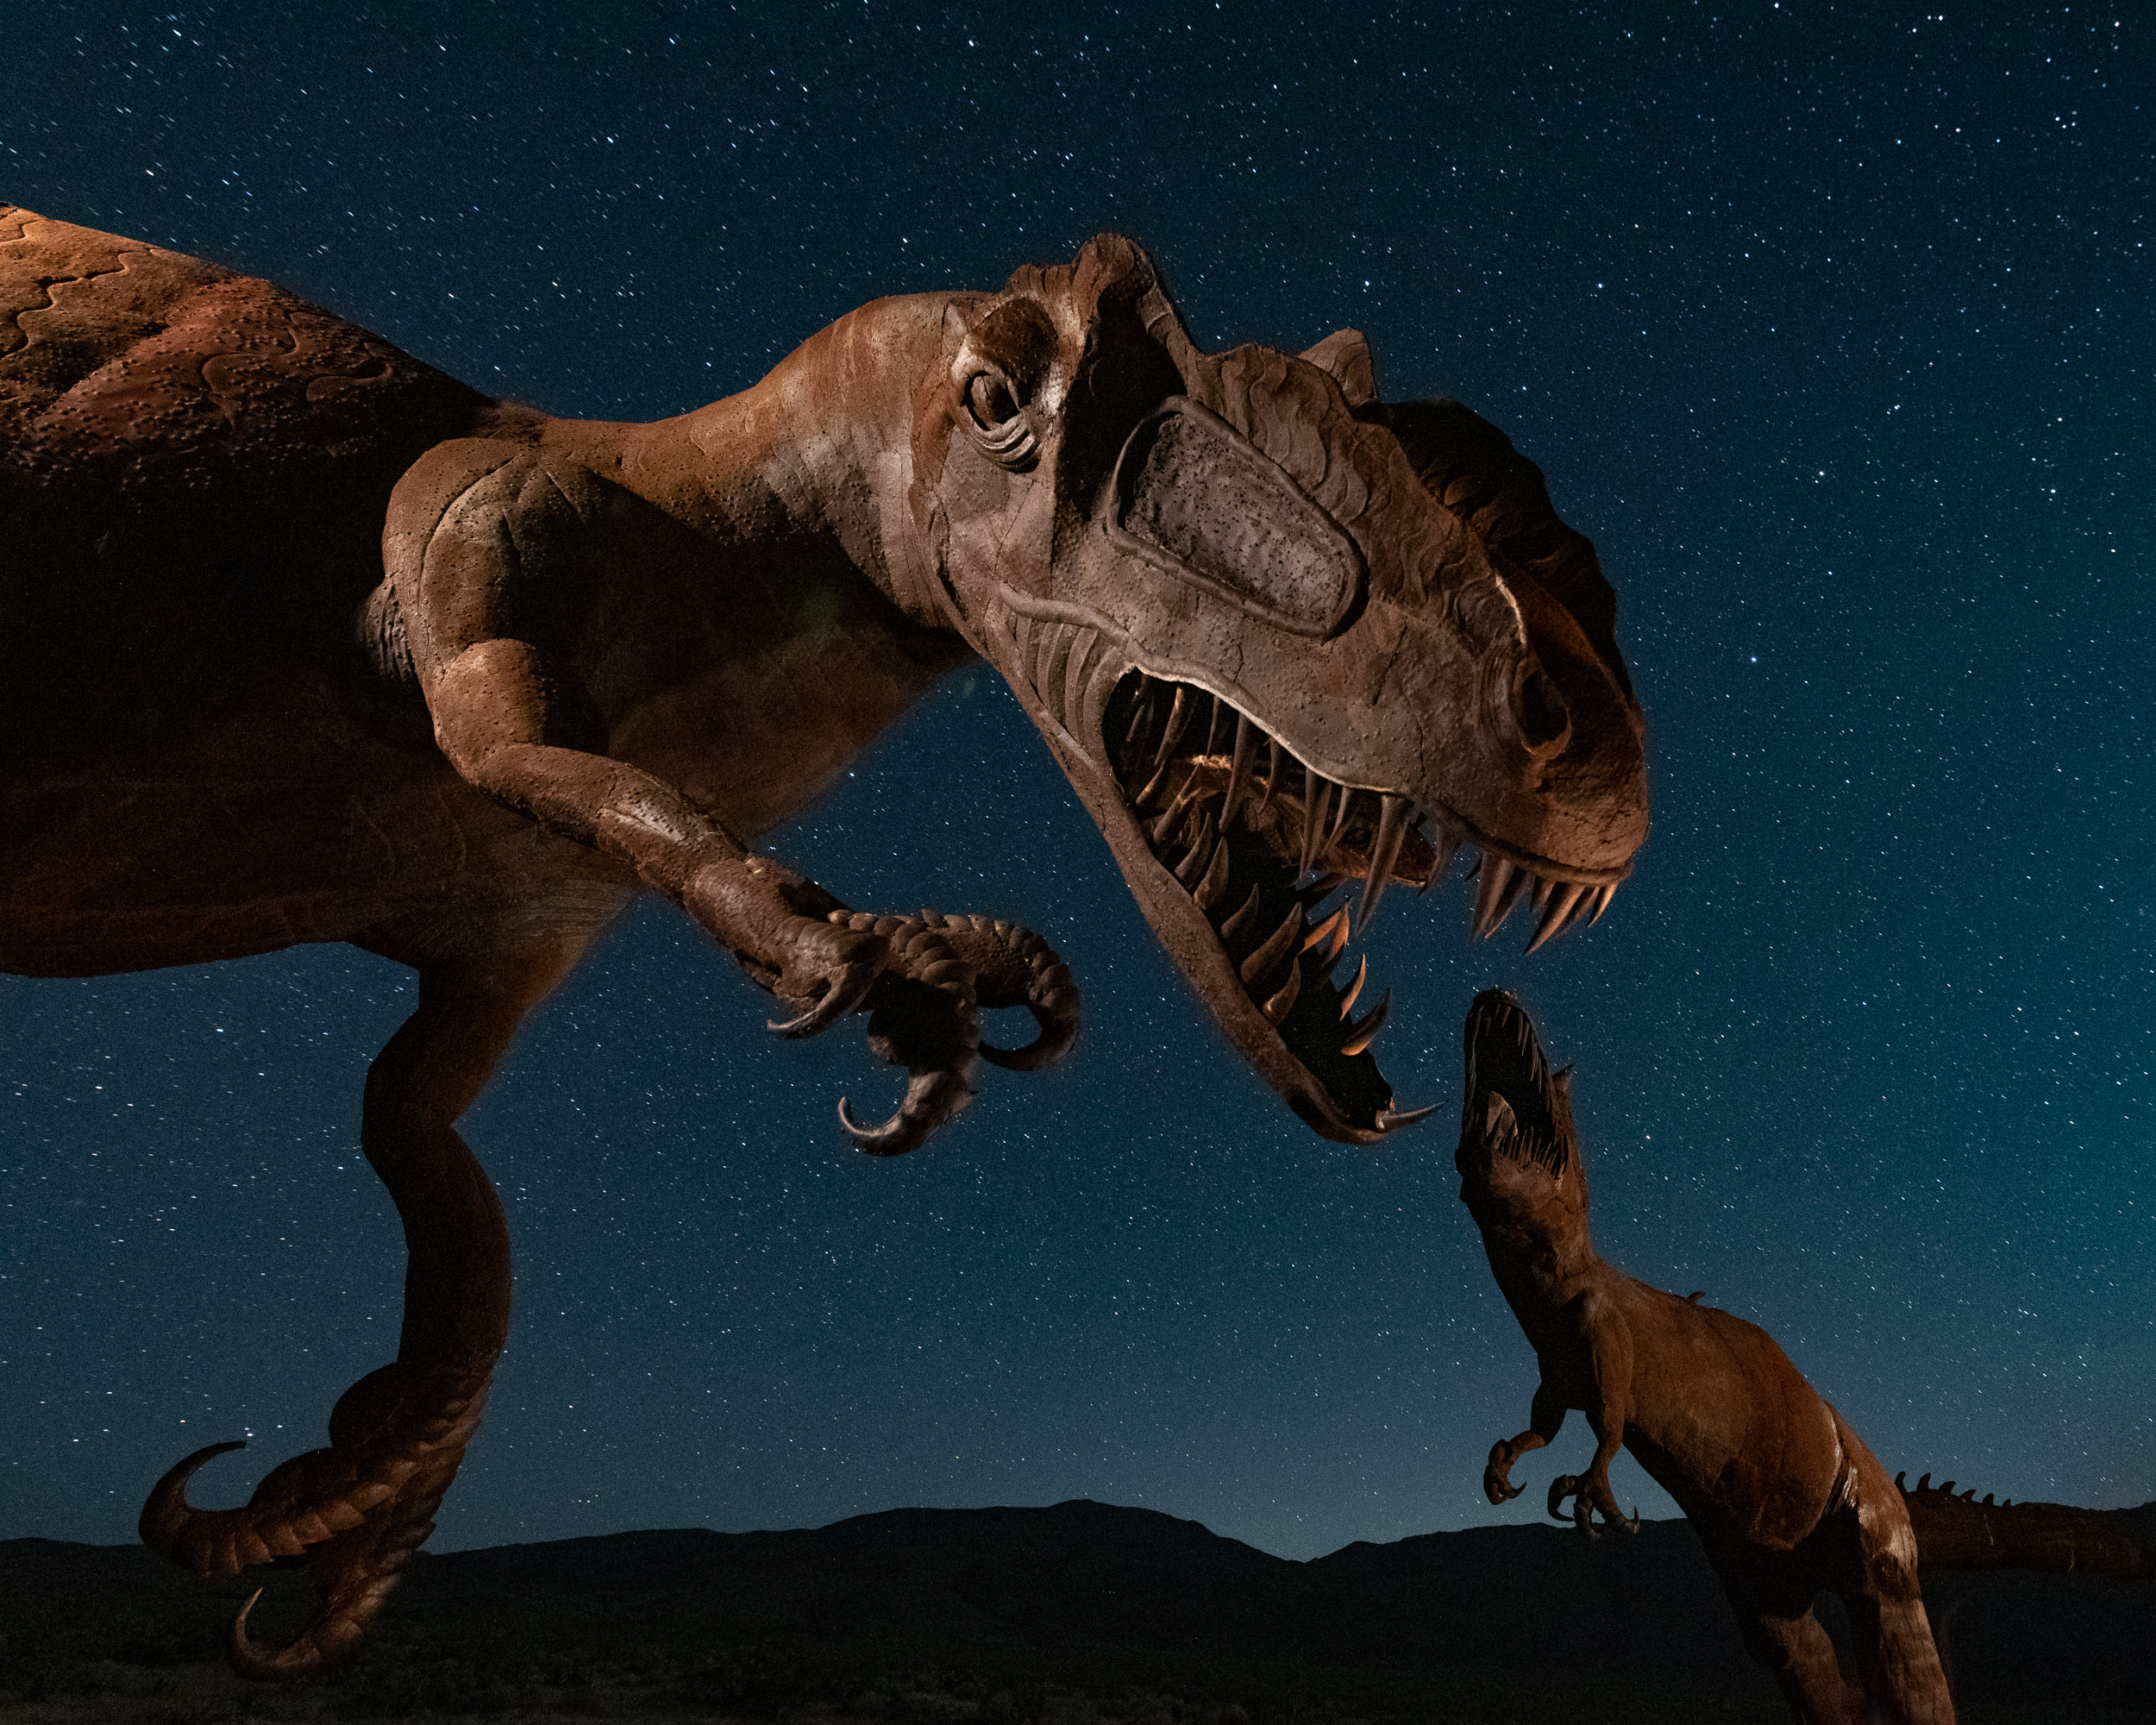
Dueling Dinosaurs, Borrego Springs, California. Nikon D750 with an Irix 15mm f/2.4 lens, lit with a Luxli Viola and Maglite Mini. 25 seconds, f/4.5, ISO 4000.
The Location
Ricardo Breceda’s metal sculptures in Borrego Springs, California, are intense and dramatic with or without light painting. They are incredibly fun to shoot. The 130 sculptures are spread out over about 8 miles of desert, but two of my favorites are a pair of giant dinosaurs that stand together in eternal battle.
The relationship between these two makes for some great composition options. The two dinosaurs are about the same size and roughly 40 or 50 feet apart, although they don’t appear that way in these images. I set up the camera to make it look like the near dinosaur was about to bite off the head of the more distant one.
You can find Ricardo’s two dinosaurs right here.
The Exposure
I was collaborating with Cutler Connaughton, one of our workshop participants when we partnered with Atlas Obscura this past May. We placed our cameras very close together, as there was very limited space to get the alignment just right.
After determining the composition, we focused and decided on the ambient exposure. I was using an Irix 15mm f/2.4 lens, which I can usually shoot at f/2.8 and get incredibly sharp results. But in this case I needed to stop down to f/4.5 for more depth of field. The 400 Rule told me that my longest usable shutter speed for star points with the 15mm was 25 seconds, so I set the ISO accordingly to get an adequate background exposure. Final exposure: 25 seconds, f/4.5, ISO 4000.
This is the final composition without any added light. I thought that it worked as a silhouette, but knew it could be improved with a suggestion of detail. I don’t want to reveal everything with my lighting—I want the viewer to be left with questions. If you have all of the answers with a quick glance, there’s no need to keep looking at the image, and I want to keep eyes on the picture as long as possible. Nikon D750 with an Irix 15mm f/2.4 lens. 25 seconds, f/4.5, ISO 4000.
The Lighting
This exposure left the dinosaurs completely silhouetted. We needed to add light.
We turned on a Luxli Viola and set it to 10 percent power and 3000 K, and mounted it on a hand-held Elinchrom boom arm. I wanted to use a warm color balance to bring out the rust color of the steel sculptures, which would contrast nicely with the cool natural light.
Ten percent brightness provided just enough intensity to accomplish what we needed during the exposure, while still providing a good amount of control over the added light. Turning up the power of the Luxli would have gotten the job done in less time, but would have been less forgiving if my positioning wasn’t perfect while painting. Every decision I make when creating an image is a compromise, balancing the various elements required to make the shot work.
The Shoot
Cutler triggered both cameras, while I experimented with the lights.
We made a total of 47 exposures of this setup! Refining the composition took five frames, as we had to have our cameras nearly touching and the tripod legs overlapping to make it work. The rest of the exposures involved making slight modifications in the lighting. It’s not unusual for me to make six to 10 variations to get an image just right, but this one required a lot of perseverance.
The sequence of 47 exposures that Cutler and I made together. The final version actually occurred about two-thirds of the way through the sequence, but we kept at it because we weren’t confident that we had what we were after.
The lighting involved four steps from four different positions, and three of the four steps were done with a single light source during the 25-second exposure. I could have set up multiple lights in fixed positions or lit each part of the scene in separate exposures, but I needed the exercise! I ran from one spot to the next over and over again, reviewing the results with Cutler and making mental notes each time for the next exposure.
The first light position was about two feet behind and over the right shoulder of the foreground dinosaur. This is the main light in the image, and even slight variations in position altered the overall appearance dramatically. The light was about 10 feet off the ground, which is why I was using the boom arm.
“I couldn’t tell you how much light was added from each position, but I had good control over the process, and that’s what’s important.”
The second light position was just out of the frame from camera-right, and slightly behind the foreground dinosaur. The purpose here was to backlight the teeth of the beast to emphasize its ferociousness.
For the third position, I ran further to the right and behind the second dinosaur to light that one. I wanted to show texture as well as detail, so it was important to light from an oblique angle.
Cutler took care of the last detail (from the fourth position), which was to light the left claw of the foreground dinosaur with an incandescent Maglite Mini flashlight, just enough to separate it from the background. The color balance of the Maglite Mini is a little warmer than the Luxli, but against the monochromatic rusted steel, this isn’t noticeable. If Cutler had been using an LED light, the color difference would have been obvious. The mini-Mag was a good choice for this task also because it was both dim and focusable.
I recommend that people count seconds in their head when they light paint to get a repeatable and consistent effect in the image. I’ve been doing this for so long that I work by what feels right rather than actually timing the light in each position. For this image, I couldn’t tell you how much light was added from each position, but I had good control over the process, and that’s what’s important.
The final image, before and after being lit as described in the text. Nikon D750 with an Irix 15mm f/2.4 lens. 25 seconds, f/4.5, ISO 4000.
Location Lighting vs. Light Painting
Other photographers might have approached this scene differently. Most would probably not have run around tripping over rocks and waving a light on a stick in the dark, but that’s just the way I roll.
Using fixed-position lights on stands would certainly lead to more consistent results, and most likely fewer overall exposures to get to the end result. To me though, that is simply location lighting, and not light painting. The difference is more than just semantics––light painting is an active process that requires a different skill set than location lighting. Both are valid approaches, but the former is what makes my creative juices flow.
The line between light painting and location lighting has blurred in recent years. The term Low-level Landscape Lighting (LLL) has come to be used to describe static lighting in astro-landscape photography (ALP). This is partly out of necessity, and partly due to the development of new technologies such as the Luxli panel light.
When working at the high ISOs required for star points in ALP, it’s difficult to light from multiple positions during a brief 15- to 30-second exposure. With short exposures at high ISOs, it’s also hard to control traditional light painting tools like the venerable Coast flashlights, because they are just too bright for such a sensitive sensor. The amount of time required to adequately illuminate most subjects with a bright light at ALP settings is just a fraction of a second.
This is an outtake, initially overlooked because I was excited about the original concept. This one was made at the very end of the sequence—it was actually the last shot of the night. After I felt like I had finally nailed the shot we were originally going for, I decided to try a couple of other ideas just to see what would happen. Which one do you like better? Nikon D750 with an Irix 15mm f/2.4 lens. 25 seconds, f/4.5, ISO 4000.
Final Thoughts
I always tell our workshop participants that there is no wrong or right way to do things in night photography. That’s what makes this such a great medium––it’s incredibly flexible and adaptable to different visions. I don’t try to teach people to do what I do, but how to develop their own techniques and methods to make images that get them excited.
The bottom line is that it doesn’t matter if you do long or short exposures at low or high ISOs, or light with flashlights, strobes or an army of Luxli lights. What does matter is that photographers find a way of working that leads them to grow and that leads them to images that excite them.


