
While many of the automatic settings on our cameras can be useful from time to time, photographing at night requires us to set nearly everything on our cameras manually. Typically, when most people hear this, they think of manual exposure mode, wherein they are required to set both the aperture and shutter speed independently of each other. This is true. However, it could also mean manually focusing your lens, or switching your ISO from auto to a specific value. It could also mean setting your white balance manually.
Manual white balance?! Yup.
With the useful presets in your white balance setting (Direct Sunlight, Tungsten, Cloudy, Shade, Fluorescent, Auto, etc.), it’s easy to forget that you can go manual here as well.
To set your white balance manually, you first need to understand what the white balance setting does for us. Simply put, it alters the color cast of our photographs. It can make an image look bluer or more orange. It can render our image greener or more magenta.
The Color of Light
Let’s start outside of our camera first. All light has a certain color cast. Some light seems warmer (more orange)—for example, the color of an orange sunset or older household tungsten bulbs.
The warm colors of sunset.
Some light seems cooler (more blue)—for example, the light on a cloudy day or the sky when it just starts getting light in the morning.
The cool colors of pre-dawn.
Often our eyes ignore these color casts and we perceive the light as neutral (no cast/white/no color). It’s not that we can’t detect the color cast. We can, if we are paying attention. It’s just that other aspects of the light rate as more important in our visual hierarchy—such as noticing shadows so we can resolve ground structure and subsequently not trip and fall. Although we may not give much conscious thought to subtle shifts in the color of light throughout the day, our cameras are excellent tools for recording these precise color casts, or even for fixing those casts if we so desire.
The Kelvin Scale
Scientists found the terms “warmer,” “yellowish” or “more orange” simply too vague to accurately describe the color of light, so they use the Kelvin scale to avoid imprecision. Here is a chart that shows temperatures of some common photographic light sources:
The warmer the color, the lower its Kelvin rating. Cooler colors have higher Kelvin ratings. Notice that daylight at 5500 K is neutral. No real color cast. Some even call it “white light.” Whereas sunsets are warm and cloudy days appear cool. These are the real colors that are present under those conditions, even though, again, we may not perceive them as such.
The Camera’s White Balance Setting
Depending on the white balance setting we choose, the camera can either render the real color of the scene or render an alternate to reality. When our cameras are set to Direct Sunlight (also called Daylight or Sun on some cameras), the camera is rendering the colors of the scene precisely as they are. The resulting picture may appear more warm or cool to our eye, but that’s because we failed to notice the color cast at the time.
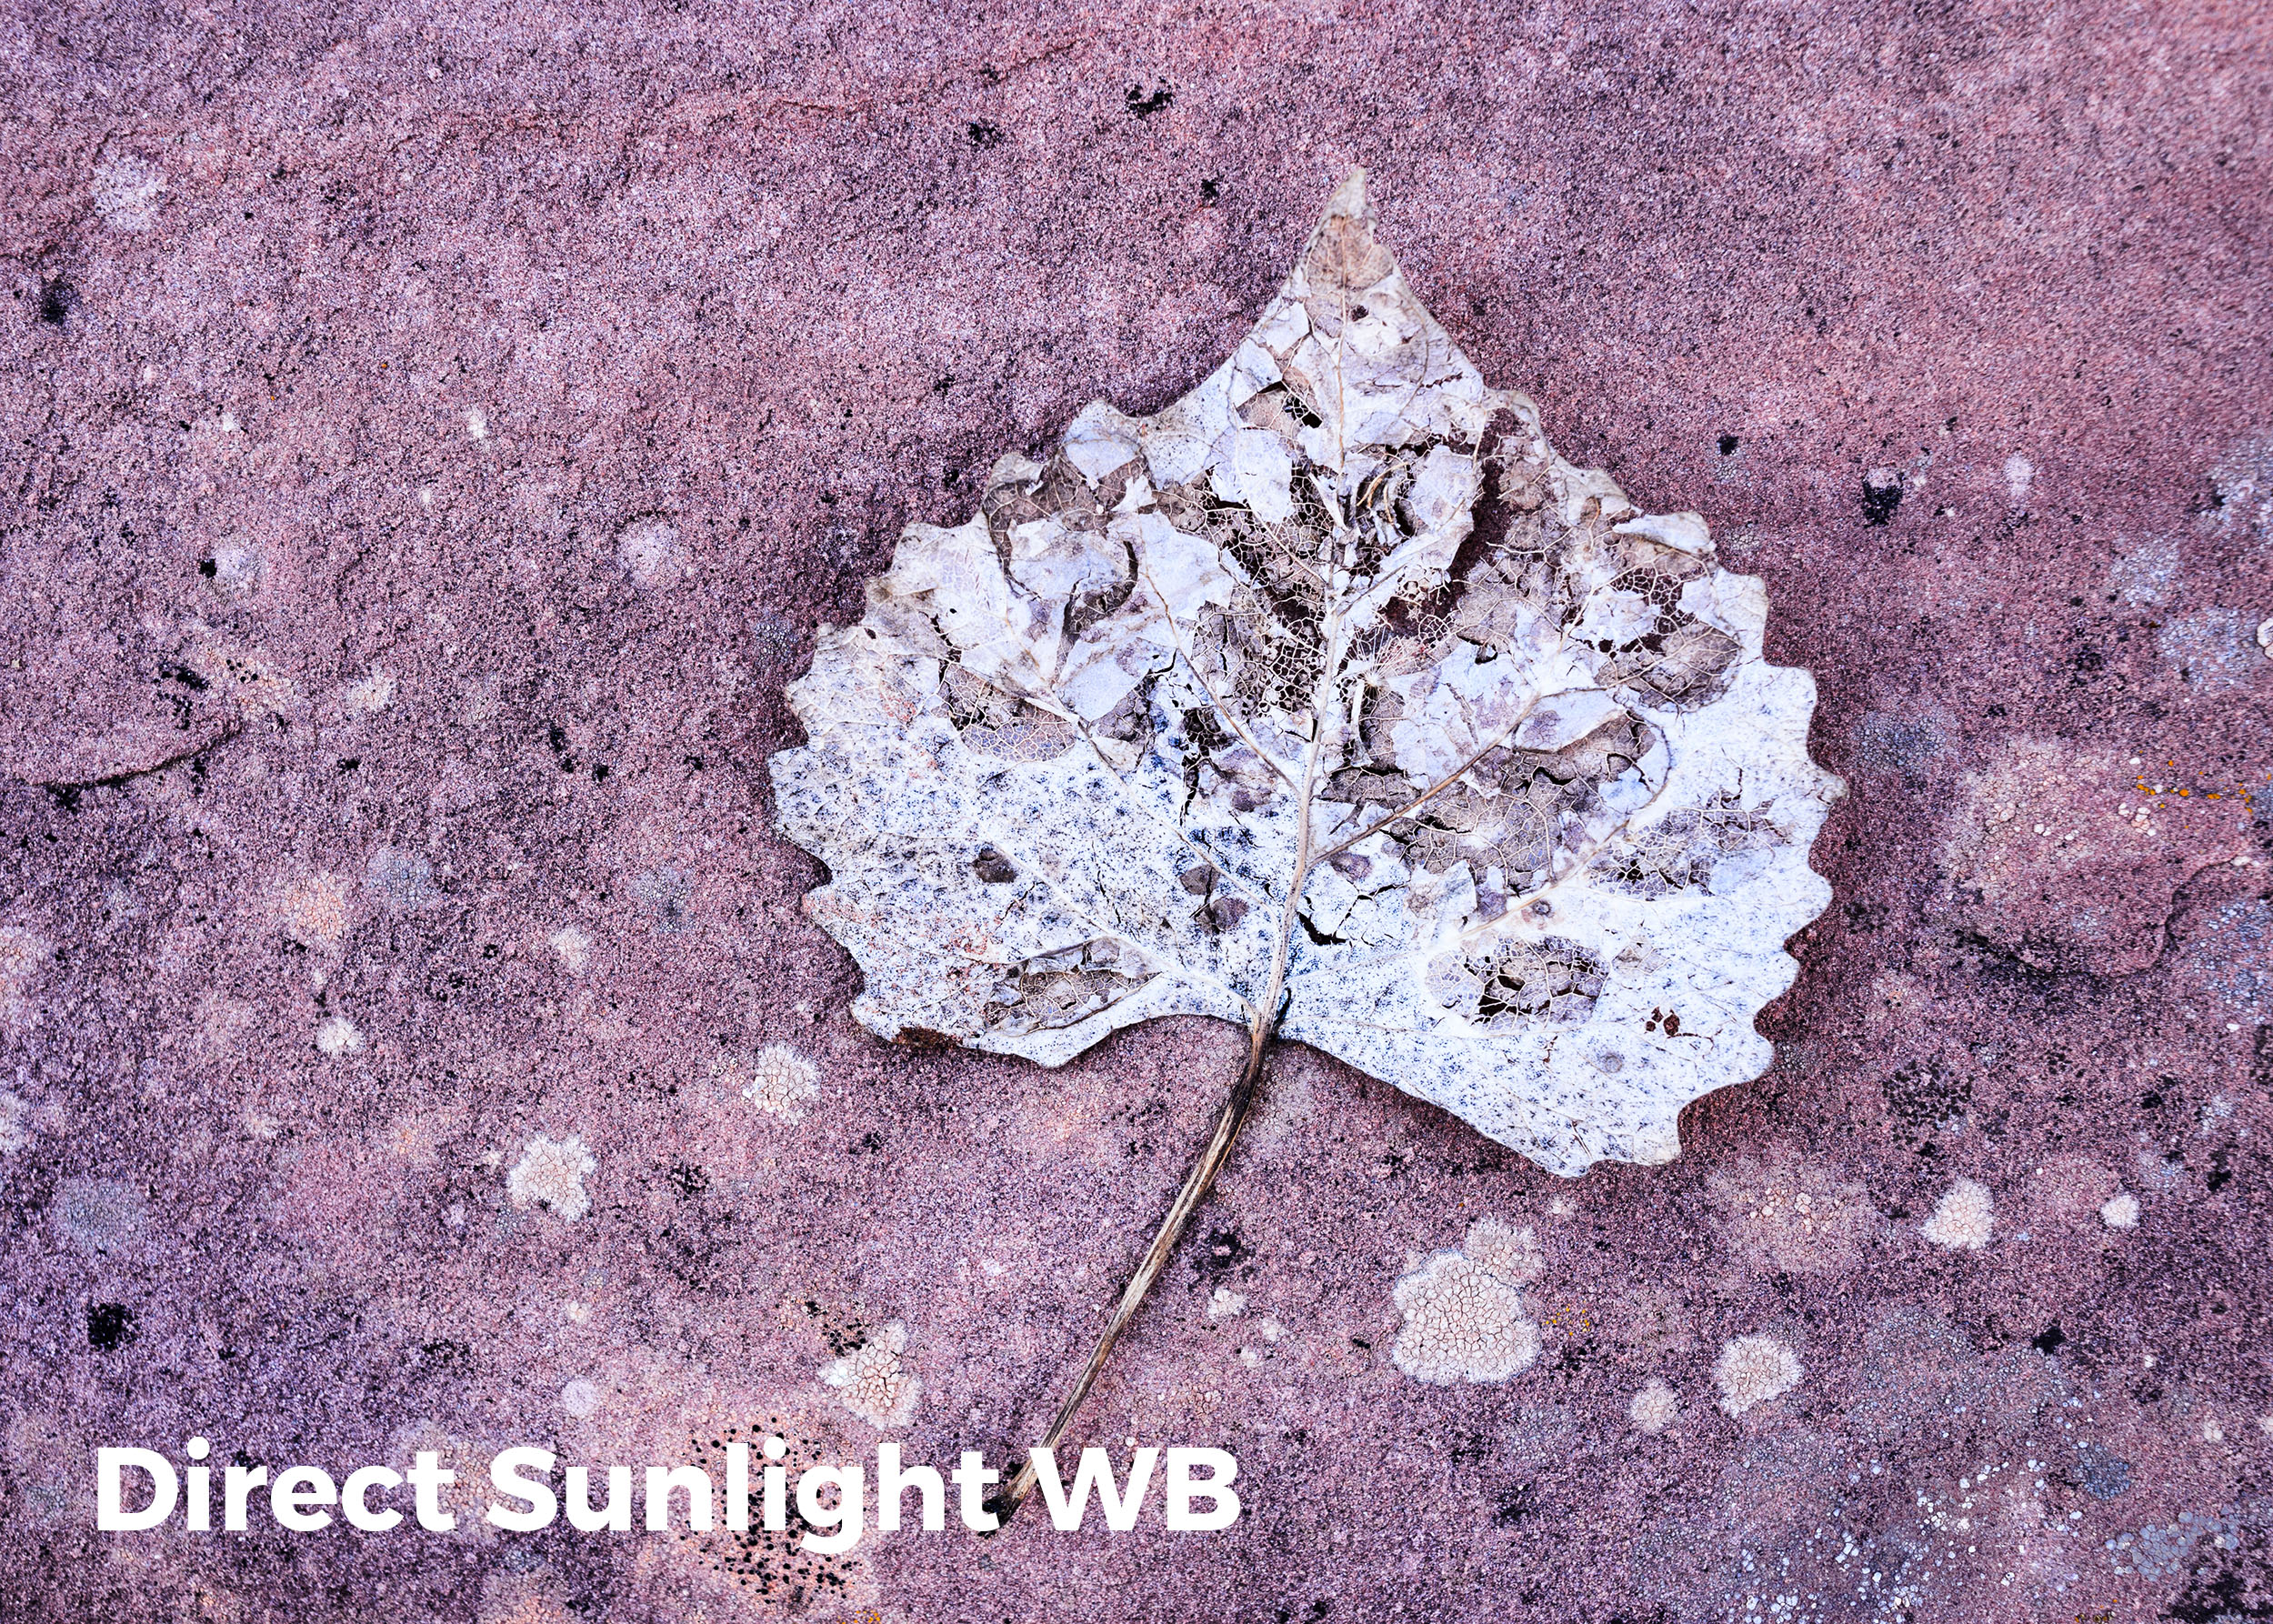
On the other hand, any of the camera’s other white balance presets will alter the color. They are designed to “fix” the color cast to match what our minds expect it to be. This may or may not be want you want. In the following images, I decided to keep the natural color by using the Direct Sunlight white balance.
Warm colors captured by using Direct Sunlight white balance (above), and the cool colors of an overcast day captured by using Direct Sunlight white balance.
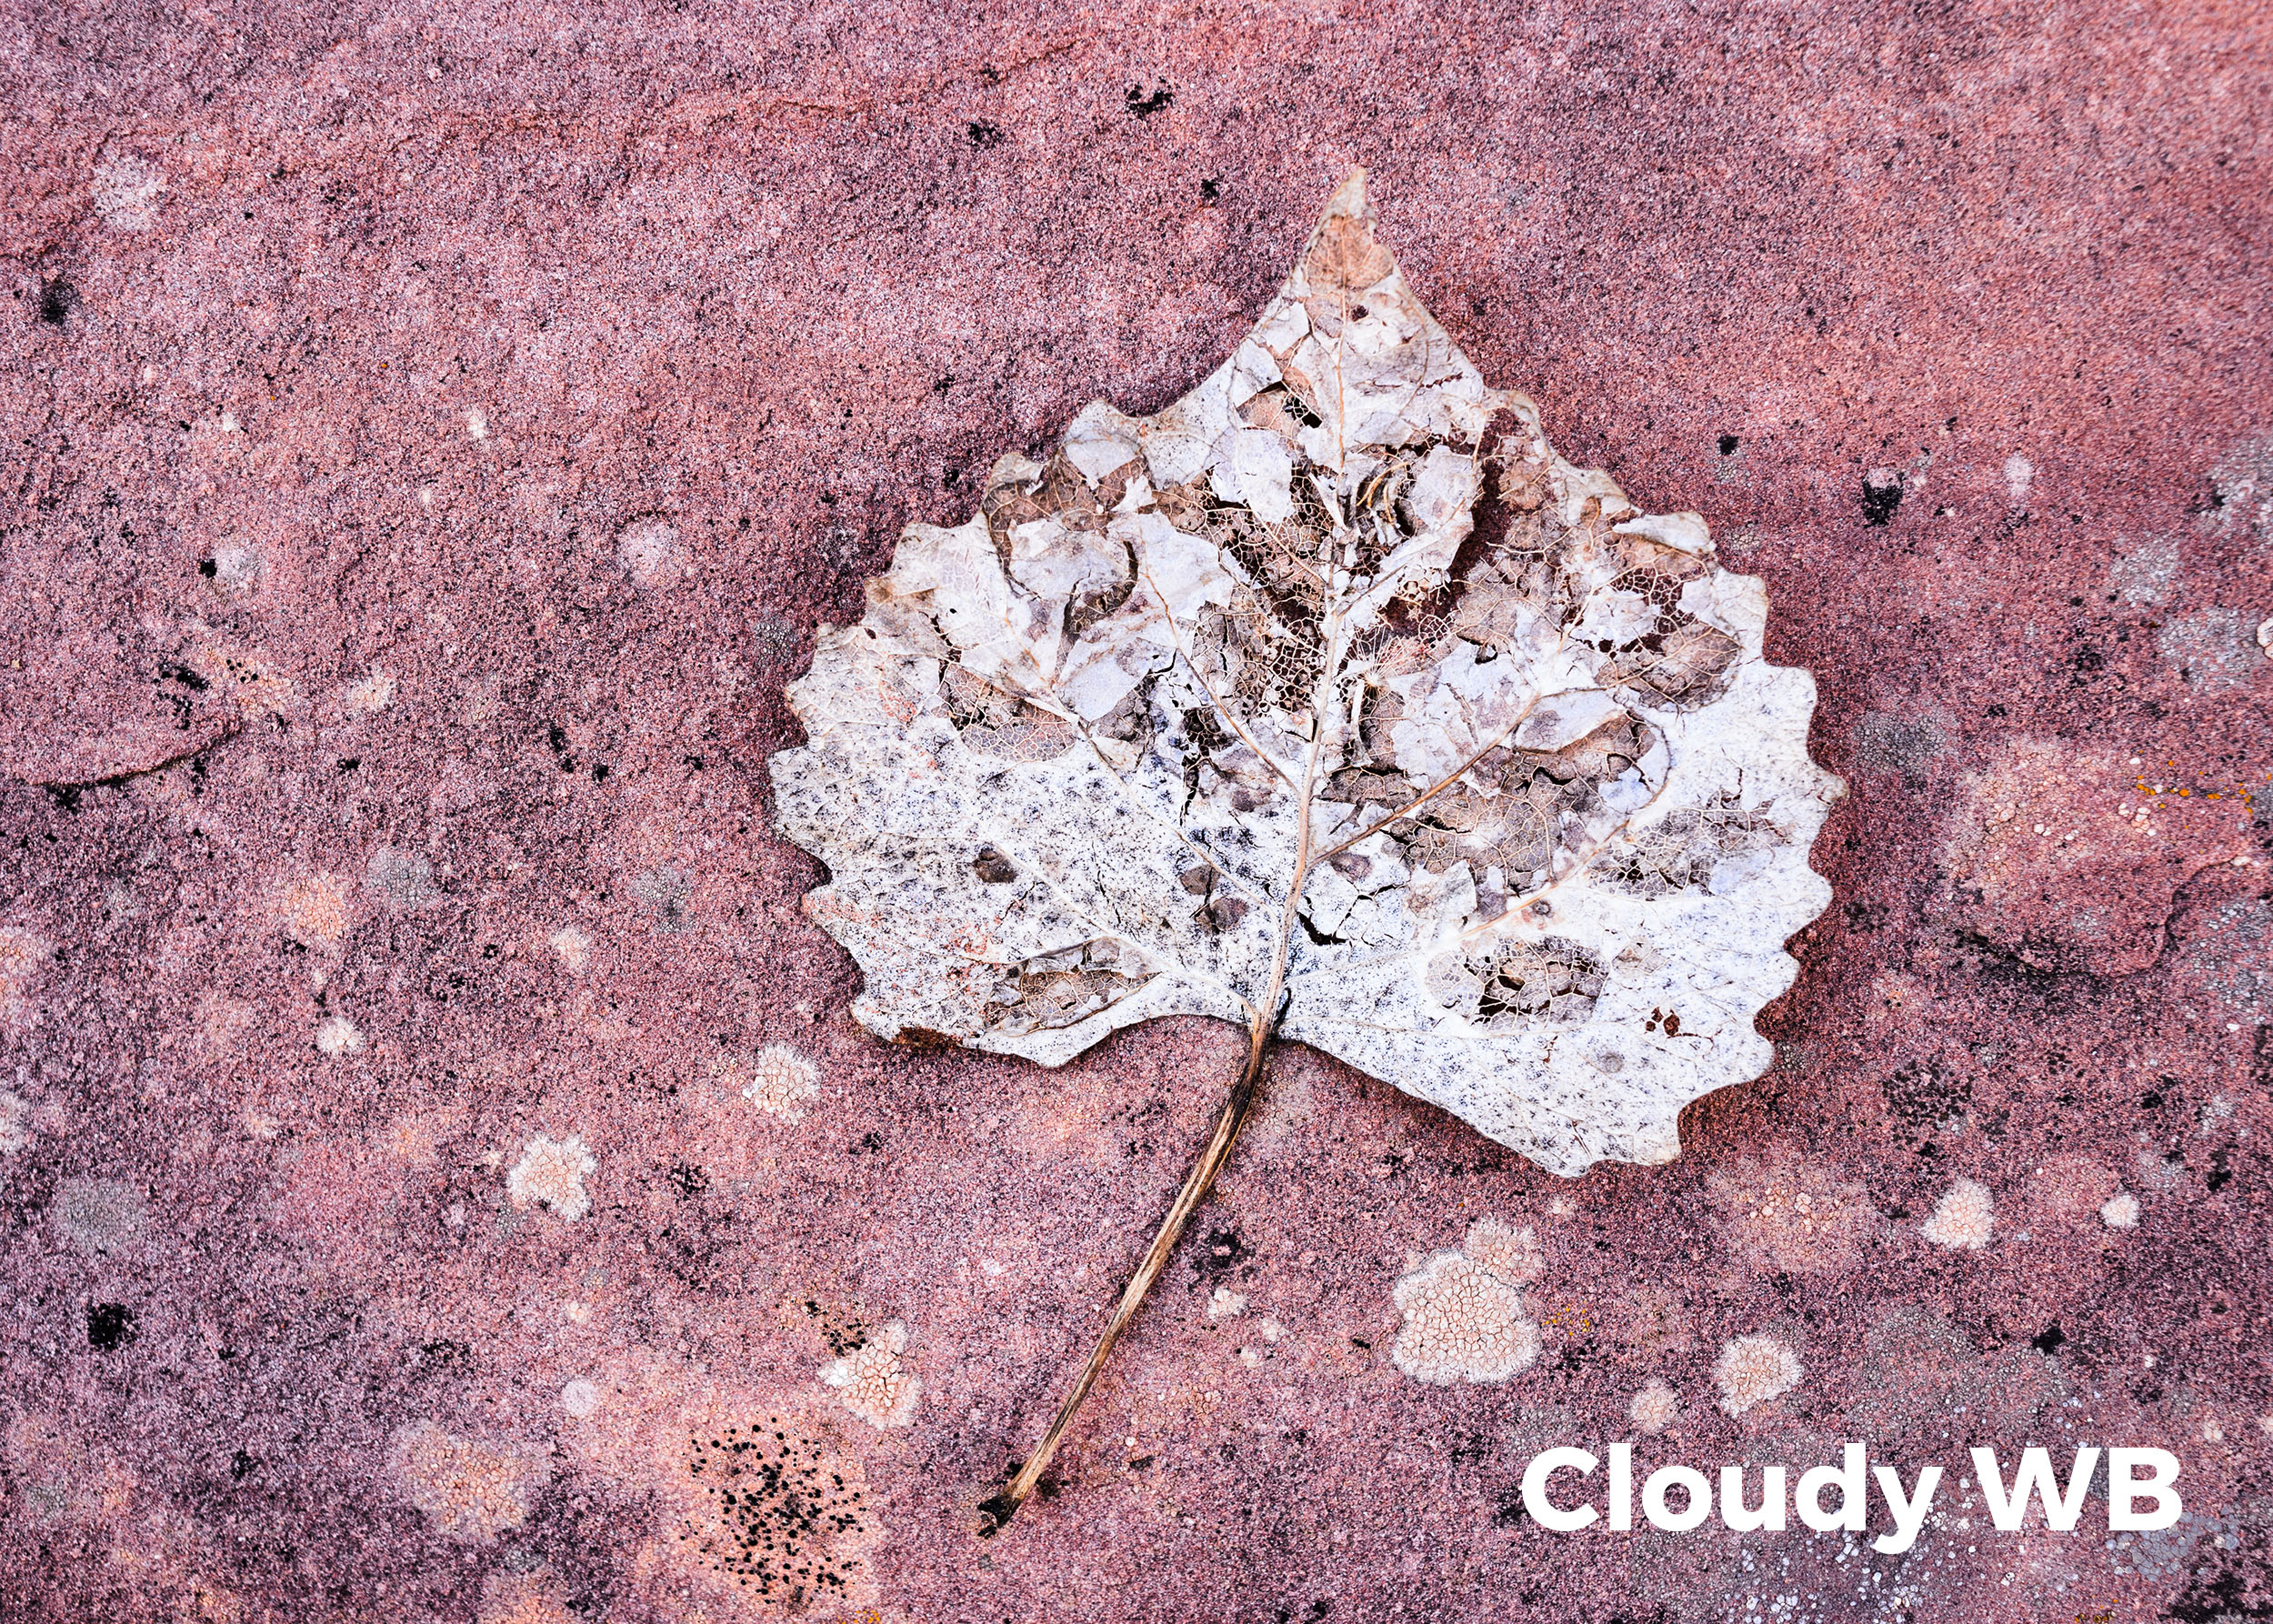
So, if you find the cool light of an overcast day (around 6500 K) unpleasant, you can switch your white balance to Cloudy and the camera will add in warmth to cancel out the extra blue in that situation.
An overcast day is around 6500 K. The Cloudy white balance setting will warm the scene by adding in yellow/orange to cancel out blue and make “white” light.
Let’s look at this in a real-world scenario. Below you can see an image photographed at two white balances. The version on the left shows how it looks on an overcast day when shot with Direct Sunlight white balance. The version on the right shows the same image shot with Cloudy white balance.
Unlike the presets of Cloudy, Shade, Tungsten and Direct Sunlight, which have set values, the Auto white balance setting varies depending on what the camera detects. It looks at a percentage of the brightest pixels in the scene, determines their color cast, and then adds in the opposite color to neutralize.


The Question of Fixing Color
Of course, it’s always your choice whether to fix the color cast or leave it as. For example, why would you want to “fix” or neutralize the beautiful warm colors of a sunset? I also find that when shooting forests or waterfalls on a cloudy day, I tend to keep my white balance set to Direct Sunlight to allow the “cool” feeling to come through.
White balance is very subjective. We can, however, list out a few rough guidelines. Here are mine:
When shooting outdoors on a sunny day, I choose Direct Sunlight.
When shooting sunrise and sunset, again, Direct Sunlight.
On overcast days, I choose Direct Sunlight or Cloudy.
In the open shade, I choose Cloudy or Shade.
When shooting indoors under artificial light, I choose Auto.
When shooting at night? I set my white balance manually.
Manual White Balance
I choose a manual white balance at night so that I can completely control the color of the night sky along with any existing light or any light that I choose to add to the photo.
Manual white balance is achieved by using the Kelvin white balance setting. It allows you to set your white balance to any color temperature you desire. No presets, no Auto fix. Just your choice of how you want your image to look.
This setting is found in your White Balance presets and is signified by either a K or the word Kelvin.
Nikon’s White Balance menu.
Clicking on this choice allows you to choose from Kelvin values of anywhere from 2000 K to 10,000 K.
The higher the number you use, the warmer the picture will be.
The lower the number you use, the cooler the picture will be.
Using the Kelvin white balance setting allows for very precise control over the color of the resulting image.
Setting the Kelvin value.
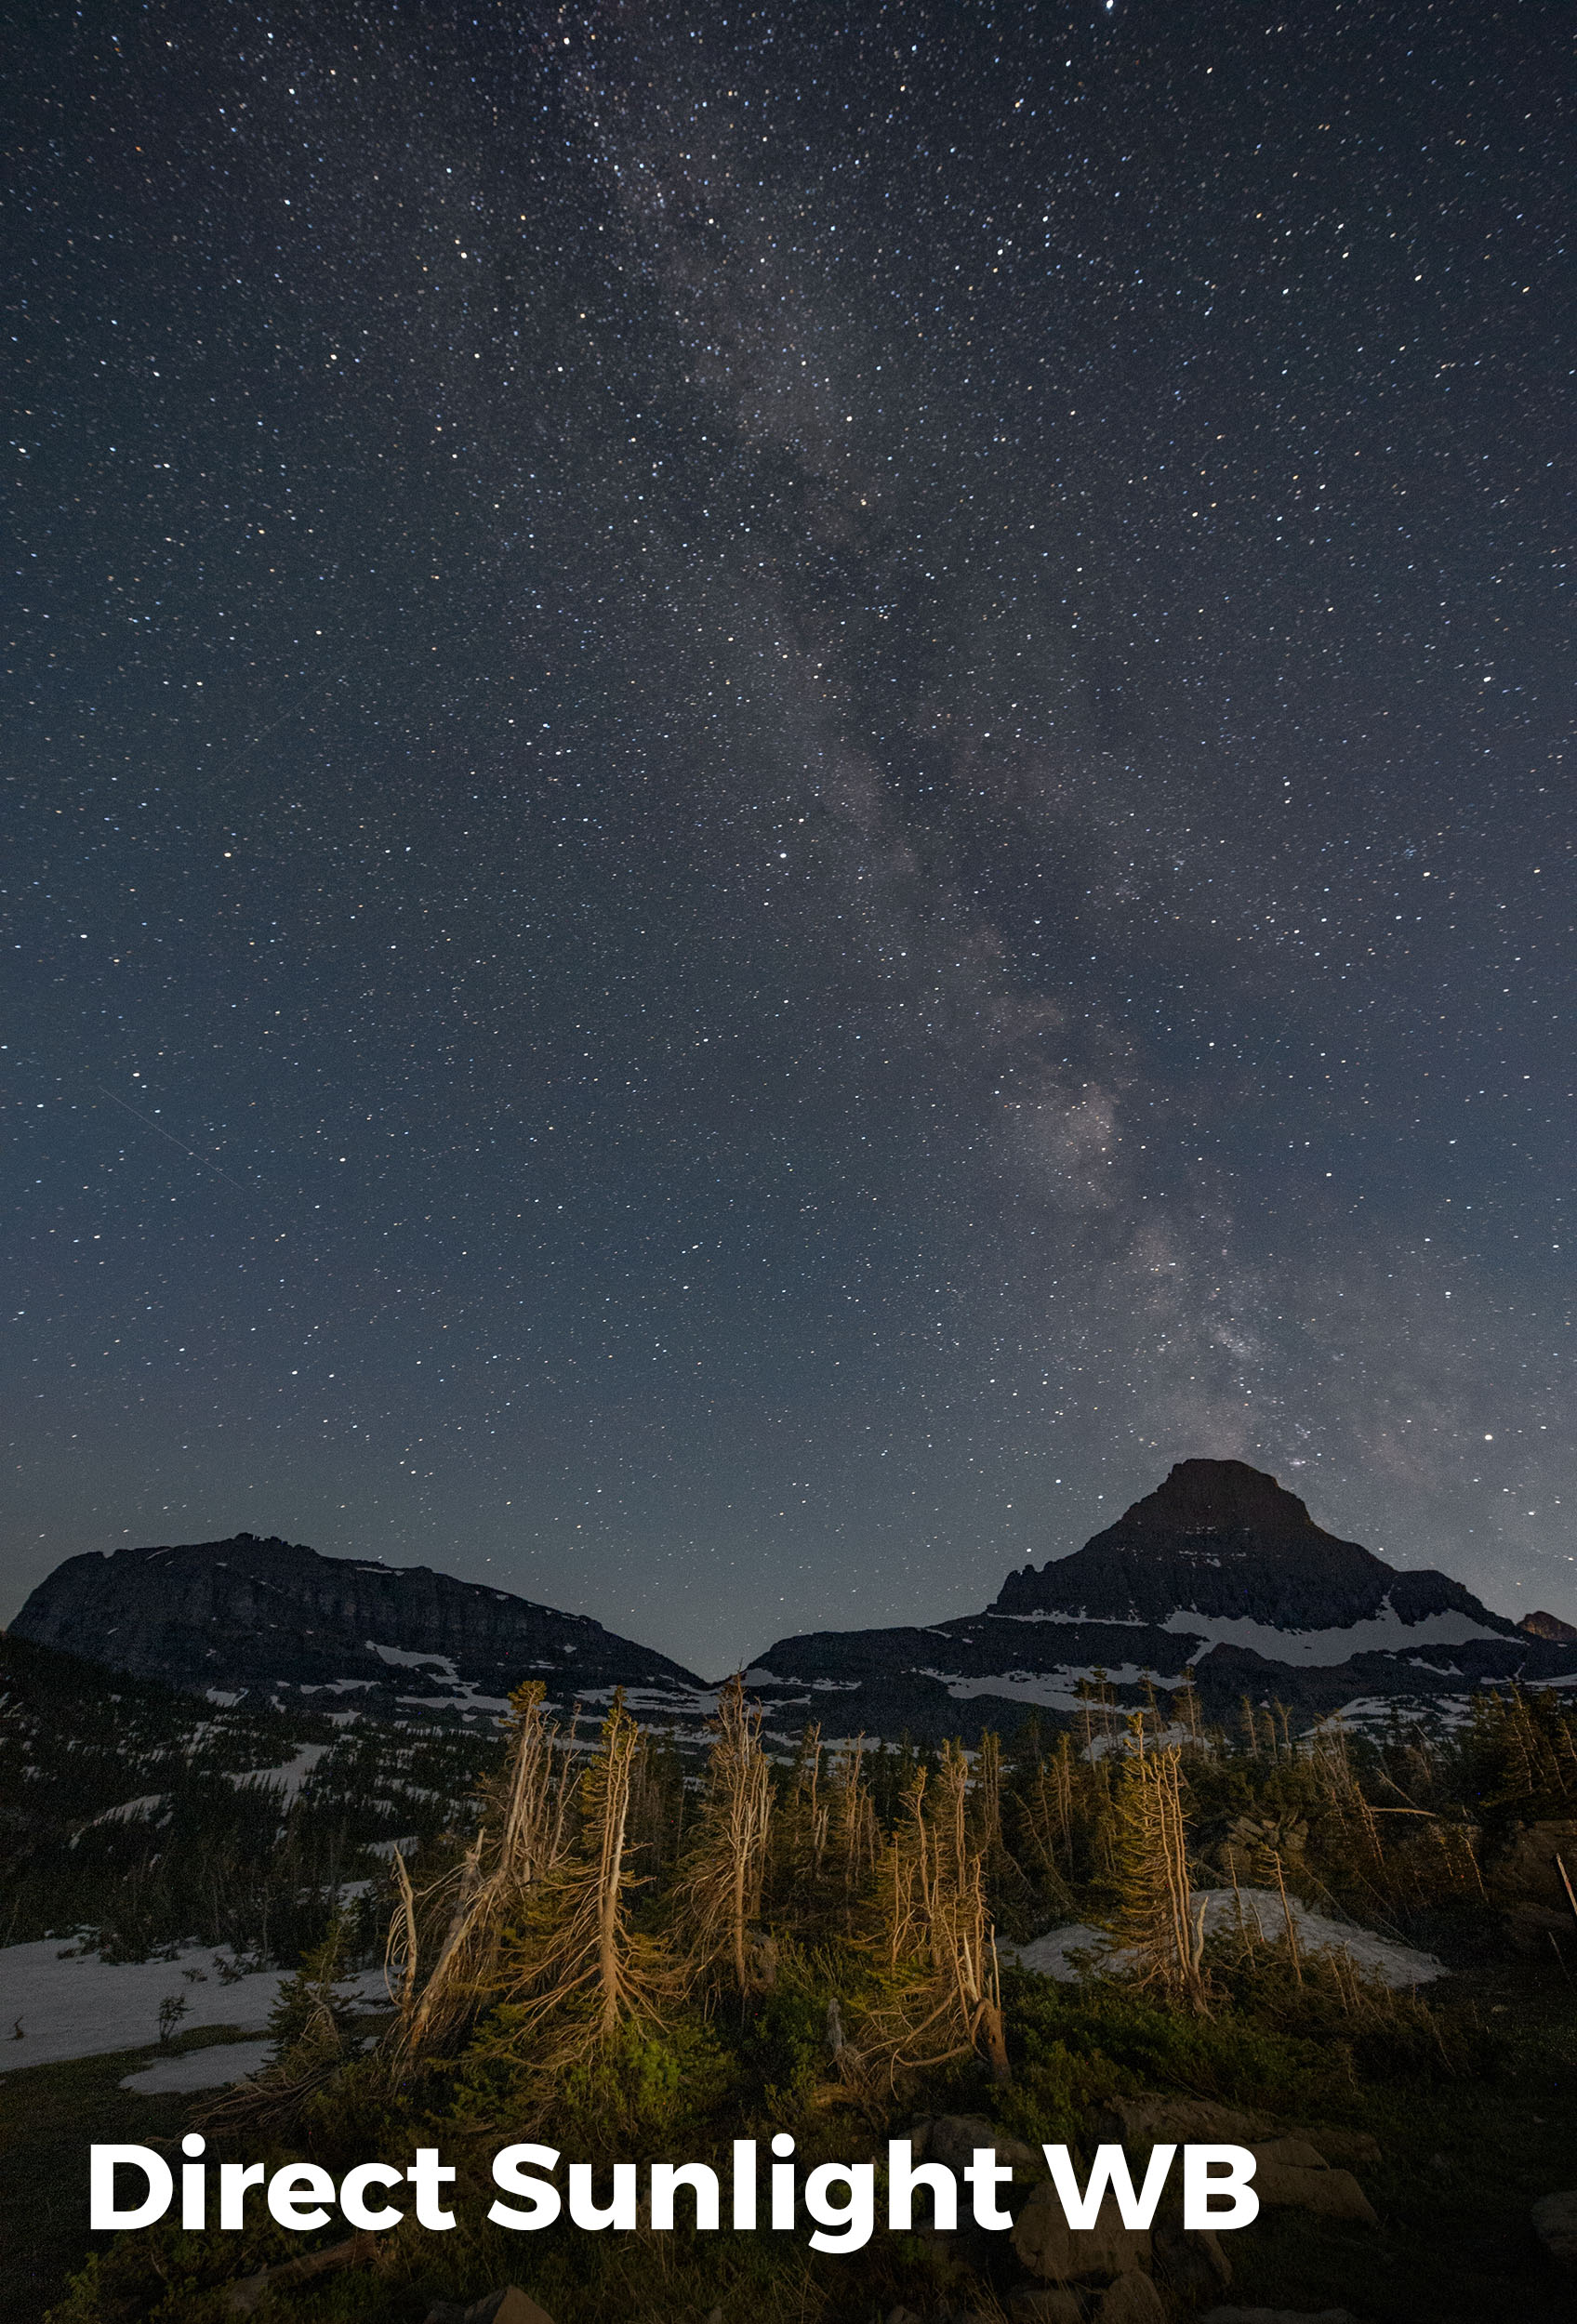
It’s very common for photographers to leave their white balance set on Direct Sunlight when shooting at night. Even with no moonlight this can cause an overly warm look to the image. By your using Kelvin white balance and lowering the setting to, say, 3800 K, you’ll be cooling down your photo and thereby making it look and feel more like night.
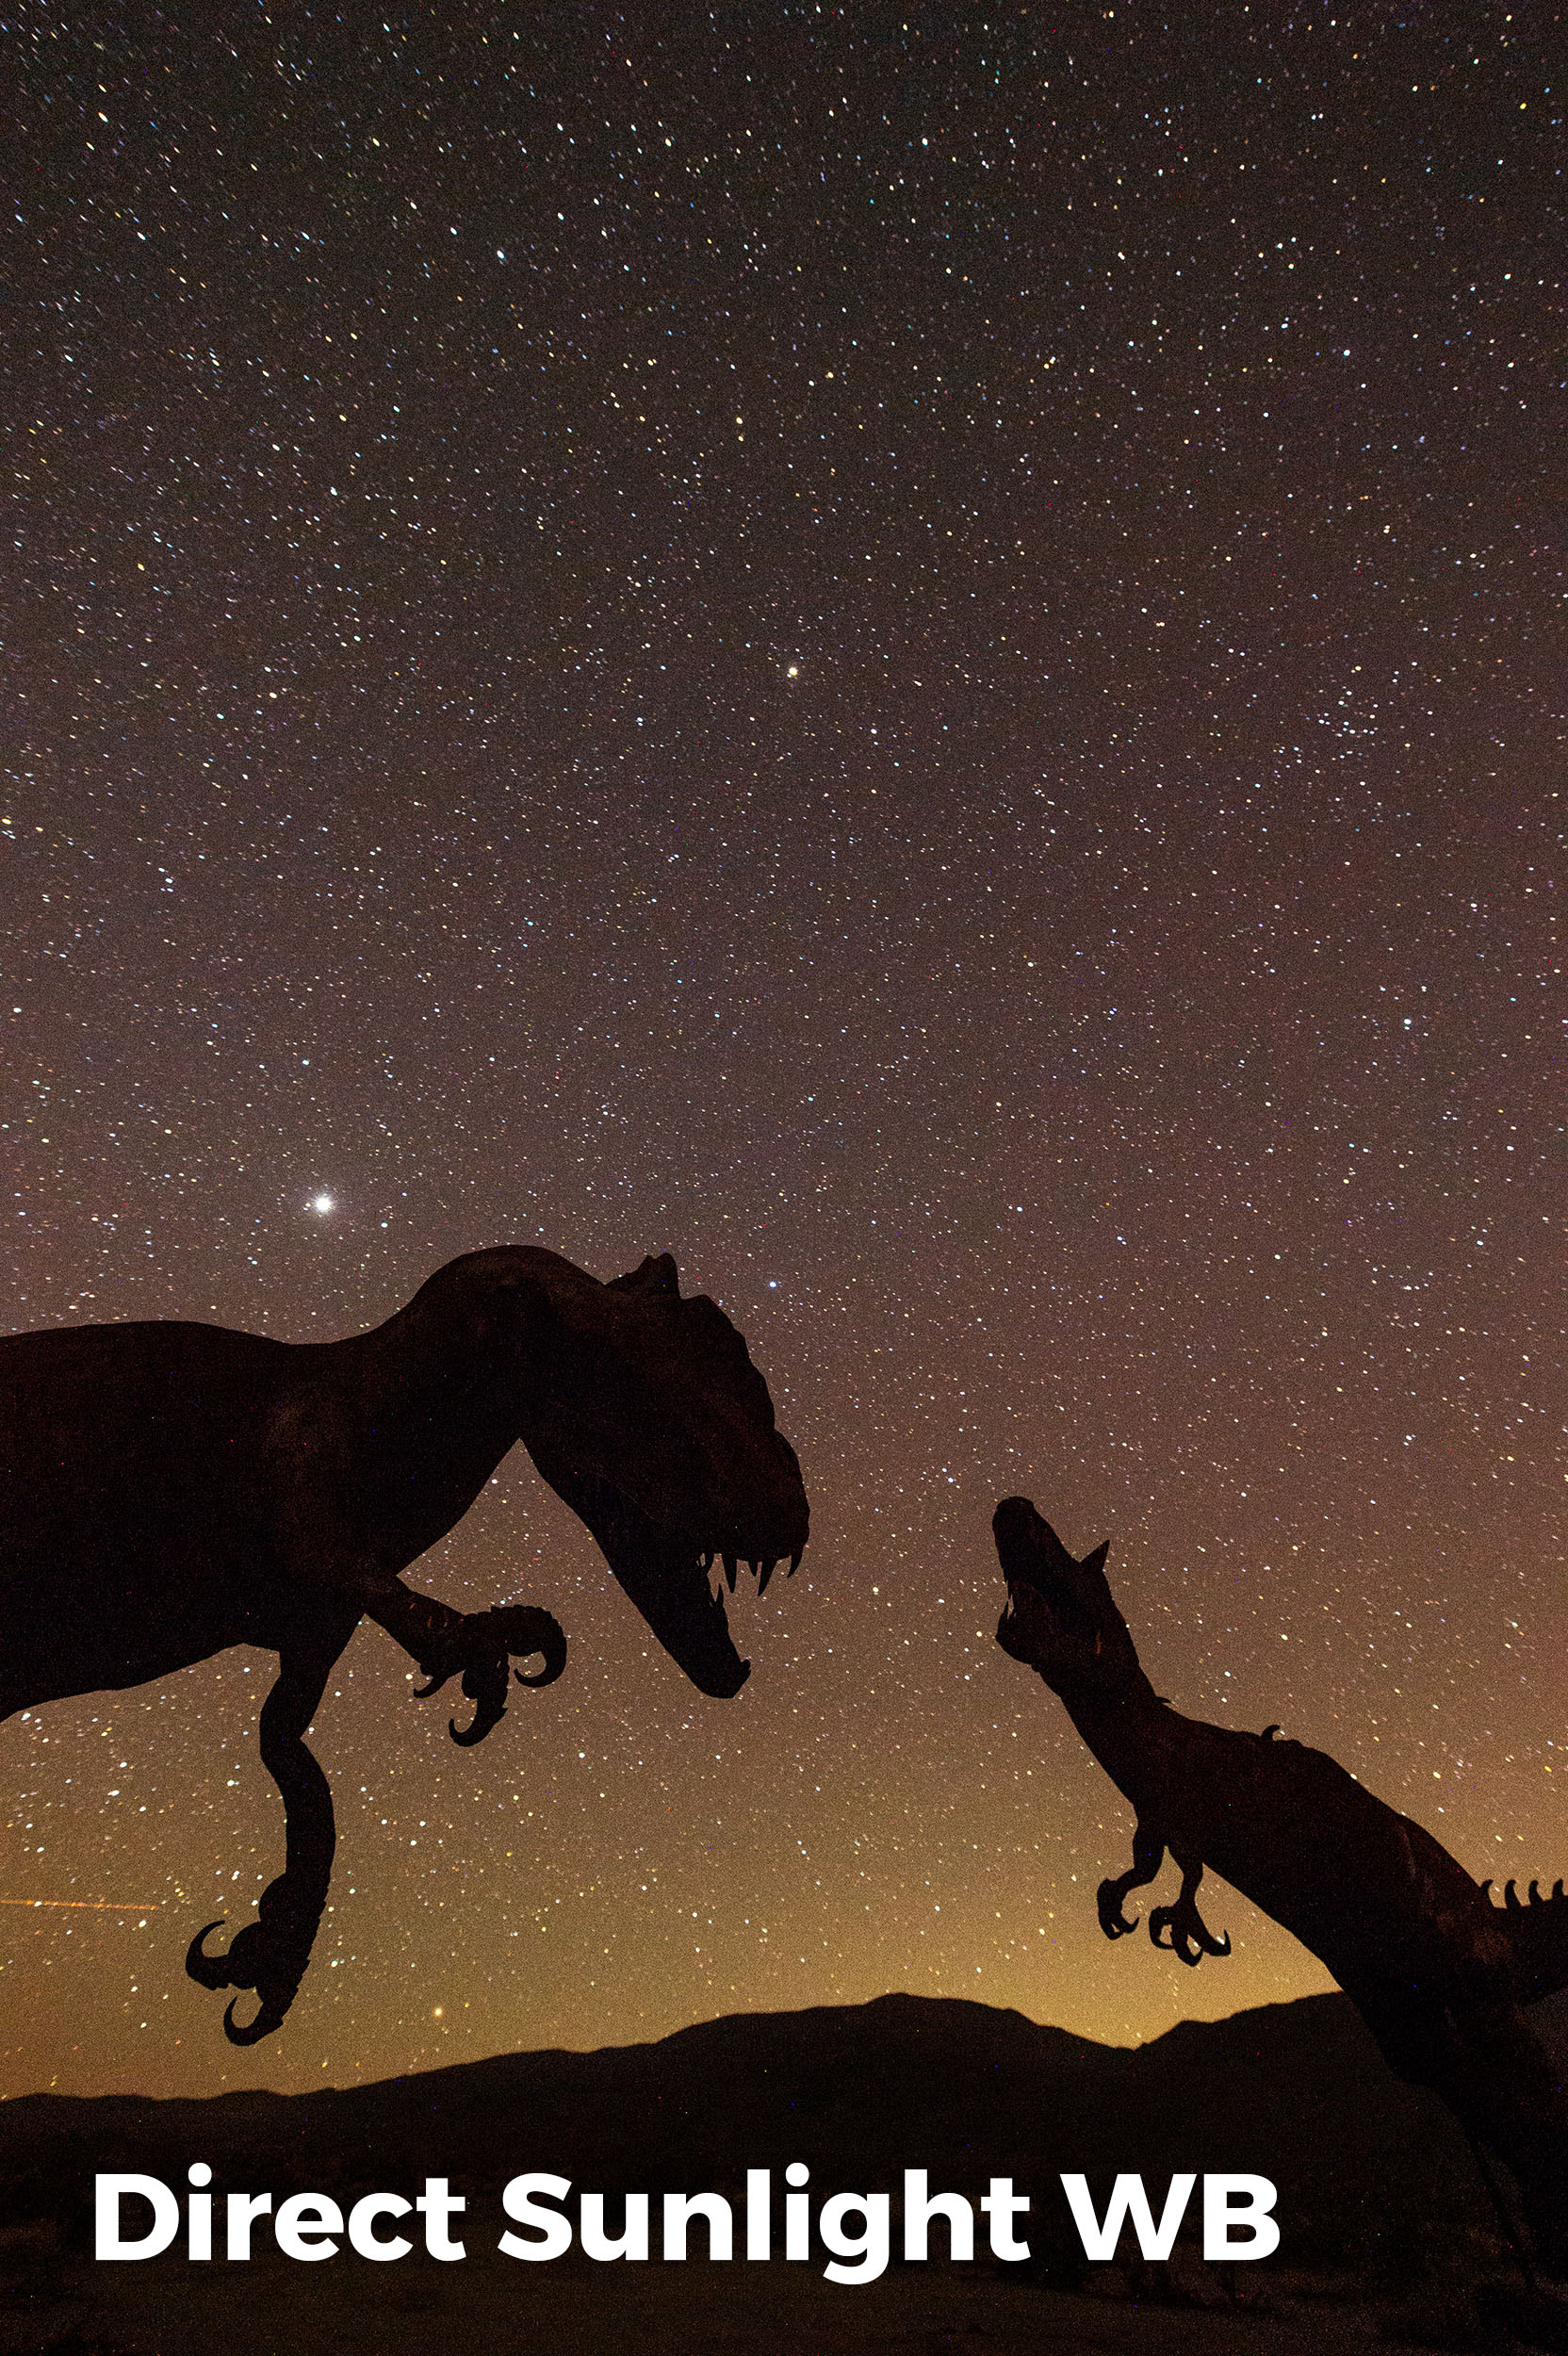
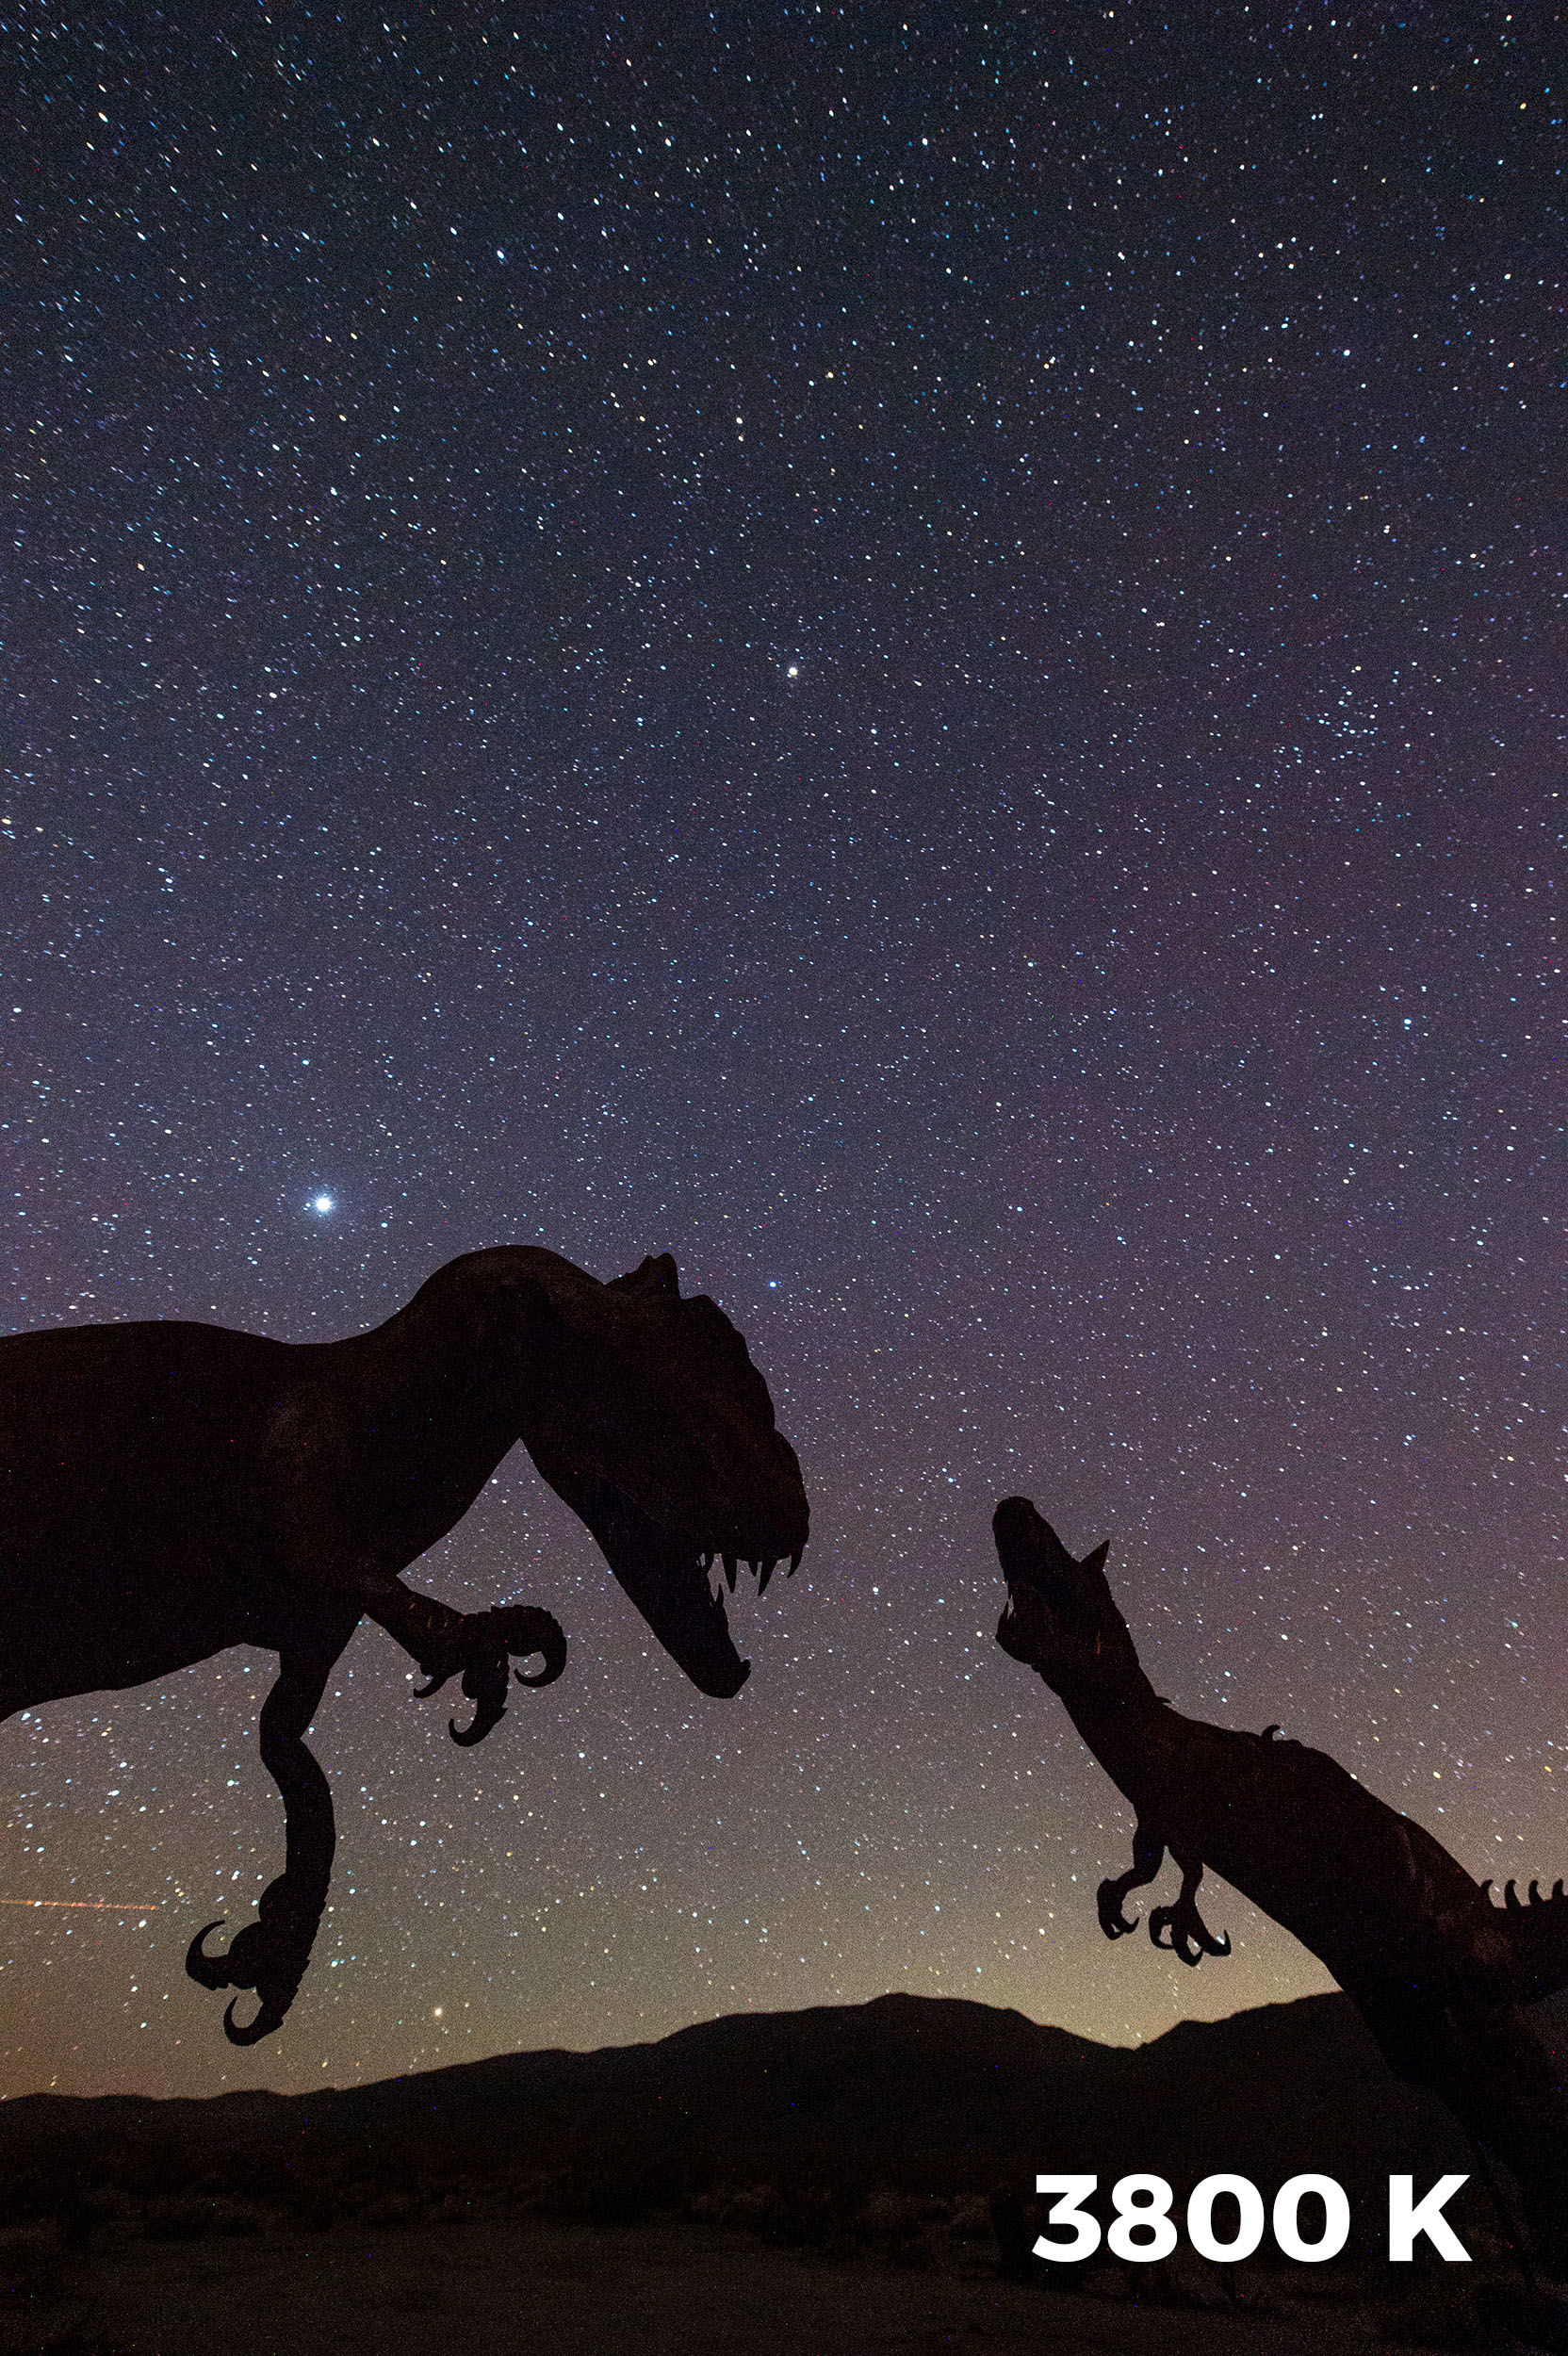
The exact Kelvin setting you choose will vary greatly depending on the circumstances. Here the white balance of the first shot was set to Direct Sunlight. There was very little moonlight and little to no light pollution from nearby towns. In this case, I cooled down my photo by setting a Kelvin temperature of 4200 K.

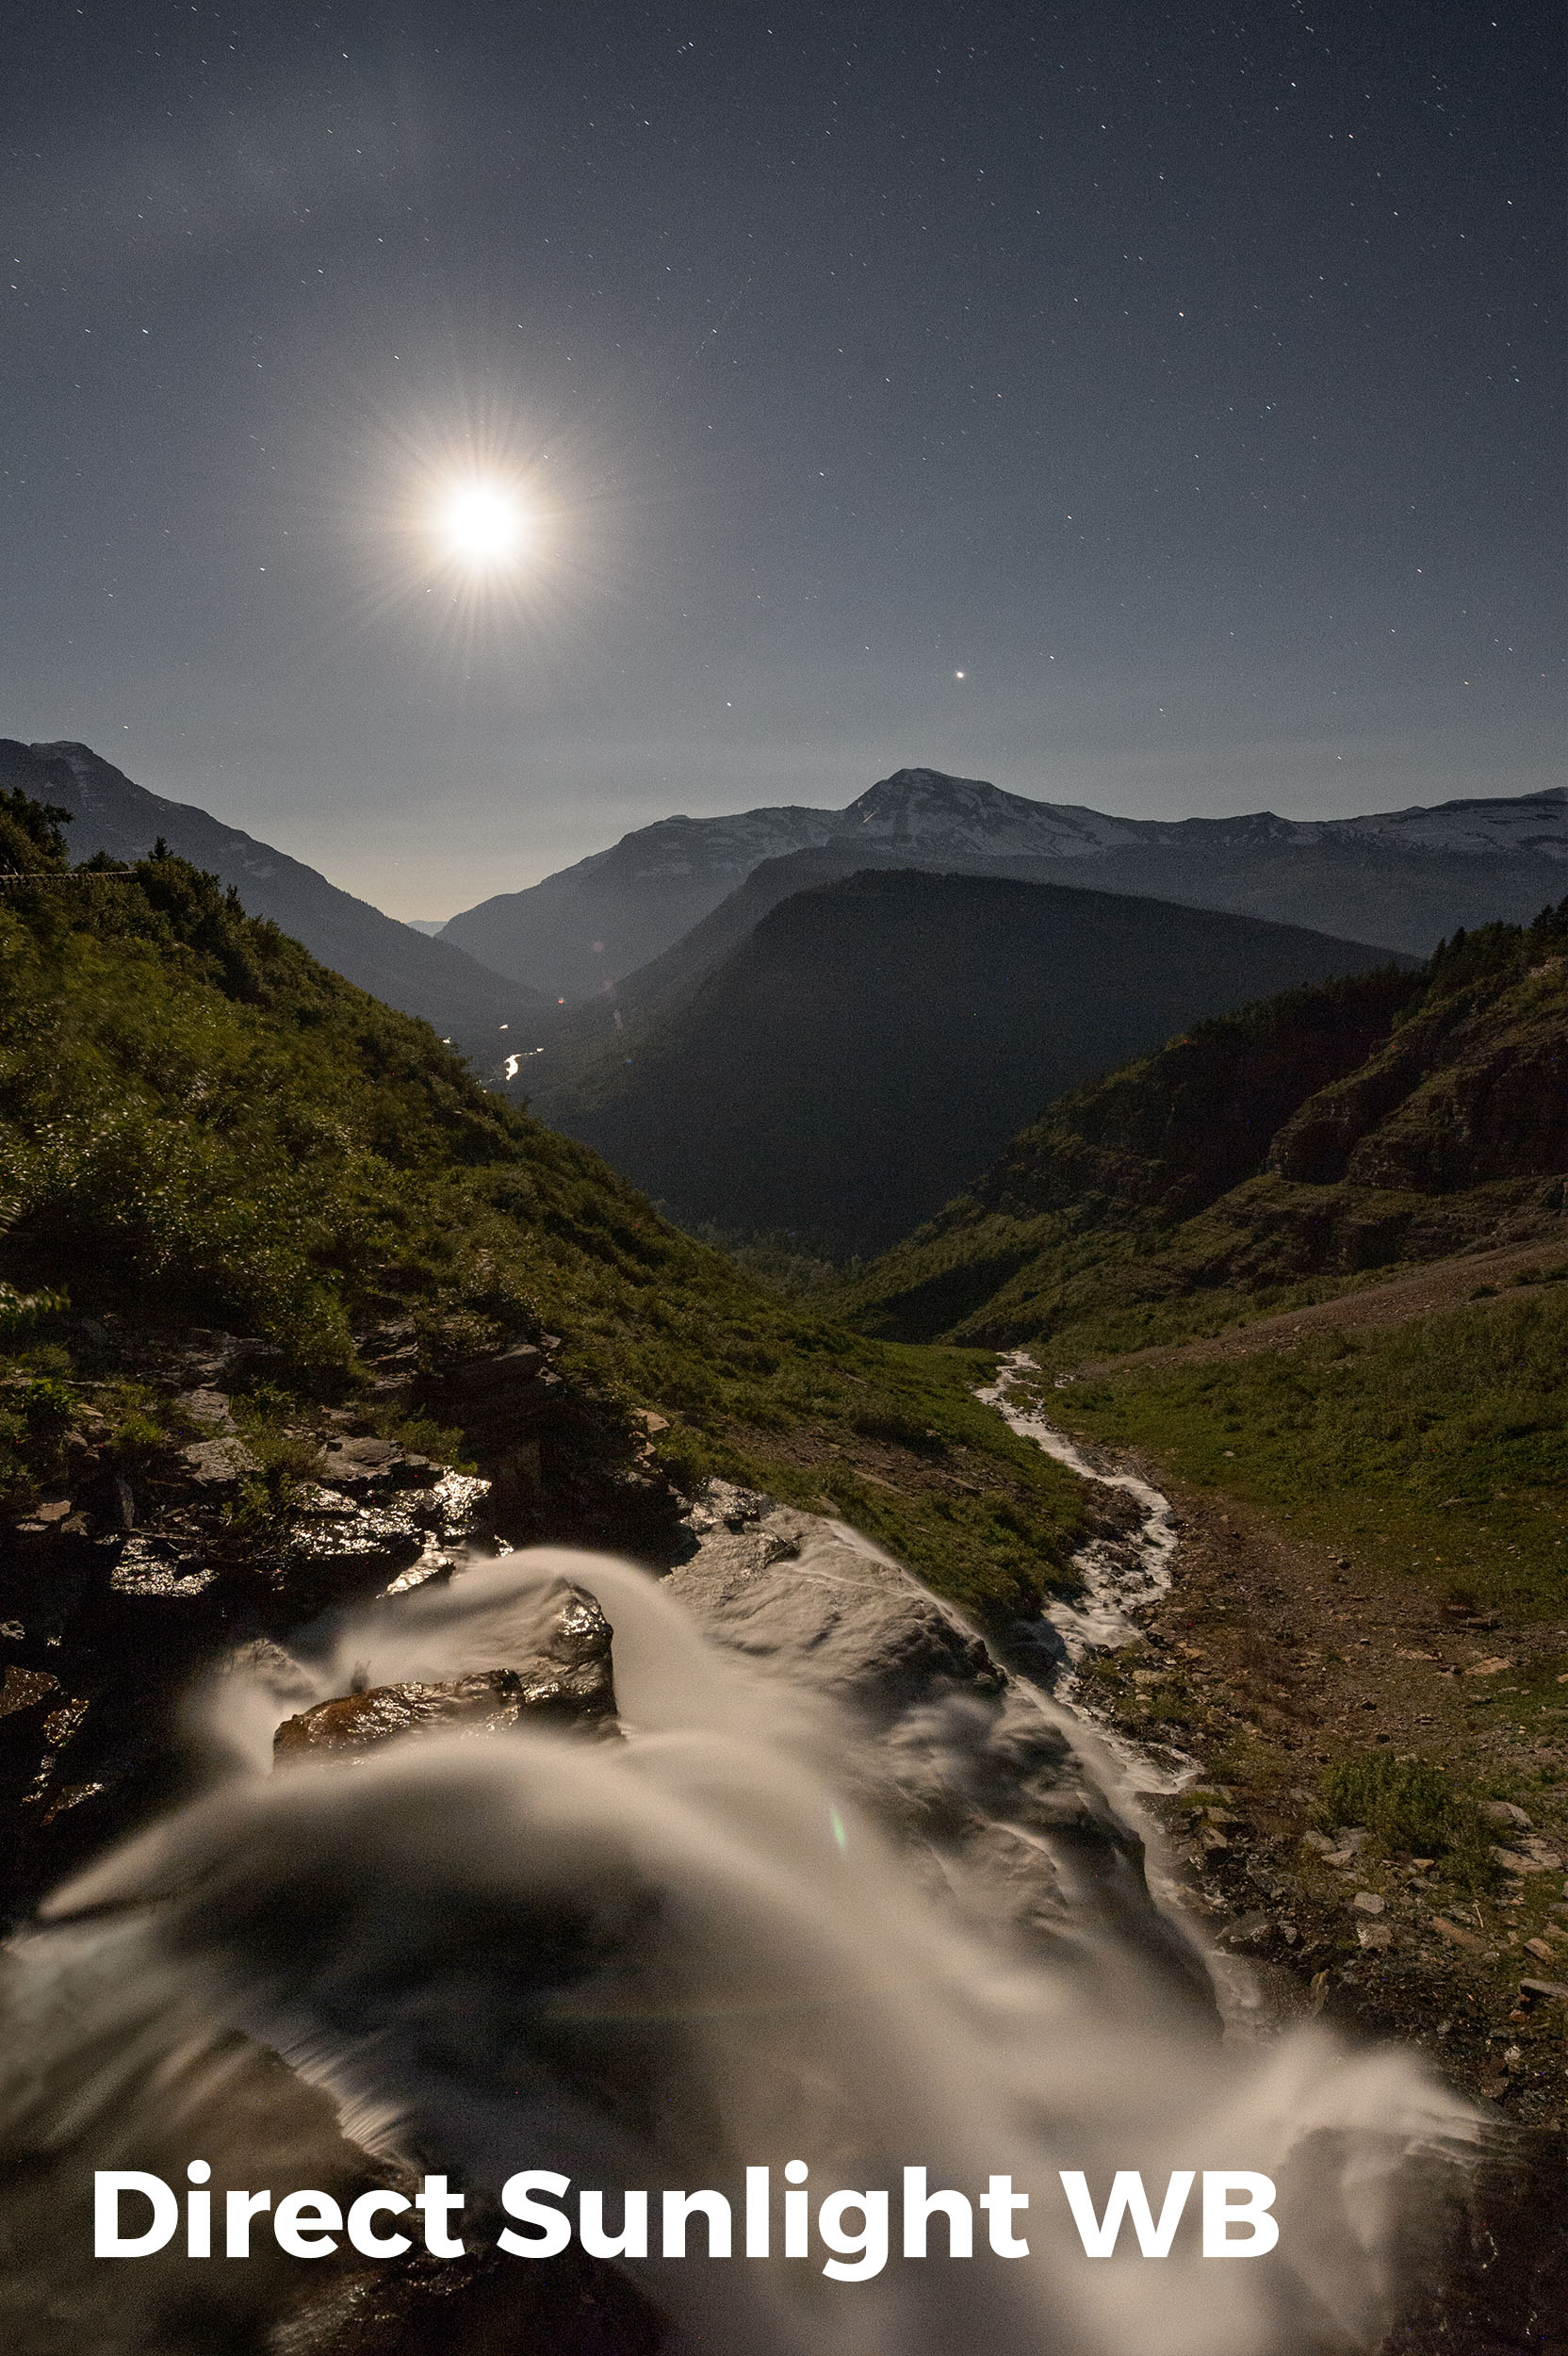
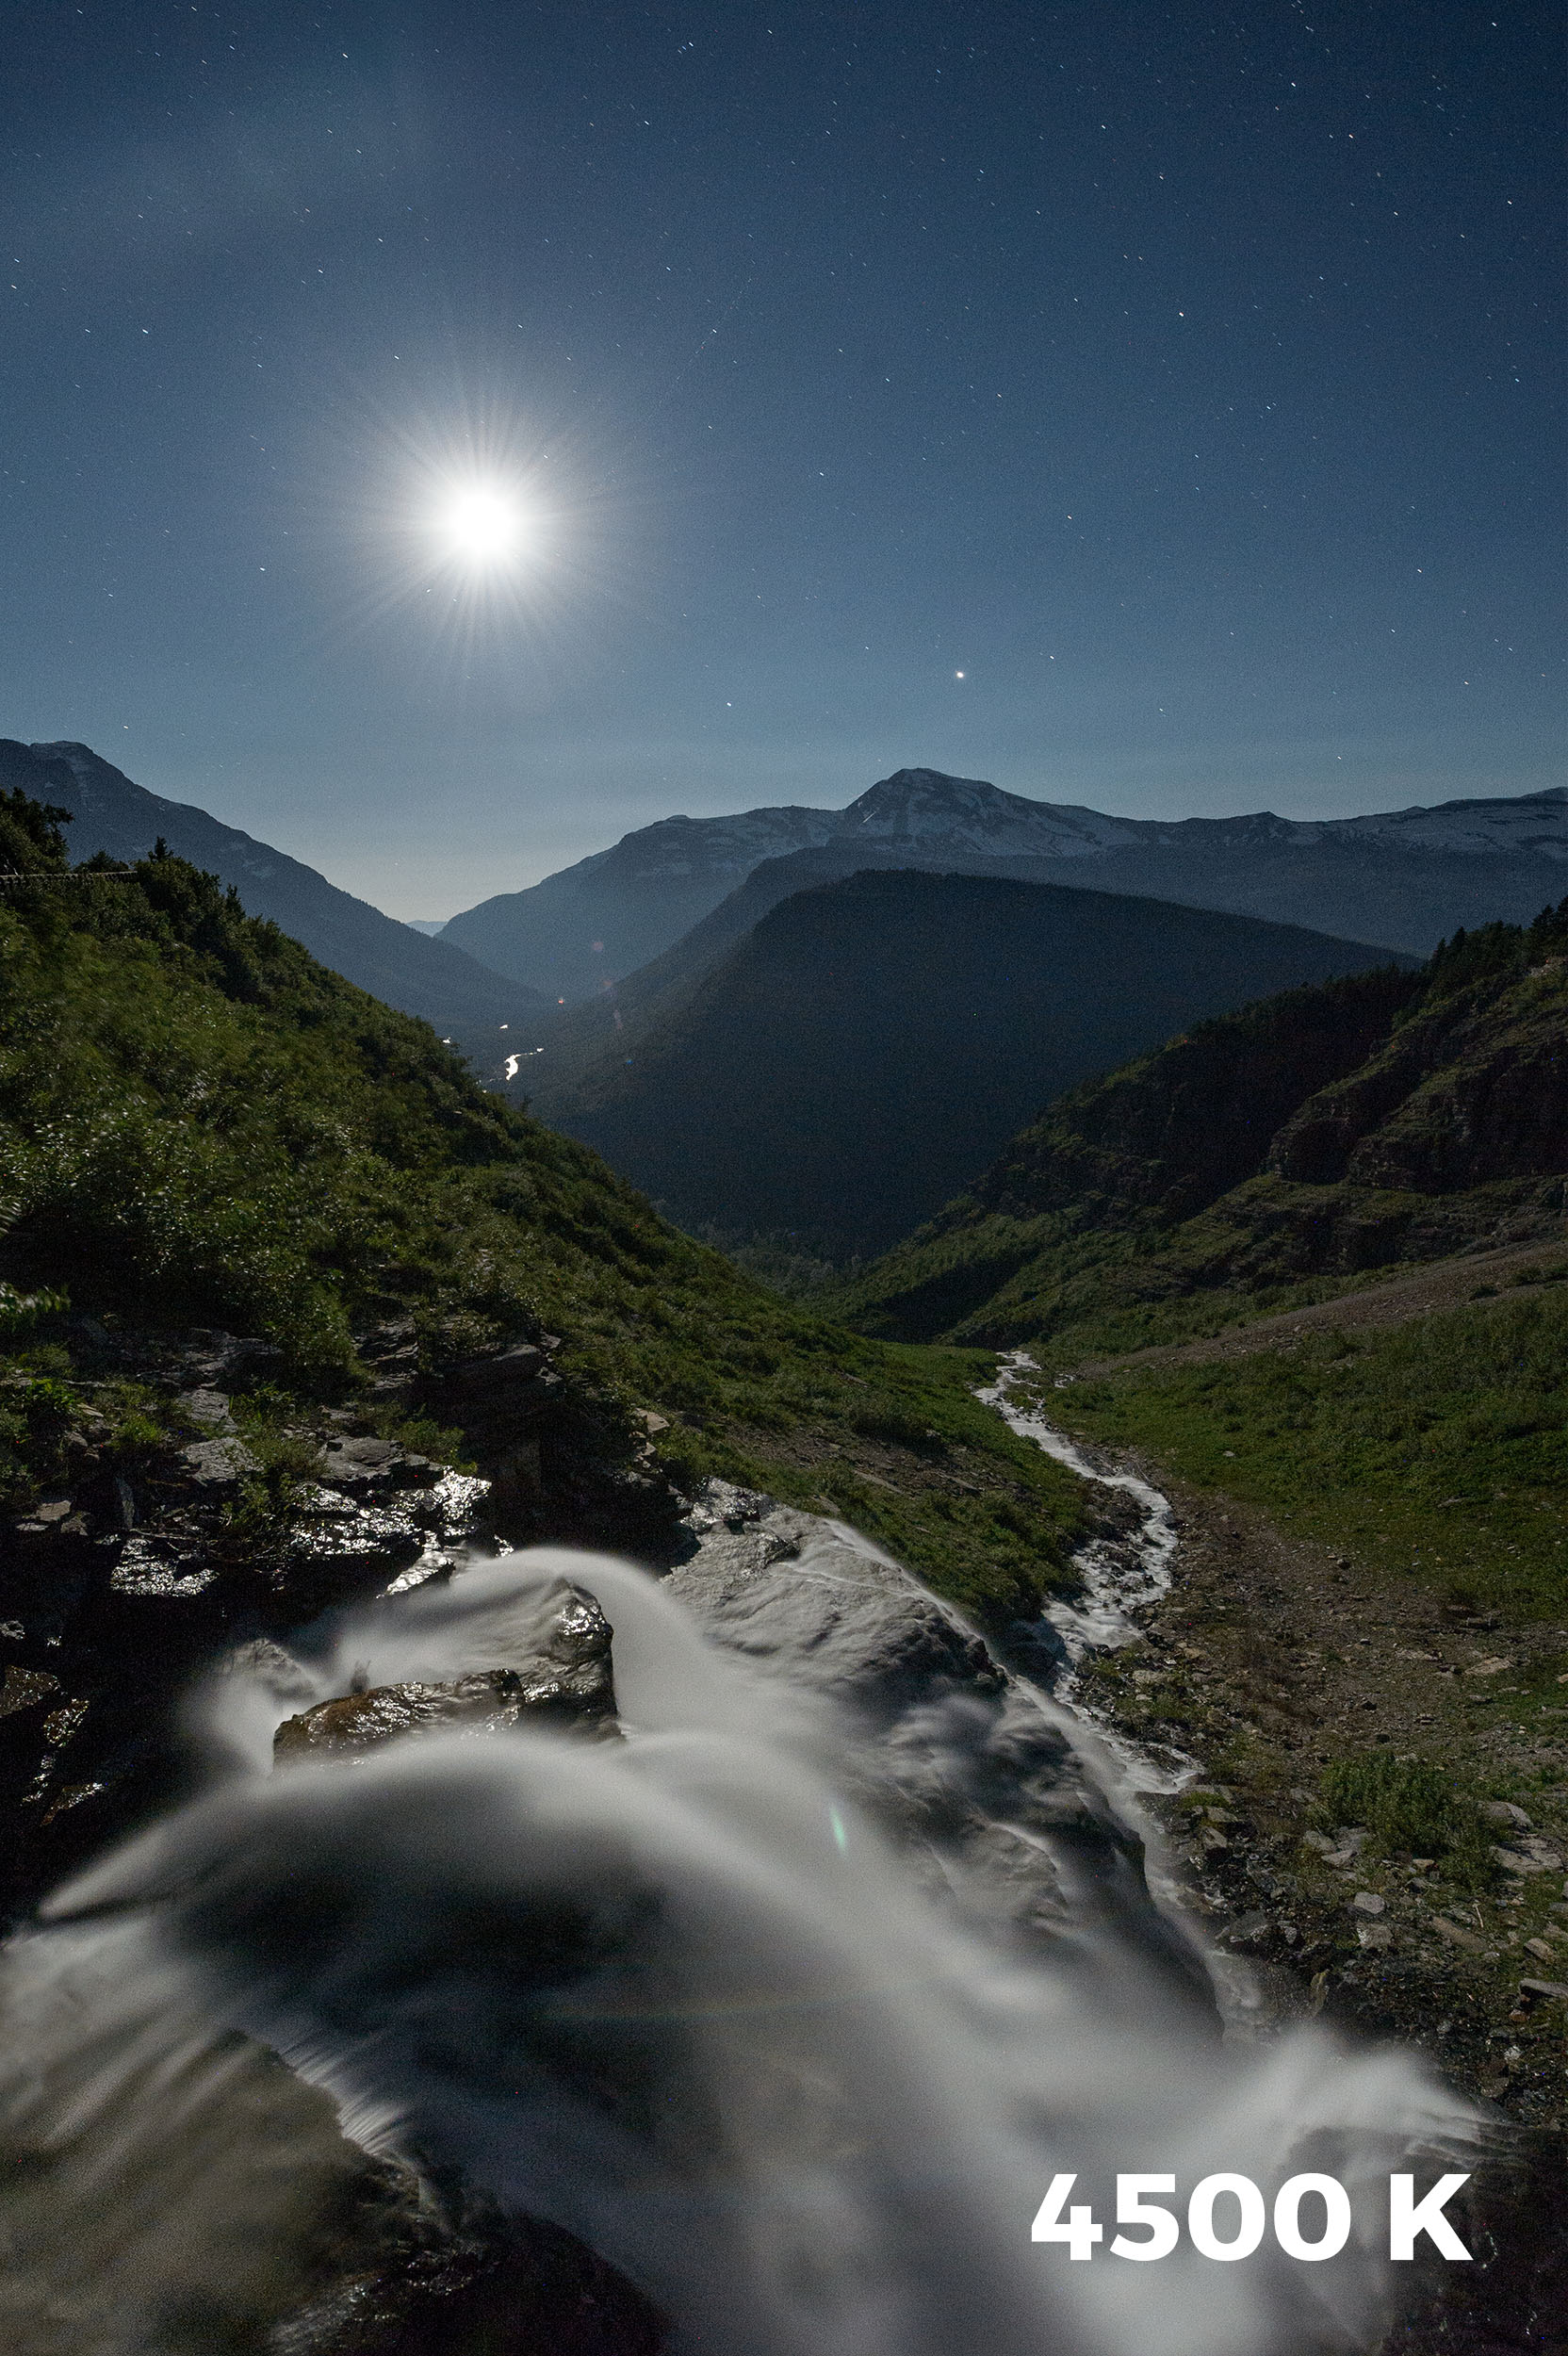
The following images were made under a full moon. The first was made with a white balance of Direct Sunlight. The second image was with a manual setting of 4500 K.
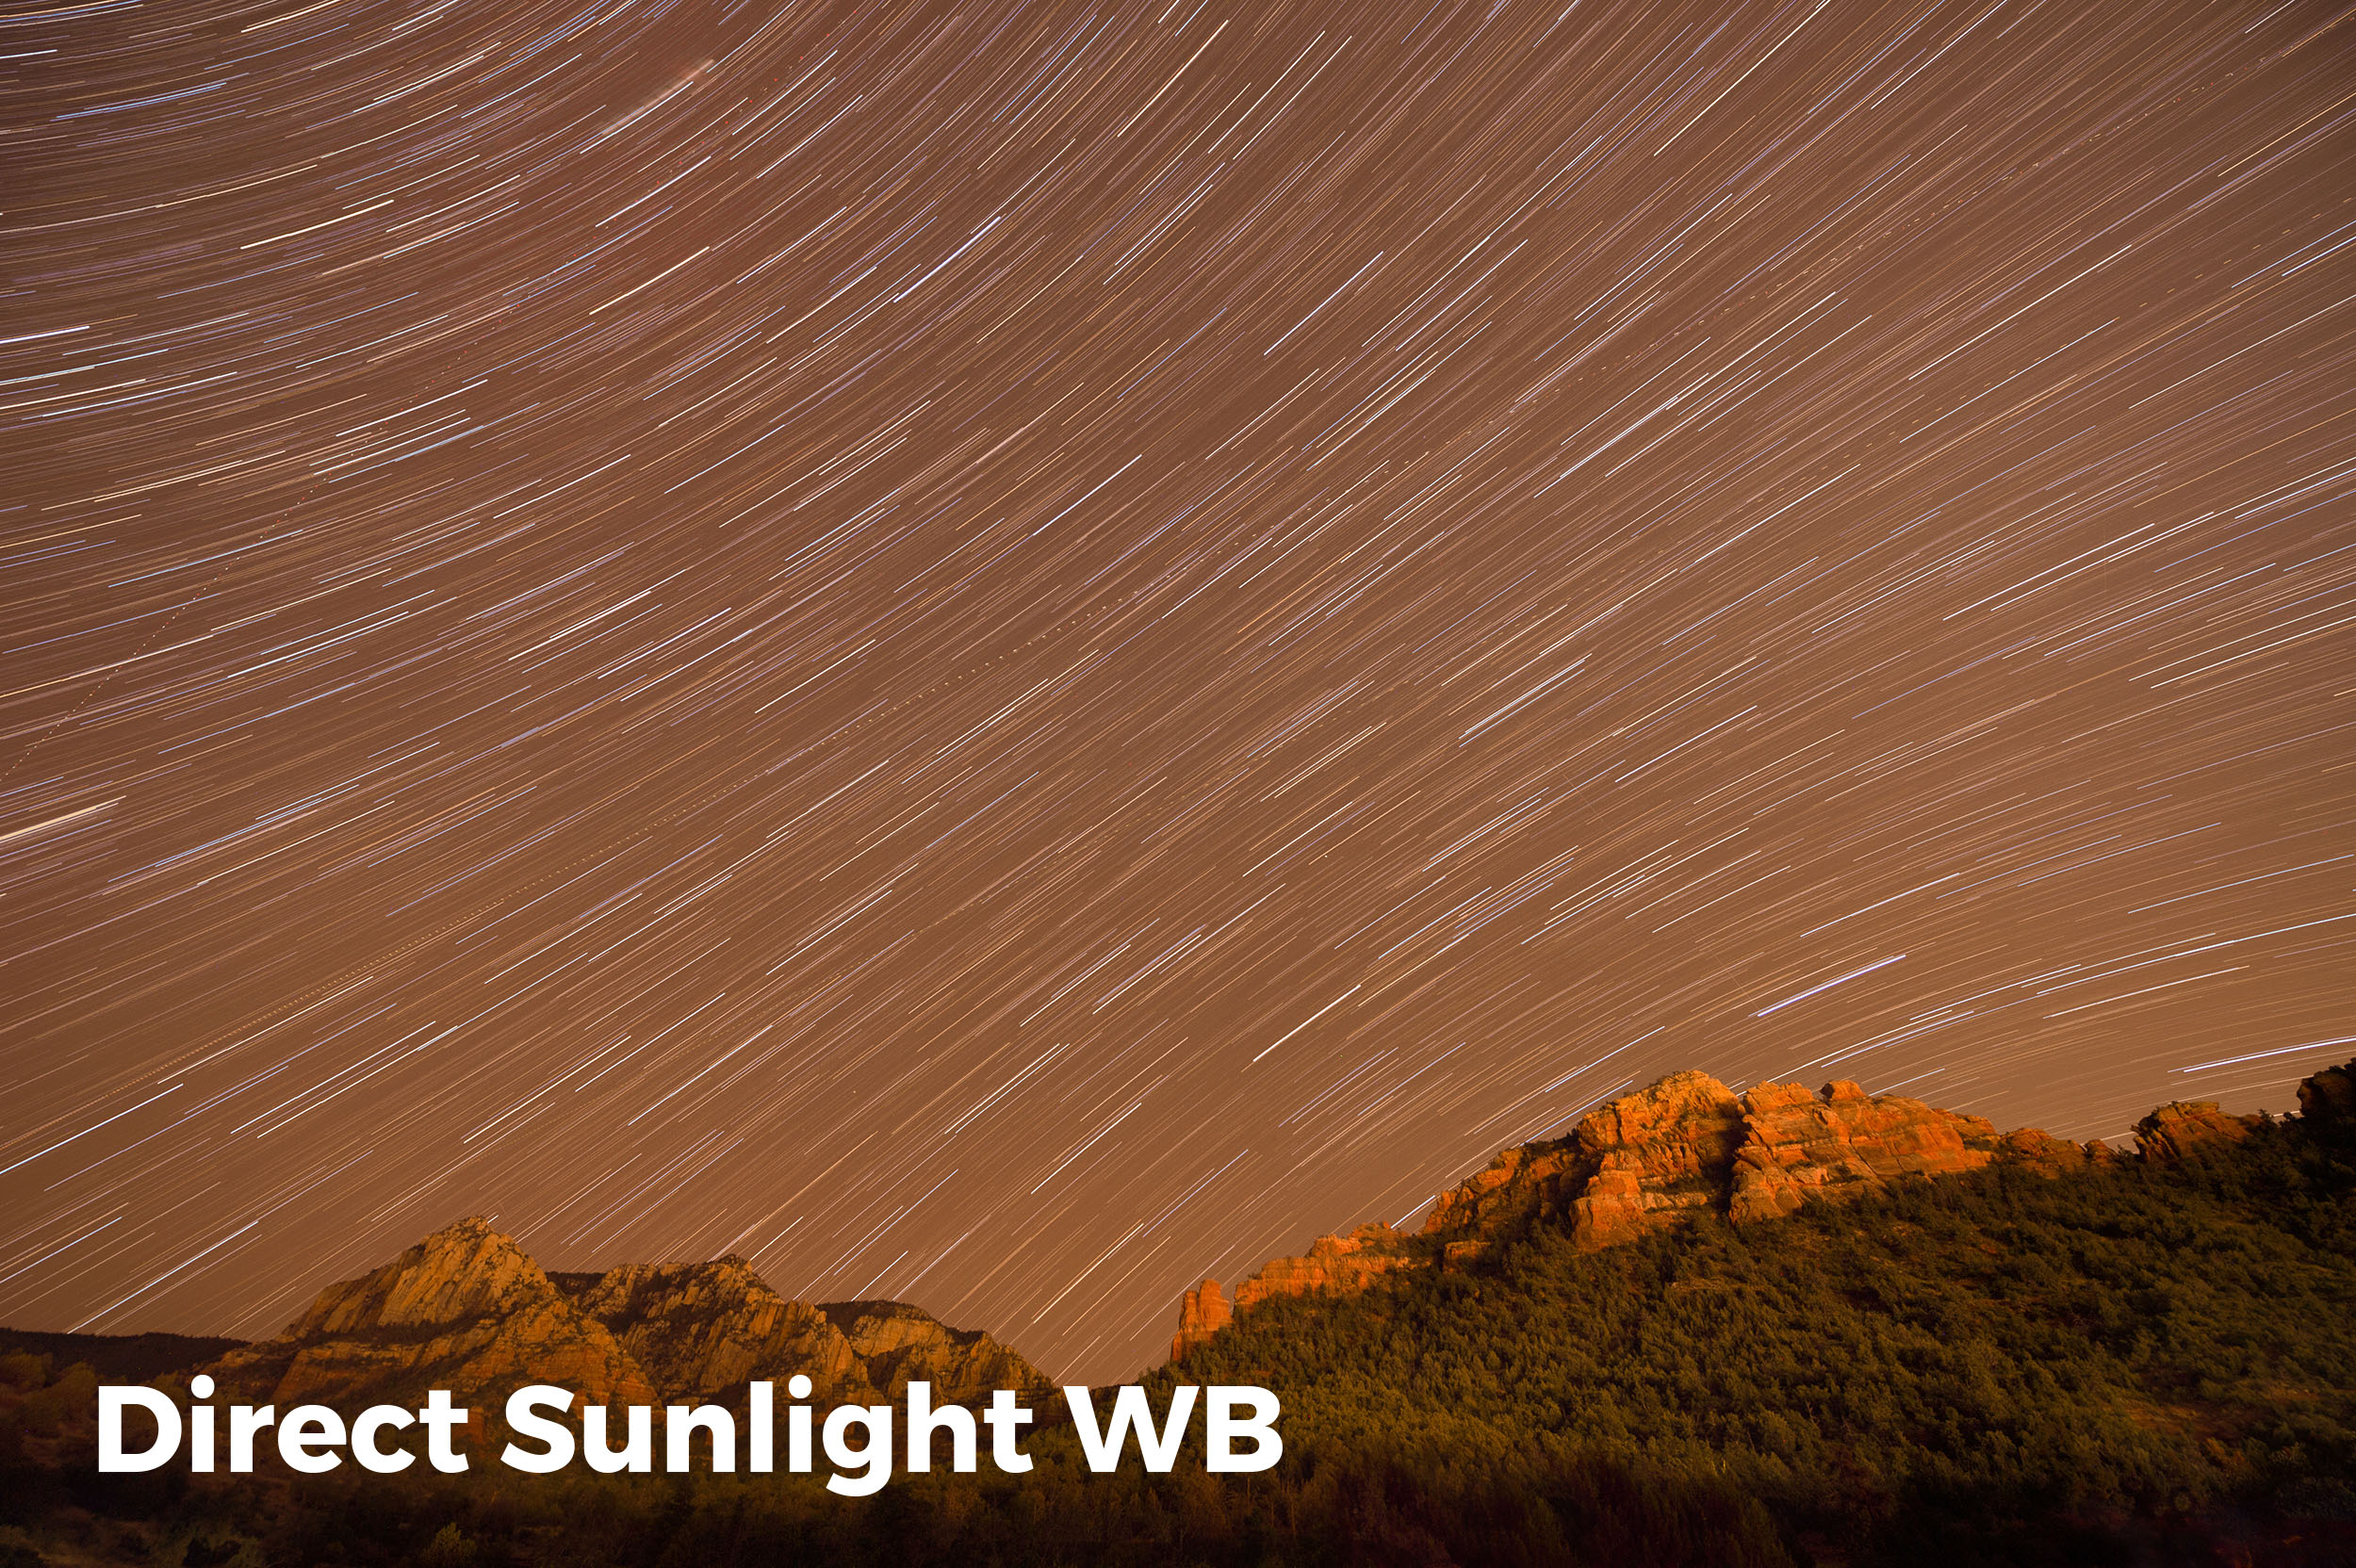
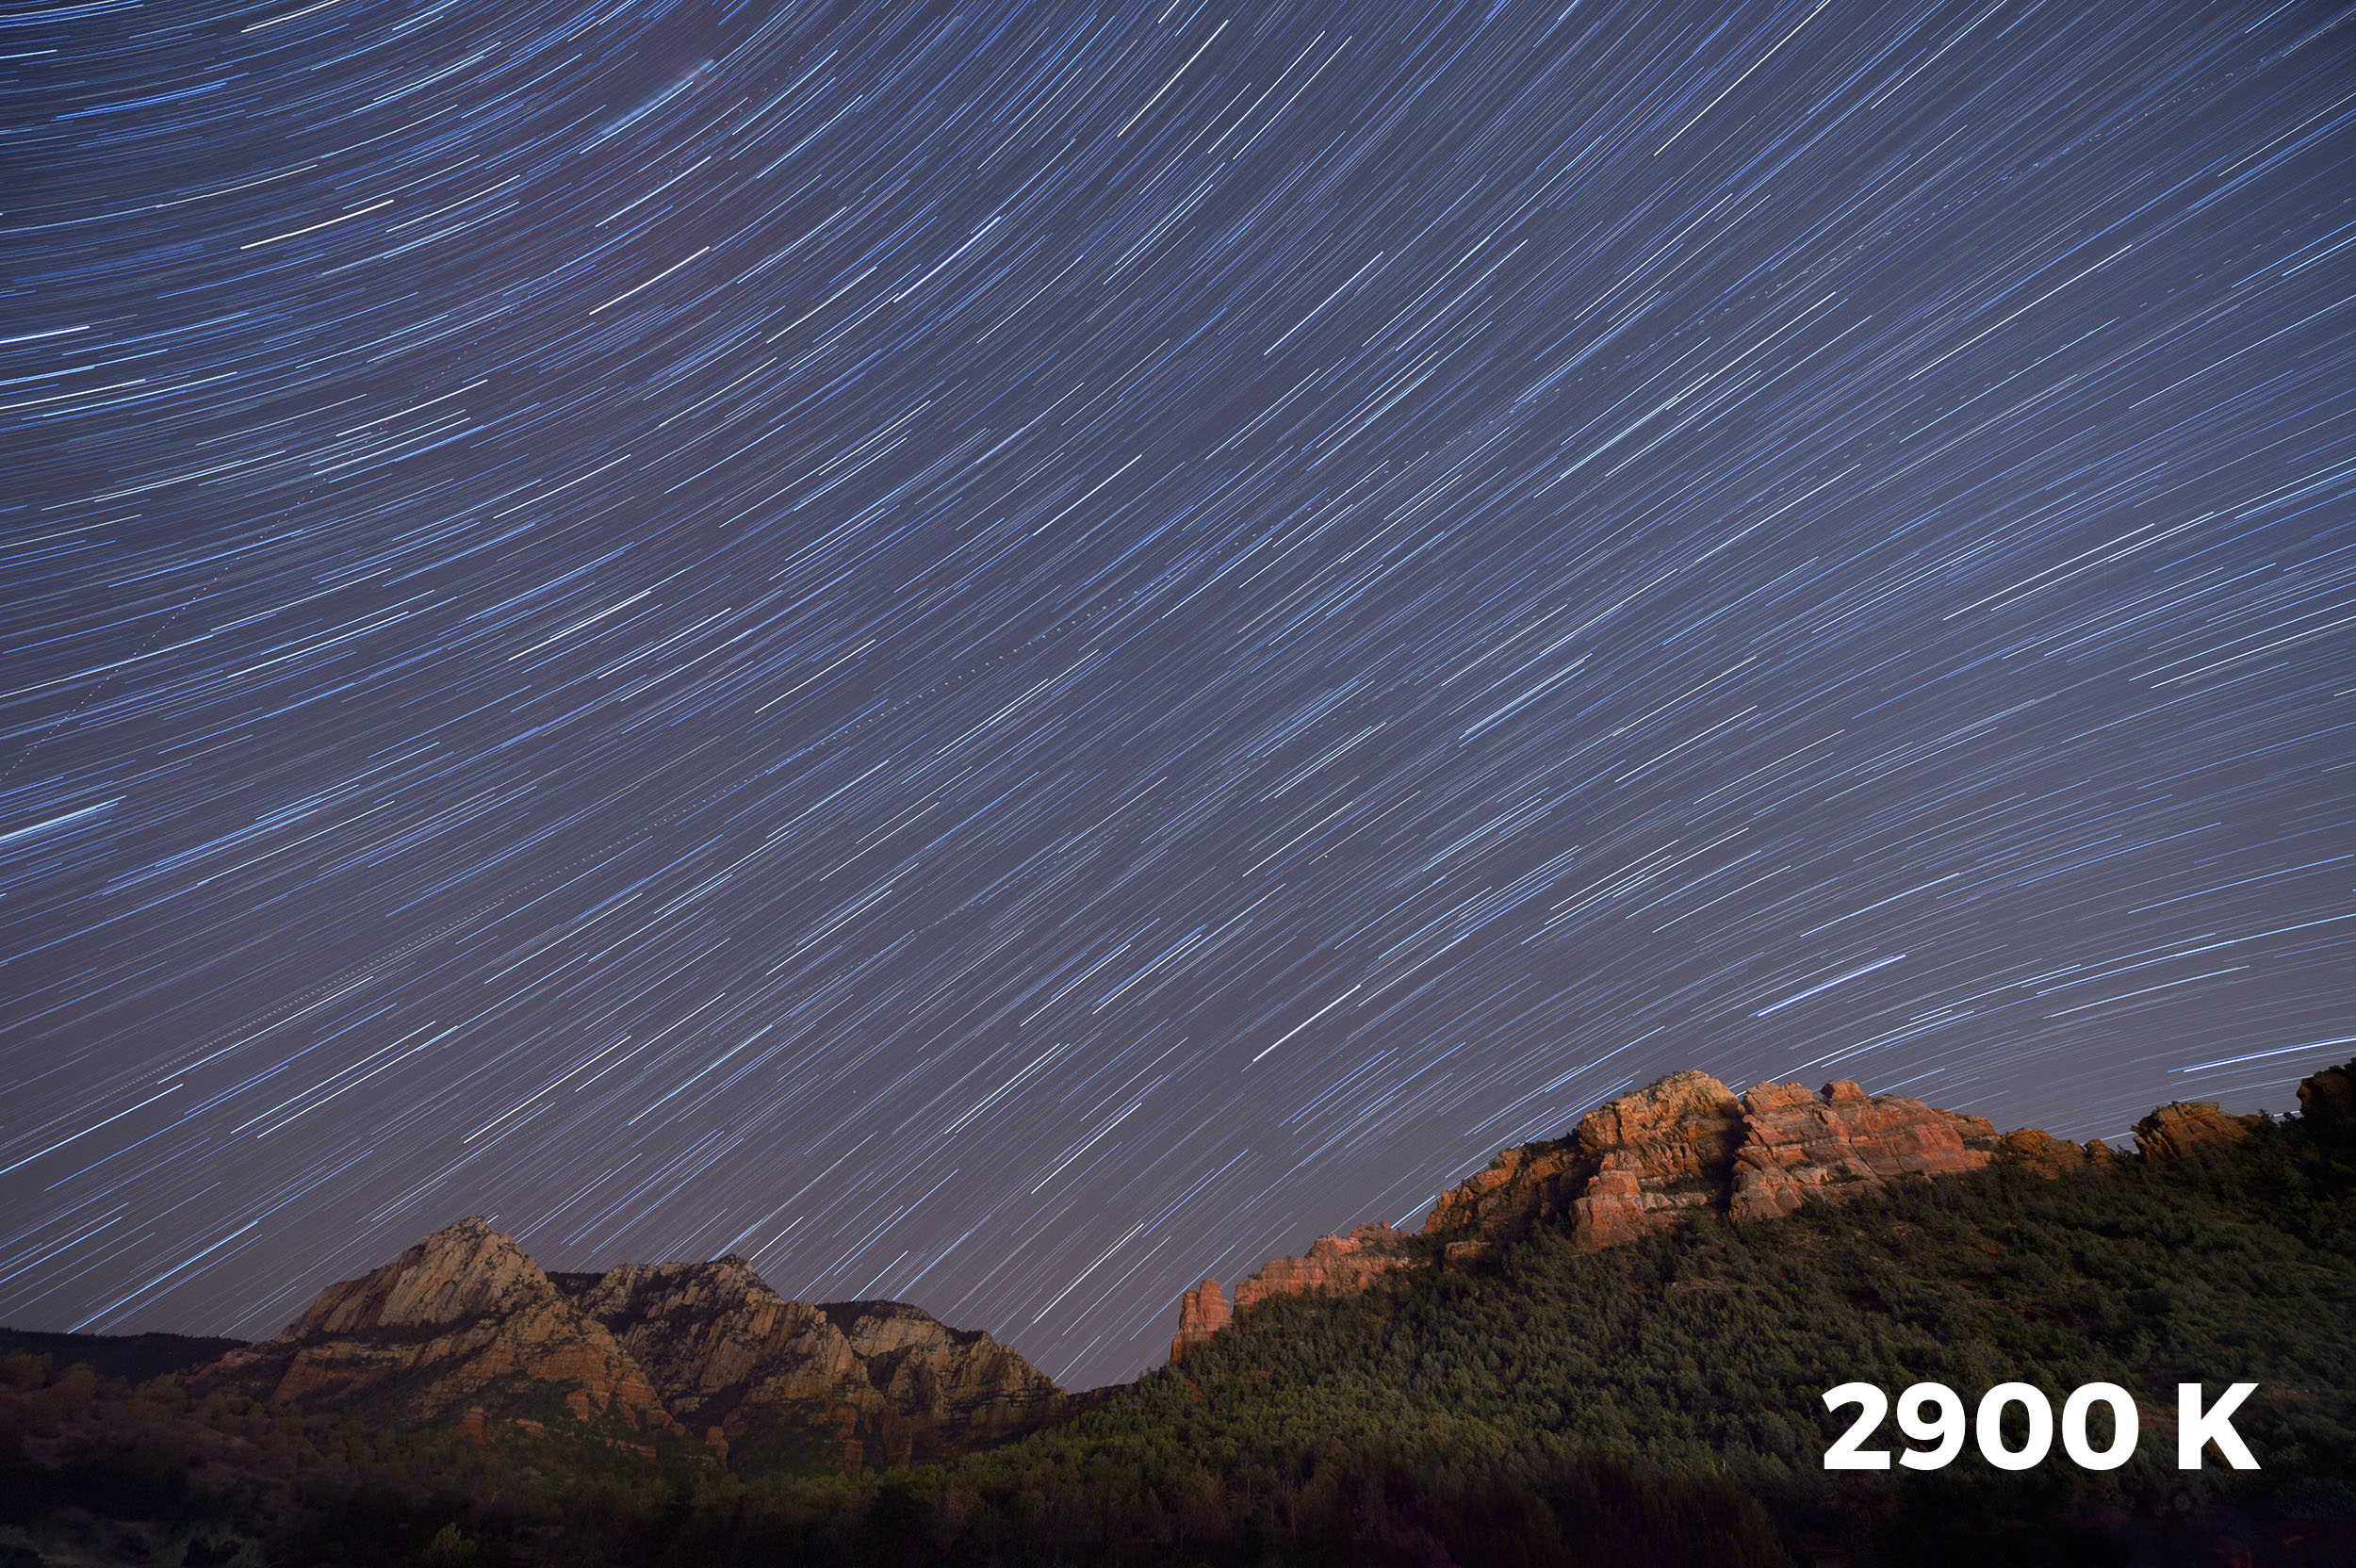
When you are near cities or towns, the lights can dramatically influence the color cast of your photographs. In the following images I was just outside of Sedona, Arizona. With the white balance set to Direct Sunlight, the color cast was way too warm. In this case I had to move my Kelvin setting all the way down to 2800 K.
As with most white balance settings, there are no absolutes. So much depends on your personal choice, the current moon phase, the amount of ambient light pollution from nearby towns or cities, and even the type of camera you use. Every camera will render colors a little differently.
The key here is experimentation. Try different K settings under many different conditions. After downloading, examine them closely on your computer. Make notes. Go out and try again. The more you experiment, the better you’ll be at setting your Kelvin temperature. And the better you are nailing the white balance in the field, the less time you have to spend fixing the image in post-processing!


