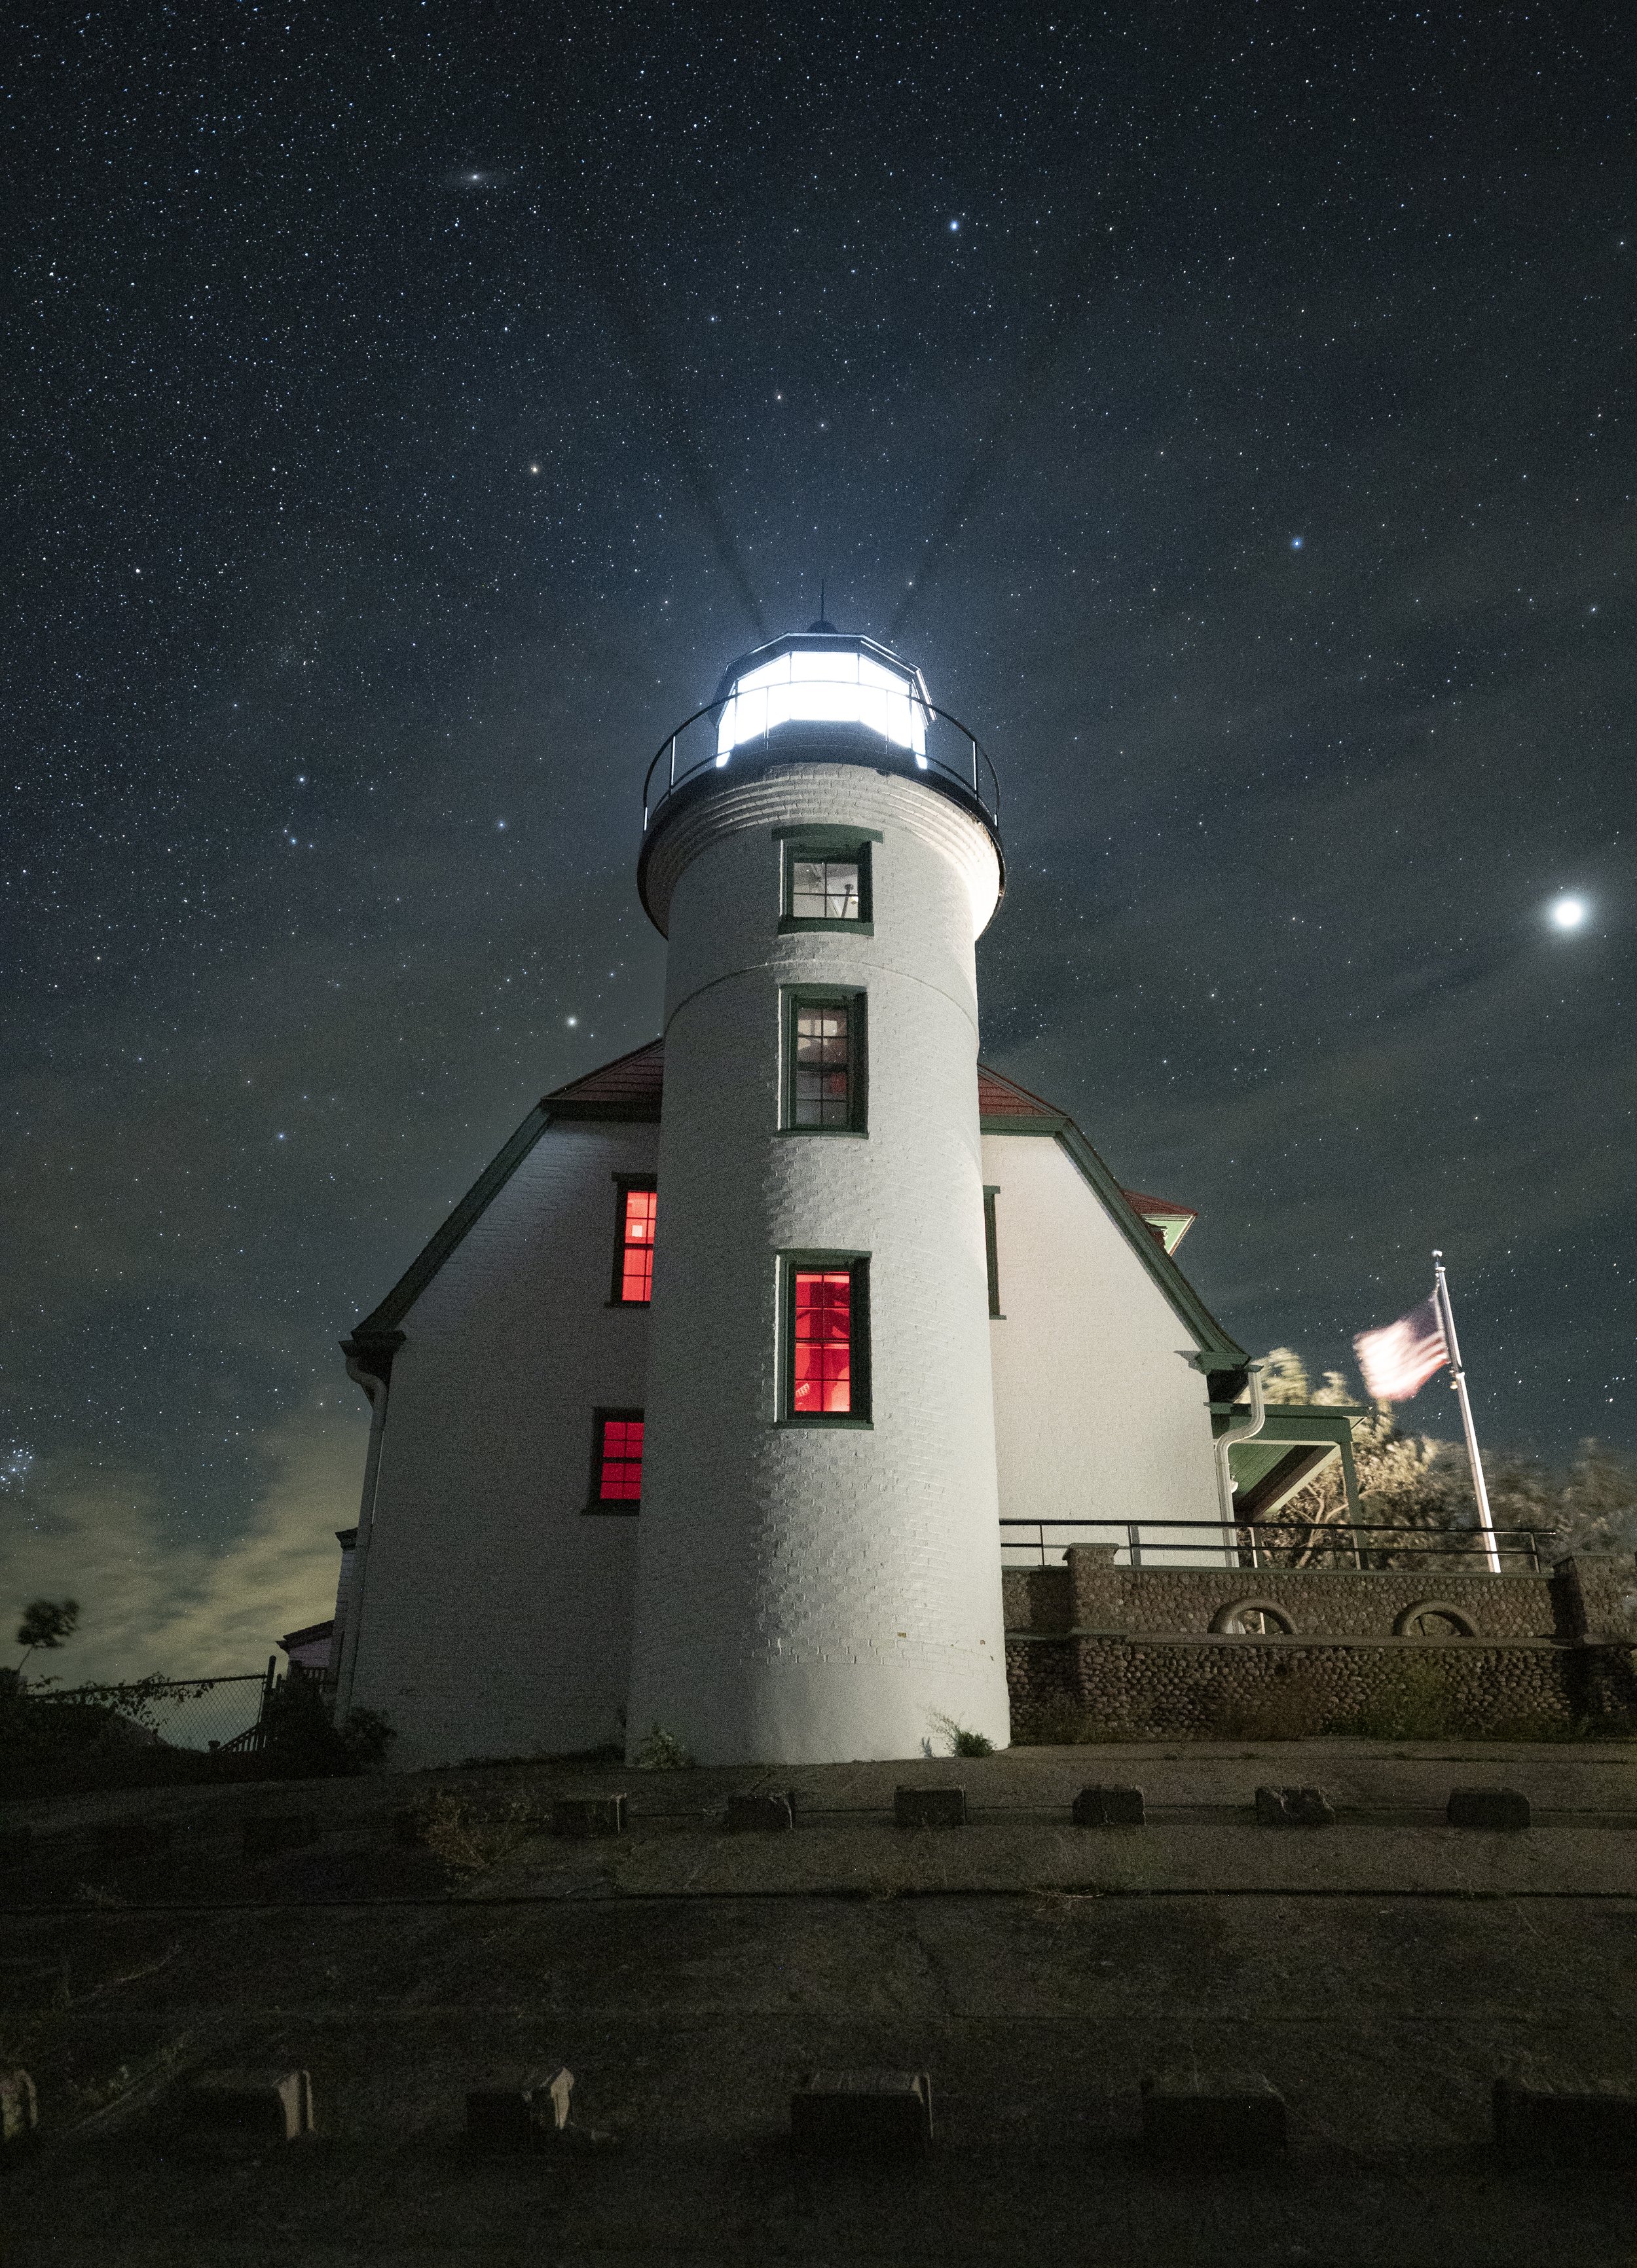
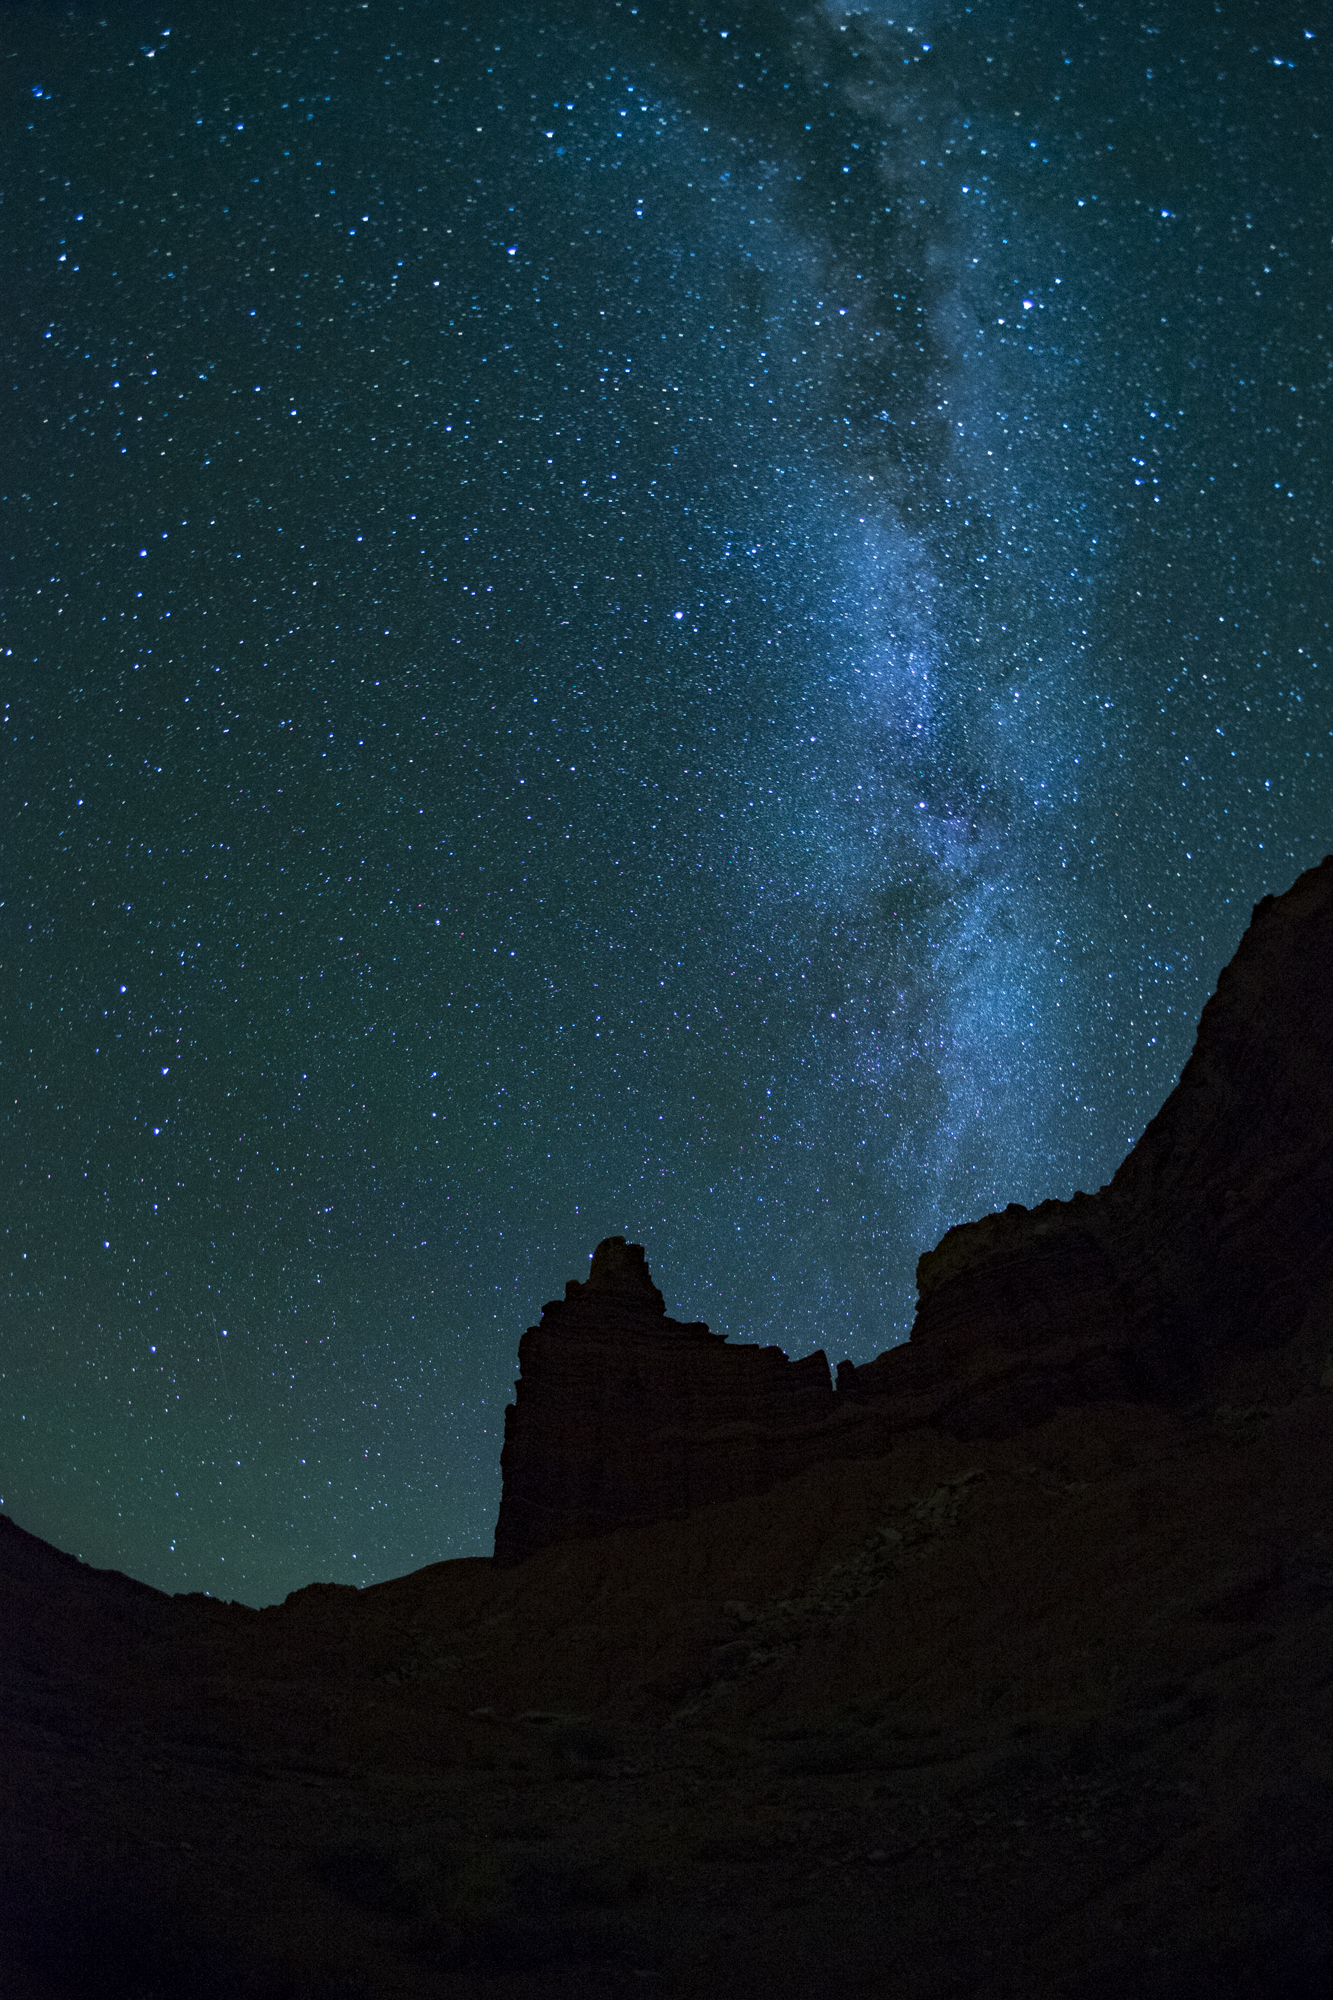
Milky Way and White Dome Geyser, Yellowstone. Nikon D5 with an Irix 15mm f/2.4 lens, light painted with a Luxli Viola. 25 seconds, f/2.8, ISO 6400.
The Location
I love Yellowstone National Park’s White Dome Geyser. I’ve been photographing it since 2010.
I first targeted it as the solution to a self-challenge. While preparing for a 10-day shoot in Yellowstone, I’d had a sudden inspiration that I wanted to silhouette a geyser eruption in front of a sunrise or sunset. I started researching which of the park’s 500 geysers would give me good chances for a good photo. In my mind, three criteria were important:
The geyser had to erupt frequently. I didn’t want an hours-long window between eruptions, because I needed to be able to time it with a sunrise or sunset.
The geyser had to erupt predictably. That solves the same problem as above—if the estimated time of the predicted eruption was wrong by two hours, I wouldn’t be able to time the eruption with a sunrise or sunset.
The geyser had to have an aesthetic quality that could be silhouetted. A hole in the ground wouldn’t work—physical structure was important.
After a fair amount of pre-trip research, I settled on White Dome Geyser. Its eruption times can vary, but not nearly as widely as most other geysers (the average interval is about half an hour for White Dome, as opposed to hours, days, weeks, months or years for others); it’s relatively predictable, rarely varying by more than 30 minutes or so; its presence is visually notable, as it features a sinter cone that rises 12 feet from the ground.
The geyser didn’t disappoint. Once I arrived on location, it took me three tries (because of weather), but eventually I got my shot (Figure 1). Then over the years I fondly visited and photographed White Dome a few more times, during daylight and moonlight. I’ve come to know the spot well.
Figure 1. White Dome Geyser erupting at sunset in 2010. Nikon D3 with a Nikon 80-200mm f/2.8 lens. 1/800, f/5.6, ISO 200.
So this past September, when Tim Cooper and I were leading a night photography workshop in Yellowstone and we had the idea of light painting an eruption with the Milky Way in the background, I had an inkling for a geyser that might work. White Dome would be a good target once again, for all the reasons mentioned above. We did a daytime scout with PhotoPills (Figure 2), which showed that the galactic core would be behind the geyser by about 10 p.m. Perfect!
Figure 2. PhotoPills proved our hunch that we could photograph the Milky Way behind White Dome geyser that week, and told us what time we could expect that to happen.
The Shoot
We never have just one idea for a location—we come loaded with a few (including, in this case, star circles over a nearby hot spring), and of course we let workshop participants run with their own ideas as well. On the night we visited that location, most of the group shot by the hot spring, because that photo opportunity was immediate, while the White Dome idea wouldn’t work until a few hours into the evening, after the moon set.
With that being the case, the idea for the Milky Way behind the geyser was nearly forgotten. Folks did some twilight light painting, followed by Tim and I running a long demo to help participants set up for shooting star circles under moonlight, followed by an hour-plus of everyone chatting under the night sky while their cameras ripped a series of 2-minute exposures.
Except for James and me.
Earlier in the evening I’d set up a series of star-circle exposures over White Dome Geyser. I wanted to go back to stop the camera, and James, one of the workshop participants, decided he’d join me.
After breaking down that north-facing setup, I remembered the Milky Way idea and we circled the geyser to see how things were lining up. The answer? Perfectly! We decided we’d do a quick setup—not to wait for the geyser to erupt, but to just light paint the steam with the Milky Way in the background.
We set up our tripods, and worked out our compositions, focus and exposure. Then we added some light with a Luxli Viola. The approach was straight-forward. We didn’t have much choice for an angle to light from, because we could walk on only one side of the geyser (the side with the paved road)—so we just walked far enough to get a 90-degree angle at the steam. The only real question was how much light to add, and we figured that out with just three test shots (Figure 3).
Figure 3. Testing the light painting. From left: a little too much, a little too little, almost perfect.
We were very happy with that third shot, enough to pack up and move back to the rest of the group. We came within seconds of breaking down our setups, when—swoosh! Water started gushing skyward!
We couldn’t have timed it better if we’d tried. We were already set up, composed, focused and dialed in with our exposure, and we knew exactly how much light to add and from where to add it. All we needed to do was execute everything again. So we did. And we got the two shots in Figure 4.
Figure 4. The two photos that include the eruption.
The Reshoot
James and I were ecstatic about our … well, let’s not say at “luck,” but rather at the meeting of luck and preparation. On the way back to the group, we were pretty charged about the image we’d just made. We showed the rest of the participants, and they were excited too, enough so that four of them wanted to stay late to shoot a similar photo.
By the time we made it back to White Dome, an hour had passed. It was almost midnight, and the Milky Way had moved. Seven of us set up along the side of the road, and Tim and I set two Violas on the ground, pointed toward the geyser. We tested our exposures, and waited.
But this time, we weren’t as fortunate. We encountered a few problems.
First Reshoot
We didn’t have to wait terribly long for the next eruption. White Dome blew again at about 12:30. We were all excited and started shooting. But …
Unfortunately, someone had the Luxli Composer app open on their phone and accidentally touched a control. Instantly the light color changed from the nice warm temperature of 3200 K to bright blue (Figure 5). White Dome’s eruptions last about two minutes, but the maximum flow occurs for less than half of that. When you’re dealing with a 15- to 25-second exposure, that means you usually get one good shot—maybe two—per eruption. The color change happened during that narrow window, so … well, we missed the shot.
Figure 5. First reshoot. Oops.
Still, we were enjoying the now-dark sky (the moon had set two hours earlier by that point) and the quiet surrounds of a beautiful national park—not to mention each other’s company. So we got over our disappointment and settled in for another try.
Second Reshoot
That opportunity came 50 minutes later—at 1:23 a.m. But …
At exactly 1:20 a.m—just three minutes before the next eruption, for the first time all night, the breeze shifted. All of us had set up compositions with the galactic core to the left of the geyser, and now the steam was blowing across—and obscuring—the Milky Way. Then, swoosh!, White Dome blew. Once again, we didn’t get the shot.
Figure 6. Second reshoot. Dang wind!
We were deflated. We were disappointed. And we were exhausted. We were done. We decided we couldn’t and wouldn’t wait for another eruption.
Then a funny thing happened: We waited anyway. We didn’t break down. We didn’t pack up our gear. We didn’t leave. Instead, we stood there talking and laughing and, for some reason, not getting any more tired. I can attribute that only to something about the magic of nature at night.
Third Reshoot
Thus, when the geyser blew again at 2 a.m., we were ready. The Milky Way was tilting perfectly. The light was right. The breeze was blowing gently to the right. Everything was perfectly in place, and we all got the shot (Figure 7).
We felt good. In fact, we felt great! We hooted, we hollered, we high-fived. Then we packed the cars to head back to the hotel, hitting the road about 2:30 a.m. and the beds well after 3:00.
Figure 7. Third reshoot. Yay!
Wrapping Up
All the takes on that night’s scene were straight-forward: just the right exposure with the right amount of added light. As such, the post-production didn’t require anything fancy or complex—just basic adjustments to tune the white balance and exposure, then to boost local contrast with Dehaze and Texture.
The biggest matter in post was choosing which frame I like the most. By the end of the night I’d had two cameras running—one vertical and one horizontal—and thus I had about 20 exposures with the geyser actually erupting (plus about 120 with just steam). Many of the images had merits, but I decided that my first take with James was my favorite. I just liked the way the water and steam were moving in the composition, mimicking the shape of the galactic core.
Milky Way and White Dome Geyser, Yellowstone. Nikon D5 with an Irix 15mm f/2.4 lens, light painted with a Luxli Viola. 25 seconds, f/2.8, ISO 6400.