One of our favorite parts of what we do is getting out into the imaging community to talk about what we love: night photography and national parks. Either as a group or individually, we routinely speak at conferences, trade shows, national park celebrations, camera clubs and so on. We do this all year, but we always seem to be especially busy in the fall.
And so it goes again in 2018.
Over the next several weeks we will be presenting and leading night walks at some of the biggest and most exciting photography events in the U.S., from north to south and coast to coast. Plus … in conjunction with a couple of great partners, we will be hosting our very first night photography summit, a three-day celebration and discussion of all things night photography!
Read on for more information about where, when and how to join us on the road for some amazing night photography educational experiences.
New York Night Photography Summit
Babylon, New York
November 2-4
We’re going to break from chronological order for a moment to start with this one, because we’re too excited to delay announcing it any longer: We will be hosting our very first conference, the New York Night Photography Summit, just three weeks from now.
Moreover, we will be partnering on this event with two incredible ambassadors of the photography world:
PhotoPills, the app that serves as the personal assistant and scouting solution for photographers around the world. The creator and bard of PhotoPills, Rafael Pons, will be joining us to teach about scouting and about how to use their powerful app, as well as helping us teach during mini-workshops in the field.
Photographic Federation of Long Island (PFLI), the huge umbrella of camera clubs from two counties of New York and the five boroughs of New York City. PFLI knows the island better than anyone, and they’ve secured a venue for the presentations and vendors, as well as permits for our mini-workshops on Friday and Saturday nights at Fire Island National Seashore and the Fire Island Lighthouse.

The summit will take place over the long weekend of November 2-4, from 10 a.m. to 3 p.m. each day. There will be lectures and tutorials on night photography, plus access to vendors, book signings with authors, and more. On hand will be National Parks at Night instructors Gabriel Biderman, Lance Keimig, Matt Hill and myself. Presentation topics covered will include:
ideal gear for night photography
how to photograph lighthouses at night
planning Milky Way images with PhotoPills
tips and tricks for post-processing
leveling up your creative night photography experience
light painting
Milky Ways and starry skies
Then, on Friday and Saturday night we’ll be leading night mini-workshops at the beautiful Fire Island locations. Rafael and four of the National Parks at Night instructors will be on hand to help with:
photographing the Milky Way in November
photographing star trails & star points
light painting the rolling sand dunes and sweeping shoreline
BenQ, maker of the best photography-specific computer displays you can buy, has eagerly signed on as a sponsor for the event, and will be bringing some of their best monitors for attendees to check out. B&H Photo, the world’s premier photo retailer, is also sponsoring, as is our favorite photo printer, Bay Photo Lab.
To learn more about the New York Night Photography Summit, and to register for the event, visit npan.co/NYSummit.
OK, now onward with chronological order. …
Out of Moab Landscape Photography Conference
Moab, Utah
October 5-9
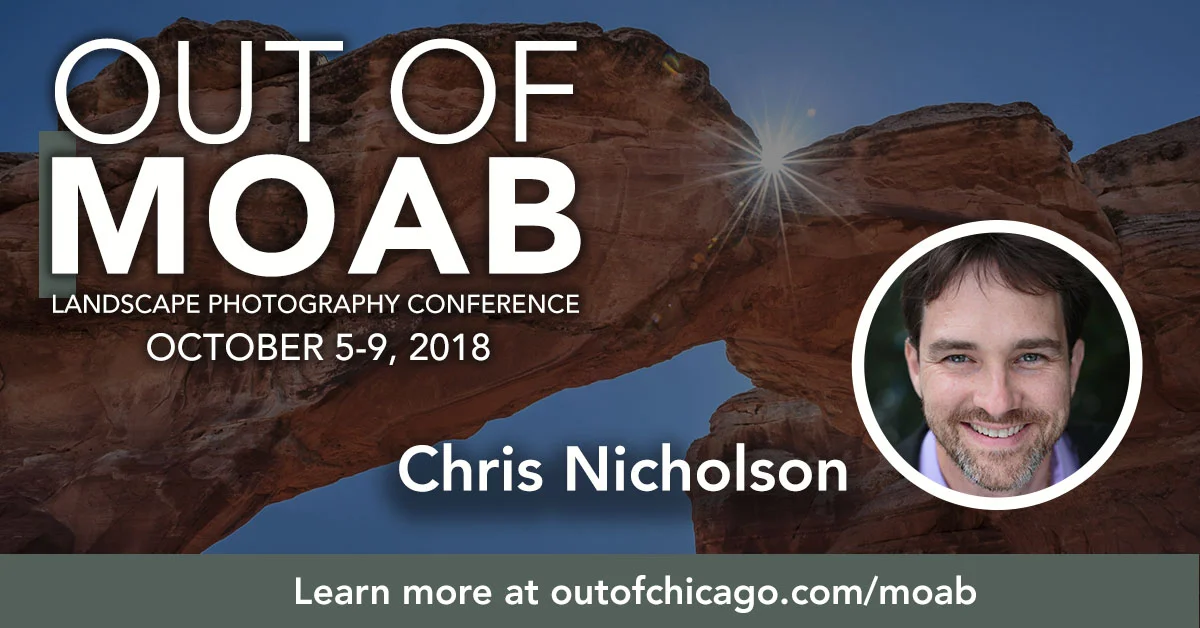
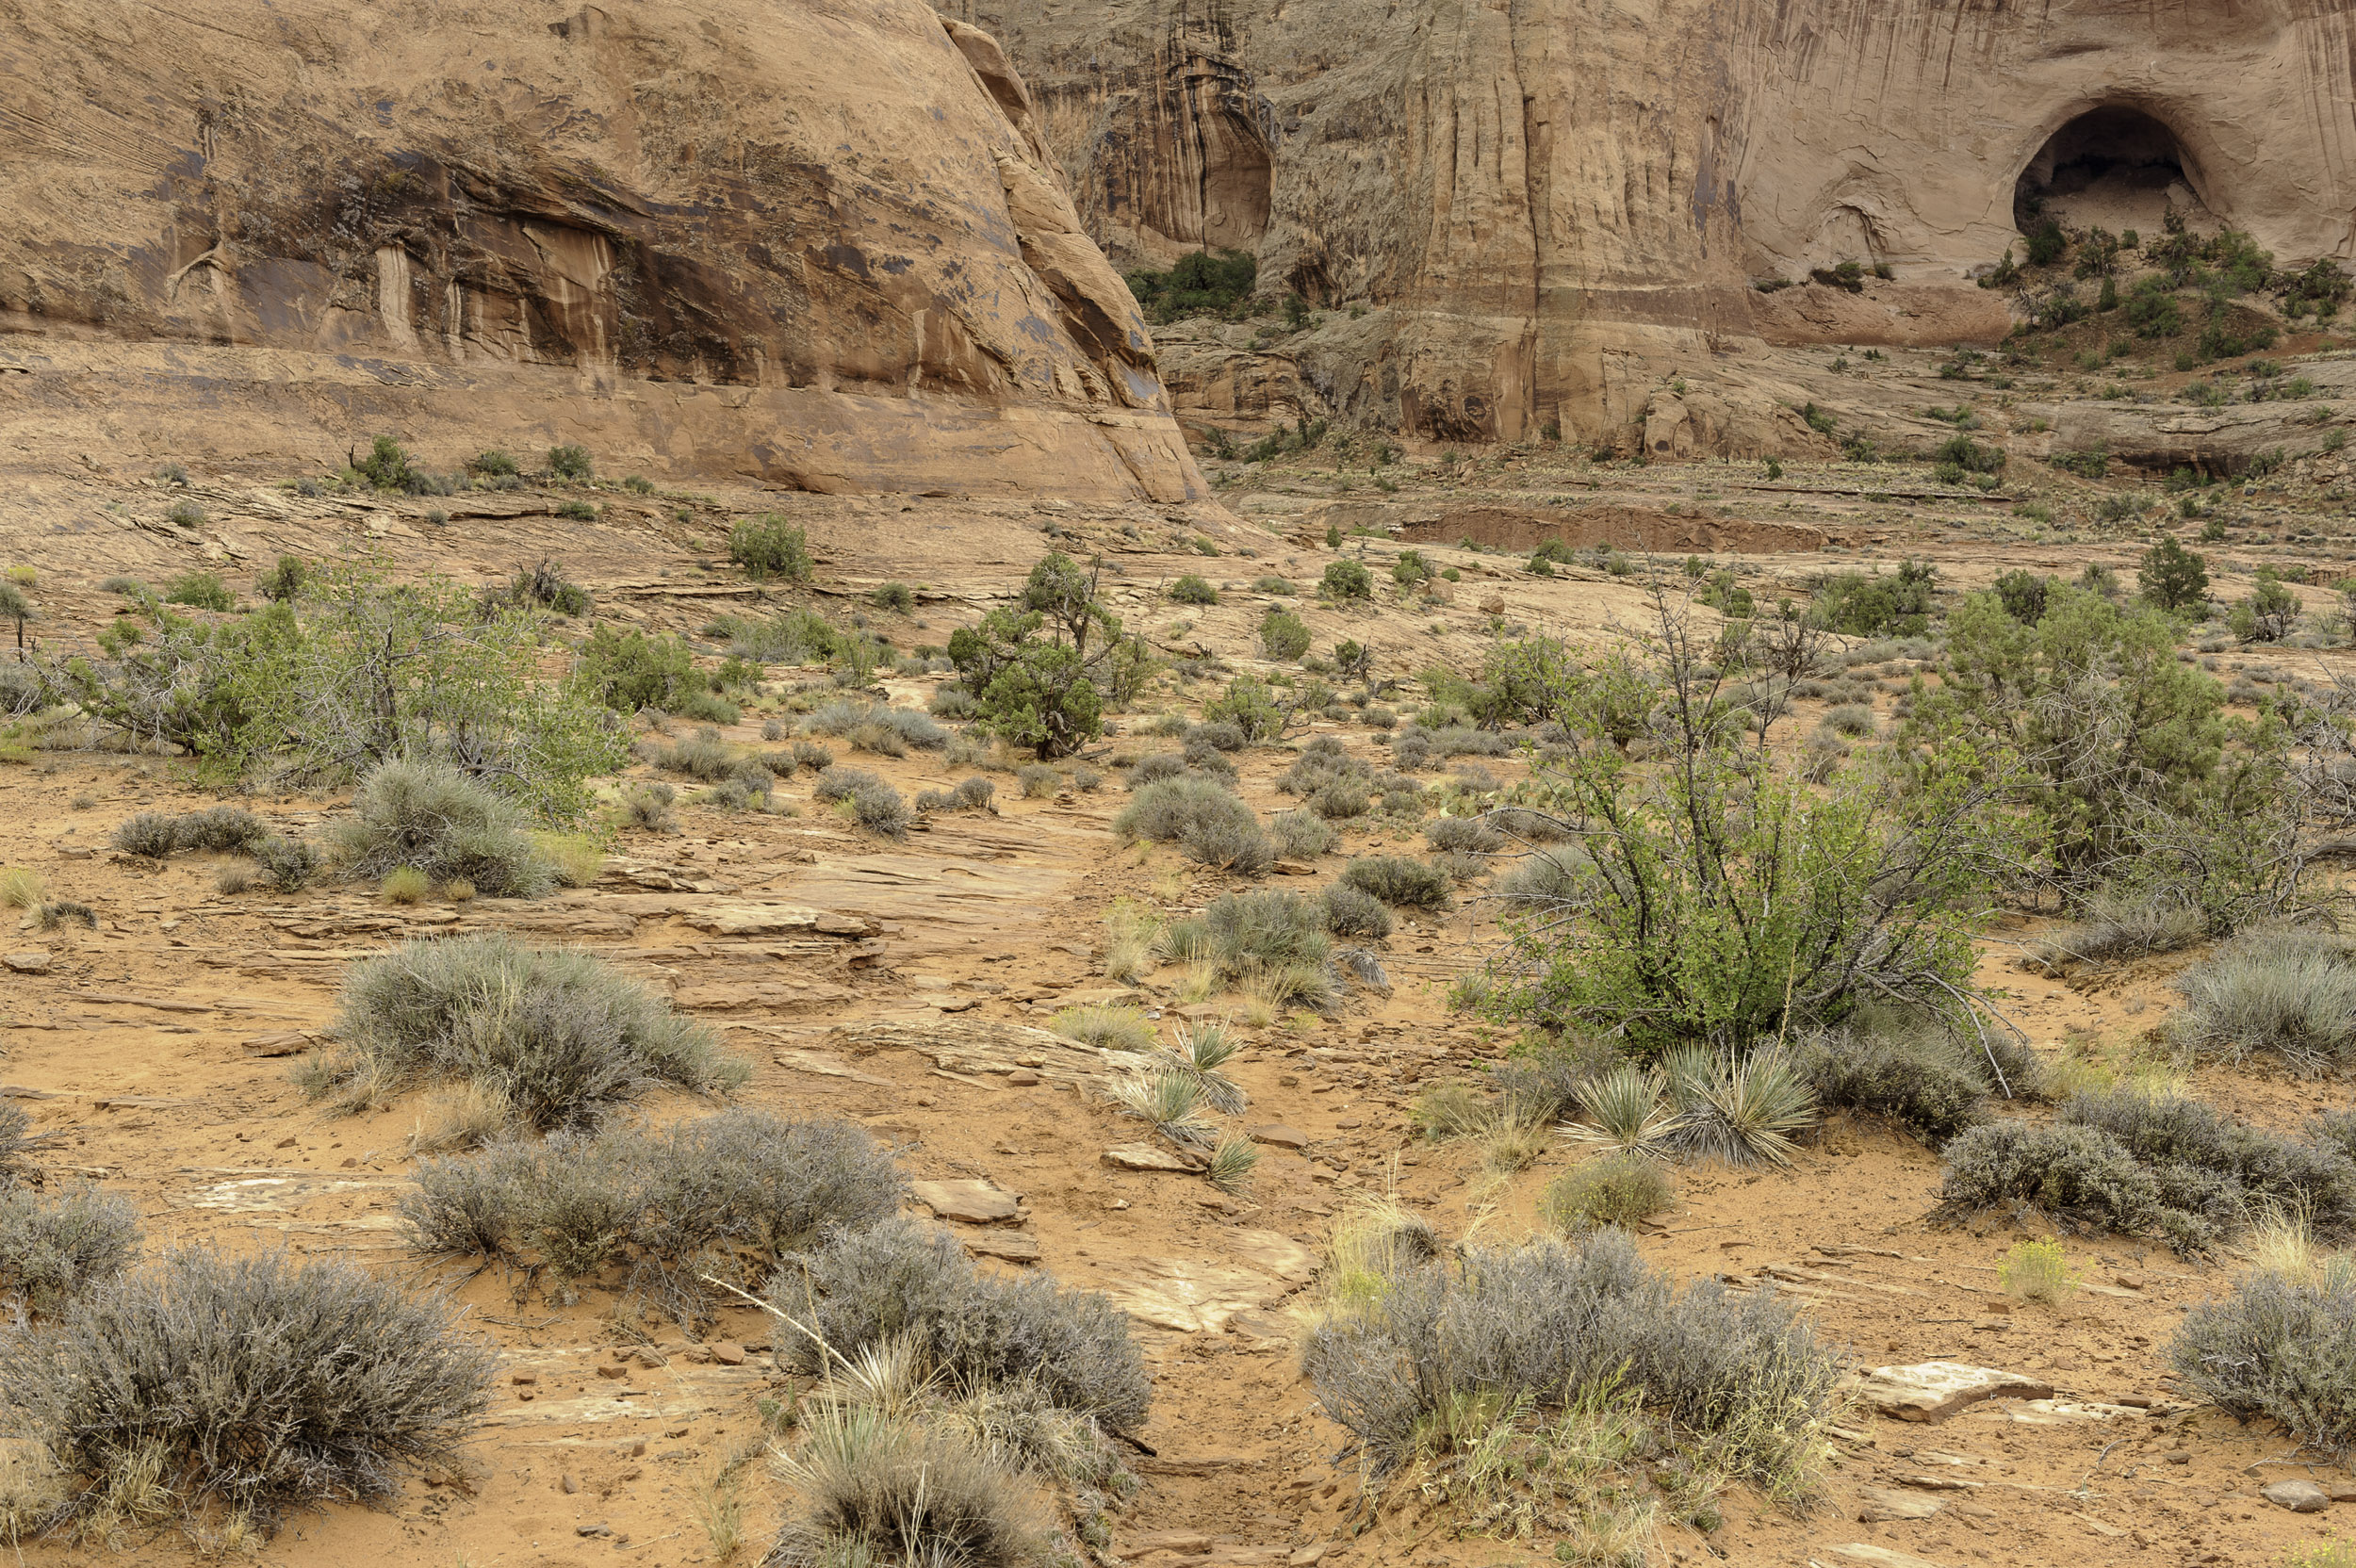
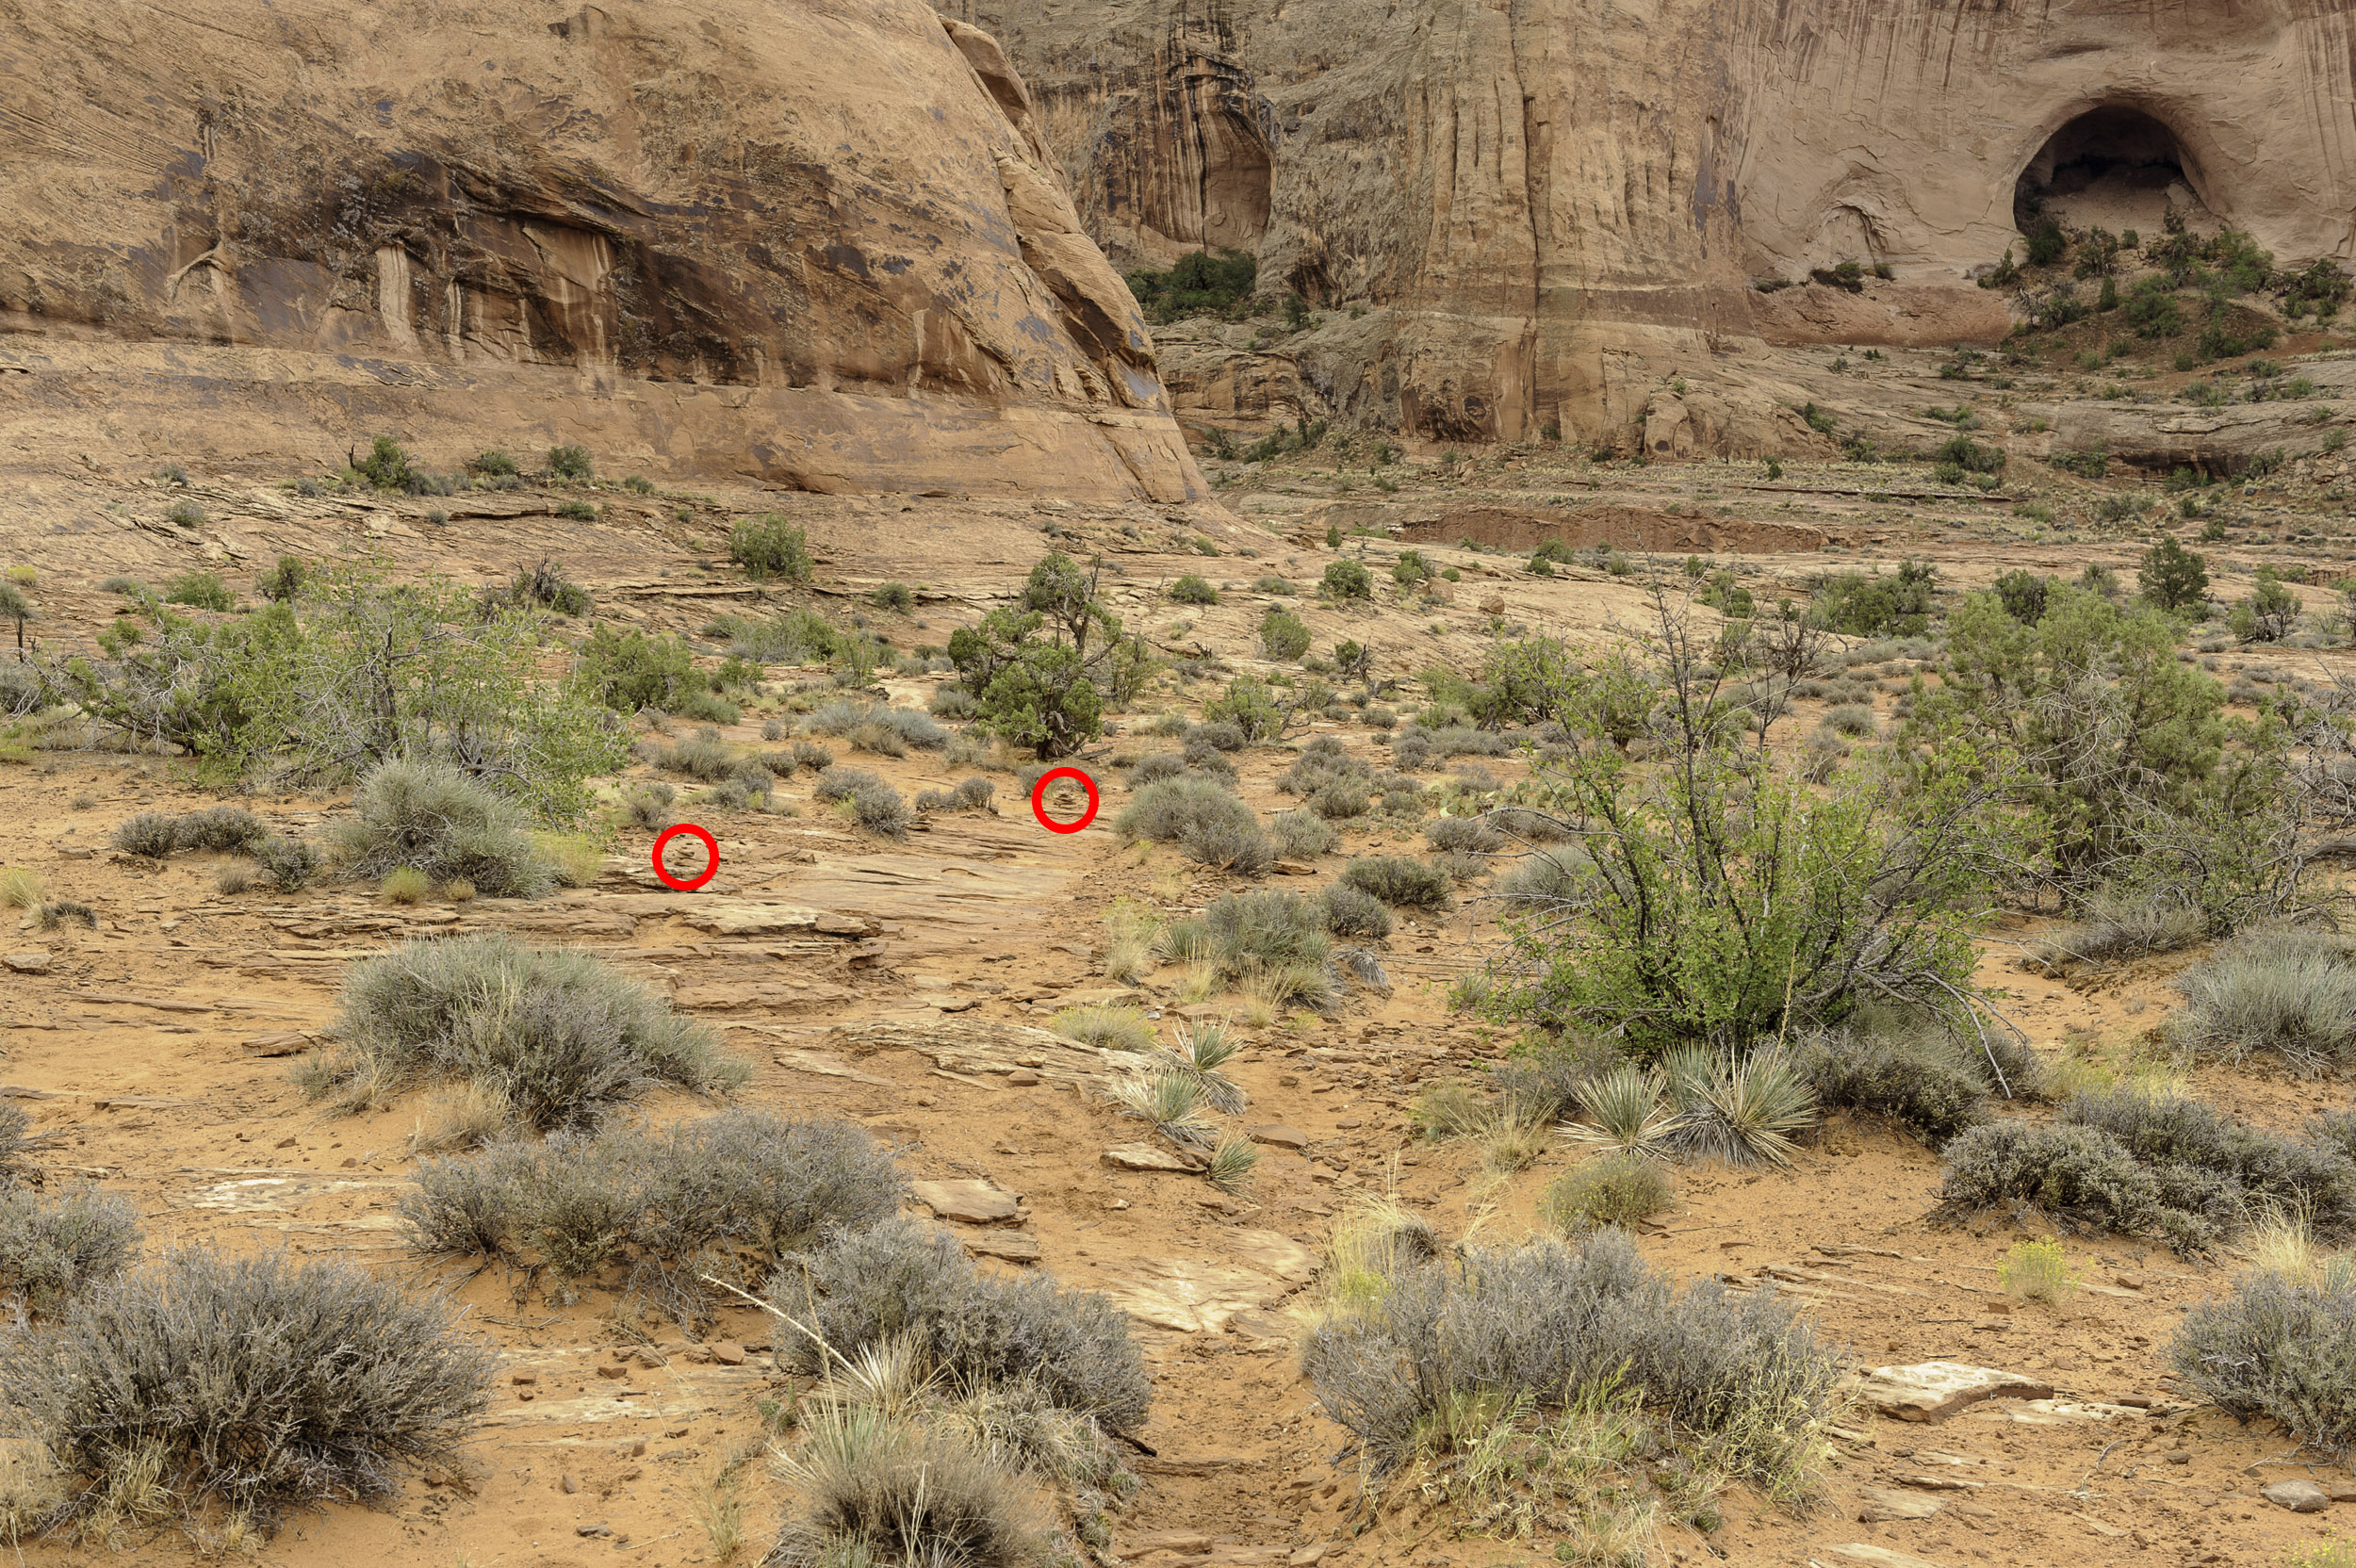
This one just ended—Out of Moab is the second national park-based landscape photography by the Out of Chicago group, and this time was in the amazing sunrise, sunset and night landscapes of Arches National Park, Canyonlands National Park and Dead Horse Point State Park. I was at the conference delivering a talk titled “6 Steps to Better Night Photography,” as well as leading night excursions to Landscape Arch, Windows Arch Loop, and Sand Dune and Broken Arch.
The conference sold out very shortly after it was announced, so if you’re interested in what this great organization is offering in the future (hint: Northwest coast), be sure to get on their mailing list. See OutOfChicago.com for more information.
Biscayne & Redwood National Parks
Homestead, Florida, and Hiouchi, California
October 19-20

This year Biscayne and Redwood national parks are celebrating their 50th anniversaries, and we’ll be there celebrating with them!
We ran workshops in both parks this year, and photographs from all the workshop students (as well as instructors) will be part of a pair of print exhibits held simultaneously in visitor centers at each park. The opening receptions will occur the weekend of October 19, and will include presentations, night photo walks and mini-workshops by Gabe, Tim, Lance and myself. The public is welcome.
The exhibits and the associated events are being sponsored by Bay Photo Lab. In addition to making the event possible, Bay will be providing all the prints for both locations, using their patented Xposer print format that comes with custom hanging hardware.
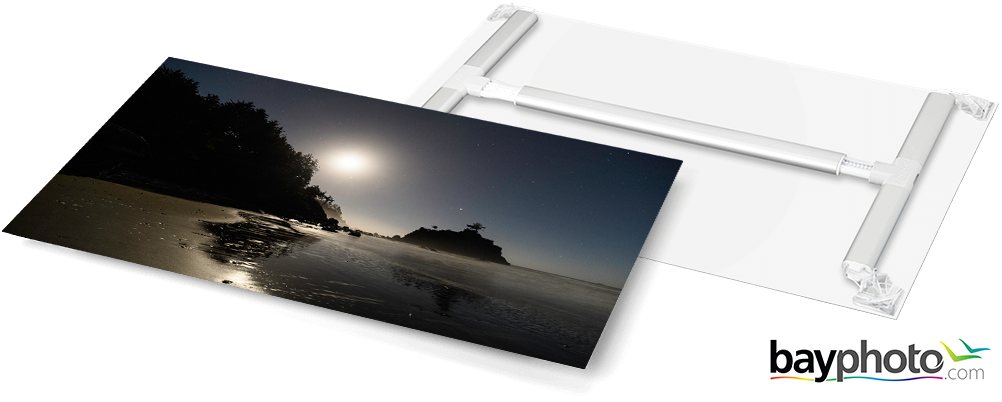
Moreover, many of the workshop attendees’ and instructors’ prints by Bay are available for purchase from our online gallery. All profits will be donated to the two parks.
For more information, see our previous announcement of this event.
PhotoPlus International Conference + Expo
New York City
October 25-27

We’re back at one of the largest photography conferences and trade shows, once again talking about the ways and arts of nocturnal imaging. This year we’ll be presenting “The Night Photography Toolbox: Gear and Skills to Level Up Your Nocturnal Images,” sponsored by Nikon. Here’s the official summary:
“Advancements in technology have made Milky Way and dark-sky photography more accessible, from cameras and lenses to software, GPS receivers, LED panels and much more. The members of National Parks at Night will share which gear helps them successfully scout, capture and create in a variety of night environments. They will also discuss productive processing, nocturnal photography techniques and other skills in their toolbox that will inspire you to ‘seize the night!’ ”
In a rare event, all five National Parks at Night instructors—Gabe, Lance, Matt, Tim and I—will be on stage presenting together.
For more information, visit the PhotoPlus website via this link, where you can register for the expo for free and get 15 percent off the price of a conference pass.
B&H Event Space
New York City
October 29-30

Immediately after PhotoPlus, a few of us will be spending a couple of days at the B&H Event Space delivering talks to the in-person audience and via livestream.
Lance and I will be discussing “Our Journeys into the Night: How We Found Ourselves in the Dark,” and Tim will present “Processing Your Night Photography: Lightroom through Photoshop.” Our good friends at BenQ, maker of the best photography-specific computer displays in the world, are sponsoring both talks.
Nature Visions Expo
Manassas, Virginia
November 2-4
Based in northern Virginia in the shade of the nation’s capital, Nature Visions features three days of seminars, lectures and workshops. Three of those will be led by Tim:
“Realistic HDR”
“Nightscapes: After the Magic Hour”
“Power of Photoshop for the Outdoor Photographer”
For more information, visit the Nature Visions website.
Sierra Club
New York City
November 15
Our friends at the New York City Sierra Club Photography group have invited us to return, this time with Matt leading a one-night workshop, “Central Park at Night.”
The public is welcome; tickets are $30. For more information, visit the club’s website.
Sloss Furnaces National Historic Landmark
Birmingham, Alabama
November 18
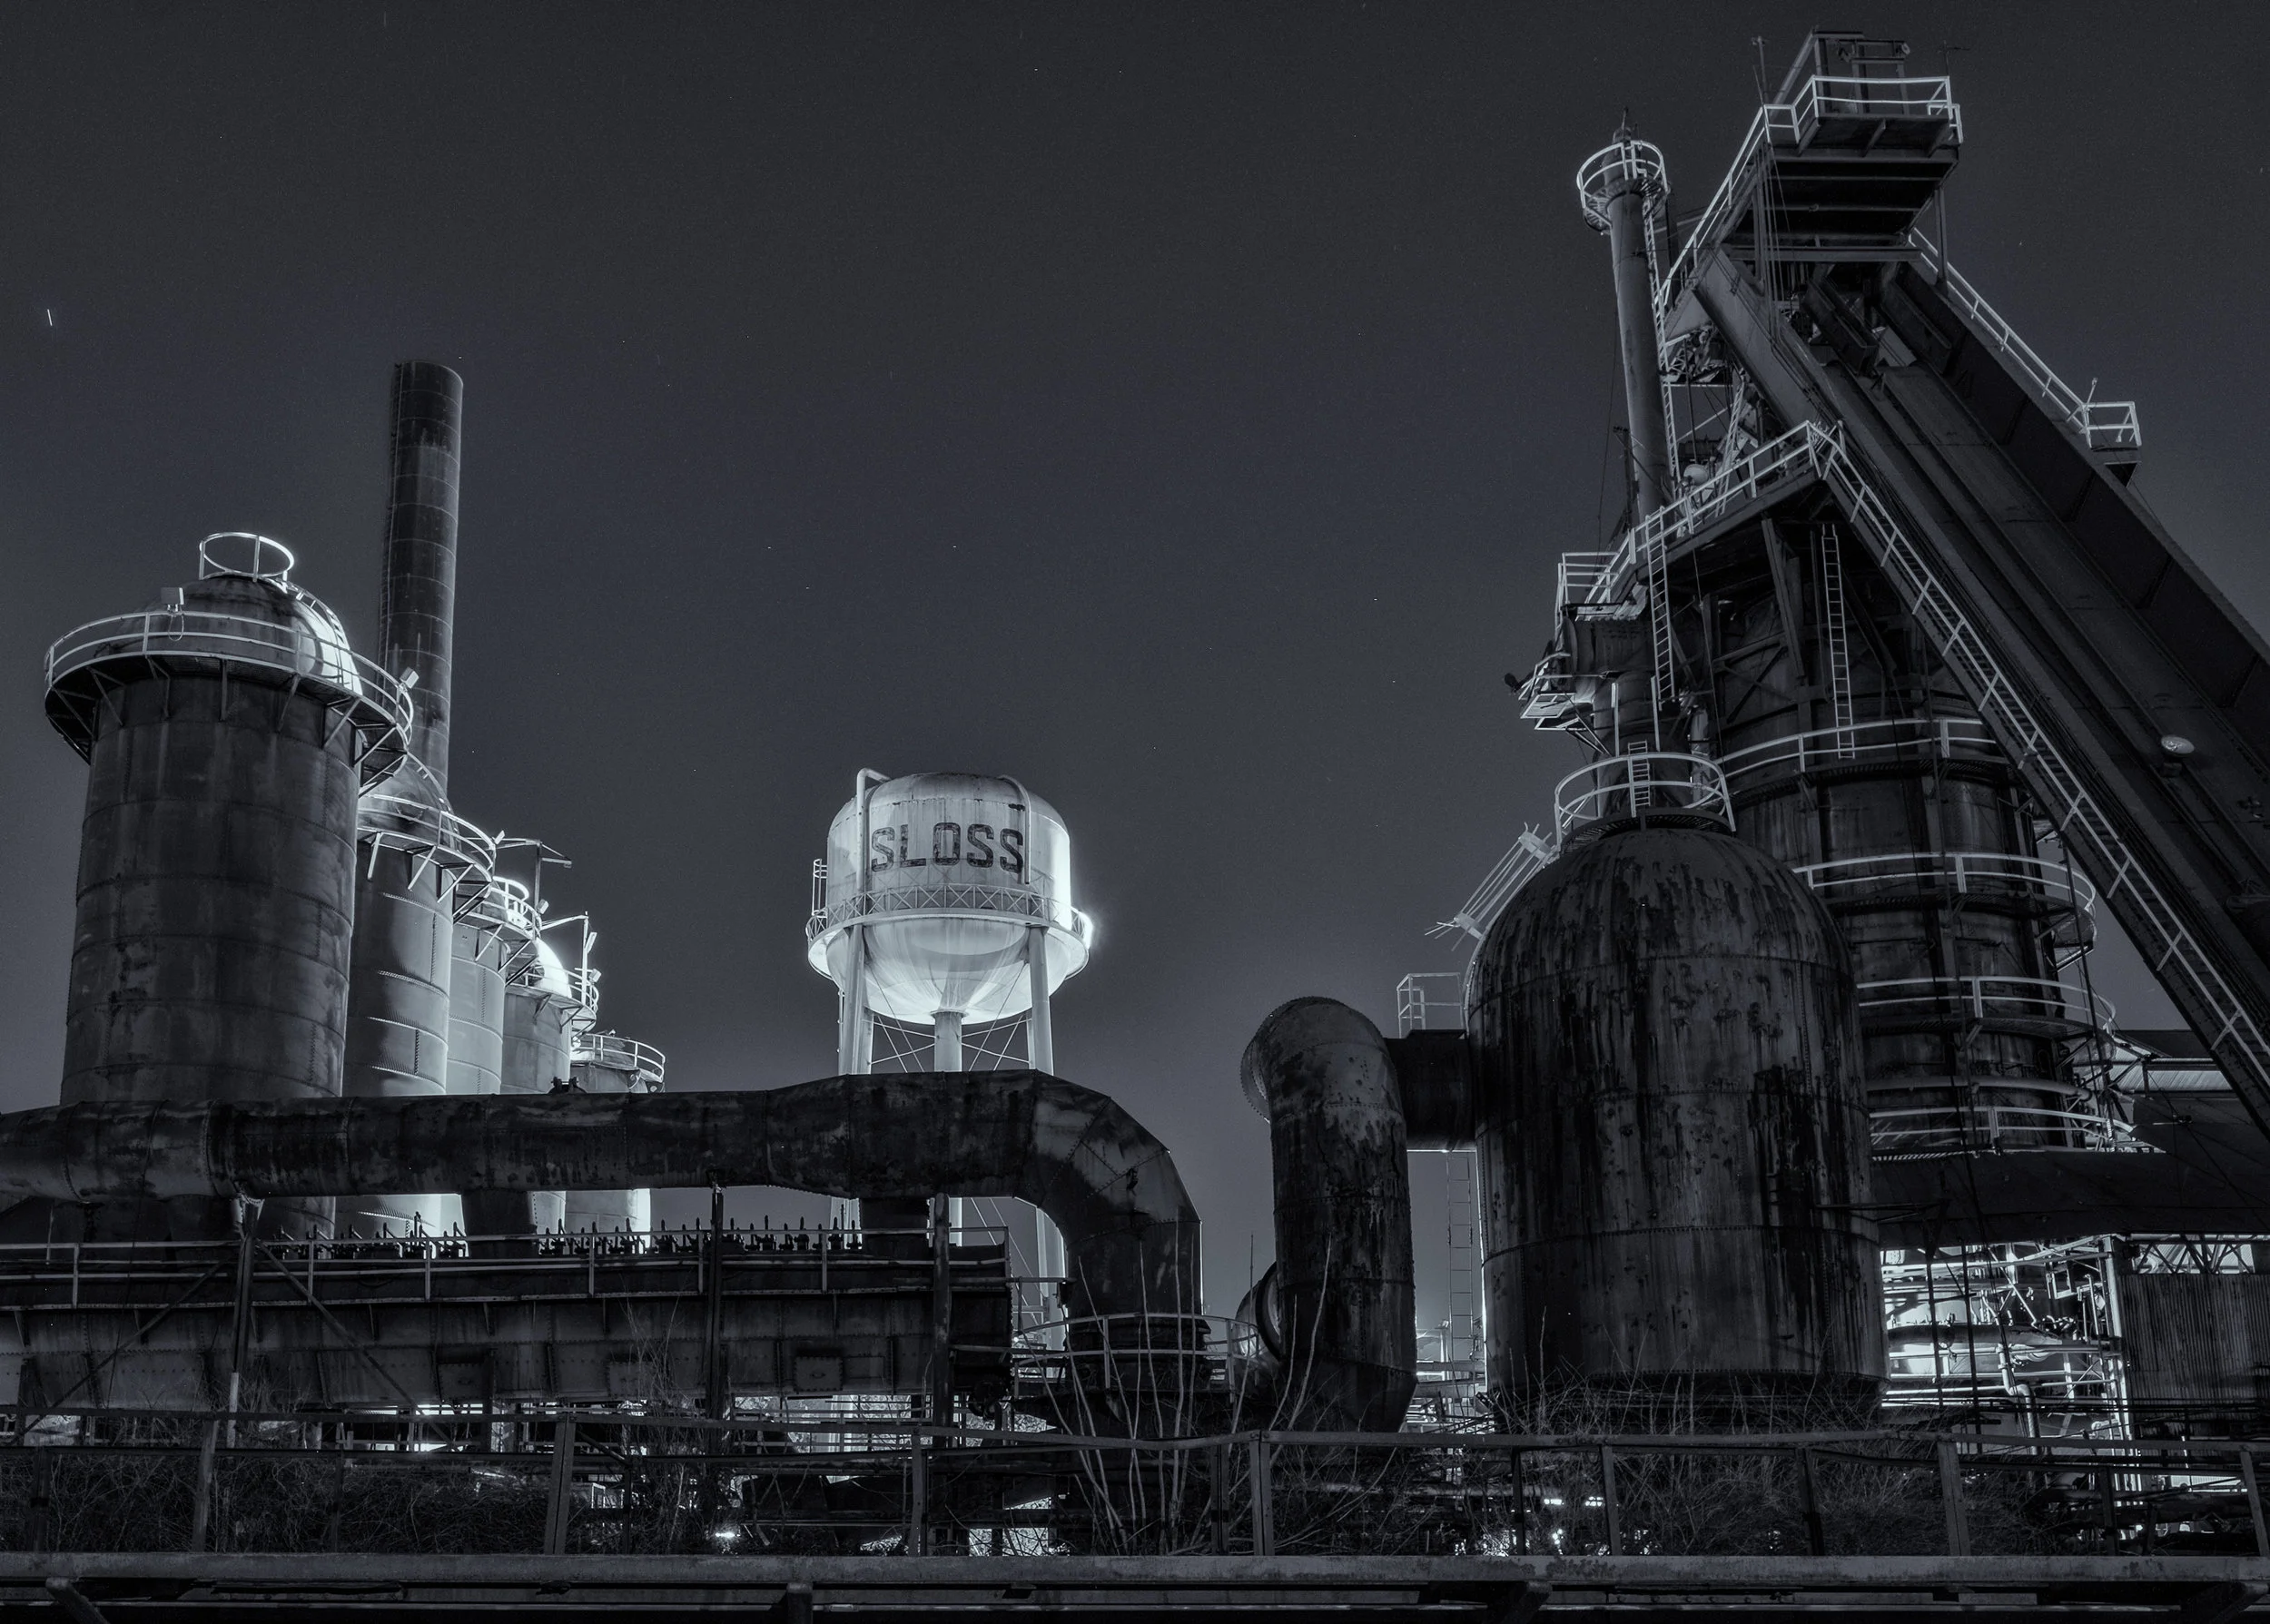
Our final workshop of 2018 will conclude with Gabe and I presenting the student slideshow at the park’s visitor center, giving the public a chance to view the unique night work that we’ll do in this unique setting.
For more information, stayed tuned to our social media accounts and to the park webpage.
B&H Event Space
New York City
January 17, 2019
Let’s put this in the category of “sneak peak,” because while the event is confirmed, it’s yet to be officially listed. So, you heard it here first!
We will start the new year back the Event Space, as I join photographer and expert backpacker Sherry Pincus for “Backroads and Backpacks: Photography Off the Beaten Path.” (You may recognize Sherry as being the backpacking instructor for our first backcountry workshop at Shi Shi Beach in 2019.)

Sherry and I will talk about how to find the unique photos in popular national parks by driving the primitive roads and/or hiking into the wilderness, far away from the overlooks, the information signs and the tourists. Not only the how-to, but also the how-to-stay-safe.
Stay tuned to our social media and to the B&H Event Space calendar for the pending announcement. (The event will be free to attend live or via livestream.)
Conferences, Camera Clubs, et al.
Throughout the year all five National Parks at Night instructors lecture, present, and lead photo walks and workshops all around the country—at conferences, trade shows, camera stores, museums, galleries, photography clubs and more. In 2018 we’ve had the joy of participating at:
OPTIC Imaging Conference (sponsored by B&H Photo)
B&H Event Space (sponsored by BenQ)
CreativeLive
Photographic Federation of Long Island Spring Spectacular (sponsored by B&H Photo)
Rocky Mountain School of Photography
Maine Media Workshops + College
Biscayne National Park’s Dante Fascell Visitor Center
Connecticut Valley Camera Club
Greater Lynn (Massachusetts) Photographic Association
Long Island Camera Club
Englewood (Florida) Camera Club
New Haven Camera Club
and more
Interested in having us join your party next year? We’ll happily add you to the schedule!
If you belong to a club or conference that might like to hear about night photography and/or national parks, etc., feel free to contact us. There are numerous topics we’re prepared to talk about. We’re also eager to speak and/or lead photo walks for podcasts, trade shows, outdoors groups, night sky festivals, arts councils, museums, educational institutions and … well, probably for anyone interested in participating in engaging discussion about the topics we are crazy-passionate about.
To keep updated about where and when we’ll be presenting at any given time, reference our Speaking Engagements webpage, or sign up for our event notification emails.
We look forward to meeting you all out in the photography community at some point soon. Until then, seize the night!