One of the first questions I am asked about light painting is, “Why don’t you show up in the picture?” It’s a great question.
As photographers, we’re accustomed to being very mindful of what’s in our frame. We’re constantly trying to keep our hands, feet, tripod legs and tourists out of the shot. The act of painting our scene with light, however, often requires us to not only walk through, but sometimes stay within the frame for long periods of time. So why don’t we show up?
Long Exposures
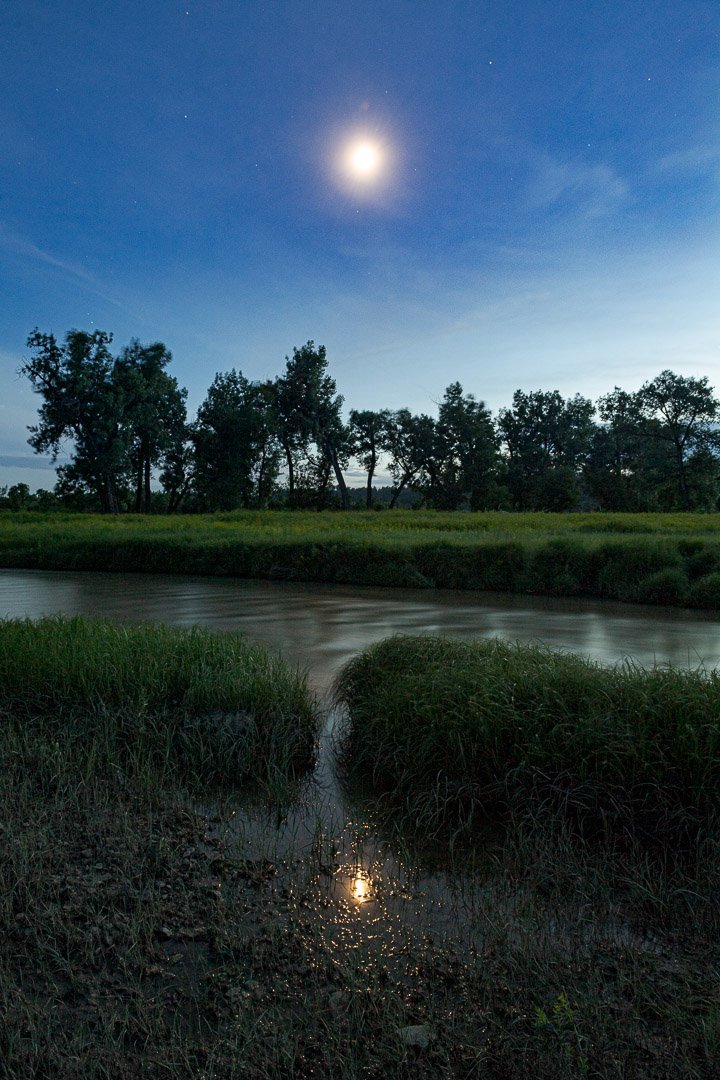
The main reason is time. Exposures for light painting are often so long that we just don’t register in the exposure. Let’s take an example of a shot made on a full moon night. If a shutter speed of 2 minutes is required to produce a well-illuminated scene, you would need to stand in the composition for 2 minutes to be properly exposed. If you stood there for 1 minute, you would be a ghost—meaning that you would look transparent. For half of the exposure you are there, for the other half, the sensor is seeing what’s behind you.
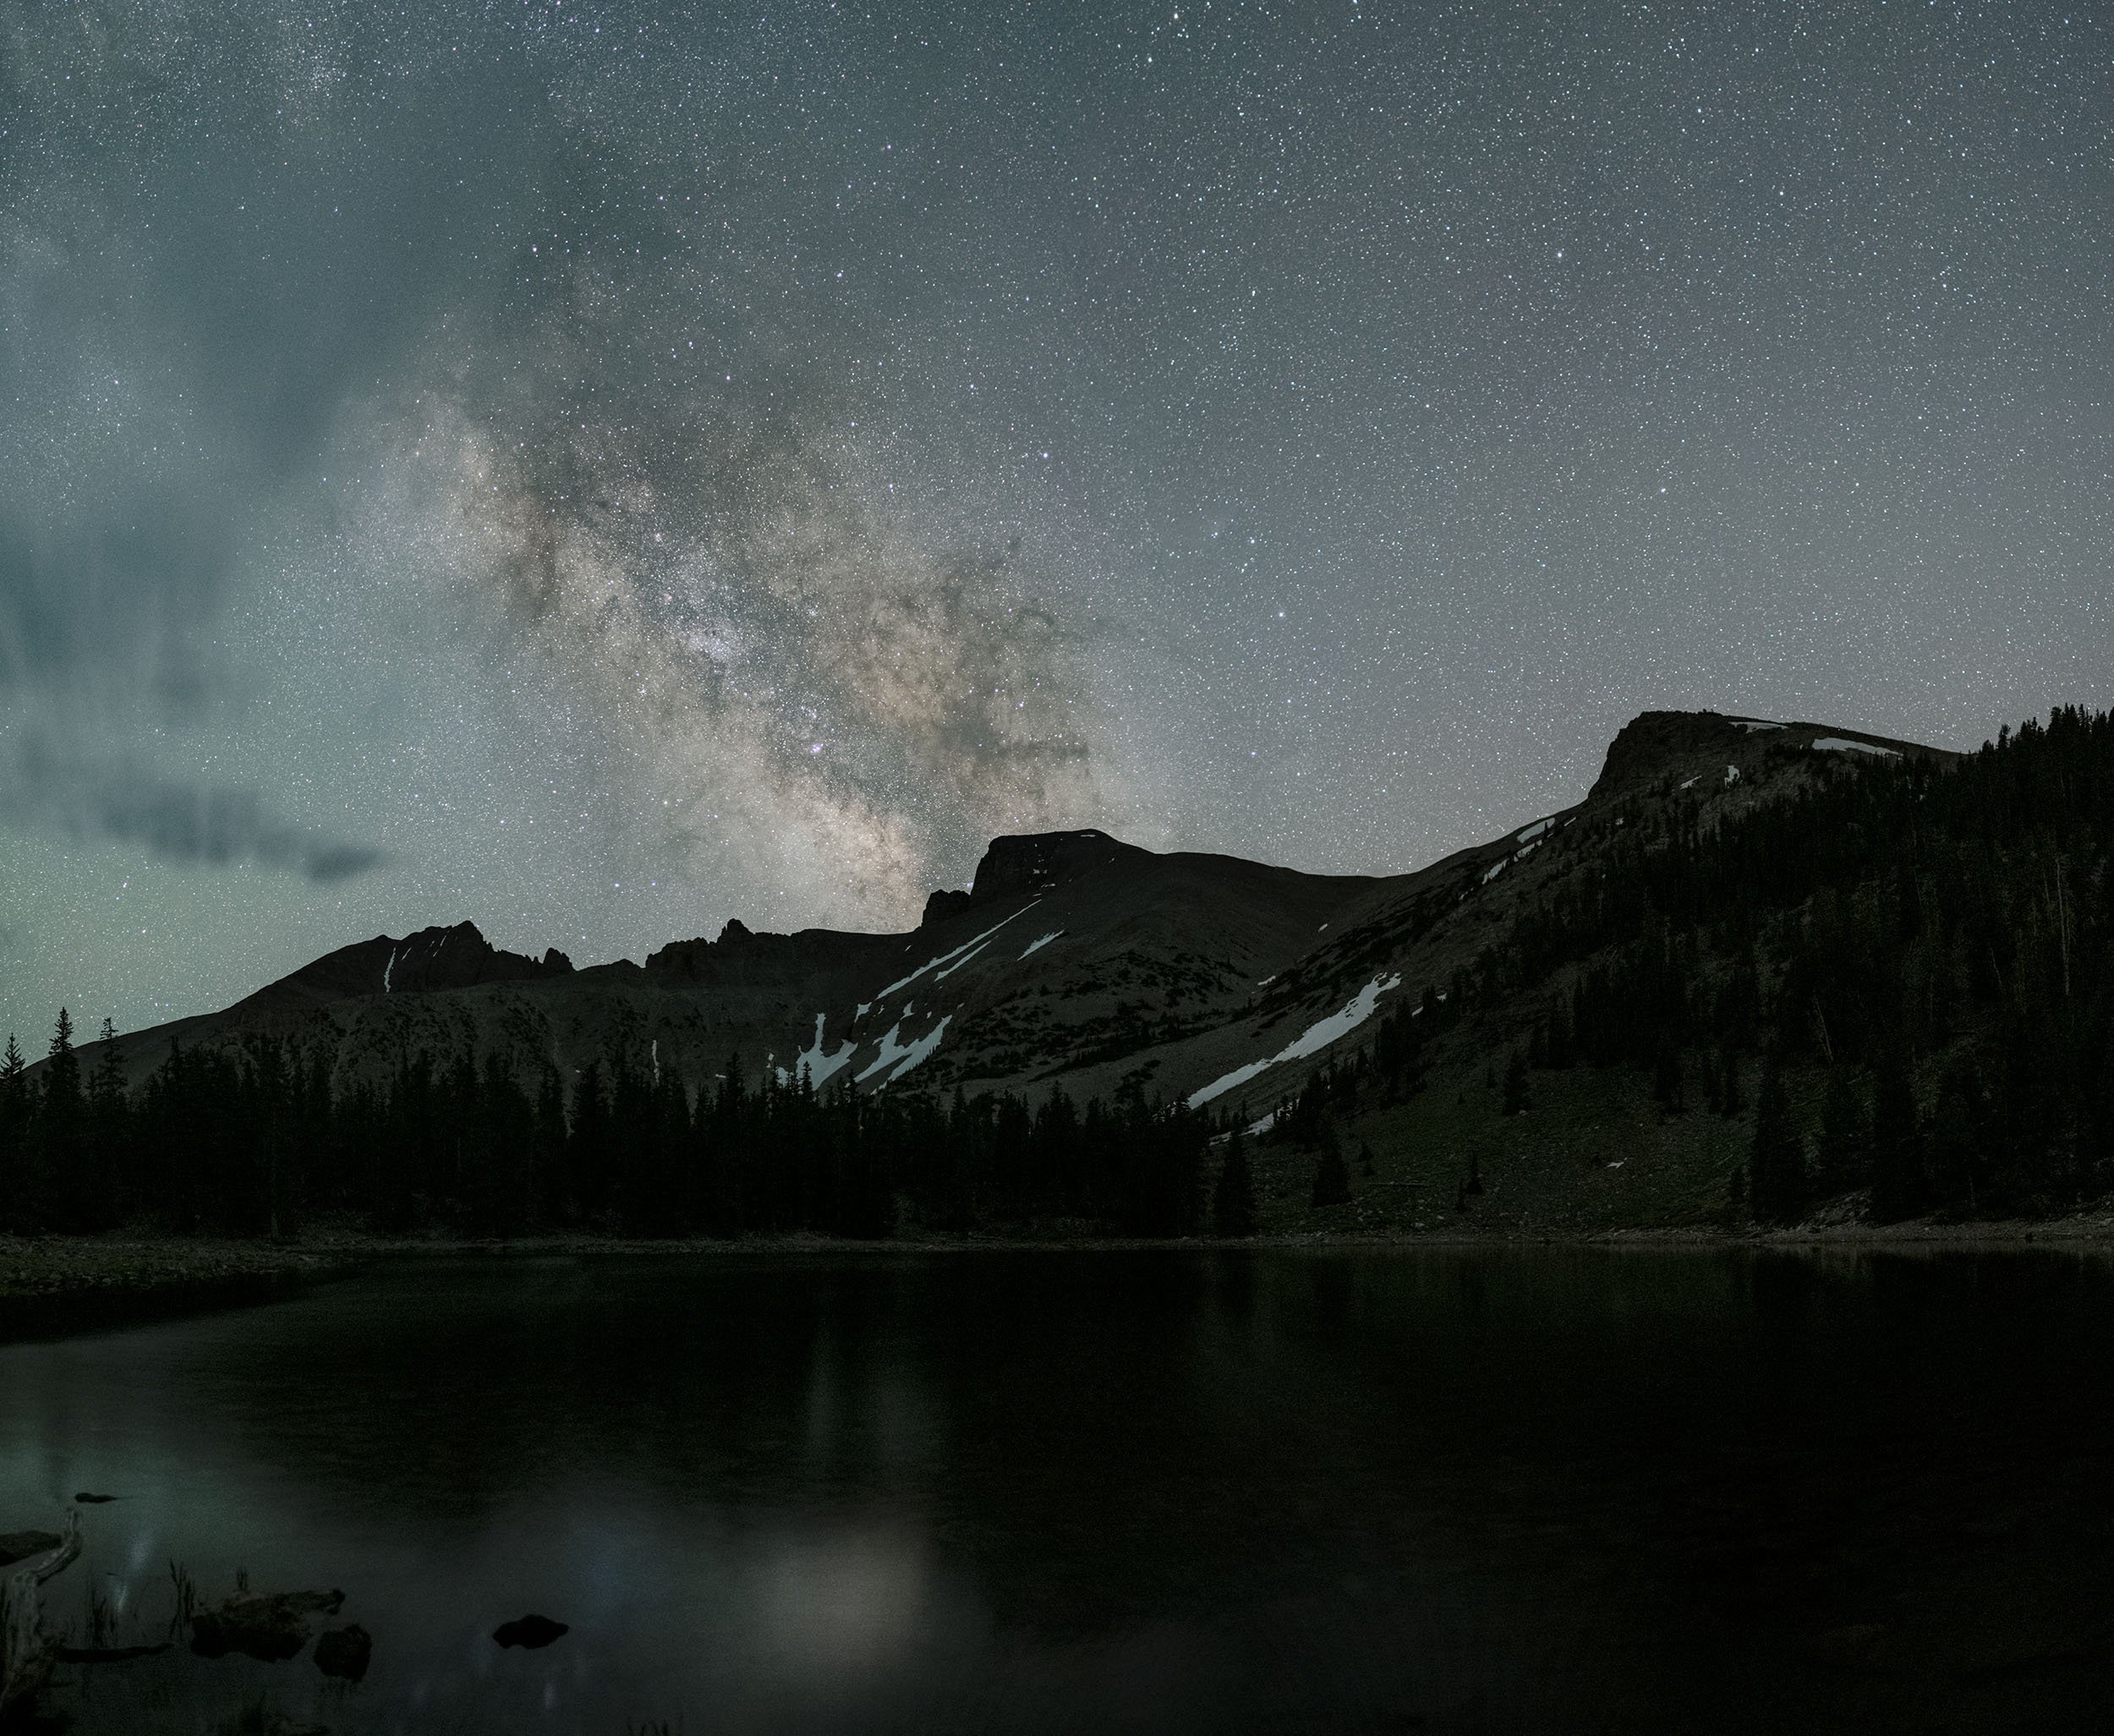
Now let’s take it down a bit. If you stood there for 30 seconds you would be even more transparent. And if you stood still in the frame for 8 seconds or 4 seconds, you wouldn’t even register. You are just not in the frame long enough to make an impression. Couple this with the fact that you almost never stand still while light painting, and you can see why you are not seen!
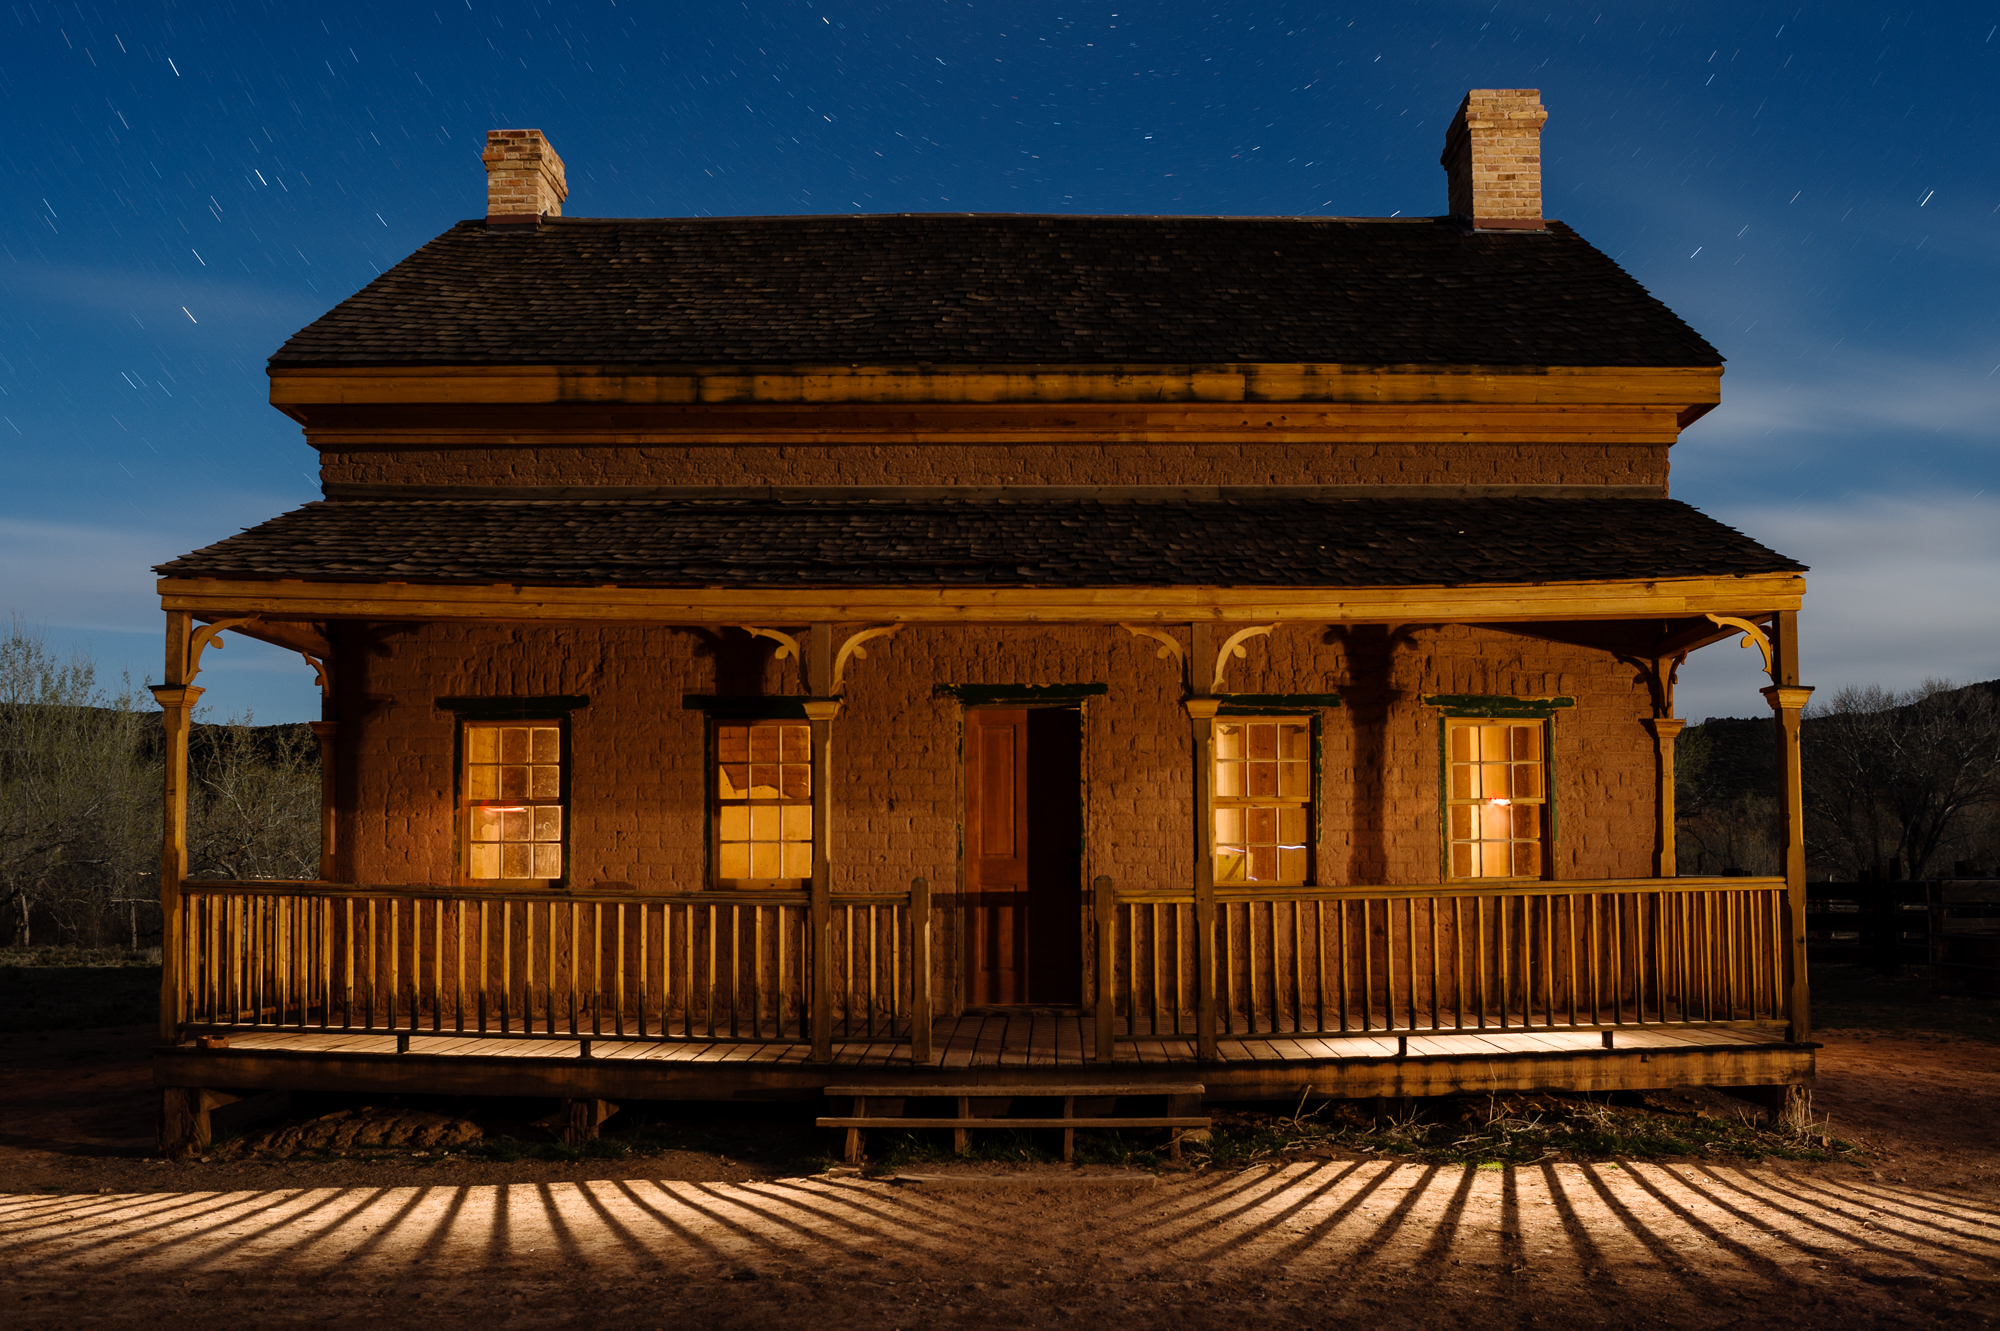
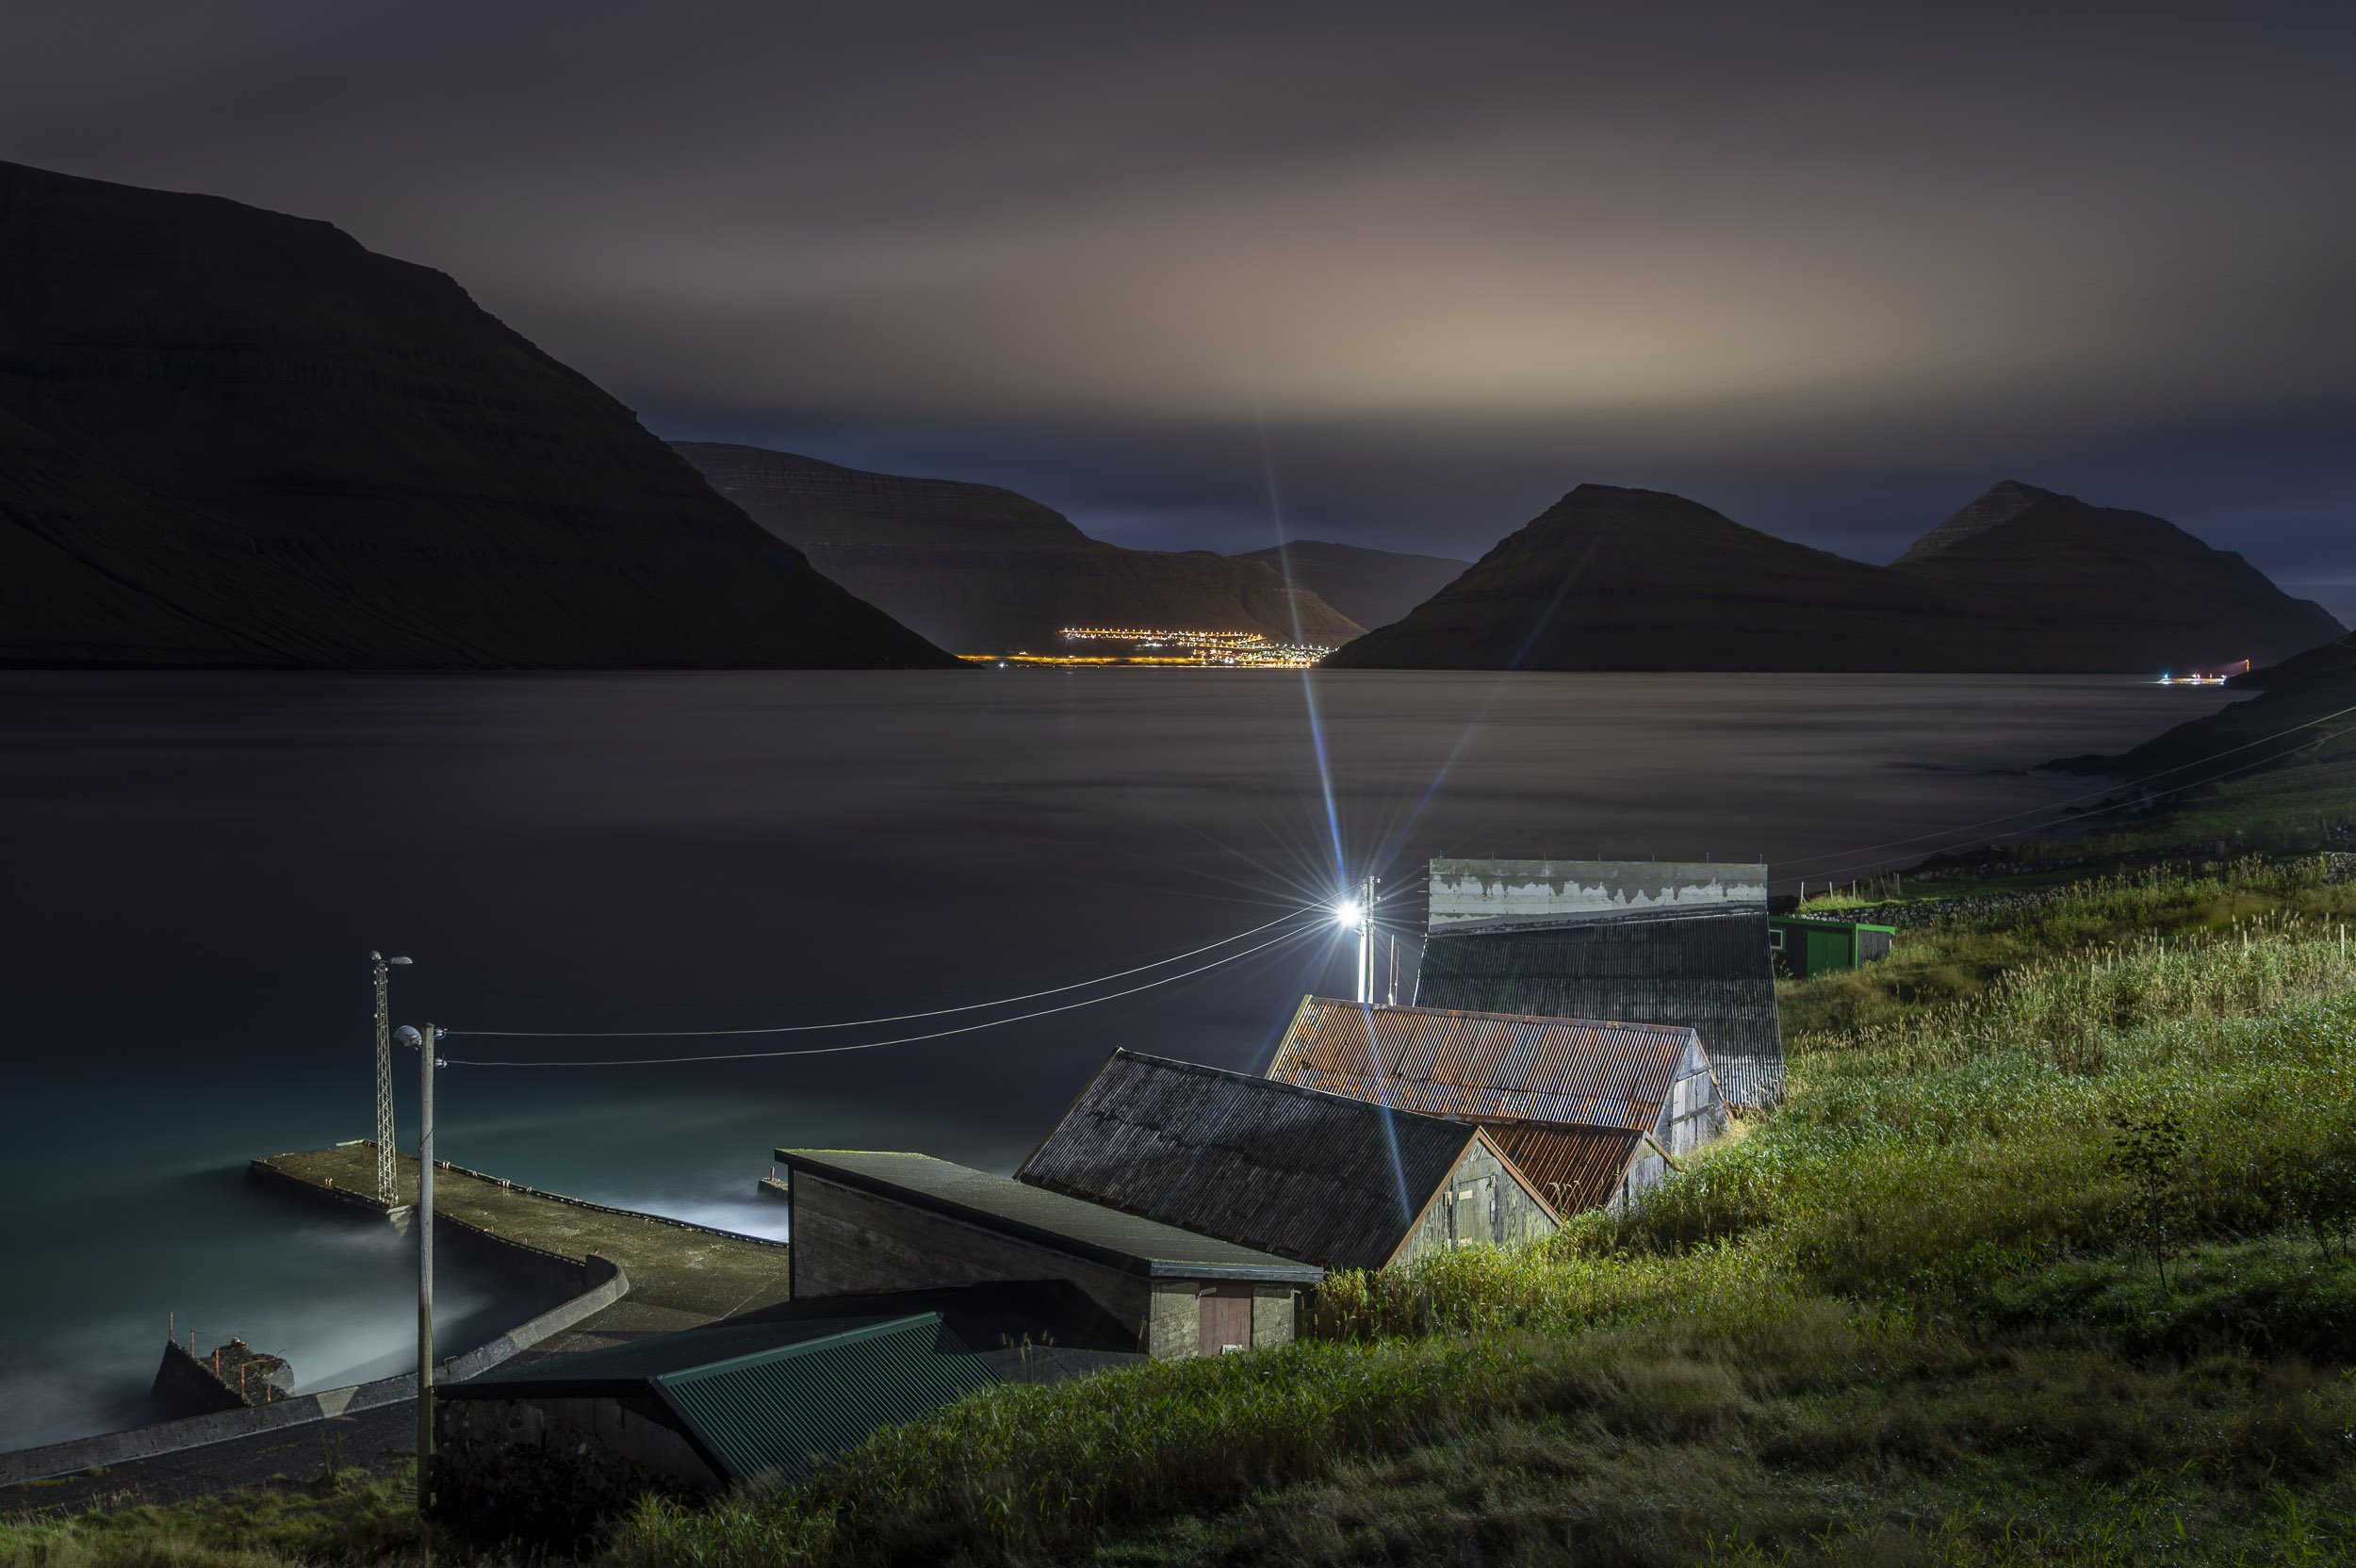
For this image I stood in front of the windows and painted back at the camera to create the shadows on the ground. The overall exposure was 3 minutes. The 20 seconds that I stood in front of the windows was not enough time for me to register on the exposure.

In order to be visible in this scene, I had to stand in the doorway for the entire length of the exposure. If I stood there for only half of the exposure, I would have been a ghost.
The Caveat
In the above scenario of the full moon we are assuming that you are not being illuminated by anything but the full moon. But, if you introduce a light source brighter than the ambient light (your flashlight, for instance), it will be “seen” in the scene.
This is exactly why and how our subjects become brighter than the background. We paint them with a light source brighter than the ambient light—in this case, the moon. So if you accidentally paint yourself with the flashlight, you too will register on the sensor!
Sometimes, even the light bouncing back from the object you are painting can somewhat illuminate you. In the image below you can see that I am ghosted in the lower center of the frame. Although this was a completely dark mausoleum, the walls were close enough that as I painted, they bounced enough light back onto me to make me partially visible.
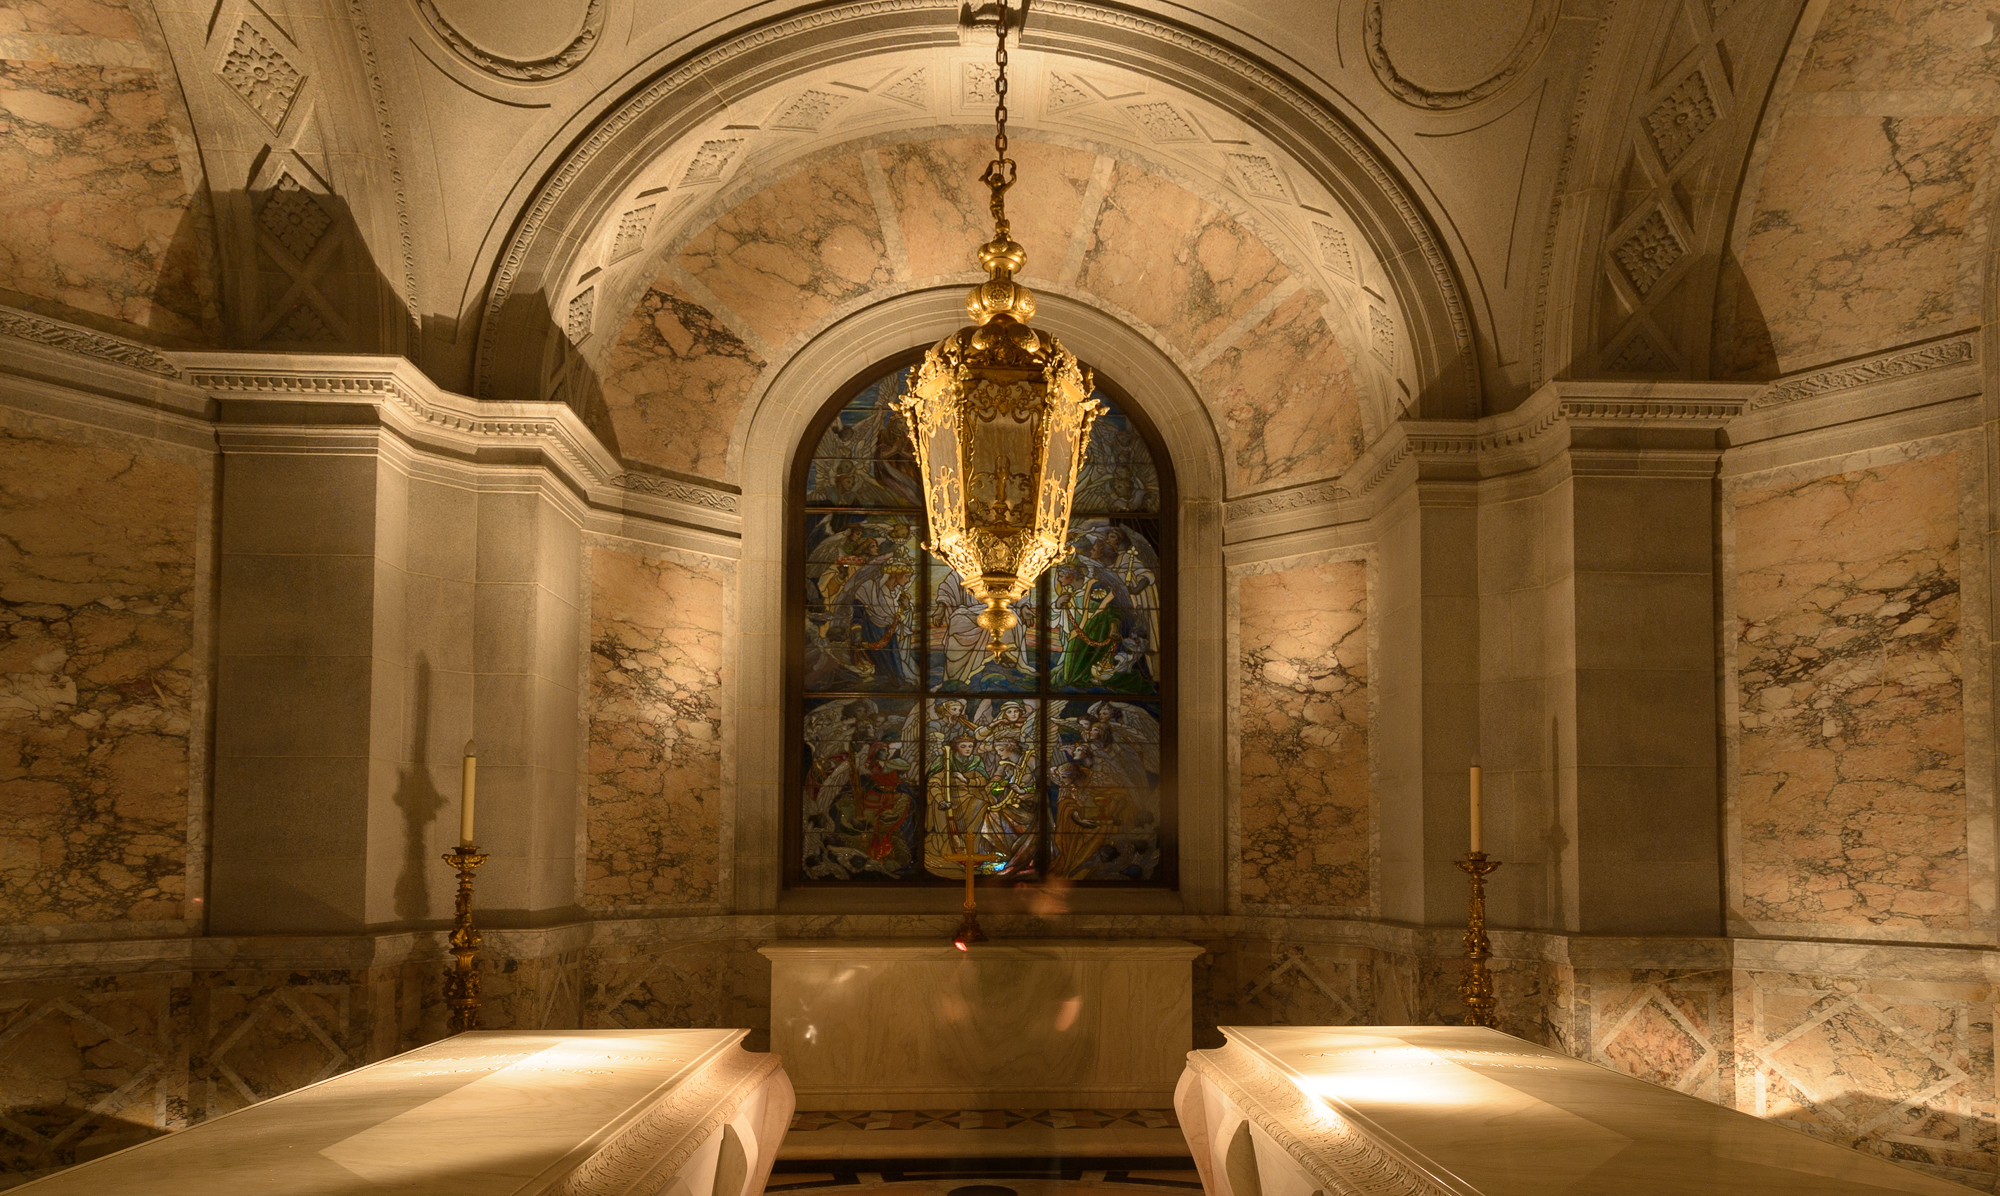
Bounced light from the walls I was painting was enough to illuminate me.
Solutions to Being Seen
The first step you can take to hide yourself from the camera is to wear black clothing. Black fabrics will absorb most of the stray light and ensure that you remain invisible. Steer away from lighter colored pants such as khakis, as they will reflect more light.
Also, remember that the brighter the scene is, the shorter the exposure will be. Shorter exposures will require that you don’t stay in one place for too long. Longer exposures are much more forgiving, allowing you to linger a little longer in spots.
And don’t paint yourself with the flashlight! Anything the flashlight touches will show up in the scene. Keep it pointed at the subject, not yourself!
Another similar issue when light painting is when your flashlight or other light-painting tool shows up in the image. Sometimes you may want this effect—such as when writing with light—but when it’s an accident it can ruin your photos.
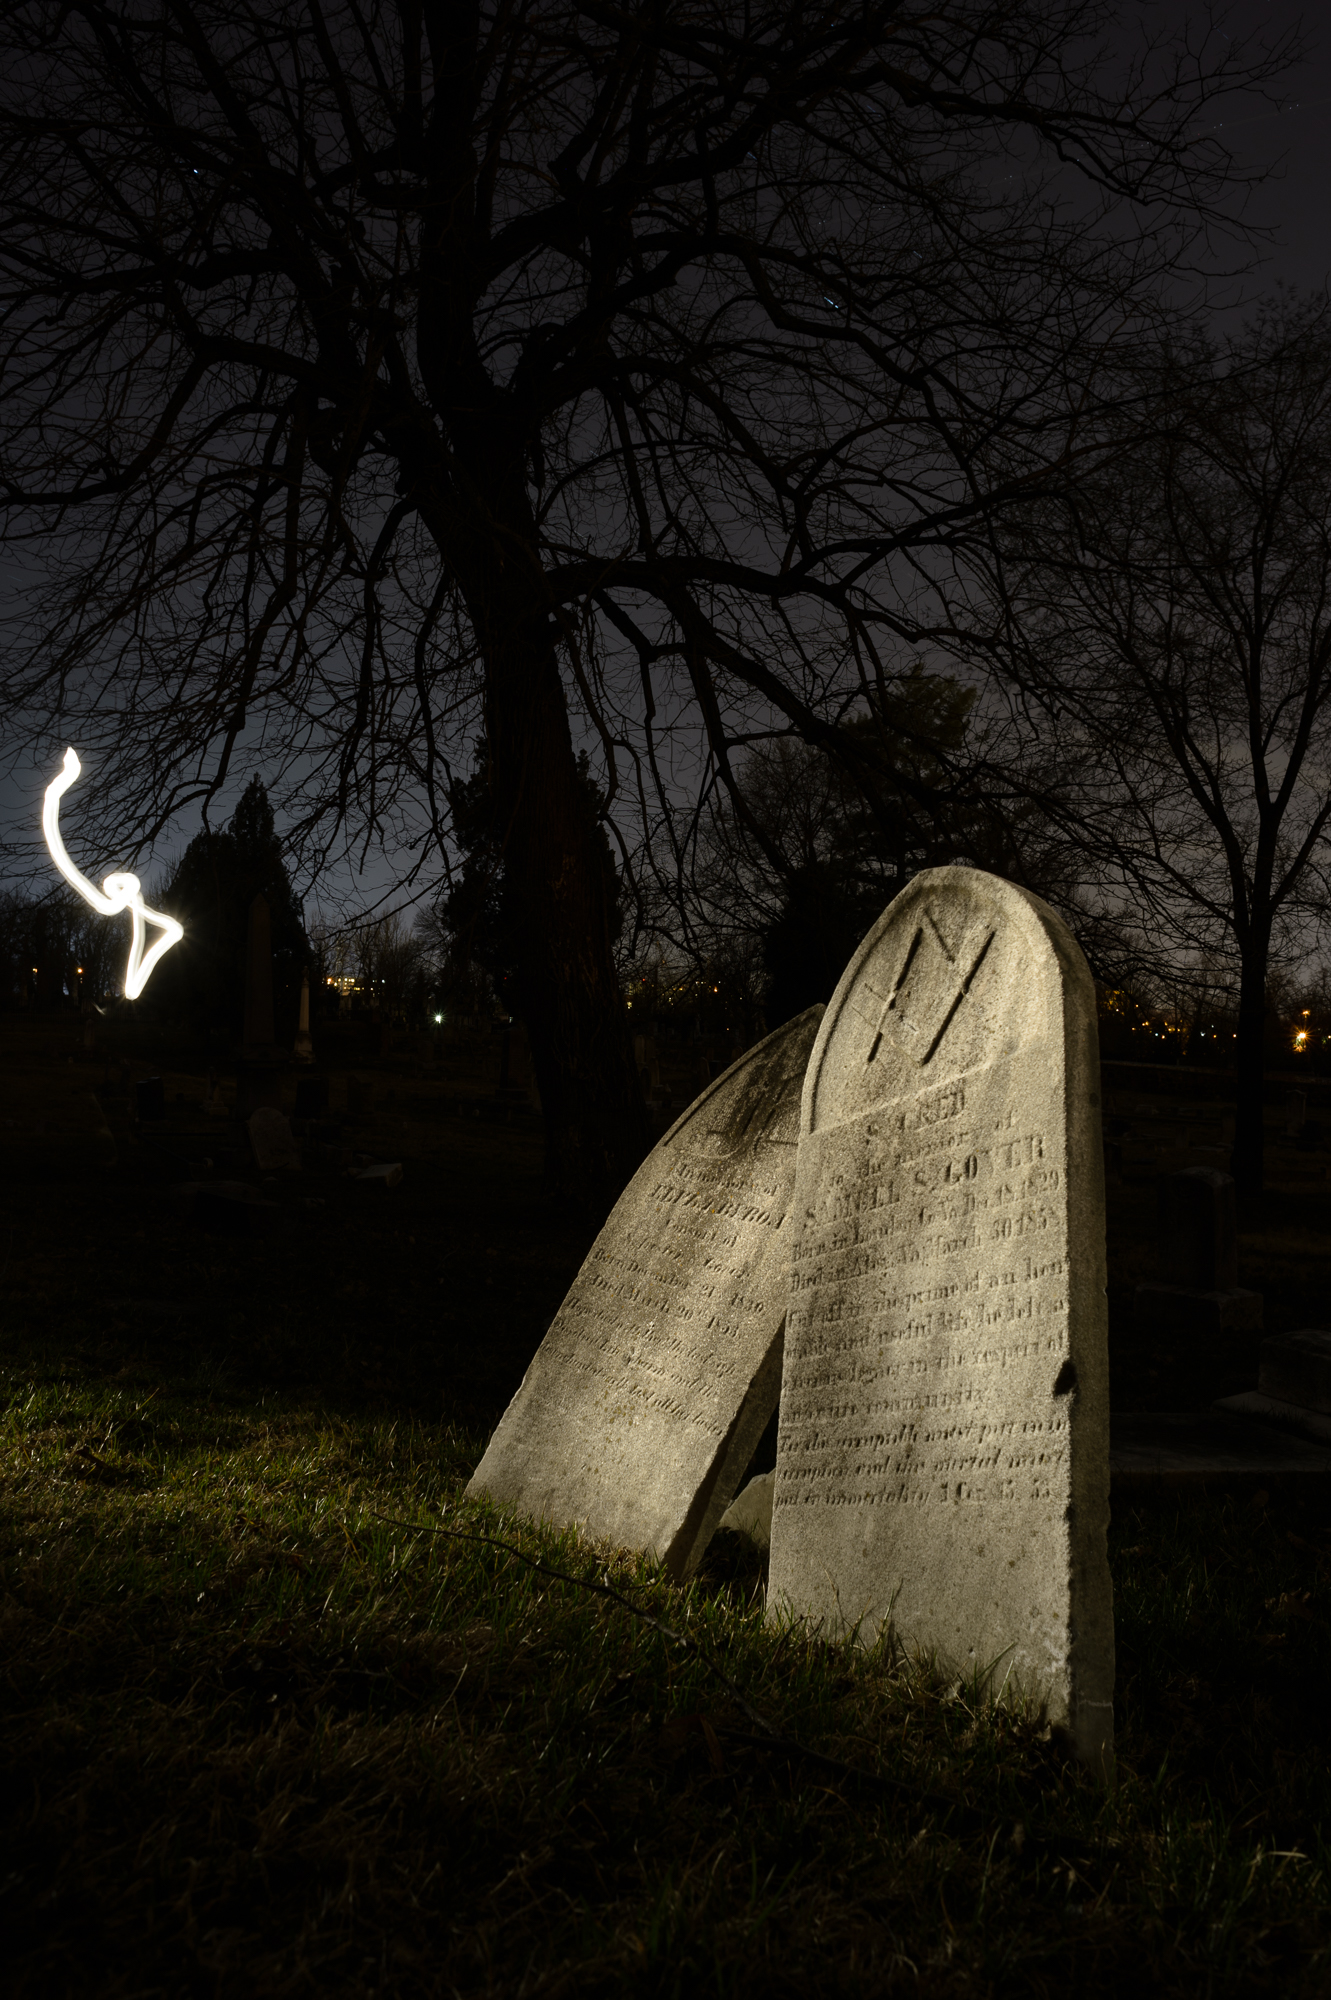
In this image, while light painting the gravestones, my flashlight slipped out from behind my body and the camera was able to “see” it.
To prevent this, think of it as hiding the flashlight from your camera. The simplest way to do this is to keep your body between the flashlight and the camera. This can be difficult, especially while you are trying to paint something from the side, as seen in the image above. This flashlight angle produces beautiful texture on the subject but you must be careful to always hide the tip of the flashlight. If your camera sees the tip (where the bulb is), the light source itself will be recorded.
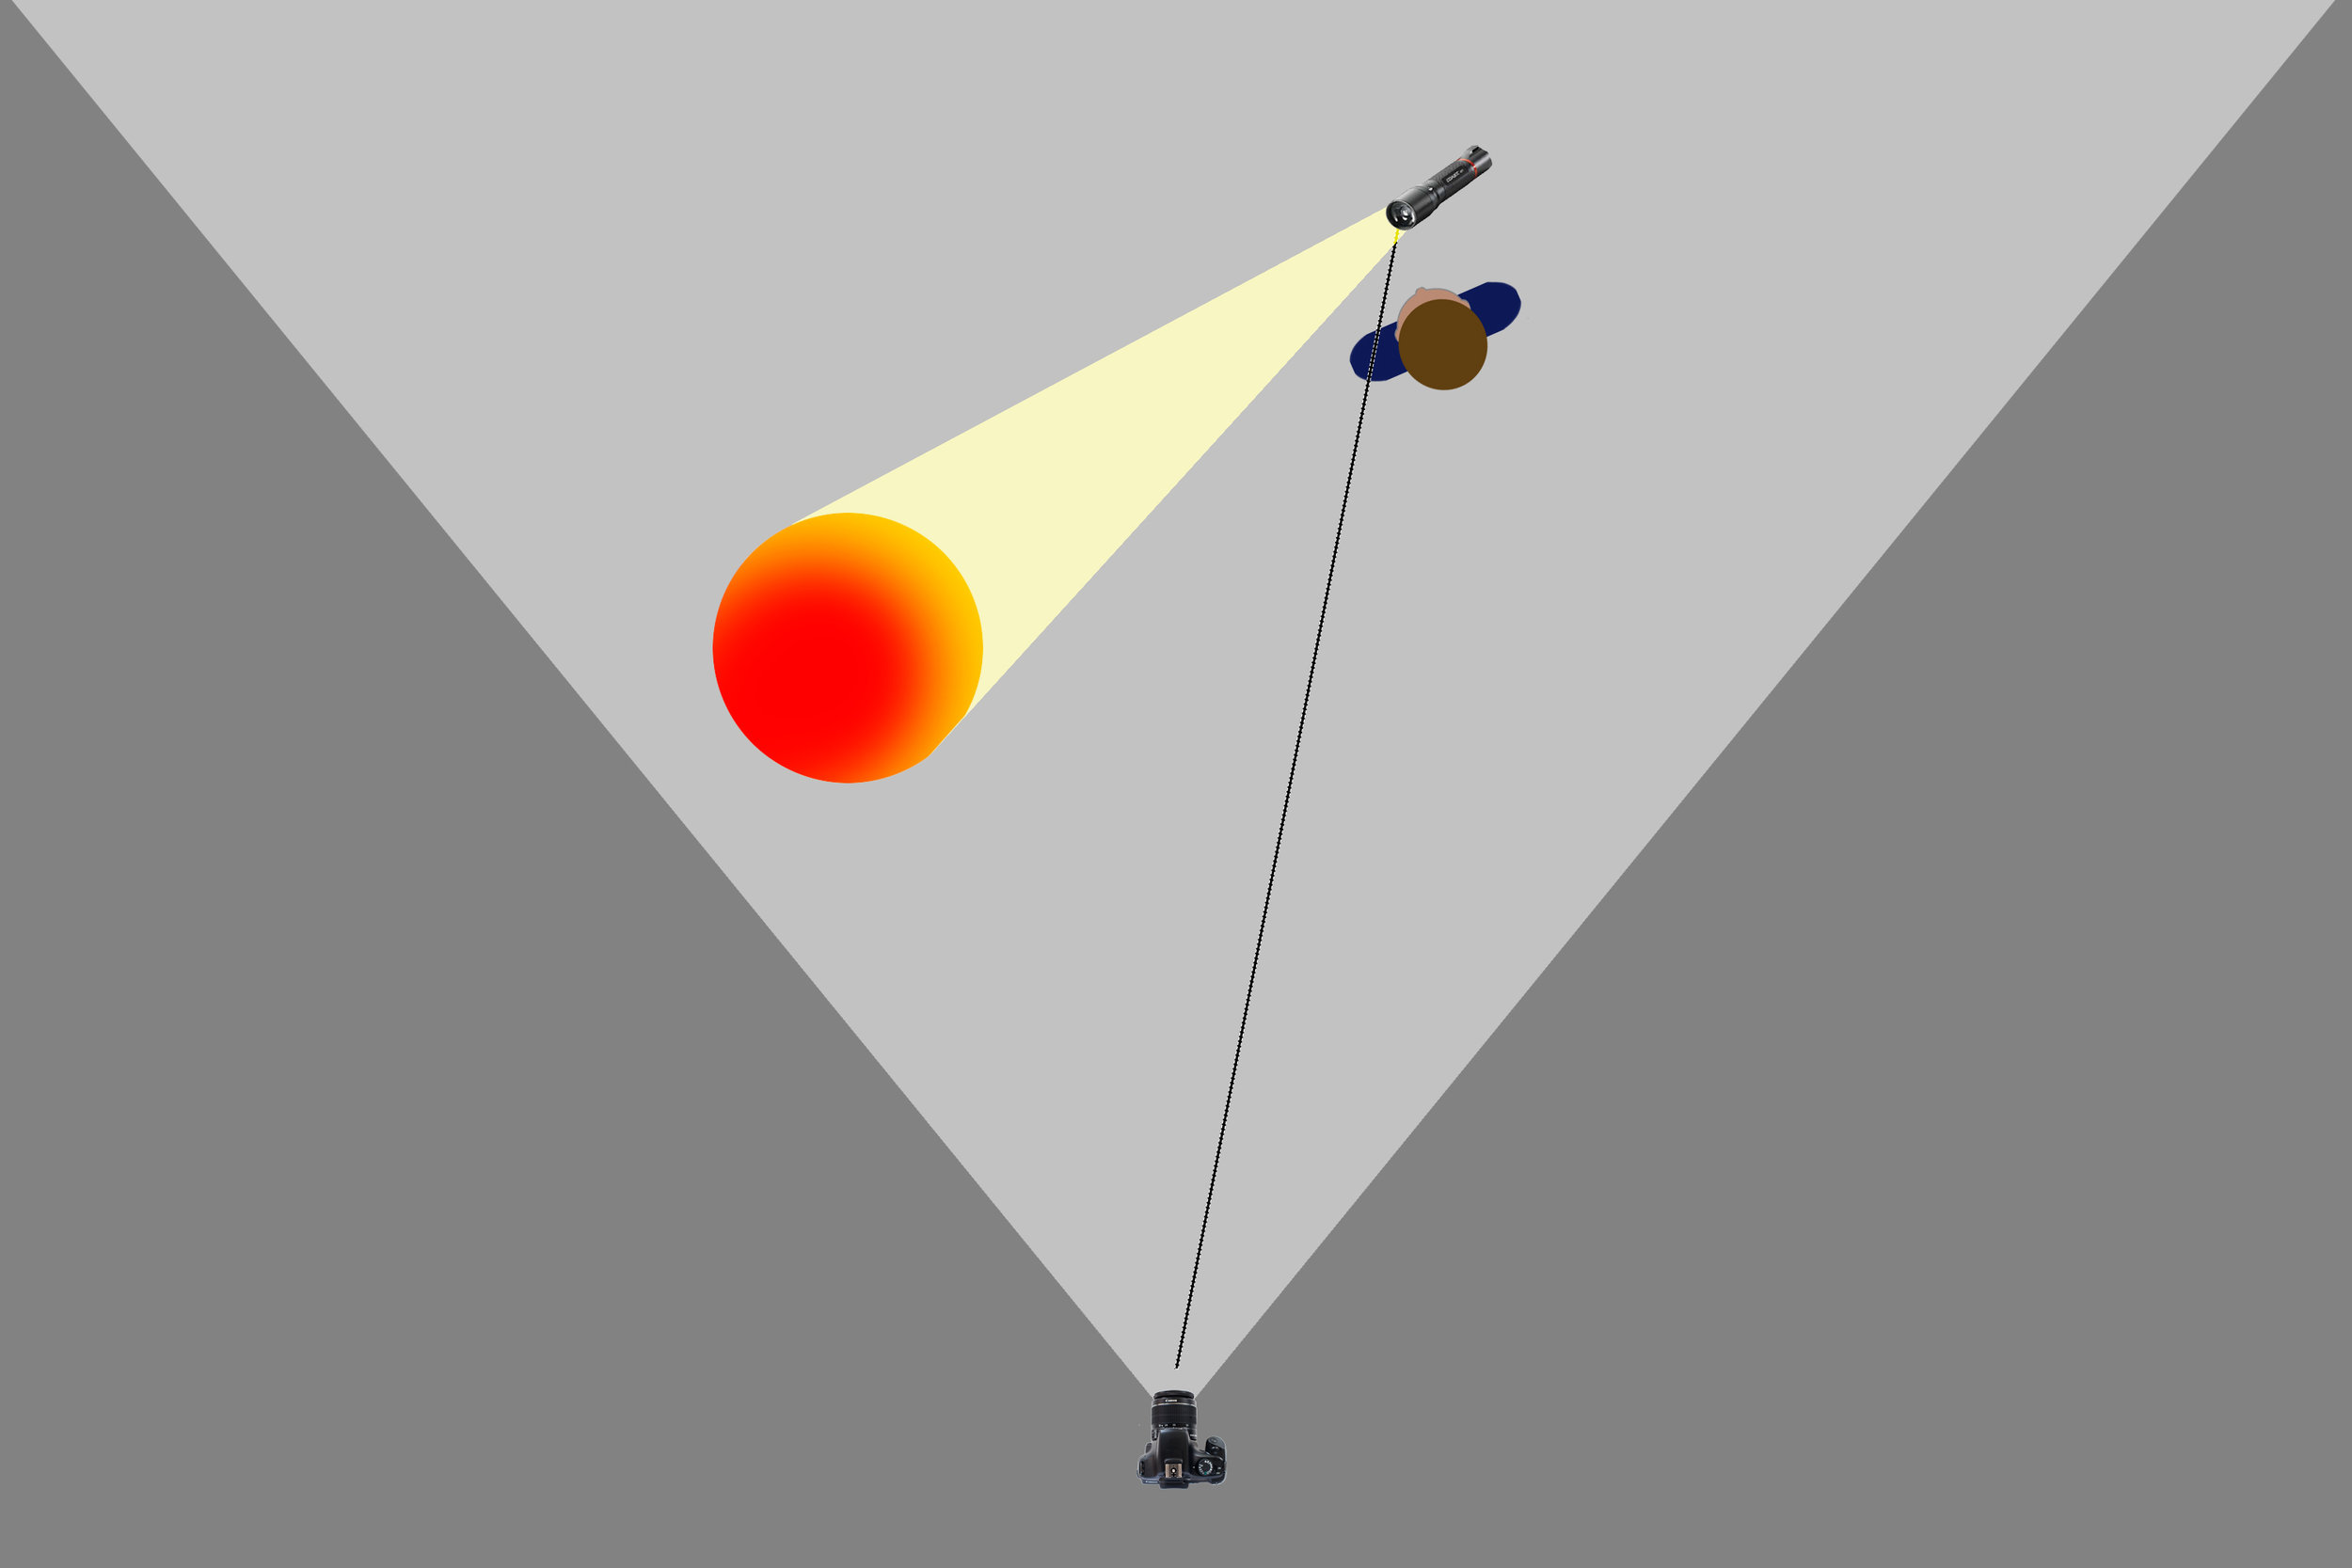
Keep your body between your flashlight and camera.
Another method of hiding your flashlight from the camera is to use a rubber snoot. Fit one onto the front of the light, and it will hide the bulbs while still letting the light flow into the scene where you want it. I find the Universal Connector by Light Painting Brushes works really well as a snoot (in addition to its intended use for connecting brushes to your flashlight). A less elegant DIY solution is to cover a toilet paper tube inside and out with black gaffers tape.
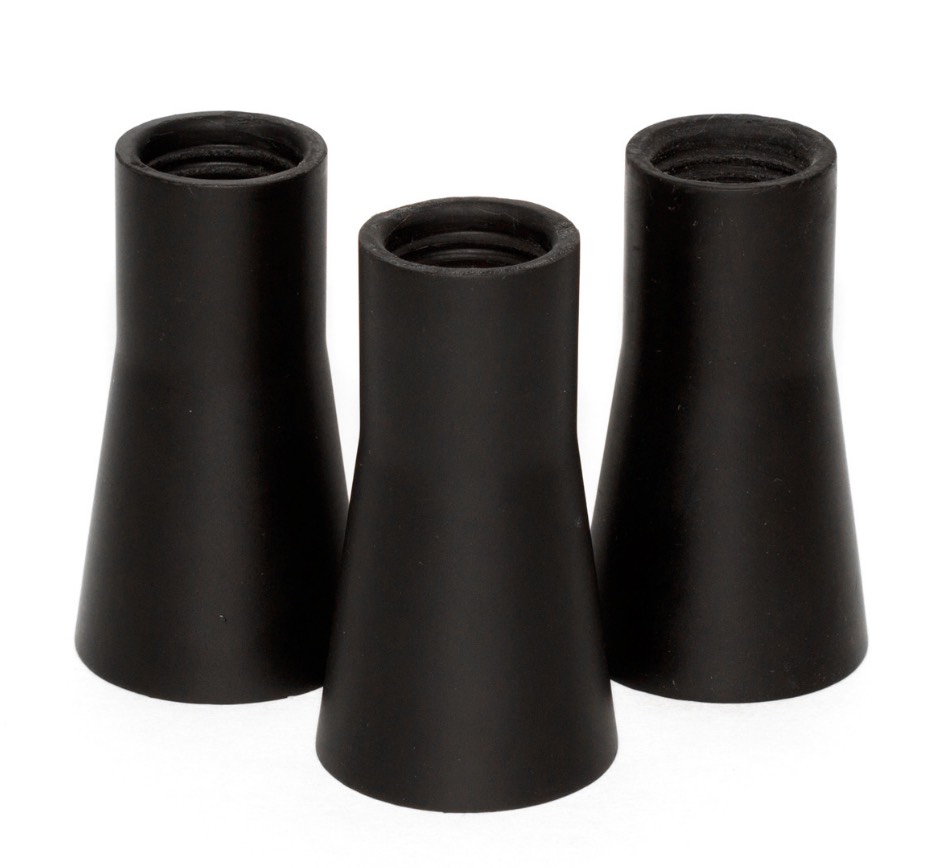
These Universal Connectors by Light Painting Brushes are designed to hold light-painting tools, but also can serve as excellent snoots to mask the tip of your flashlight.
With these techniques and a little practice, you’ll be effectively invisible to the camera. Fortunately in the digital age we can look at the LCD to see if we’ve shown ourselves, quickly learn from our mistakes, and get the shot right the next time.
For more information about the equipment mentioned in this post, see the Our Gear page.