NPF: The New Rule for Shooting the Sharpest Stars in the Sky

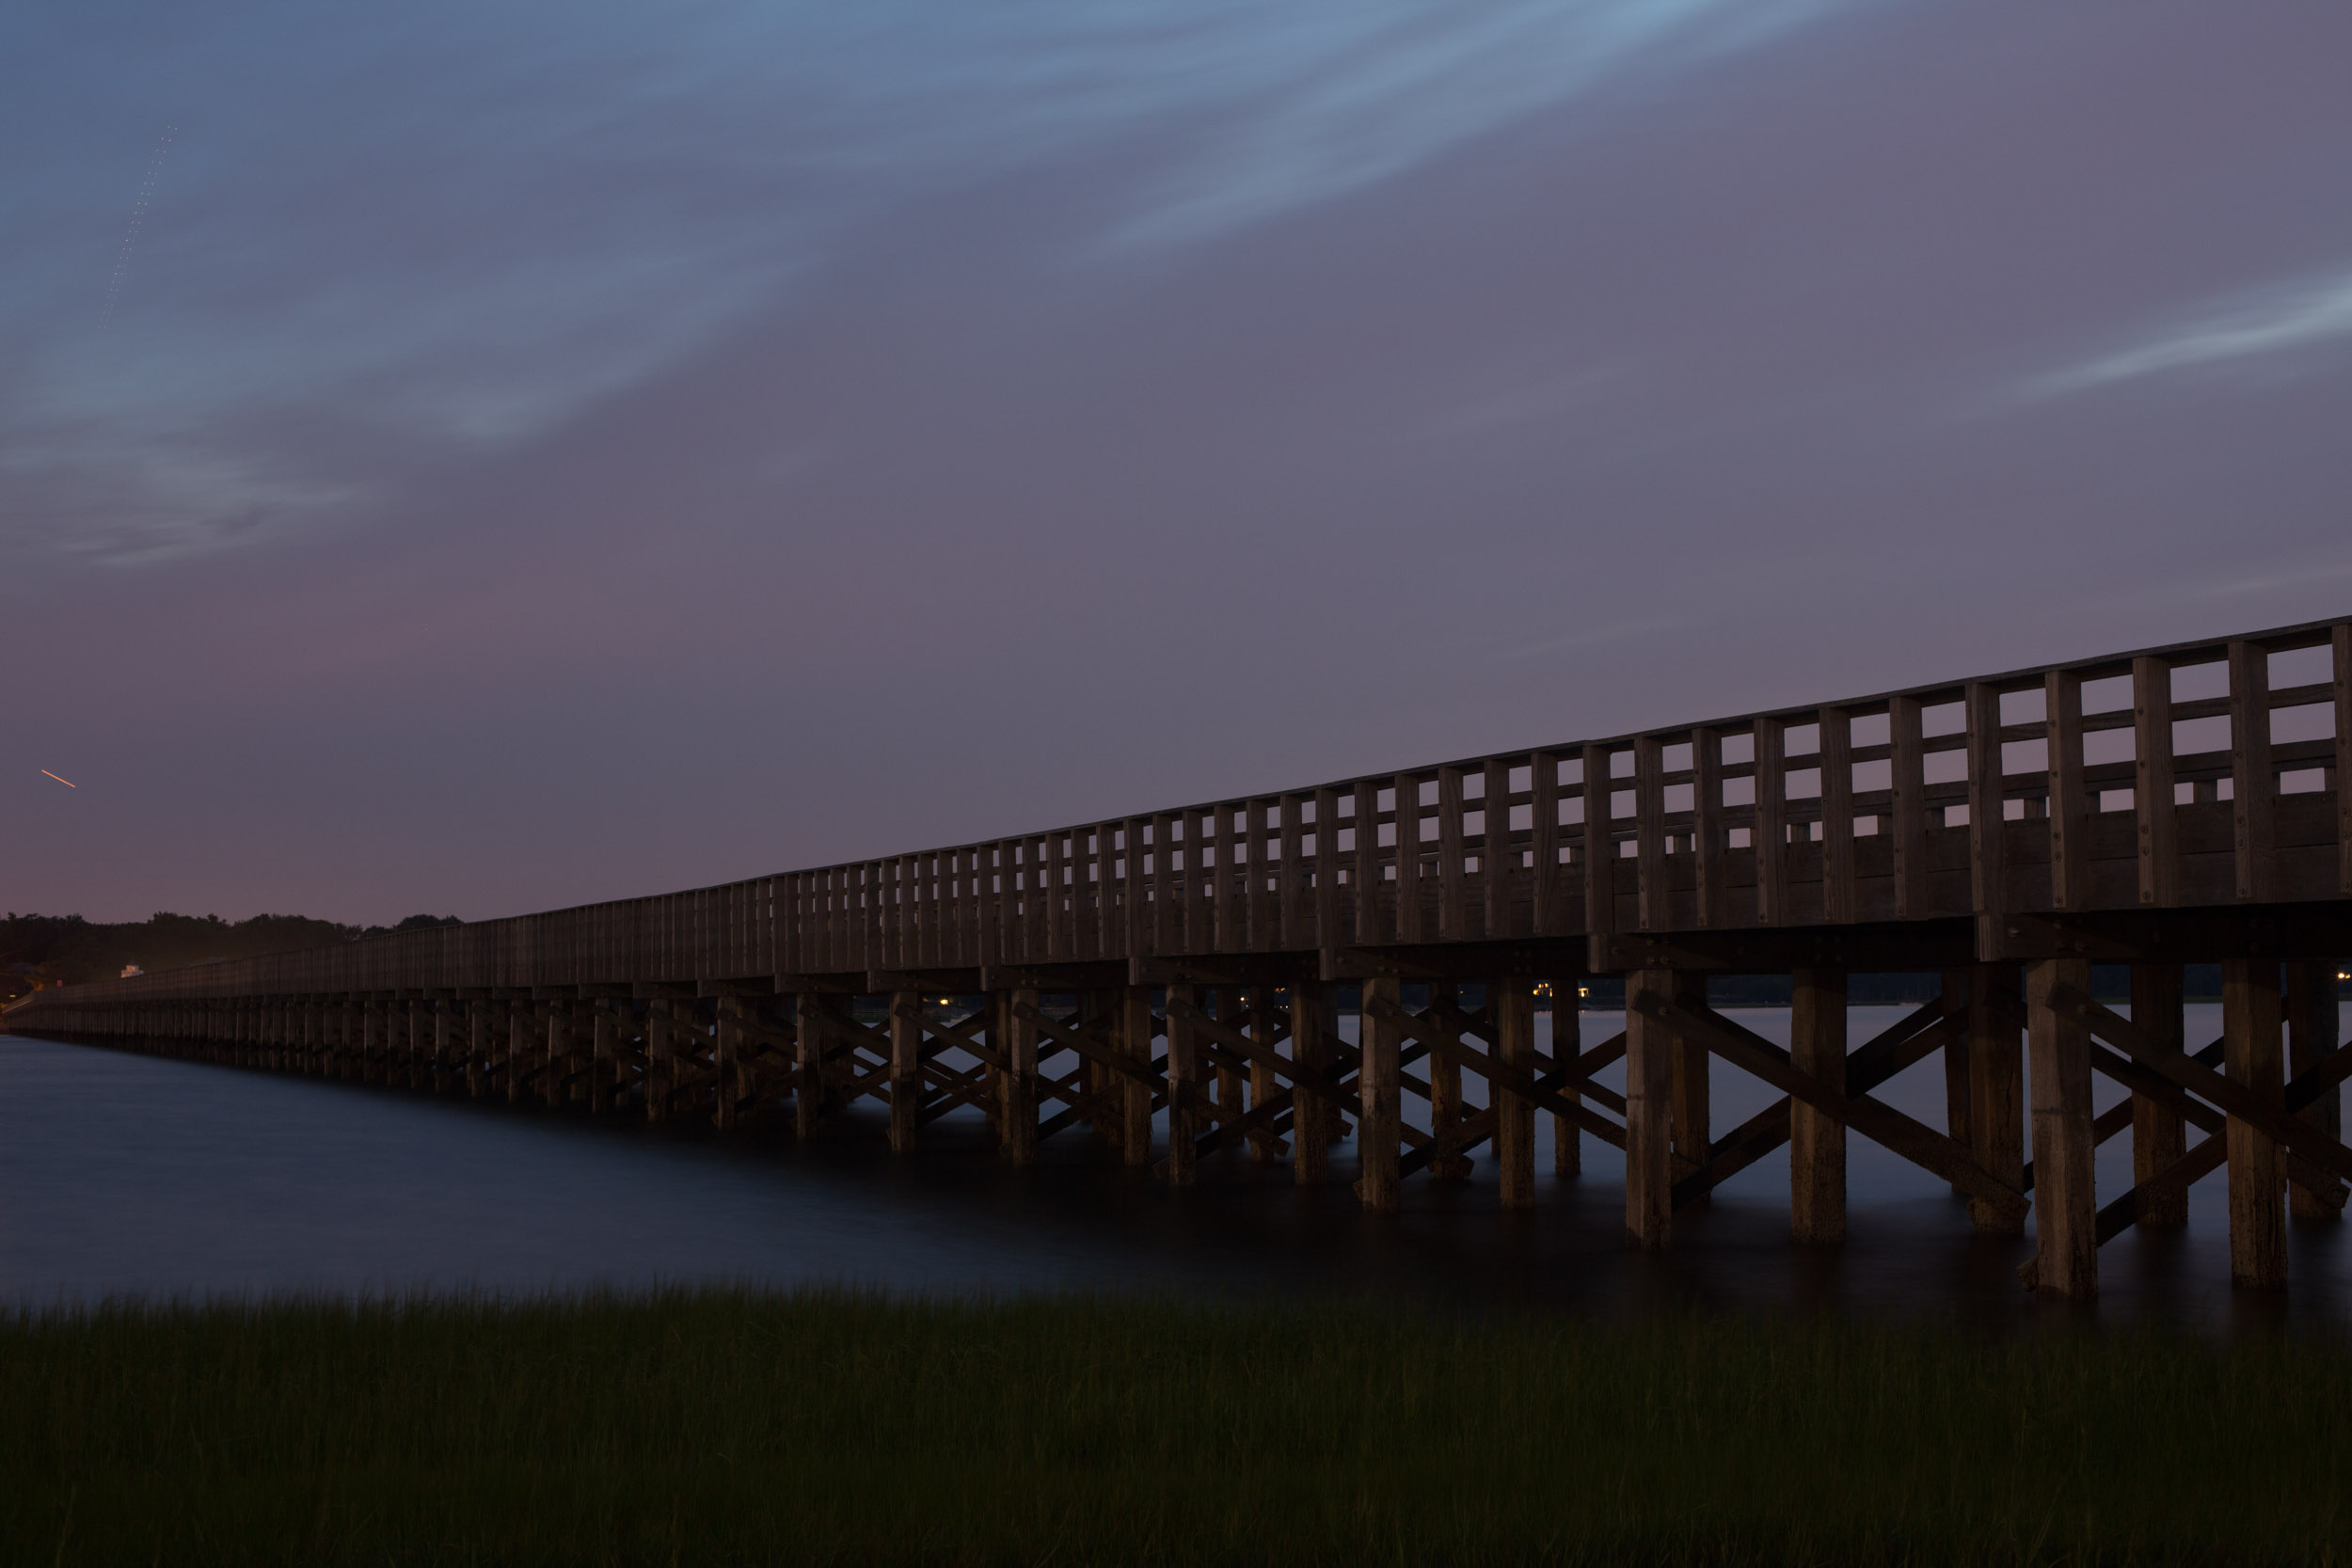
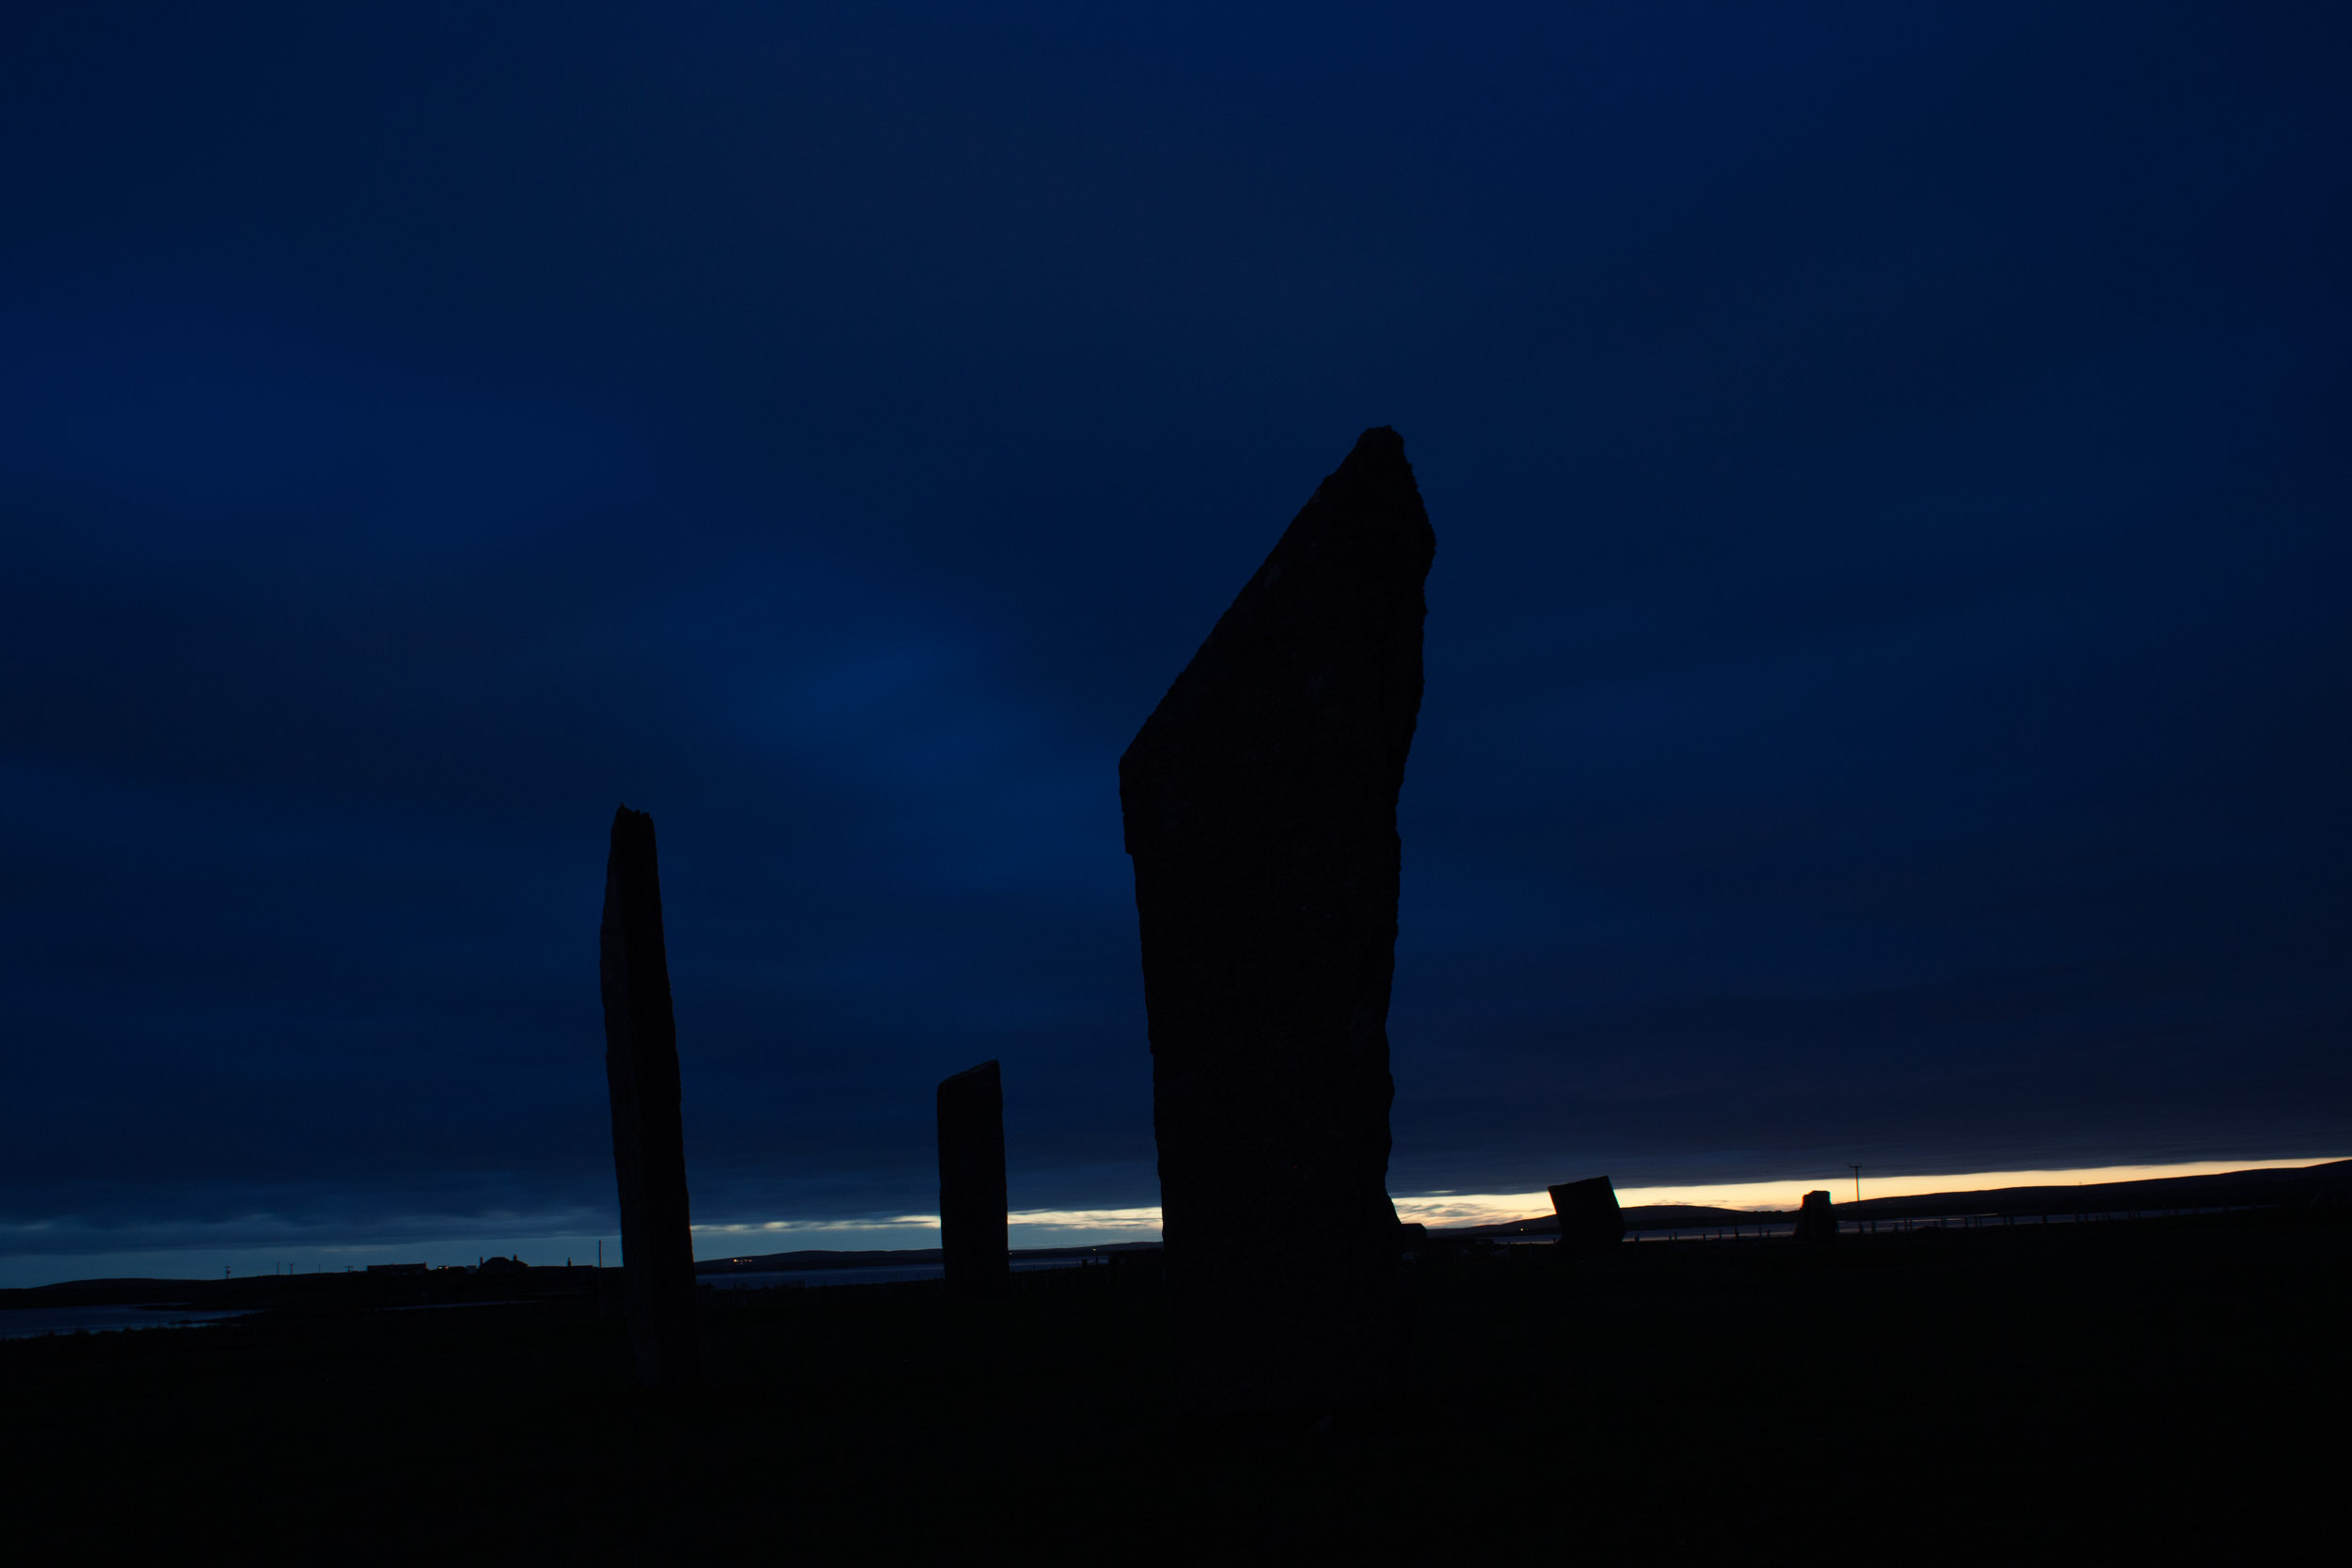
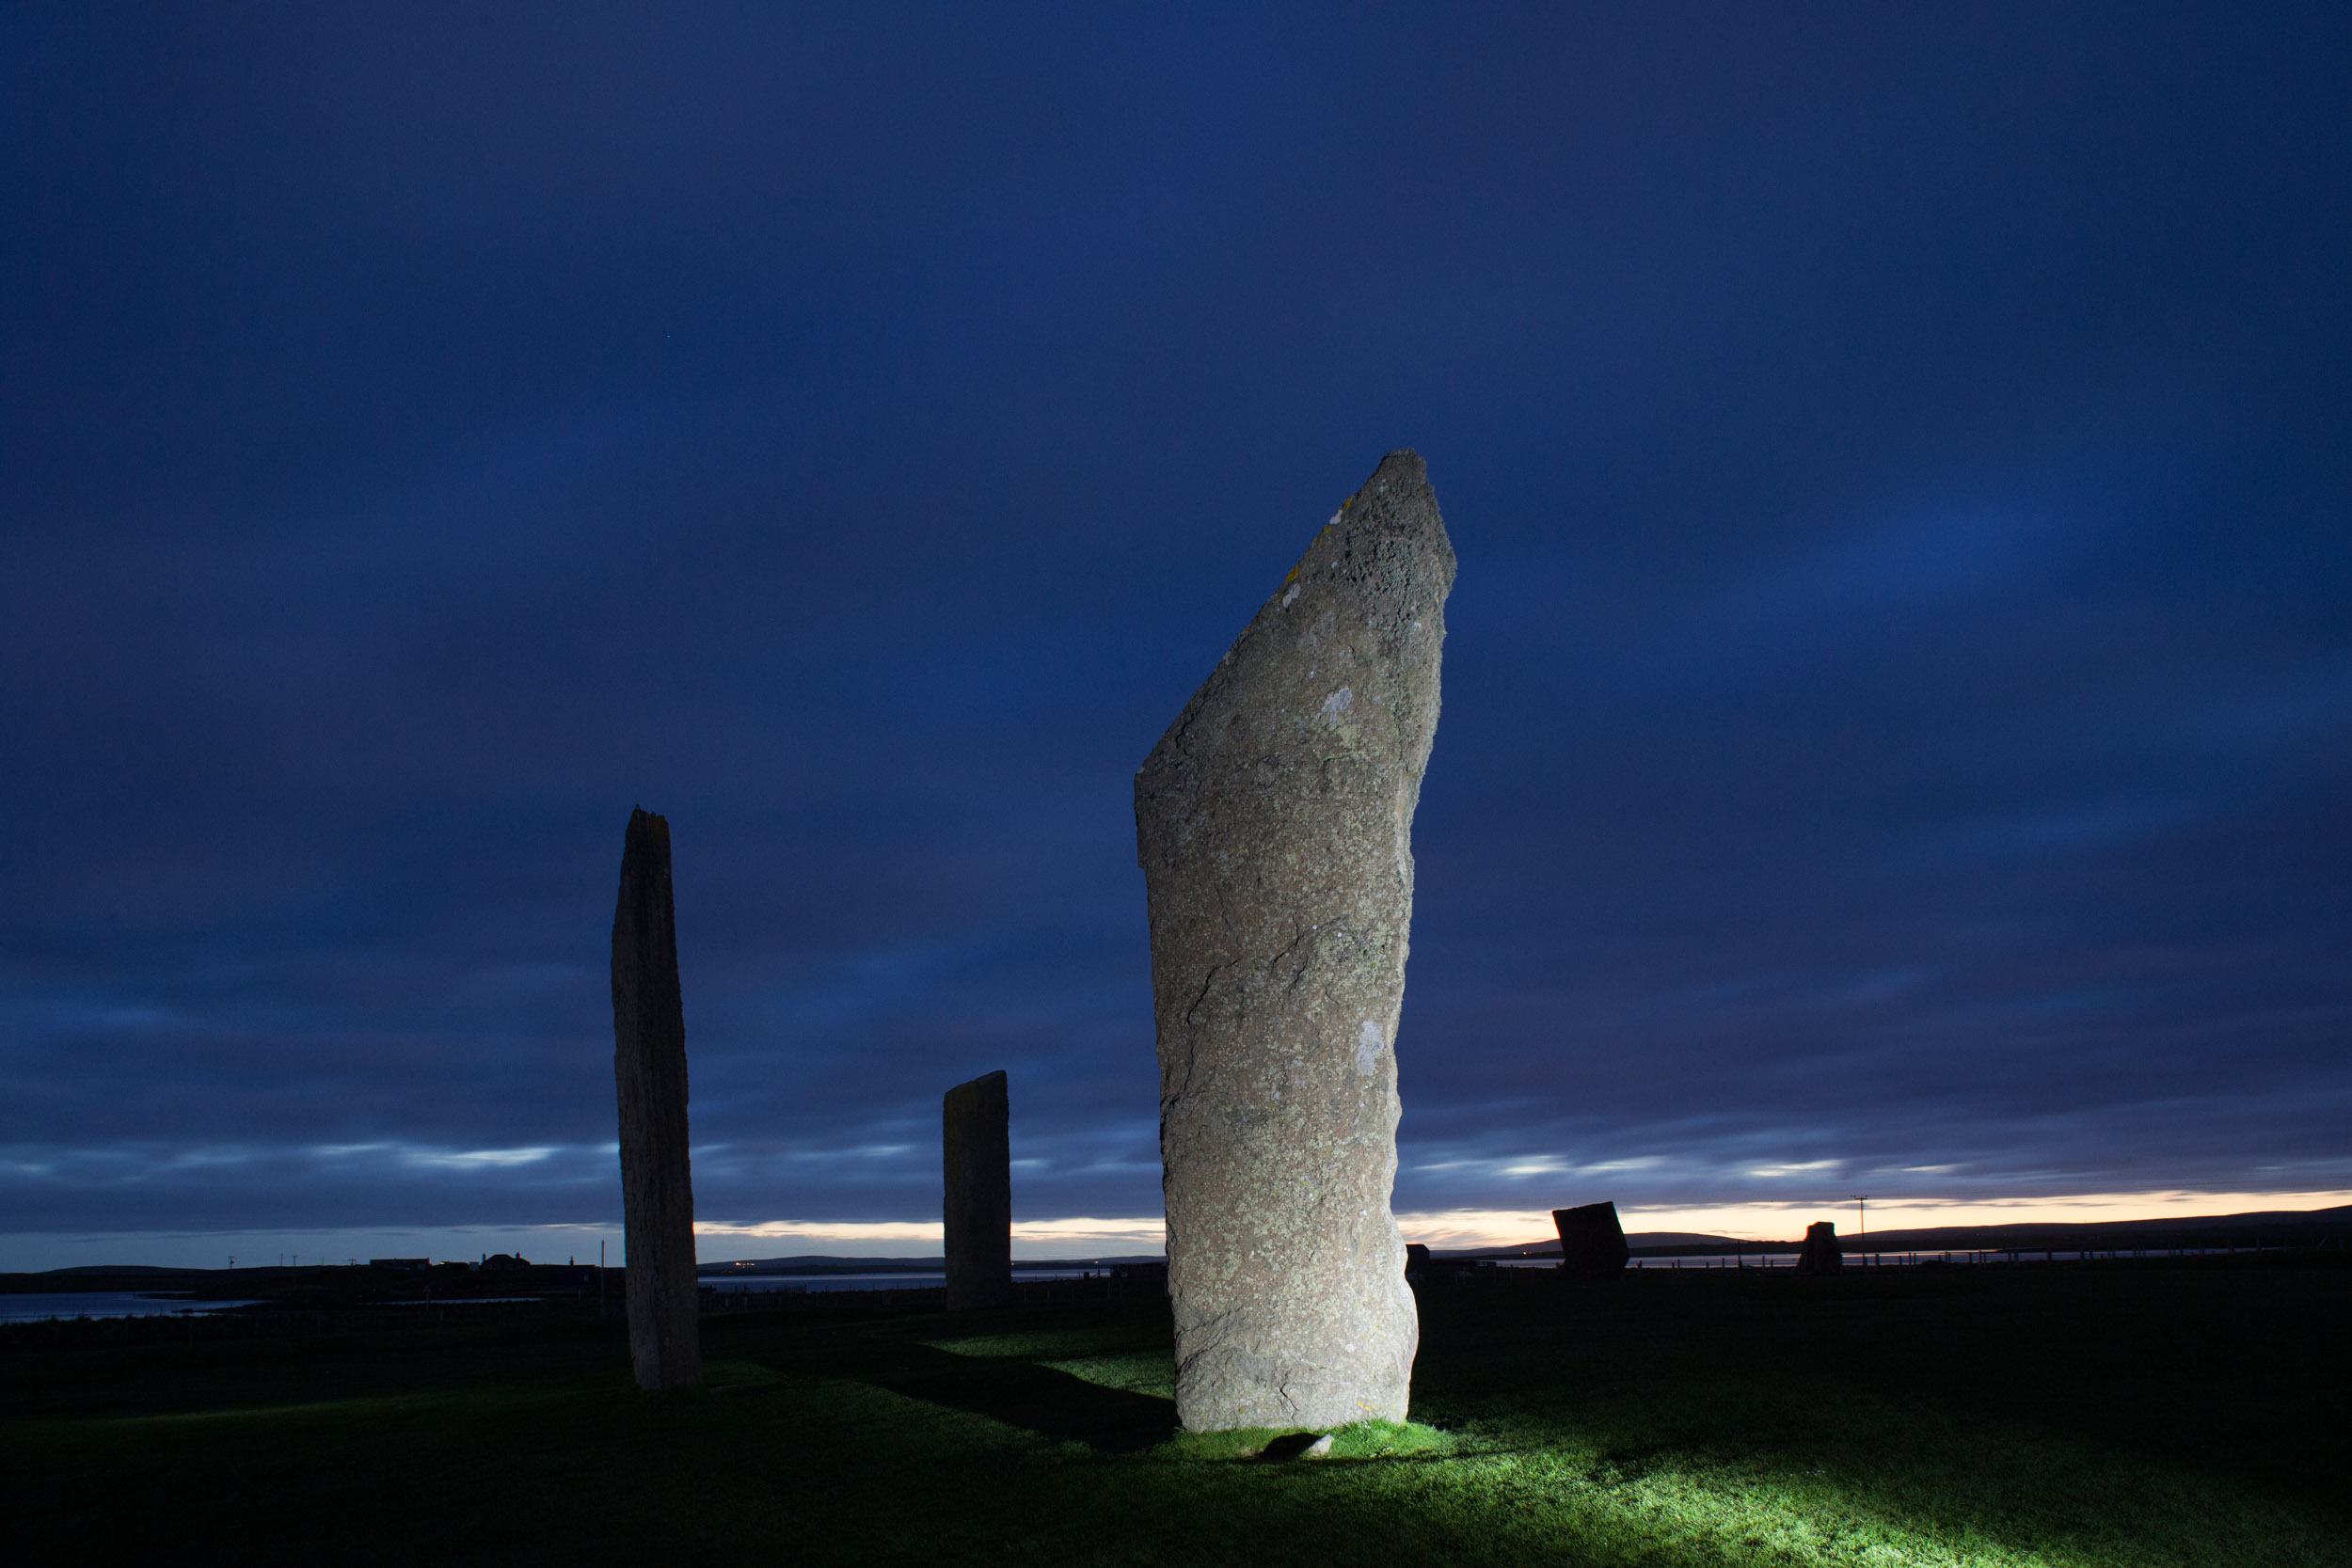
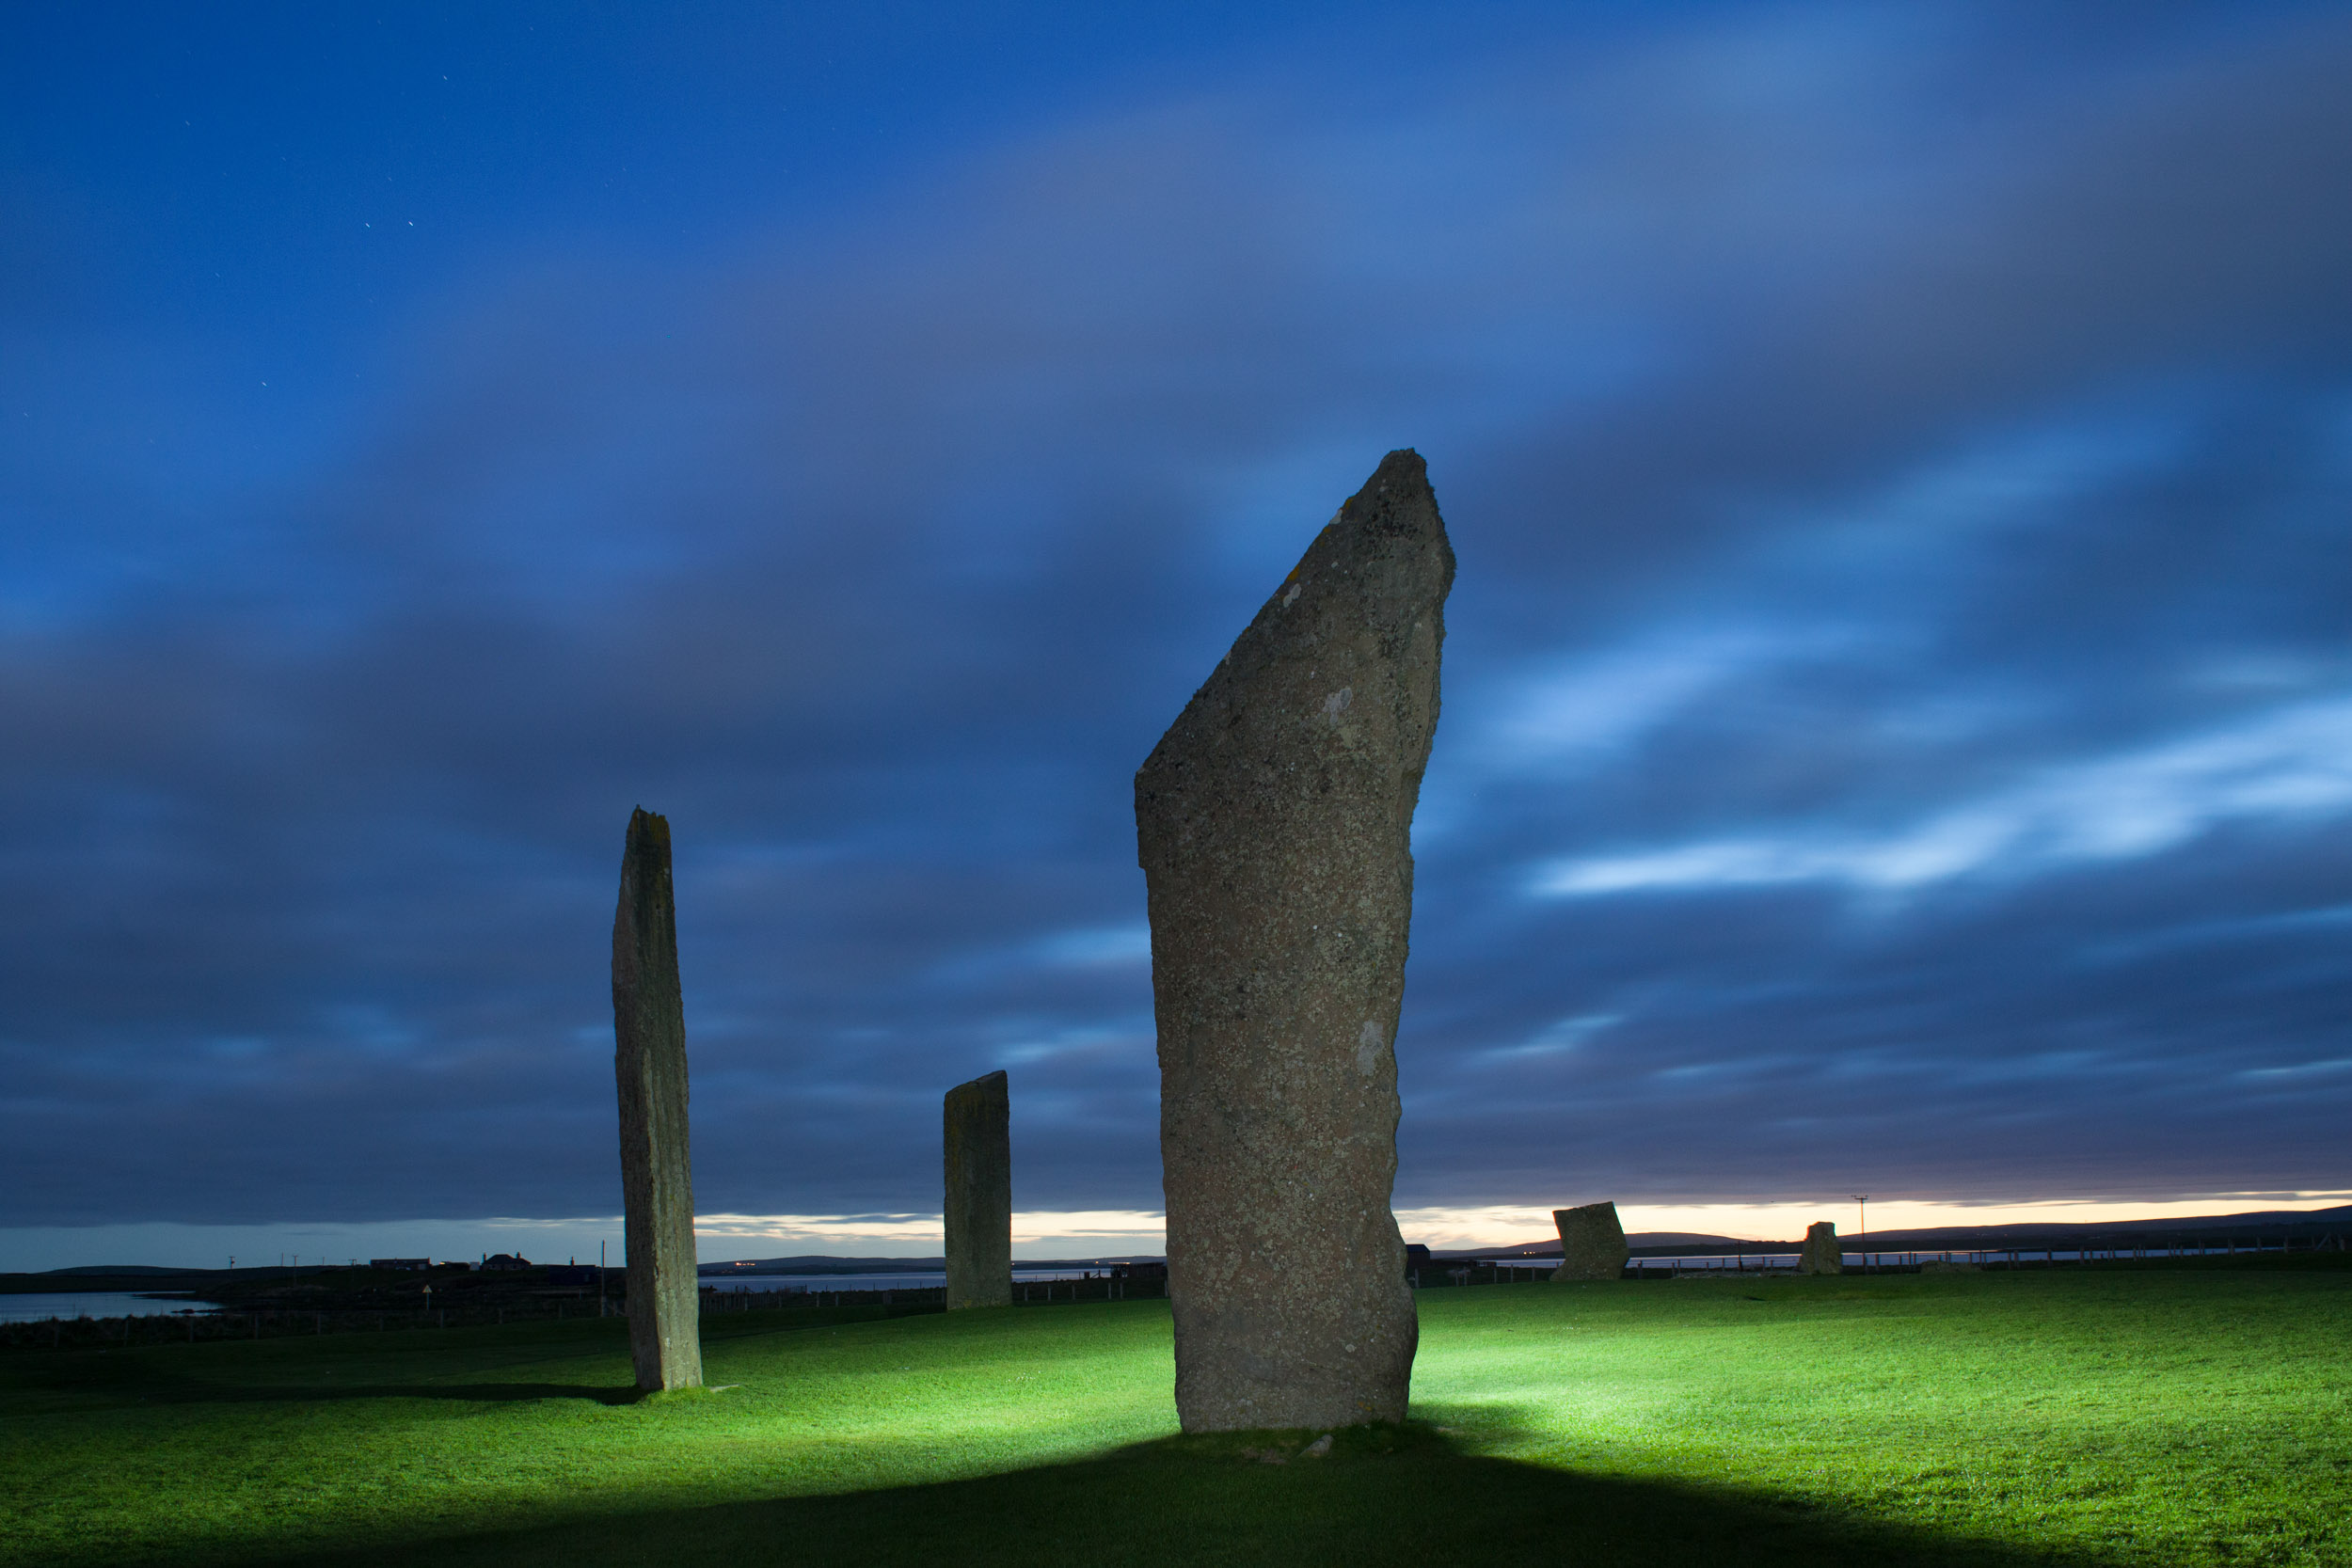
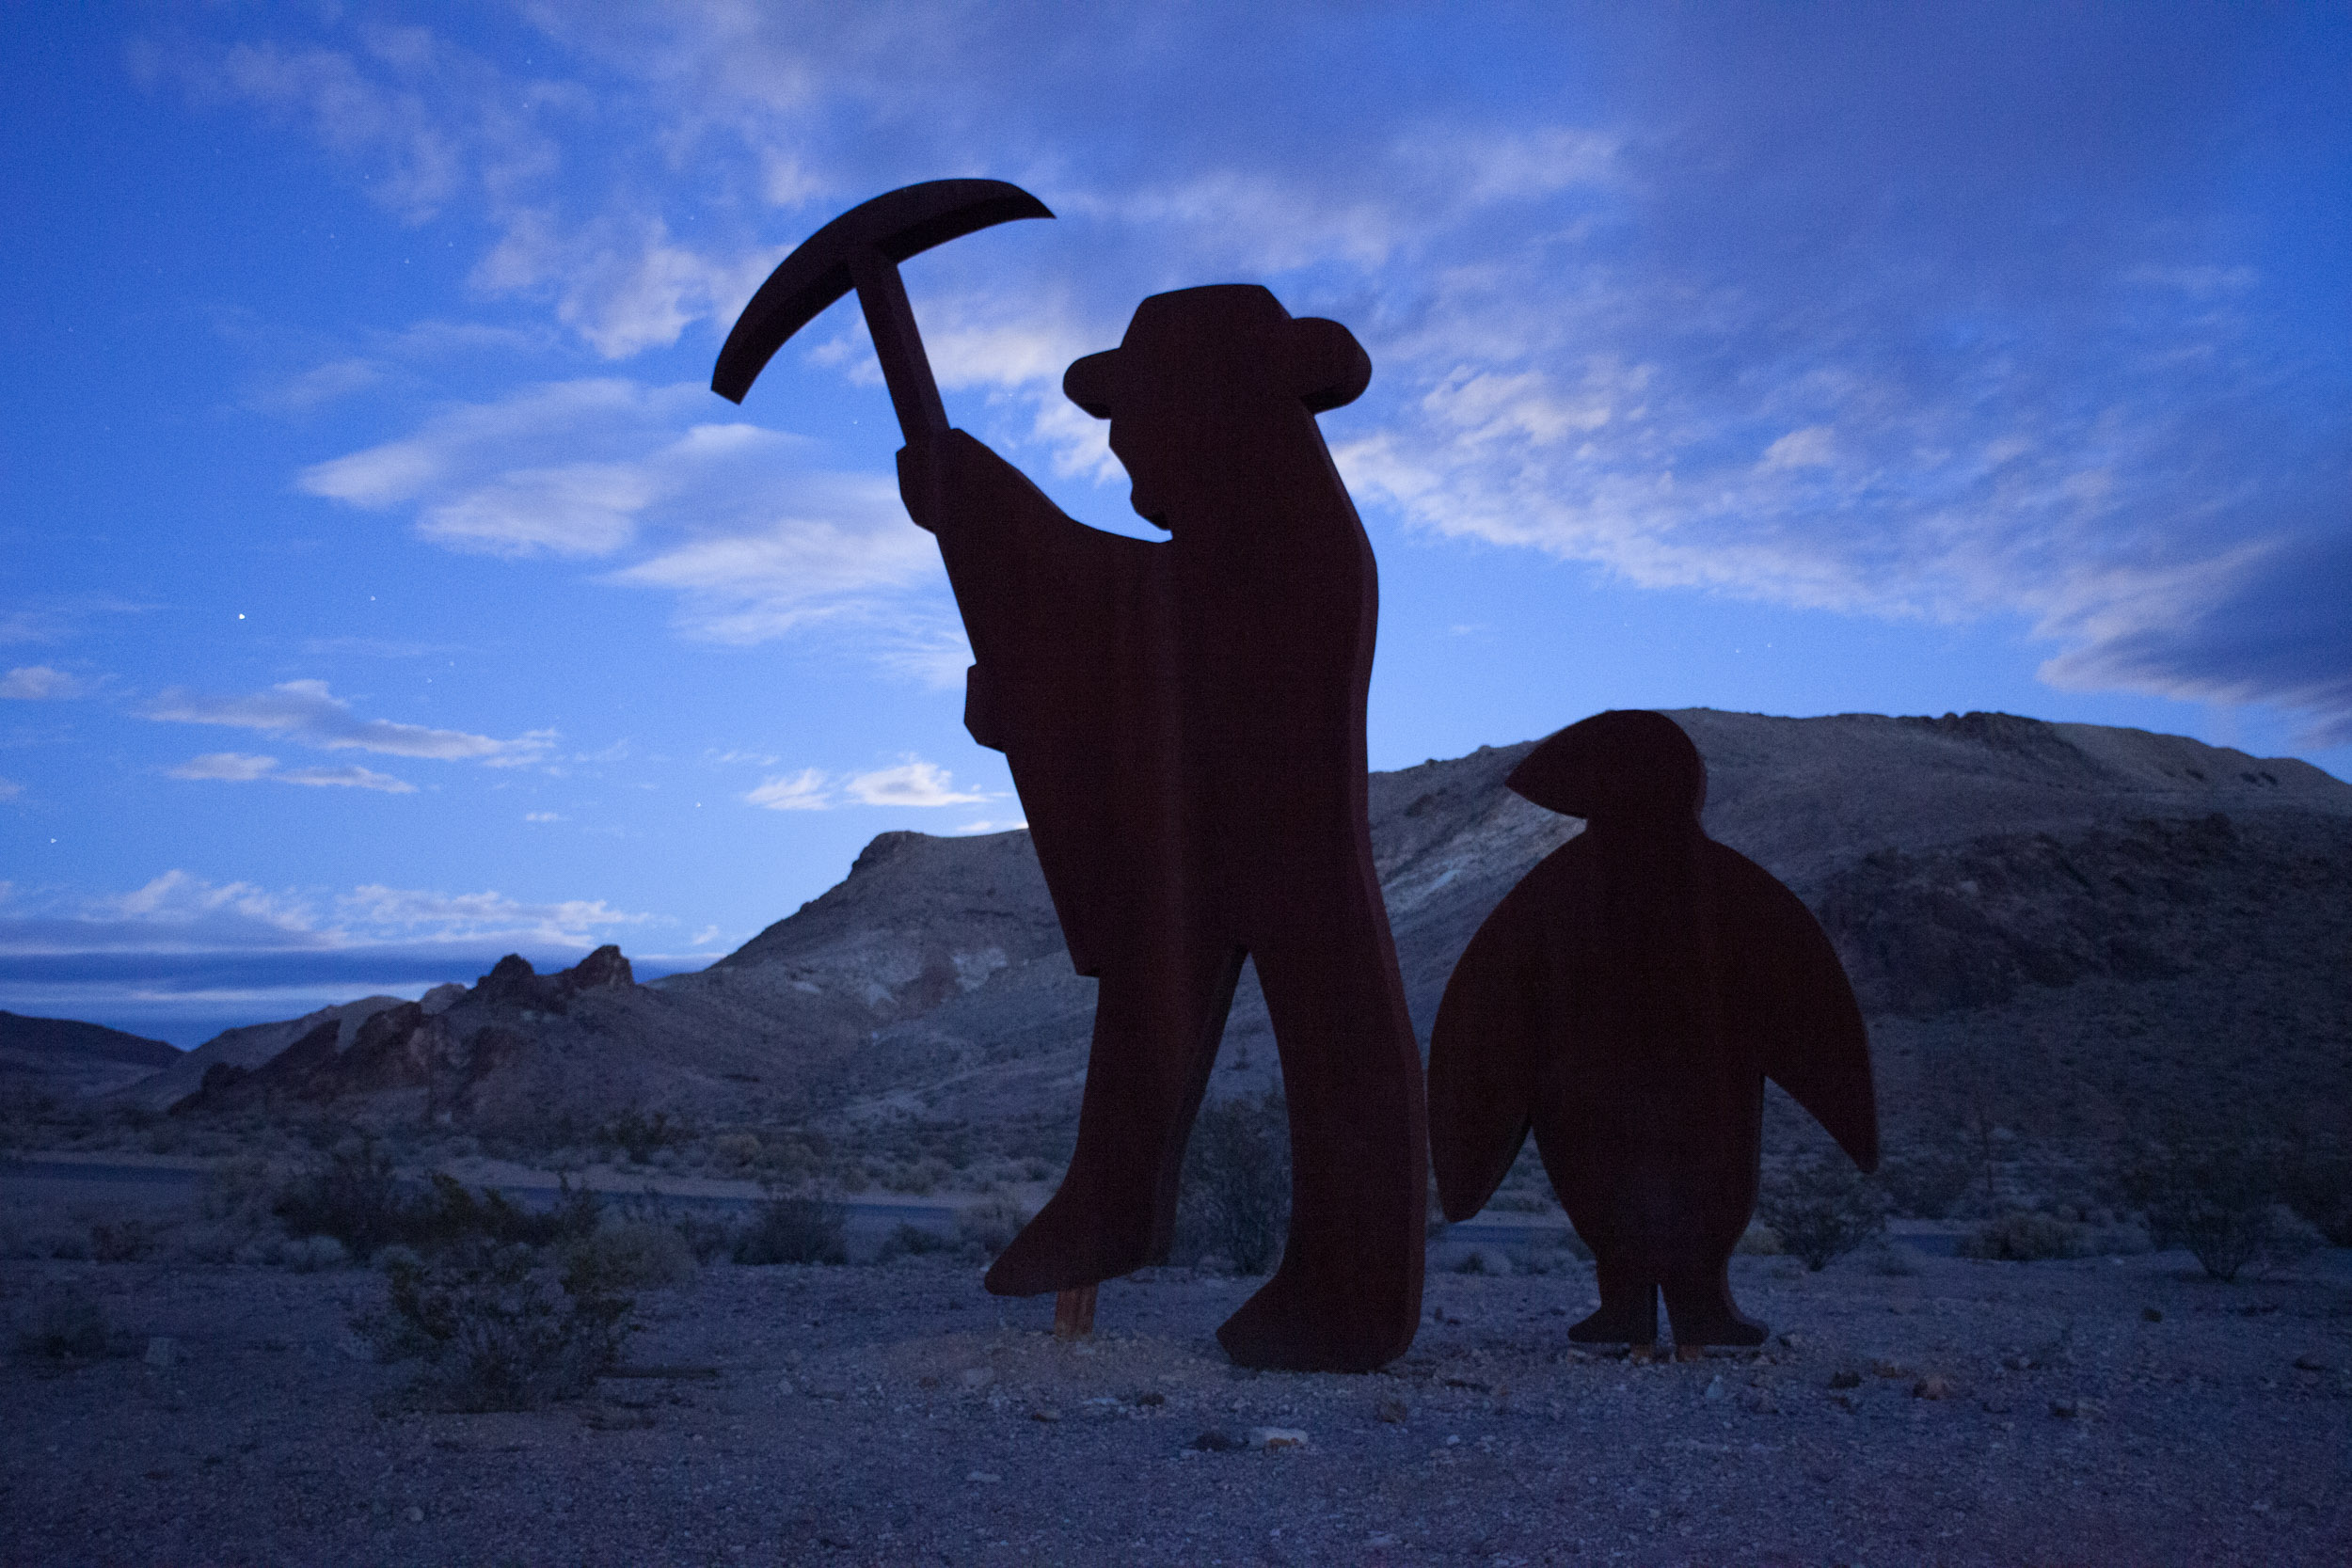
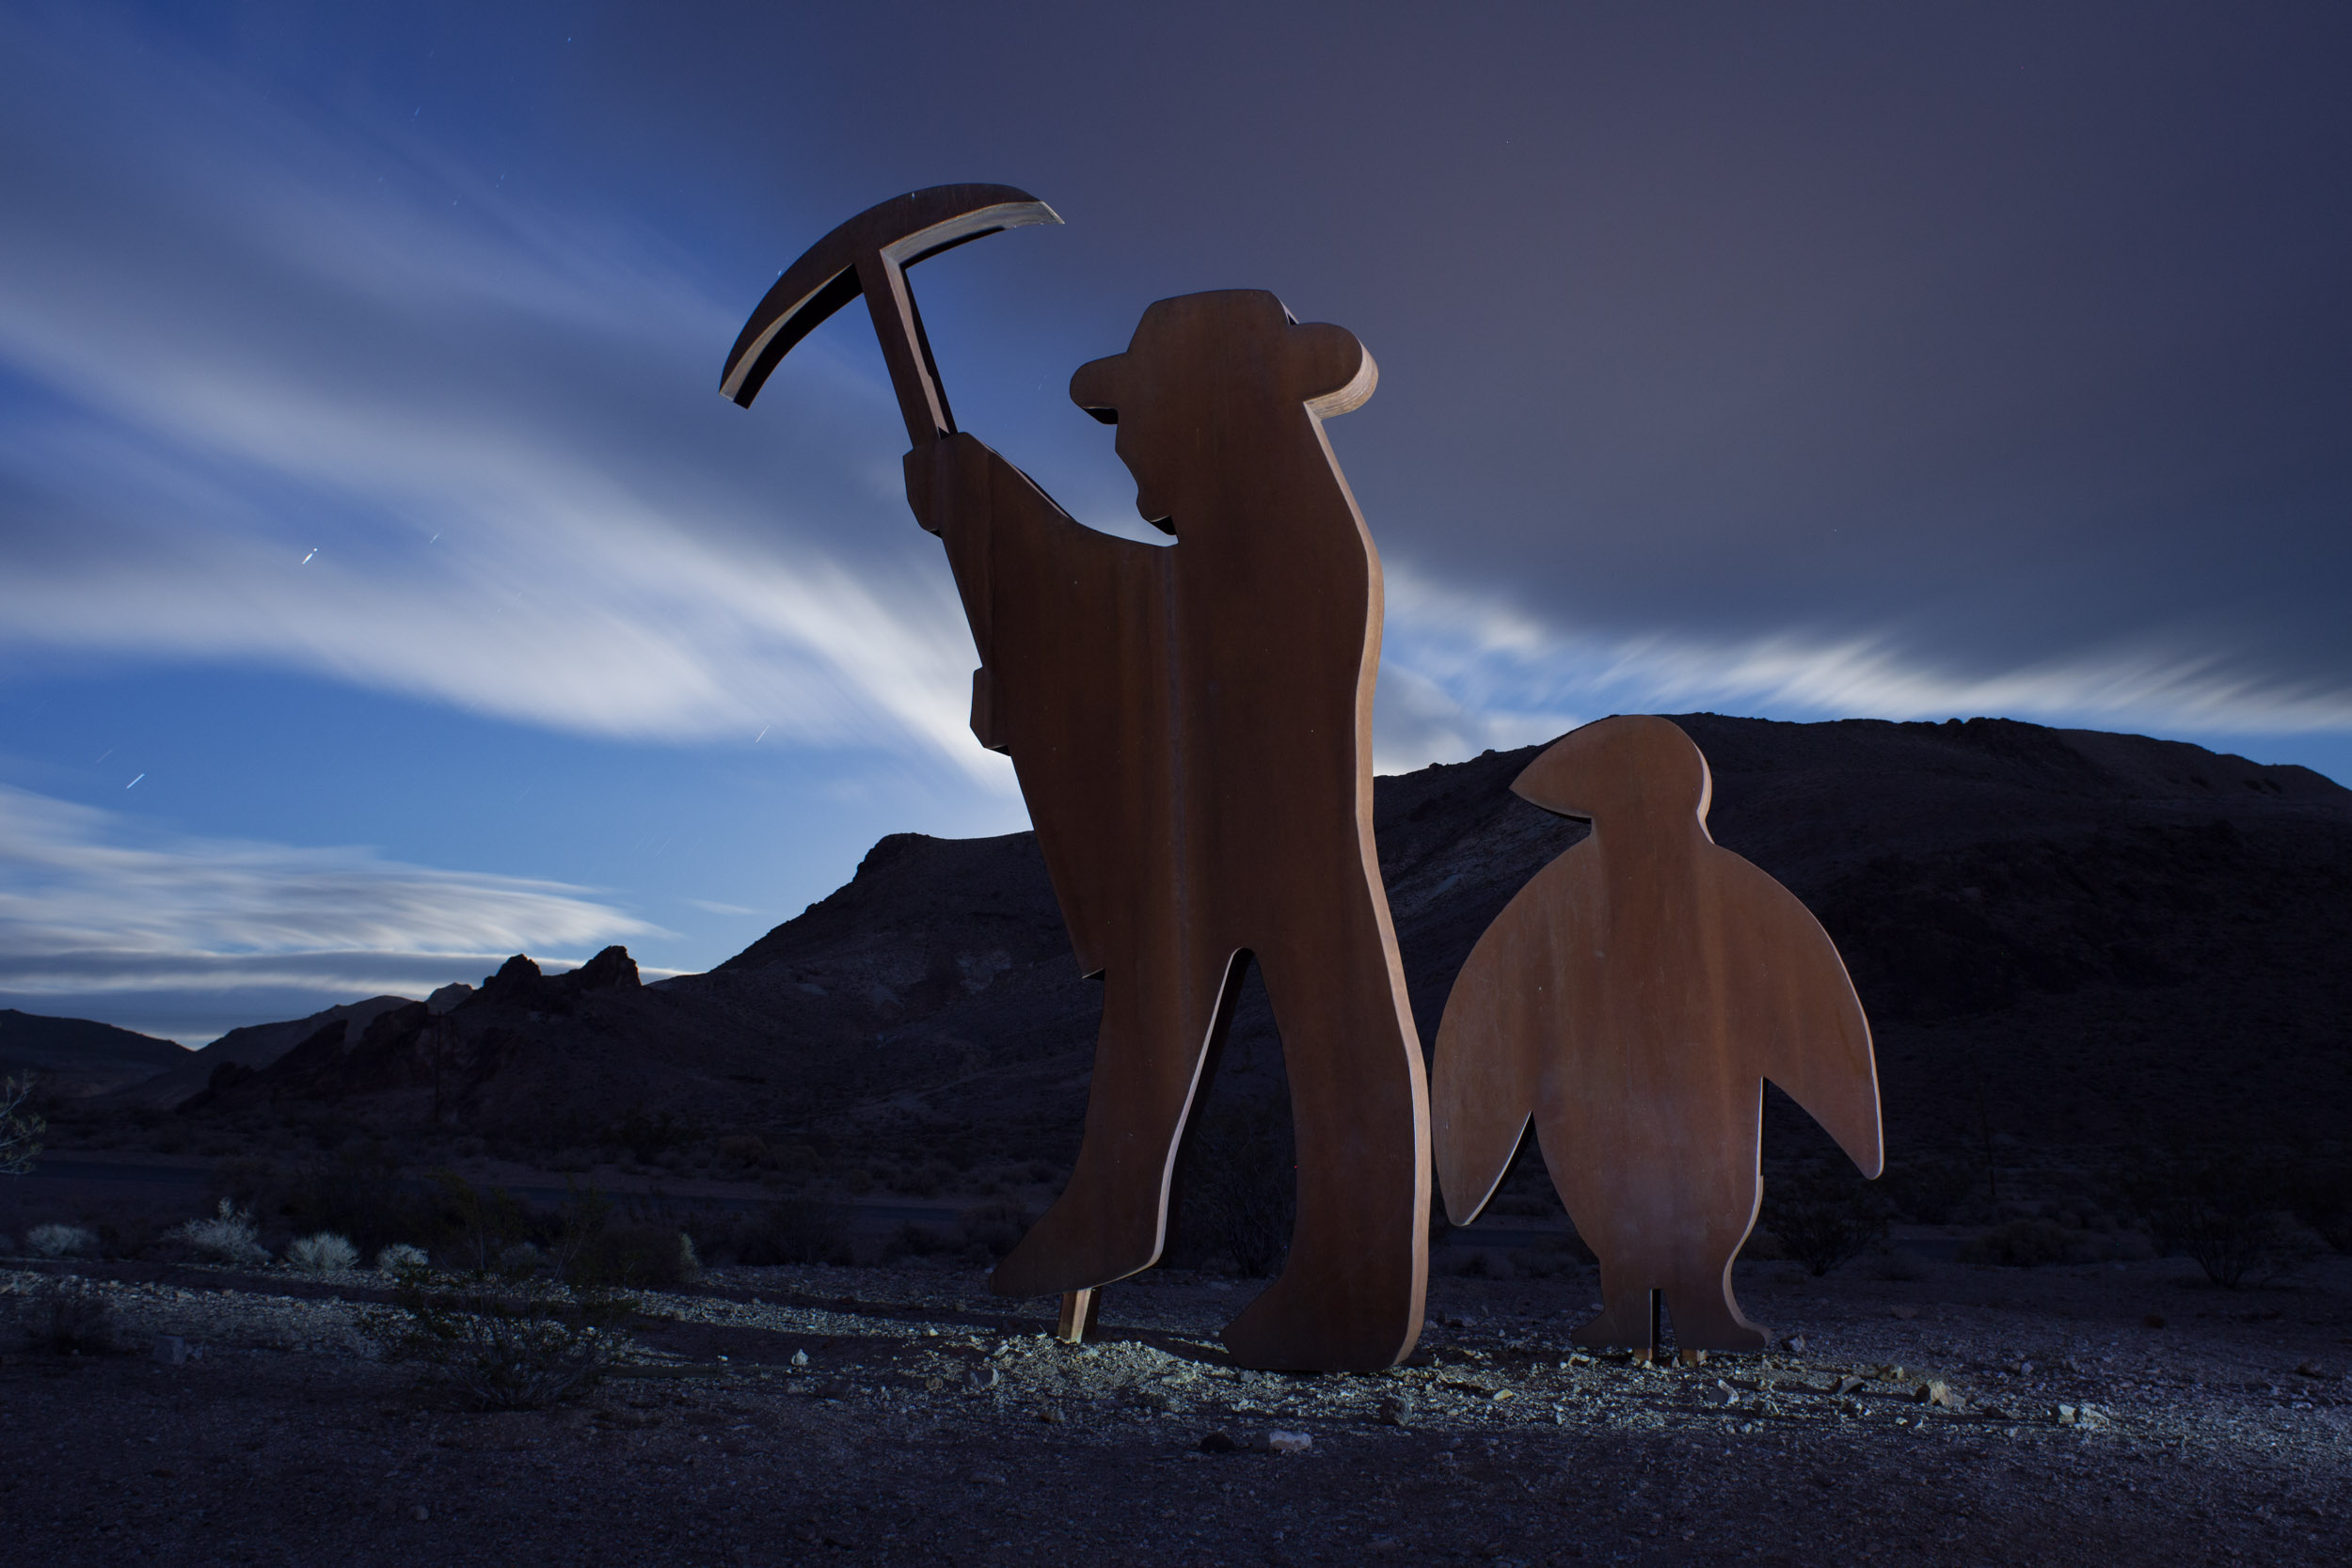
Kareem (@wildnkrazykid) searching for the sharpest stars in the sky. Nikon Z 6 with Irix 15mm f/2.4 lens. 20 seconds, f/2.4, ISO 16,000.

In this golden age of night photography that we live in, the quest for the sharpest stars seems to be the most elusive. But itโ€™s certainly an achievable goal, and weโ€™re here to help you reach it โ€” to reach for the stars, you might say.

Sharp stars can mean two things: Focus and proper exposure. We discussed the multiple ways you can master focus in Chris Nicholsonโ€™s article โ€œStaying Sharp.โ€ Today we are going to take a deep dive into working out the best exposure for your camera and lens combination to create tack-sharp stars that donโ€™t trail.

The 600/500/400/250/200 Rules

When I first started shooting digital night photography a decade ago, we used a simple rule to figure out the best shutter speed for star point photography. That was the 600 Rule. Divide 600 by the focal length of your lens, and the result was your maximum shutter speed for achieving pinpoint stars. For example:

600 / 20mm lens = 30 seconds.

This seemed to work fine, but for those of us who were making prints bigger than 8.5x11 inches, we were noticing that those stars werenโ€™t as round as they should be. In reality, they were tiny lines.

So we adapted the rule to 500:

500 / 20mm = 25 seconds

The 500 Rule became the standard for many night photographers and worked fairly well with larger prints and cameras under 20 megapixels. However, as cameras increased the millions of pixels they put into their sensors and with the variety of different size sensors, we needed to adapt again. Over the last 4 to 5 years we have been using the 400 Rule for full-frame cameras under 30 megapixels, the 250 Rule for APS-C sensors and the 200 Rule for Micro Four Thirds. (For an explanation of why this all works, see Lanceโ€™s two-part blog post โ€œWhatโ€™s the Longest Usable Shutter Speed for Astro-landscape?โ€)

400 / 20mm = 20 seconds

250 / 20mm  = 12.5 seconds

200 / 20mm = 10 seconds

These results were more accurate than the previous 500/600 rules and were customized to our sensor sizes. However, if you were to zoom in to 100 percent, or get close to a large print, you would definitely still see slight movement in those luminous points in the sky.

Add to the equation that higher-megapixel cameras (40-plus megapixels) were actually doing a decent job at higher ISOs, which meant our images were showing more detail than ever before. More detail means that trailing stars become more noticeable.

Not to mention that those โ€œrulesโ€ are just guidelines to get you in the right ballpark for shutter speed. Other factors affect how quickly stars begin to trail, including declination (i.e., your place on the globe) and which compass horizon youโ€™re facing. The point is (see what I did there? point?), if you want to be precise about getting sharp star points, thereโ€™s a lot that goes into figuring that out.

A Modern Solution for a Modern Problem

A couple of years ago, Frรฉdรฉric Michaudโ€”a French photographer and amateur astronomerโ€”devised the ultimate formula for the Astronomical Society of Le Havre. That formula is called the NPF Rule. Donโ€™t bother trying to decipher the acronym; the letters arenโ€™t initials, theyโ€™re variables:

N = aperture
P = pixel pitch
F = focal length

Iโ€™ll be honestโ€”the formula is a bit complex. Besides the focal length of your lens, it also takes into account the cameraโ€™s megapixels, physical size of the sensor, aperture, pixel pitch and the minimal declination of the stars in your frame.

This is a lot to figure out in the field, and the cheat sheets arenโ€™t small. To take a look at Frรฉdรฉricโ€™s formula, visit the Astronomical Societyโ€™s website (or Googleโ€™s English translation).

Fortunately for night photographers, thereโ€™s a simple way to apply this complex concept: I am happy to report that our friends at PhotoPills have incorporated the NPF Rule into their app, under the Spot Stars section.

Below is what the PhotoPills calculator looks like, followed by the five easy steps to figure out the best shutter speed for sharp stars.

When you open PhotoPills, the Spot Stars module is located near the bottom, so scroll down and tap.

Input your information and PhotoPills will do the NPF Rule calculations for you,

Hereโ€™s how to use it:

  1. Select your camera in the upper right corner. PhotoPills uses this to determine some of the necessary numbers to plug into the NPF Rule algorithm, such as using the sensor size and megapixels to figure out the pixel pitch.

  2. Choose the focal length of the lens (the one written on the lens, not the full-frame equivalent).

  3. Input the aperture youโ€™d like to use. We typically choose an aperture one-third to 1 stop less than wide open. For example, for a f/1.4 lens weโ€™d shoot at f/1.8 or f/2.

  4. For declination, tap the AR (Augmented Reality) button on the lower left corner and angle/aim the AR to the area in the sky youโ€™d like to compose around. Note that at the bottom of your screen PhotoPills will now show your maximum exposure in landscape and portrait modes, as well as your minimum declination.

  5. The final setting to look at is Accuracy (upper right). It should say โ€œDefault.โ€ If you keep it at Default, youโ€™ll get a longer shutter speed and be able to use realistic ISOs such as 3200 and 6400. However, if youโ€™re a pixel-peeper and look at the stars at 100 percent, that will result in you still seeing slight movement. You can switch from Default to Accurate and then there will be no trails at all. However, youโ€™ll also be cutting your maximum shutter speed in half. I wouldnโ€™t recommend this unless you are making 17x22 or larger printsโ€”but even then, that results in the negative trade-offs that come with shooting at sky-high ISOs, which are also more prevalent in larger prints. Decisions, decisions.

Old vs. New

Letโ€™s take a look at the old and new math.

Using our beloved Irix 15mm lens on a standard-resolution, full-frame camera, the 400 Rule gives us a 25-second exposure (400 / 15mm = 26.6 seconds).

Using the NPF Rule in PhotoPills, at a declination of 0 and set in Default mode, with the Irix lens at f/2.8 on our new favorite camera, the 24.5-megapixel Nikon Z 6, we get a maximum shutter speed of 17.26 seconds. Iโ€™d probably round that out to 15 seconds. (You want to round down, not up, to ensure sharpness.)

However, if we then shifted to Accurate mode, our maximum shutter speed would be 8.63 seconds. Iโ€™d round that to 8.

So, using the NPF Rule in Accurate, Iโ€™ve lost pretty much 2 stops of light from ye olde 400 Rule and 1 stop of light off the NPF Default mode. On a moonless night we would typically use ISO 6400 under the 400 Rule. Now, with the NPF Rule, weโ€™d have to shoot at ISO 12,800 or 25,600 in order to get perfectly sharp stars. The Nikon Z 6 can handle those ISOs, but not many others can.

Real-World Testing

Theory is nice. But shooting for real is where we really learn some things.

I was out on the sand dunes of Death Valley a few weeks ago, and I brought my new Z 6. Curious about how the bigger sensors and higher-megapixel cameras would perform, I also borrowed the medium format 51.4-megapixel Fujifilm GFX 50R as well as my friend Kareemโ€™s 42-megapixel Sony a7R III.

Fujifilm GFX 50r with 23mm f/4 lens

400 Rule: 400 / 18mm = 22.22 seconds

The 23mm lens is equivalent to an 18mm on a full-frame sensor, so for the 400 Rule this equaled a 22.22 maximum shutter speed. I rounded down to 20 seconds at f/5.6, ISO 6400. The resulting stars are slight dashesโ€”elongated oblongs. They are sharp and skinny, which makes me feel I could live with this. However, if you are shooting with a 50-megapixel camera, then youโ€™re probably making big prints, so maximum sharpness is important.

Full image from Fujifilm GFX 50r with 23mm f/4 lens. 20 seconds, f/5.6, ISO 6400.

100 percent view from Fujifilm GFX 50r. 20 seconds, f/5.6, ISO 6400.

NPF Default = 10.71 seconds

I used 10 seconds, but I was afraid to go any higher than ISO 6400 on the GFX 50rโ€”so I just underexposed. (Not trying for art here, just testing efficacy.) To be honest, Iโ€™m seeing only the slightest of movement in the stars, not even oblong, mostly round but some of the brighter ones slightly oval. Iโ€™d be happy with these stars, event in a big print.

Full image from Fujifilm GFX 50r. 10 seconds, f/5.6, ISO 6400.

100 percent view from Fujifilm GFX 50r. 10 seconds, f/5.6, ISO 6400.

NPF Accurate = 5.35 seconds

With NPF Accurate, weโ€™re squeezed even further. Again we are still dealing with an underexposed image, but the stars are certainly tack-sharp.

Full image from Fujifilm GFX 50r. 5 seconds, f/5.6, ISO 6400.

100 percent view from Fujifilm GFX 50r. 5 seconds, f/5.6, ISO 6400.

Takeaways: The GFX has the most megapixels of the sub-$5,000 cameras on the market, clocking in at 51.4. The dynamic range and detail are amazing, but the higher ISOs are a struggle. ISO 3200 is workable but 6400 needs some finessing. Match that with their widest lens, for which the fastest aperture is f/4, and itโ€™s a challenge to do any dark sky work with this combo.

Nikon Z 6 with Irix 15mm f/2.4 lens

400 Rule: 400 / 15mm = 26.66 seconds

Here was my first shot using the 400 Rule, which gave me a 25-second maximum shutter speed. This forced me to use a wide-open aperture of f/2.4 and an ISO of 12,800. It looks good in standard view in Lightroom, and if posted to social media there would be no issues. However, the 100 percent crop definitely show the stars as small lines.

Full image from Nikon Z 6 with Irix 15mm f/2.4 lens. 25 seconds, f/2.4, ISO 12,800.

100 percent view from Z 6. 25 seconds, f/2.4, ISO 12,800.

NPF Default = 17.26 seconds

The stars are definitely rounder, a little oblong, but I would find this result totally acceptable.

Full image from Z 6. 15 seconds, f/2.4, ISO 12,800.

100 percent view from Z 6. 15 seconds, f/2.4, ISO 12,800.

All that disturbs me is the coma distortion that is affecting the brighter stars. Most lenses display some coma at their widest aperture, mainly near the edges of the frame and in brighter stars. With the Irix, this can be minimized by stopping down to f/2.8 or f/3.5.

Note the distortion in the brighter starsโ€”they look like UFOs with a bright line intersecting them. This is called โ€œcomaโ€™ and is found in many lenses. You can correct for coma by closing down your lens 1 to 3 stops.

NPF Accurate = 8.63 seconds

The NPF Accurate exposure was for 8 seconds, so I had to push my ISO up to 32,000 to get a good histogram. The stars are definitely rounder and less oblong, but it is a challenge to live in those higher ISOs. The coma is also still prevalent.

Full image from Z 6. 8 seconds, f/2.4, ISO 32,000.

100 percent view from Z 6. 8 seconds, f/2.4, ISO 32,000.

Takeaways: Iโ€™m starting to feel that I can live with the Default NPF setting in PhotoPills, which is still pushing cameras into the ISOs of 12,800 and higher. The Z 6 handles those higher ISOs very well, but I barely got the right exposure in the sky and the foreground is suffering. Blending a longer foreground exposure would be key to balancing the overall image (such as Tim did for his Bryce Canyon photo in last weekโ€™s post).

Sony a7R III with 16-35mm f/2.8 lens

400 Rule: 400 / 19mm = 21.05 seconds

I stopped down the lens to f/4 and the shutter speed to 20 seconds for our 400 Rule shot. The Sony a7R III does an excellent job at ISO 6400 and the Big Dipper looks very sharp. Looking west (left) I do notice the stars are becoming oblong.

Full image from Sony a7R III with 16-35mm f/2.8 lens. 20 seconds, f/4, ISO 6400.

100 percent view from a7R III. 20 seconds, f/4, ISO 6400.

NPF Default = 11.75 seconds

Rounding down the NPF Default to 10 seconds yields excellent results. Only a few bright stars to the far left look oval, and this is being nitpicky.

Full image from a7R III. 10 seconds, f/4, ISO 6400.

100 percent view from a7R III. 10 seconds, f/4, ISO 6400.

NPF Accurate = 5.88 seconds

We rounded up the NPF Accurate shutter speed to 6 seconds and the stars are wonderfully round. I donโ€™t see any distortion at all.

Full image from a7R III. 6 seconds, f/2.8, ISO 25,600.

100 percent view from a7R III. 6 seconds, f/2.8, ISO 25,600.

Takeaways: I was very impressed with how the higher-megapixel Sony handled ISO 6400, and the 16-35mm lens did a superb job resolving sharp, round stars. In my testing, ISO 12,800 is also easily attainable with the a7R III, whereas ISO 25,600 is the breaking point for me, as a layer of grainy noise covers the whole image. This is still a very admirable result for a camera that gives loads of detail.

Final Thoughts

If you are a star-point seeker then youโ€™ll definitely want to start using the NPF Rule in your workflow. Iโ€™ll be switching over from the 400 Rule to the NPF Rule at the Default setting in PhotoPills. If the shot is an absolute beautyโ€”a 5-star shot (so to speak) that I know Iโ€™ll want to printโ€”then Iโ€™ll use the NPF Accurate mode.

Either way, with an f/2.8 lens we will be using an ISO from 6400 to 25,600, which isnโ€™t ideal for any camera. Donโ€™t get me wrong, there are certainly a few cameras that handle these higher ISOs admirably, but for the best print quality we always want lower ISOs.

Because of that reality, Iโ€™ll also start committing to shooting multiple frames of a star-point scene that I can blend in post-production to reduce noise. This requires using Starry Landscape Stacker (SLS), a Mac-only software application that does an excellent job of reducing high ISO noise while keeping stars sharp. Sequator is the PC equivalent. Look for our in-depth reviews of these excellent pieces of software soon.

For the test photos above, the foregrounds were all very dark due to the moonless night and the fact that the area we were shooting was too large to paint with light. In these scenarios, Iโ€™d also advise taking an additional exposure between 3 to 5 stops brighter than your sky exposure, perhaps with LENR turned on. This will provide more detail and information in the foreground, which can be blended into the stacked SLS or Sequator image.

Applying the NPF Rule

Now here is the hardest part about new knowledge: Do you use it?

Itโ€™s up to you. We just want you to realize that star point photography is a constant balance, wherein you want to weigh the trade-offs of noise at higher ISOs versus slightly trailing stars. Understanding how your gear performs and then deciding which sacrifices to make in the field will help you create the best possible image based on the specific conditions you are shooting in.

Run some tests so that you know your personal tolerance for star sharpness versus how your camera performs at higher ISOs, then apply the 400 Rule or NPF Rule as needed while you #seizethenight!

Note: If you want to take a deeper look at some of the other โ€œnight testingโ€ you can perform on your camera, check out Gabeโ€™s latest video with B&H that takes a deep dive into recently released full-frame mirrorless cameras.

Gabriel Biderman is a partner and workshop leader with National Parks at Night. He is a Brooklyn-based fine art and travel photographer, and author of Night Photography: From Snapshots to Great Shots (Peachpit, 2014). During the daytime hours you'll often find Gabe at one of many photo events around the world working for B&H Photoโ€™s road marketing team. See his portfolio and workshop lineup at www.ruinism.com.

UPCOMING WORKSHOPS FROM NATIONAL PARKS AT NIGHT

How I Got The Shot: Star Trails Over the Amphitheater, Bryce Canyon National Park

Star Trails Over the Amphitheater, Bryce Canyon National Park. Fujifilm X-T2, 10-24mm f/4 lens at 10mm. Light-painted with a Coast HP7. Two blended exposures of 1 second, f/8, ISO 200 and 15 minutes, f/5.6, ISO 100.

The Location

Bryce Canyon National Park is truly one of the wonders of our park system. Itโ€™s not as big or varied as some other parks, but what is has to offer is nothing short of astonishing.

Despite its name, Bryce Canyon is actually not a canyon at all. A canyon is the technical term for a gorge formed by a river. Bryce is instead a series of natural amphitheaters, or bowls, that line the eastern side of Utahโ€™s Paunsaugunt Plateau. These bowls are filled with red, orange and white rock spires that were eroded into existence by water freezing into ice. These spires are called hoodoos. Itโ€™s the endless variety of these hoodoos that make Bryce so magical.

The Light

Standing on the rim of the canyon at one of the many overlooks affords the visitor with an awe-inspiring view. The sprawling amphitheater spreads out below you with the orange-red colors of the towering spires contrasting with the deep blue sky. This view is especially popular at sunrise as many of the viewpoints face directly east. How then, does one capture this incredible canyon at night?

As with any location, the first step is to decide which phase of the moon you would prefer to shoot in. Moonless nights (new moon) are great for photographing the Milky Way, but they leave the foreground completely black. On the other hand, moonlight (full, quarter or crescent) helps illuminate the foreground, but the brightness of the sky masks many of the dimmer stars. All phases of the moon are great to shoot under, so you just have to consider how much moonlight you actually want. My choice for Bryce would have been to shoot under some moonlight. Unfortunately for me, I was there during a new moon. Complete darkness.

Under these conditions, it made sense to concentrate on shooting the Milky Way, which I did on the first night. While I like some of those images, the lack of moonlight means I didnโ€™t include the canyon because it was completely black. And the canyon is the hero of this location.

Figure 1. Milky Way over Bryce Canyon. Fuji X-T2, 10-24mm f/4 lens at 17mm. Twelve stitched frames shot at 30 seconds, f/4, ISO 6400.

Being in Bryce, I really wanted to include the canyon with the night sky. But how do we do that with no moon? I could have done a little painting on the foreground, which I did for the photo in Figure 2. This worked out well for some of the details, but it still did not show the entire canyon.

Figure 2. Light painting in a small area of the canyon. Fuji X-T2, 10-24mm f/4 lens at 10mm, Coast HP7.

To illuminate the entire canyon I needed something stronger than a flashlight. It needed to be the sun or the moon. Since I didnโ€™t have the moon, I had to use the sun.

The Shoot

The next day I headed out in late afternoon to scout a location to shoot. Once I decided on the spot, I set up my camera and tripod and began fine-tuning my composition.

The goal here was to take one shot in the waning light of dusk and then another once the sky became completely dark. Back at home I would combine them together in Photoshop.

The trick was to get the right light on the canyon. Sunset would look fake if combined with the night sky, so I needed the illumination to look somewhat like moonlight. That time came around half an hour after sunset. This time of the day is called civil twilight and is great in its own right for making landscape images. (For more on this, see one of my previous posts, โ€œOut of the Blue: The Importance of Twilight to the Night Photographer.โ€) I experimented with several exposures to find one that sort of looked like night. Figure 3 shows the exposure I ended up using for the final composite.

Figure 3. The canyon during civil twilight. 1 second, f/8, ISO 200.

Keeping my camera set upโ€”not moving it one centimeterโ€”I waited until complete darkness.

The kind of darkness I wanted begins at the time of evening called โ€œastronomical twilight.โ€ Depending on your latitude, this is somewhere between 1 to 1.5 hours after sunset. (Click here for a great description of the different types of twilights.)

Once the sky became completely dark, it was time to start experimenting with light painting. I changed my ISO to 100 and opened up my aperture to f/5.6 so I would capture more stars.

With these new settings I experimented with walking up and down the trail, painting as I went along. I determined that painting at an angle back toward the cameraโ€”while returning back up the trail toward my setupโ€”created better texture in the lit areas. It also kept my silhouette from blocking the light on the trail. Had I painted while walking away from the camera, my body would have blocked some of the light from the cameraโ€™s view, thereby creating a blotchy effect.

Once I felt confident that my light painting approach was effective, it was time for the long shot. Figure 4 shows the 15-minute exposure that captured the star trails while I lit the trail.

Figure 4. Light painting during the long exposure. 15 minutes, f/5.6, ISO 100.

The Post-Production

Once I was back at the computer, it was time to put the images together in post-processing. I began in Lightroom by fine-tuning the exposure and white balance. Then with both images selected, I chose Photo > Edit In > Open as Layers in Photoshop. This command brings both of the images into Photoshop and combines them into one file, with each image as a separate layer.

Figure 5. The two images combined into one file in Photoshop.

Next I highlighted the upper layer by clicking on it. From the Blending Mode dropdown (the box that defaults to saying Normal), I chose Lighten. This blending mode automatically shows the brightest parts of all the layers itโ€™s applied to (in this case, two layers). Voila! Now I could see the brighter canyon (lower layer) as well as the stars and the light painting (upper layer).

Figure 6. The Lighten blending mode revealing the brightest parts of each layer.

At this point I could have been done with the image. This technique works well for so many situations found in night photography, but in this case it needed a little tweaking. Because the sky was brighter at dusk during my first shot, that part of the scene also showed through when I applied the Lighten blending mode. To solve this problem, I clicked on the lower layer, made a selection of the sky with the Quick Selection Tool, and then created a Curves adjustment layer to darken the sky.

Figure 7. The Curves Adjustment over the bottom layer.

Figure 8. The Curves adjustment darkening the sky.

Because the Curves adjustment layer is below the stars layer, the adjustment does not affect the night sky. It darkens the sky only in the dusk layer. And now that the sky was darker in the dusk layer, only the stars layer would show through.

Then I needed to apply a little cleanup. The hard edge of the mask near the horizon looked a little odd, so I blurred the edge of the mask to smooth out the gradient of the curves adjustment. To do this, I clicked on the mask and increased the feather in the Properties dialog, as seen in Figure 9.

Figure 9. Feathering the mask to smooth out the transition of the curves adjustment.

At this point the bulk of the compositing was complete. Figure 10 shows the finished composite of the stars layer and the dusk layer.

Figure 10. The completed composite.

Once the images were put together I was able to judge the overall look of the picture. I felt it was still a bit dark and the color somewhat off, so using more adjustment layers in Photoshop, I fine-tuned the exposure and color.

Figure 11. The final image after fine-tuning white balance and exposure.

Wrapping Up

The moral of the story is that you canโ€™t always get what you want, but if you try sometimes โ€ฆ well, you get the picture. Matching the locations, moon phase, time of year and our creative vision can be a daunting taskโ€”and sometimes an impossible task. But with creative thinking, and a full grasp of all of your available tools, you might just find you can get what you need.

Tim Cooper is a partner and workshop leader with National Parks at Night. Learn more techniques from his book The Magic of Light Painting, available from Peachpit.

UPCOMING WORKSHOPS FROM NATIONAL PARKS AT NIGHT

Five Questions: Great Smoky Mountains, Zion, Bryce, Black and White Printing, and More

You ask questions, we give answers. (And then you ask more questions, and we give more answers. Letโ€™s keep the conversation rollinโ€™!)

This installment of our โ€œFive Questionsโ€ series features inquiries about camera choice, Lightroomโ€™s Dehaze feature, file settings for black and white printing, and location info at Great Smoky Mountains, Bryce Canyon and Zion national parks.

If you have any questions you would like to throw our way, please contact us anytime. Questions could be about gear, national parks or other photo locations, post-processing techniques, field etiquette, or anything else related to night photography. #SeizeTheNight!


1. Great Smoky Mountains Closed at Night?

Cades Cove, Great Smoky Mountains National Park. Nikon D850 with a Sigma 35mm f/1.4 Art lens. 30 seconds, f/5.6, ISO 64. ยฉ 2018 Matt Hill.

Q: Your Smoky Mountains National Park workshop looks interesting, but isnโ€™t the park closed at night? I once tried to get in before dawn and the gate was locked. โ€” Linda

A: Yes, the workshop will be both interesting and fun. (Promise!)

Great Smoky Mountains is usually open 24/7/365.25. But thereโ€™s a caveat. You may have been trying to enter Cades Coveโ€”one of the most popular destinations at GSM. The gates at the beginning of that 11-mile loop road are closed at dusk and opened at dawn. But that is only to keep motorvehicles out; visitors can park nearby and walk or bike through Cades Cove anytime.

In fact, we will be going into Cades Cove twice during our workshop. The first time will be on foot. Weโ€™ll saunter a comfortable walking distance, which still offers plenty of shooting opportunities, such as the horse meadow, Sparks Lane, the Carter Shields Cabin and the Oliver Cabin. Our second jaunt into Cades Cove will be as an add-on opportunity that will avail the entire loop road to us.

Night photography in Cades Cove can be a blast, and is worth venturing into for sure. Youโ€™ll find amazing sky views, as well as loads to light paint. โ€” Matt

Note: We still have a few spots open for our Great Smoky Mountains workshop this spring. Interested? Click here!

2. Missing dehaze

Q: How come my Lightroom 6 does not have the Dehaze slider? Are there any add-ons to LR that have the same quality Dehaze function that I can use?  โ€” Bailing L.

A: The reason Dehaze slider isn't showing up for you in Lightroom 6 is because the feature wasn't added until the next version of the software, which was when the subscription-only model of Lightroom Creative Cloud was launched. In fact, Dehaze was the major feature added to the program right after launch to entice more people to sign up.

And I gotta say, while Iโ€™m not a fan of the subscription-only model, thereโ€™s an argument to be made that the Dehaze feature alone is worth the upgrade. It's an amazing tool with a lot of ancillary uses. One such application is to make starry skies and the Milky Way โ€œpop,โ€ as can be seen in this blog post by Tim.

If you donโ€™t want to upgrade, there is one alternative that Iโ€™ve heard about, but Iโ€™ve never tested it: Prolost Dehaze. If you take it for a spin, please let us know how it works out for you. โ€” Chris

3. Things to Shoot in Zion and Bryce

The Amphitheater at dusk, Bryce Canyon National Park. Fuji X-T2 with a 10-24mm f/4 lens at 10mm. 3 seconds, f/7.1, ISO 200. ยฉ 2018 Tim Cooper.

Q: Iโ€™ve already booked hotels for your Valley of Fire and Grand Canyon workshops. So excited! While in the region, I'm thinking about hitting Bryce Canyon and Zion. Do you have any advice about good areas to shoot without 4-mile hikes? โ€” Julianne K.

A: Thereโ€™s a ton to see and shoot at both parks without having to hit long trails.

In Zion, be sure to drive into the main canyon and also up through the tunnel toward Checkerboard Mesa. Stop at any pullout along these roads and enjoy the incredible scenery! You canโ€™t miss.

For short walks in Zion I recommend:

  • Weeping Rock and the trails around it

  • Temple of Sinawava and the trail to The Narrows (though not into The Narrows, as thatโ€™s a more serious endeavor)

  • the area near the bridge that crosses Pine Creek

At Bryce, any viewpoints along the 15-mile road offer awesome overlooks of the canyon. Think sunrise for these viewpoints (especially Sunrise Point).

Middle-of-the-day shooting is better when you hike down a bit below the rim. Check out Navajo Loop Trail and Queens Garden Trail. No need to hike the entire loop of either, but just going down a little will get you into some terrific scenery! โ€” Tim

Note: Due to a cancellation, a spot just opened up for our Bryce Canyon workshop this summer. Interested? Click here!

4. Choice for Multipurpose Camera

Q: I have two specific photography interestsโ€”night and underwater. Iโ€™ve been using a Canon 5D Mark III for night photography and time-lapse. I also use a Nikon D7000 for underwater. Iโ€™m planning to replace the D7000 with a higher-resolution camera, hopefully one that I can use for both underwater and night photography. My options are to buy an underwater housing and lenses for the 5D Mark II, or stay with a DX-format (Nikon D500) with a new housing, or go with something else like a Nikon D850. I would like to get to the point where I am using Nikon or Canon, not both. Which camera would you recommend to meet my needs? โ€” Richard R.

A: Camera choice is a personal decision, and there are lots of factors to consider. I have yet to find the perfect camera, or one that offers everything Iโ€™m looking for in one package.

Given that you have Canon glass for full-frame cameras, Iโ€™d concentrate on comparing the 5D Mark IV to the D850. I think the Mark IV is the best camera Canon has ever made, and the first one that surpasses the 6D for high ISO night photography. The D850 is an awesome camera, but if you use live view focusing at night, Iโ€™d probably go with the Mark IV, especially if you have a number of L lenses. Why not rent them both and see which feels better?

The D500 is certainly a capable camera, but if you can afford to go full-frame, I think youโ€™ll be happier that way. If you favor wide lenses, definitely go full-frame; if you tend to shoot long, then the D500 might be a better choice. โ€” Lance

5. Image Settings for Printing in Black and White

Q: I sent a black and white image from the Sloss Furnaces workshop to Bay Photo to have printed for the NPAN exhibit there. I converted to black and white in Lightroom, exported to Photoshop for star stacking, flattened, and then brought the file back in to Lightroom. But Bay Photo is telling me that the image is not in the correct formatโ€”that instead of grayscale it needs to be converted back to RGB to make a black and white print. So I then tried keeping the photo in color and just dropping Saturation and Hue to 0 to create a black and white image โ€œin color,โ€ but that washed out the shadows. Iโ€™m lost here. Any suggestions or insight? โ€” Martha H.

A: Very cool that youโ€™ll be participating in the exhibit! This is the third park that our workshop attendees will have a show in. It will be running April 1 to June 1 at the Sloss Furnaces visitor center.

As for your question: In short, any file that is sent to a printer should be an RGB image, not grayscale. Even if you convert an image to black and while in Lightroom, it still sends an RGB image over to Photoshop. Below is a screenshot of an image that I converted to black and white in Lightroom and then sent to Photoshop. If I go to Image > Mode, you can see that the file is a 16-bit RGB image. This is normal and the way it should be.

The difference? An RGB image can be black and white, or it can be color. A grayscale image can only be black and white. My guess is that you did something in Photoshop to convert it, intentionally or not.

To fix the problem for Bay Photo:

  1. Reopen that image in Photoshop (from Lightroom, choose Photo > Edit In > Edit in Adobe Photoshop CC 2019).

  2. Go to Image > Mode, and click on RGB Color.

  3. Save the file.

Now when you export the image from Lightroom, you will create a JPG in RGB. โ€” Tim

Chris Nicholson is a partner and workshop leader with National Parks at Night, and author of Photographing National Parks (Sidelight Books, 2015). Learn more about national parks as photography destinations, subscribe to Chris' free e-newsletter, and more at www.PhotographingNationalParks.com.

UPCOMING WORKSHOPS FROM NATIONAL PARKS AT NIGHT

How I Got the Shot: Stars and a Rock in Lassen Volcanic

Lassen Volcanic National Park. ยฉ 2018 Chris Nicholson. Nikon D5 with a Nikon 14-24mm f/2.8 lens, light painted with a Coast HP7R flashlight. 25 seconds, f/2.8, ISO 6400.

The Location

Last summer, Lance and I visited Lassen Volcanic National Park to shoot for a few days (er, nights). For both of us, it was our first time there, and we quickly discovered that this Northern California wilderness is one of the best kept secrets of the national park system. The scenery is beautiful, bewildering and varied: volcanoes of different types and shapes, snowcapped peaks, reflecting lakes, babbling brooks, lush meadows, multicolor pumice fields, steaming geothermals and more await photographers and their cameras. Not to mention โ€ฆ deliciously dark skies.

On our second day in the park, we stopped at a visitor center to talk to a ranger about possible places to photograph in the dark. She gave us a lot of great information, including an auto-tour map with suggested sites to see, and she marked the areas that she thought would be of interest to us. We ventured out for our daytime scouting, driving the main road (the aptly named Lassen National Park Highway), hiking short trails, making daytime photos (gasp!) and all-in-all enjoying the experience of being in the outdoors in such a captivating space.

Along the way we stopped at a trailhead parking lot that afforded a 360-degree view of mountain peaks and valleys, all with great visual lines to the sky above themโ€”i.e., no trees, cliffs and so on that would block our sky views in any direction. In other words, it was a perfect place to set up for a night shoot. And then we spotted what turned out to be the star of the scene: a massive boulder perched at the edge of a cliff.

A scouting photo of the boulder.

A scouting photo of the boulder.

We were both pretty excited about the rock as a subject, as it has an interesting shape, is in an interesting place visually, is in front of an interesting background from all available angles, and we could safely set up and shoot from about 180 degrees around it. In other words, this was going to be a lot of fun.

Moreover, because the cliff faces south, we knew we could get the Milky Way galactic core in the composition. So we pulled out PhotoPills to see exactly when and where the Milky Way would appear, planned our shots, and then continued exploring the park with the knowledge that we would definitely return to this spot after sundown.

The Shoot

We arrived back at our shoot location early in twilightโ€”so early that we couldnโ€™t see the Milky Way yet, but that was fine because we were surrounded by many other creative opportunities. Lance ventured a little east on the cliff edge to work on a separate idea with a twisted tree, and I stationed a camera at the far end of the parking lot to rip some longish exposures over the mountain ridge to the west (Figure 1).

Figure 1. Star trails over a Lassen ridge. Nikon D850 with a Nikon 80-200mm f/2.8 lens. 6 minutes, f/6.3, ISO 64.

As the sky grew darker, I started working with the boulder. The Milky Way was not yet apparent in the sky, so I worked on some alternative compositions with the mountains in the background, using the silhouette of the distant ridge as a leading line into the rock (Figure 2).

Figure 2. Nikon D5 with a Nikon 14-24mm f/2.8 lens. 15 seconds, f/8, ISO 4000.

Once I was done with that, I looked south, and there it was: the galactic core rising over the valley. So I repositioned my camera and tripod to start working on the photo I was there to create.

The valley below the cliff is a scenic wonder in daylight (in moonlight too), but in pitch-dark it was just vast blacknessโ€”so I lowered my tripod to get it out of the frame (Figure 3). The real stars of the composition were the Milky Way and the boulder.

Figure 3. Working on the composition, but with a poor-choice white balance of Daylight.

Figure 3. Working on the composition, but with a poor-choice white balance of Daylight.

I worked the composition a little more, and then changed my white balance. Iโ€™d been using Daylight during the blue hour portion of the shoot, but once the sky darkened, I wanted a white balance that would help the sky look more like โ€œnightโ€ and that would also help draw out the delicate colors of the Milky Way. So I switched the white balance of my D5 to manual and dialed it in to 3800 K (Figure 4). (For more on this, see Mattโ€™s blog post โ€œHow to Choose the Right White Balance for Night Skies.โ€)

Figure 4. White balance at 3800 K.

Figure 4. White balance at 3800 K.

At this point you can see that Lance was in the background doing his light painting on a different subject. This didnโ€™t bother me. First, I was only making test shots. I didnโ€™t care about someone elseโ€™s light; I cared only about the specific elements that I was testing for, i.e. composition, focus, exposure, white balance, etc. Second, once I was ready to start executing my โ€œrealโ€ image, I knew Lance and I could communicate and take turns light painting our different setups, and that when his flashlight was off, he and his camera would disappear into the shadows.

For focus, a quick check of a hyperfocal distance chart confirmed that I could lock in on the boulder and still have the stars sharp. So I shined my Coast on the rock and auto-focused. Easy peasy.

The exposure was pretty simple too. I knew I wanted sharp stars for a sharp Milky Way. Using the 400 Rule with a 14mm focal length, that gave me a top shutter speed of 25 seconds (400 / 14 = 28.57, rounded down to 25 for safety), which I shot at f/2.8 and ISO 6400.

Then I started working on the light painting. Using a Coast HP7R flashlight with a homemade color-warming filter, I worked from the left of the frame. I chose this angle for three reasons:

  1. Working from the right was nearly impossible because of the cliff drop. I could have done it if I learned how to fly, but I didnโ€™t have time for that in the middle of the shoot.

  2. When light painting, I usually want the direction of the added light to โ€œmake senseโ€ visually, to almost look like the illumination could be coming from something else in the sceneโ€”in this case, the galactic core. Of course no one will think that the Milky Way was actually bright enough to illuminate the boulder, but I find that the visual suggestion of it works better.

  3. When light-painting a subject on the right side of the composition, I usually like to have the light coming from the left, across the majority of the frame. (And vice-versa for a subject on the left.) If Iโ€™d painted from the other side (Figure 5), then the brightest, highest-contrast parts of the boulder would have been way over on the right edge of the frame, separated from the secondary subject of the image (the Milky Way) by a large shadow. That would have been far less compositionally effective. (This is a personal guideline, and an effective one. But itโ€™s not a rule. In fact, you can see that I went against this guideline in the image above of the boulder without the Milky Way.)

Figure 5. I moved as close to the edge of the cliff as I could to light paint from camera-right, and the result proved the efficacy having the light come across the majority of frame. Also, it was nearly impossible to paint from that angle without hโ€ฆ

Figure 5. I moved as close to the edge of the cliff as I could to light paint from camera-right, and the result proved the efficacy having the light come across the majority of frame. Also, it was nearly impossible to paint from that angle without having the light hit the sapling too.

The final step was just a matter of playing around with the light painting, trialing-and-erroring, repeatedly coming back to the LCD to review my results. I was evaluating factors such as:

  • how out far out of the frame I needed to stand so the camera couldnโ€™t see the flashlight

  • whether to use direct light (harder, more contrast) or reflected (softer, less contrast)

  • which angle to paint from to create the most texture

  • which angle would illuminate enough of the boulder to be interesting but not so much that I was light painting everything (which is boring)

  • which angle accomplished all that without lighting the sapling to the right of the rock, which I deemed a compositional distraction

  • how long to keep the light on so the boulder would be bright enough to draw interest yet subtle enough to not be garish or overwhelming

Failed iterations of my light painting approach. Or, rather, honing by trial and error.

Once Iโ€™d made all of my decisions, I was ready to make the final photograph. By that point Lance had joined me at the boulder, and we took turns light painting our individual setups. Again, the key was communication, so that we didnโ€™t inadvertently ruin each otherโ€™s imagesโ€”each of us asking if the other was in the middle of an exposure before turning our flashlights on.

I loved how everything came together. One of my field rules is that when I finish executing my idea, before changing the setup I always try something I wasnโ€™t planning, just to push myself out of the immediate box and see if I stumble across a great idea. In this case, I tried backlighting the rock (Figure 6). I hated itโ€”so I moved on. โ€ฆ

Figure 6. The failed backlighting idea.

Figure 6. The failed backlighting idea.

Incidentally, while I was doing all of this, I still had my second camera, a D850, capturing star trails from the top of the hill, creating the image in Figure 7. Thatโ€™s a great use for having two cameras in the fieldโ€”one for long exposures and one for doing other work during the wait.

Figure 7. Star trails over Lassen Peak. Nikon D850 with a Nikon 80-200mm f/2.8 lens. 13 minutes, f/2.8, ISO 160.

The Post-Production

This particular photography didnโ€™t need a lot of work in post.

I cropped out the bright star that was sitting immediately on the right edge of the frame, where it served as only a visual distraction, pulling attention far away from both the primary and secondary subjects.

Using the Spot Removal tool, I cloned out a patch of snow that was picking up just enough light to be seen in the background, as well as one bright and three faint plane trails (Figure 8).

Figure 8.

I boosted Exposure (+20) and Whites (+34) to increase overall brightness, then Clarity (+19), Dehaze (+24) and Vibrance (+8) to add some punch to the sky (Figure 9).

Figure 9.

Usually Iโ€™ll go over the galactic core with a custom Milky Way brush, but I didnโ€™t think this image needed it. Sometimes not doing something is the best decision.

Figure 10.

Figure 10.

The Final Adjustment

The last correction was one I couldnโ€™t make by myself. The combination of using a CTO filter and shooting with a white balance of 3800 K made the light kind of green. Iโ€™m red-green color blind, so I asked Tim if heโ€™d be a second (better) set of eyes while I tried to get the color of the rock accurate. Using the targeted adjustment tool in the Hue section of the HSL panel, we clicked a green sample in the rock and dragged down, which brought the Yellow slider to -69 and the Green to -80. The rock was then a little too warm, so we manually pulled Red down to -20. (Figure 10.)

There are two lessons here:

  1. Knowing how to work around your limitations can be critical. Much thanks to Tim, my sister Ann and several past girlfriends for helping me color-correct through the years.

  2. In the field, knowing my limitations and when shooting at a non-Daylight white balance, I should have used a Luxli Viola LED panel for the painting. Why? Because that would have allowed me to dial in the color temperature of the light to 3800 K or slightly warmerโ€”then I would have known the color was accurate even if I canโ€™t see it. (Another way to do this is to use a combination of color-correcting gels to alter the Coastโ€™s output accordingly. Check out Timโ€™s post โ€œLevel Up With Light Painting: Correcting the Color of Your Flashlight (Part II).โ€)

Figure 11. The final image.

Wrapping Up

I finished my photo before Lance finished his. I tooled around with a few other image ideas in the same area (Figures 12 and 13), but soon settled on light painting Lance while he worked, creating a portrait of one night photographyโ€™s true masters in his element (Figure 14). By this time the moon had risen, which illuminated the valley in the background, adding more of a sense of place to the scene.

Figure 12. Tail end of the Milky Way over Lassen Peak. Nikon D5 with a Nikon 14-24mm f/2.8 lens. 20 seconds, f/2.8, ISO 8000.

Figure 13. Milky Way disappearing in the moonrise. Nikon D5 with a Nikon 14-24mm f/2.8 lens. 25 seconds, f/2.8, ISO 6400.

Figure 14. Lance at work. Nikon D5 with a Nikon 14-24mm f/2.8 lens, light painted with a Coast HP7R flashlight and a Luxli Viola LED panel. 25 seconds, f/2.8, ISO 6400.

Afterward we moved on to our second shoot location of the night, a placid alpine lake just up the road, where we ripped some long exposures of star-circle reflections above Lassen Peak.

Lassen Volcanic is truly an extraordinary national park. I have no idea when Iโ€™ll be back, but the day I am canโ€™t come soon enough.

Want to explore Lassen Volcanic with Lance and Gabe on an epic night photography adventure workshop this August? Sign up here!

Chris Nicholson is a partner and workshop leader with National Parks at Night, and author of Photographing National Parks (Sidelight Books, 2015). Learn more about national parks as photography destinations, subscribe to Chris' free e-newsletter, and more at www.PhotographingNationalParks.com.

UPCOMING WORKSHOPS FROM NATIONAL PARKS AT NIGHT

Wonders of Workflow: How Consistency Will Improve Your Night Photography

In my 20 years of teaching night photography, there is one thing Iโ€™ve found that can make a huge difference in both the consistency and quality of your images, as well as reducing your frustration and increasing your enjoyment in the field. Itโ€™s not glamorous, itโ€™s not sexy, but it will make you a better photographer.

Youโ€™ve probably heard the term โ€œmindfulnessโ€ before. Before you roll your eyes and click off of this page, be assured that Iโ€™m not going to get all spiritual and New Agey on you. Hear me out.

As the website Mindful.org defines it, โ€œMindfulness is the basic human ability to be fully present, aware of where we are and what weโ€™re doing, and not overly reactive or overwhelmed by whatโ€™s going on around us.โ€

Being present. Focused. Intentional. Itโ€™s a  simple concept, but one that many of us find increasingly difficult in todayโ€™s chaotic, digitally โ€œenhancedโ€ world. Itโ€™s certainly something I struggle with. But I promise, it will make you a better night photographer.

How to be Mindful at Night

There are numerous ways to apply the concept of mindfulness to photography, from the way you observe the world to the way you edit your images, but what Iโ€™m suggesting here has to do with your workflow.

We tend to think of workflow as beginning when we download our images, but really it begins when you decide to go out and photograph. Every little decision that we makeโ€”or donโ€™t makeโ€”impacts everything that comes afterward. If you have a checklist, and if you go over it before you head out to make images, then you will always have the gear you need, your batteries will always be fully charged, and you will never waste amazing images because you accidentally shot with image quality set to โ€œJPG Smallโ€ at ISO 1,000,000.

Some people are more naturally inclined to working methodically, while others require intense effort to discipline themselves. Whichever category you fall under, I promise that itโ€™s worth the effort.

Perhaps the most important thing I teach during night photography workshops is that everyone should consciously develop their own field workflow. By this, I simply mean creating a sequence of repeatable steps that you do every time you set out for a location, and every time you push the shutter release. Doing so means that a much higher percentage of your images will end up being keepers, and that you will be able to see more clearly what worked and what didnโ€™t in your shoots. Some people are more naturally inclined to working methodically, while others require intense effort to discipline themselves. Whichever category you fall under, I promise that itโ€™s worth the effort.

With that in mind, Iโ€™m going to share my workflow with you. But Iโ€™m not trying to get you to do what I do. Rather, Iโ€™m sharing it as an example with hope that it will help you develop your own working methods that get you the results that you are looking for. Each of us at NPAN has our own procedure that we follow. There isnโ€™t a right or a wrong way to do thisโ€”the key is to figure out what works for you.

Field Workflow Example 1: Duxbury, Massachusetts. Building a night image from beginning to end, marching through the same steps time after time.

Before You Go

Because I travel frequently, I donโ€™t always keep the same gear in my bagโ€”moreover, I donโ€™t always even work out of the same bag from one trip to the next. So it would be easy for me to find myself on location without an essential piece of gear and not even realize my error until right when I need it. And this is why I always check my kit before leaving home.

When Iโ€™m planning a shoot, I consider what the lighting conditions will be, the type of subject matter Iโ€™ll be shooting, the weather conditions, and if Iโ€™ll be working close to a vehicle or hiking some distance to my location. Each of these factors dictates what I bring with meโ€“โ€“not just in the camera bag, but also accessories like clothing, food and drink, and whether Iโ€™ll be better served by a backpack or shoulder bag.

Step 1: Pre-Shoot Scouting

Research location if it is unfamiliar. Scout ahead of time if possible. Check for access/trespassing/permit/safety issues. Use PhotoPills to access celestial conditions and possible shot locations if appropriate. Look at the Google Earth view of the location, as well as night images available online. When is the best time of year, or the best part of the lunar cycle for the location? How about parking?

Step 2: Gear Selection

Choose a bag, camera(s) and lenses based on location. Pack camera batteries only after making sure they are fully charged. Make sure rechargeables are recharged, and include some disposable batteries as needed. Choose light sources for light painting, as well as light modifiers such as snoots and gobos. Check accessories: tripod, an extra tripod plate and tools, intervalometer with fresh batteries, filters, hand warmers, water bottle, snack, phone, phone charging cable, hat, gloves, extra layers as needed.

Field Workflow Example 2: Orkney, Scotland.

On Location

Step 3: On-Site Scouting

Arrive before dark if possible, explore the site and consider possible shots. How will the light change? What conditions are likely to impact photography? Are there likely to be other people, or other photographers? How about street lights or traffic? Are you under a busy flight path? Formulate a plan.

Step 4: Field Workflow

The order in which you do the following steps is up to you. I suggest experimenting with the sequence to see what feels right. The following is what I doโ€“โ€“for every image.

A. Compose the shot. Without any regard for exposure or focus at this point, I roughly work out the composition. If there is enough light, Iโ€™ll do some quick hand-held high ISO shots just to see if the idea is going to work. If I need more than 2 to 3 seconds to get an exposure, Iโ€™ll go right to the tripod. It doesnโ€™t matter if the lens is focusedโ€”Iโ€™m concerned only with framing the image. How do the foreground, middleground and background relate to each other? How does the subject fit within the frame? Iโ€™ll make multiple exposures, making little adjustments until the composition is perfect. It might take two or threeframes, it might take a dozen. Once I get to this point, I lock the camera down on the tripod, and I donโ€™t move it until the image is completed.

B. Focus. Depending on the situation, I might use one of several different focusing techniques. If itโ€™s an astro-landscape image with nothing in the foreground, Iโ€™ll focus at infinity for maximum sharpness of the stars. If there is an important foreground element, Iโ€™ll determine the hyperfocal distance to maximize the depth of field. I almost always use magnified live view combined with a flashlight for accuracy. (You can read more about focusing techniques in Chrisโ€™ post โ€œStaying Sharp: 8 Ways to Focus in the Dark.โ€)

Field Workflow Example 3: Ryholite ghost town, Nevada.

C. Determine the exposure. Once the composition is set and focus is achieved, I turn to finding the ideal exposure. As before, the type of image will give me a clue as to the starting point. If Iโ€™m going for star points, then Iโ€™ll start with shutter speed, using the longest speed that will still render the stars as points of light rather than as trails. (I wrote two posts on this subject in 2017. Part one deals with subtleties of managing different variables to determine the best exposure for maintaining star points in astro-landscape photographs; part two explains the 250, 400 and 500 rules for calculating the best shutter speed for the conditions at hand.)

If Iโ€™m more concerned with depth of field than star points, I might start with aperture, and build the rest of the exposure around that. ISO is rarely the starting point of an exposure.

Regardless of my starting point, Iโ€™ll use the histogram as a guide to get the exposure where it needs to be. In natural light situations, the histogram is my primary exposure determinant. In dynamic, artificially lit environments, Iโ€™ll simply give the scene as much exposure as possible without clipping important highlight details. In most instances, I bracket exposures and decide which one(s) to use once I download the images. High ISO testing is a tool to help calculate the exposure quickly and easily.

D. Add light painting. By now, I have a pretty good idea of where, if not how to light the scene. The image is coming together, and I might want to emphasize a particular element of the scene with added light, or simply fill in the shadows to reduce the overall contrast. This last step can be the most challenging, but is also the most creative and rewarding aspect of night photography.

Years of experience guide me in making lighting decisions, but that simply means I might need only a couple of frames to work it out, while someone just getting started may need a few more attempts before they figure out what they are trying to achieve, and then how to achieve it. But the steps are the same: make an exposure, evaluate and adjust until as close to perfect as possible.

Once the quality and amount of added light are where I want them to be, the last step is to consider adjusting the ratio of ambient to added light. I will often reduce the overall exposure length to get a more dramatic effect, to make my lighting stand out. Again, itโ€™s just trial and error until everything falls into place.

Wrapping Up

Hopefully, most of what Iโ€™ve written about here is fairly obvious and seems like common sense. Organize your gear, plan ahead, and work in an organized and methodical fashion. Thatโ€™s the gist of it, with the goal being consistency and repeatability.

As I said before, Iโ€™m not trying to get you to work the same way that I do. Itโ€™s more important to have a plan that works and stick with it than to do what I or anyone else says you should do. This is what works for me. I encourage you to develop your own field workflow so that youโ€™ll be able to #SeizeTheNight more effectively when you go out to photograph.

Lance Keimig is a partner and workshop leader with National Parks at Night. He has been photographing at night for 30 years, and is the author of Night Photography and Light Painting: Finding Your Way in the Dark (Focal Press, 2015). Learn more about his images and workshops at www.thenightskye.com.

UPCOMING WORKSHOPS FROM NATIONAL PARKS AT NIGHT