focus

Resharp Your Lens: How to Calibrate Infinity Focus on the Irix 15mm and 11mm

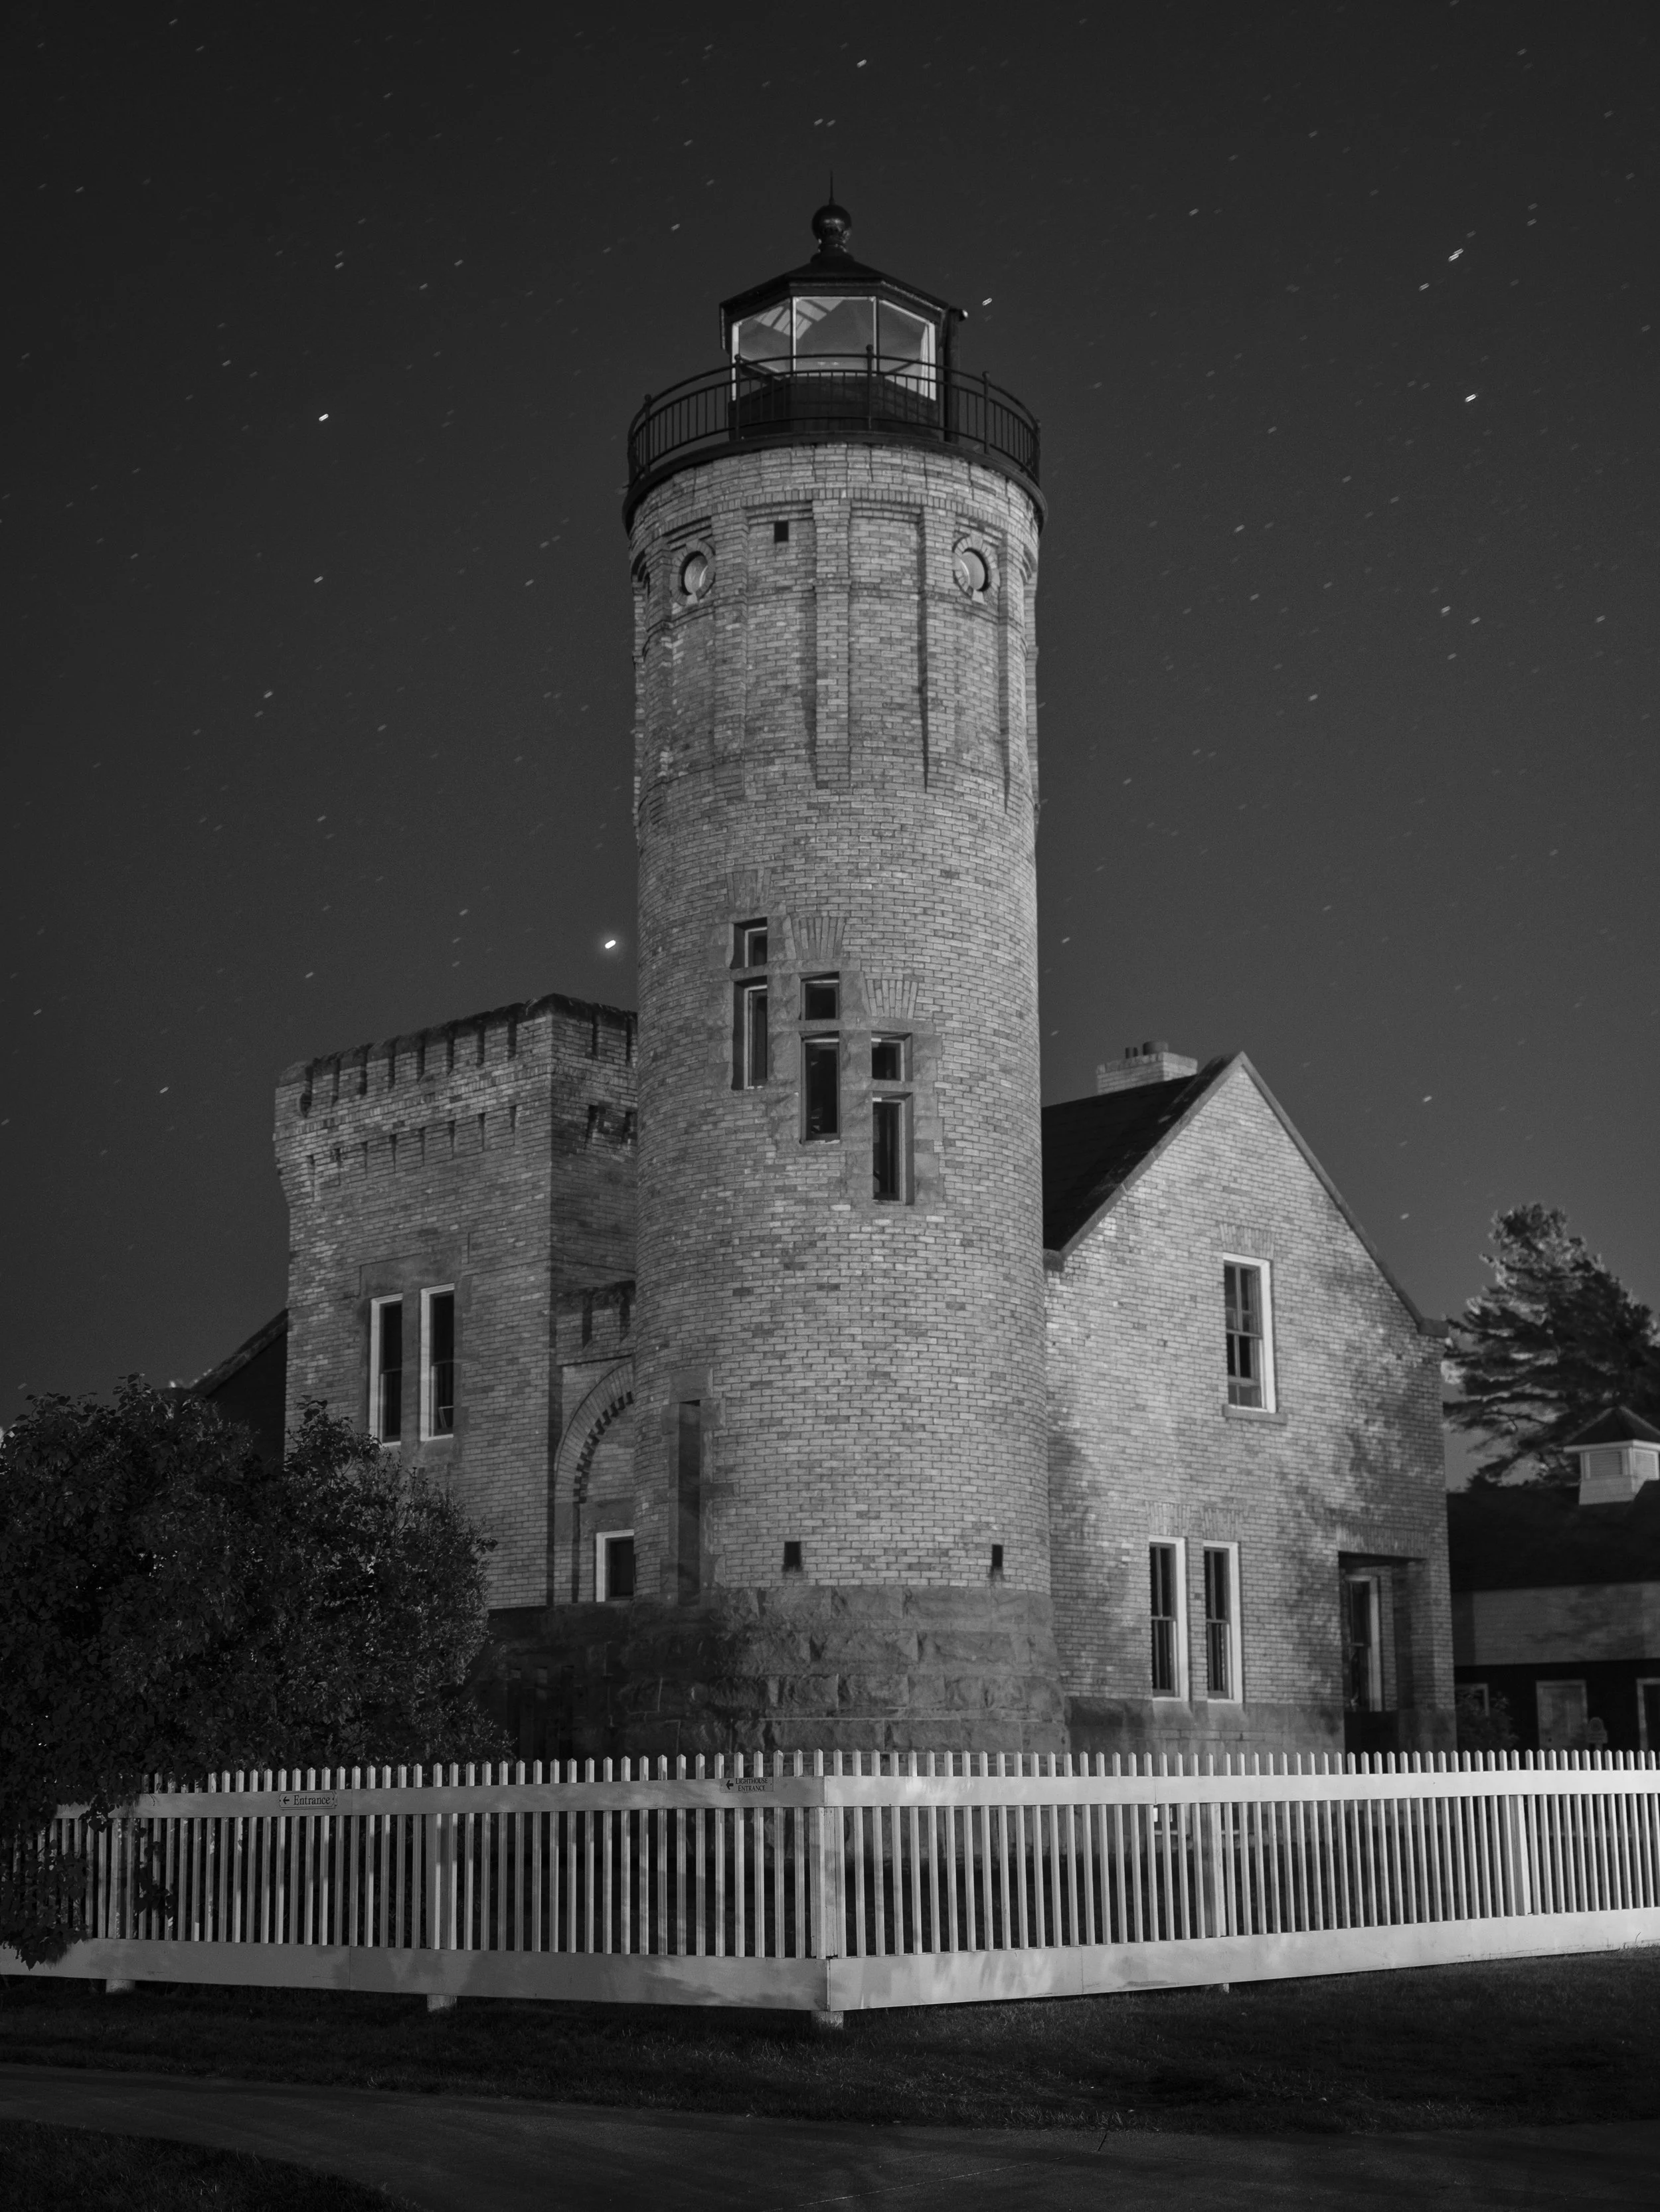
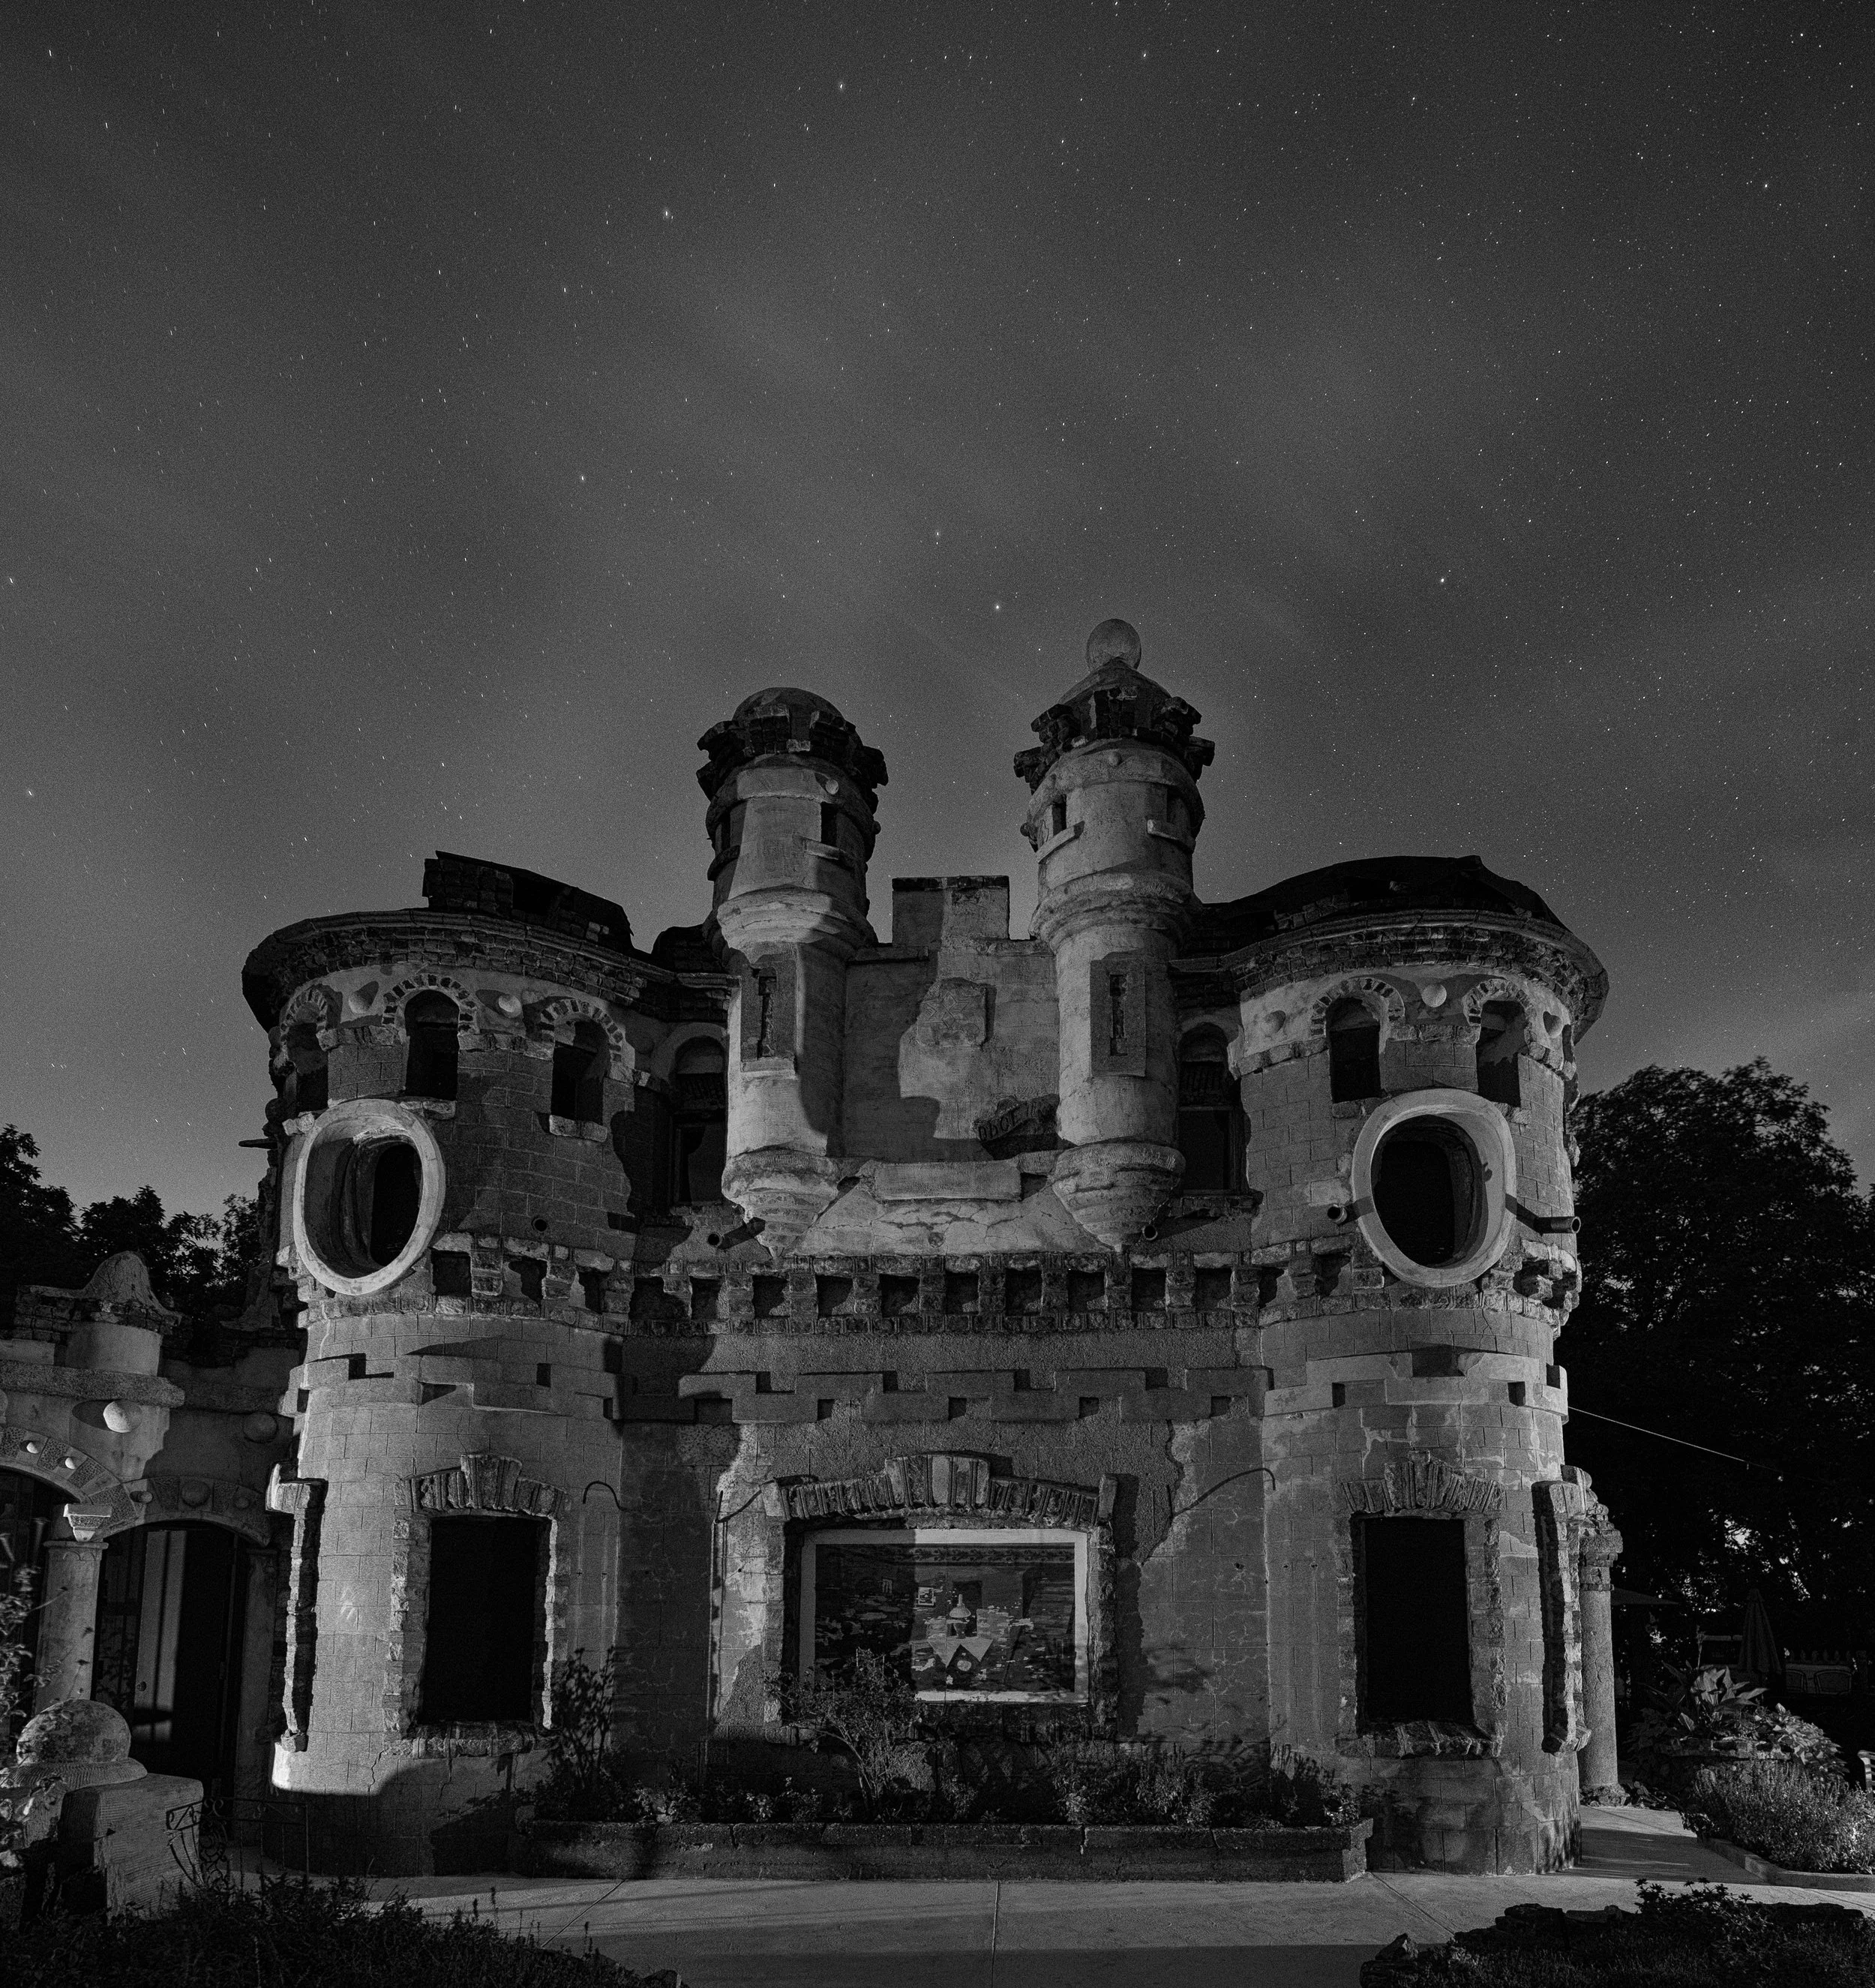
Irix 15mm and 11mm lenses are very popular among the National Parks at Night instructors and our workshop attendees. There are multiple good reasons for that, all of which have to do with sharpness, including:

  • The lenses have very little coma.

  • They’re sharp as heck.

  • The focus ring clicks into place at infinity, giving you tactile feedback for focus, which is so helpful in the dark.

Put all those together, and you pretty much have a guarantee that your stars will be sharp.

Irix has another feature that will allow you to stay sharp too: If you find that the infinity mark is off, you can calibrate it at home.

Why would you need to do this? Our experience is that the focus is perfect as received from the factory. But, as time passes and your lens gets jostled around during travels, it’s possible the focus can drift. It happens to the best of lenses. But with most brands you need to send such lenses to a repair technician, while Irix superwides enable you to self-fix this relatively quickly.

If you own an Irix 15mm f/2.4 wide angle lens or 11mm f/4.0 rectilinear wide angle lens, you can follow the instructions below to calibrate your own infinity focus.

Note: If you have really poor eyesight or your fingers aren’t nimble, you may consider sending it in to Irix instead.

The Irix Calibration Process

What you will need:

  • camera

  • tripod

  • torx T6 screwdriver with a magnetic tip

  • standard slotted 1/16-inch or 1.5mm screwdriver with a magnetic tip

  • a clean, dust-free, well-lit space with a white or very light surface

  • daylight

I used a computer repair kit I bought at a local home improvement store. If you don’t have a set like this, you can find one at B&H Photo or Amazon.

Step 1: Remove the lens hood.

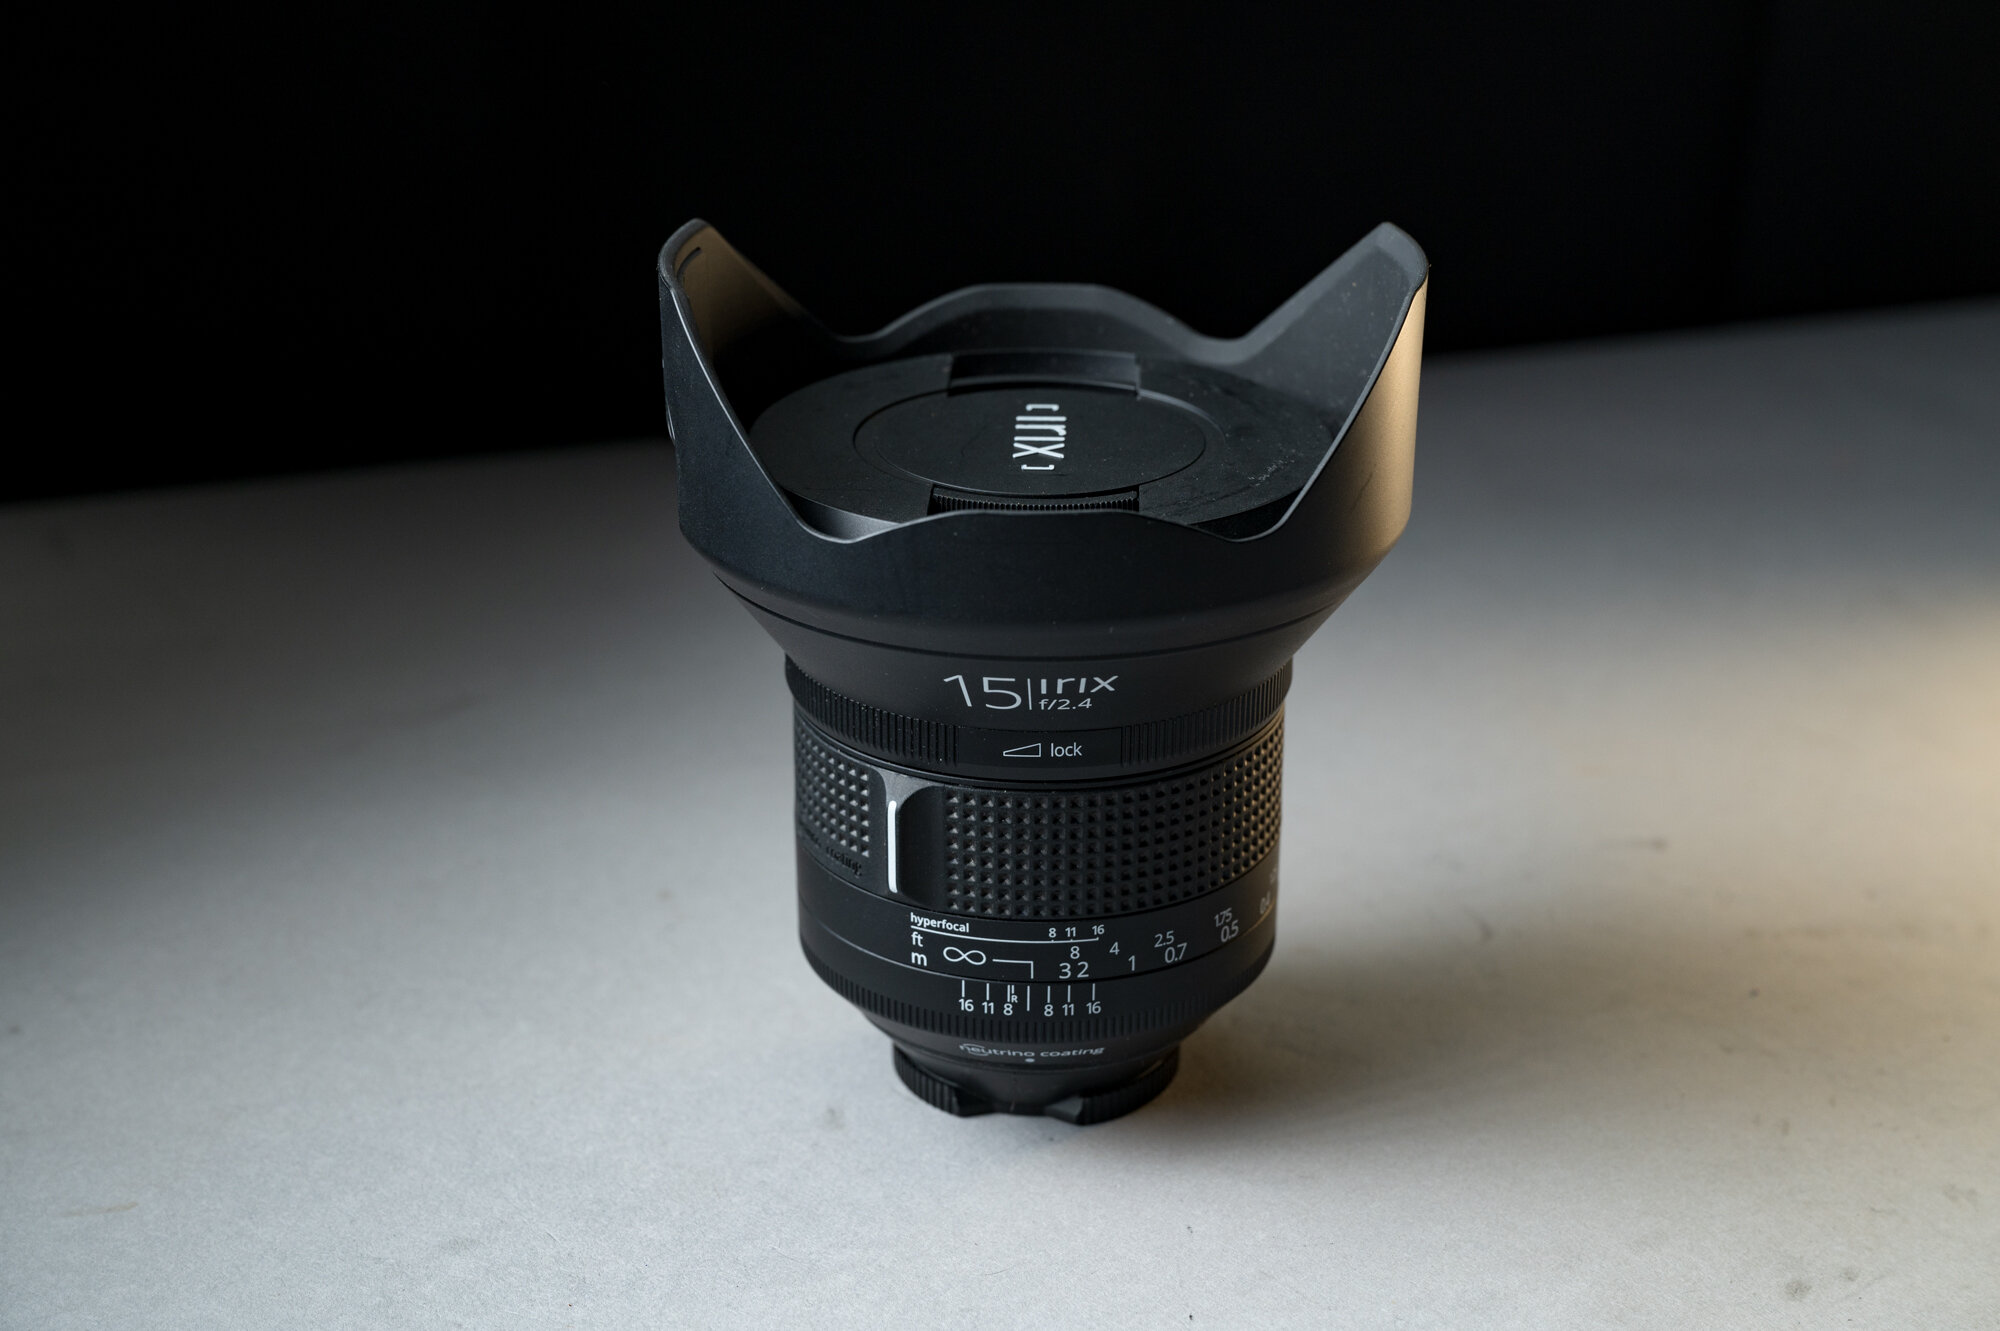
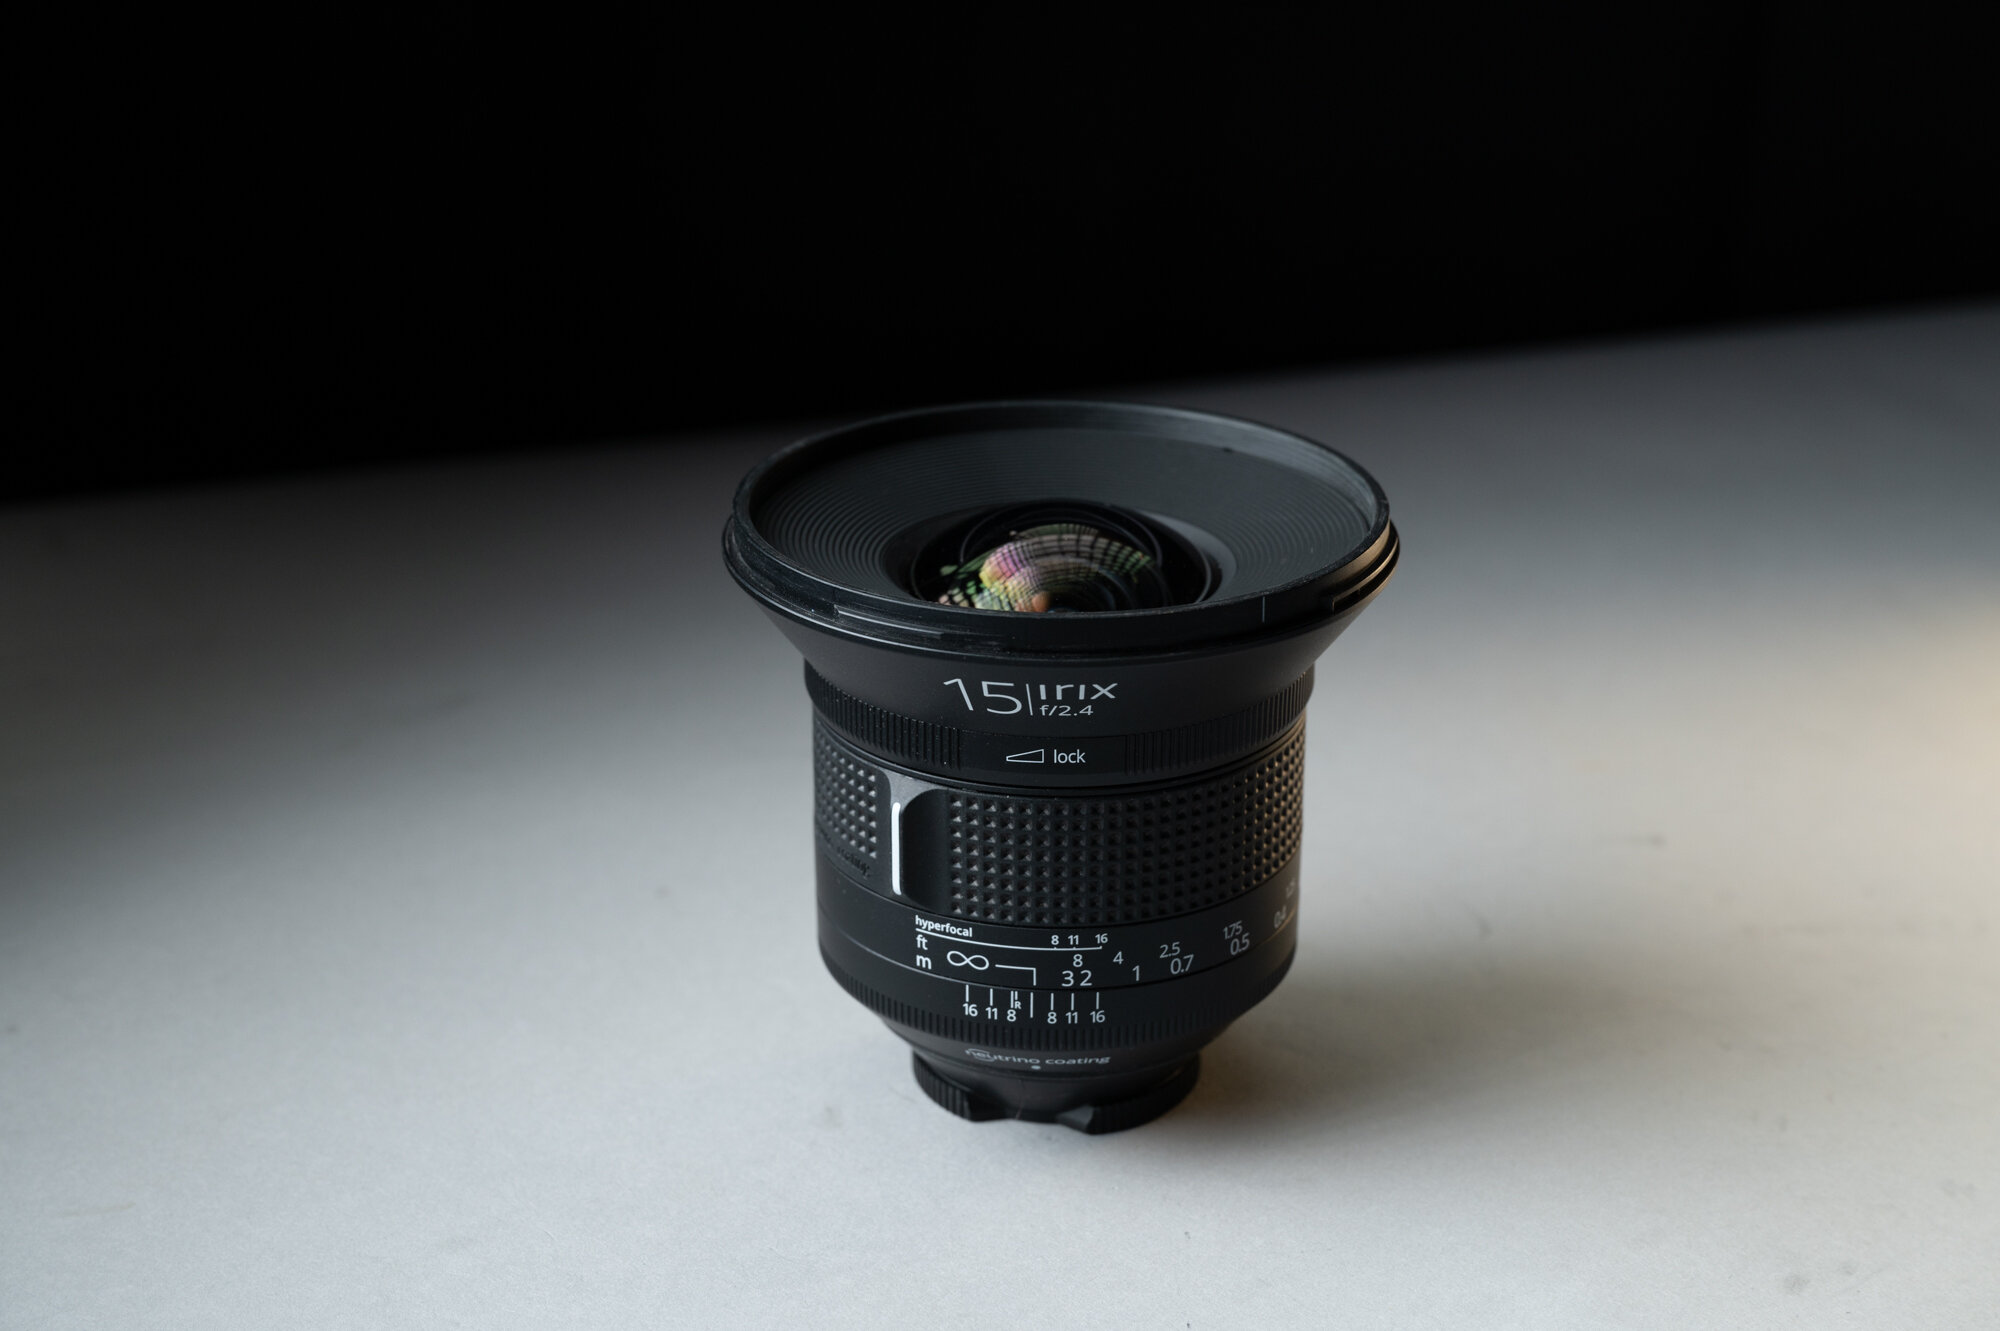
You use the lens hood, right? You should, for protecting that slightly bulbous front element from bumps and scratches, if nothing else. Anyway, time to remove it, for just a few minutes.

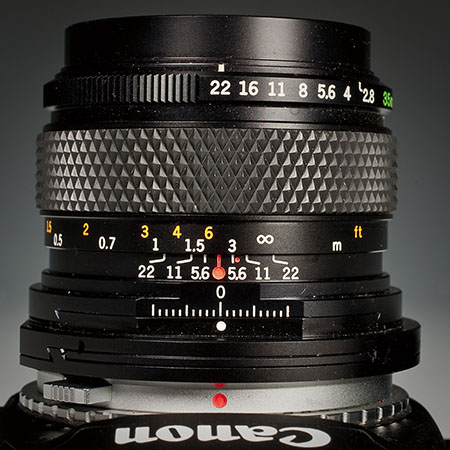
Step 2: Lock to infinity.

As mentioned before, infinity focus is easy with an Irix. Just turn the focus ring until you feel it click into the infinity detent.

lock Itrix 15mm.jpg

Then turn the focus lock ring all the way to “lock.” I use two hands for this and I move slowly so that the focus ring doesn’t move while locking it down.

Step 3: Open the calibration window.

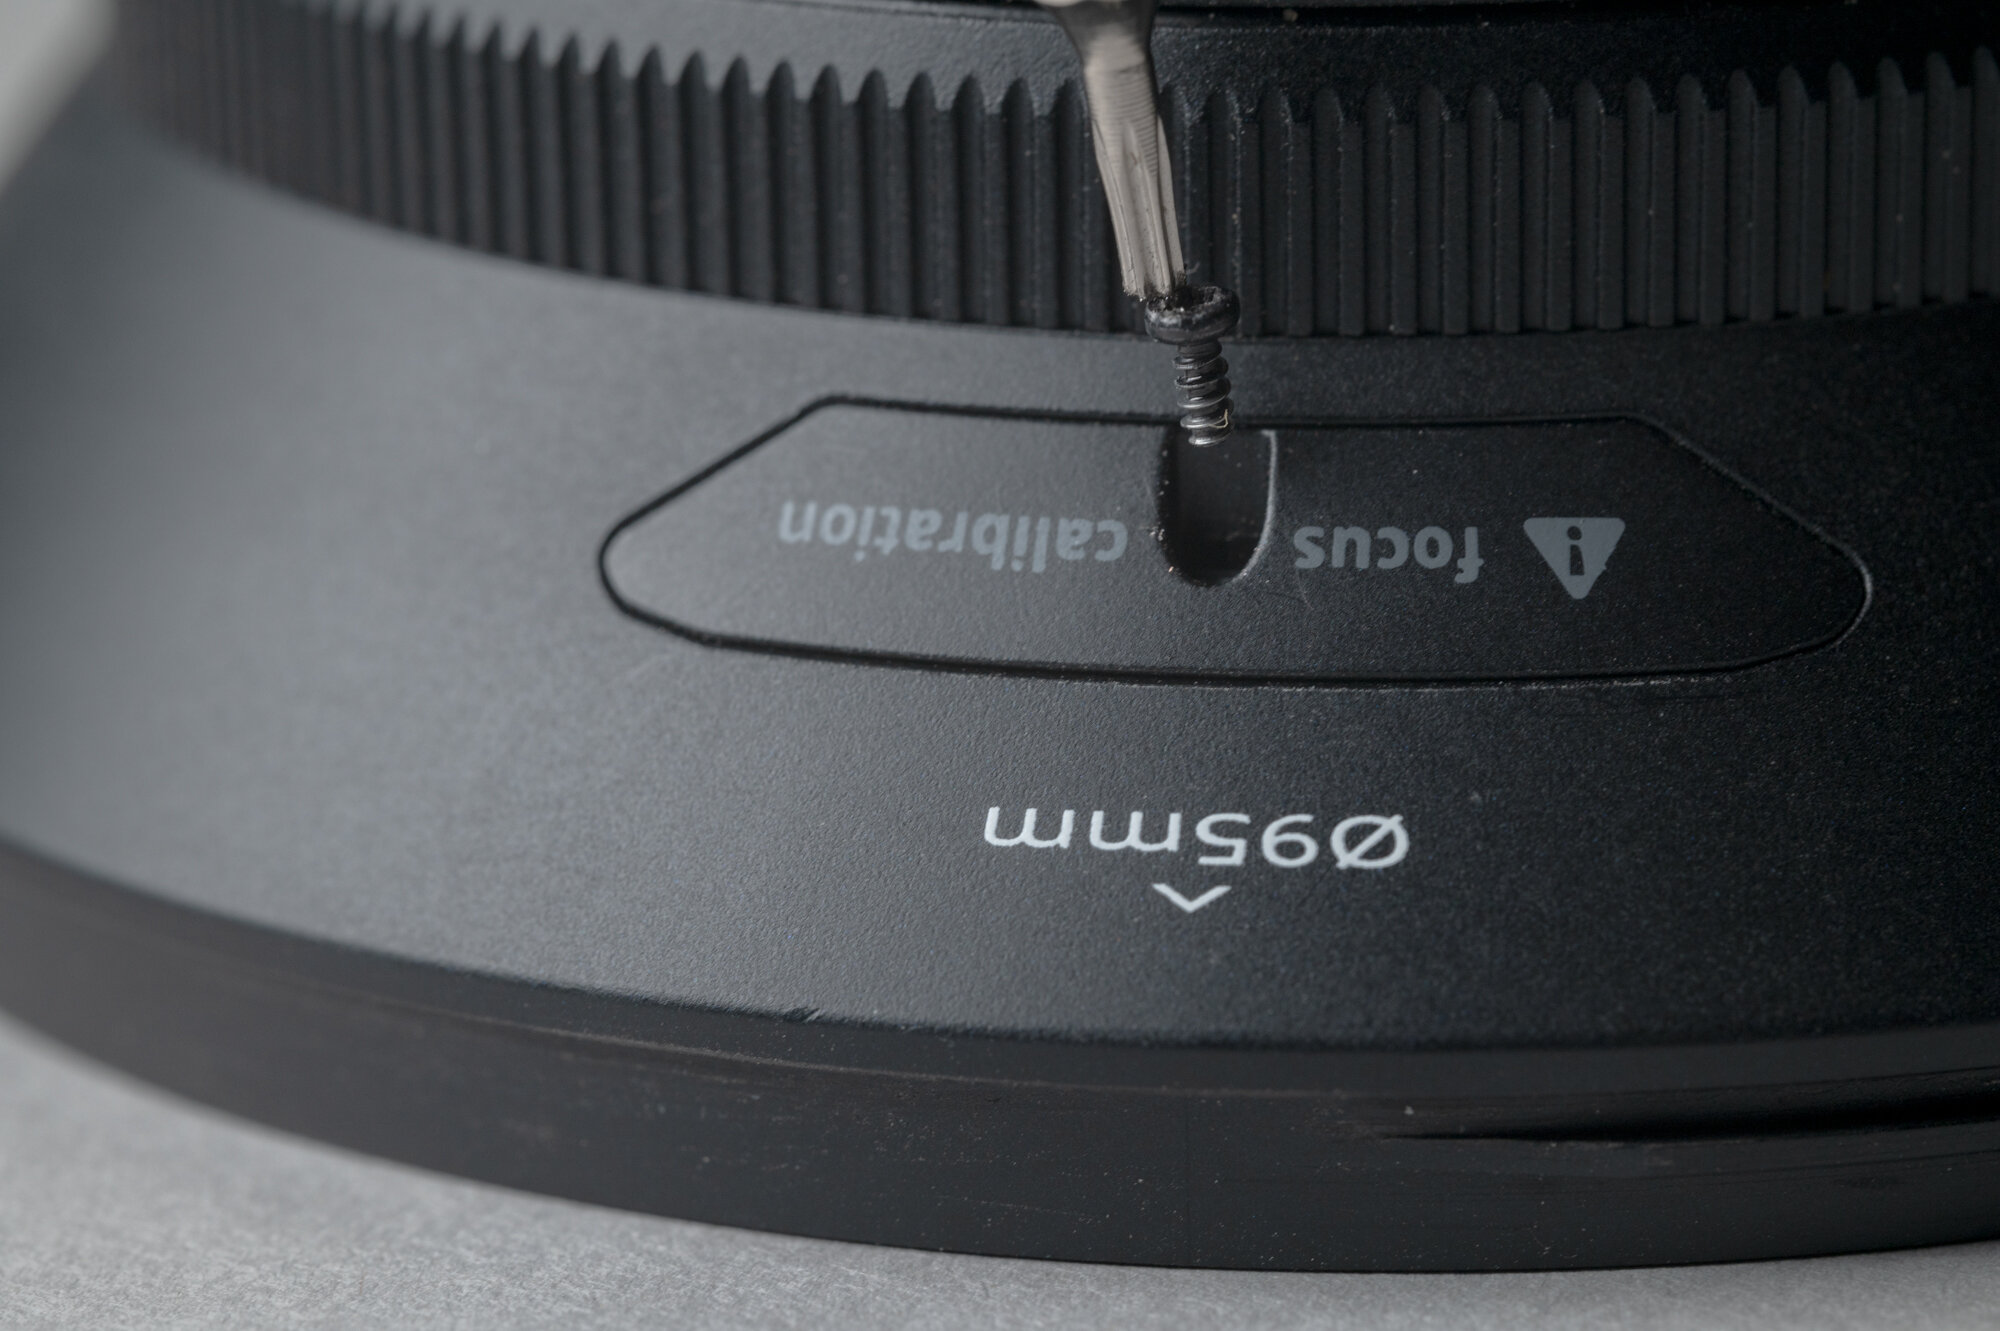
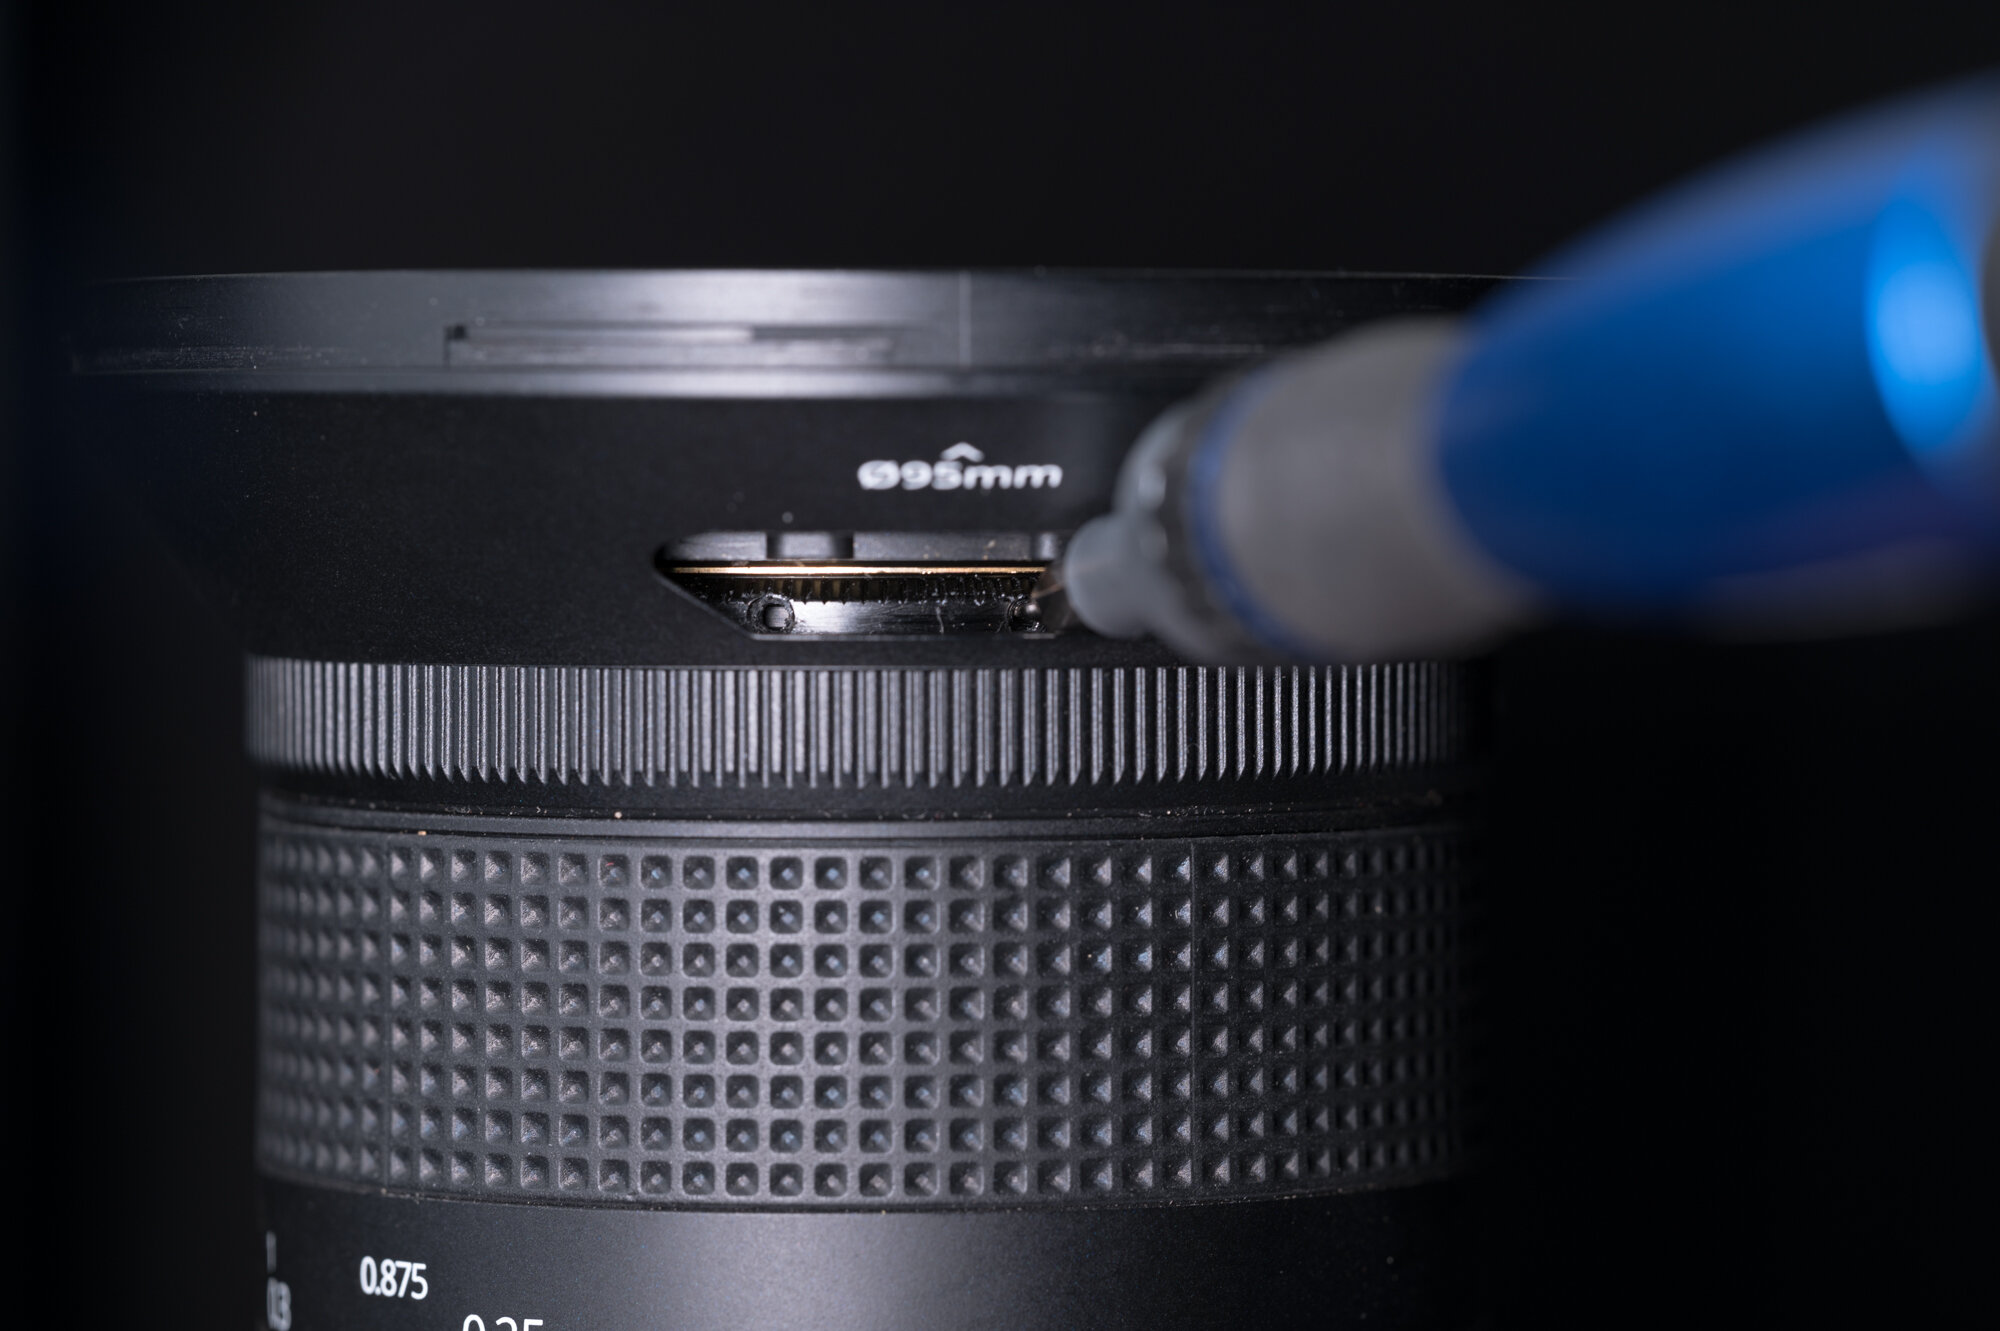
Use a Torx T6 screwdriver to open the calibration window by removing the screw entirely. Set the screw and cover aside in a safe place, such as a small plastic bin.

Carefully slide out the plastic cover labeled “focus calibration” (the head of the Torx screwdriver is convenient for lifting the cover away).

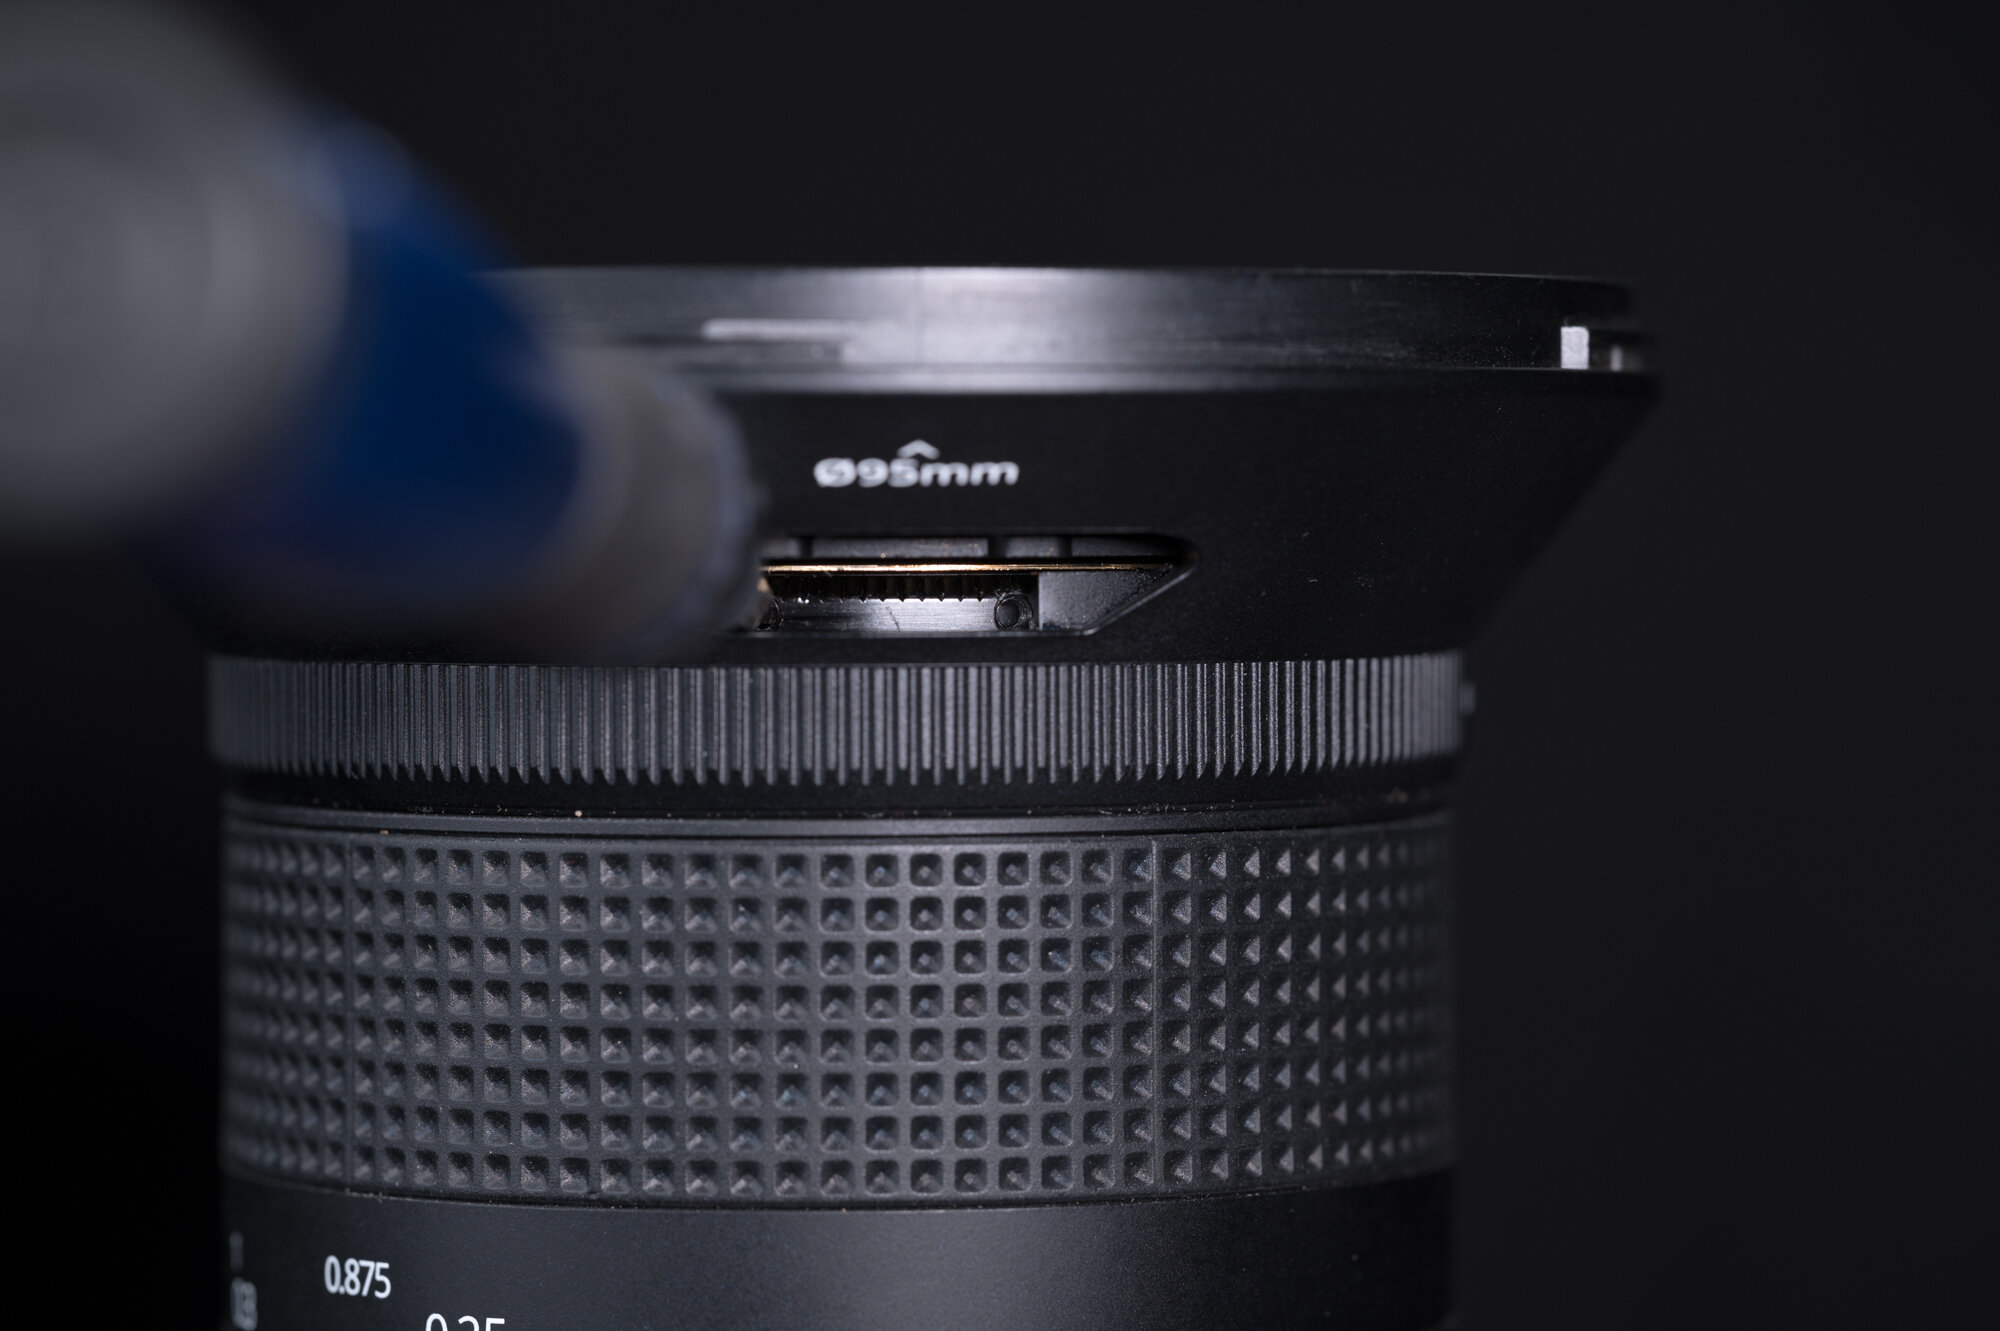
Step 4: Find the interior locking screw.

Look inside at the calibration ring, and find a slot screw. If you don’t see one, slightly turn the focus lock ring until you see the screw.

Note: You’re looking for the small slot screw, as opposed to the larger screws that keep the calibration ring in place. You absolutely do not want to unscrew the latter.

Step 5: Unlock the focus

Using a 1.5mm slotted screwdriver, fully remove the small locking screw from the calibration ring and set it aside in a safe place.

Note: This is where it’s vital you have a magnetic head on your screwdriver. You do not want to lose that screw inside the lens barrel.

Step 6: Set the lens.

Mount the lens on a camera and mount the camera vertically on a tripod. Make sure you have easy access to the calibration window.

Go outside in daylight and point the camera at a distant object (at least 36 feet away) with good contrast. Orient this object in the center of the frame and set your focus point to the exact center.

Set the aperture to the widest setting—i.e., f/2.4 for the 15mm or f/4 for the 11mm.

Step 7: Zoom in.

Activate your camera’s live view and zoom in to maximum magnification.

Step 8: Adjust the focus.

Insert the slotted screwdriver into one of the holes in the calibration ring, and then rotate the ring slowly back and forth. (As you adjust, you may need to choose a new hole.)

Keep rotating until the objects at infinity (36 feet away or further) become as sharp as possible on your rear LCD screen or when viewed in your EVF. It’s a very slow process. Take your time. If you have one, use a focusable loupe (such as the Hoodman HoodLoupe) to help you see the changing sharpness even better.

Step 9: Lock it Down.

Once focus is achieved, go back to your work area inside. Remove the lens from your camera.

Look for an open spot to thread the small locking screw back into the calibration ring. Depending on how much you adjusted the focus, that may not be the same hole you removed the screw from earlier.

Using the slotted screwdriver, carefully insert the screw and turn until firmly finger-tight. Do not over-tighten.

Step 10: Close things up.

Slide the plastic “focus calibration” cover back in, then secure it using the Torx screw and the T6 screwdriver.

Unlock the focus lock ring.

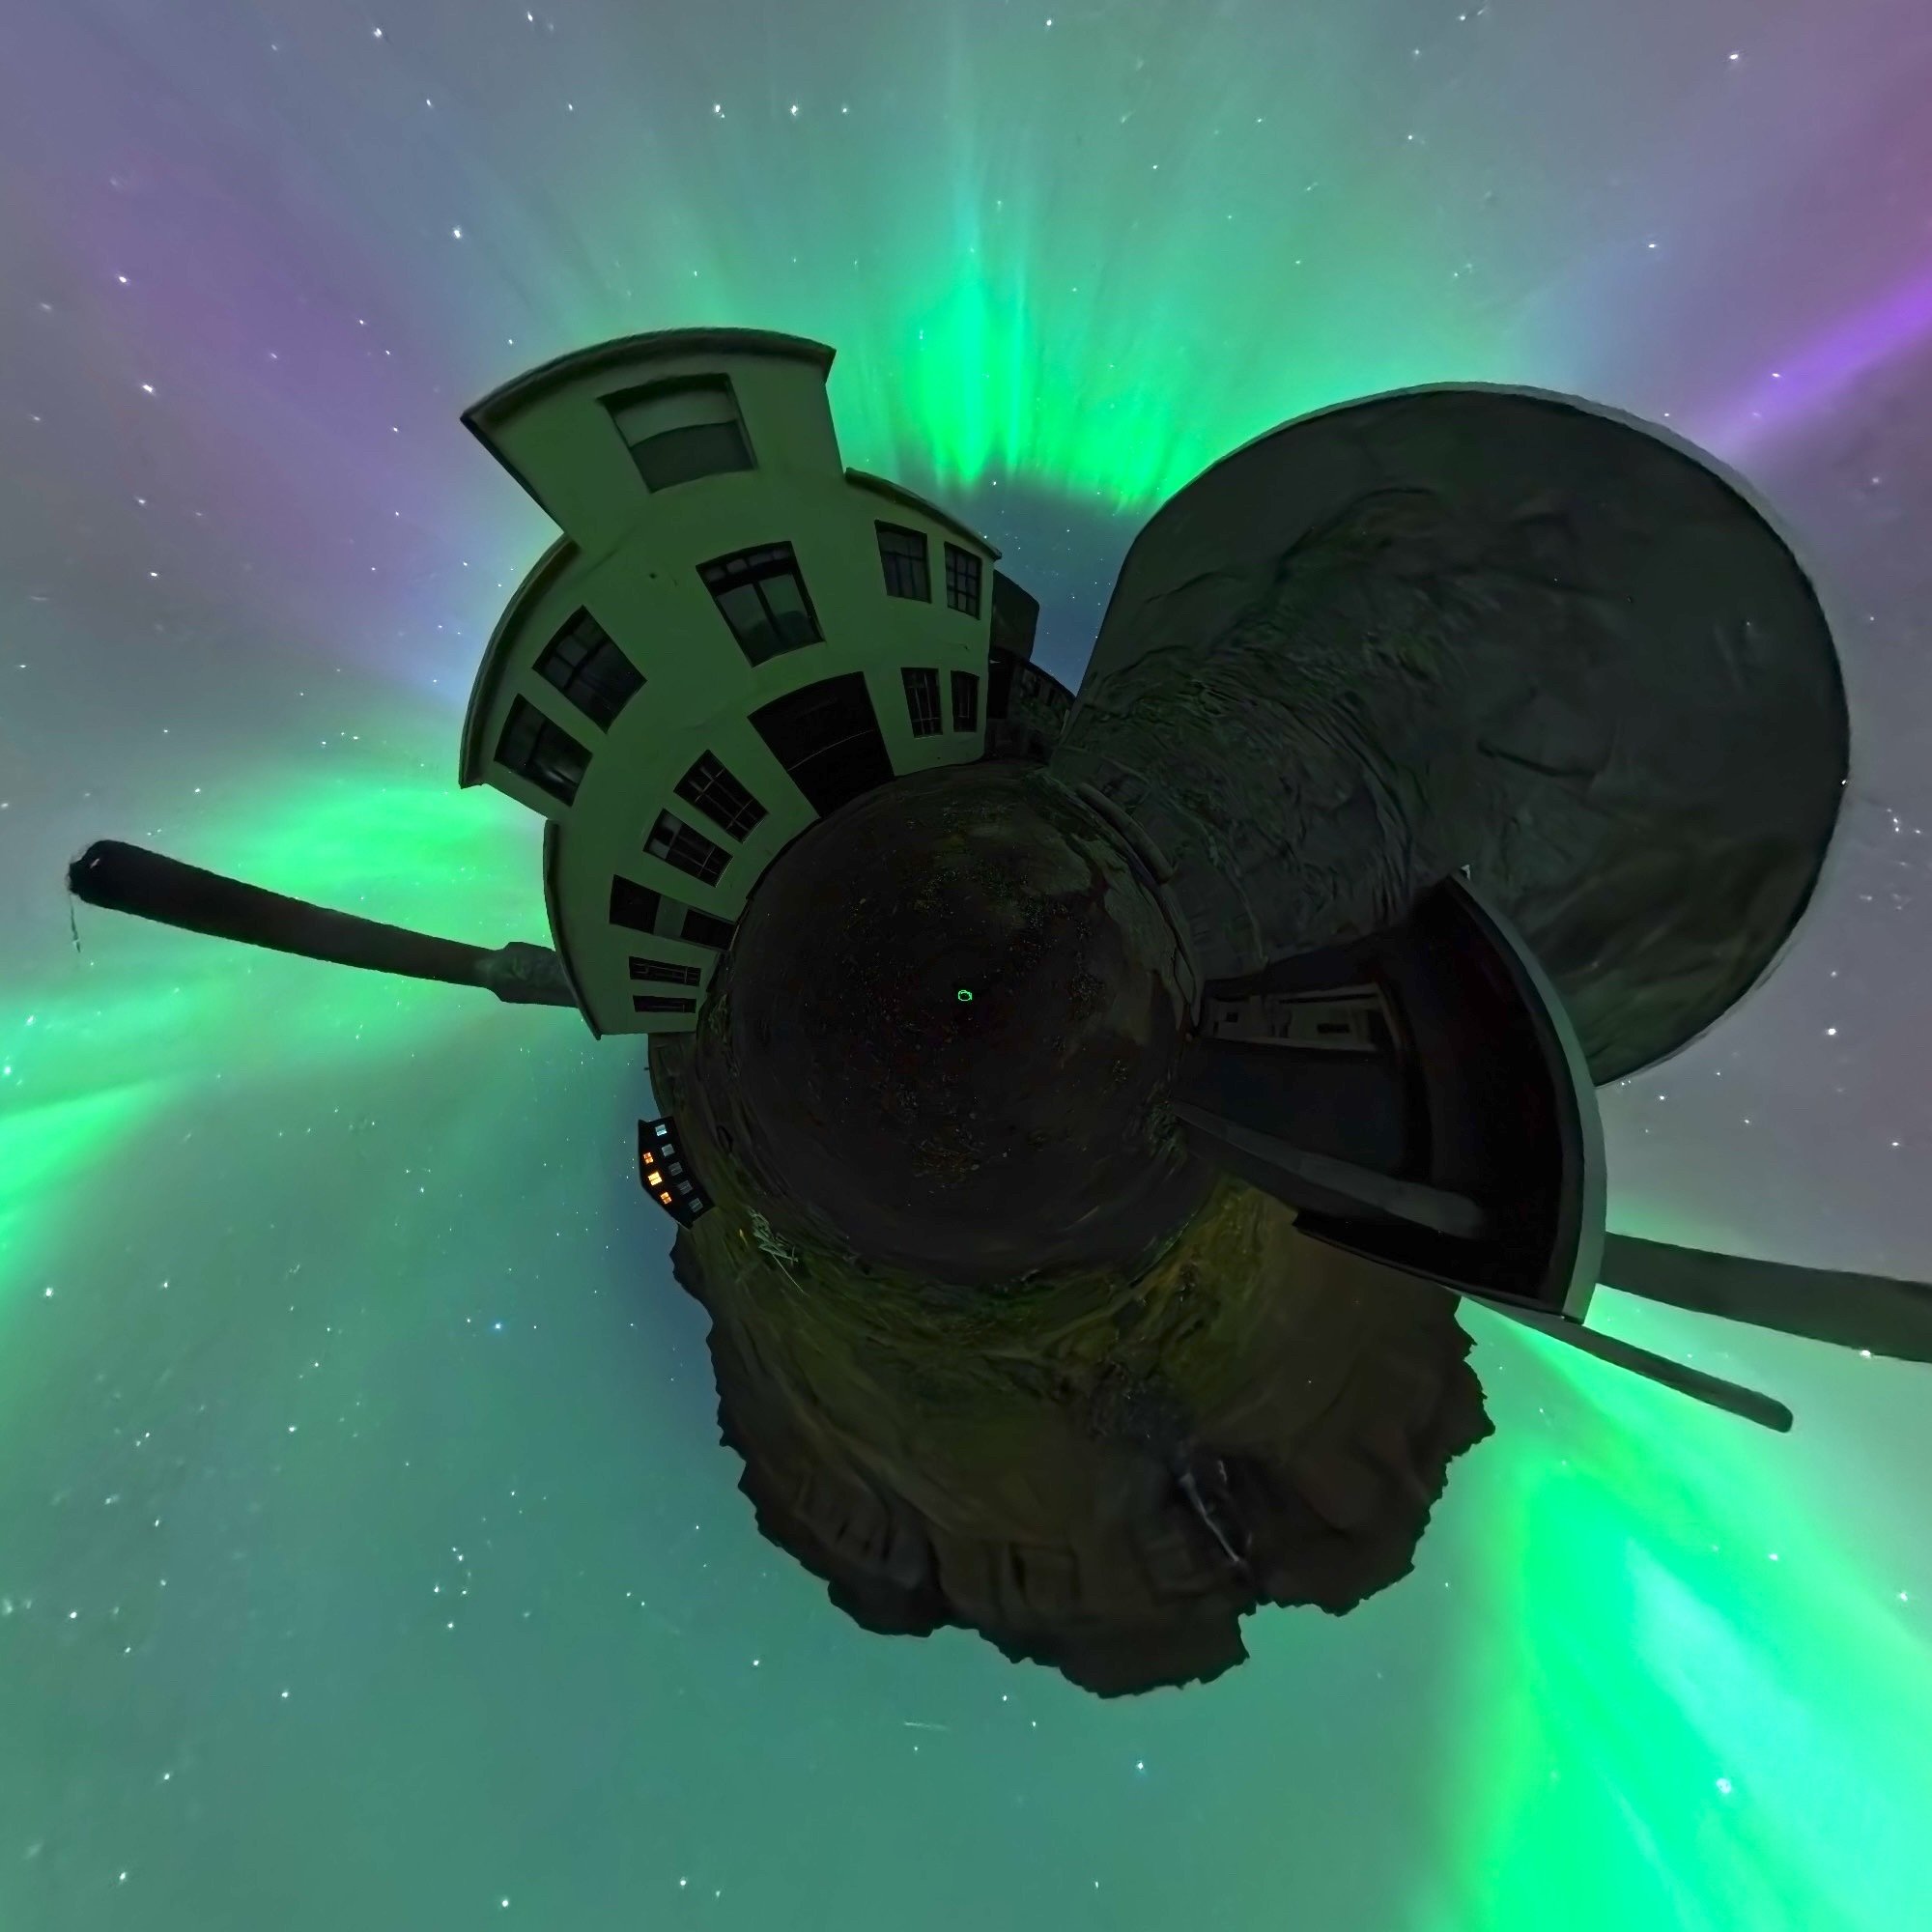
That’s it—you’re done! You now have a perfectly calibrated Irix lens for photographing amazing star images. I recommend heading out that night and shooting a few test images of the stars just to be sure.

For those who like to watch, here is Irix’s video version of this tutorial:

Matt Hill is a partner and workshop leader with National Parks at Night. See more about his photography, art, workshops and writing at MattHillArt.com. Follow Matt on Twitter Instagram Facebook.

UPCOMING WORKSHOPS FROM NATIONAL PARKS AT NIGHT

NPF: The New Rule for Shooting the Sharpest Stars in the Sky

Kareem (@wildnkrazykid) searching for the sharpest stars in the sky. Nikon Z 6 with Irix 15mm f/2.4 lens. 20 seconds, f/2.4, ISO 16,000.

In this golden age of night photography that we live in, the quest for the sharpest stars seems to be the most elusive. But it’s certainly an achievable goal, and we’re here to help you reach it — to reach for the stars, you might say.

Sharp stars can mean two things: Focus and proper exposure. We discussed the multiple ways you can master focus in Chris Nicholson’s article “Staying Sharp.” Today we are going to take a deep dive into working out the best exposure for your camera and lens combination to create tack-sharp stars that don’t trail.

The 600/500/400/250/200 Rules

When I first started shooting digital night photography a decade ago, we used a simple rule to figure out the best shutter speed for star point photography. That was the 600 Rule. Divide 600 by the focal length of your lens, and the result was your maximum shutter speed for achieving pinpoint stars. For example:

600 / 20mm lens = 30 seconds.

This seemed to work fine, but for those of us who were making prints bigger than 8.5x11 inches, we were noticing that those stars weren’t as round as they should be. In reality, they were tiny lines.

So we adapted the rule to 500:

500 / 20mm = 25 seconds

The 500 Rule became the standard for many night photographers and worked fairly well with larger prints and cameras under 20 megapixels. However, as cameras increased the millions of pixels they put into their sensors and with the variety of different size sensors, we needed to adapt again. Over the last 4 to 5 years we have been using the 400 Rule for full-frame cameras under 30 megapixels, the 250 Rule for APS-C sensors and the 200 Rule for Micro Four Thirds. (For an explanation of why this all works, see Lance’s two-part blog post “What’s the Longest Usable Shutter Speed for Astro-landscape?”)

400 / 20mm = 20 seconds

250 / 20mm  = 12.5 seconds

200 / 20mm = 10 seconds

These results were more accurate than the previous 500/600 rules and were customized to our sensor sizes. However, if you were to zoom in to 100 percent, or get close to a large print, you would definitely still see slight movement in those luminous points in the sky.

Add to the equation that higher-megapixel cameras (40-plus megapixels) were actually doing a decent job at higher ISOs, which meant our images were showing more detail than ever before. More detail means that trailing stars become more noticeable.

Not to mention that those “rules” are just guidelines to get you in the right ballpark for shutter speed. Other factors affect how quickly stars begin to trail, including declination (i.e., your place on the globe) and which compass horizon you’re facing. The point is (see what I did there? point?), if you want to be precise about getting sharp star points, there’s a lot that goes into figuring that out.

A Modern Solution for a Modern Problem

A couple of years ago, Frédéric Michaud—a French photographer and amateur astronomer—devised the ultimate formula for the Astronomical Society of Le Havre. That formula is called the NPF Rule. Don’t bother trying to decipher the acronym; the letters aren’t initials, they’re variables:

N = aperture
P = pixel pitch
F = focal length

I’ll be honest—the formula is a bit complex. Besides the focal length of your lens, it also takes into account the camera’s megapixels, physical size of the sensor, aperture, pixel pitch and the minimal declination of the stars in your frame.

This is a lot to figure out in the field, and the cheat sheets aren’t small. To take a look at Frédéric’s formula, visit the Astronomical Society’s website (or Google’s English translation).

Fortunately for night photographers, there’s a simple way to apply this complex concept: I am happy to report that our friends at PhotoPills have incorporated the NPF Rule into their app, under the Spot Stars section.

Below is what the PhotoPills calculator looks like, followed by the five easy steps to figure out the best shutter speed for sharp stars.

When you open PhotoPills, the Spot Stars module is located near the bottom, so scroll down and tap.

Input your information and PhotoPills will do the NPF Rule calculations for you,

Here’s how to use it:

  1. Select your camera in the upper right corner. PhotoPills uses this to determine some of the necessary numbers to plug into the NPF Rule algorithm, such as using the sensor size and megapixels to figure out the pixel pitch.

  2. Choose the focal length of the lens (the one written on the lens, not the full-frame equivalent).

  3. Input the aperture you’d like to use. We typically choose an aperture one-third to 1 stop less than wide open. For example, for a f/1.4 lens we’d shoot at f/1.8 or f/2.

  4. For declination, tap the AR (Augmented Reality) button on the lower left corner and angle/aim the AR to the area in the sky you’d like to compose around. Note that at the bottom of your screen PhotoPills will now show your maximum exposure in landscape and portrait modes, as well as your minimum declination.

  5. The final setting to look at is Accuracy (upper right). It should say “Default.” If you keep it at Default, you’ll get a longer shutter speed and be able to use realistic ISOs such as 3200 and 6400. However, if you’re a pixel-peeper and look at the stars at 100 percent, that will result in you still seeing slight movement. You can switch from Default to Accurate and then there will be no trails at all. However, you’ll also be cutting your maximum shutter speed in half. I wouldn’t recommend this unless you are making 17x22 or larger prints—but even then, that results in the negative trade-offs that come with shooting at sky-high ISOs, which are also more prevalent in larger prints. Decisions, decisions.

Old vs. New

Let’s take a look at the old and new math.

Using our beloved Irix 15mm lens on a standard-resolution, full-frame camera, the 400 Rule gives us a 25-second exposure (400 / 15mm = 26.6 seconds).

Using the NPF Rule in PhotoPills, at a declination of 0 and set in Default mode, with the Irix lens at f/2.8 on our new favorite camera, the 24.5-megapixel Nikon Z 6, we get a maximum shutter speed of 17.26 seconds. I’d probably round that out to 15 seconds. (You want to round down, not up, to ensure sharpness.)

However, if we then shifted to Accurate mode, our maximum shutter speed would be 8.63 seconds. I’d round that to 8.

So, using the NPF Rule in Accurate, I’ve lost pretty much 2 stops of light from ye olde 400 Rule and 1 stop of light off the NPF Default mode. On a moonless night we would typically use ISO 6400 under the 400 Rule. Now, with the NPF Rule, we’d have to shoot at ISO 12,800 or 25,600 in order to get perfectly sharp stars. The Nikon Z 6 can handle those ISOs, but not many others can.

Real-World Testing

Theory is nice. But shooting for real is where we really learn some things.

I was out on the sand dunes of Death Valley a few weeks ago, and I brought my new Z 6. Curious about how the bigger sensors and higher-megapixel cameras would perform, I also borrowed the medium format 51.4-megapixel Fujifilm GFX 50R as well as my friend Kareem’s 42-megapixel Sony a7R III.

Fujifilm GFX 50r with 23mm f/4 lens

400 Rule: 400 / 18mm = 22.22 seconds

The 23mm lens is equivalent to an 18mm on a full-frame sensor, so for the 400 Rule this equaled a 22.22 maximum shutter speed. I rounded down to 20 seconds at f/5.6, ISO 6400. The resulting stars are slight dashes—elongated oblongs. They are sharp and skinny, which makes me feel I could live with this. However, if you are shooting with a 50-megapixel camera, then you’re probably making big prints, so maximum sharpness is important.

Full image from Fujifilm GFX 50r with 23mm f/4 lens. 20 seconds, f/5.6, ISO 6400.

100 percent view from Fujifilm GFX 50r. 20 seconds, f/5.6, ISO 6400.

NPF Default = 10.71 seconds

I used 10 seconds, but I was afraid to go any higher than ISO 6400 on the GFX 50r—so I just underexposed. (Not trying for art here, just testing efficacy.) To be honest, I’m seeing only the slightest of movement in the stars, not even oblong, mostly round but some of the brighter ones slightly oval. I’d be happy with these stars, event in a big print.

Full image from Fujifilm GFX 50r. 10 seconds, f/5.6, ISO 6400.

100 percent view from Fujifilm GFX 50r. 10 seconds, f/5.6, ISO 6400.

NPF Accurate = 5.35 seconds

With NPF Accurate, we’re squeezed even further. Again we are still dealing with an underexposed image, but the stars are certainly tack-sharp.

Full image from Fujifilm GFX 50r. 5 seconds, f/5.6, ISO 6400.

100 percent view from Fujifilm GFX 50r. 5 seconds, f/5.6, ISO 6400.

Takeaways: The GFX has the most megapixels of the sub-$5,000 cameras on the market, clocking in at 51.4. The dynamic range and detail are amazing, but the higher ISOs are a struggle. ISO 3200 is workable but 6400 needs some finessing. Match that with their widest lens, for which the fastest aperture is f/4, and it’s a challenge to do any dark sky work with this combo.

Nikon Z 6 with Irix 15mm f/2.4 lens

400 Rule: 400 / 15mm = 26.66 seconds

Here was my first shot using the 400 Rule, which gave me a 25-second maximum shutter speed. This forced me to use a wide-open aperture of f/2.4 and an ISO of 12,800. It looks good in standard view in Lightroom, and if posted to social media there would be no issues. However, the 100 percent crop definitely show the stars as small lines.

Full image from Nikon Z 6 with Irix 15mm f/2.4 lens. 25 seconds, f/2.4, ISO 12,800.

100 percent view from Z 6. 25 seconds, f/2.4, ISO 12,800.

NPF Default = 17.26 seconds

The stars are definitely rounder, a little oblong, but I would find this result totally acceptable.

Full image from Z 6. 15 seconds, f/2.4, ISO 12,800.

100 percent view from Z 6. 15 seconds, f/2.4, ISO 12,800.

All that disturbs me is the coma distortion that is affecting the brighter stars. Most lenses display some coma at their widest aperture, mainly near the edges of the frame and in brighter stars. With the Irix, this can be minimized by stopping down to f/2.8 or f/3.5.

Note the distortion in the brighter stars—they look like UFOs with a bright line intersecting them. This is called “coma’ and is found in many lenses. You can correct for coma by closing down your lens 1 to 3 stops.

NPF Accurate = 8.63 seconds

The NPF Accurate exposure was for 8 seconds, so I had to push my ISO up to 32,000 to get a good histogram. The stars are definitely rounder and less oblong, but it is a challenge to live in those higher ISOs. The coma is also still prevalent.

Full image from Z 6. 8 seconds, f/2.4, ISO 32,000.

100 percent view from Z 6. 8 seconds, f/2.4, ISO 32,000.

Takeaways: I’m starting to feel that I can live with the Default NPF setting in PhotoPills, which is still pushing cameras into the ISOs of 12,800 and higher. The Z 6 handles those higher ISOs very well, but I barely got the right exposure in the sky and the foreground is suffering. Blending a longer foreground exposure would be key to balancing the overall image (such as Tim did for his Bryce Canyon photo in last week’s post).

Sony a7R III with 16-35mm f/2.8 lens

400 Rule: 400 / 19mm = 21.05 seconds

I stopped down the lens to f/4 and the shutter speed to 20 seconds for our 400 Rule shot. The Sony a7R III does an excellent job at ISO 6400 and the Big Dipper looks very sharp. Looking west (left) I do notice the stars are becoming oblong.

Full image from Sony a7R III with 16-35mm f/2.8 lens. 20 seconds, f/4, ISO 6400.

100 percent view from a7R III. 20 seconds, f/4, ISO 6400.

NPF Default = 11.75 seconds

Rounding down the NPF Default to 10 seconds yields excellent results. Only a few bright stars to the far left look oval, and this is being nitpicky.

Full image from a7R III. 10 seconds, f/4, ISO 6400.

100 percent view from a7R III. 10 seconds, f/4, ISO 6400.

NPF Accurate = 5.88 seconds

We rounded up the NPF Accurate shutter speed to 6 seconds and the stars are wonderfully round. I don’t see any distortion at all.

Full image from a7R III. 6 seconds, f/2.8, ISO 25,600.

100 percent view from a7R III. 6 seconds, f/2.8, ISO 25,600.

Takeaways: I was very impressed with how the higher-megapixel Sony handled ISO 6400, and the 16-35mm lens did a superb job resolving sharp, round stars. In my testing, ISO 12,800 is also easily attainable with the a7R III, whereas ISO 25,600 is the breaking point for me, as a layer of grainy noise covers the whole image. This is still a very admirable result for a camera that gives loads of detail.

Final Thoughts

If you are a star-point seeker then you’ll definitely want to start using the NPF Rule in your workflow. I’ll be switching over from the 400 Rule to the NPF Rule at the Default setting in PhotoPills. If the shot is an absolute beauty—a 5-star shot (so to speak) that I know I’ll want to print—then I’ll use the NPF Accurate mode.

Either way, with an f/2.8 lens we will be using an ISO from 6400 to 25,600, which isn’t ideal for any camera. Don’t get me wrong, there are certainly a few cameras that handle these higher ISOs admirably, but for the best print quality we always want lower ISOs.

Because of that reality, I’ll also start committing to shooting multiple frames of a star-point scene that I can blend in post-production to reduce noise. This requires using Starry Landscape Stacker (SLS), a Mac-only software application that does an excellent job of reducing high ISO noise while keeping stars sharp. Sequator is the PC equivalent. Look for our in-depth reviews of these excellent pieces of software soon.

For the test photos above, the foregrounds were all very dark due to the moonless night and the fact that the area we were shooting was too large to paint with light. In these scenarios, I’d also advise taking an additional exposure between 3 to 5 stops brighter than your sky exposure, perhaps with LENR turned on. This will provide more detail and information in the foreground, which can be blended into the stacked SLS or Sequator image.

Applying the NPF Rule

Now here is the hardest part about new knowledge: Do you use it?

It’s up to you. We just want you to realize that star point photography is a constant balance, wherein you want to weigh the trade-offs of noise at higher ISOs versus slightly trailing stars. Understanding how your gear performs and then deciding which sacrifices to make in the field will help you create the best possible image based on the specific conditions you are shooting in.

Run some tests so that you know your personal tolerance for star sharpness versus how your camera performs at higher ISOs, then apply the 400 Rule or NPF Rule as needed while you #seizethenight!

Note: If you want to take a deeper look at some of the other “night testing” you can perform on your camera, check out Gabe’s latest video with B&H that takes a deep dive into recently released full-frame mirrorless cameras.

Gabriel Biderman is a partner and workshop leader with National Parks at Night. He is a Brooklyn-based fine art and travel photographer, and author of Night Photography: From Snapshots to Great Shots (Peachpit, 2014). During the daytime hours you'll often find Gabe at one of many photo events around the world working for B&H Photo’s road marketing team. See his portfolio and workshop lineup at www.ruinism.com.

UPCOMING WORKSHOPS FROM NATIONAL PARKS AT NIGHT

Staying Sharp: 8 Ways to Focus in the Dark

One of the most common issues we hear about from people learning to photograph at night is the challenge of getting the subject in focus when you can’t … well, when you can’t see anything.

Is focusing in the dark a trick? A skill? An art? A science?

In fact, it’s all of the above. You have options. Focusing a lens in the dark is not only possible, but it’s possible to do in many ways, some of which are better in some circumstances than others.

Below are eight techniques for ensuring your night images are always sharp.

1. Use a Manual-Focus Prime Lens

This is the simplest way to focus in the dark. If you’re focusing on infinity (which is the case for many, many night scenes in natural spaces), then it’s remarkably quick and simple to mount a manual-focus prime lens to your camera and turn the focus ring to infinity. Boom. Done.

For this photo in Big Bend National Park, the rock ridge was far enough away so that I knew I could focus on infinity and get everything sharp. So I did the easiest thing possible: I used a manual-focus prime lens (in this case, the Irix 15mm f/2.4) and moved the focus ring to the infinity mark (which, with this lens, clicks into that setting). Nikon D850. 20 seconds, f/2.8, ISO 6400.

2. Auto-Focus in Daylight

Focusing might be more difficult in the dark, but it’s a cinch in daylight, particularly with modern autofocus technology literally at our fingertips. When you’re wrapping up your daytime shoot, autofocus your lens(es) to infinity (or on your scouted subject), then turn off your autofocus and immobilize your focus ring with some gaffer tape. Once dark settles over the landscape, you’ll be ready to shoot without having to worry about focusing again.

While shooting with Gabe and Matt in Capitol Reef National Park, we all autofocused on infinity at sunset and taped down our focus rings before photographing Chimney Rock under the stars. Nikon D3s with a Nikon 28-70mm f/2.8 lens. 15 seconds, f/2.8, ISO 4000.

3. Auto-Focus on a Distant Light

Yes, you can actually autofocus at night, as long as you have some light to focus on. The more contrast, the better, and you can’t get a much harder edge than a bright light source surrounded by black. Unless you’re in the hinterlands, in the wildest areas of wilderness, you can often find such a light.

If you want to focus to infinity, you don’t need that light source to actually be at infinity. A street light 50 feet away will probably suffice—as far as a lens is concerned, that’s far enough to resolve infinity pretty sharply. Alternatively, autofocus on a city skyline, or on a car down the highway, or on anything that gives you a faraway bright spot to lock onto.

To find infinity in Iceland, I autofocused on a radio tower light about 75 feet down the road from my tripod (which can be seen in a photo by Lance, who was working nearby). Nikon D5 with a Nikon 24-70mm f/2.8 lens. 6 seconds, f/2.8, ISO 8000

4. Auto-Focus on the Moon

If you’re shooting on a moonlit night, know that our biggest and brightest satellite is plenty bright enough for an AF system to lock onto. Point your lens up at the moon, autofocus, remount the camera to your tripod, and you’re ready to shoot.

The moon was shining over The Grandstand in Death Valley National Park. I needed to focus on infinity, so quickly autofocused on the moon. Nikon D3s with a Nikon 14-24mm f/2.8 lens. 25 seconds, f/8, ISO 2000.

5. Shine a Flashlight on the Subject

The above methods work great for focusing on infinity, but sometimes you need to focus on a closer element of the composition. Perhaps it’s a windmill, or a Joshua tree, or a ferocious dinosaur eating the Milky Way. In those cases, try shining a bright flashlight on the subject, and see if that’s enough for the autofocus to lock on. (Except, come to think of it, maybe don’t do this with the ferocious dinosaur. Use another method for that.)

In Joshua Tree National Park, I used my Coast HP7R to illuminate the rock, which was plenty of light for autofocus to work. Nikon D5 with a Nikon 14-24mm f/2.8 lens. 20 seconds, f/5.6, ISO 4000.

6. Put a Flashlight in the Scene

If illuminating your subject doesn’t create enough light and contrast for your AF system, then walk into the scene and place your flashlight on or near your subject. (Again, probably not the best strategy for the dinosaur. Also not a great technique when your subject is 10 feet past the edge of a cliff.)

At Arctic Henge in Iceland, the fog made it tricky to illuminate our subject from a distance, so I put a Coast HP5R flashlight on the rock and autofocused on the lit bulb. Nikon D5 with a Nikon 14-24mm f/2.8 lens. 30 seconds, f/4.5, ISO 3200.

7. Use Live View & a Loupe

If neither flashlight method above enables you to autofocus, try a similar strategy with manual focus instead. Illuminate your subject or place a flashlight in the scene, then use your camera’s live view to focus on the subject. Using a loupe on the LCD makes this even easier and more accurate.

In the very dark skies of Death Valley National Park, I found a bright star in live view and used a Hoodman HoodLoupe to fine-tune the focus manually. Nikon D5 with a Nikon 17-28mm f/2.8 lens. 20 minutes, f/2.8, ISO 100.

8. Use the Hyperfocal Method

Chances are that the first seven methods will get you into focus. But even though it’s No. 8 here, the No. 1 surefire way to get sharp photos in the dark is to use hyperfocal distance. Hyperfocal is not easy to learn, but it’s an excellent educational investment, because it will allow you to focus on everything from your subject to the horizon without the need for AF, flashlights, or so on. (And it’s by far the safest method for focusing on a dinosaur.)

For a great primer on this method, see Lance Keimig’s blog post “Use Hyperfocal Distance to Maximize Depth of Field at Night.” (Alternatively, see Lance literally walk through the process in our Creative Live course.)

At the Goldwell Open Air Museum just outside of Death Valley National Park, I used hyperfocal distance to know that if I focused 3 feet, 10 inches away, then everything from about 2 feet to infinity would be sharp. Nikon D850 with a Nikon 14-24mm f/2.8 lens. 23 stacked exposures shot at 2 minutes, f/5.6, ISO 250.

Bringing it into the Field

When you want to make every frame count at night, try our eight suggestions for staying sharp. Nothing is more painful than well-composed, well-exposed images that end up being soft.

To make this a little easier to remember while you’re out shooting, we’ve created a handy infographic. Download it here, and feel free to keep it on your phone or print a copy to keep in your bag for when you're in the field and wondering what to do.

Staying-Sharp-8-Ways-to-Focus-in-the-Dark.png

Pocket Guide

   "Staying Sharp: 8 Ways to Focus in the Dark"

Chris Nicholson is a partner and workshop leader with National Parks at Night, and author of Photographing National Parks (Sidelight Books, 2015). Learn more about national parks as photography destinations, subscribe to Chris' free e-newsletter, and more at www.PhotographingNationalParks.com.

UPCOMING WORKSHOPS FROM NATIONAL PARKS AT NIGHT

Use Hyperfocal Distance to Maximize Depth of Field at Night

Hyperfocal focusing is a time-tested technique for maximizing depth of field, which is especially useful with the wide apertures used in astro-landscape photography. Pre-focusing using the hyperfocal distance (HFD) also has the added advantages of ensuring accurate focus in extreme low-light situations, and of negating the need to refocus between every shot.

The hyperfocal distance is the nearest point—for any given focal length, aperture and camera format—that will keep infinity in acceptably sharp focus.

For every lens there is an exact point of focus, and an area in front of and behind the focal point, that is reasonably or acceptably in focus. Sharpness falls off gradually as you move farther away from the focal point, until the image is noticeably out of focus. This zone of focus is what we know of as depth of field.

When a lens is focused at the hyperfocal point, the depth of field extends from half of that distance to infinity. For example, if the hyperfocal distance for your lens/aperture/camera combination is 30 feet, then your depth of field extends from half of that distance—or 15 feet—to infinity.

Most prime lenses have a depth of field (DOF) scale that allows you to pre-focus to the hyperfocal distance. The scale combines the use of distance markings with pairs of numbers representing the f-numbers of the lens, one on either side of the mark representing the focal point. By lining up the infinity symbol on the distance scale with the outer number representing your working aperture, you are focusing the lens to the hyperfocal distance!

This manual focus Olympus Zuiko Shift 35mm lens shows the depth of field scale, and is set to the hyperfocal distance for f/22. By placing the infinity mark just inside the right-hand 22 on the DOF scale, the HFD is set. The actual focal point is a …

This manual focus Olympus Zuiko Shift 35mm lens shows the depth of field scale, and is set to the hyperfocal distance for f/22. By placing the infinity mark just inside the right-hand 22 on the DOF scale, the HFD is set. The actual focal point is a little more than 7 feet, and the depth of field extends from about 4 feet to infinity. The HFD increases as the aperture diameter is increased, and depth of field increases as the aperture gets smaller.

The near distance in the depth of field will be indicated by the inside number or colored line on the DOF scale. The scale provides only an approximation of the true DOF, and for this reason, it’s a good idea to use the HFD for the aperture one stop larger than your working aperture. In other words, if you are shooting at f/4, focus to the HFD for f/2.8, which ensures that infinity will be perfectly sharp, thereby giving you a comfortable margin of error.

Zoom lenses do not have DOF scales, because the DOF changes with the focal length as the lens is zoomed in and out. But if your lens does not have a depth of field or distance scale, you can still use hyperfocal focusing by employing one of the many smartphone apps designed for this purpose. The one shown here is called Tack Sharp, and is easy-to-use, highly customizable, and accurate.

Tack Sharp

Tack Sharp

Once you determine the appropriate HFD, walk off the distance from the camera by counting your steps and place a flashlight on the ground pointed back toward the camera. Focus on the light, and now you’re focused at the HFD. The average adult stride is about three feet, so if your HFD is 30 feet, start at the camera, and walk ten steps into the shot, and that’s where you place the light to focus on.

Don’t worry if your measurement isn’t completely accurate; this is one of the reasons for calculating the hyperfocal distance conservatively by closing down the lens an extra stop. A laser measuring device can also be used to more accurately measure the hyperfocal distance. After HFD is achieved, the focus ring on the lens can then be secured with tape, ensuring the lens will remain properly focused all night. Of course, if you change apertures, your HFD will change, and you will need to refocus.

If this all sounds confusing, rest assured that once you have your lens focused at the HFD, you can leave it there as long as you use the same aperture. Those with low vision or who have difficulty focusing at night should consider pre-focusing their lenses before dark.

Lance Keimig has been photographing at night for 30 years, and is the author of Night Photography and Light Painting: Finding Your Way in the Dark (Focal Press, 2015). Learn more about his images and workshops at www.thenightskye.com.

Upcoming workshops from National Parks at Night