Bryce Canyon

How I Got The Shot: Star Trails Over the Amphitheater, Bryce Canyon National Park

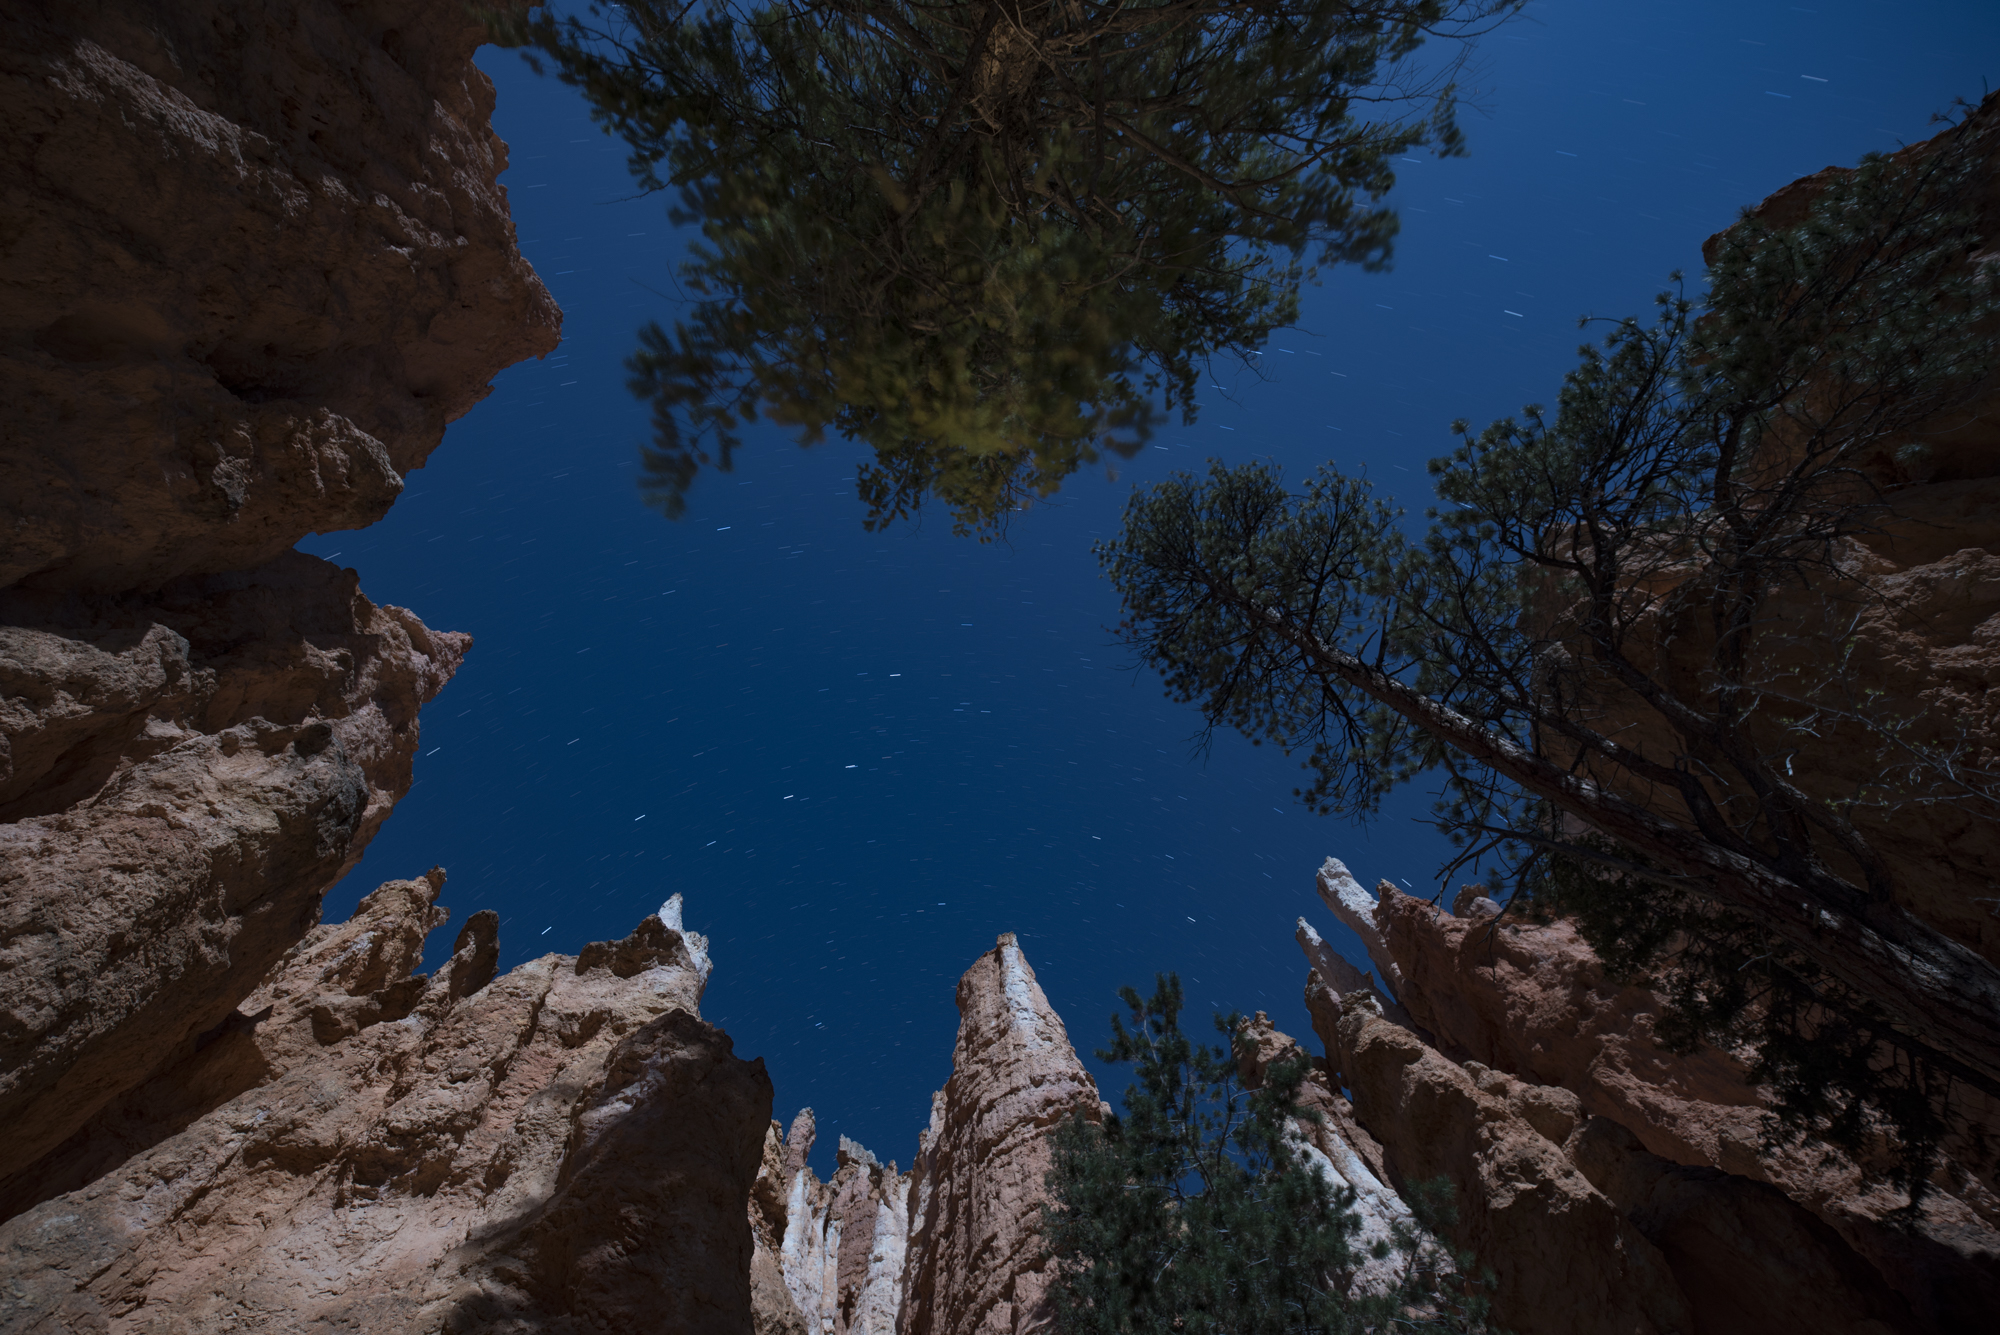
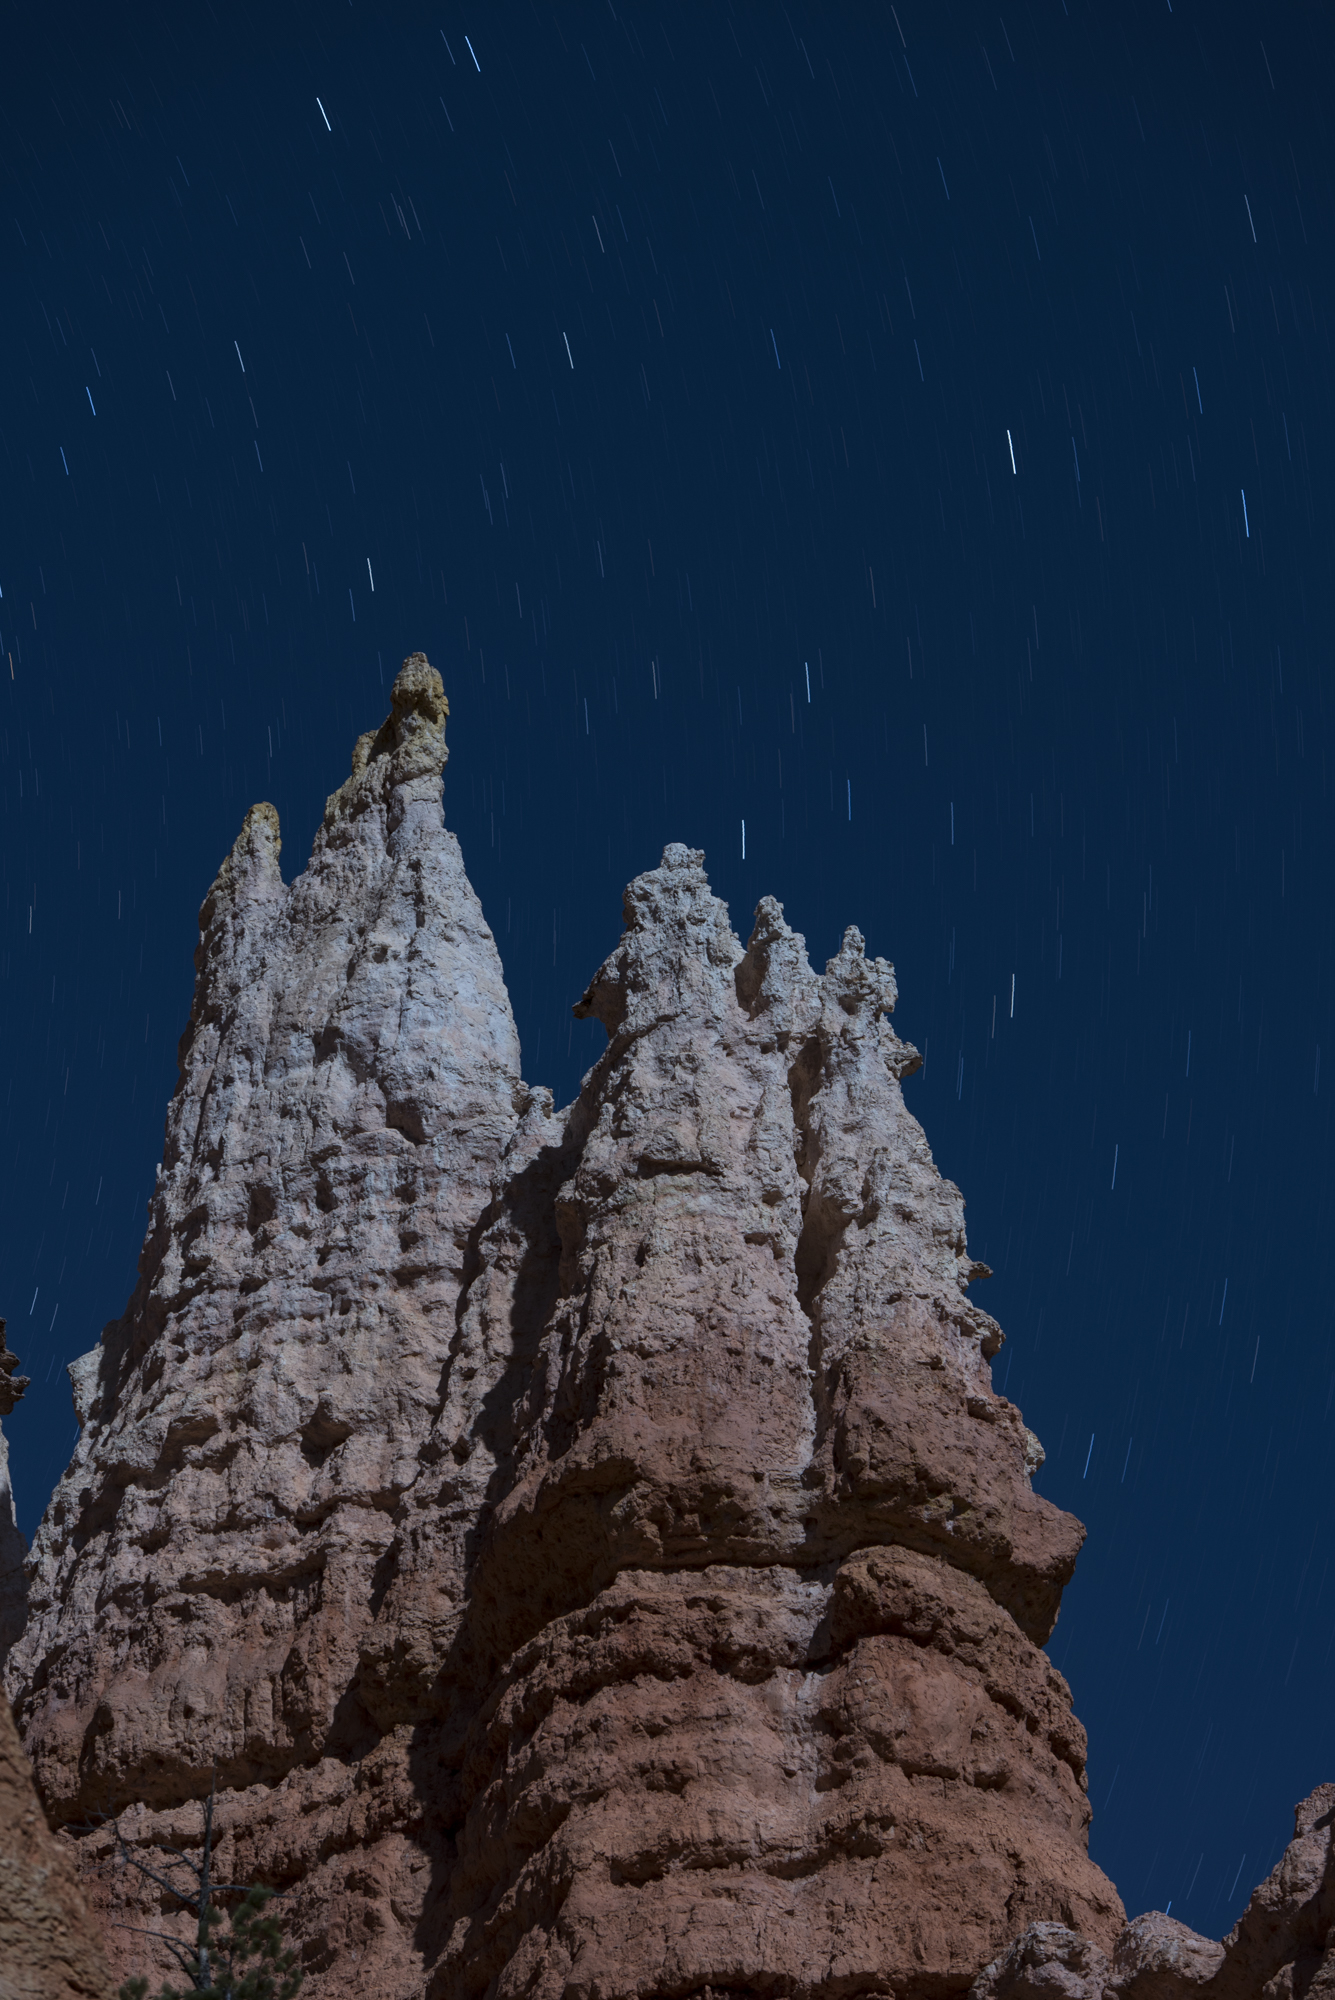
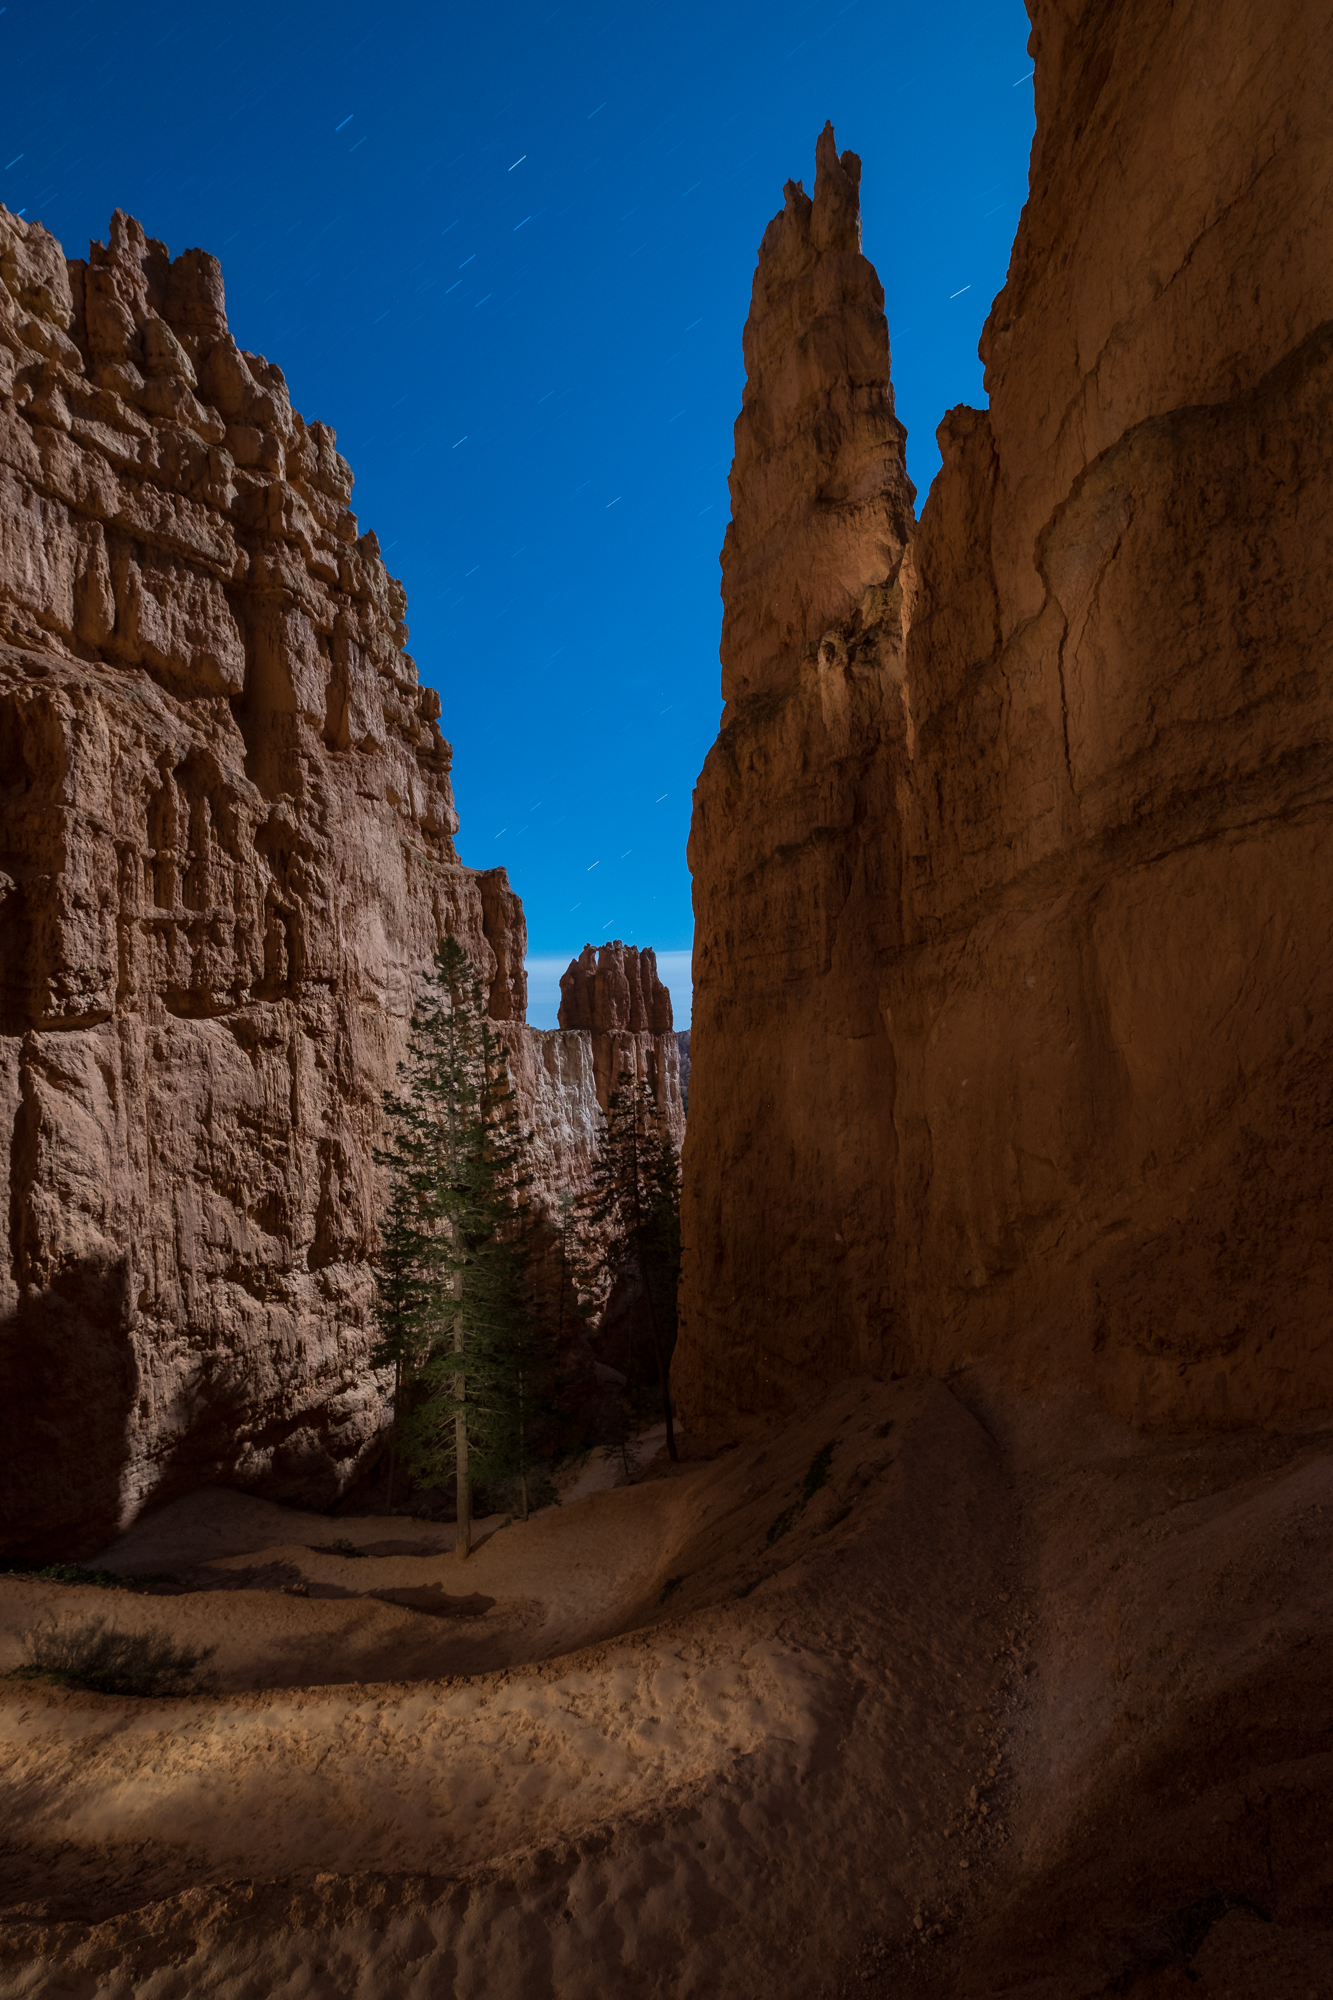
Star Trails Over the Amphitheater, Bryce Canyon National Park. Fujifilm X-T2, 10-24mm f/4 lens at 10mm. Light-painted with a Coast HP7. Two blended exposures of 1 second, f/8, ISO 200 and 15 minutes, f/5.6, ISO 100.

The Location

Bryce Canyon National Park is truly one of the wonders of our park system. It’s not as big or varied as some other parks, but what is has to offer is nothing short of astonishing.

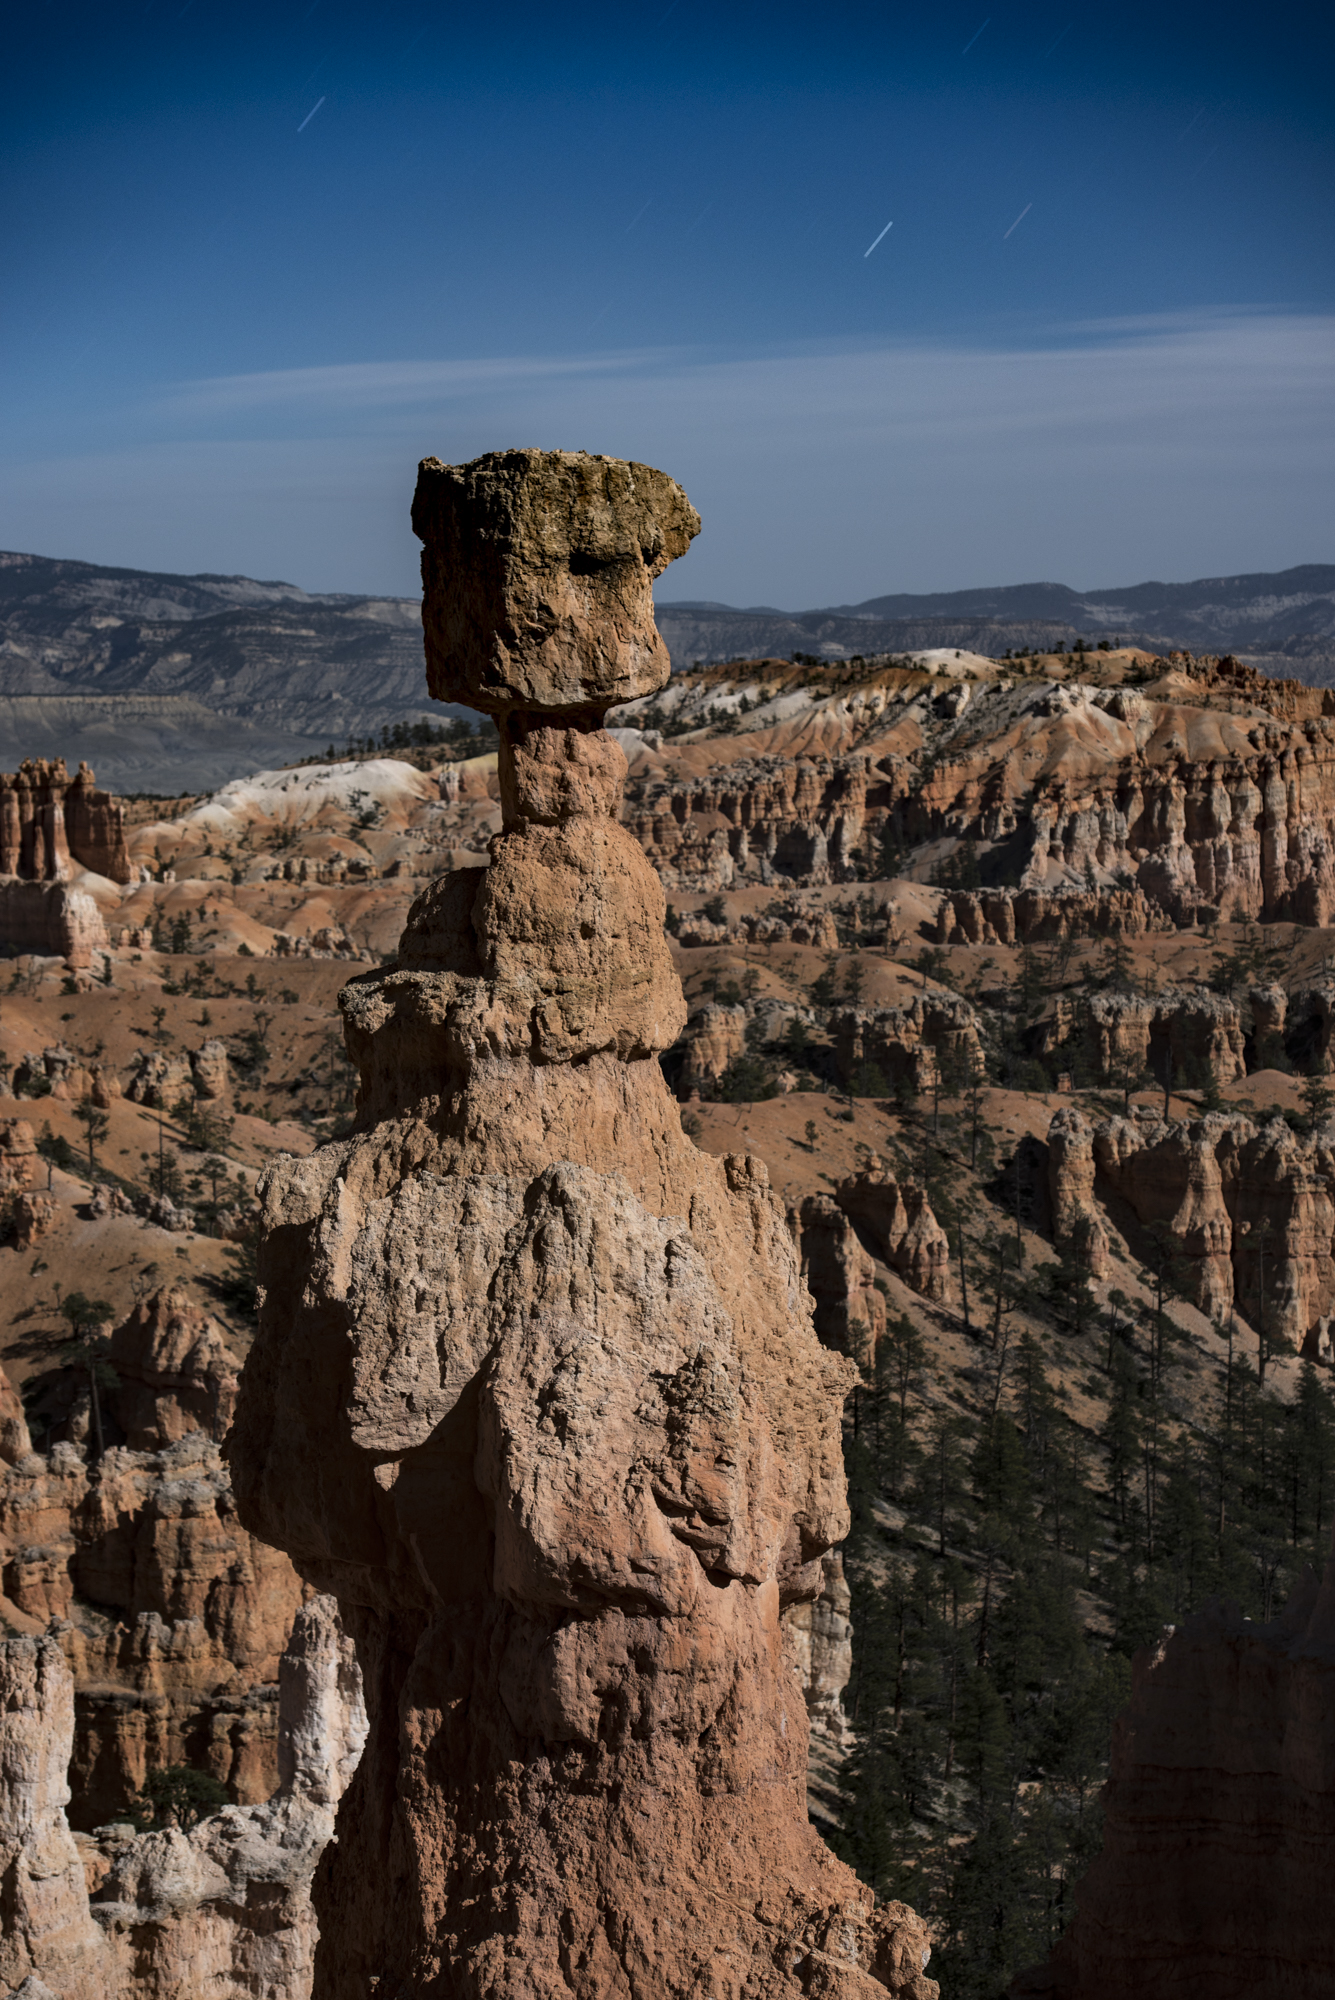
Despite its name, Bryce Canyon is actually not a canyon at all. A canyon is the technical term for a gorge formed by a river. Bryce is instead a series of natural amphitheaters, or bowls, that line the eastern side of Utah’s Paunsaugunt Plateau. These bowls are filled with red, orange and white rock spires that were eroded into existence by water freezing into ice. These spires are called hoodoos. It’s the endless variety of these hoodoos that make Bryce so magical.

The Light

Standing on the rim of the canyon at one of the many overlooks affords the visitor with an awe-inspiring view. The sprawling amphitheater spreads out below you with the orange-red colors of the towering spires contrasting with the deep blue sky. This view is especially popular at sunrise as many of the viewpoints face directly east. How then, does one capture this incredible canyon at night?

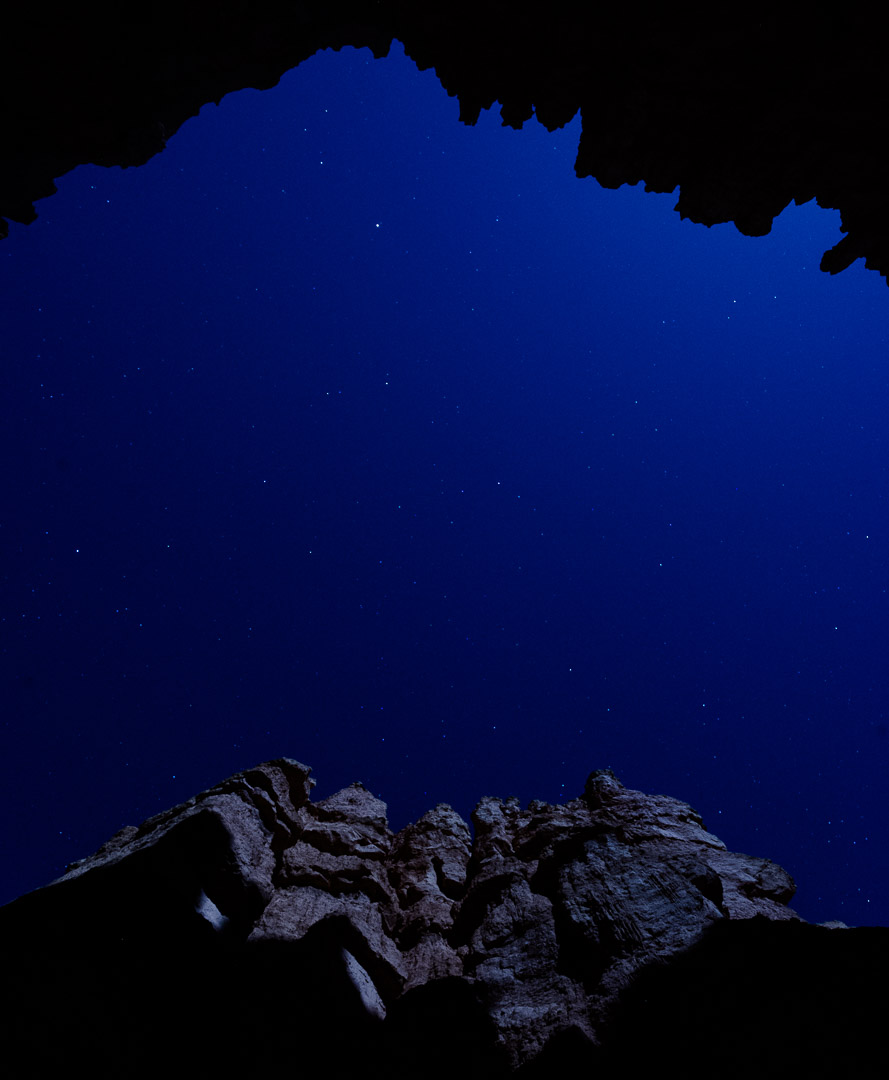
As with any location, the first step is to decide which phase of the moon you would prefer to shoot in. Moonless nights (new moon) are great for photographing the Milky Way, but they leave the foreground completely black. On the other hand, moonlight (full, quarter or crescent) helps illuminate the foreground, but the brightness of the sky masks many of the dimmer stars. All phases of the moon are great to shoot under, so you just have to consider how much moonlight you actually want. My choice for Bryce would have been to shoot under some moonlight. Unfortunately for me, I was there during a new moon. Complete darkness.

Under these conditions, it made sense to concentrate on shooting the Milky Way, which I did on the first night. While I like some of those images, the lack of moonlight means I didn’t include the canyon because it was completely black. And the canyon is the hero of this location.

Figure 1. Milky Way over Bryce Canyon. Fuji X-T2, 10-24mm f/4 lens at 17mm. Twelve stitched frames shot at 30 seconds, f/4, ISO 6400.

Being in Bryce, I really wanted to include the canyon with the night sky. But how do we do that with no moon? I could have done a little painting on the foreground, which I did for the photo in Figure 2. This worked out well for some of the details, but it still did not show the entire canyon.

Figure 2. Light painting in a small area of the canyon. Fuji X-T2, 10-24mm f/4 lens at 10mm, Coast HP7.

To illuminate the entire canyon I needed something stronger than a flashlight. It needed to be the sun or the moon. Since I didn’t have the moon, I had to use the sun.

The Shoot

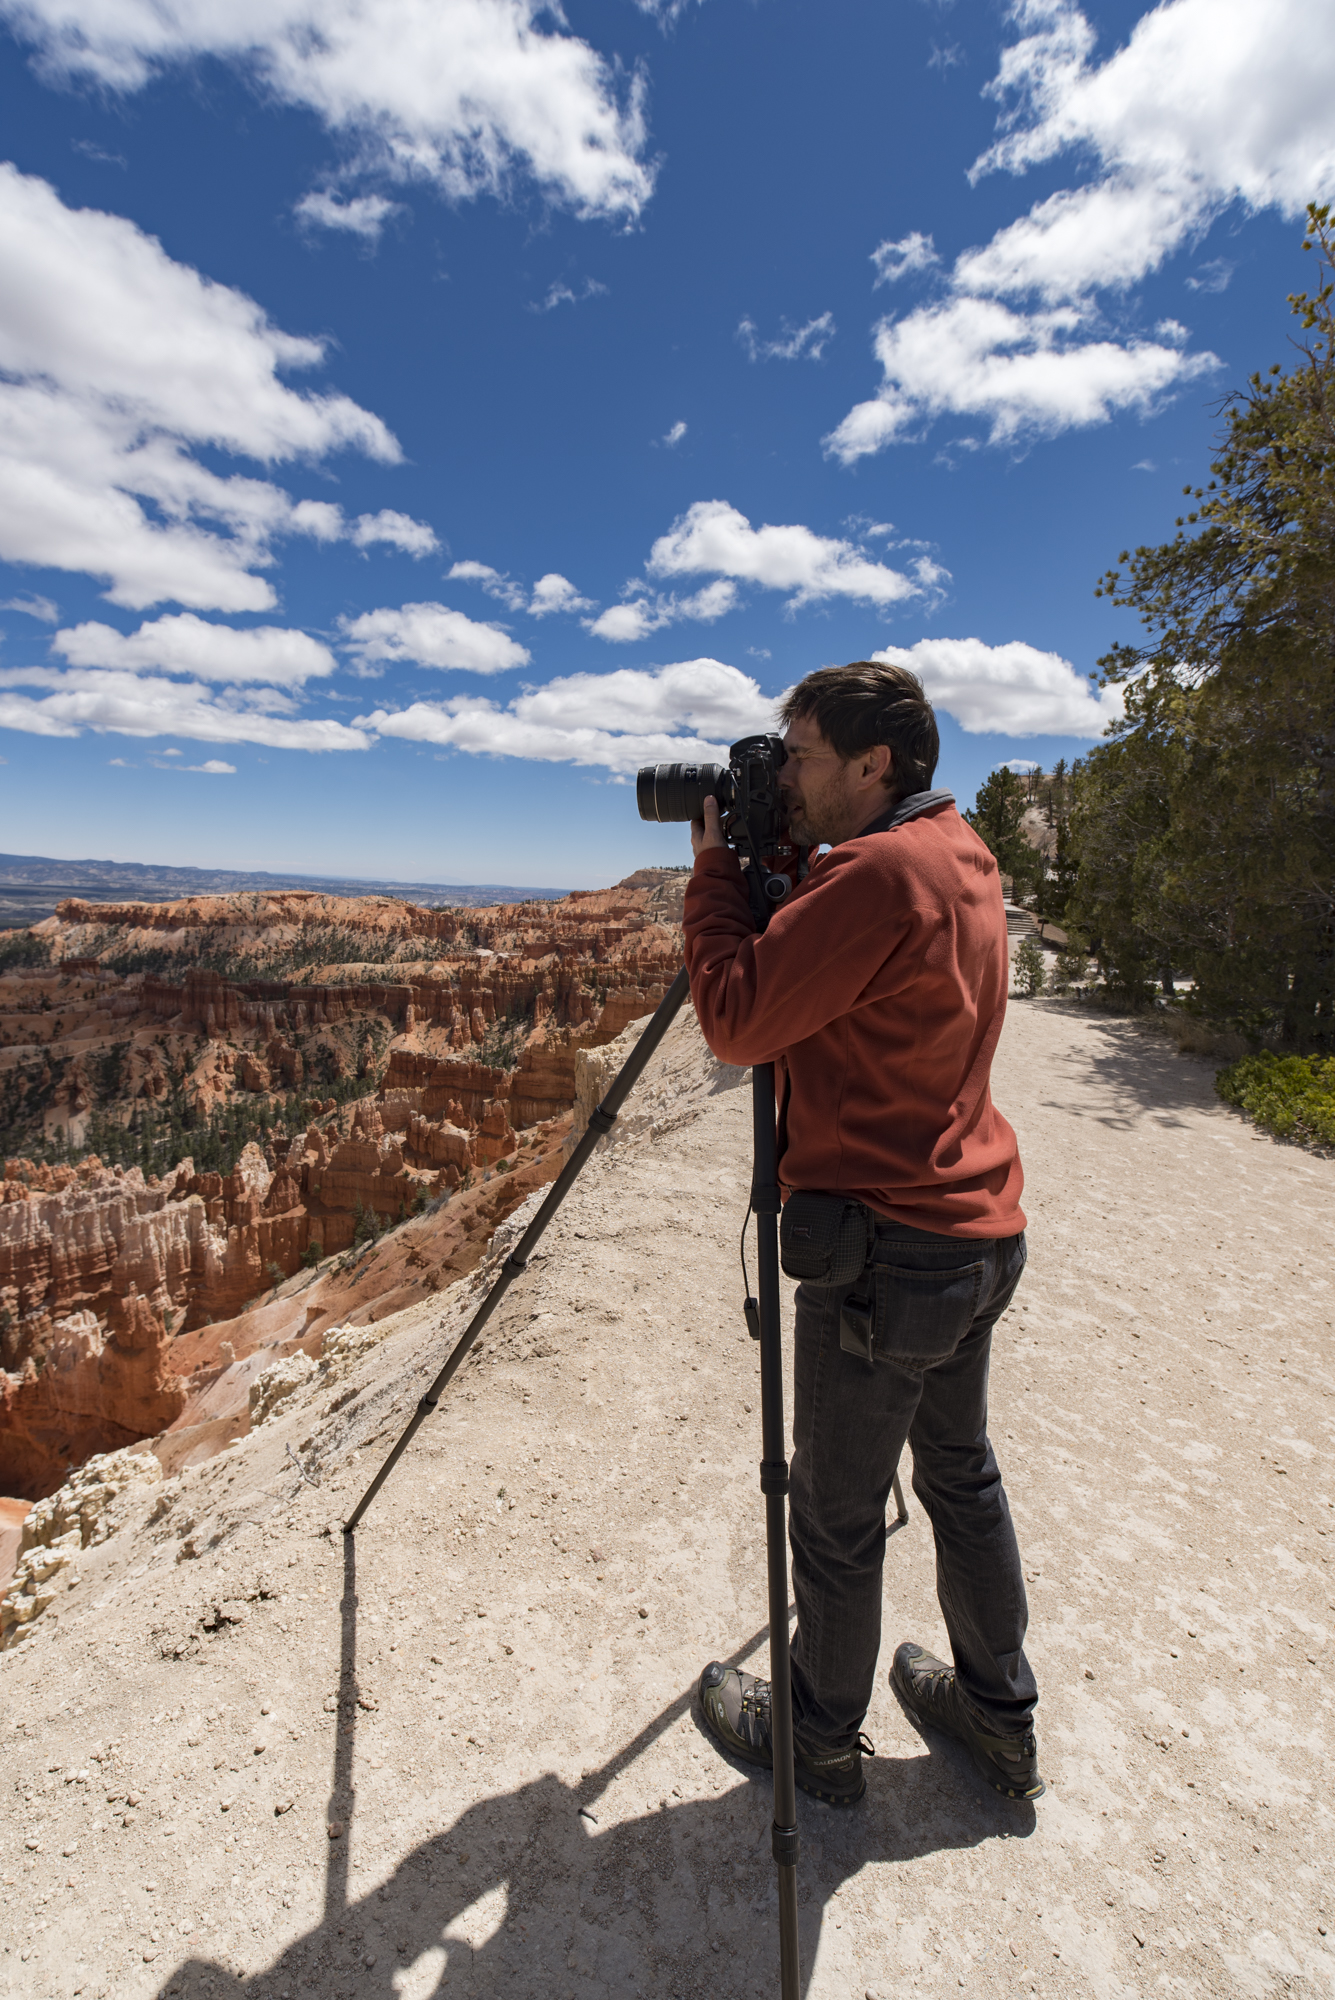
The next day I headed out in late afternoon to scout a location to shoot. Once I decided on the spot, I set up my camera and tripod and began fine-tuning my composition.

The goal here was to take one shot in the waning light of dusk and then another once the sky became completely dark. Back at home I would combine them together in Photoshop.

The trick was to get the right light on the canyon. Sunset would look fake if combined with the night sky, so I needed the illumination to look somewhat like moonlight. That time came around half an hour after sunset. This time of the day is called civil twilight and is great in its own right for making landscape images. (For more on this, see one of my previous posts, “Out of the Blue: The Importance of Twilight to the Night Photographer.”) I experimented with several exposures to find one that sort of looked like night. Figure 3 shows the exposure I ended up using for the final composite.

Figure 3. The canyon during civil twilight. 1 second, f/8, ISO 200.

Keeping my camera set up—not moving it one centimeter—I waited until complete darkness.

The kind of darkness I wanted begins at the time of evening called “astronomical twilight.” Depending on your latitude, this is somewhere between 1 to 1.5 hours after sunset. (Click here for a great description of the different types of twilights.)

Once the sky became completely dark, it was time to start experimenting with light painting. I changed my ISO to 100 and opened up my aperture to f/5.6 so I would capture more stars.

With these new settings I experimented with walking up and down the trail, painting as I went along. I determined that painting at an angle back toward the camera—while returning back up the trail toward my setup—created better texture in the lit areas. It also kept my silhouette from blocking the light on the trail. Had I painted while walking away from the camera, my body would have blocked some of the light from the camera’s view, thereby creating a blotchy effect.

Once I felt confident that my light painting approach was effective, it was time for the long shot. Figure 4 shows the 15-minute exposure that captured the star trails while I lit the trail.

Figure 4. Light painting during the long exposure. 15 minutes, f/5.6, ISO 100.

The Post-Production

Once I was back at the computer, it was time to put the images together in post-processing. I began in Lightroom by fine-tuning the exposure and white balance. Then with both images selected, I chose Photo > Edit In > Open as Layers in Photoshop. This command brings both of the images into Photoshop and combines them into one file, with each image as a separate layer.

Figure 5. The two images combined into one file in Photoshop.

Next I highlighted the upper layer by clicking on it. From the Blending Mode dropdown (the box that defaults to saying Normal), I chose Lighten. This blending mode automatically shows the brightest parts of all the layers it’s applied to (in this case, two layers). Voila! Now I could see the brighter canyon (lower layer) as well as the stars and the light painting (upper layer).

Figure 6. The Lighten blending mode revealing the brightest parts of each layer.

At this point I could have been done with the image. This technique works well for so many situations found in night photography, but in this case it needed a little tweaking. Because the sky was brighter at dusk during my first shot, that part of the scene also showed through when I applied the Lighten blending mode. To solve this problem, I clicked on the lower layer, made a selection of the sky with the Quick Selection Tool, and then created a Curves adjustment layer to darken the sky.

Figure 7. The Curves Adjustment over the bottom layer.

Figure 8. The Curves adjustment darkening the sky.

Because the Curves adjustment layer is below the stars layer, the adjustment does not affect the night sky. It darkens the sky only in the dusk layer. And now that the sky was darker in the dusk layer, only the stars layer would show through.

Then I needed to apply a little cleanup. The hard edge of the mask near the horizon looked a little odd, so I blurred the edge of the mask to smooth out the gradient of the curves adjustment. To do this, I clicked on the mask and increased the feather in the Properties dialog, as seen in Figure 9.

Figure 9. Feathering the mask to smooth out the transition of the curves adjustment.

At this point the bulk of the compositing was complete. Figure 10 shows the finished composite of the stars layer and the dusk layer.

Figure 10. The completed composite.

Once the images were put together I was able to judge the overall look of the picture. I felt it was still a bit dark and the color somewhat off, so using more adjustment layers in Photoshop, I fine-tuned the exposure and color.

Figure 11. The final image after fine-tuning white balance and exposure.

Wrapping Up

The moral of the story is that you can’t always get what you want, but if you try sometimes … well, you get the picture. Matching the locations, moon phase, time of year and our creative vision can be a daunting task—and sometimes an impossible task. But with creative thinking, and a full grasp of all of your available tools, you might just find you can get what you need.

Tim Cooper is a partner and workshop leader with National Parks at Night. Learn more techniques from his book The Magic of Light Painting, available from Peachpit.

UPCOMING WORKSHOPS FROM NATIONAL PARKS AT NIGHT

Five Questions: Great Smoky Mountains, Zion, Bryce, Black and White Printing, and More

You ask questions, we give answers. (And then you ask more questions, and we give more answers. Let’s keep the conversation rollin’!)

This installment of our “Five Questions” series features inquiries about camera choice, Lightroom’s Dehaze feature, file settings for black and white printing, and location info at Great Smoky Mountains, Bryce Canyon and Zion national parks.

If you have any questions you would like to throw our way, please contact us anytime. Questions could be about gear, national parks or other photo locations, post-processing techniques, field etiquette, or anything else related to night photography. #SeizeTheNight!


1. Great Smoky Mountains Closed at Night?

Cades Cove, Great Smoky Mountains National Park. Nikon D850 with a Sigma 35mm f/1.4 Art lens. 30 seconds, f/5.6, ISO 64. © 2018 Matt Hill.

Q: Your Smoky Mountains National Park workshop looks interesting, but isn’t the park closed at night? I once tried to get in before dawn and the gate was locked. — Linda
A: Yes, the workshop will be both interesting and fun. (Promise!)

Great Smoky Mountains is usually open 24/7/365.25. But there’s a caveat. You may have been trying to enter Cades Cove—one of the most popular destinations at GSM. The gates at the beginning of that 11-mile loop road are closed at dusk and opened at dawn. But that is only to keep motorvehicles out; visitors can park nearby and walk or bike through Cades Cove anytime.

In fact, we will be going into Cades Cove twice during our workshop. The first time will be on foot. We’ll saunter a comfortable walking distance, which still offers plenty of shooting opportunities, such as the horse meadow, Sparks Lane, the Carter Shields Cabin and the Oliver Cabin. Our second jaunt into Cades Cove will be as an add-on opportunity that will avail the entire loop road to us.

Night photography in Cades Cove can be a blast, and is worth venturing into for sure. You’ll find amazing sky views, as well as loads to light paint. — Matt

Note: We still have a few spots open for our Great Smoky Mountains workshop this spring. Interested? Click here!

2. Missing dehaze

Q: How come my Lightroom 6 does not have the Dehaze slider? Are there any add-ons to LR that have the same quality Dehaze function that I can use?  — Bailing L.

A: The reason Dehaze slider isn't showing up for you in Lightroom 6 is because the feature wasn't added until the next version of the software, which was when the subscription-only model of Lightroom Creative Cloud was launched. In fact, Dehaze was the major feature added to the program right after launch to entice more people to sign up.
And I gotta say, while I’m not a fan of the subscription-only model, there’s an argument to be made that the Dehaze feature alone is worth the upgrade. It's an amazing tool with a lot of ancillary uses. One such application is to make starry skies and the Milky Way “pop,” as can be seen in this blog post by Tim.

If you don’t want to upgrade, there is one alternative that I’ve heard about, but I’ve never tested it: Prolost Dehaze. If you take it for a spin, please let us know how it works out for you. — Chris

3. Things to Shoot in Zion and Bryce

The Amphitheater at dusk, Bryce Canyon National Park. Fuji X-T2 with a 10-24mm f/4 lens at 10mm. 3 seconds, f/7.1, ISO 200. © 2018 Tim Cooper.

Q: I’ve already booked hotels for your Valley of Fire and Grand Canyon workshops. So excited! While in the region, I'm thinking about hitting Bryce Canyon and Zion. Do you have any advice about good areas to shoot without 4-mile hikes? — Julianne K.

A: There’s a ton to see and shoot at both parks without having to hit long trails.

In Zion, be sure to drive into the main canyon and also up through the tunnel toward Checkerboard Mesa. Stop at any pullout along these roads and enjoy the incredible scenery! You can’t miss.

For short walks in Zion I recommend:

  • Weeping Rock and the trails around it

  • Temple of Sinawava and the trail to The Narrows (though not into The Narrows, as that’s a more serious endeavor)

  • the area near the bridge that crosses Pine Creek

At Bryce, any viewpoints along the 15-mile road offer awesome overlooks of the canyon. Think sunrise for these viewpoints (especially Sunrise Point).

Middle-of-the-day shooting is better when you hike down a bit below the rim. Check out Navajo Loop Trail and Queens Garden Trail. No need to hike the entire loop of either, but just going down a little will get you into some terrific scenery! — Tim

Note: Due to a cancellation, a spot just opened up for our Bryce Canyon workshop this summer. Interested? Click here!

4. Choice for Multipurpose Camera

Q: I have two specific photography interests—night and underwater. I’ve been using a Canon 5D Mark III for night photography and time-lapse. I also use a Nikon D7000 for underwater. I’m planning to replace the D7000 with a higher-resolution camera, hopefully one that I can use for both underwater and night photography. My options are to buy an underwater housing and lenses for the 5D Mark II, or stay with a DX-format (Nikon D500) with a new housing, or go with something else like a Nikon D850. I would like to get to the point where I am using Nikon or Canon, not both. Which camera would you recommend to meet my needs? — Richard R.

A: Camera choice is a personal decision, and there are lots of factors to consider. I have yet to find the perfect camera, or one that offers everything I’m looking for in one package.

Given that you have Canon glass for full-frame cameras, I’d concentrate on comparing the 5D Mark IV to the D850. I think the Mark IV is the best camera Canon has ever made, and the first one that surpasses the 6D for high ISO night photography. The D850 is an awesome camera, but if you use live view focusing at night, I’d probably go with the Mark IV, especially if you have a number of L lenses. Why not rent them both and see which feels better?

The D500 is certainly a capable camera, but if you can afford to go full-frame, I think you’ll be happier that way. If you favor wide lenses, definitely go full-frame; if you tend to shoot long, then the D500 might be a better choice. — Lance

5. Image Settings for Printing in Black and White

Q: I sent a black and white image from the Sloss Furnaces workshop to Bay Photo to have printed for the NPAN exhibit there. I converted to black and white in Lightroom, exported to Photoshop for star stacking, flattened, and then brought the file back in to Lightroom. But Bay Photo is telling me that the image is not in the correct format—that instead of grayscale it needs to be converted back to RGB to make a black and white print. So I then tried keeping the photo in color and just dropping Saturation and Hue to 0 to create a black and white image “in color,” but that washed out the shadows. I’m lost here. Any suggestions or insight? — Martha H.

A: Very cool that you’ll be participating in the exhibit! This is the third park that our workshop attendees will have a show in. It will be running April 1 to June 1 at the Sloss Furnaces visitor center.

As for your question: In short, any file that is sent to a printer should be an RGB image, not grayscale. Even if you convert an image to black and while in Lightroom, it still sends an RGB image over to Photoshop. Below is a screenshot of an image that I converted to black and white in Lightroom and then sent to Photoshop. If I go to Image > Mode, you can see that the file is a 16-bit RGB image. This is normal and the way it should be.

The difference? An RGB image can be black and white, or it can be color. A grayscale image can only be black and white. My guess is that you did something in Photoshop to convert it, intentionally or not.

To fix the problem for Bay Photo:

  1. Reopen that image in Photoshop (from Lightroom, choose Photo > Edit In > Edit in Adobe Photoshop CC 2019).

  2. Go to Image > Mode, and click on RGB Color.

  3. Save the file.

Now when you export the image from Lightroom, you will create a JPG in RGB. — Tim

Chris Nicholson is a partner and workshop leader with National Parks at Night, and author of Photographing National Parks (Sidelight Books, 2015). Learn more about national parks as photography destinations, subscribe to Chris' free e-newsletter, and more at www.PhotographingNationalParks.com.

UPCOMING WORKSHOPS FROM NATIONAL PARKS AT NIGHT

How I Got the Shot: Bryce Canyon National Park with Chris and Gabe

Light painting on the Navajo Loop Trail in Bryce Canyon National Park. 30 seconds, f/4, ISO 400. Nikon D750 with a Zeiss Distagon 15mm f/2.8 lens.

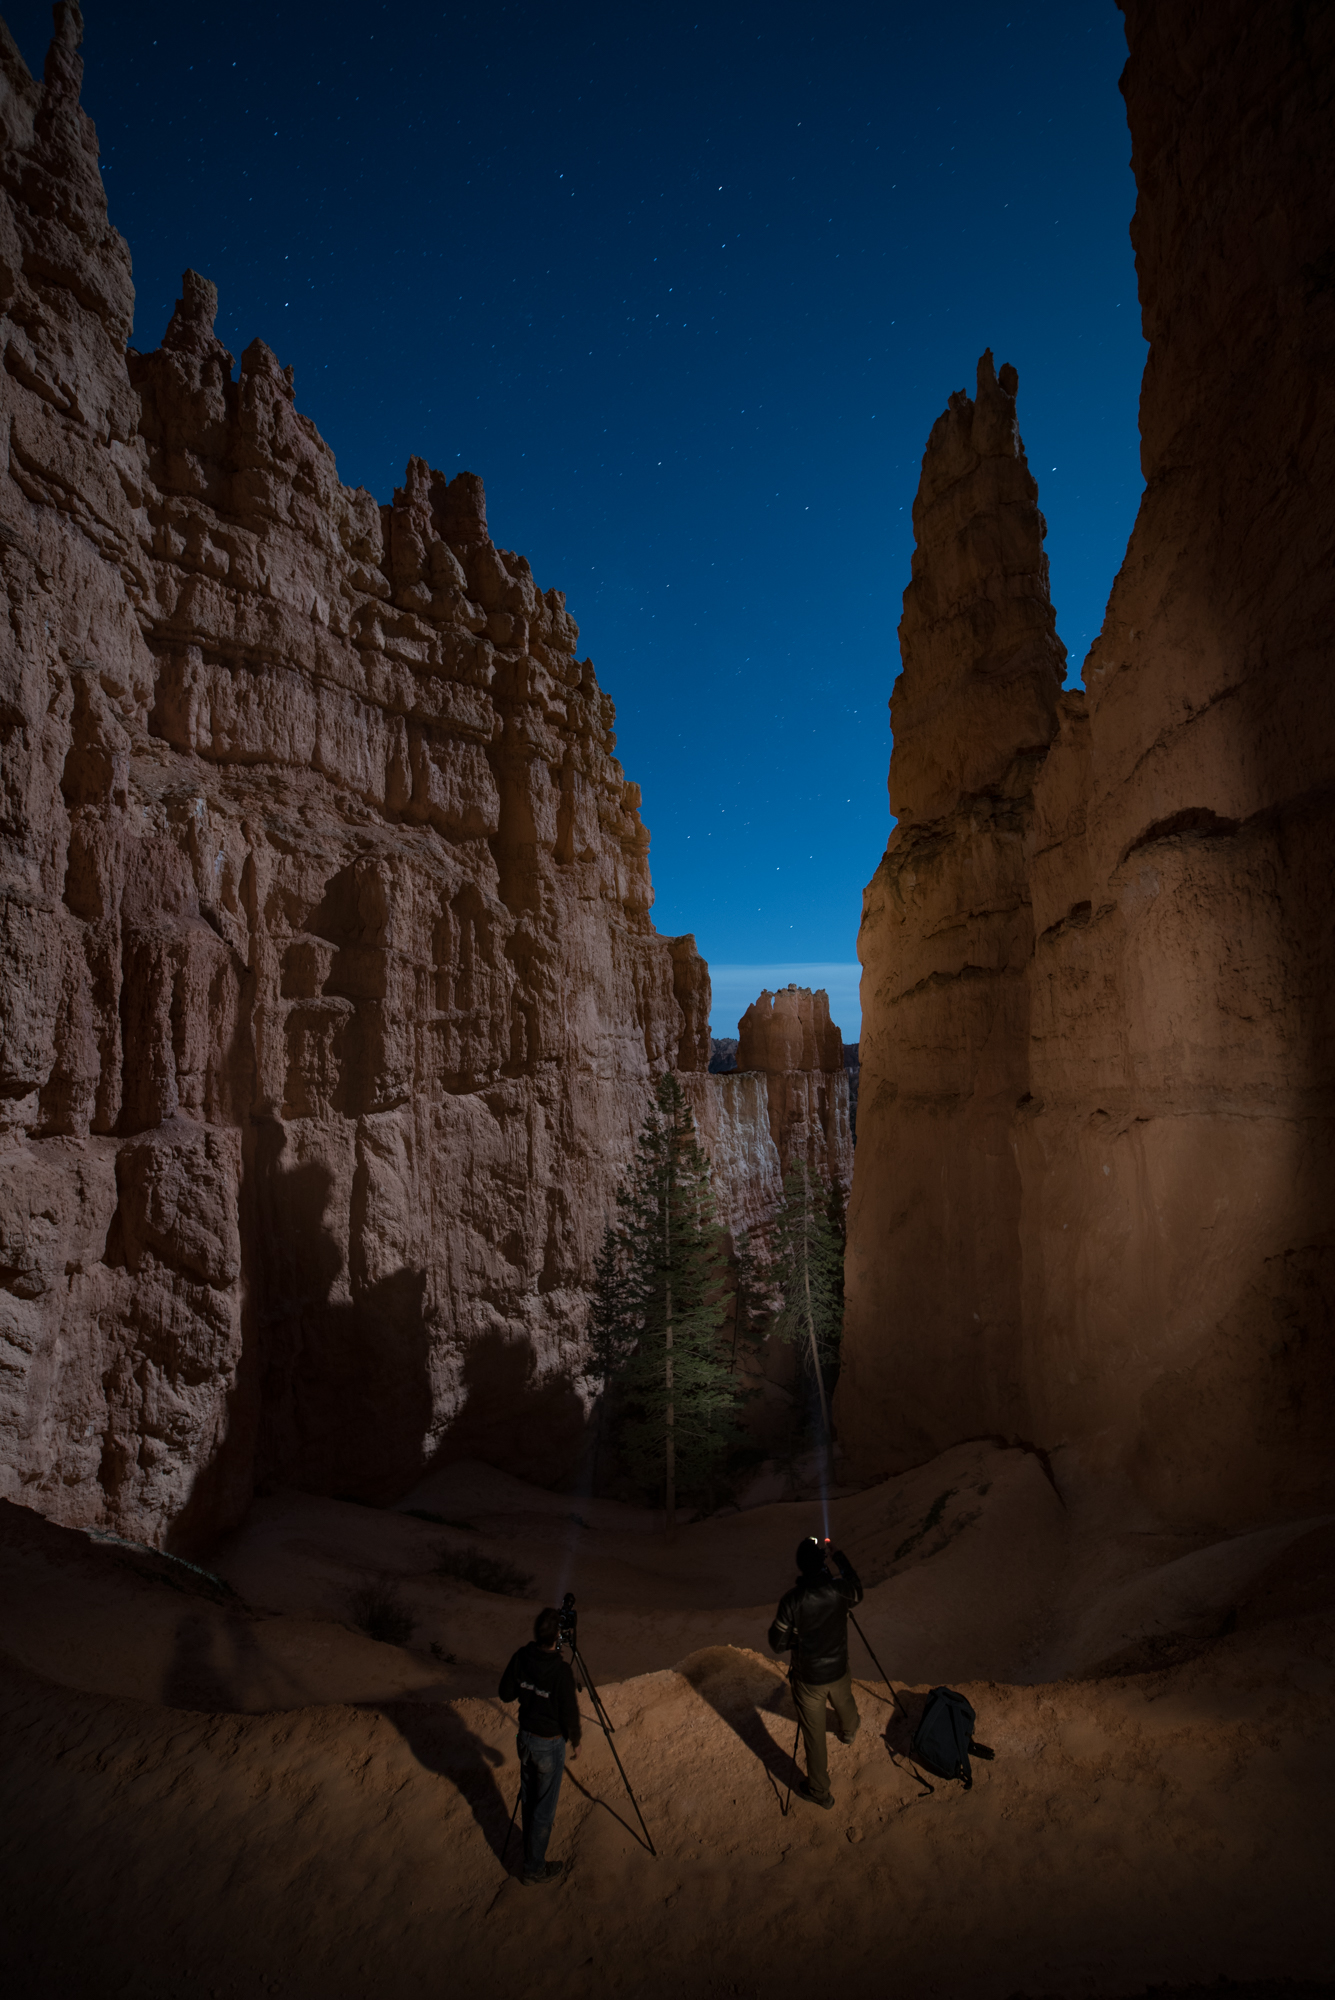
While shooting in Utah during National Parks Week in 2016, I made this image in cooperation with Gabe Biderman and Chris Nicholson. Wanna learn how? Read on.

The Location

First off, let’s establish that Bryce Canyon is beautiful. The hoodoos rock me. It’s also at a pretty high altitude. Consider that if you hike down into the canyon—you must also hike back up!

Top that off with something unique to our visit: One small leg of the loop trail was not open, forcing us to go the long way around to get to the hoodoos. Of course that meant we had to go all the way back around to get back up. Talk about a workout carrying 35 pounds of photo gear on my back. I’m savage with myself that way—I never want to miss a shot because I left something in the car. (Hint: Do what I say and not what I do if you value your enjoyment.)

Anyway, on to how I “made the sausage.”

Working the Scene

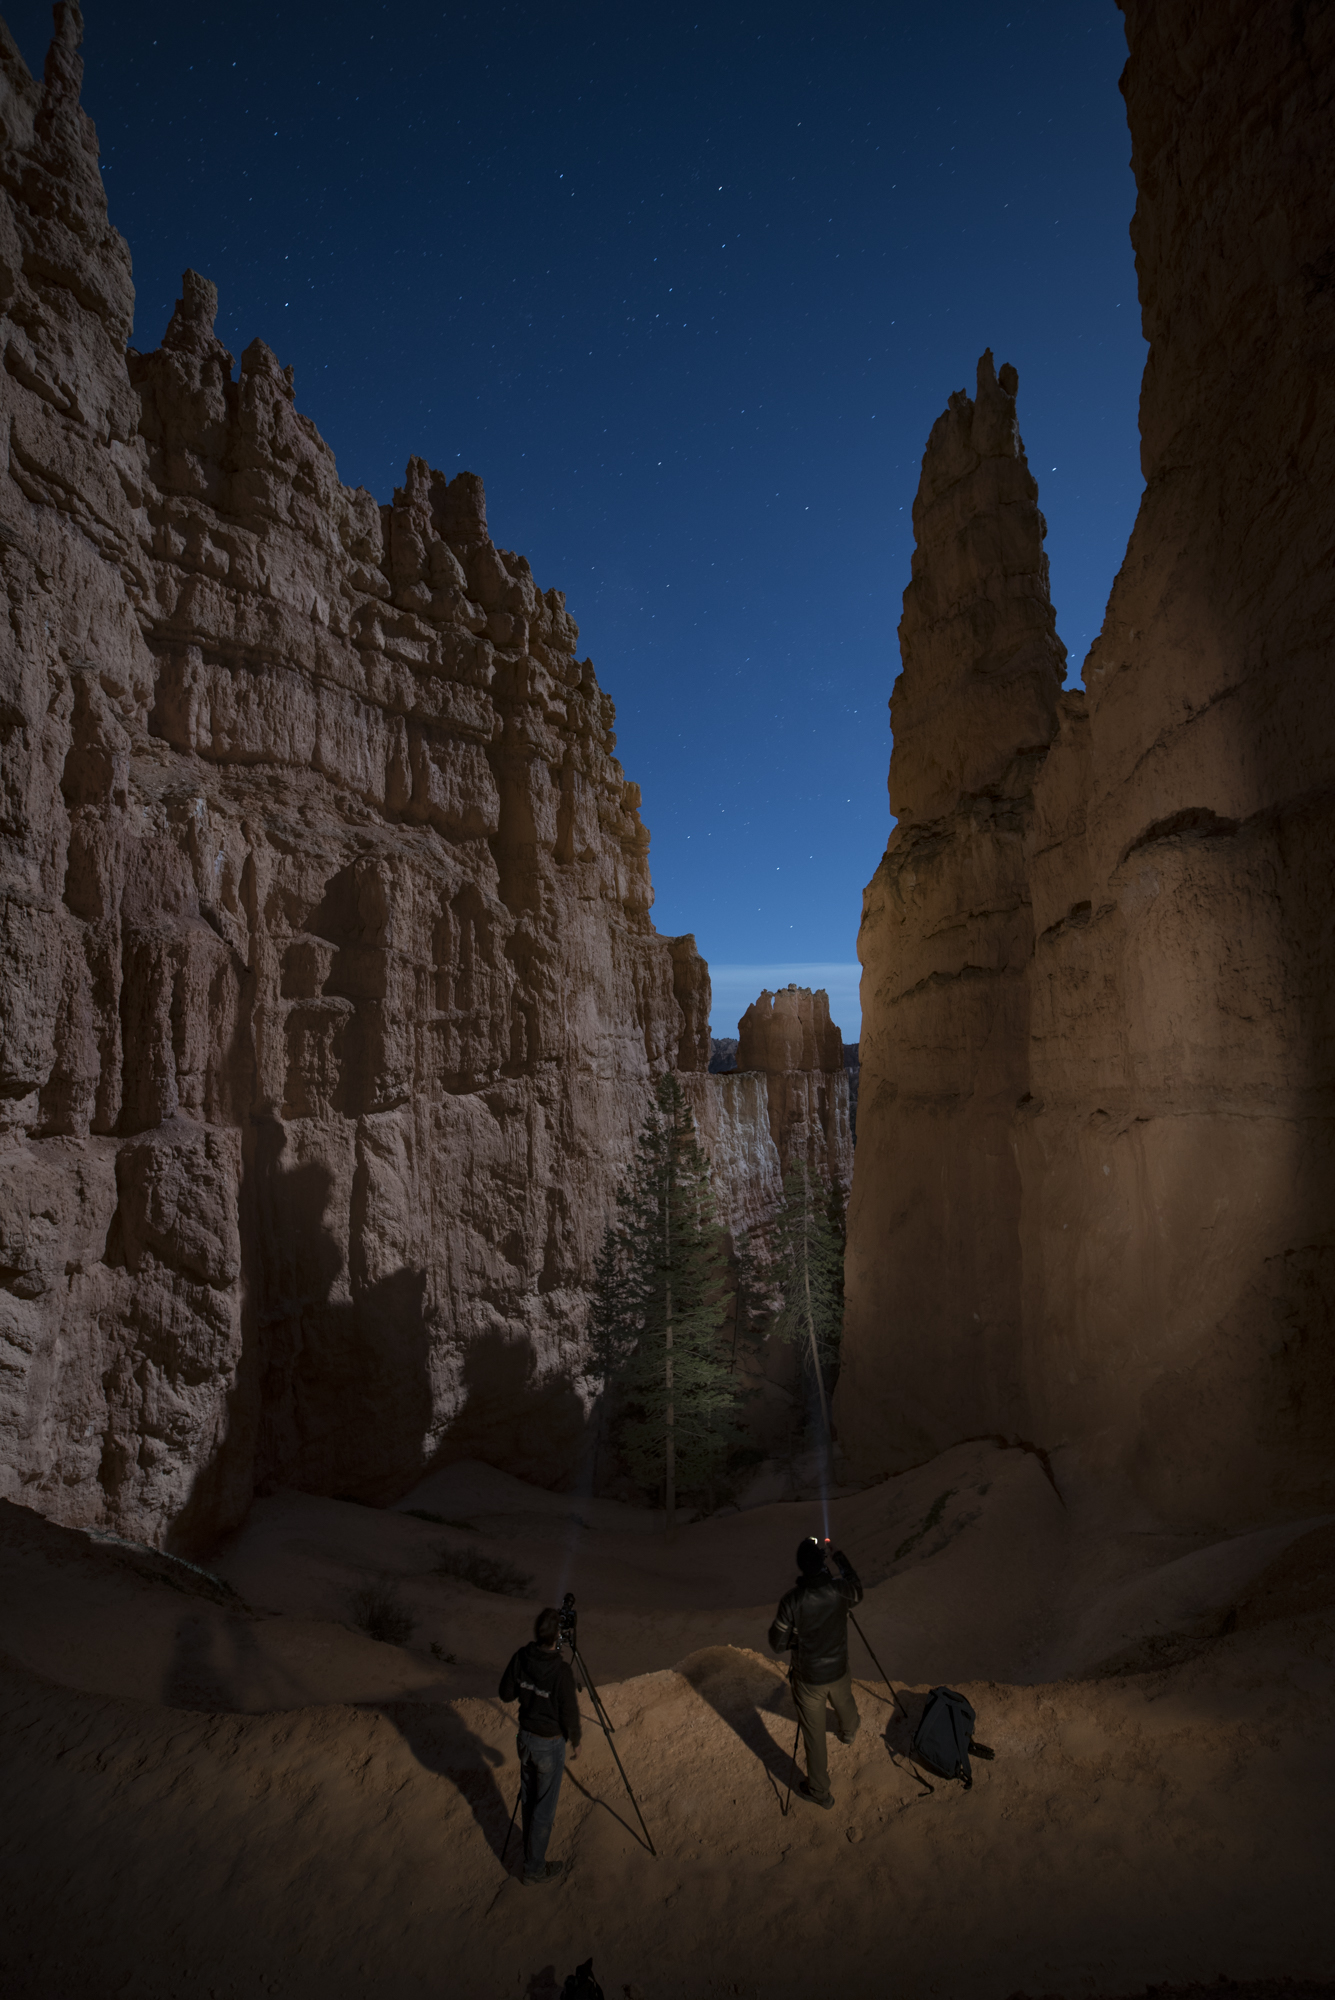
The final image, above, is a combination of ambient illumination by a full moon in a clear sky, complemented by light painting by Gabe and Chris within the lens frame, and light painting by me to camera-right.

I saw the photo as I was gasping my way up the canyon. (I am not as fit as I could be 😊). To compensate, I was playing a game with myself: Walk until completely out of breath, plant the tripod and take a photo on the spot, no matter the view. It kept my mind off my physical condition … for 30 to 120 seconds at a time, anyway.

Figure 1 is an example of one of those shots. Meh. So is Figure 2. Less meh.

Figure 1. 30 seconds, f/4, ISO 400. Nikon D750 with a Zeiss Distagon 15mm f/2.8 lens.

Figure 1. 30 seconds, f/4, ISO 400. Nikon D750 with a Zeiss Distagon 15mm f/2.8 lens.

Figure 2. 30 seconds, f/4, ISO 400. Nikon D750 with a Zeiss Distagon 15mm f/2.8 lens.

Figure 2. 30 seconds, f/4, ISO 400. Nikon D750 with a Zeiss Distagon 15mm f/2.8 lens.

But when I stopped to make a photo of Chris making a photo (how meta), I started to think about how I love making night portraits. This photo is Figure 3, in which you can also see Gabe’s flashlight in the distance. He was working on a masterpiece of light painting.

Figure 3. 30 seconds, f/4, ISO 400. Nikon D750 with a Zeiss Distagon 15mm f/2.8 lens.

Figure 3. 30 seconds, f/4, ISO 400. Nikon D750 with a Zeiss Distagon 15mm f/2.8 lens.

As it happened, I had a burst of energy and my next pit stop to breathe was above Gabe’s position. See Figure 4.

Figure 4. 30 seconds, f/4, ISO 400. Nikon D750 with a Zeiss Distagon 15mm f/2.8 lens.

Figure 4. 30 seconds, f/4, ISO 400. Nikon D750 with a Zeiss Distagon 15mm f/2.8 lens.

As I observed Gabe light-painting and working on his image, I was struck with the thought, “This is the moment. People in a place I love doing the thing I love. Perfect moment for a portrait.”

I asked Gabe and Chris if they would indulge me, and somehow they seemed more than happy to stop climbing out of the canyon for a few minutes. We nailed it on the first shot, because Gabe had already been practicing for his photo, painting to the right. So I piggybacked on his hard work a bit. I asked Chris to paint the trees, and added my own twist by running to camera right and light-painting Gabe and Chris with short bursts of my flashlight (Figure 5). I took care not to sweep my flashlight, because I wanted a pool of light in the middle, with dark edges to the illumination.

Figure 5. Chris (left) is lighting the tree, and the arrows show where Gabe and I are light-painting.

Figure 5. Chris (left) is lighting the tree, and the arrows show where Gabe and I are light-painting.

Mission accomplished!

Figure 6, the final photo. 30 seconds, f/4, ISO 400. Nikon D750 with a Zeiss Distagon 15mm f/2.8 lens.

Figure 6, the final photo. 30 seconds, f/4, ISO 400. Nikon D750 with a Zeiss Distagon 15mm f/2.8 lens.

Details

Here are some more before/after details to spot how we added to the scene:

Figure 7. Painting distant hoodoo.

Figure 8. Light-painting trees takes more time since they are not reflective, but rather dark to begin with.

Figure 9. Gabe’s gentle painting of the canyon wall to his right.

Figure 10. Detail with and without Chris in frame.

Matt Hill is a partner and workshop leader with National Parks at Night. See more about his photography, art, workshops and writing at MattHillArt.com. Follow Matt on Twitter Instagram Facebook.

UPCOMING WORKSHOPS FROM NATIONAL PARKS AT NIGHT

Finding Our Parks: How We Participated in National Parks Week

Click to experience the map!

Click to experience the map!

In late April, we hit the road NPAN style. We chose to celebrate the National Parks Service's free entrance days for National Park Week by taking a whirlwind tour of Southern Utah.

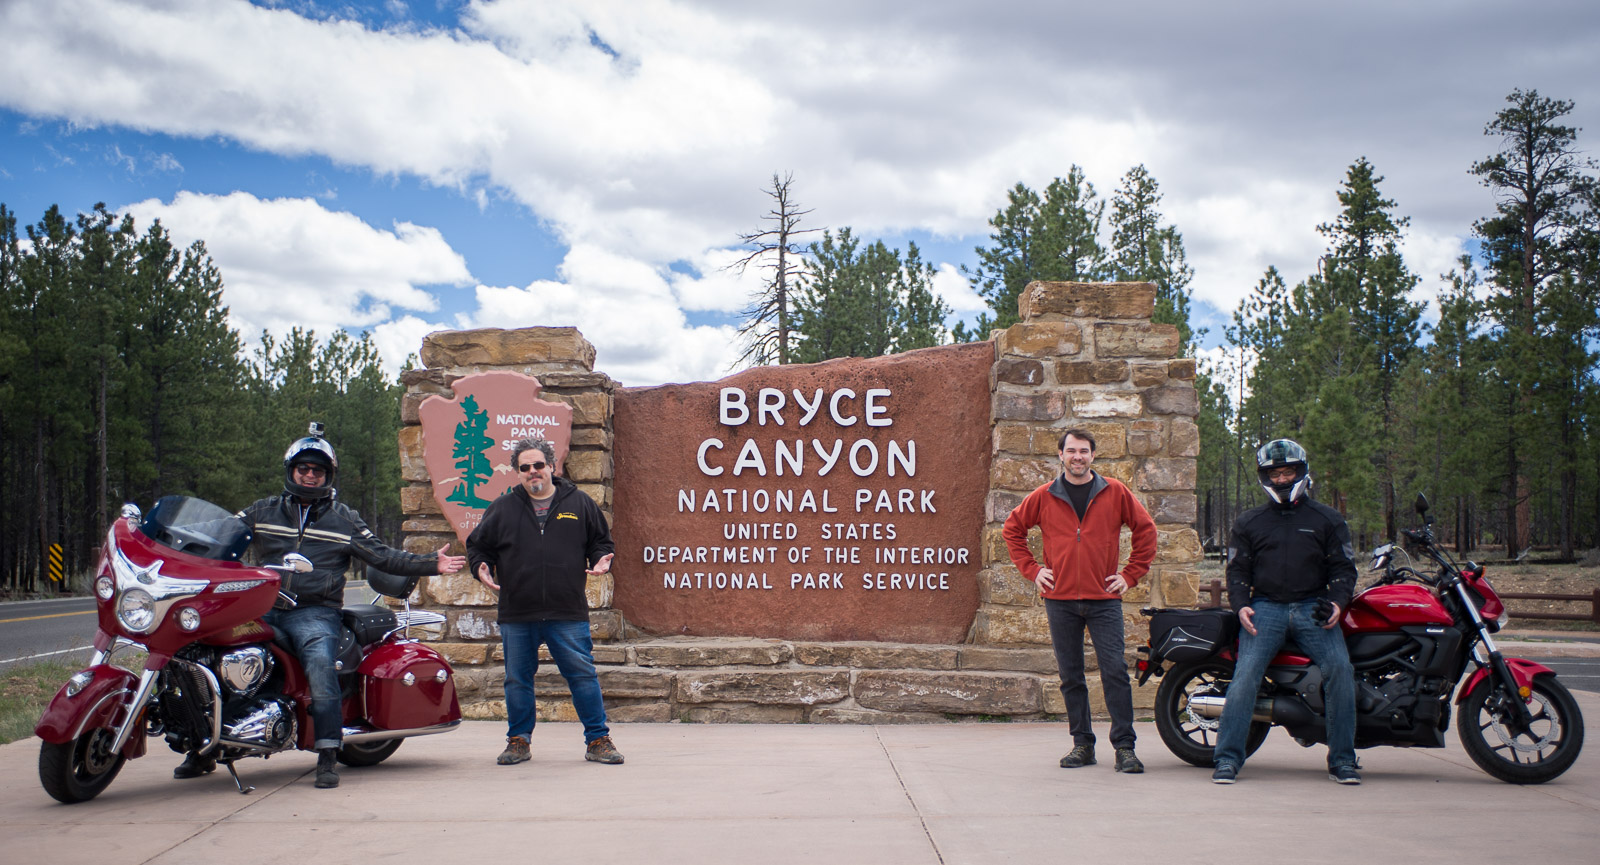
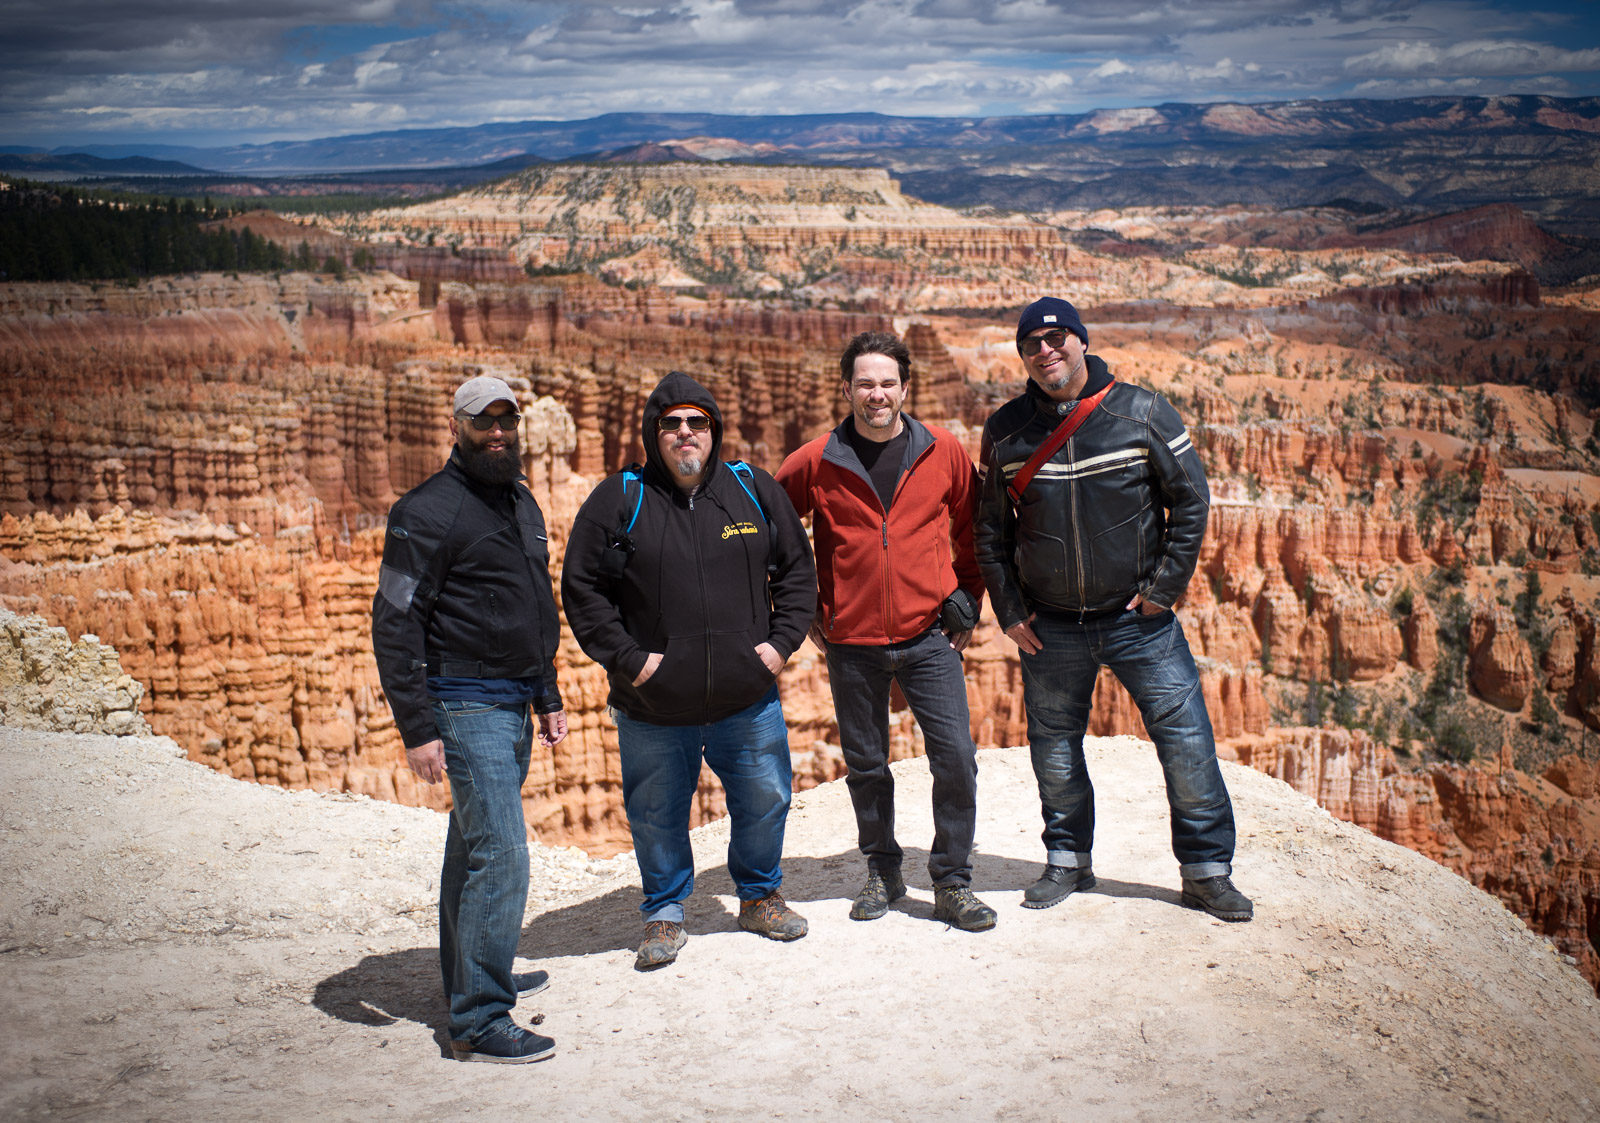
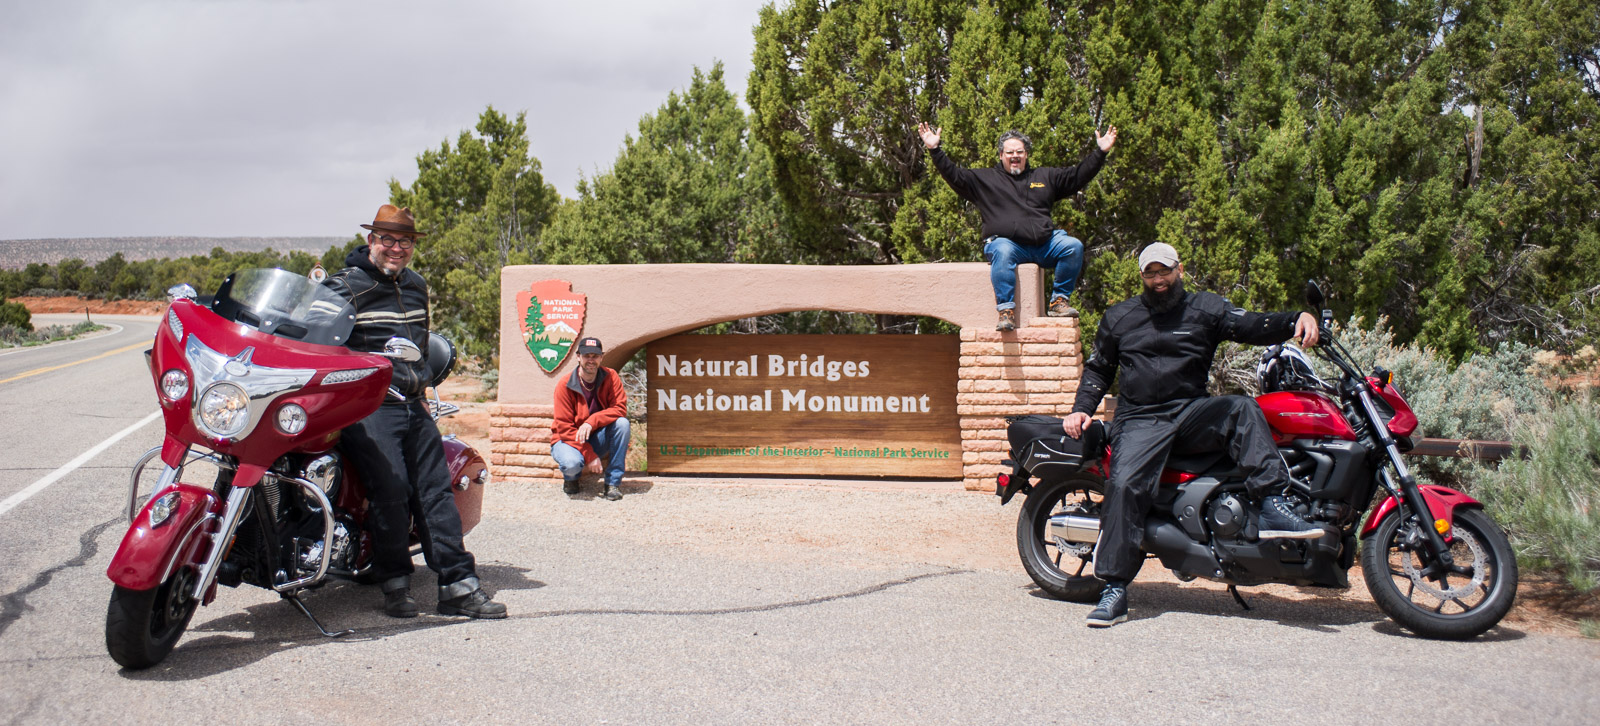
Gabe, Matt and Chris were joined by our friend Sean in Las Vegas and we hit the road in a car and on two motorcycles. Our trip led us through three national parks (including Zion, which wasn't a destination, but how could we not at least drive through?) and two national monuments. It was epic, and awe-inspiring.

Our routine was great! Eat a substantial breakfast, hit the road, drive through some amazing landscapes, grab some food and head out into the park to go shooting for the late afternoon and evening (often until 2 or 3 a.m.).

Here are individual highlights from the adventurers:


Bryce Canyon National Park - by Matt Hill

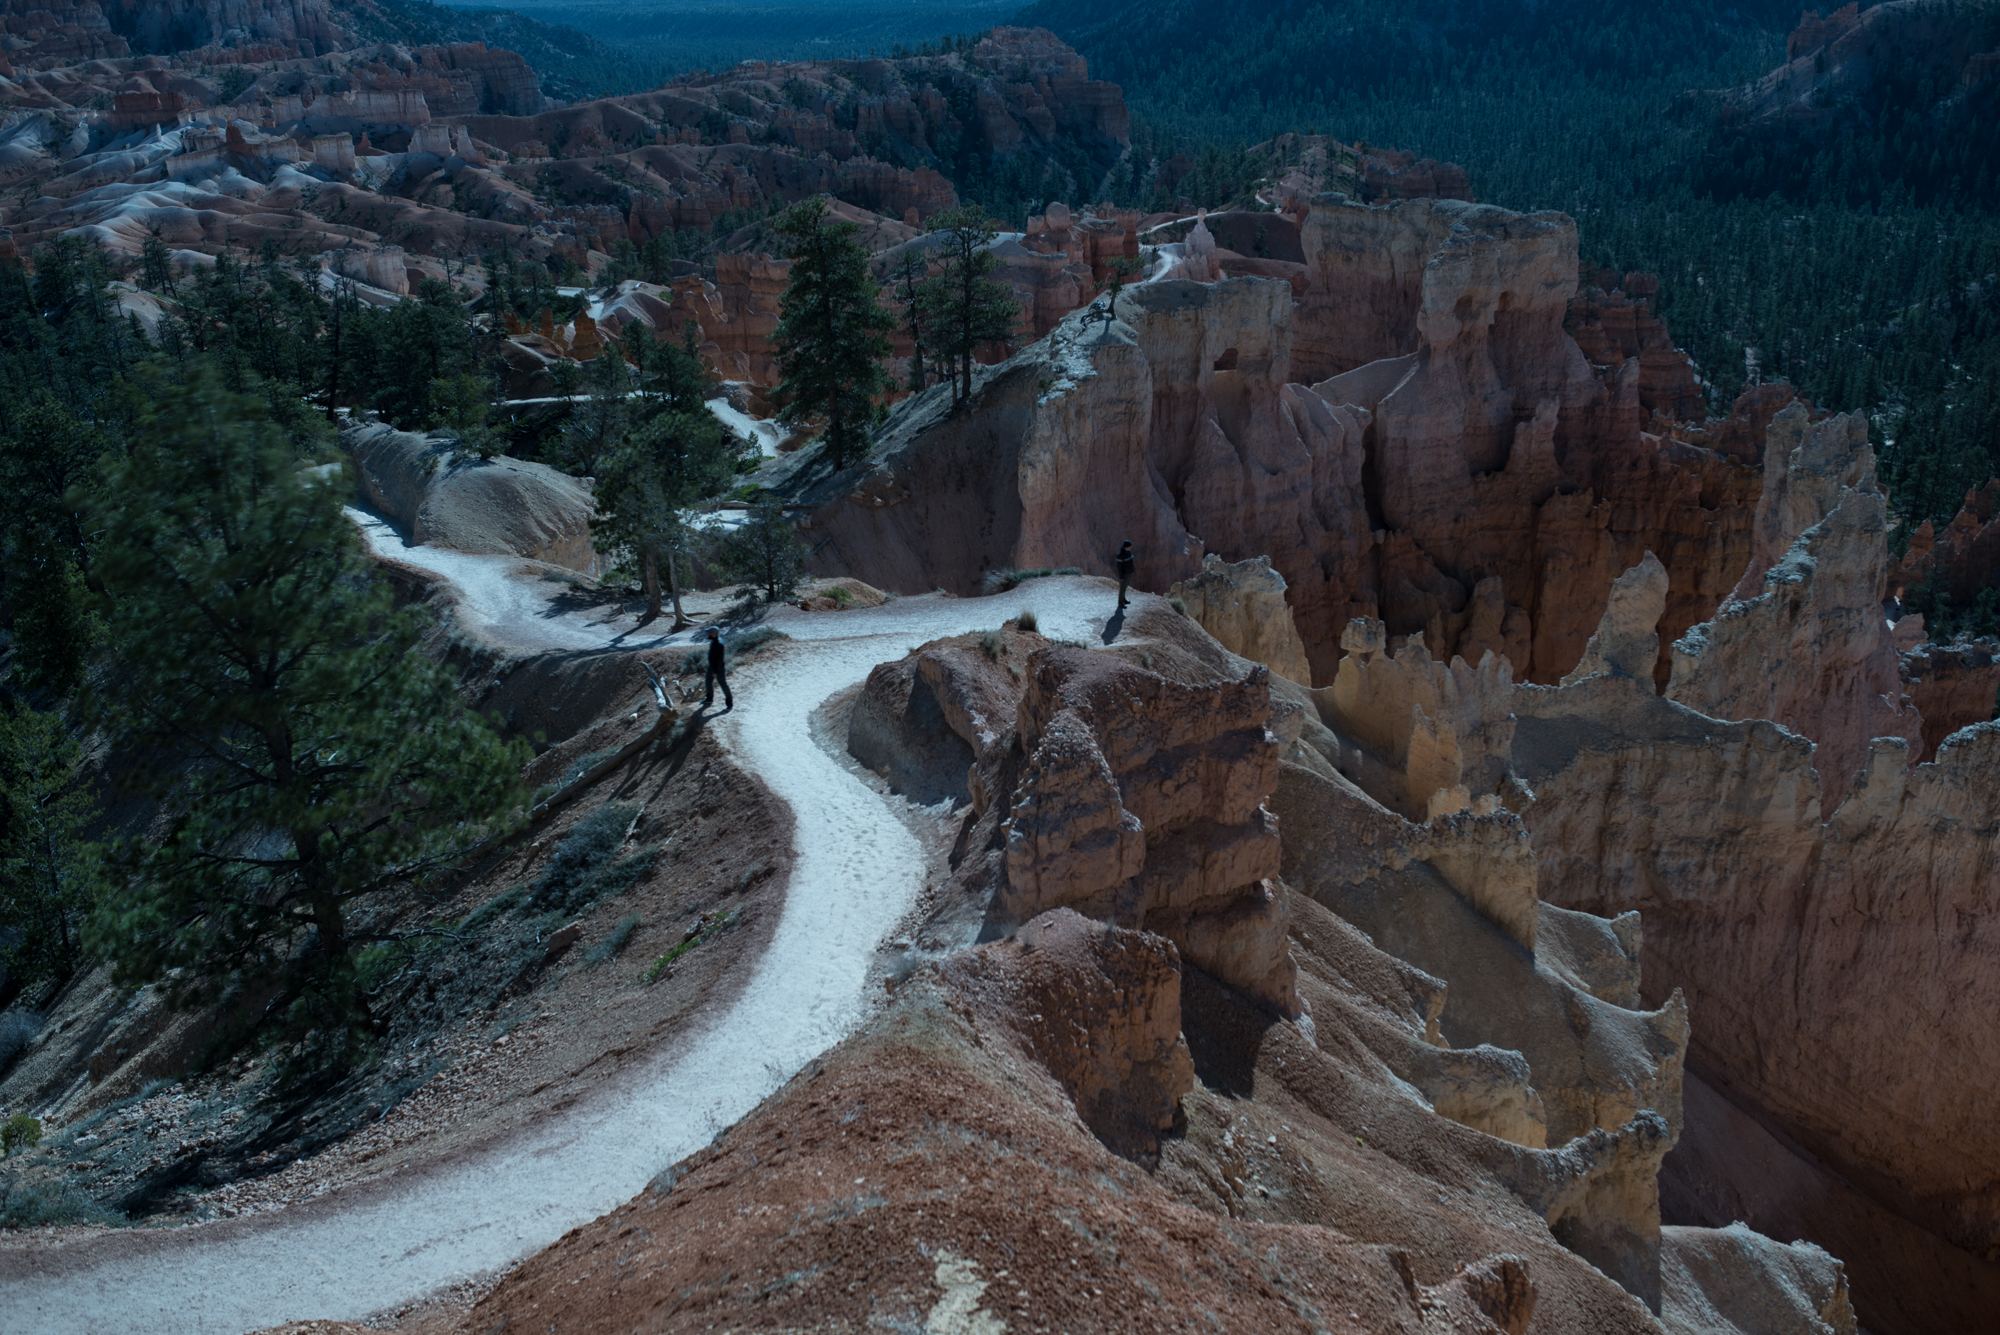
Love them hoodoos.
— Matt

My first impression was a gasp when I viewed Bryce Canyon under a full moon. A massive canyon filled with hoodoos and trees. And gorgeous shadows. It was brutally cold, even for late April, and we withstood the wind on the canyon rim to enjoy the view and make some images.

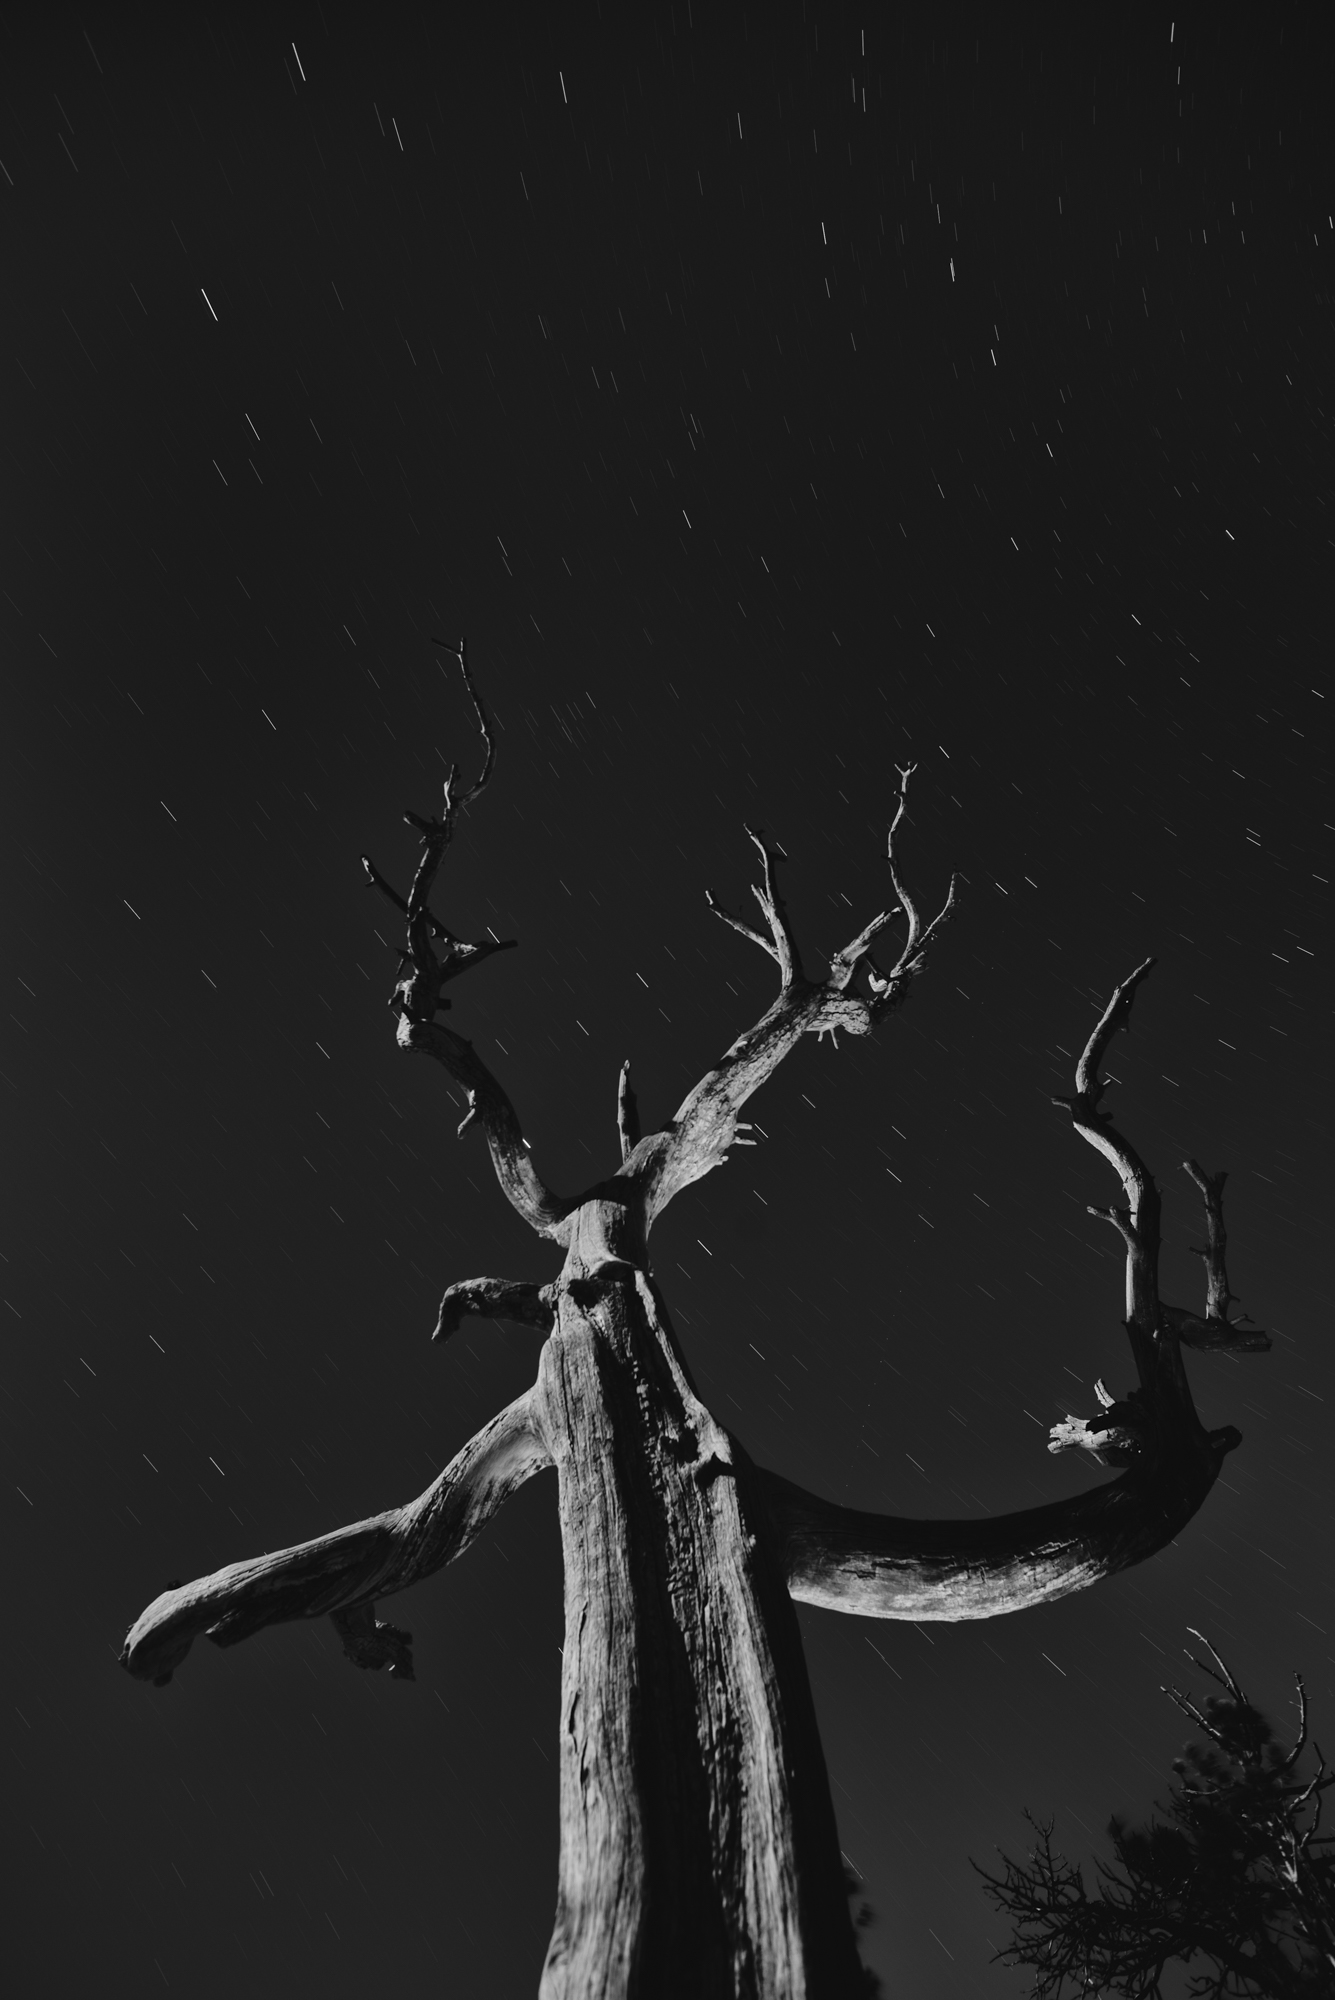
Upon descending into the canyon, the wind died, as well as my hopes for avoiding aerobic exercise for the day. ;-) What goes down, must come up! That canyon is deeeeeep and steeeeeep. Nonetheless, we hiked into the hoodoo field and I spent a lot of time playing with the relationship between eroded sandstone rock and living wood. What a gorgeous juxtaposition of colors, textures and shapes.

We're fortunate the skies cooperated in a big way. Very happy with our experience there, despite hiking back up the canyon with 30+ lbs. in my backpack at altitude.

Visit the Bryce Canyon Official NPS Website to plan your visit! 


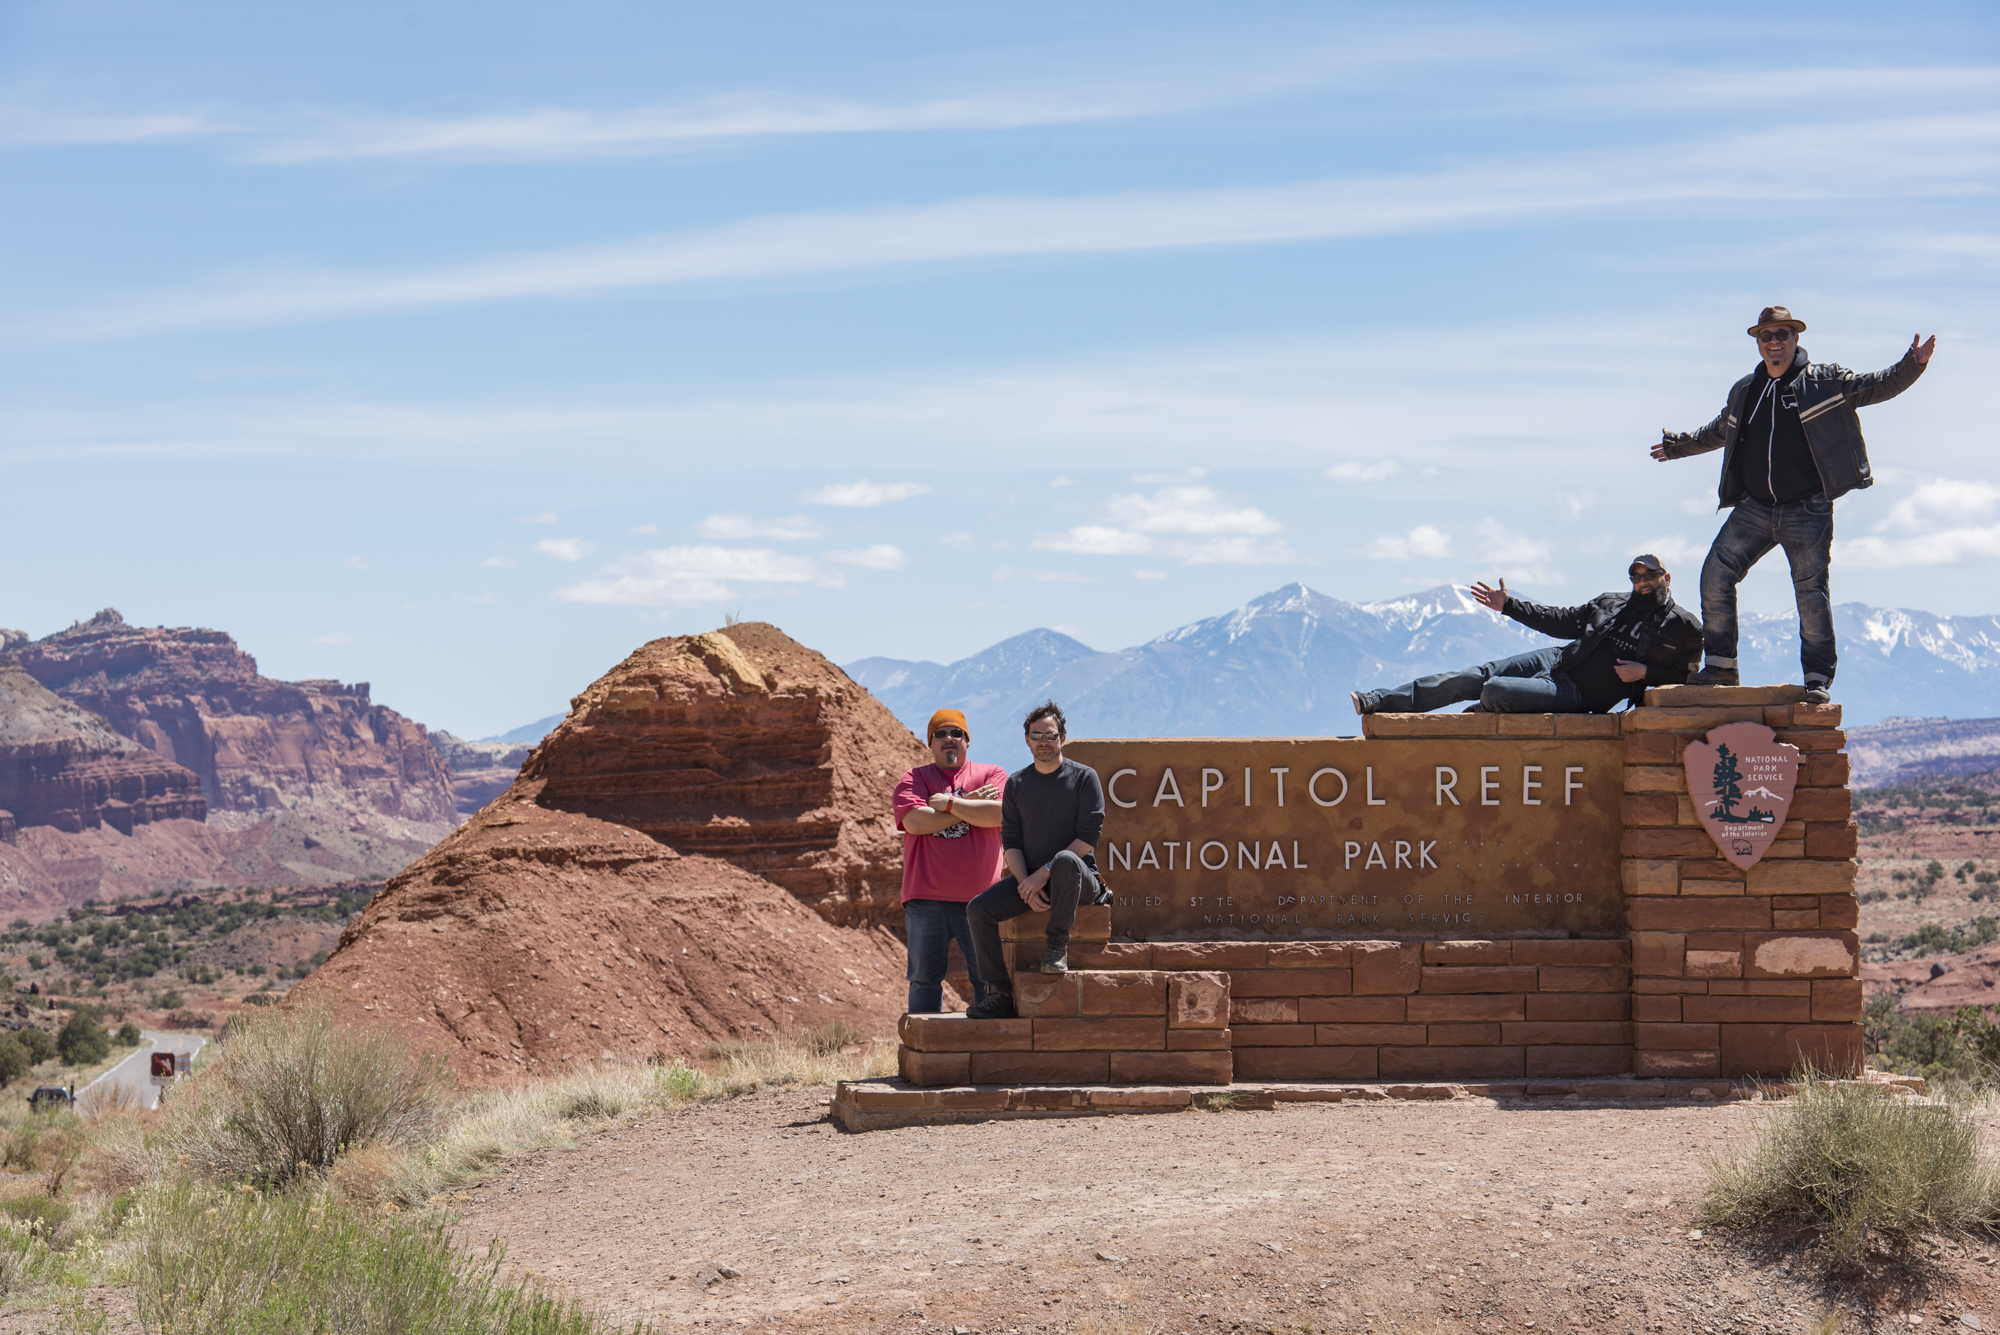
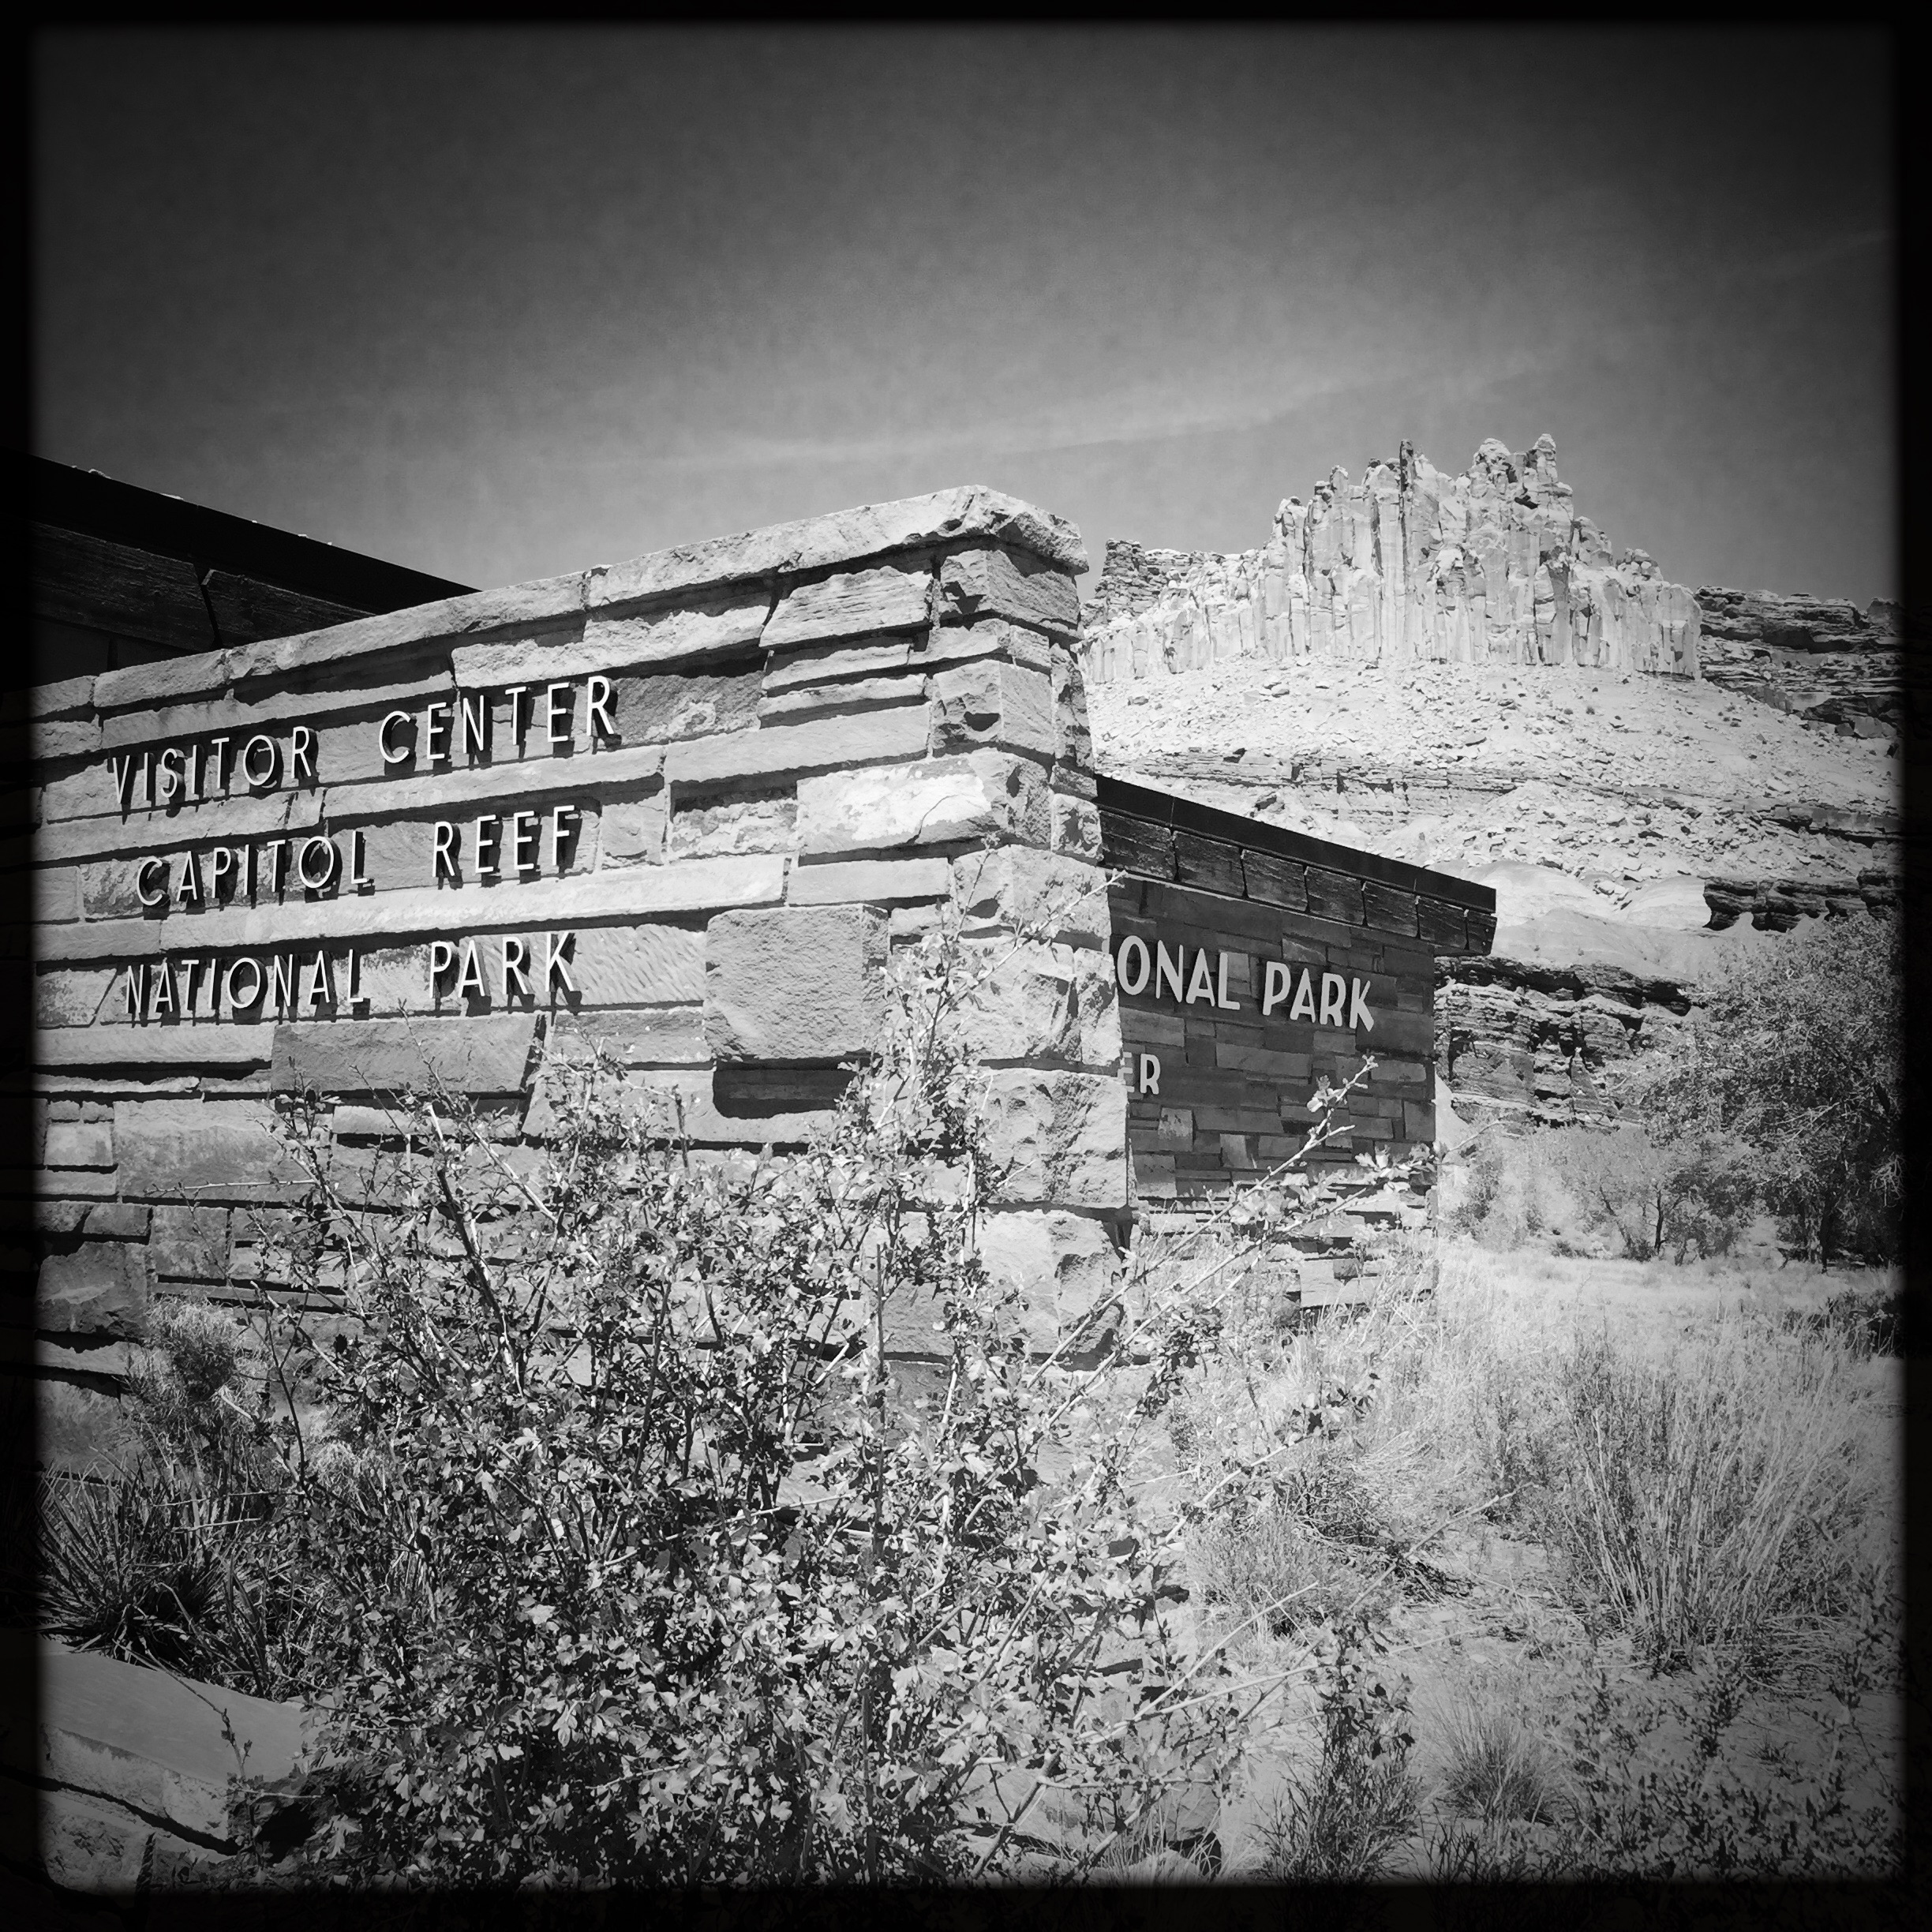
Capitol Reef National Park - by Chris Nicholson

Capitol Reef simply shines in the dark!
— Chris

Capitol Reef has been on my bucket list for a couple of years, so I was thrilled we were including it on our road trip.

But to get there, first we drove through the big shocker of the trip: Grand Staircase-Escalante National Monument. None of us knew much about it, other than that it exists. And it's beautiful! We stopped about four or five times, mesmerized by both its size and its amazing landscapes. We didn't have time to linger, but we will be back there someday for sure.

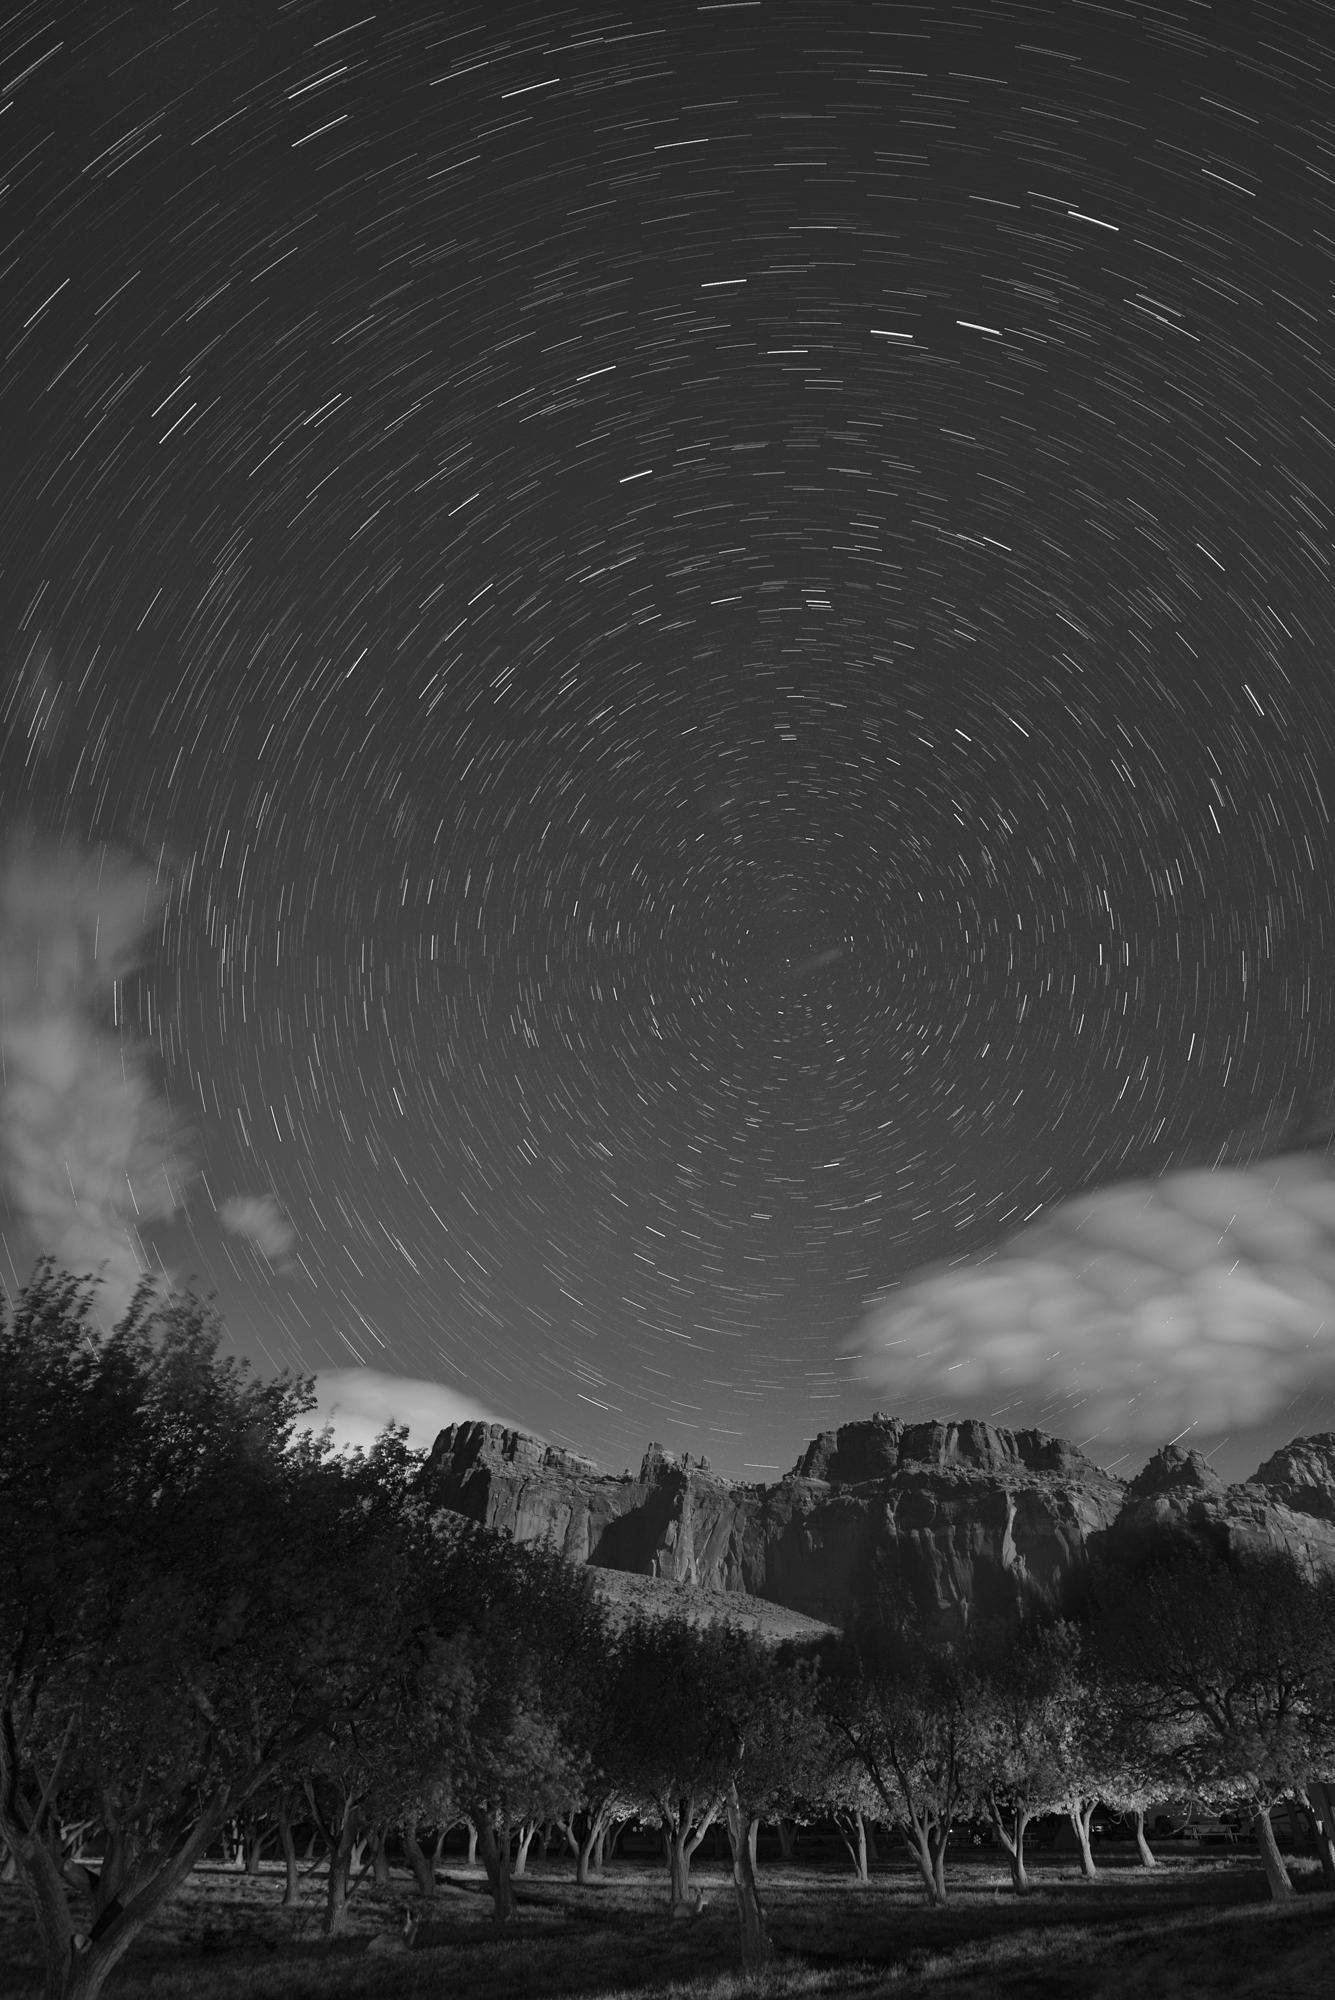
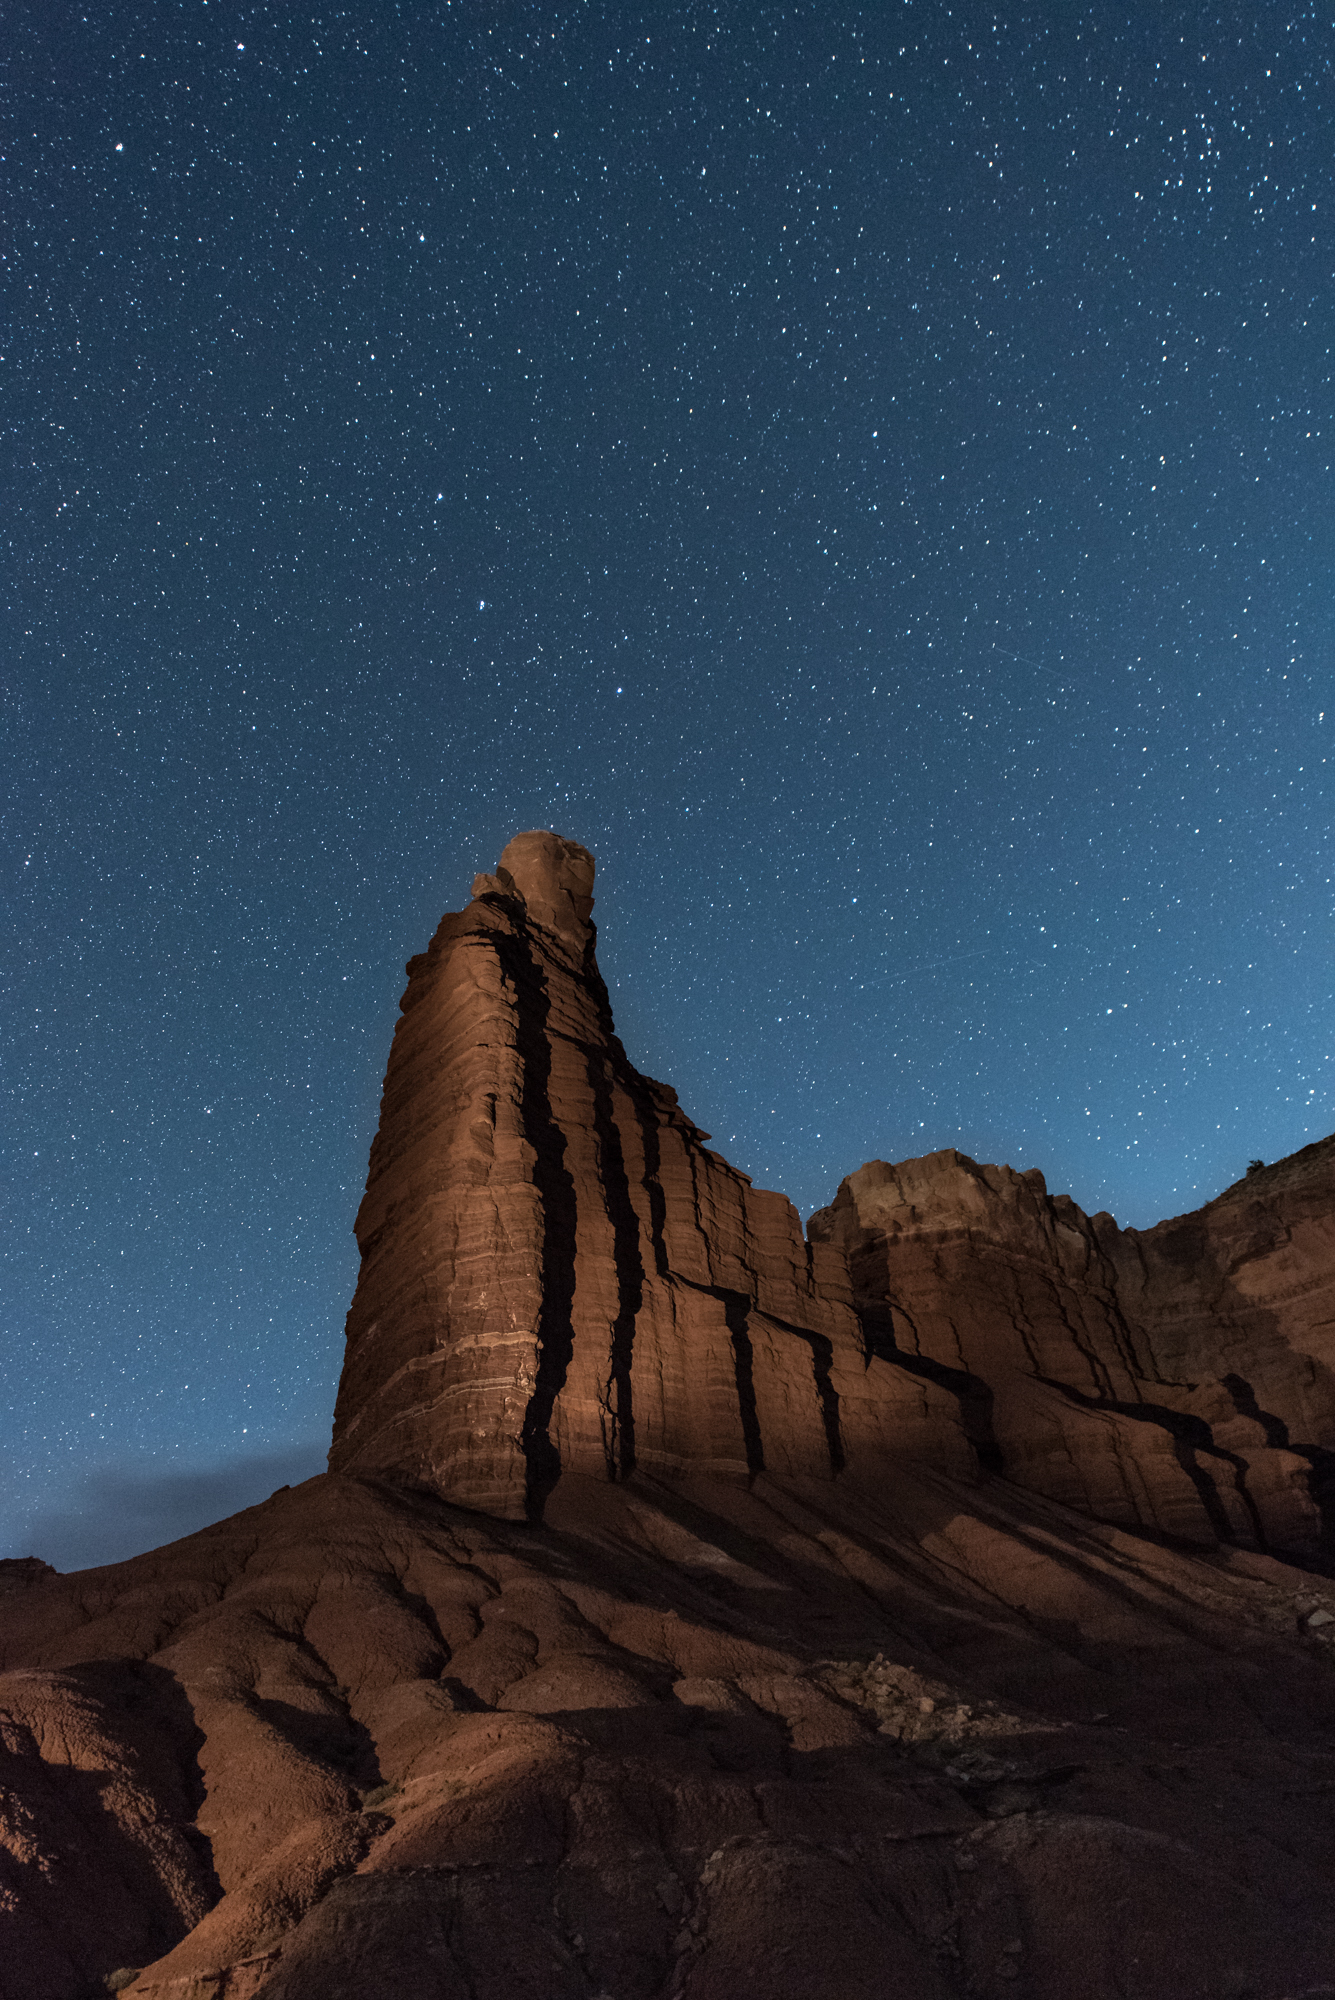
We arrived at Capitol Reef with just enough time to scout some locations in daylight, which is important in a place with such dark night skies. (Capitol Reef is one of only three national parks designated as Gold Tier by the International Dark-Sky Association.) Checking our Photo Pills app, we knew we would have one hour of utter darkness before the moon rose, so we planned to start our evening photographing star trails at Chimney Rock.

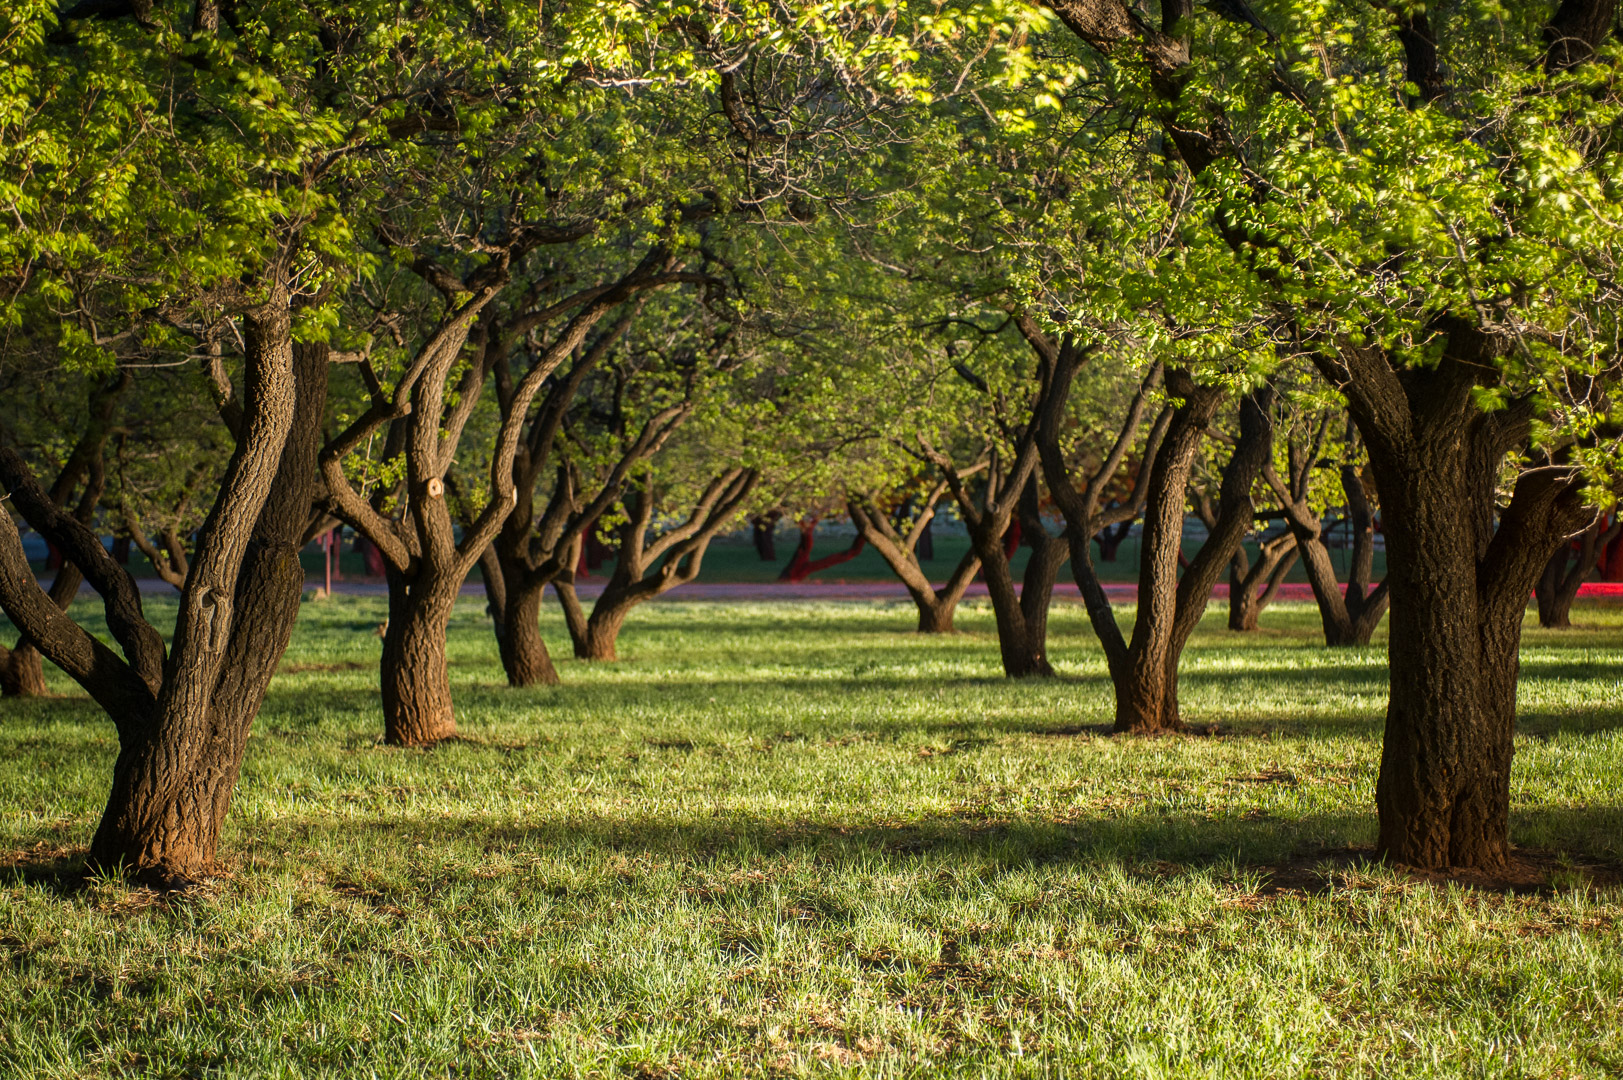
From there we went to the orchards in Fruita, a remnant of the vibrant agricultural community in that area more than a century ago. The orchard proved difficult to photograph, primarily because it’s the one spot we did not scout well; instead of shooting right away, we spent 45 minutes walking around in the dark trying to imagine some compositions.

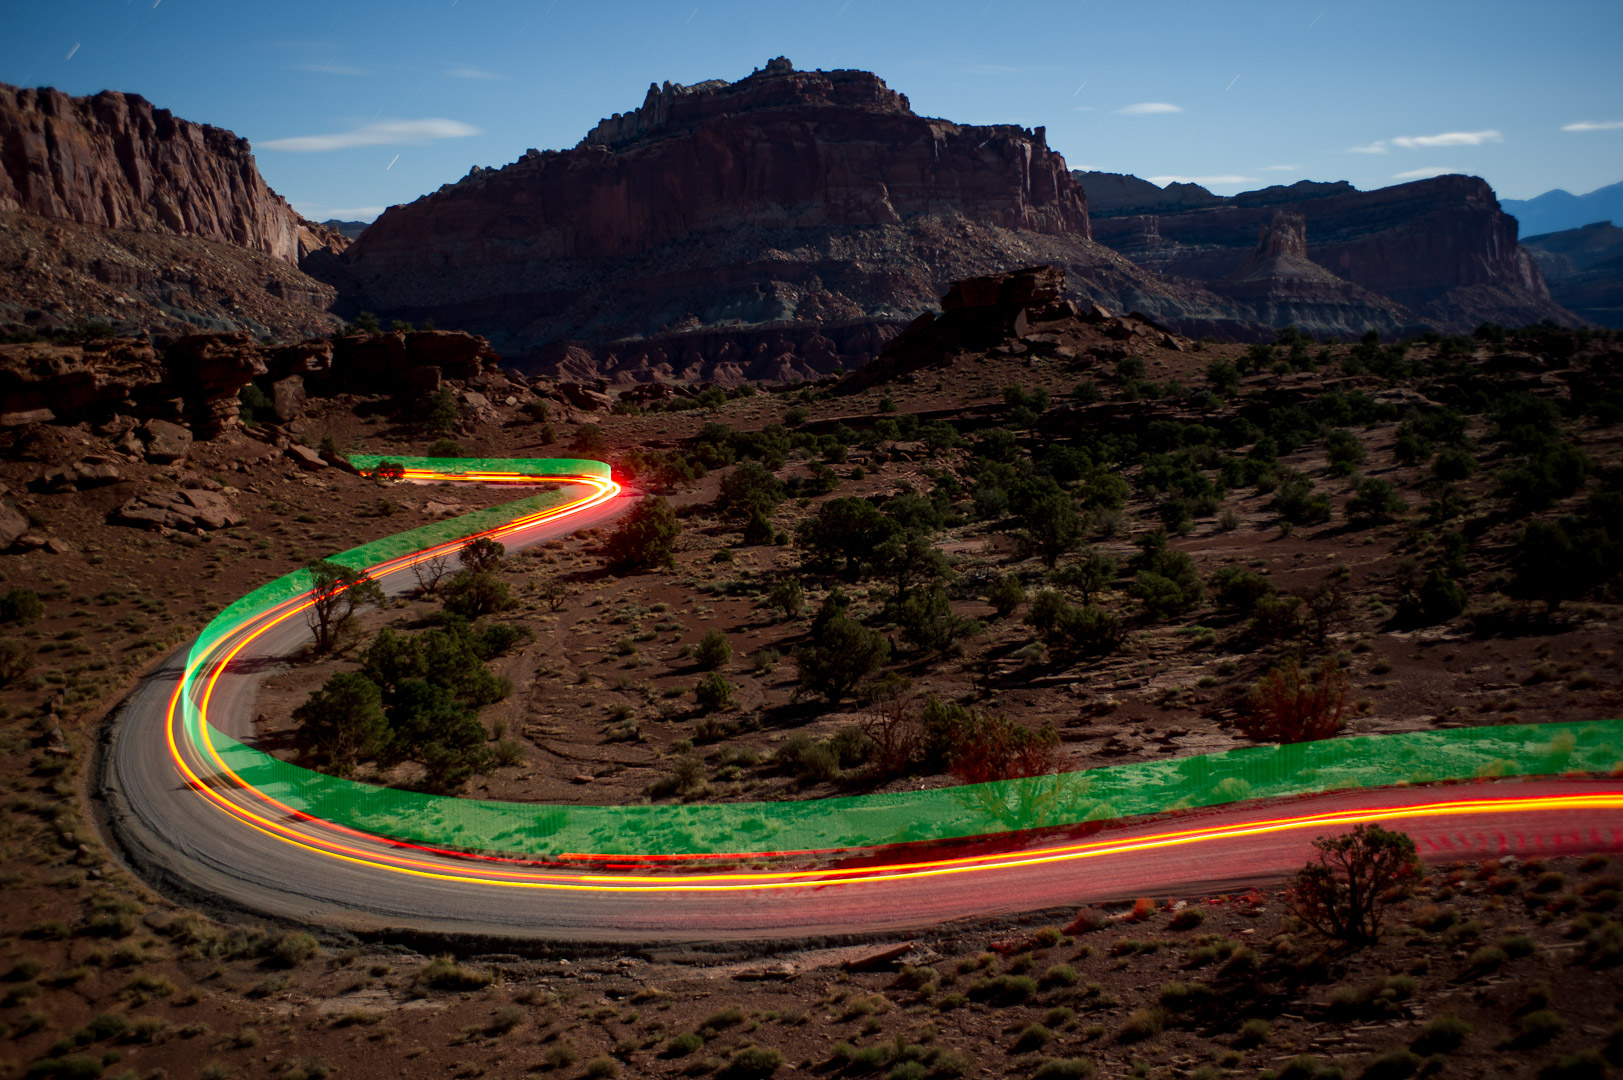
We ended the night near Panorama Point. We’d scouted a nice location with a road S-curving in front of a distant mountain. We each set up a composition, and Gabe manned our intervalometers while Matt drove the car and I held a Pixelstick out the sunroof, creating light trails along the road. The creativity was fun, but the wind was brutal and cold, so as soon as we felt we nailed the shot, we packed things in for the night.

On our second night in Capitol Reef, we were joined by our friend Steve Ryan, a sports photographer from New York City. He was very gracious in agreeing to drive us out to Cathedral Valley, an area filled with wonderfully photogenic rock formations accessible only by primitive roads. Unfortunately, a quick storm a few hours before departure made those roads impassable.

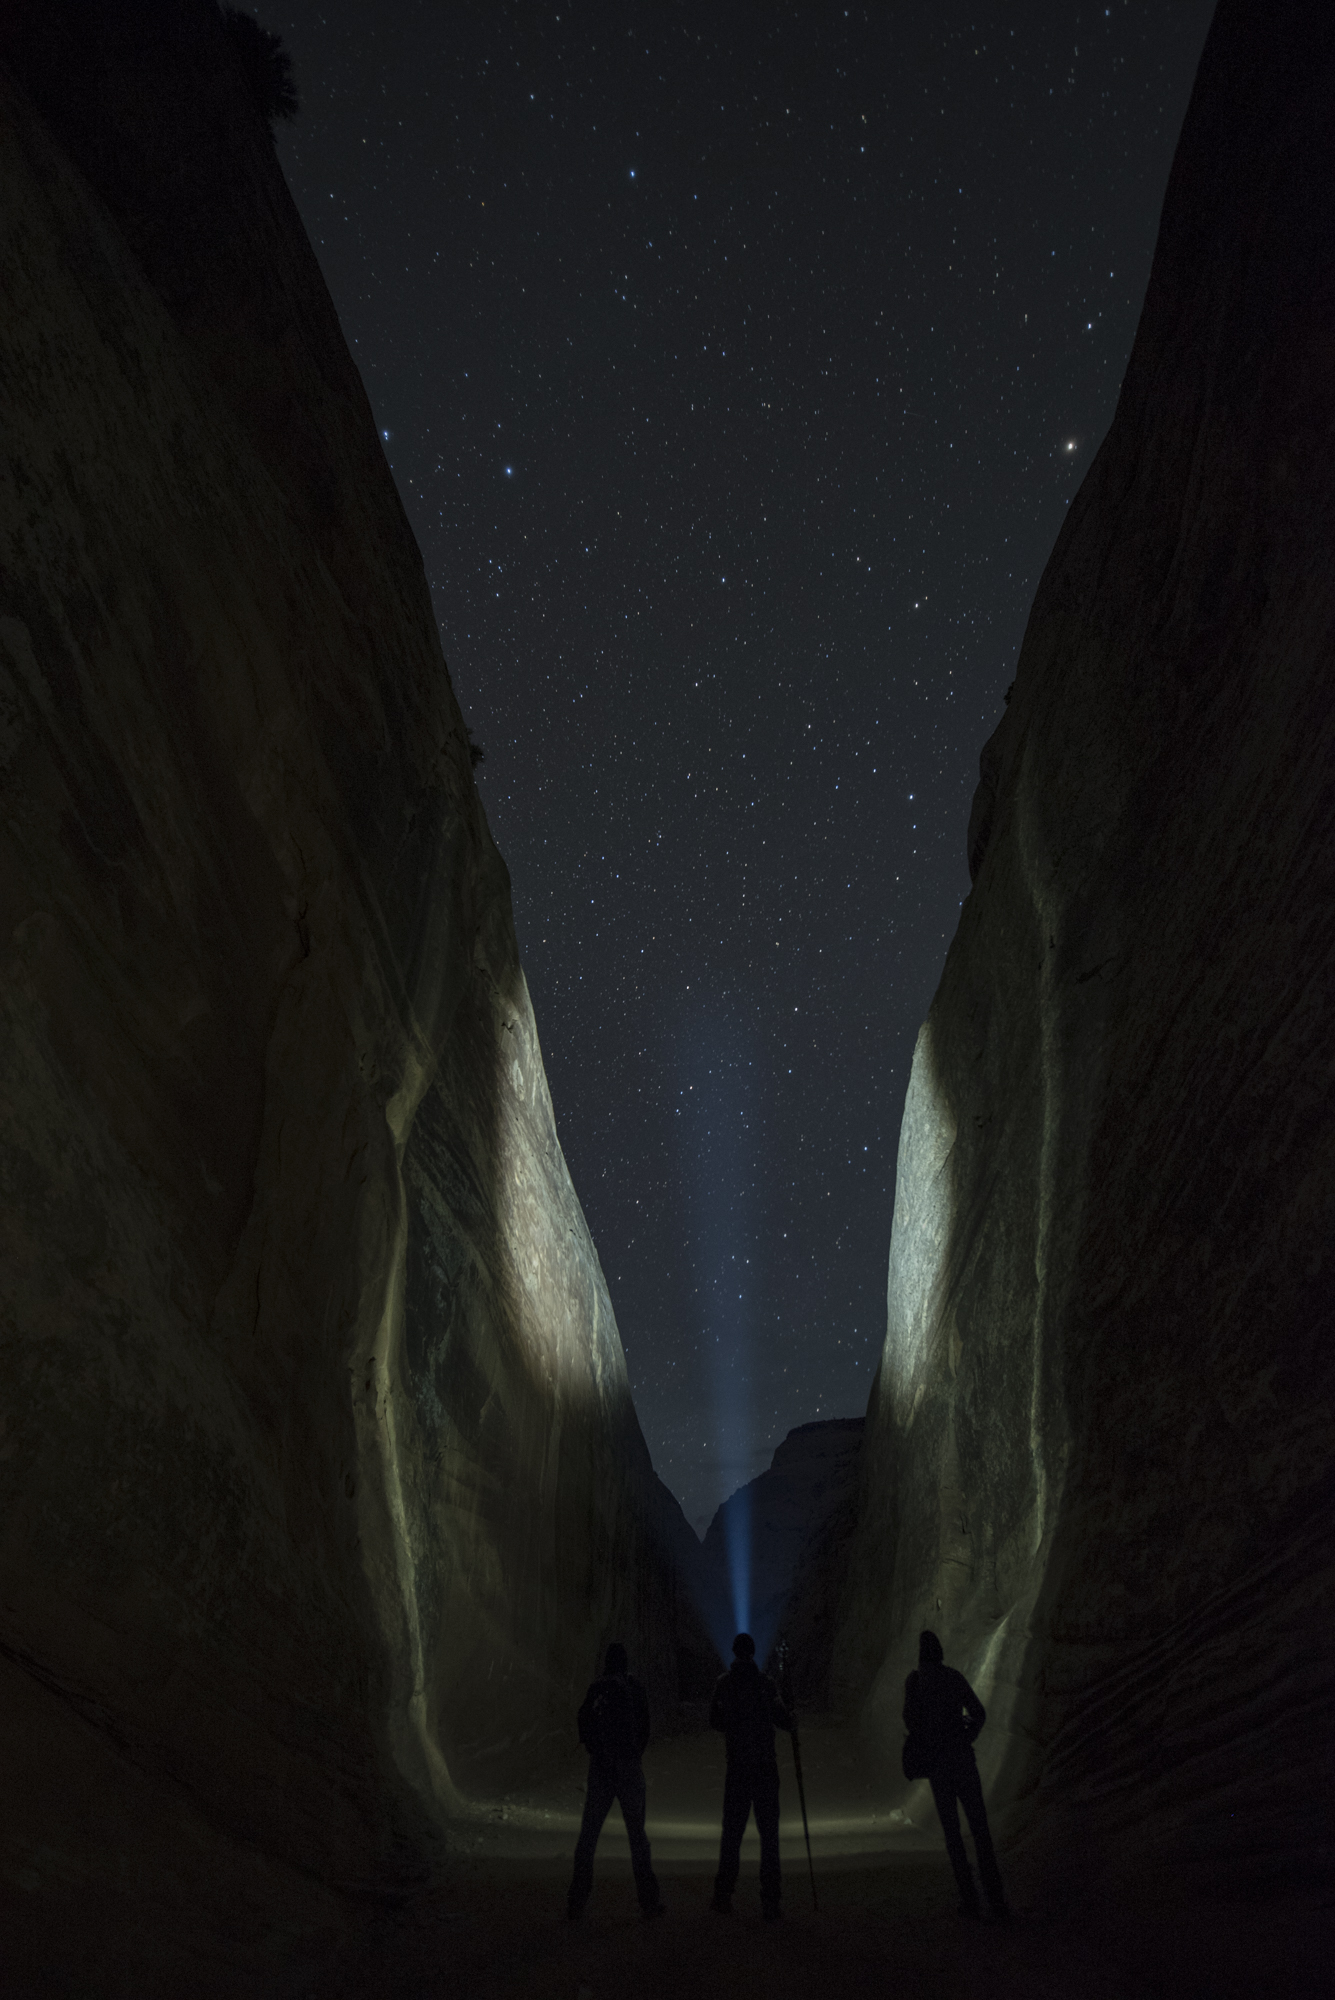
So instead we night-hiked to The Tanks, a series of natural water holes a short (but steep) climb up from Capitol Gorge. It was a gorgeous hike (ha! see what I did there?), a challenging (but fun) shoot, followed by a photograph-slowed hike back out of the gorge.

We are all eager to run a night-photography workshop in Capitol Reef some year soon. Stay tuned!

Visit the Capitol Reef Official NPS Website to plan your visit! 


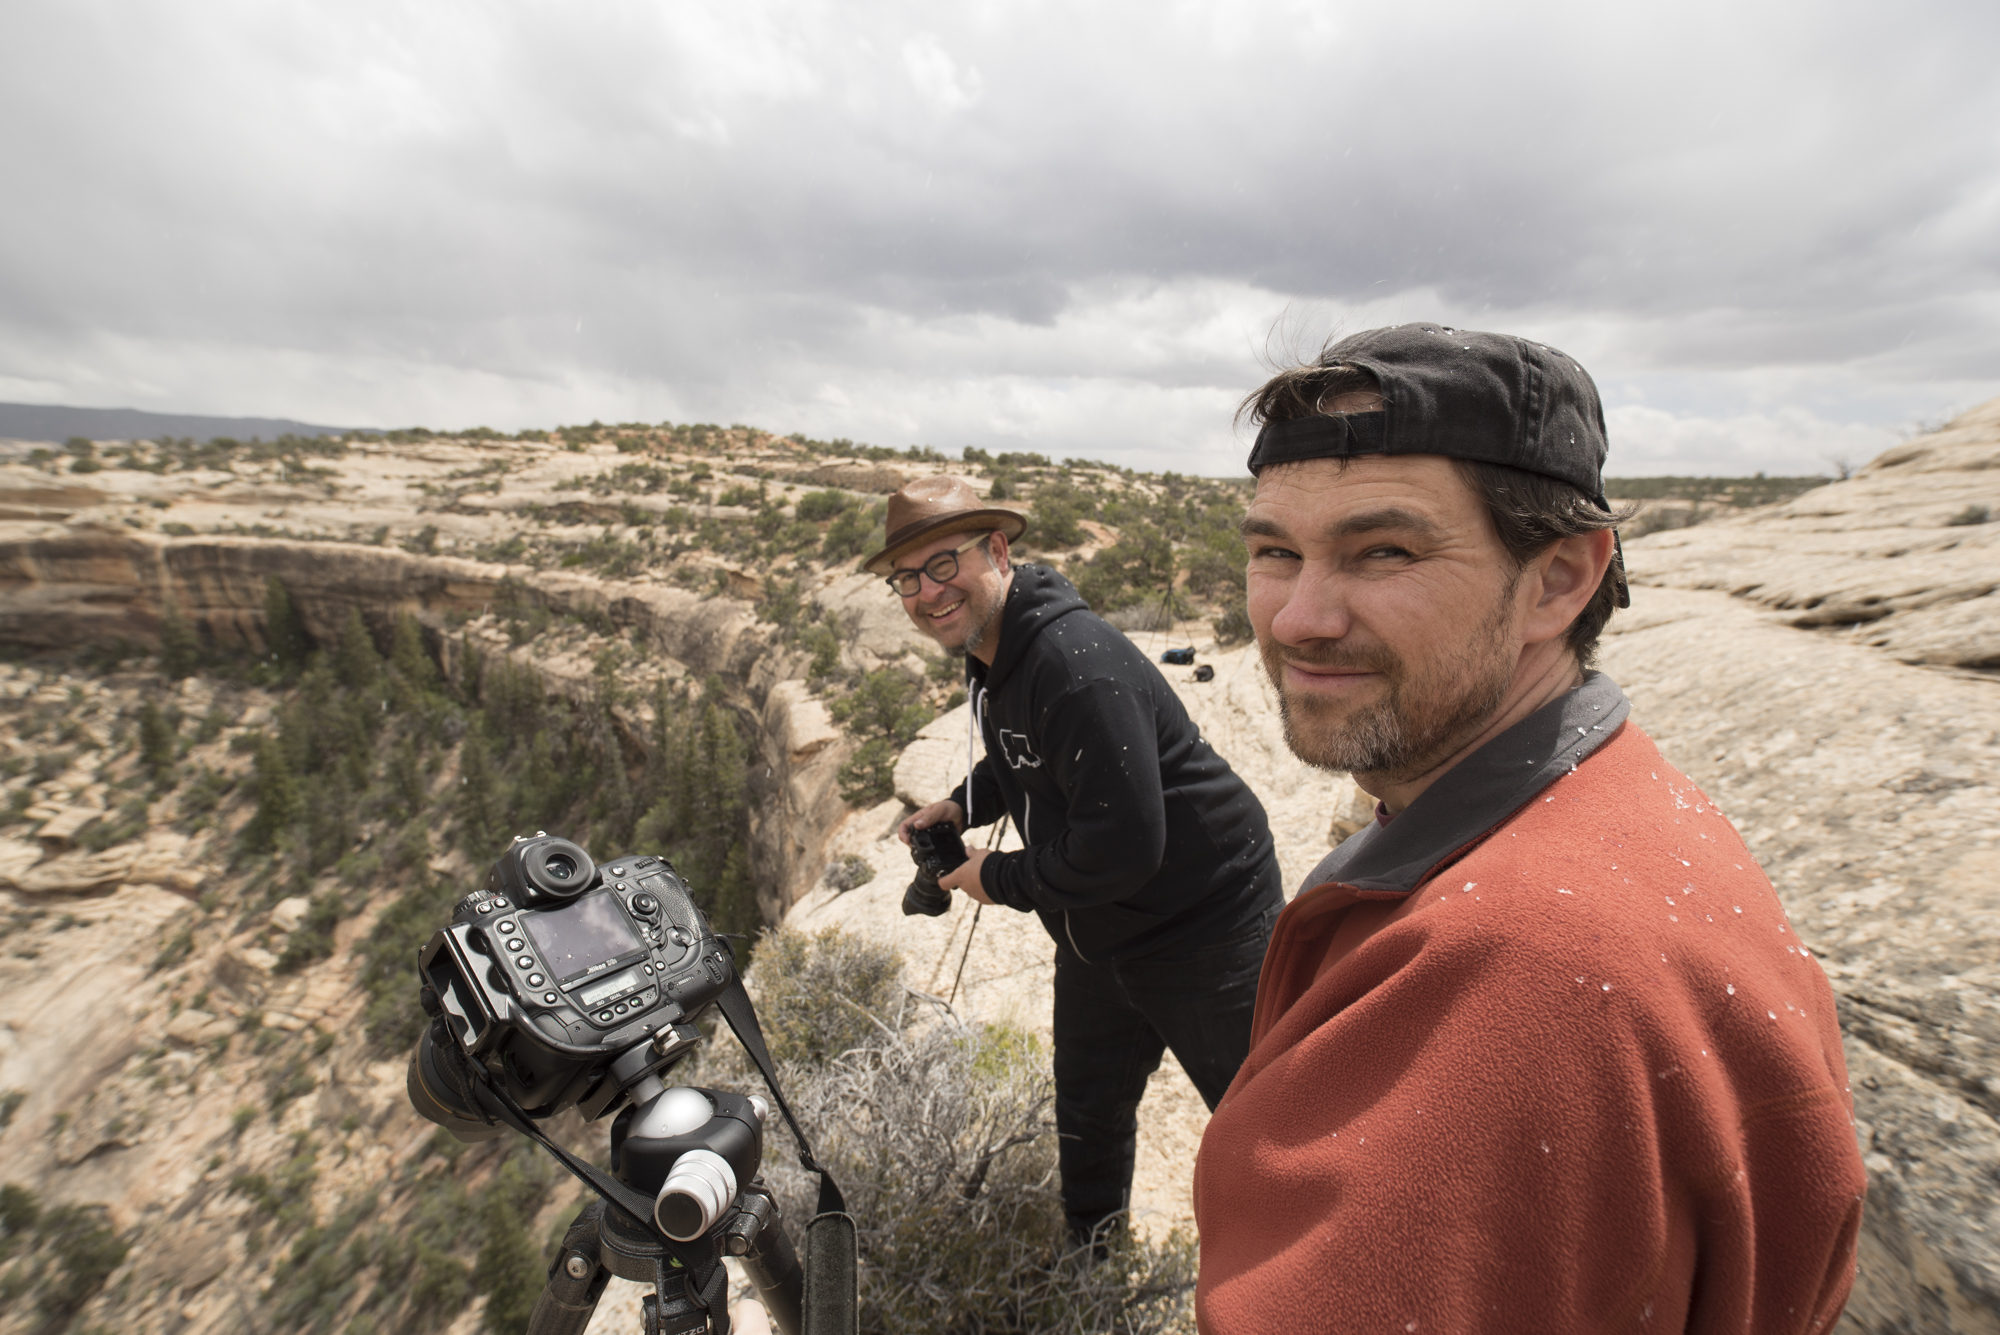
Natural Bridges National Monument - by Gabriel Biderman

Bridges that lead you to the darkest of skies.
— Gabe

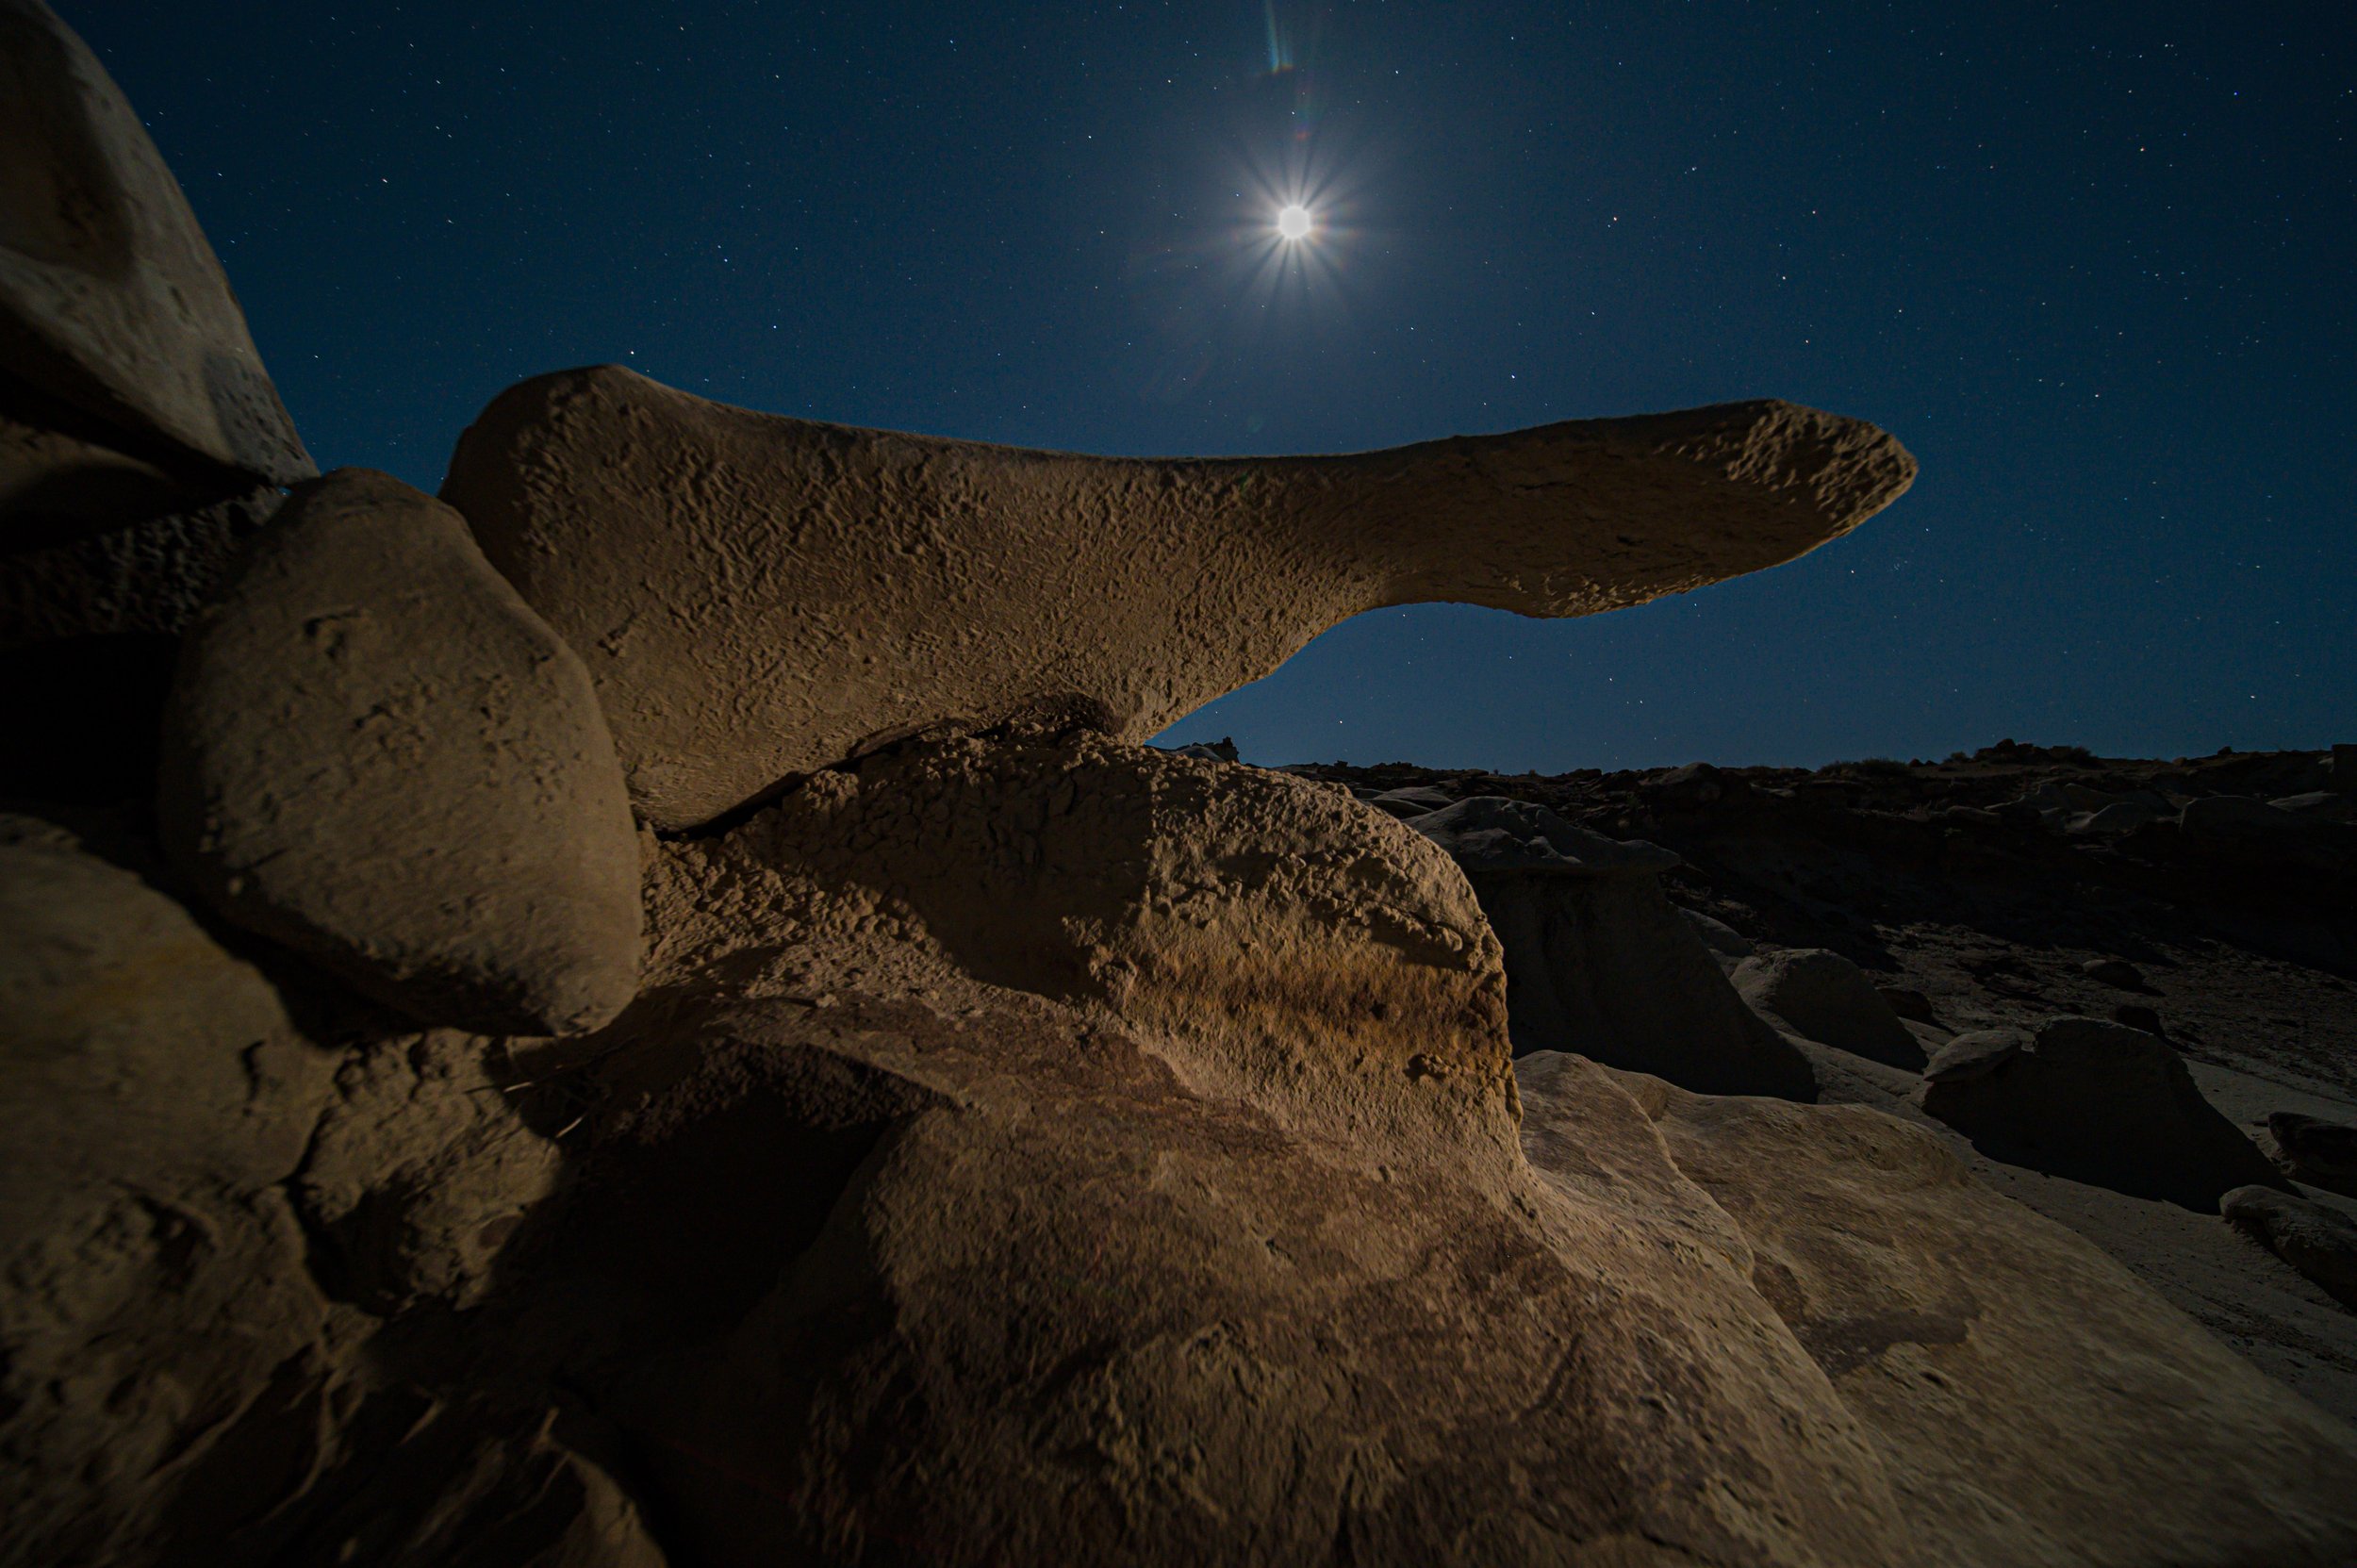
Our quest for the darkest skies leads us to some very remote locations. But the opportunity to work with no light pollution and crystal-clear skies with thousands of stars is an experience no one will forget.

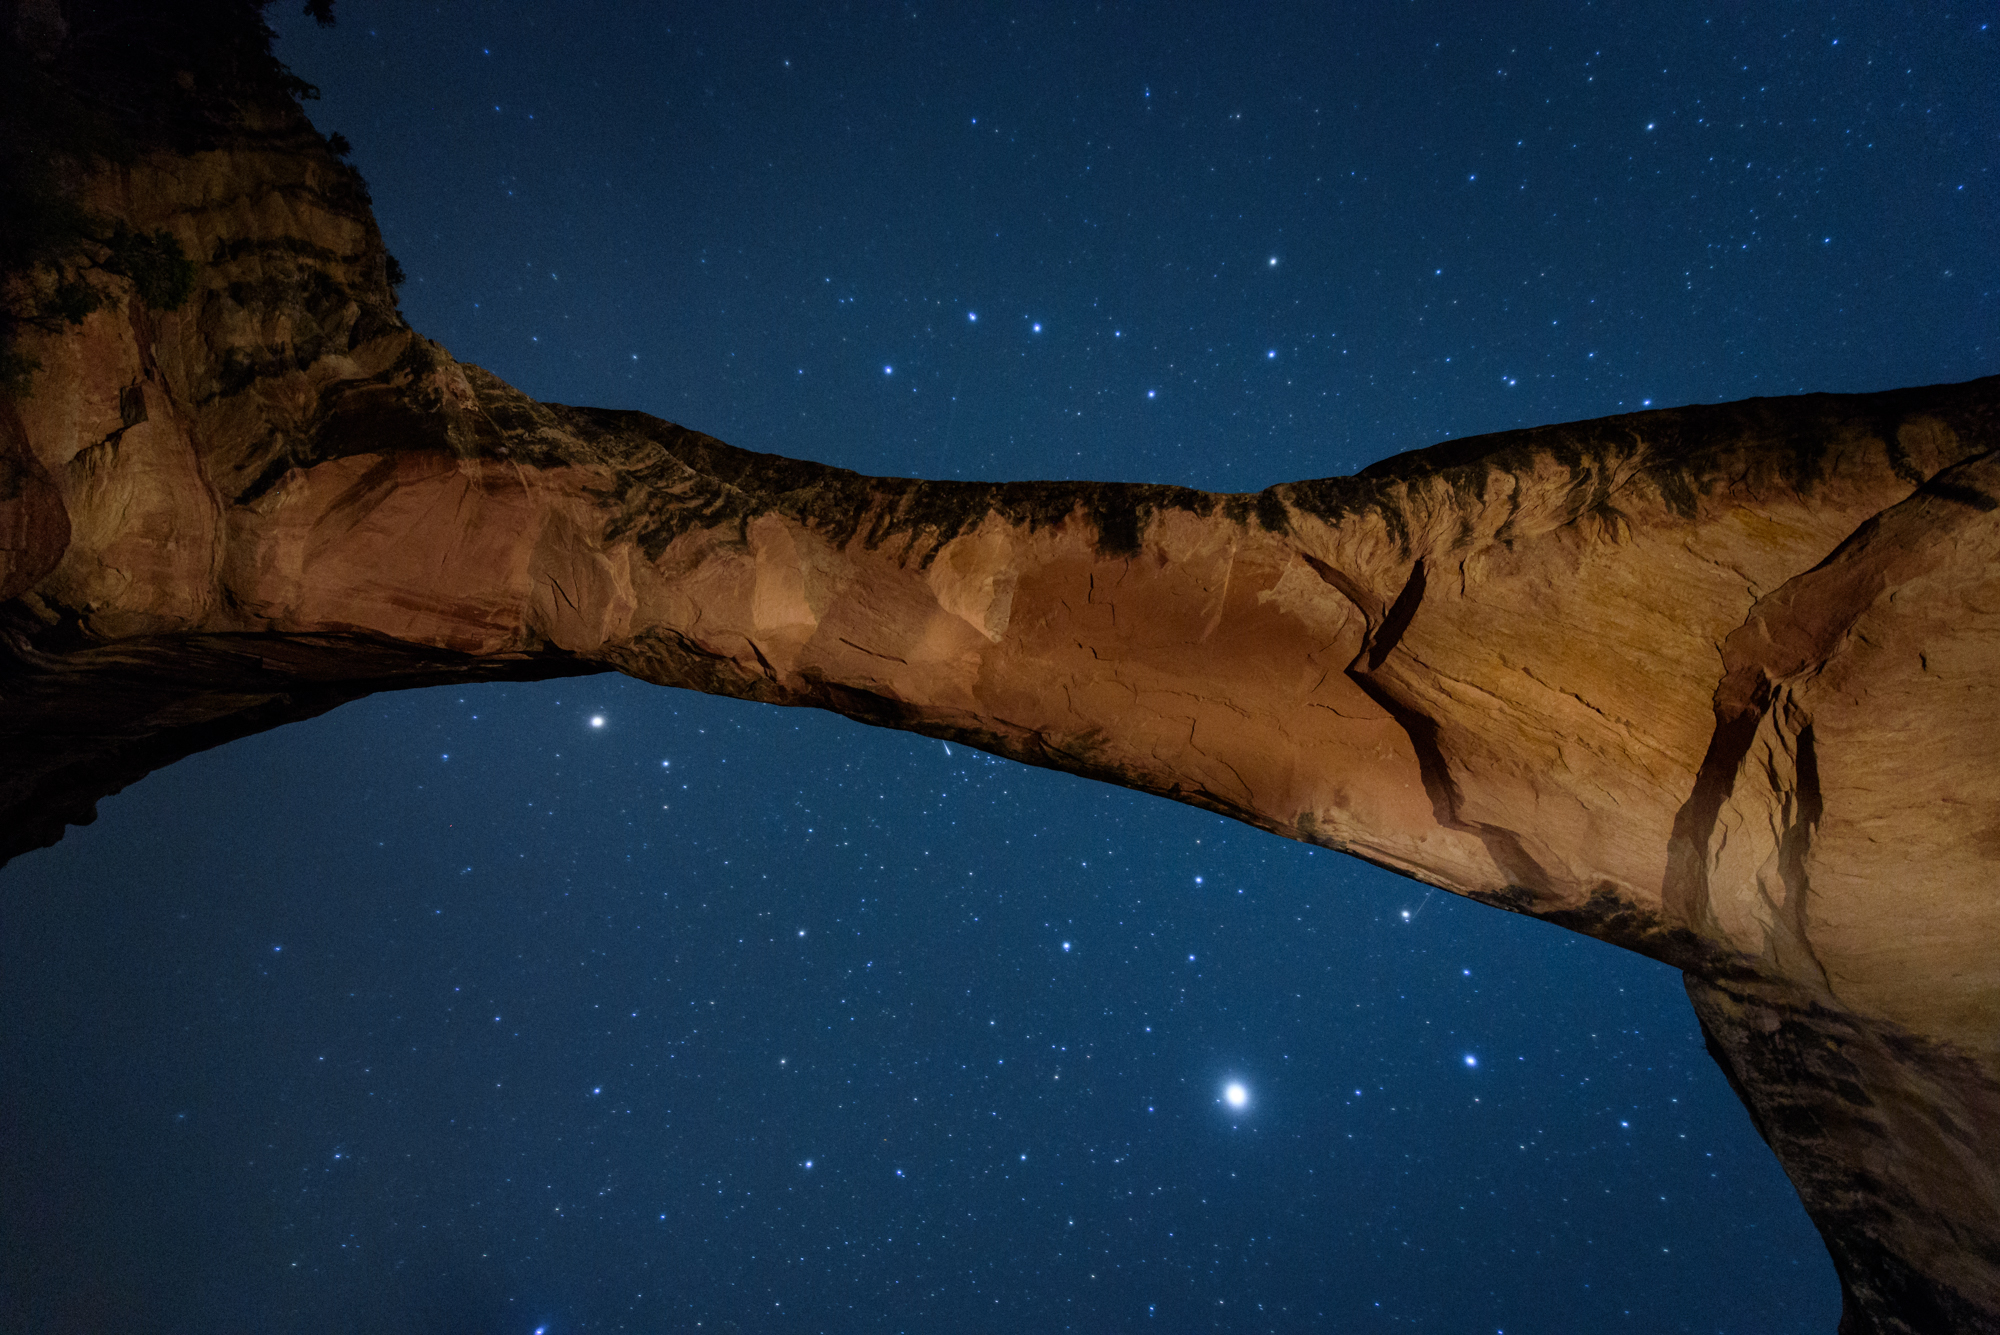
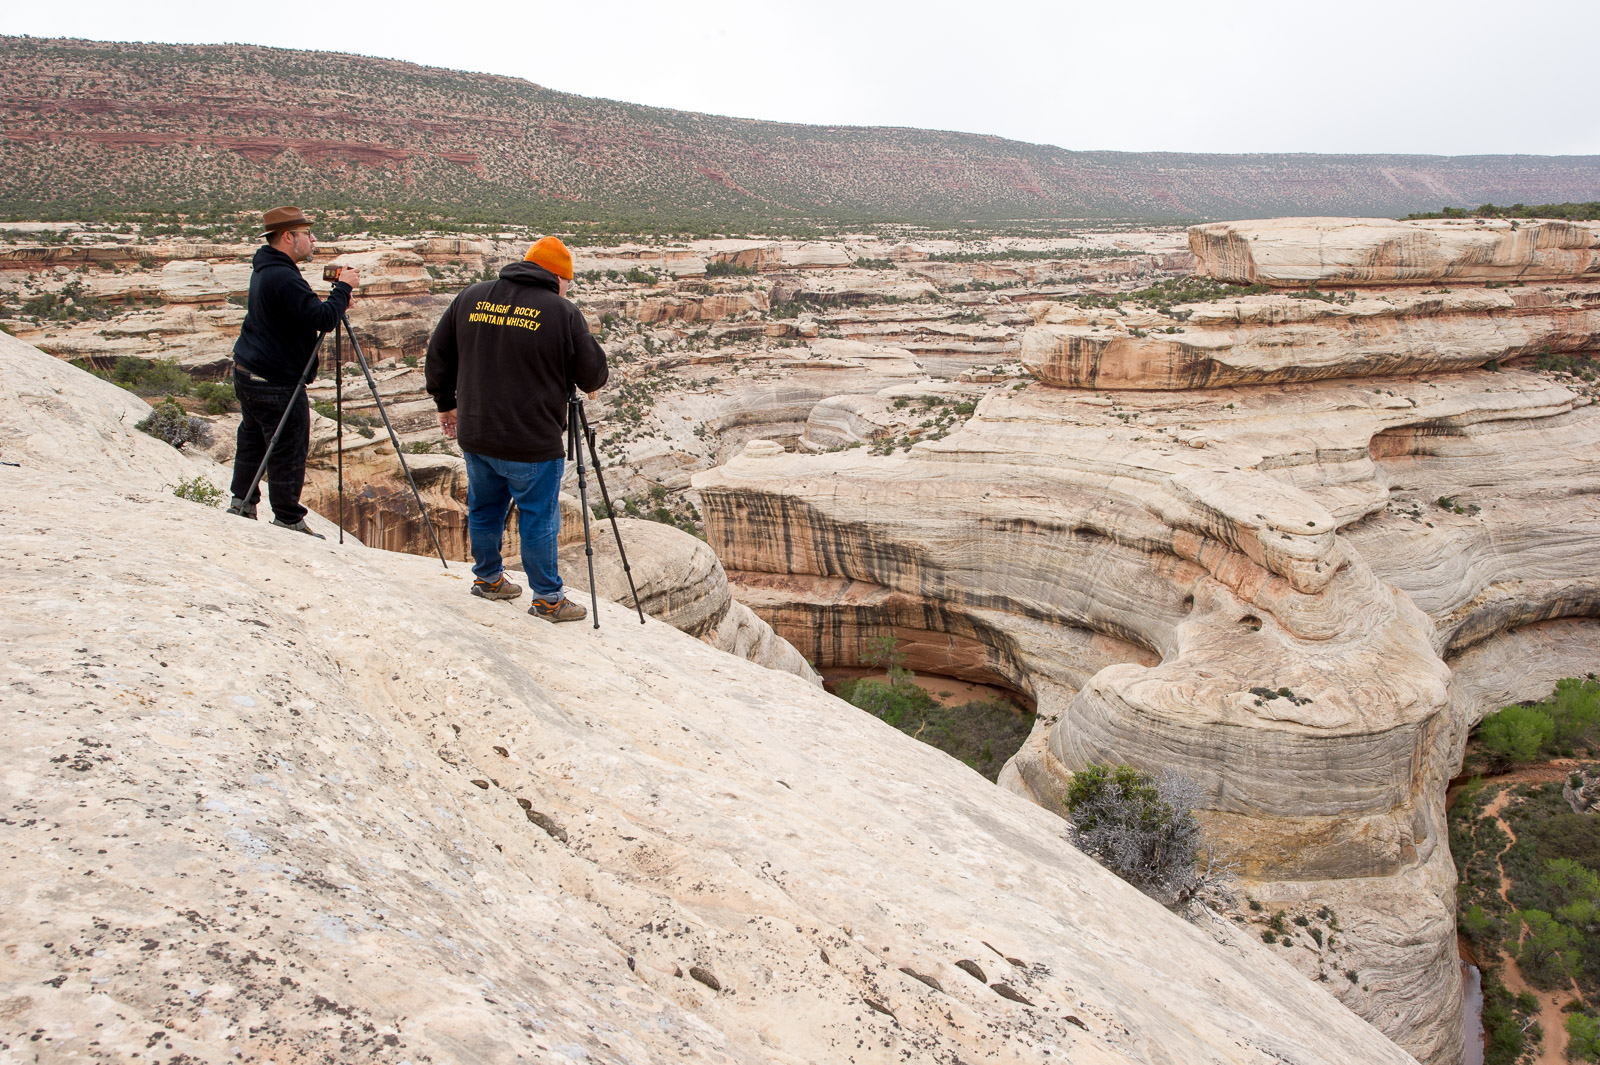
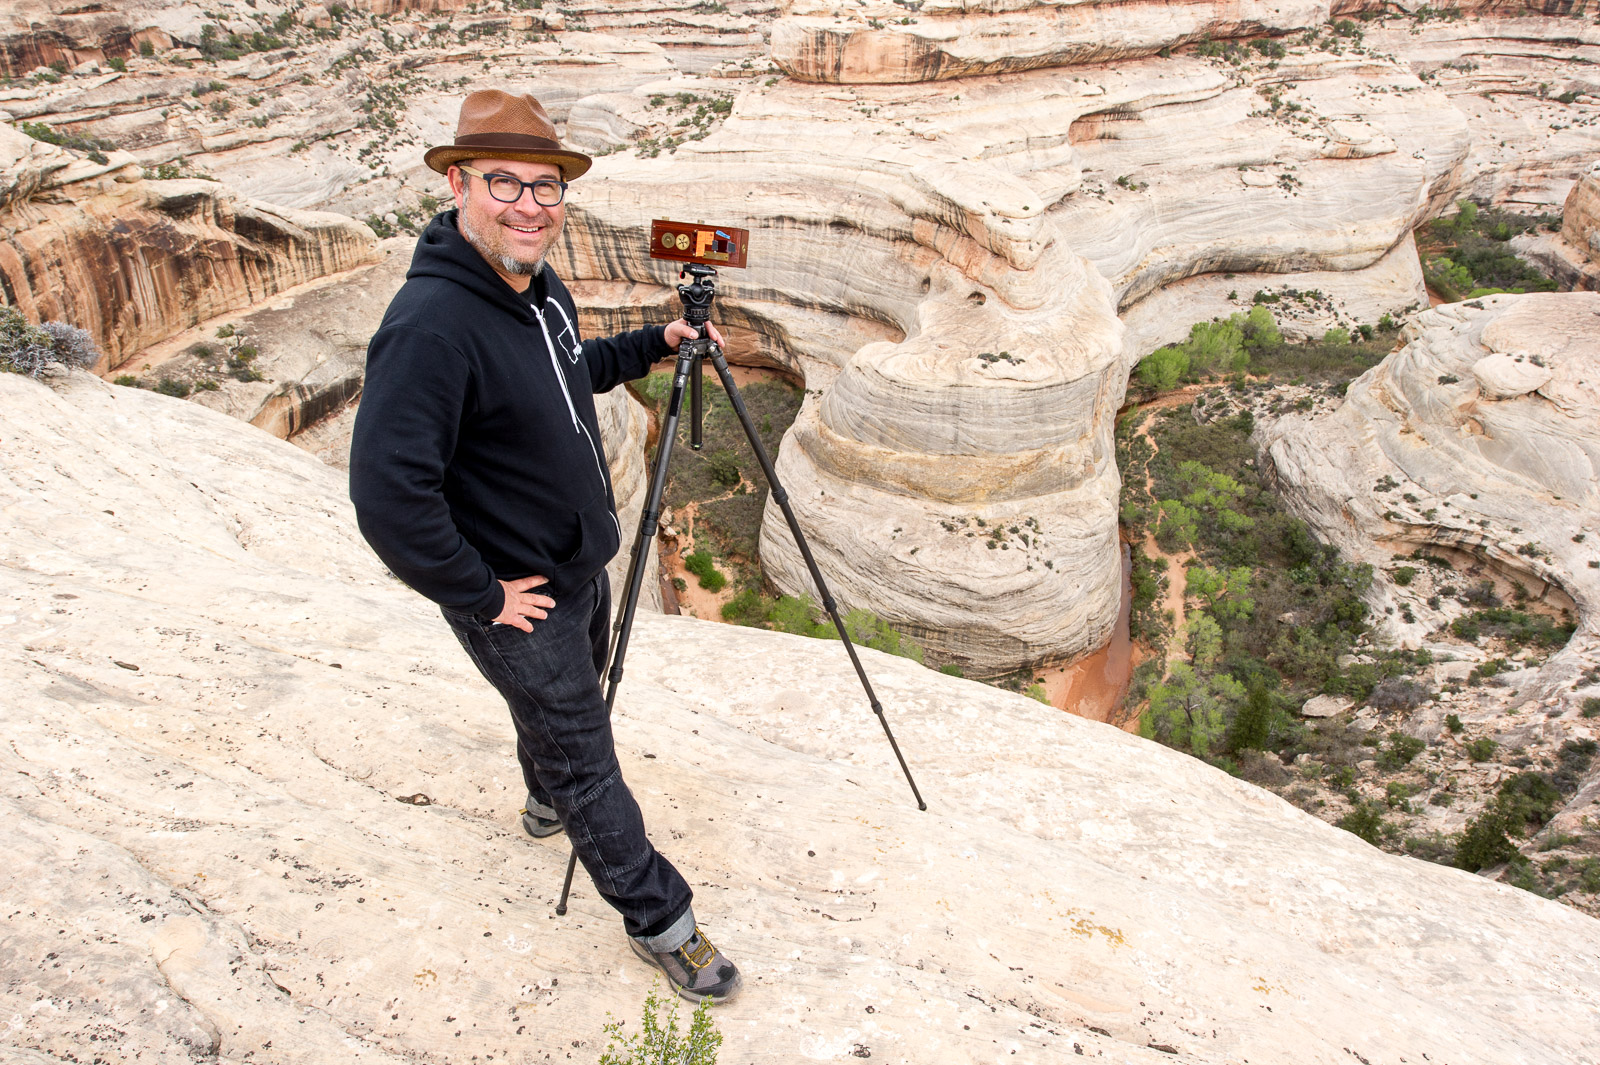
Natural Bridges National Monument is one of those special places. Located 40 miles from the nearest town in Southeast Utah, Natural Bridges is the oldest National Park Service site in Utah (1908) and was the first “Dark Sky Park” to be certified by the International Dark-Sky Association.

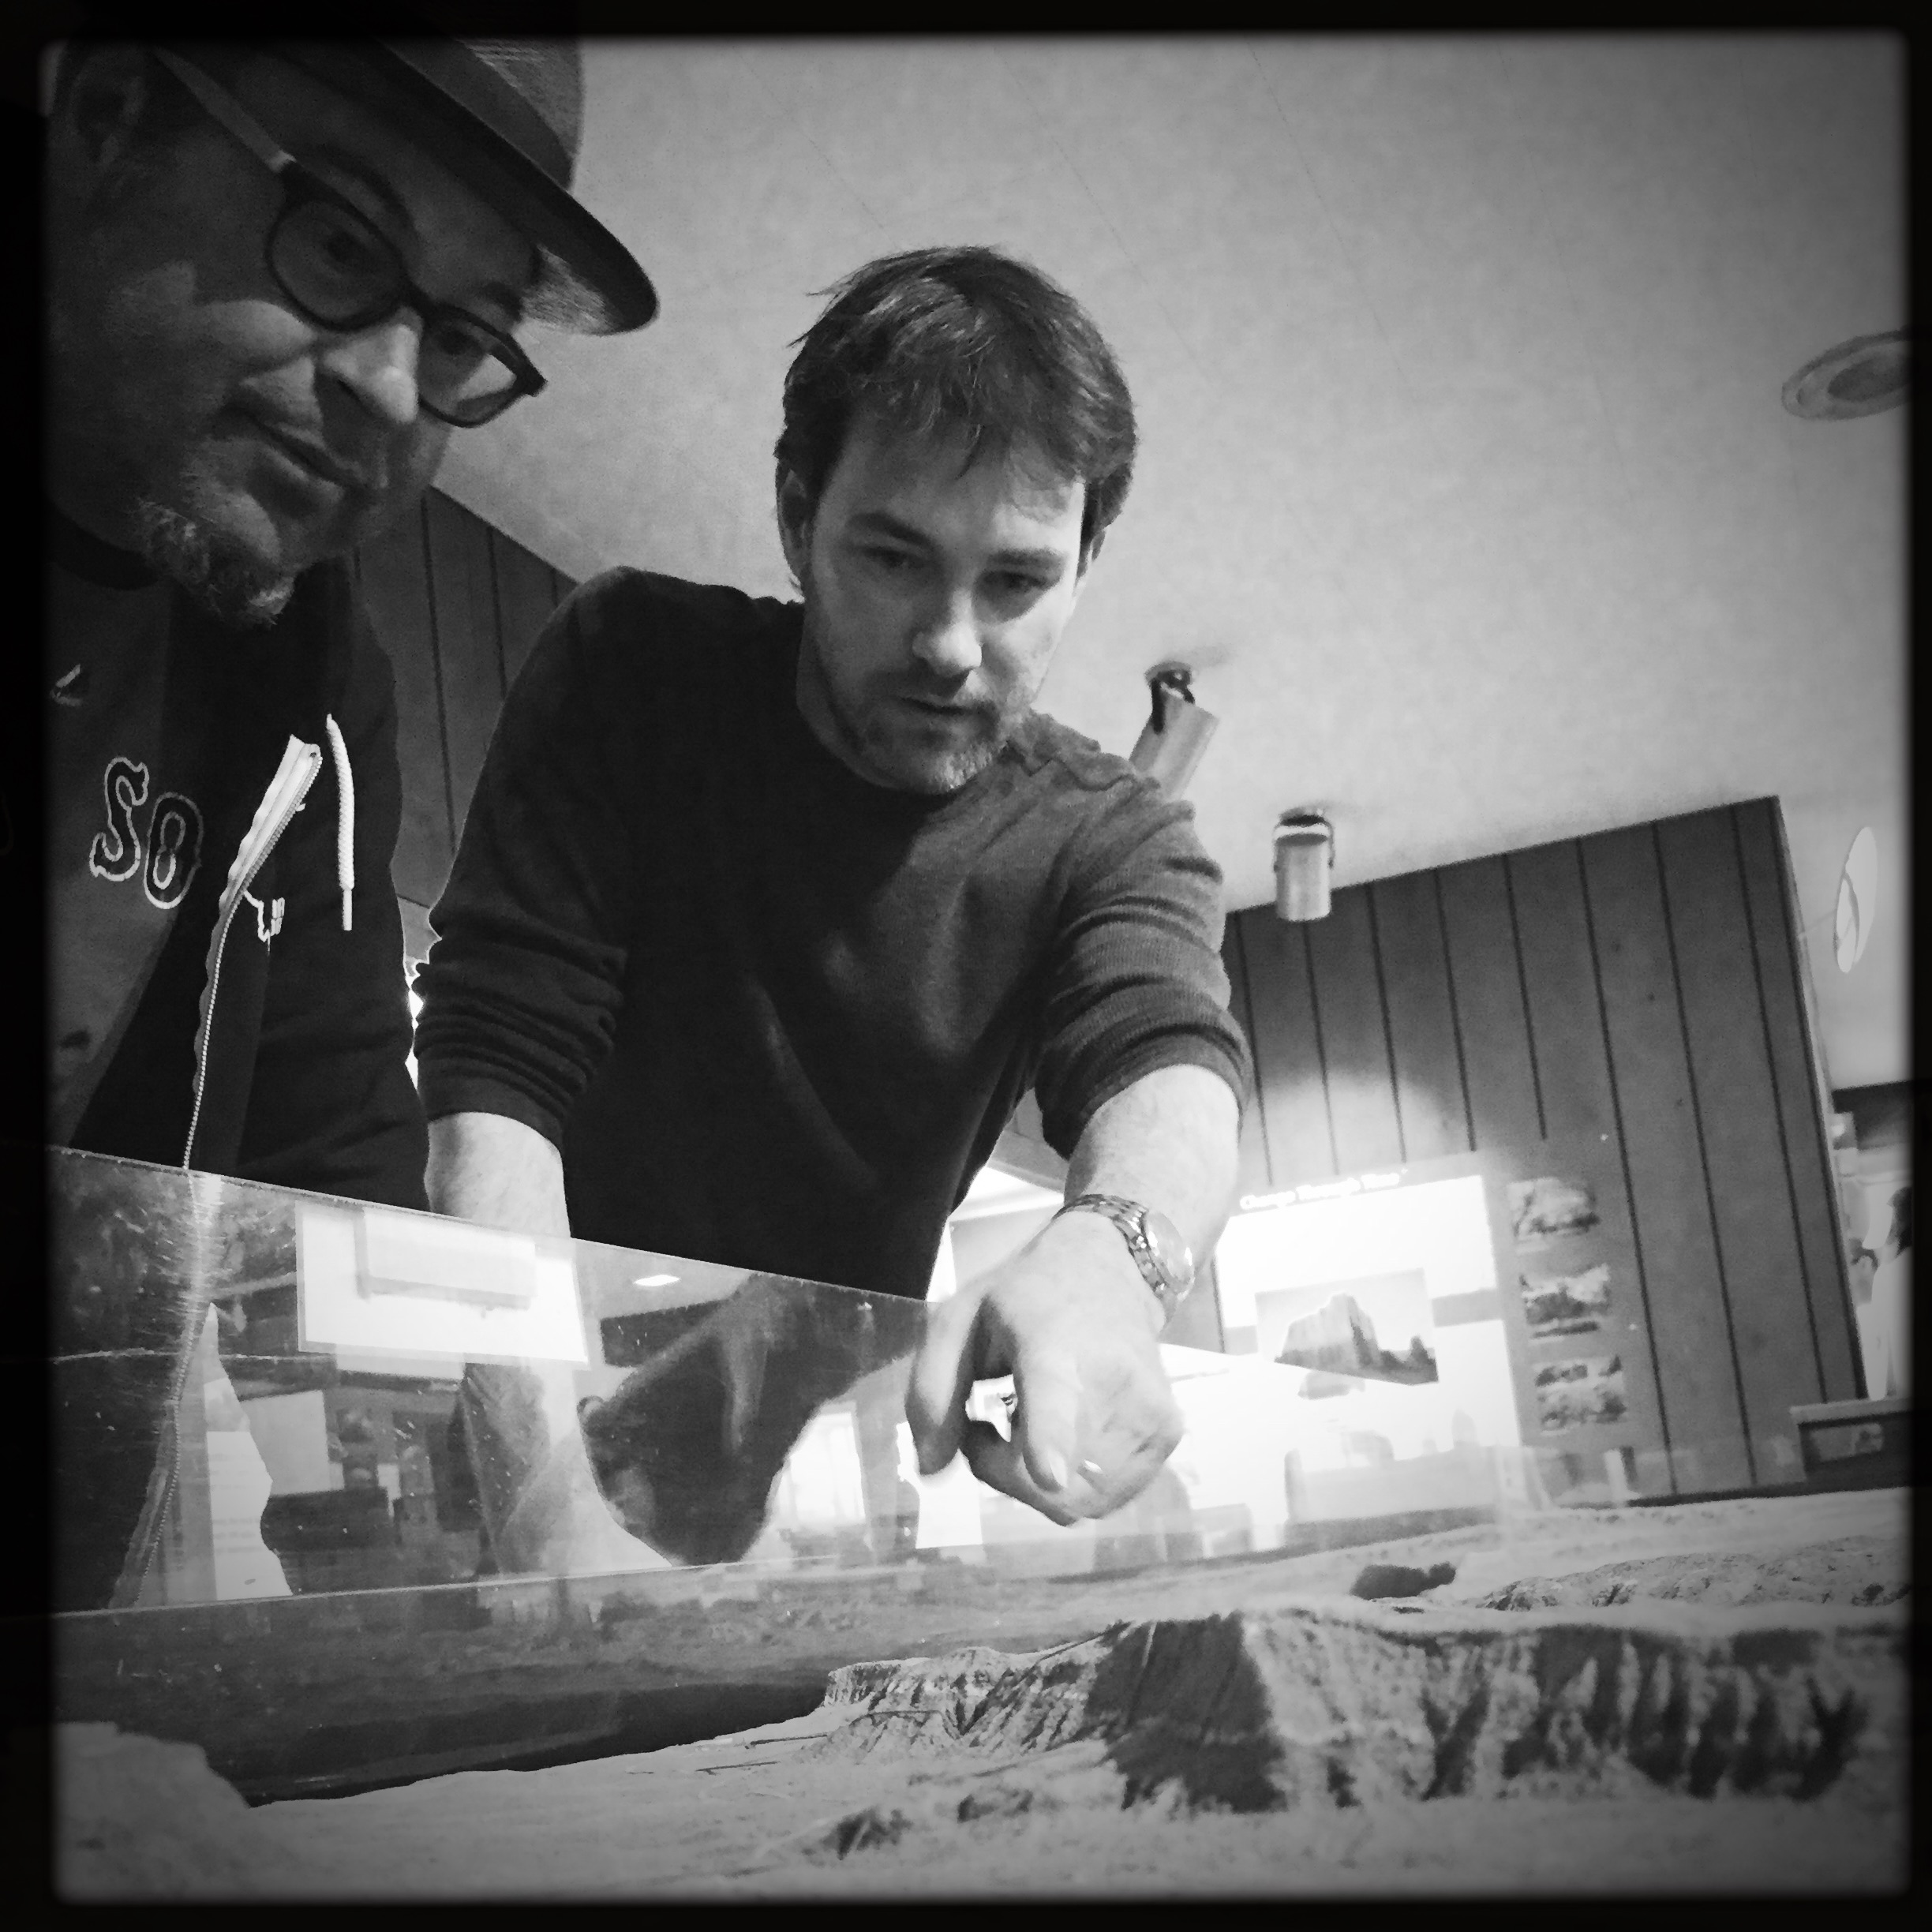
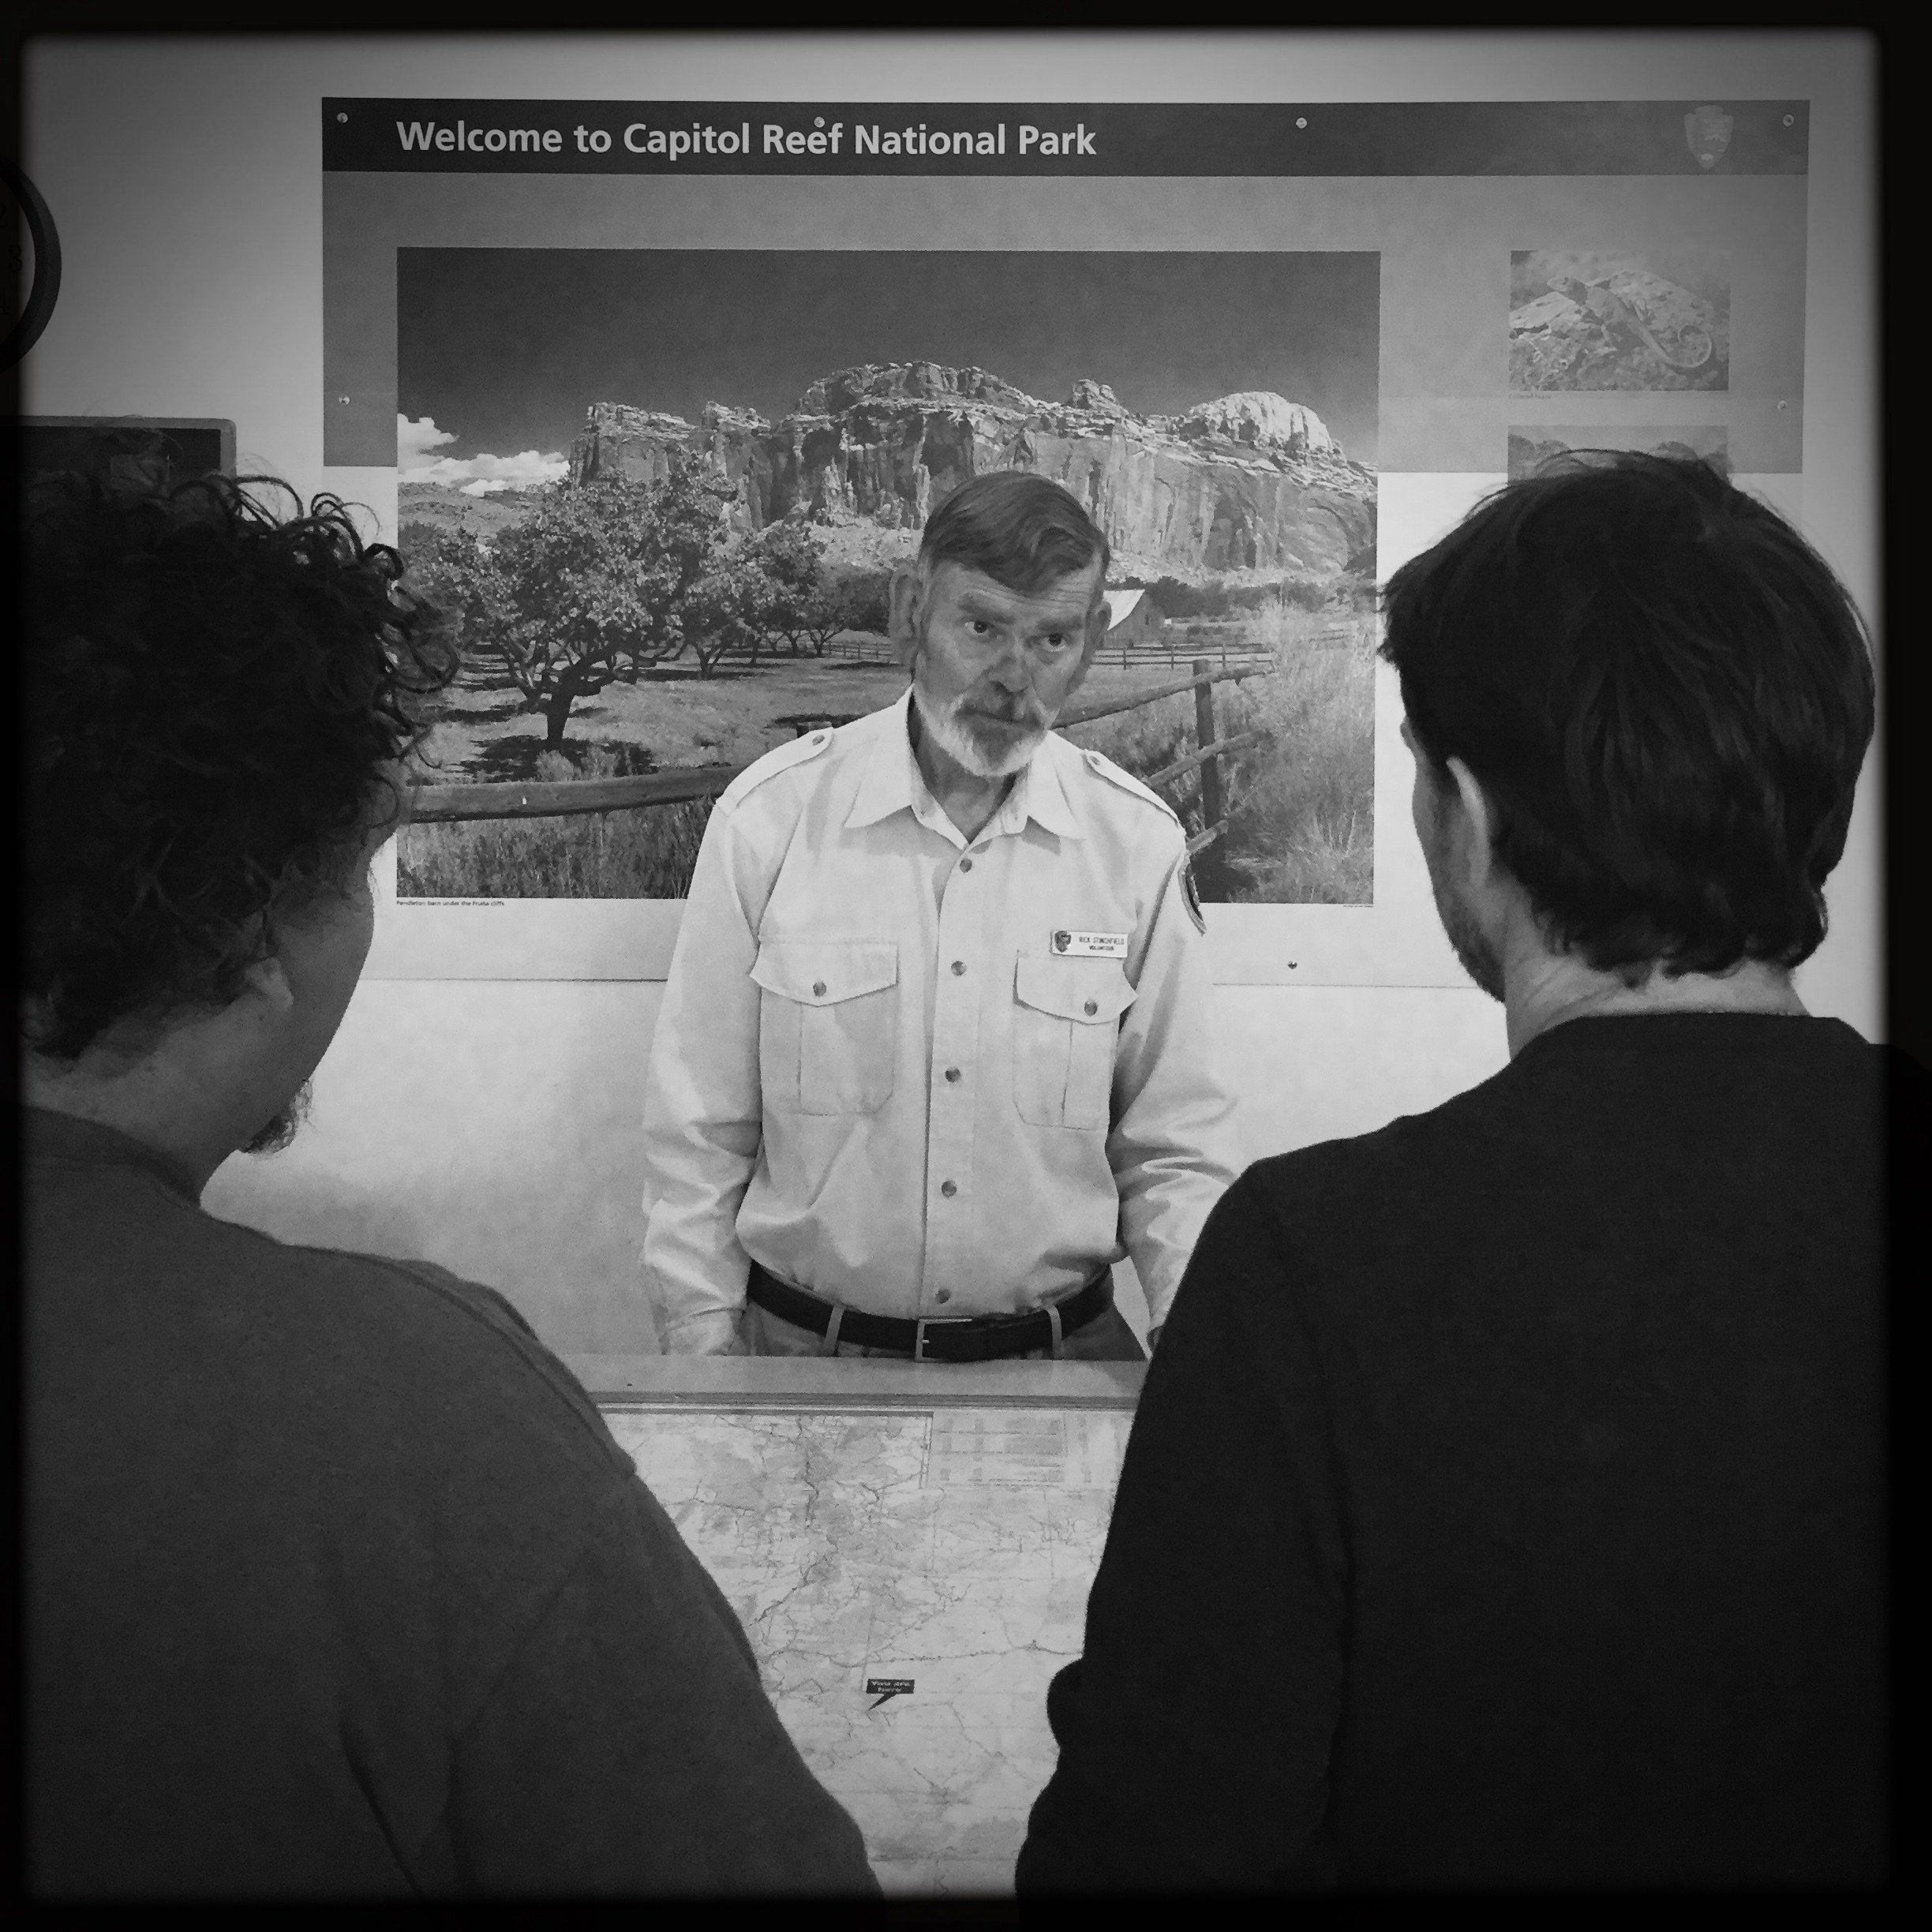
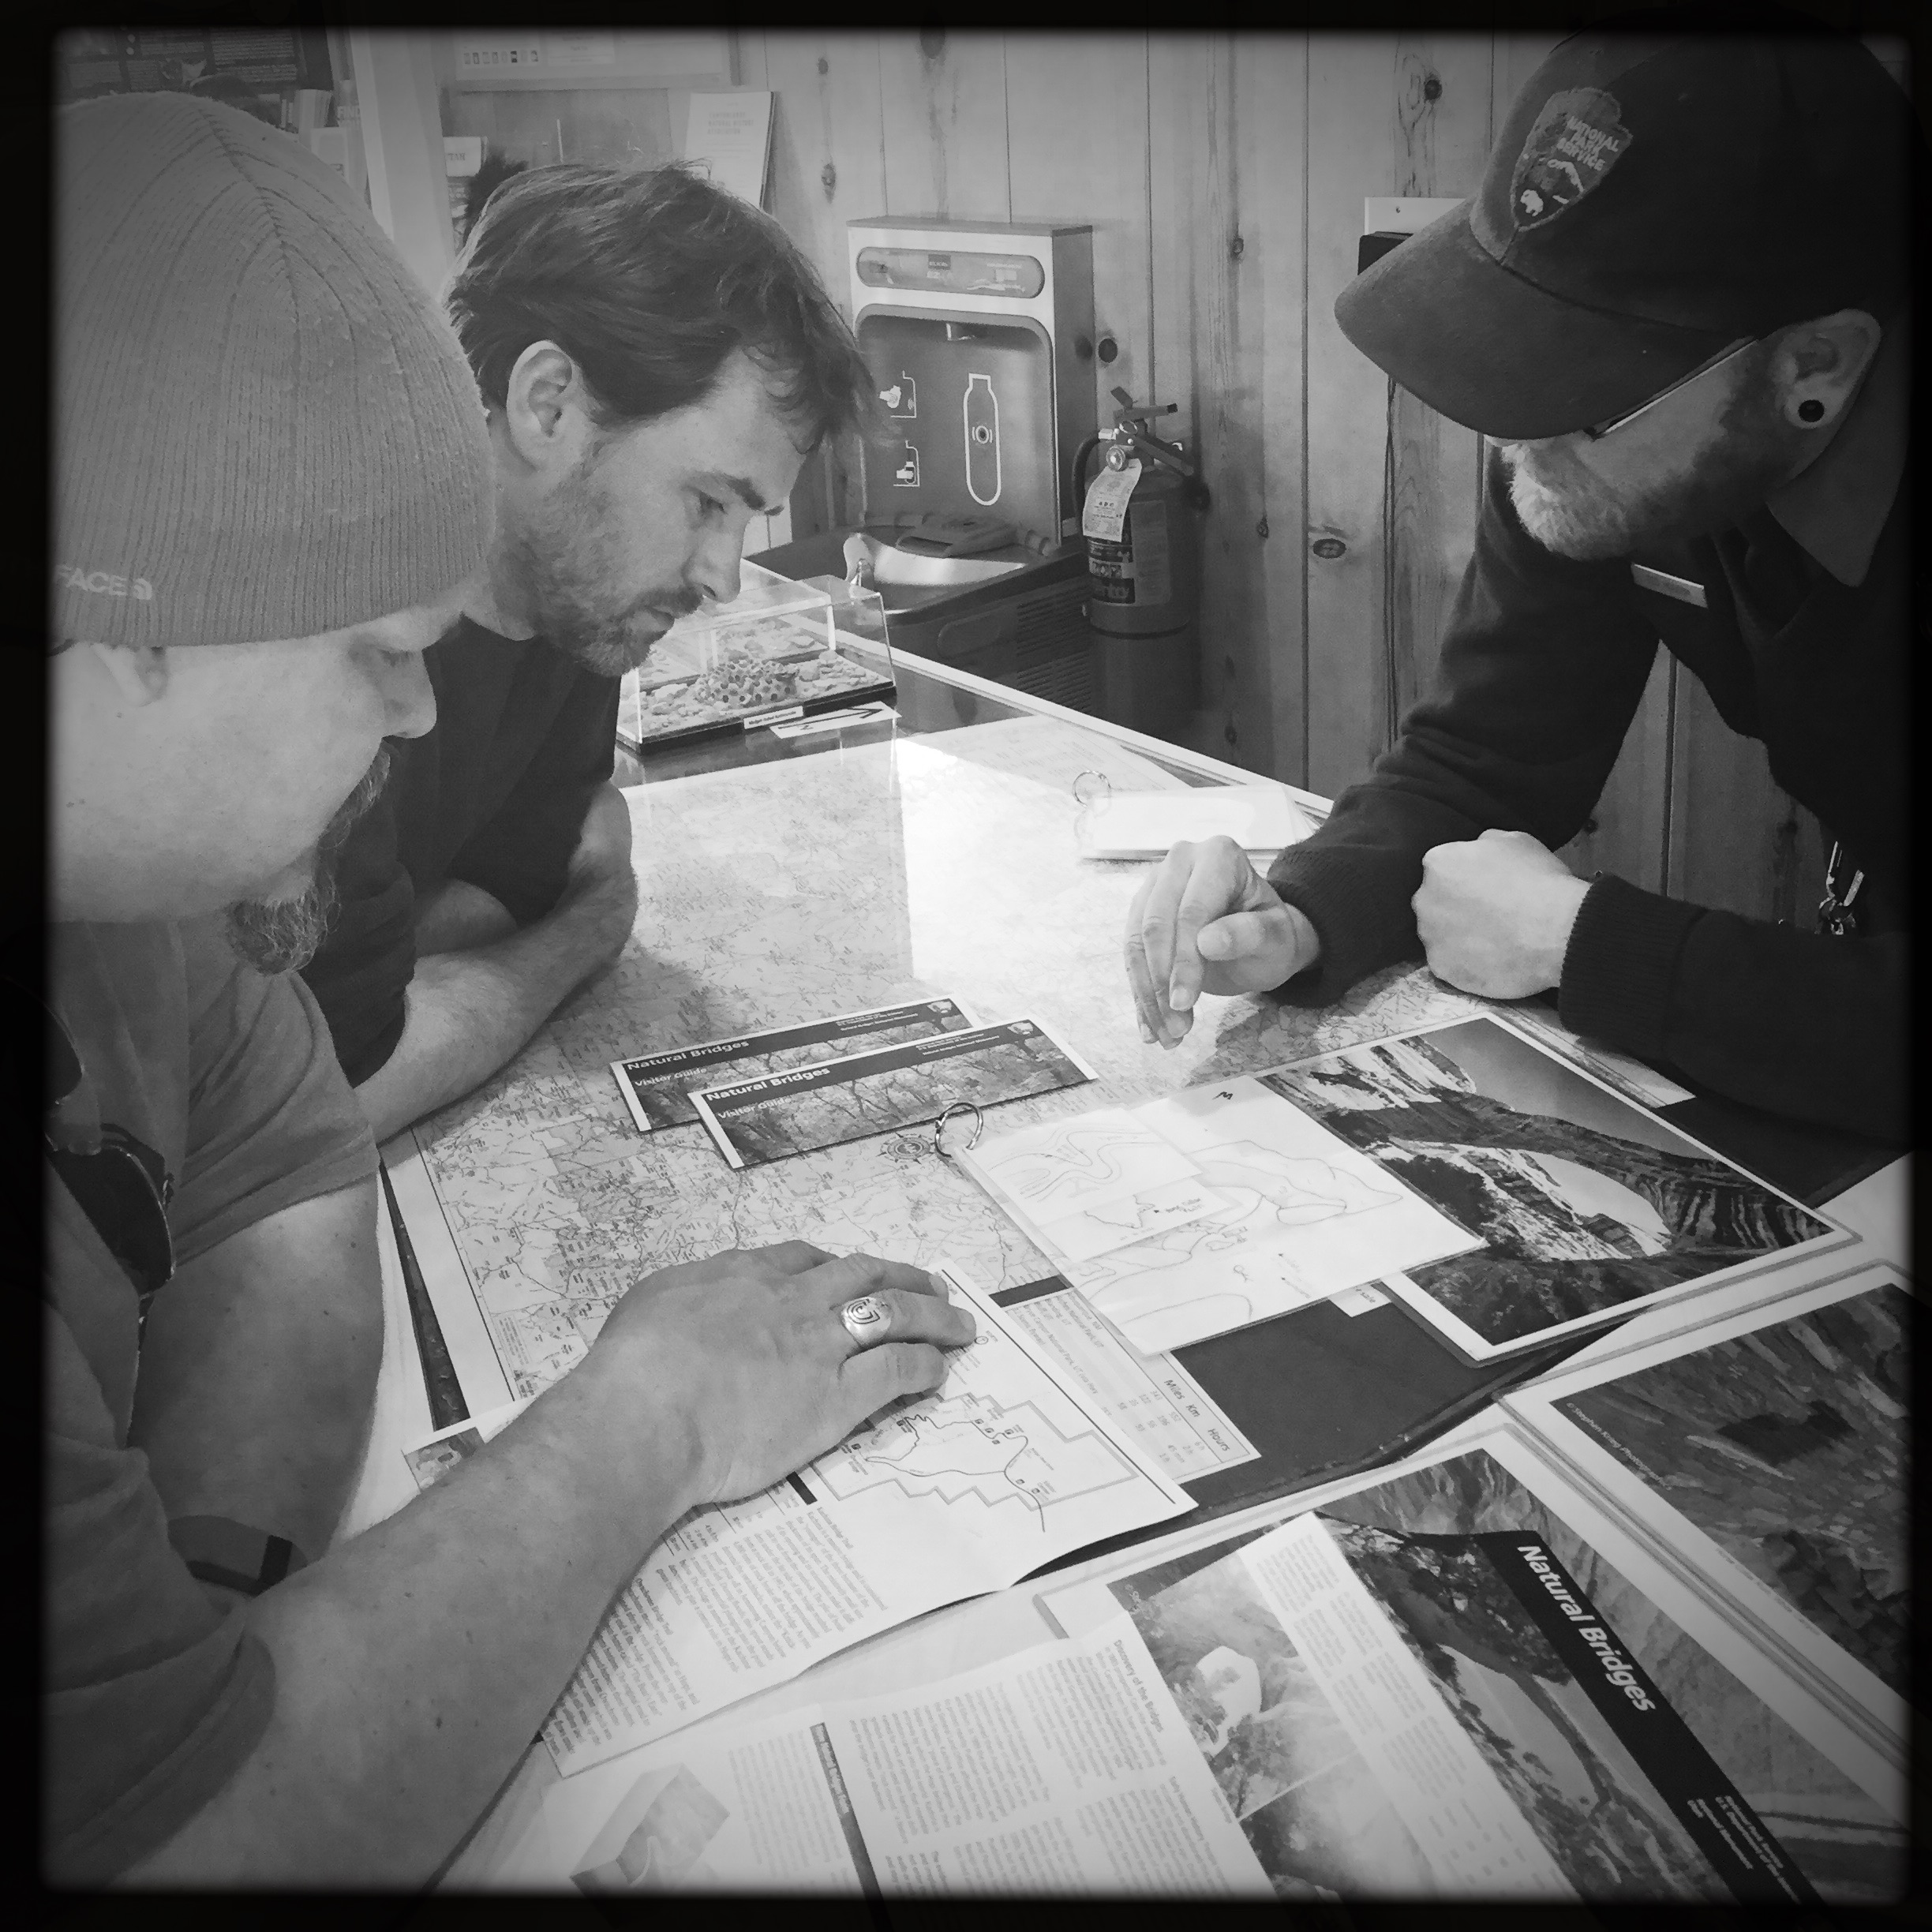
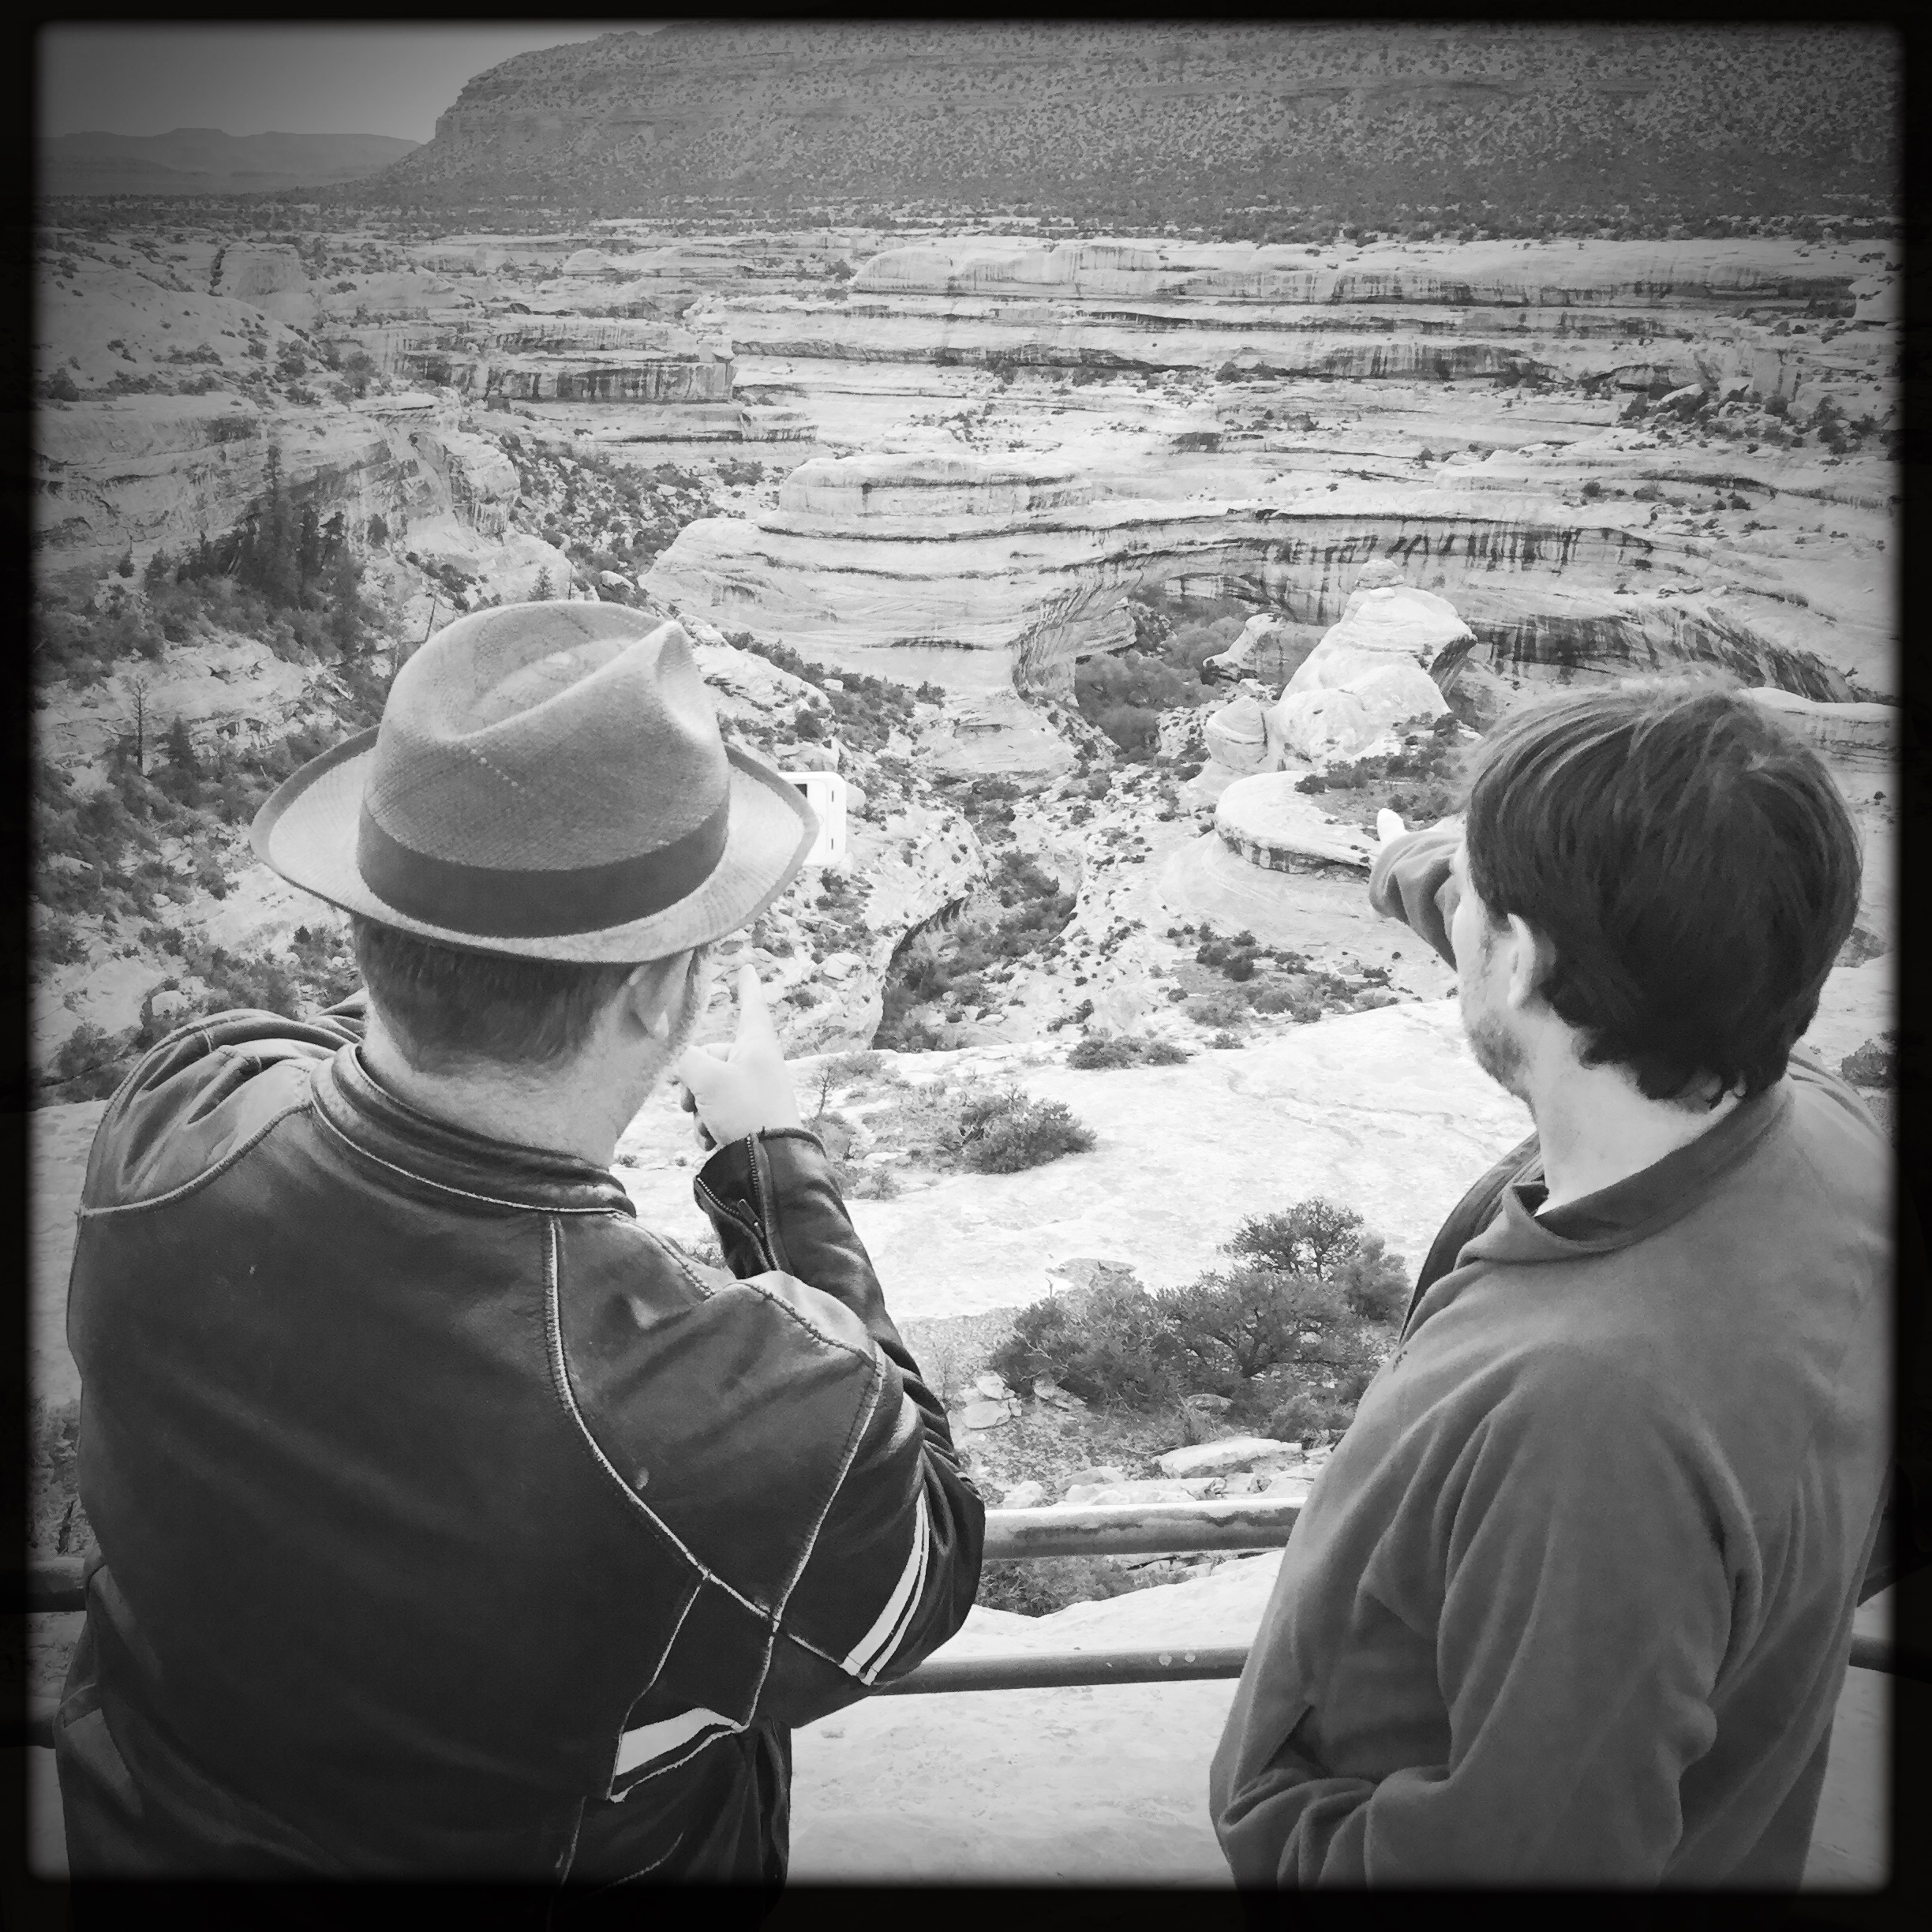
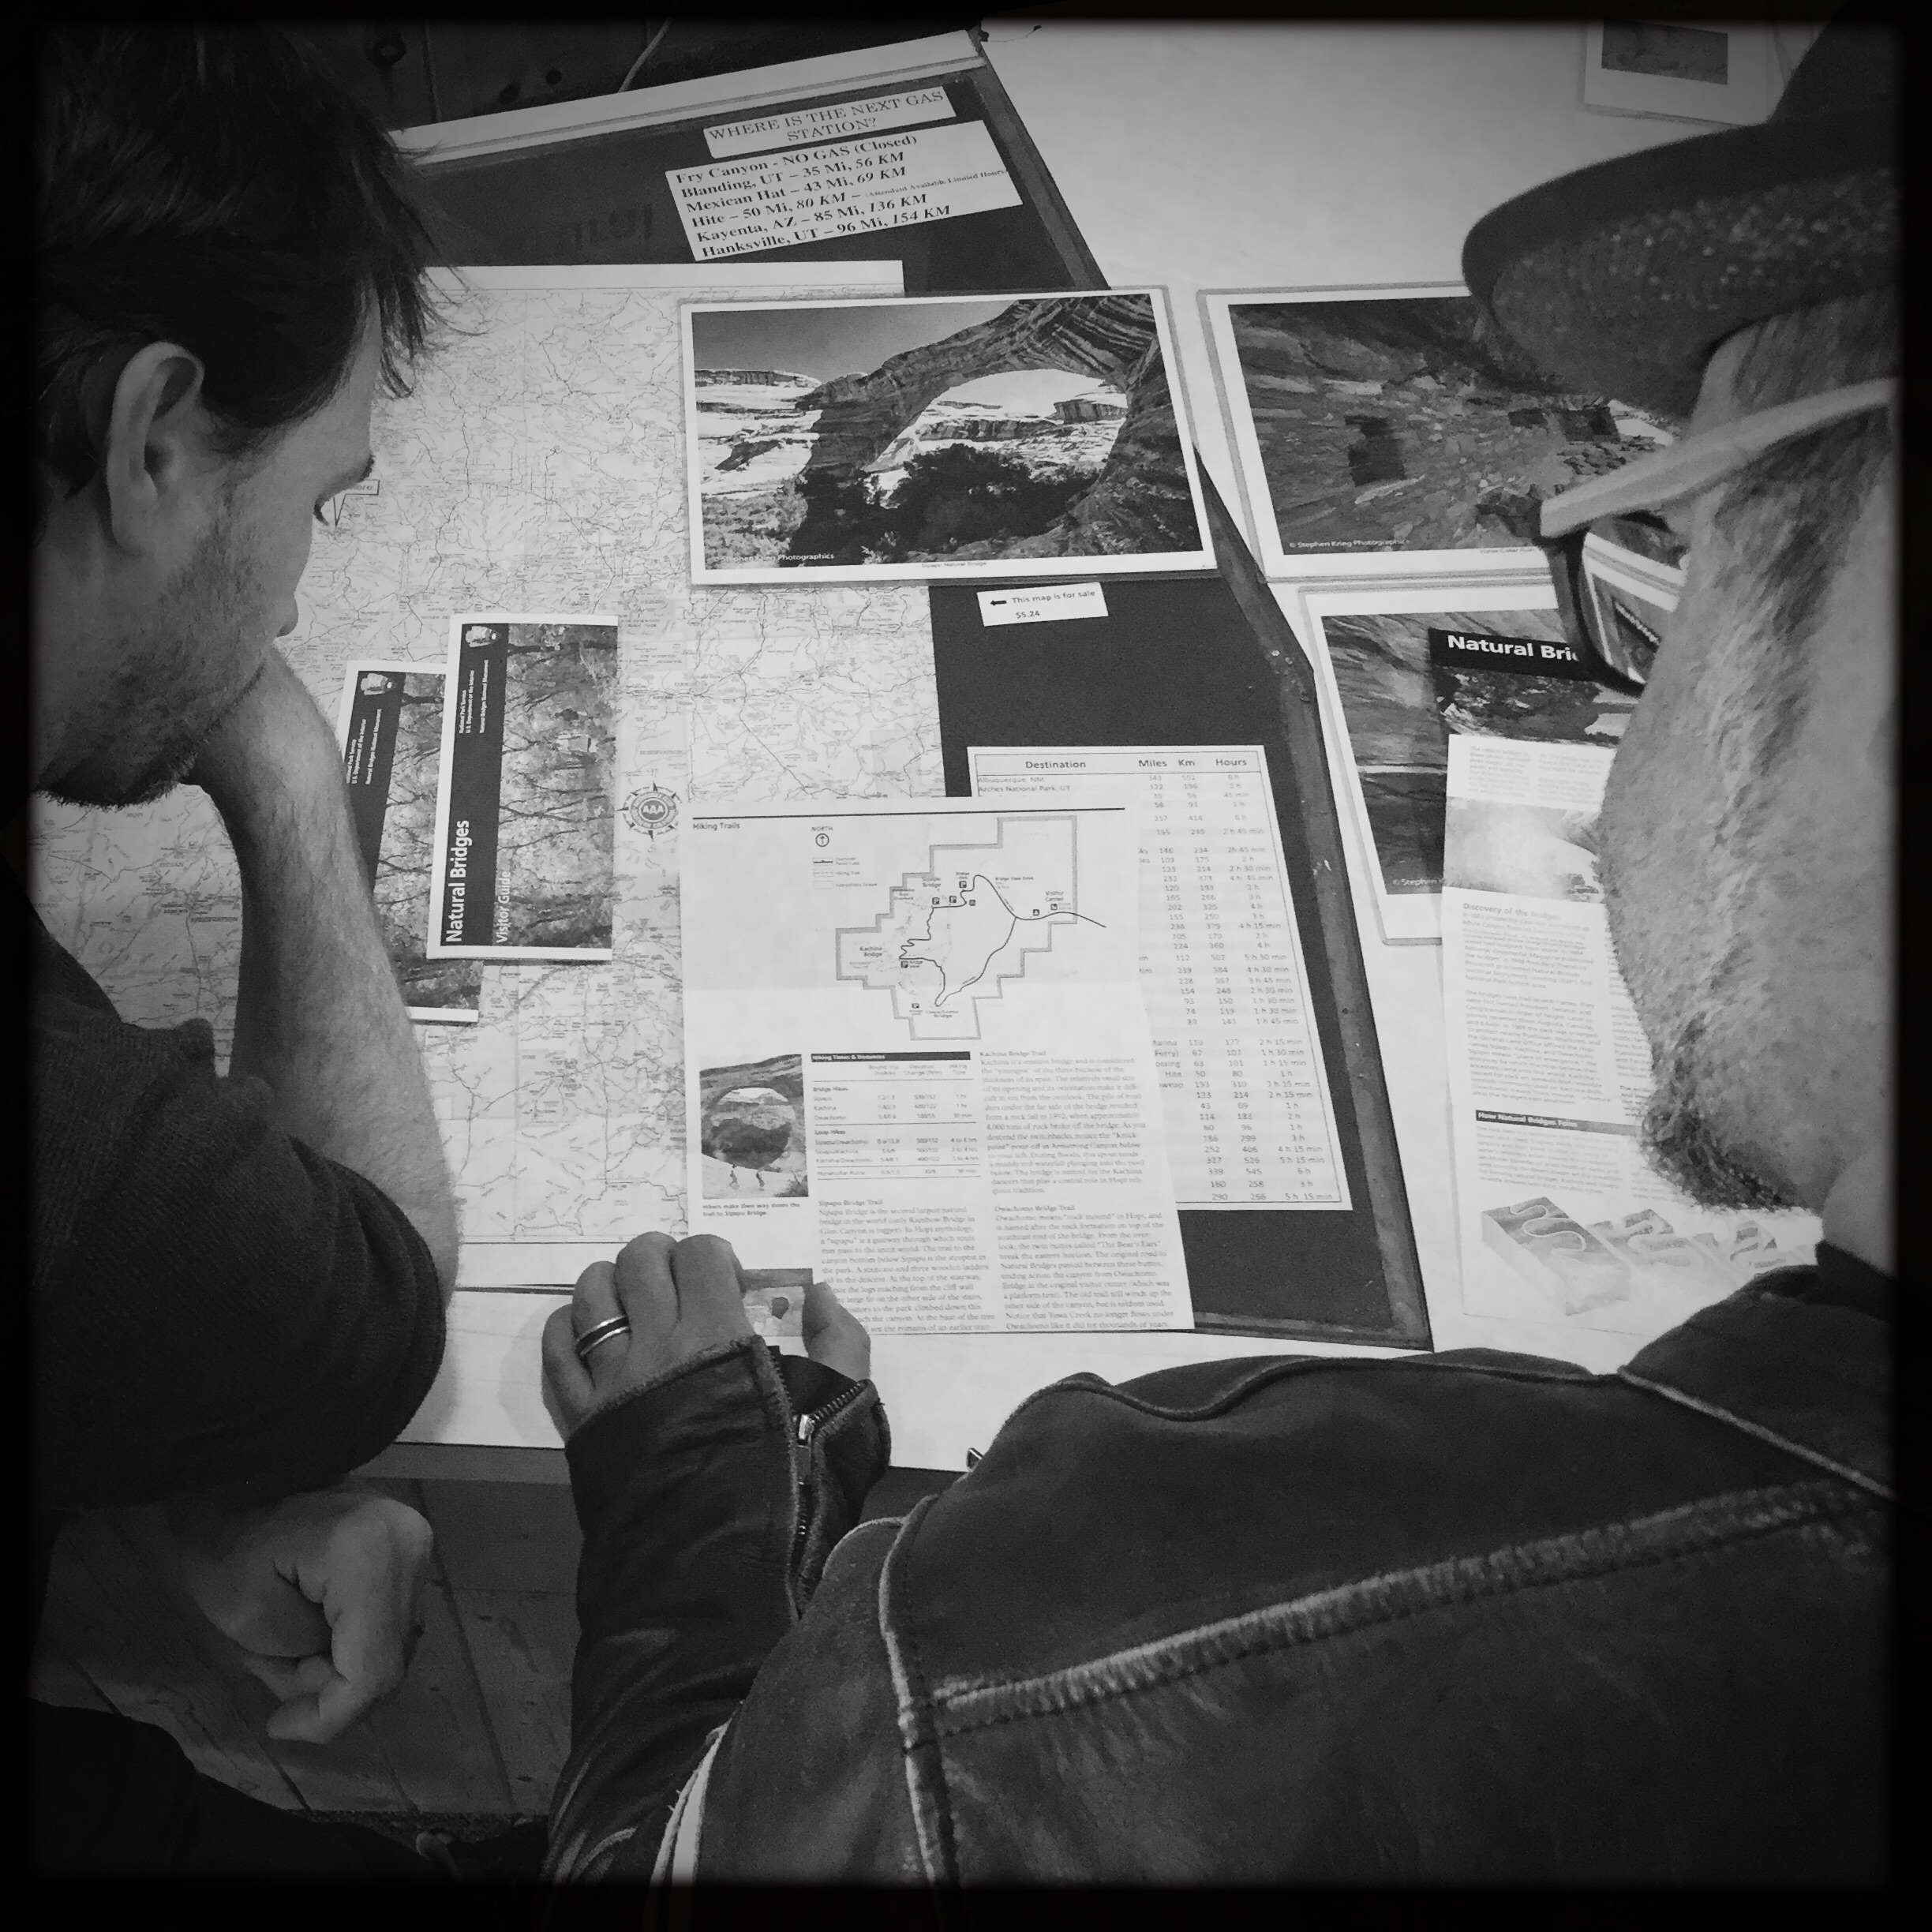
We arrived a few hours before sunset and had the most amazing conversation with Ranger Ted Hodson as he shared his stories, photographs and advice for how we could make the most of our one evening. Imagine three bridges that lie at the bottom of a deep canyon, formed from an ancient river over 260 million years ago.

You can do the 8-mile loop drive (in 20 minutes) and get little peeks of two of the three bridges, but the real adventure lies when you walk down the canyon and see the bridges act like windows to the stars.

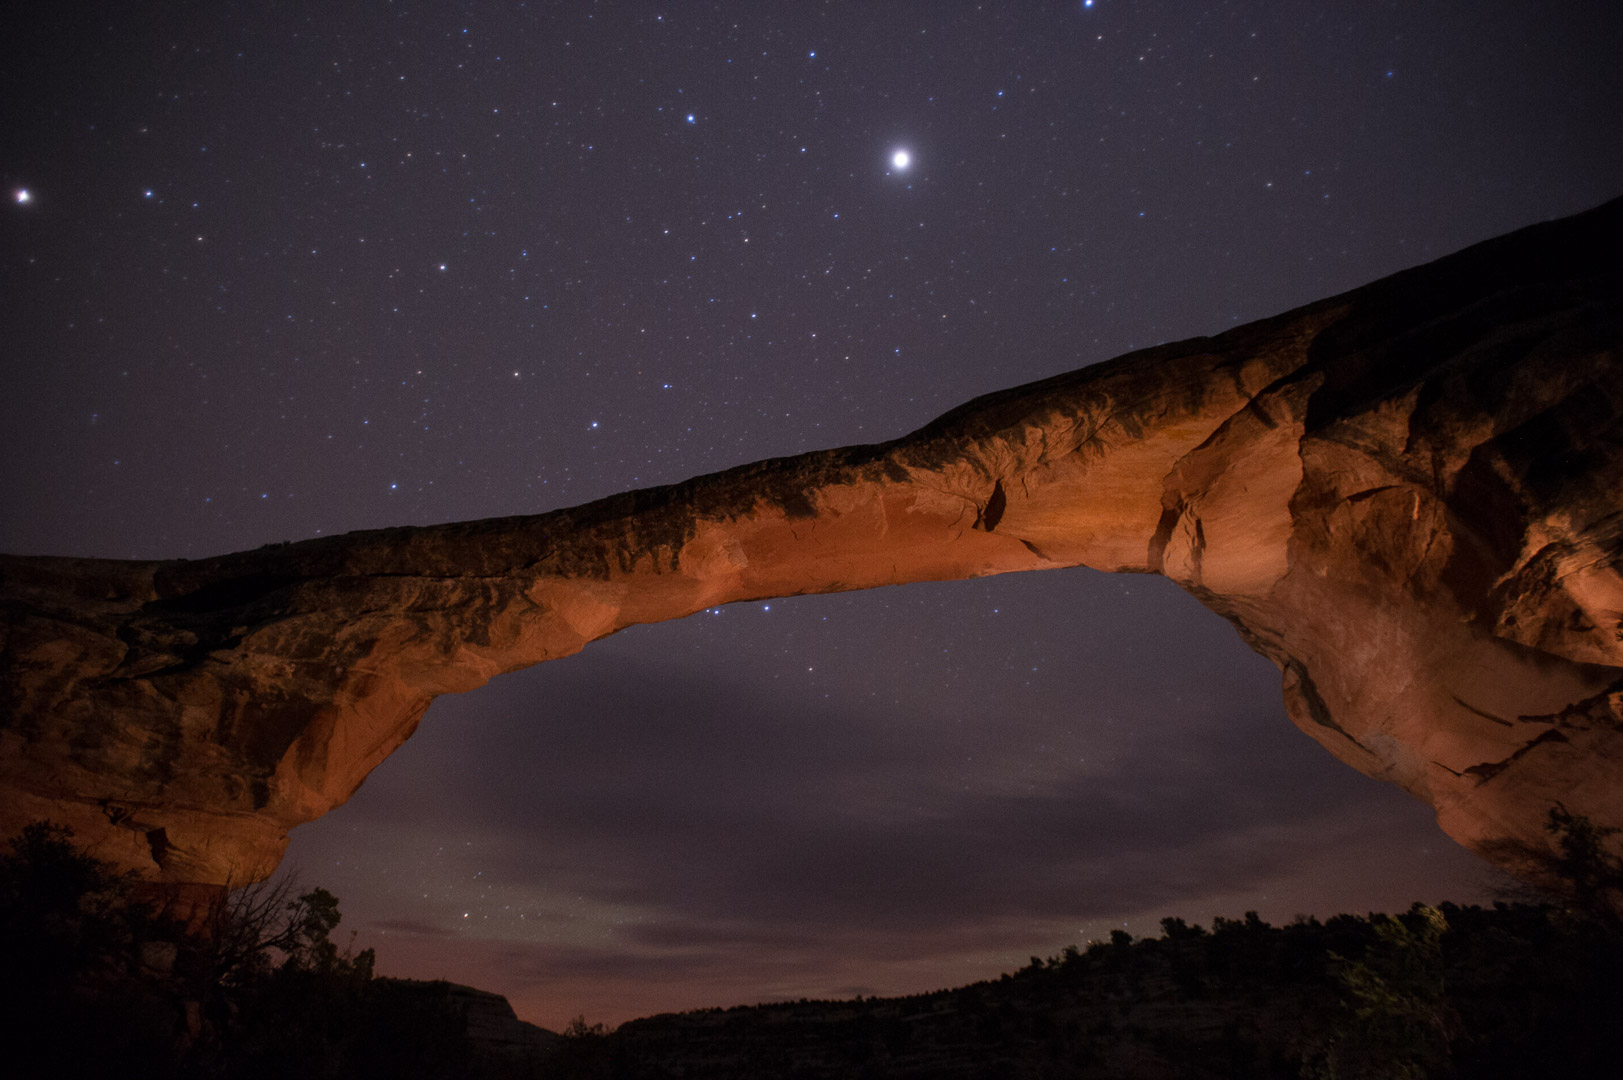
So that’s what we did. With overcast weather looming we chose the path to Owachoma—probably the most photographed of the three bridges. We had seen the images at the visitor center and were focused on looking for new angles. I put myself right under the bridge and Matt and Chris found an oblique angle to start brushing light under the bridge. The three of us worked together on a few more angles and group light painting until the clouds enveloped the stars.

They say you can see 15,000 stars on a clear night at Natural Bridges. I stopped counting after 500.

Visit the Natural Bridges Official NPS Website to plan your visit! 


Thanks for reading. Tell us if you participated, and how, in National Park Week. Did you #findyourpark? We'd love to hear more!

Job well done.

Job well done.


Upcoming workshops from National Parks at Night

National Park Service Centennial Rife With Events for Photographers

National Park Service Centennial Rife With Events for Photographers

You may have heard … 2016 is the centennial of the National Park Service.

To celebrate, pretty much every park is planning special events and activities, many of which will be of interest to photographers. A few examples that were announced before the end of last year: