In my 20 years of teaching night photography, there is one thing I’ve found that can make a huge difference in both the consistency and quality of your images, as well as reducing your frustration and increasing your enjoyment in the field. It’s not glamorous, it’s not sexy, but it will make you a better photographer.
You’ve probably heard the term “mindfulness” before. Before you roll your eyes and click off of this page, be assured that I’m not going to get all spiritual and New Agey on you. Hear me out.
As the website Mindful.org defines it, “Mindfulness is the basic human ability to be fully present, aware of where we are and what we’re doing, and not overly reactive or overwhelmed by what’s going on around us.”
Being present. Focused. Intentional. It’s a simple concept, but one that many of us find increasingly difficult in today’s chaotic, digitally “enhanced” world. It’s certainly something I struggle with. But I promise, it will make you a better night photographer.
How to be Mindful at Night
There are numerous ways to apply the concept of mindfulness to photography, from the way you observe the world to the way you edit your images, but what I’m suggesting here has to do with your workflow.
We tend to think of workflow as beginning when we download our images, but really it begins when you decide to go out and photograph. Every little decision that we make—or don’t make—impacts everything that comes afterward. If you have a checklist, and if you go over it before you head out to make images, then you will always have the gear you need, your batteries will always be fully charged, and you will never waste amazing images because you accidentally shot with image quality set to “JPG Small” at ISO 1,000,000.
“Some people are more naturally inclined to working methodically, while others require intense effort to discipline themselves. Whichever category you fall under, I promise that it’s worth the effort.”
Perhaps the most important thing I teach during night photography workshops is that everyone should consciously develop their own field workflow. By this, I simply mean creating a sequence of repeatable steps that you do every time you set out for a location, and every time you push the shutter release. Doing so means that a much higher percentage of your images will end up being keepers, and that you will be able to see more clearly what worked and what didn’t in your shoots. Some people are more naturally inclined to working methodically, while others require intense effort to discipline themselves. Whichever category you fall under, I promise that it’s worth the effort.
With that in mind, I’m going to share my workflow with you. But I’m not trying to get you to do what I do. Rather, I’m sharing it as an example with hope that it will help you develop your own working methods that get you the results that you are looking for. Each of us at NPAN has our own procedure that we follow. There isn’t a right or a wrong way to do this—the key is to figure out what works for you.
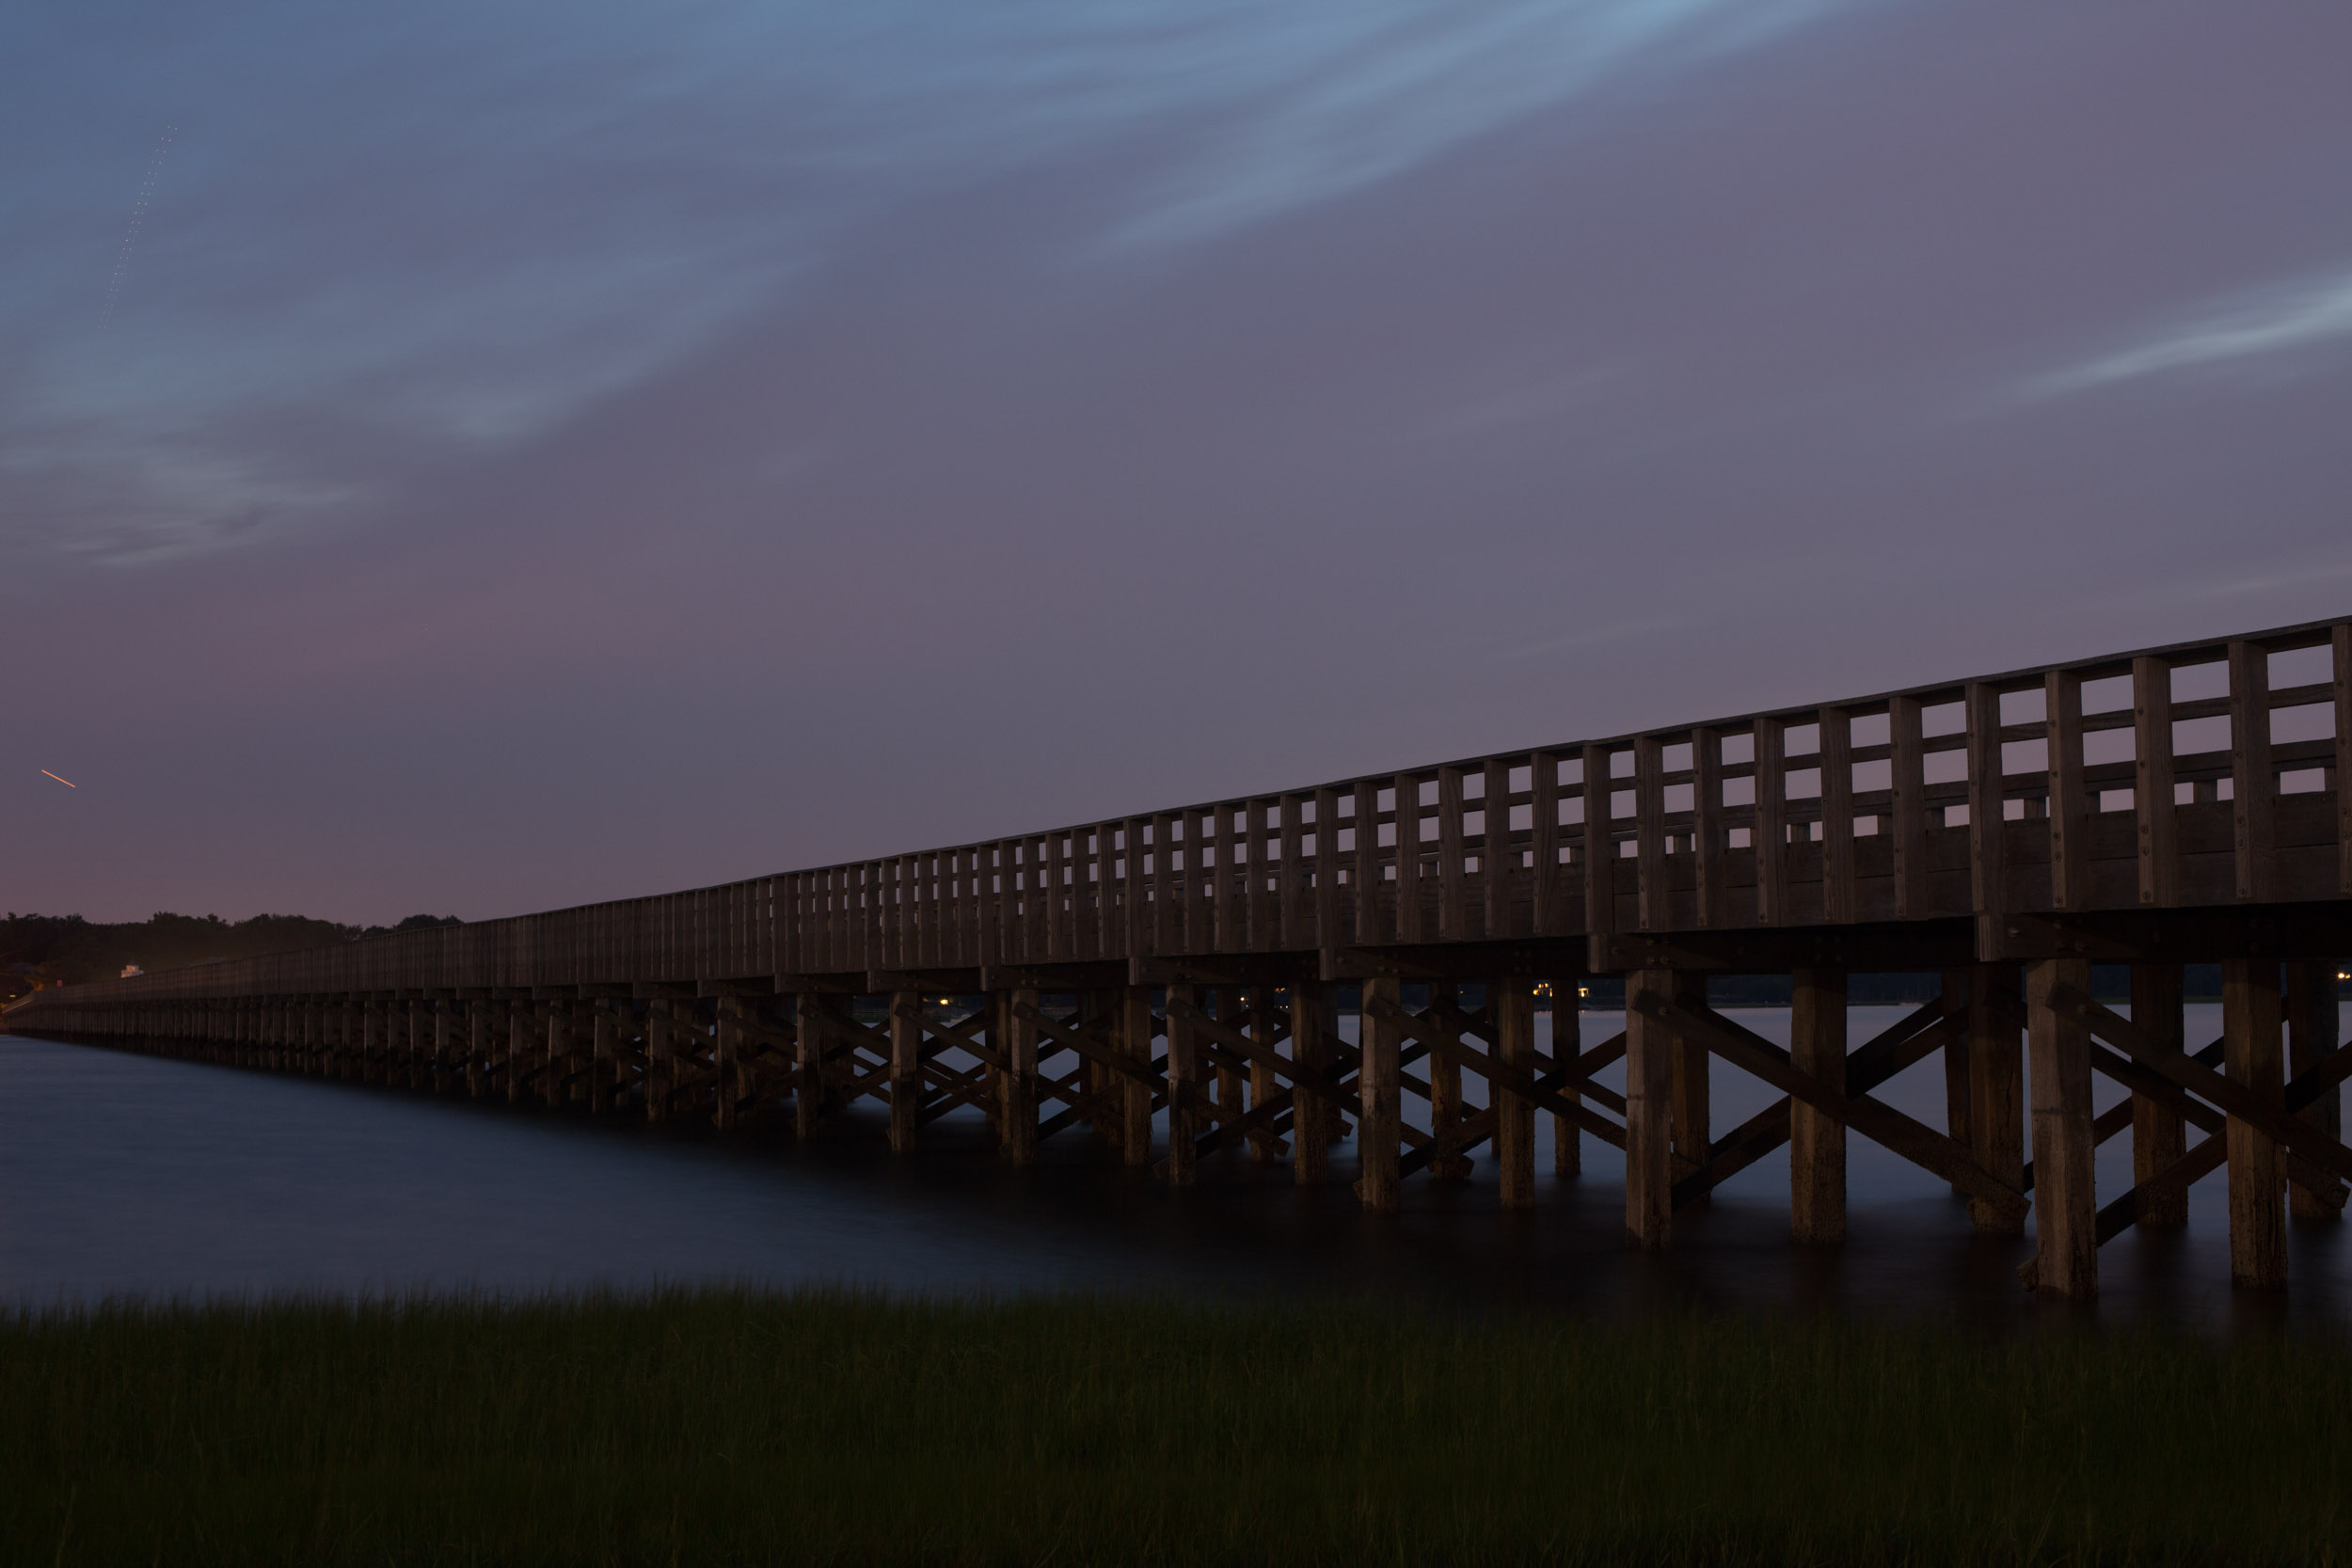
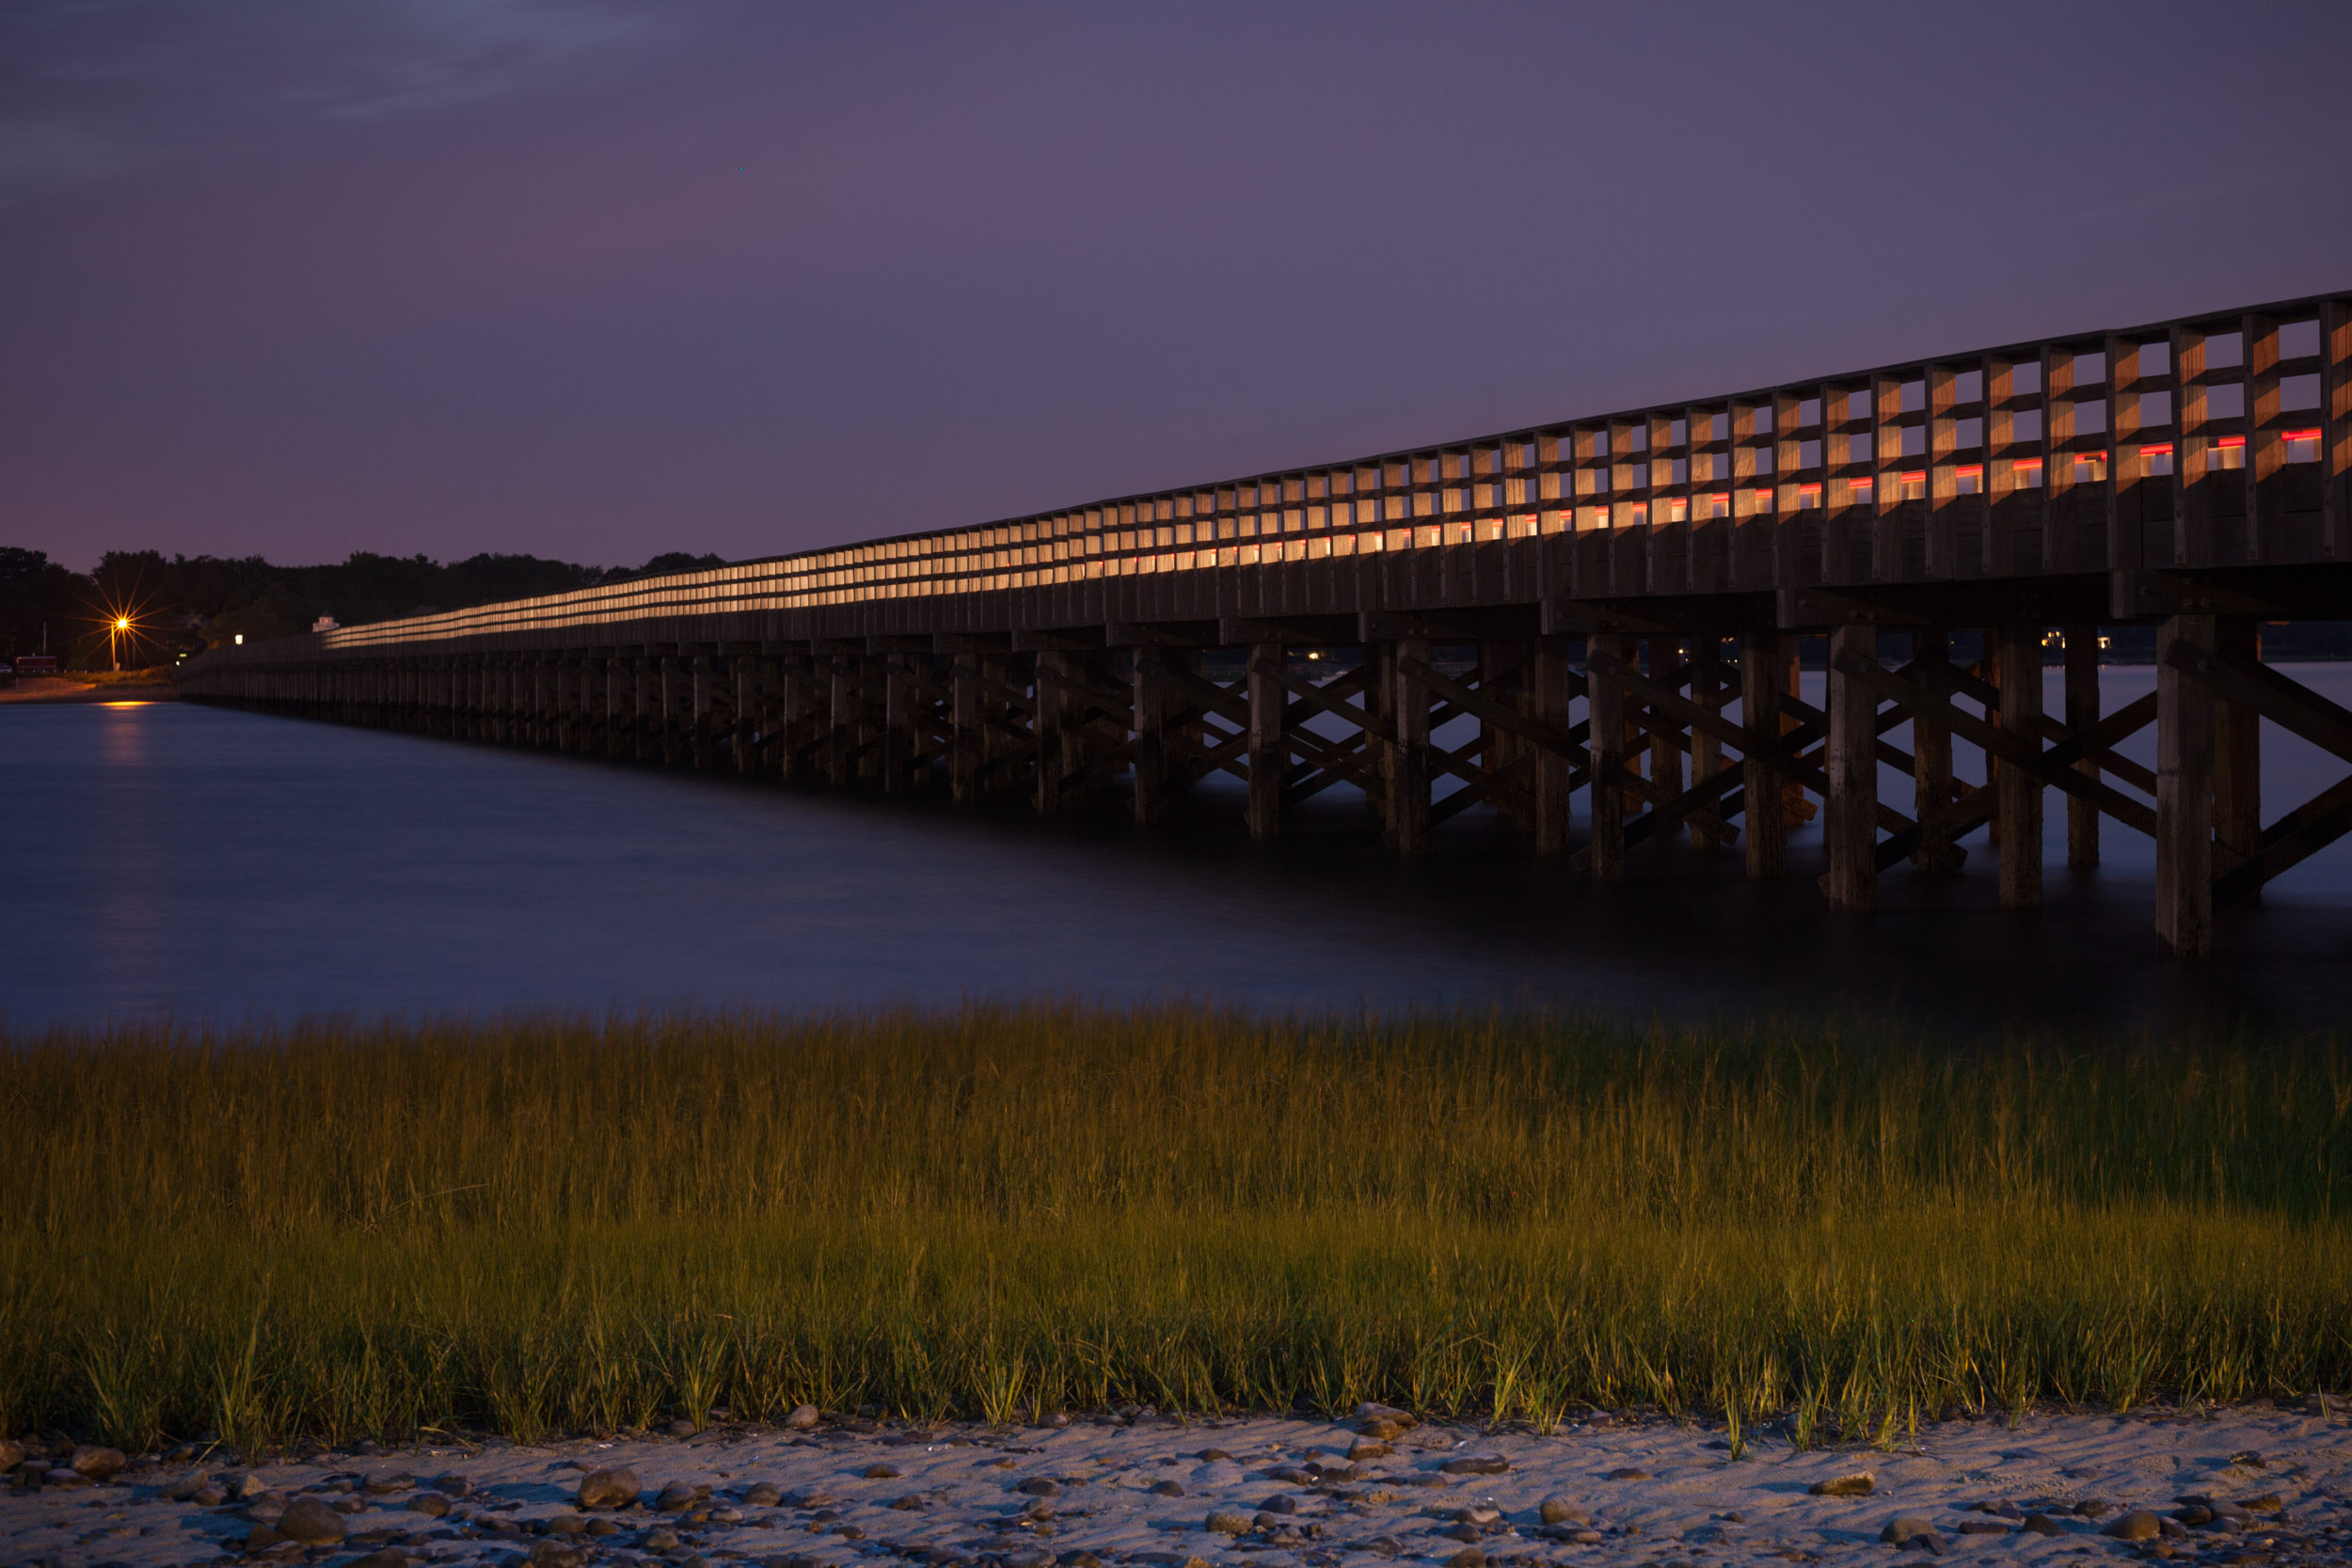
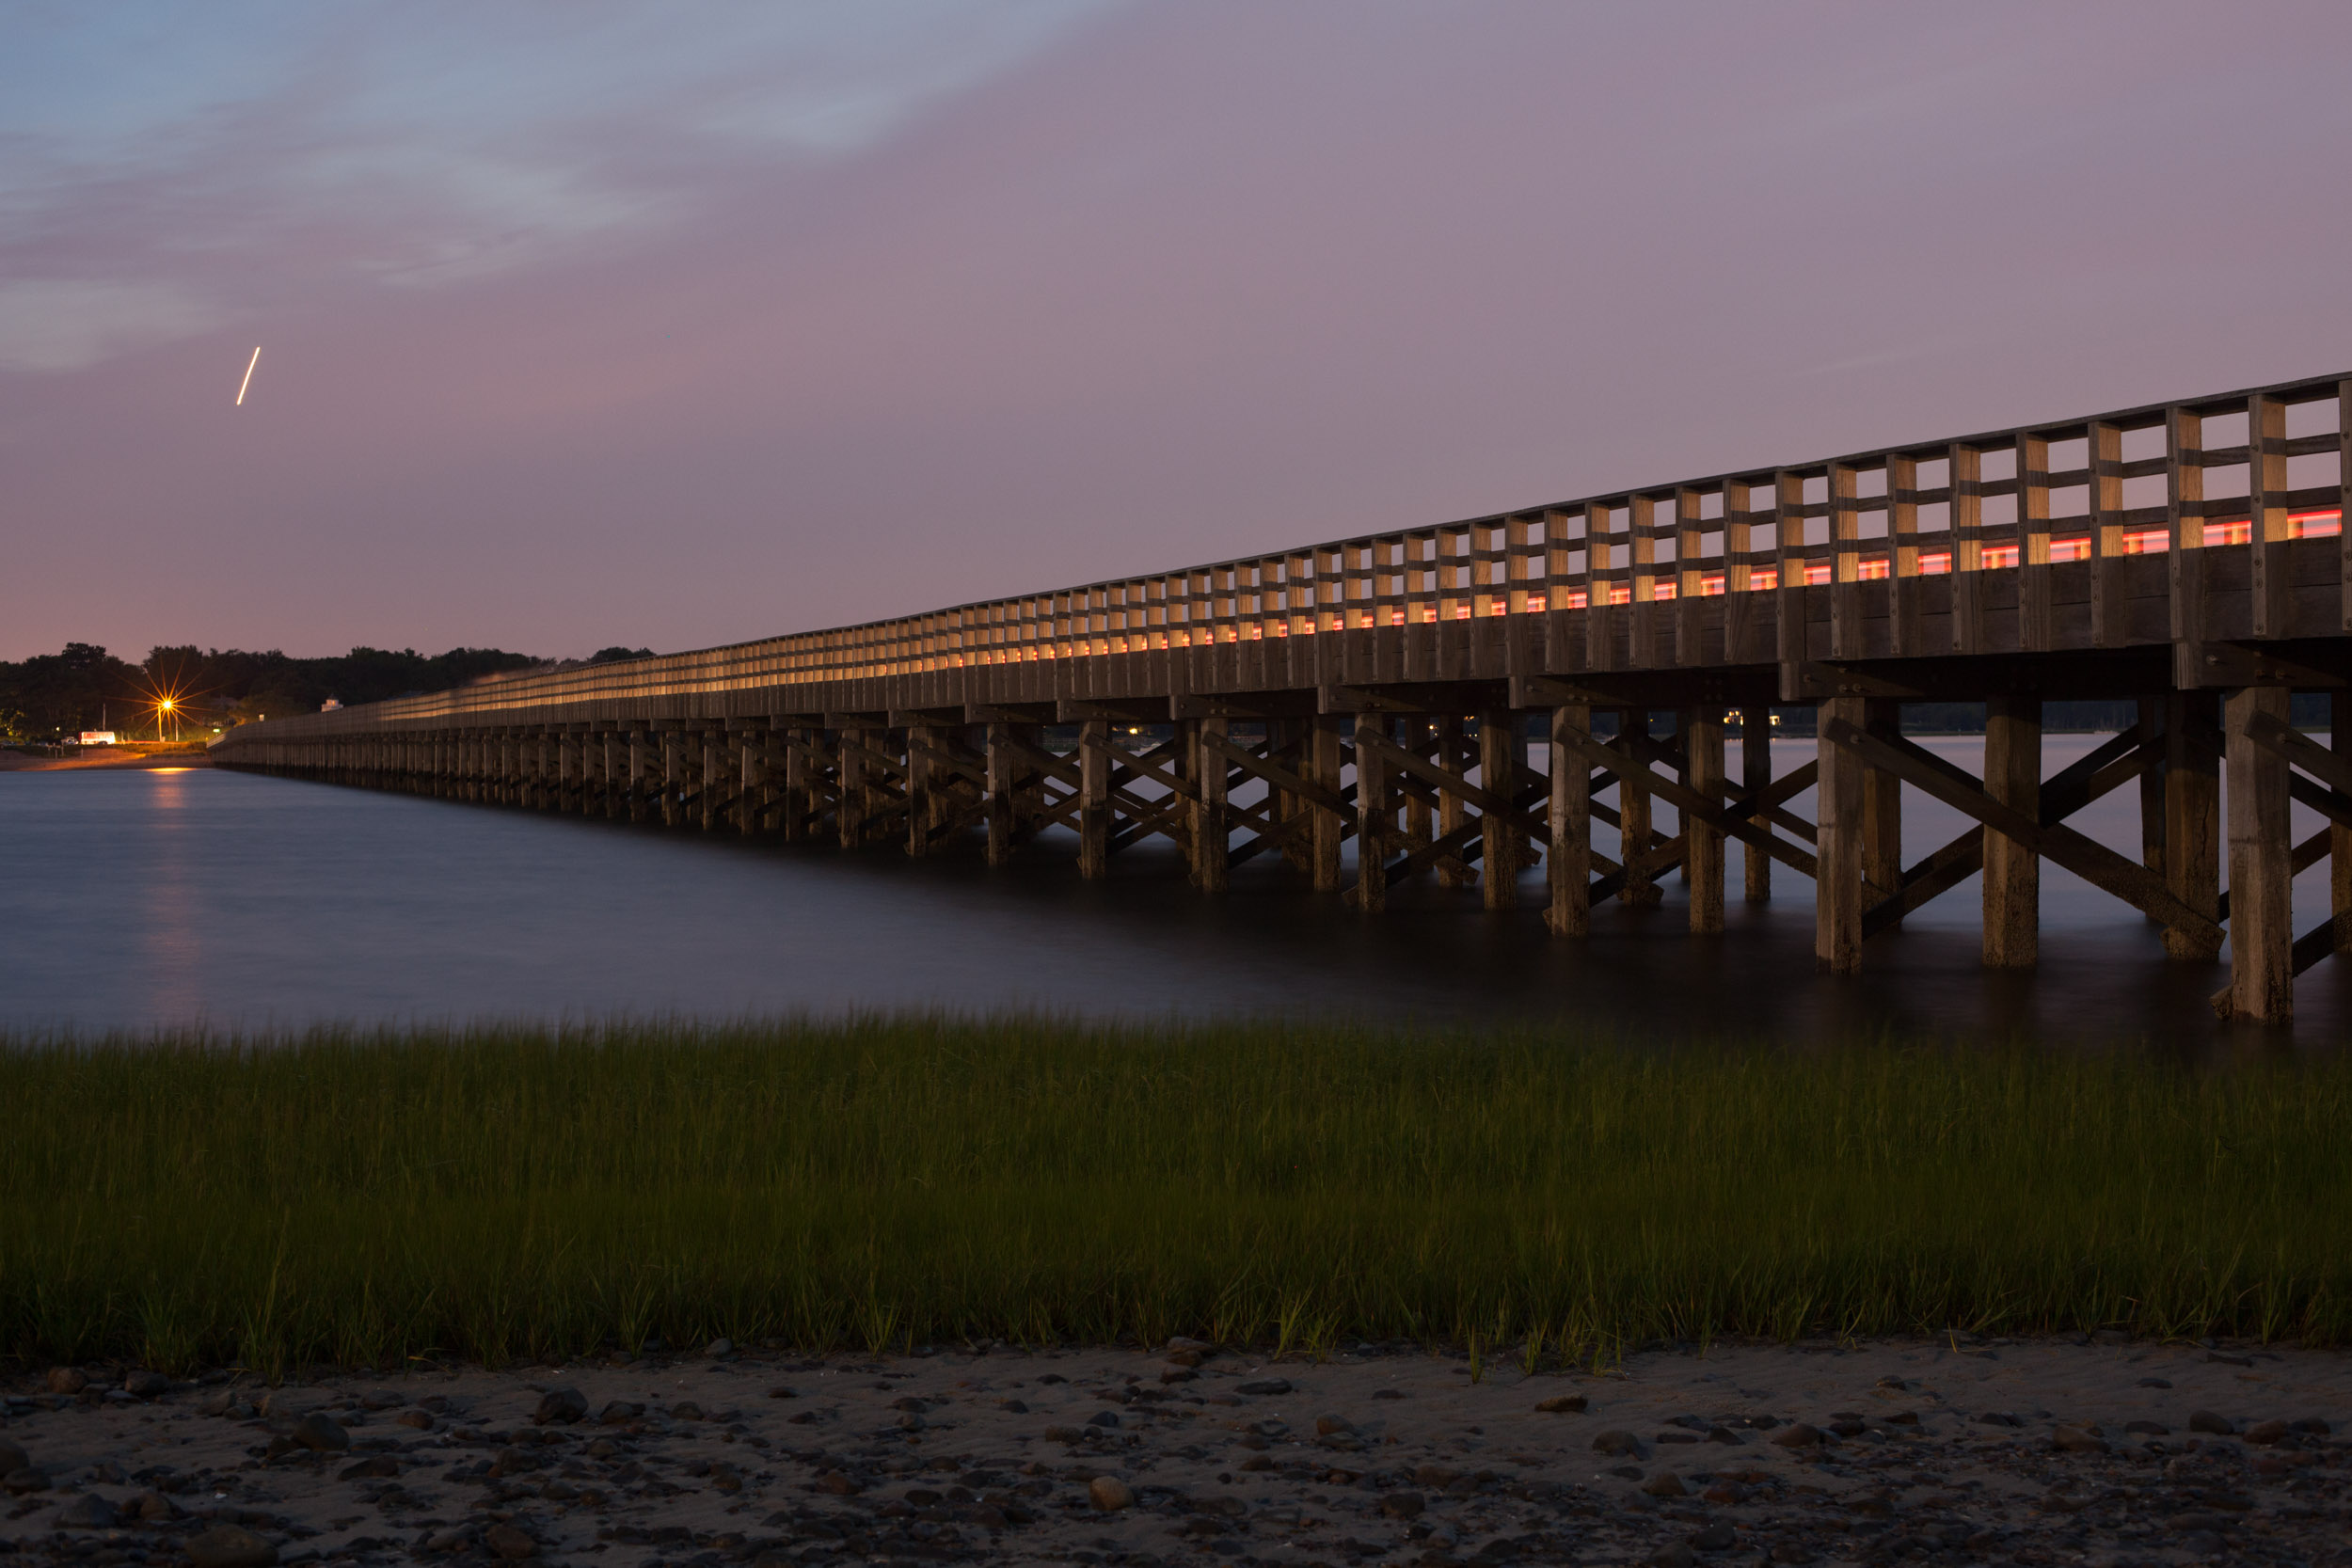
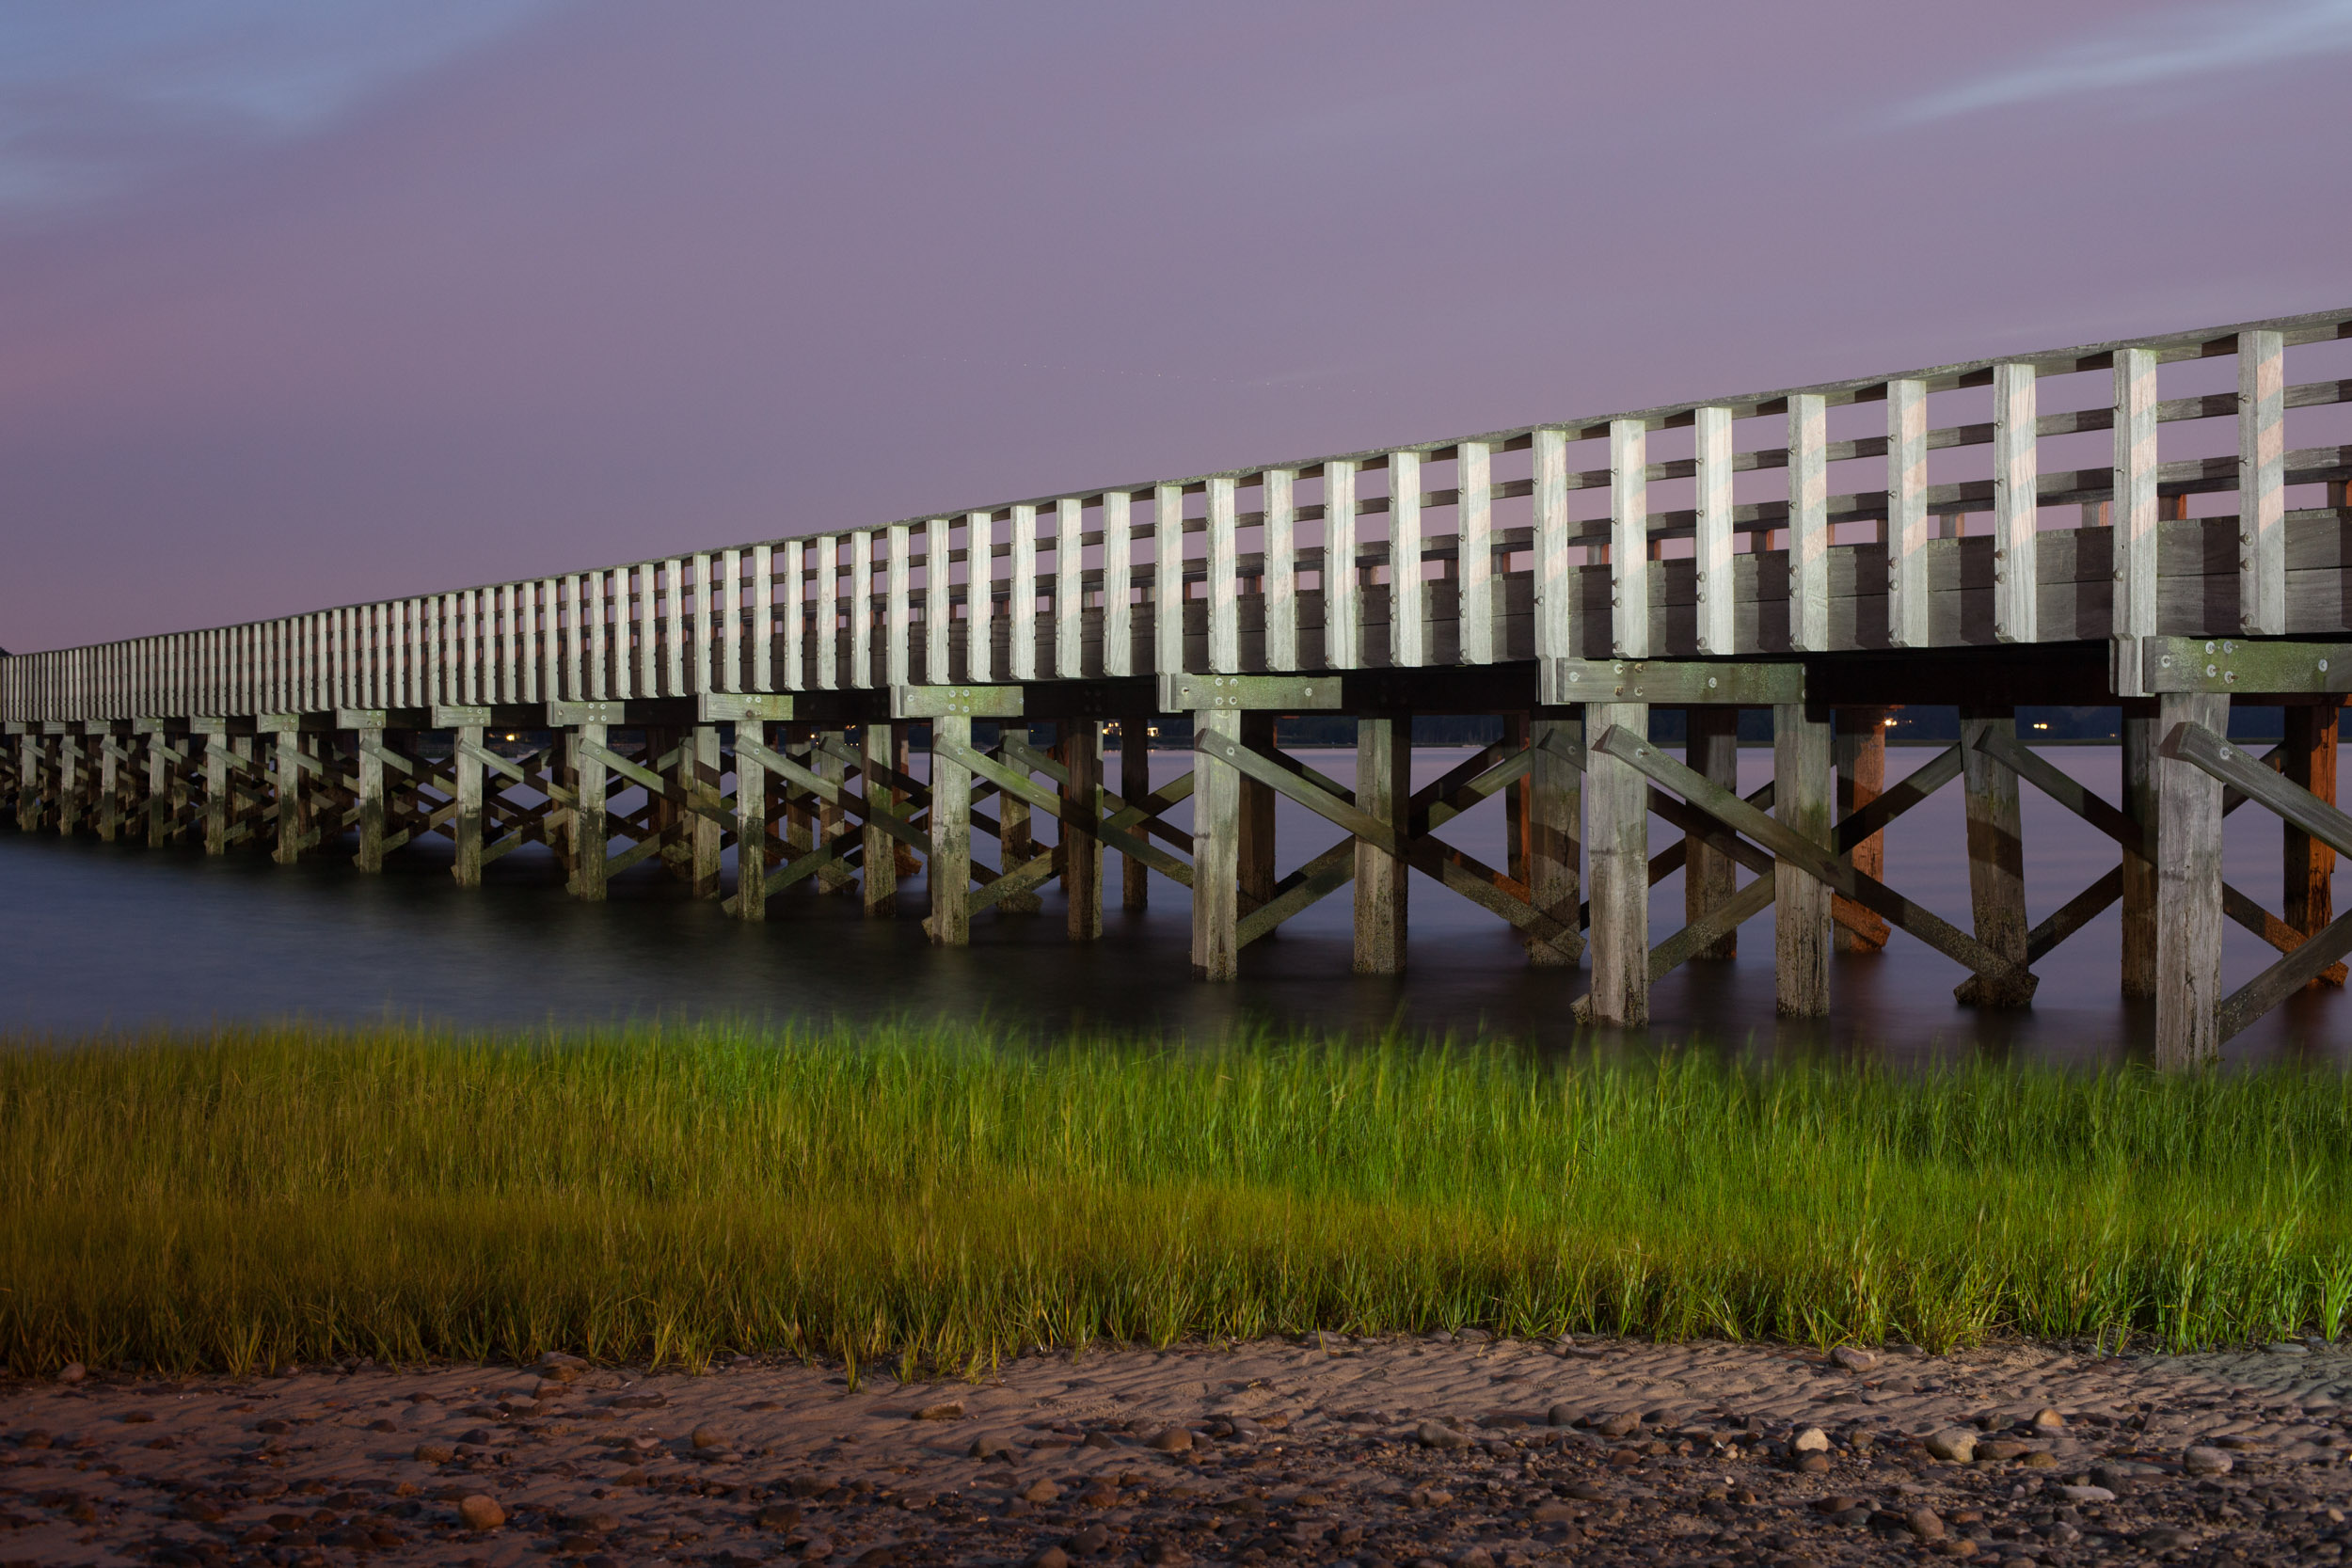
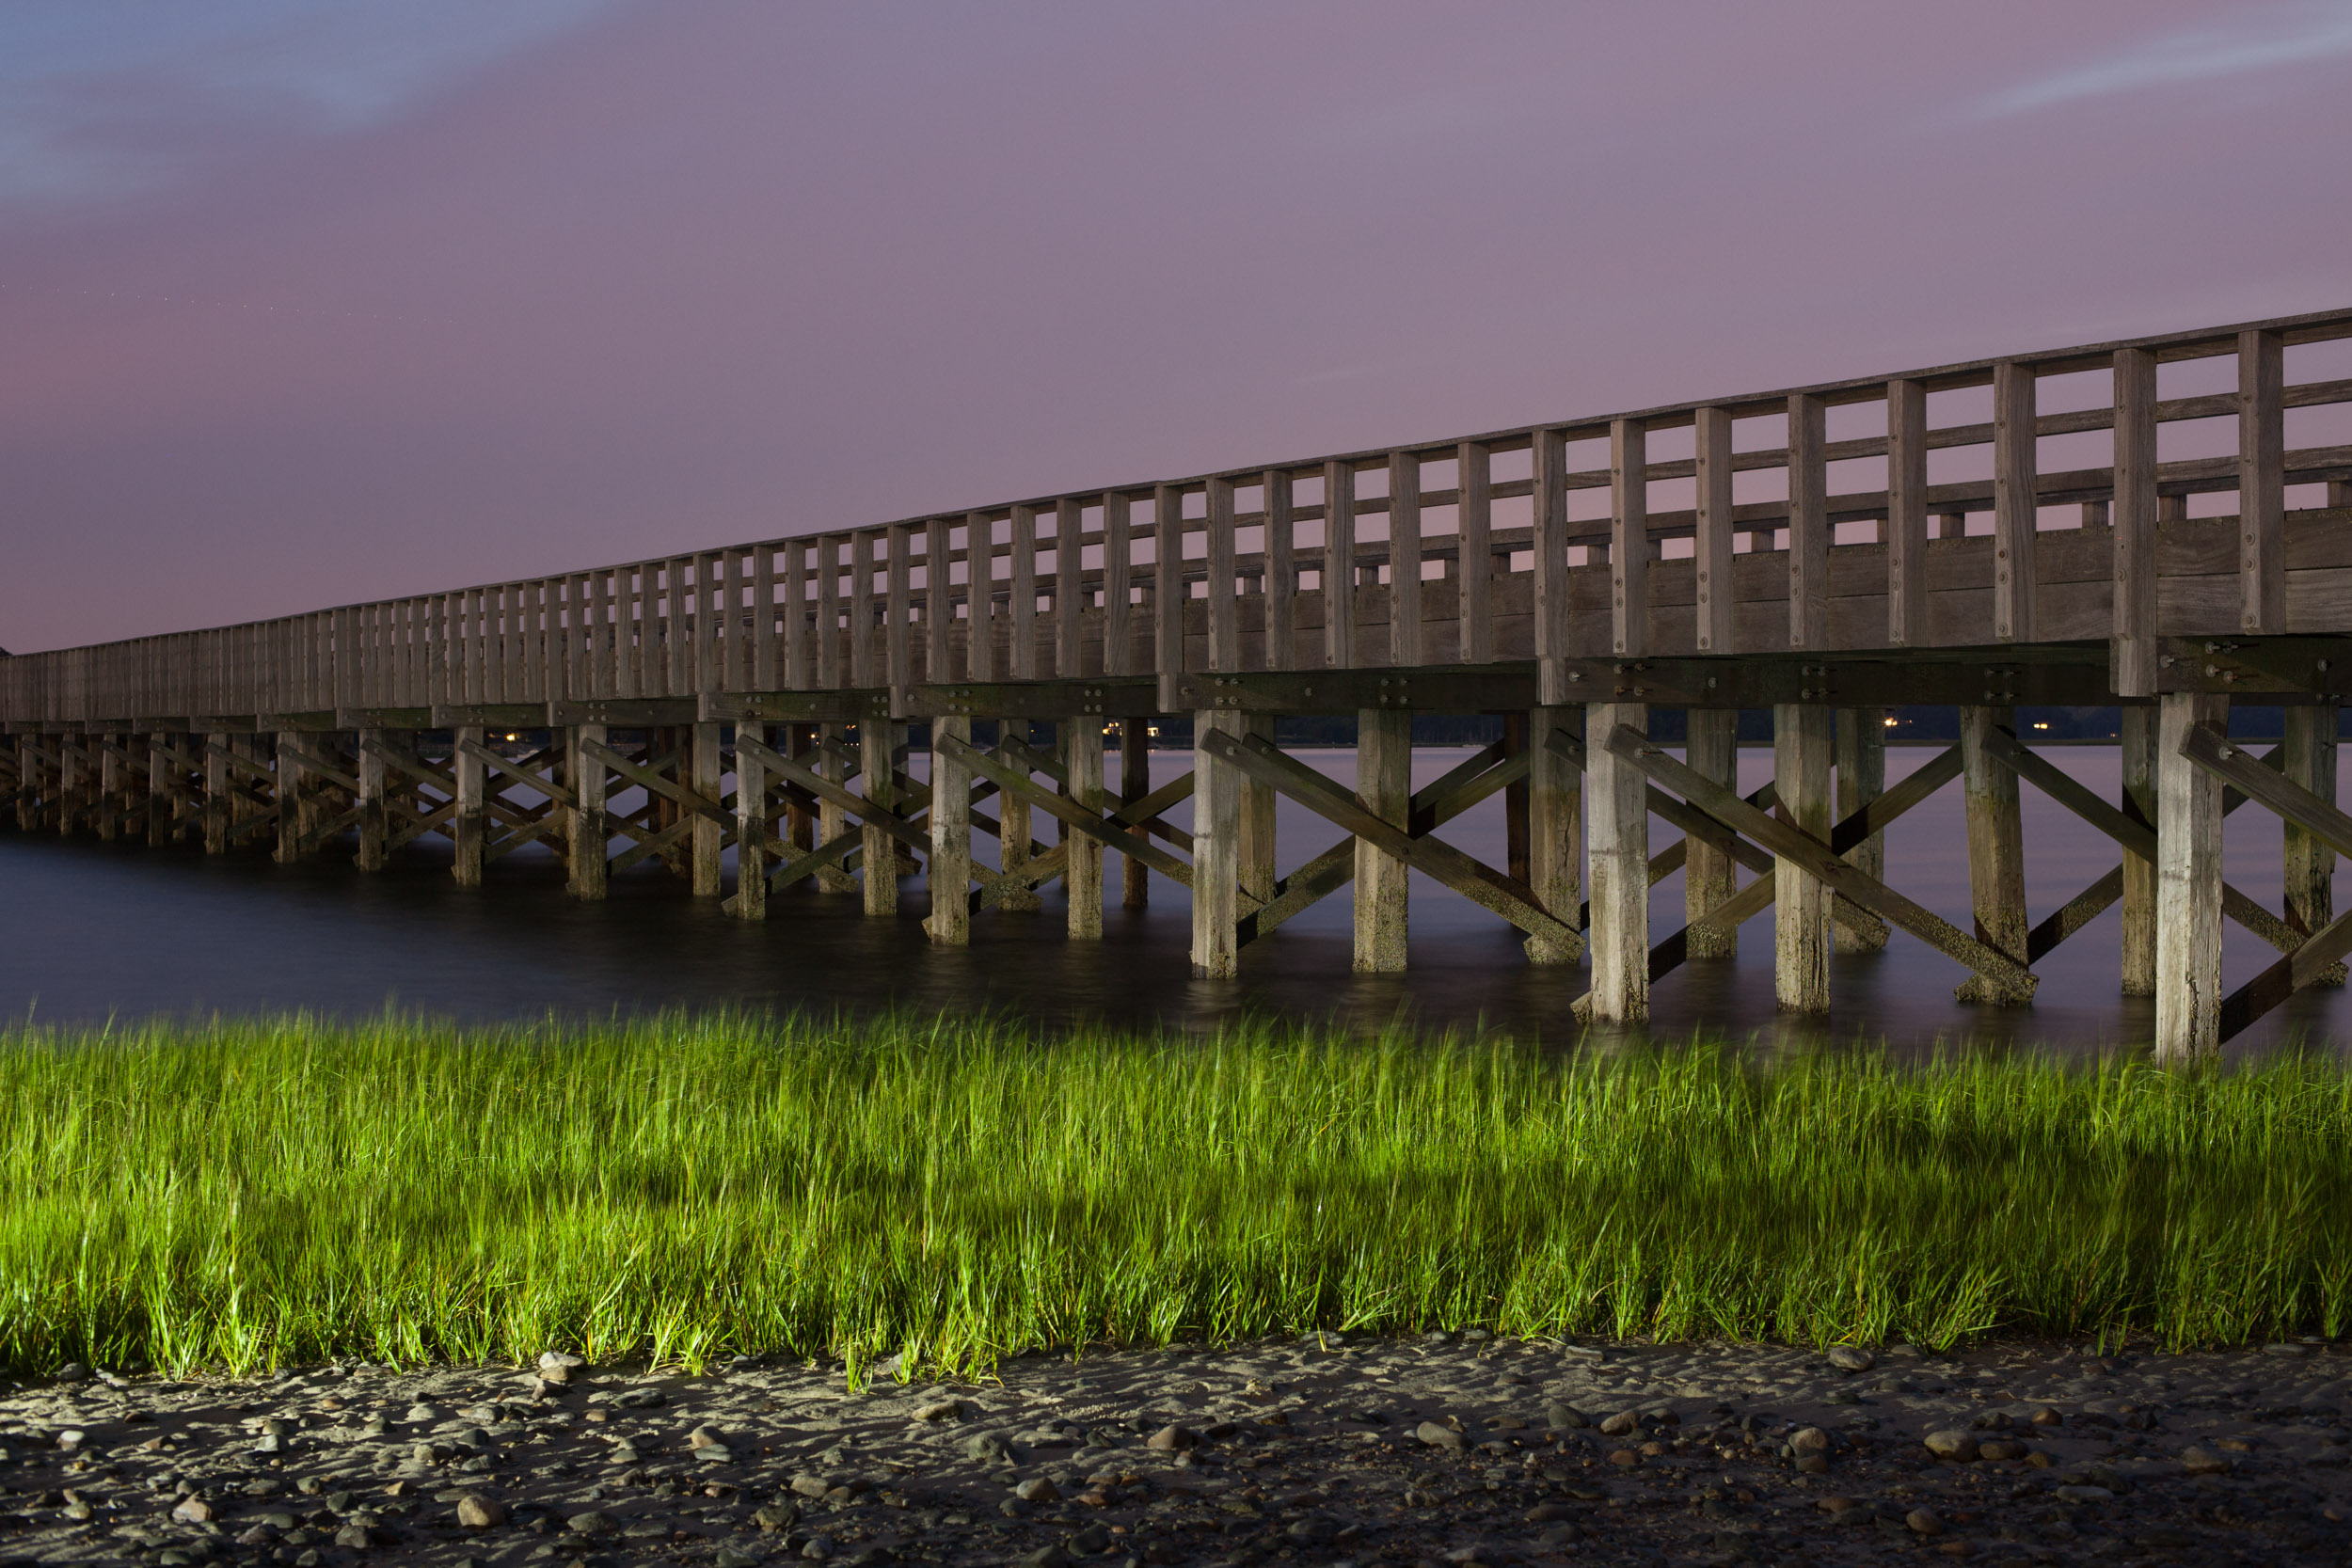
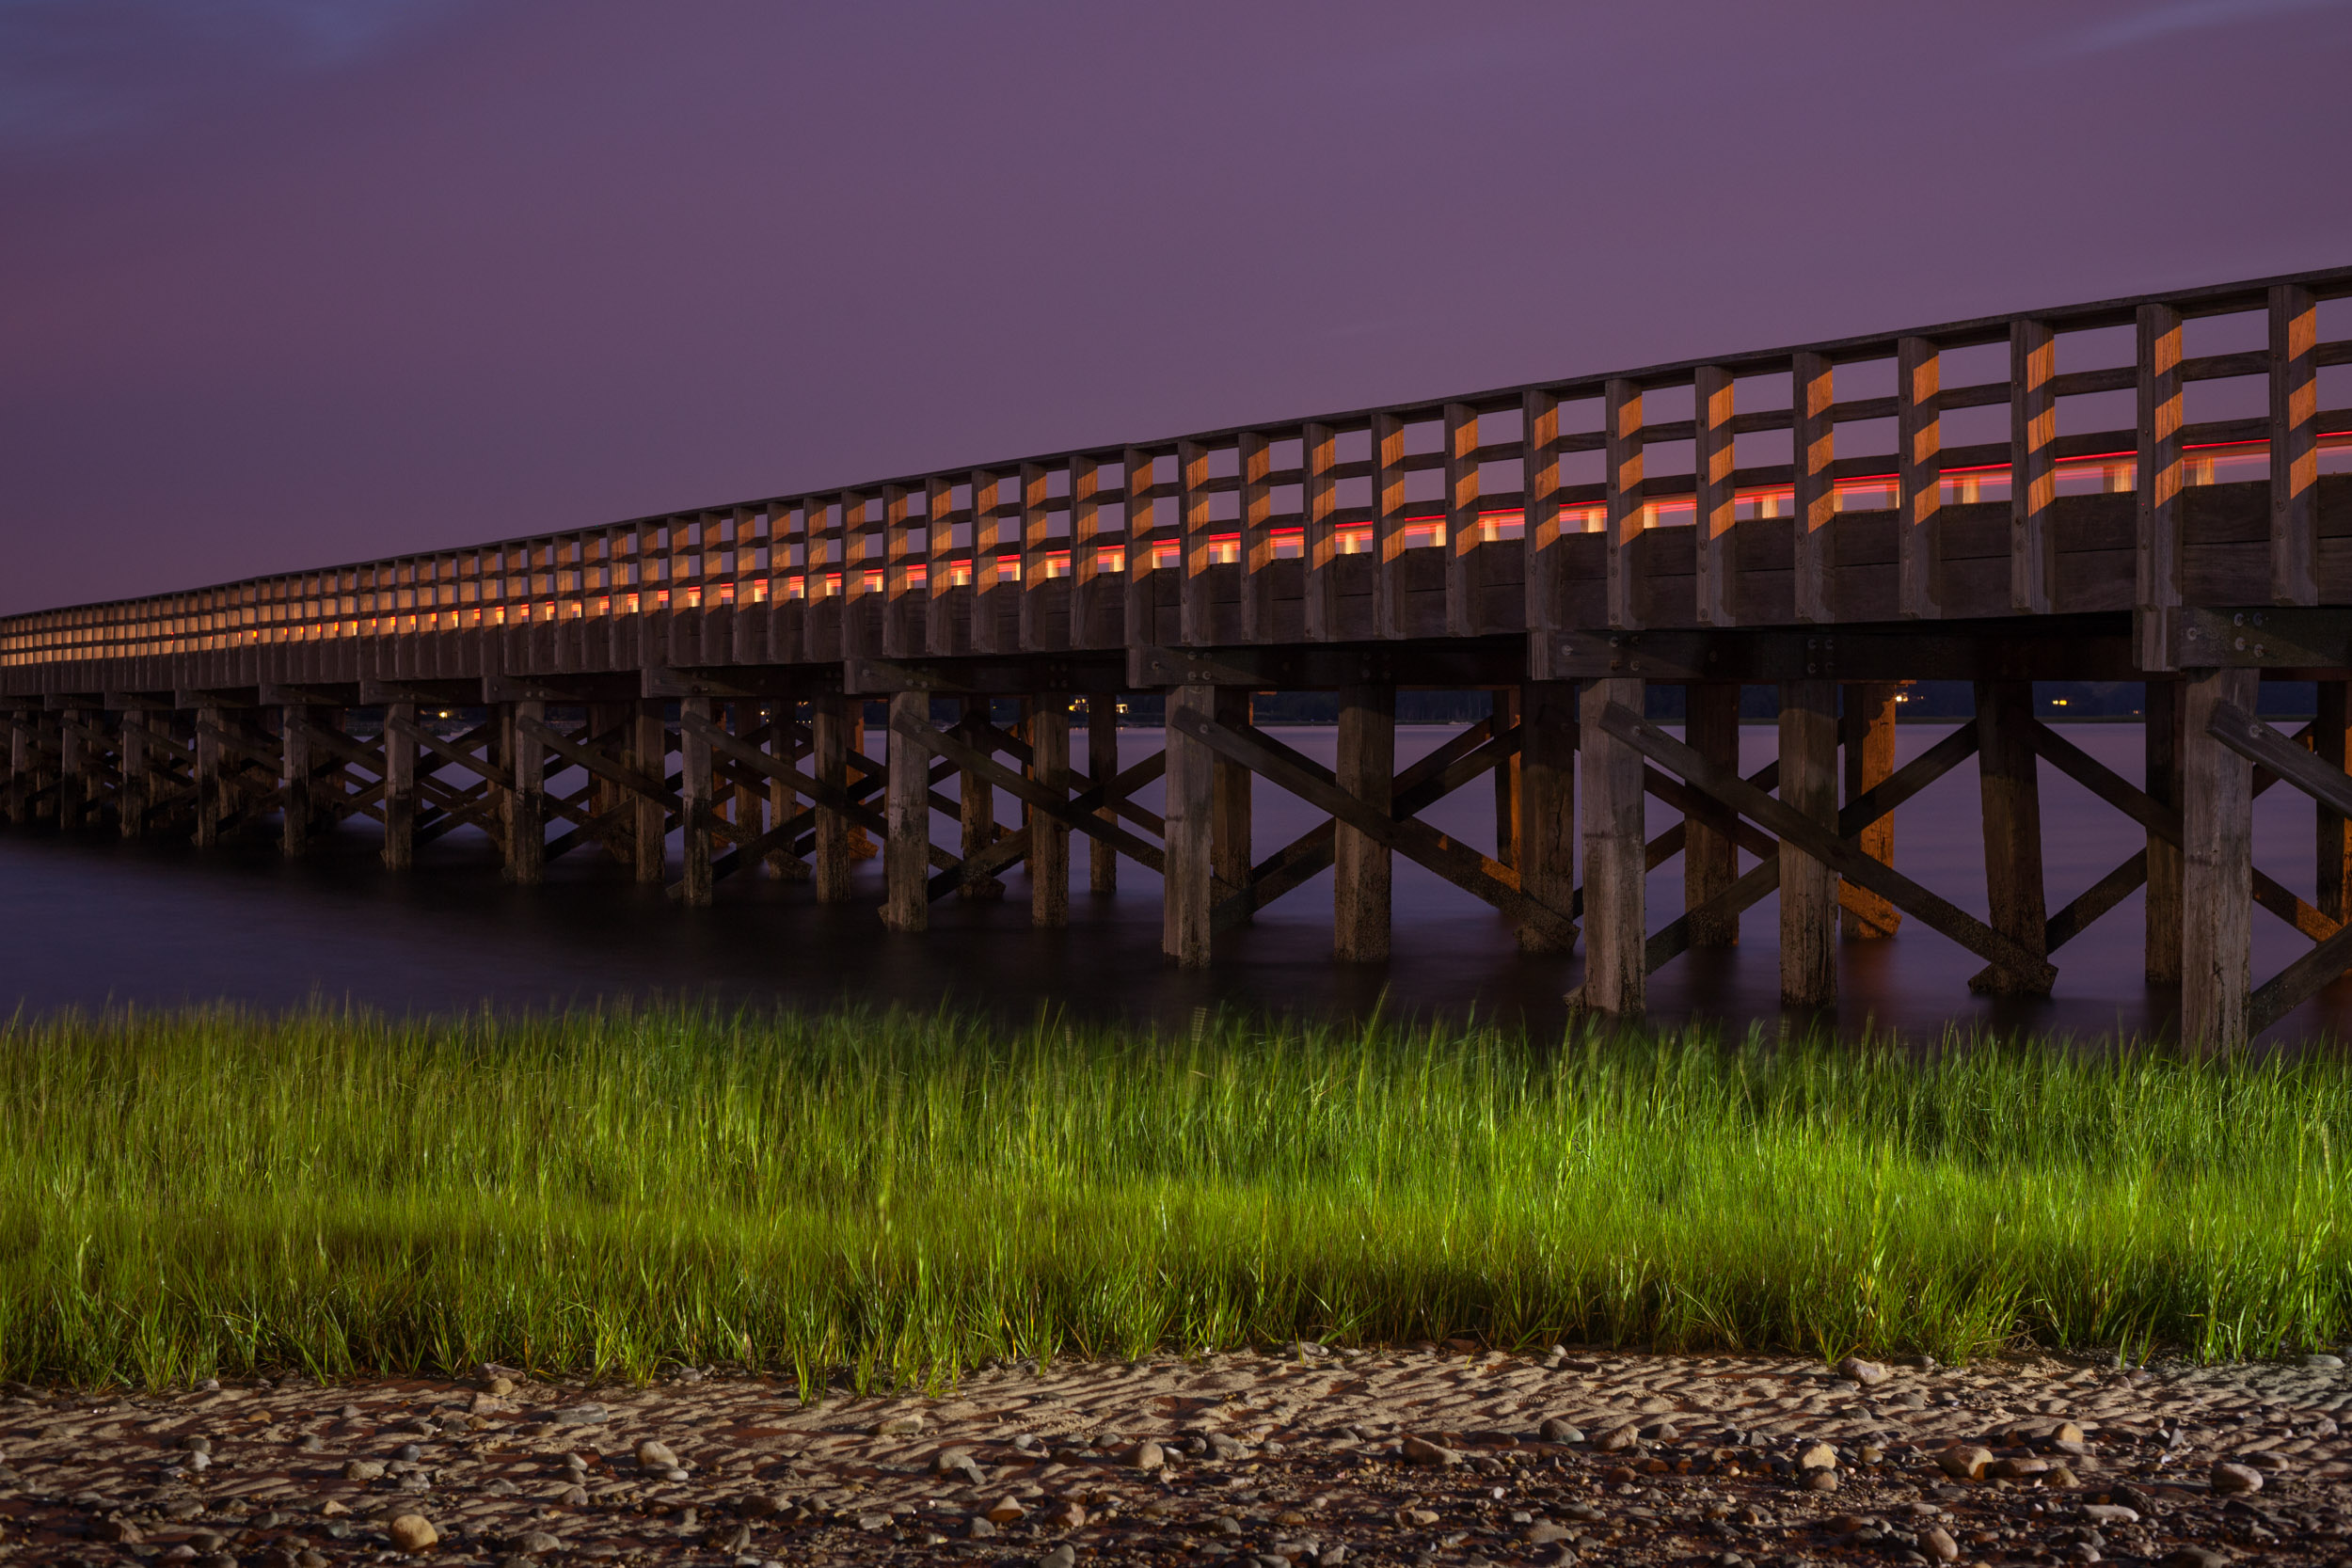
Field Workflow Example 1: Duxbury, Massachusetts. Building a night image from beginning to end, marching through the same steps time after time.
Before You Go
Because I travel frequently, I don’t always keep the same gear in my bag—moreover, I don’t always even work out of the same bag from one trip to the next. So it would be easy for me to find myself on location without an essential piece of gear and not even realize my error until right when I need it. And this is why I always check my kit before leaving home.
When I’m planning a shoot, I consider what the lighting conditions will be, the type of subject matter I’ll be shooting, the weather conditions, and if I’ll be working close to a vehicle or hiking some distance to my location. Each of these factors dictates what I bring with me––not just in the camera bag, but also accessories like clothing, food and drink, and whether I’ll be better served by a backpack or shoulder bag.
Step 1: Pre-Shoot Scouting
Research location if it is unfamiliar. Scout ahead of time if possible. Check for access/trespassing/permit/safety issues. Use PhotoPills to access celestial conditions and possible shot locations if appropriate. Look at the Google Earth view of the location, as well as night images available online. When is the best time of year, or the best part of the lunar cycle for the location? How about parking?
Step 2: Gear Selection
Choose a bag, camera(s) and lenses based on location. Pack camera batteries only after making sure they are fully charged. Make sure rechargeables are recharged, and include some disposable batteries as needed. Choose light sources for light painting, as well as light modifiers such as snoots and gobos. Check accessories: tripod, an extra tripod plate and tools, intervalometer with fresh batteries, filters, hand warmers, water bottle, snack, phone, phone charging cable, hat, gloves, extra layers as needed.
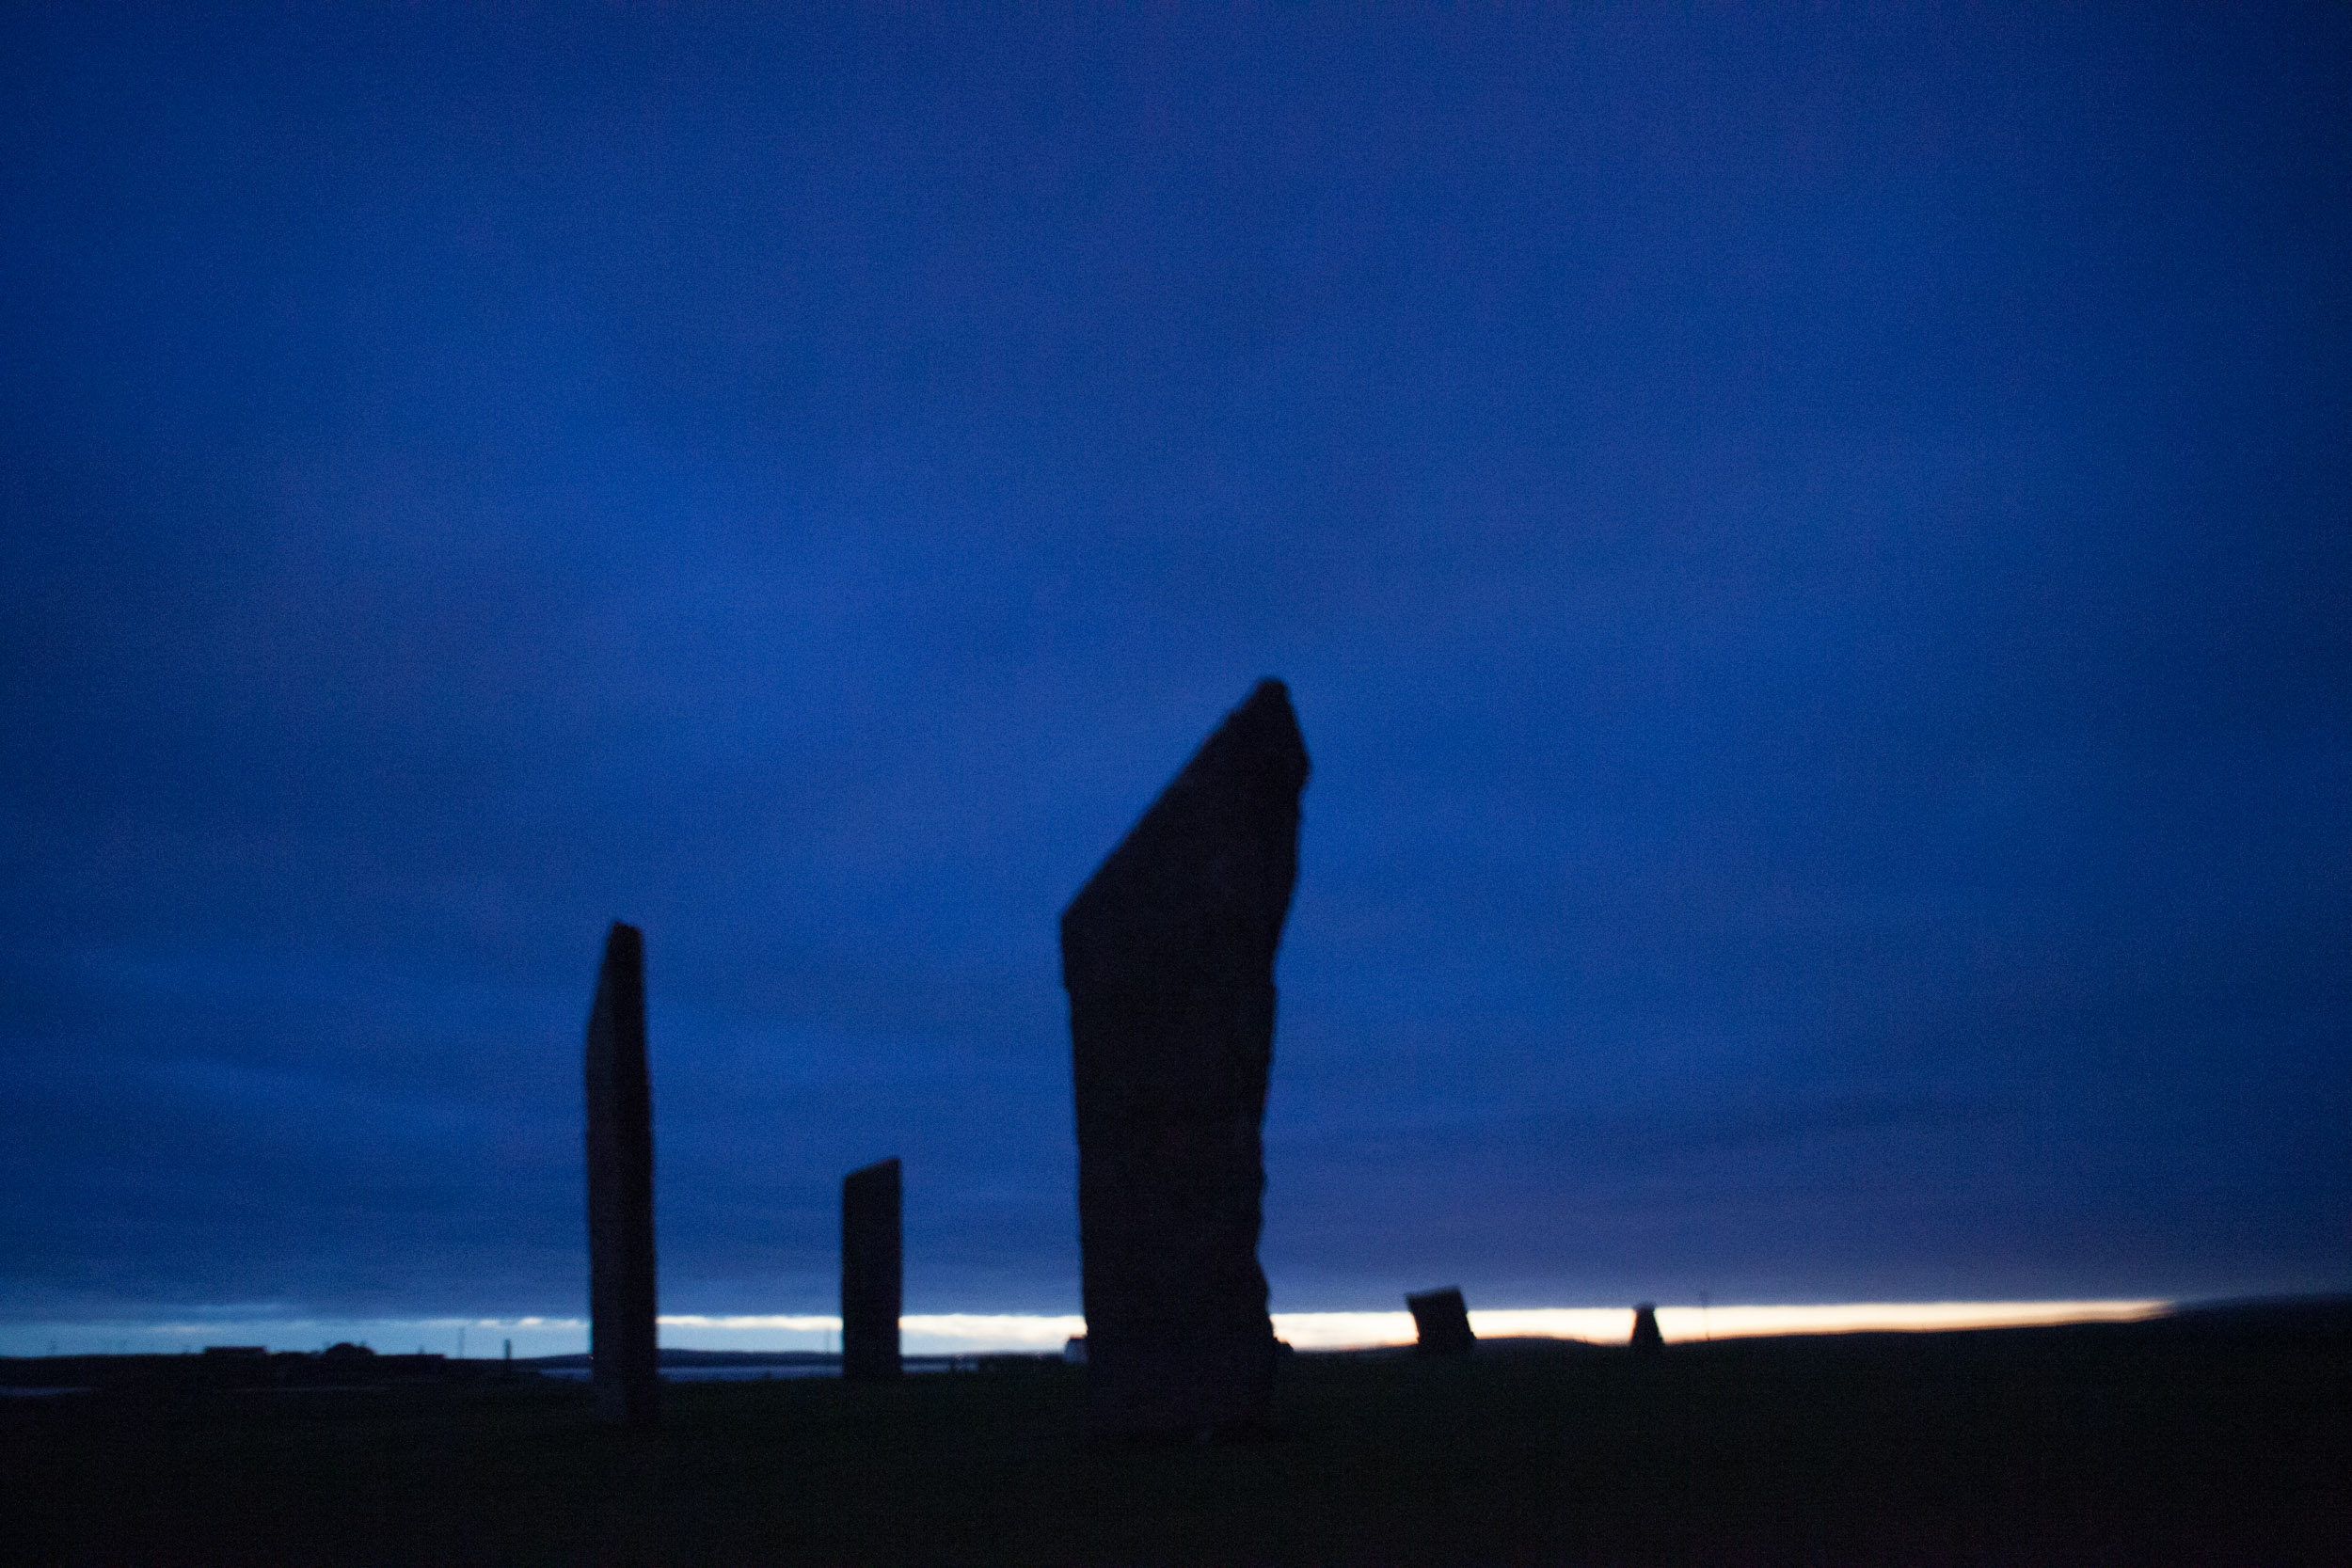
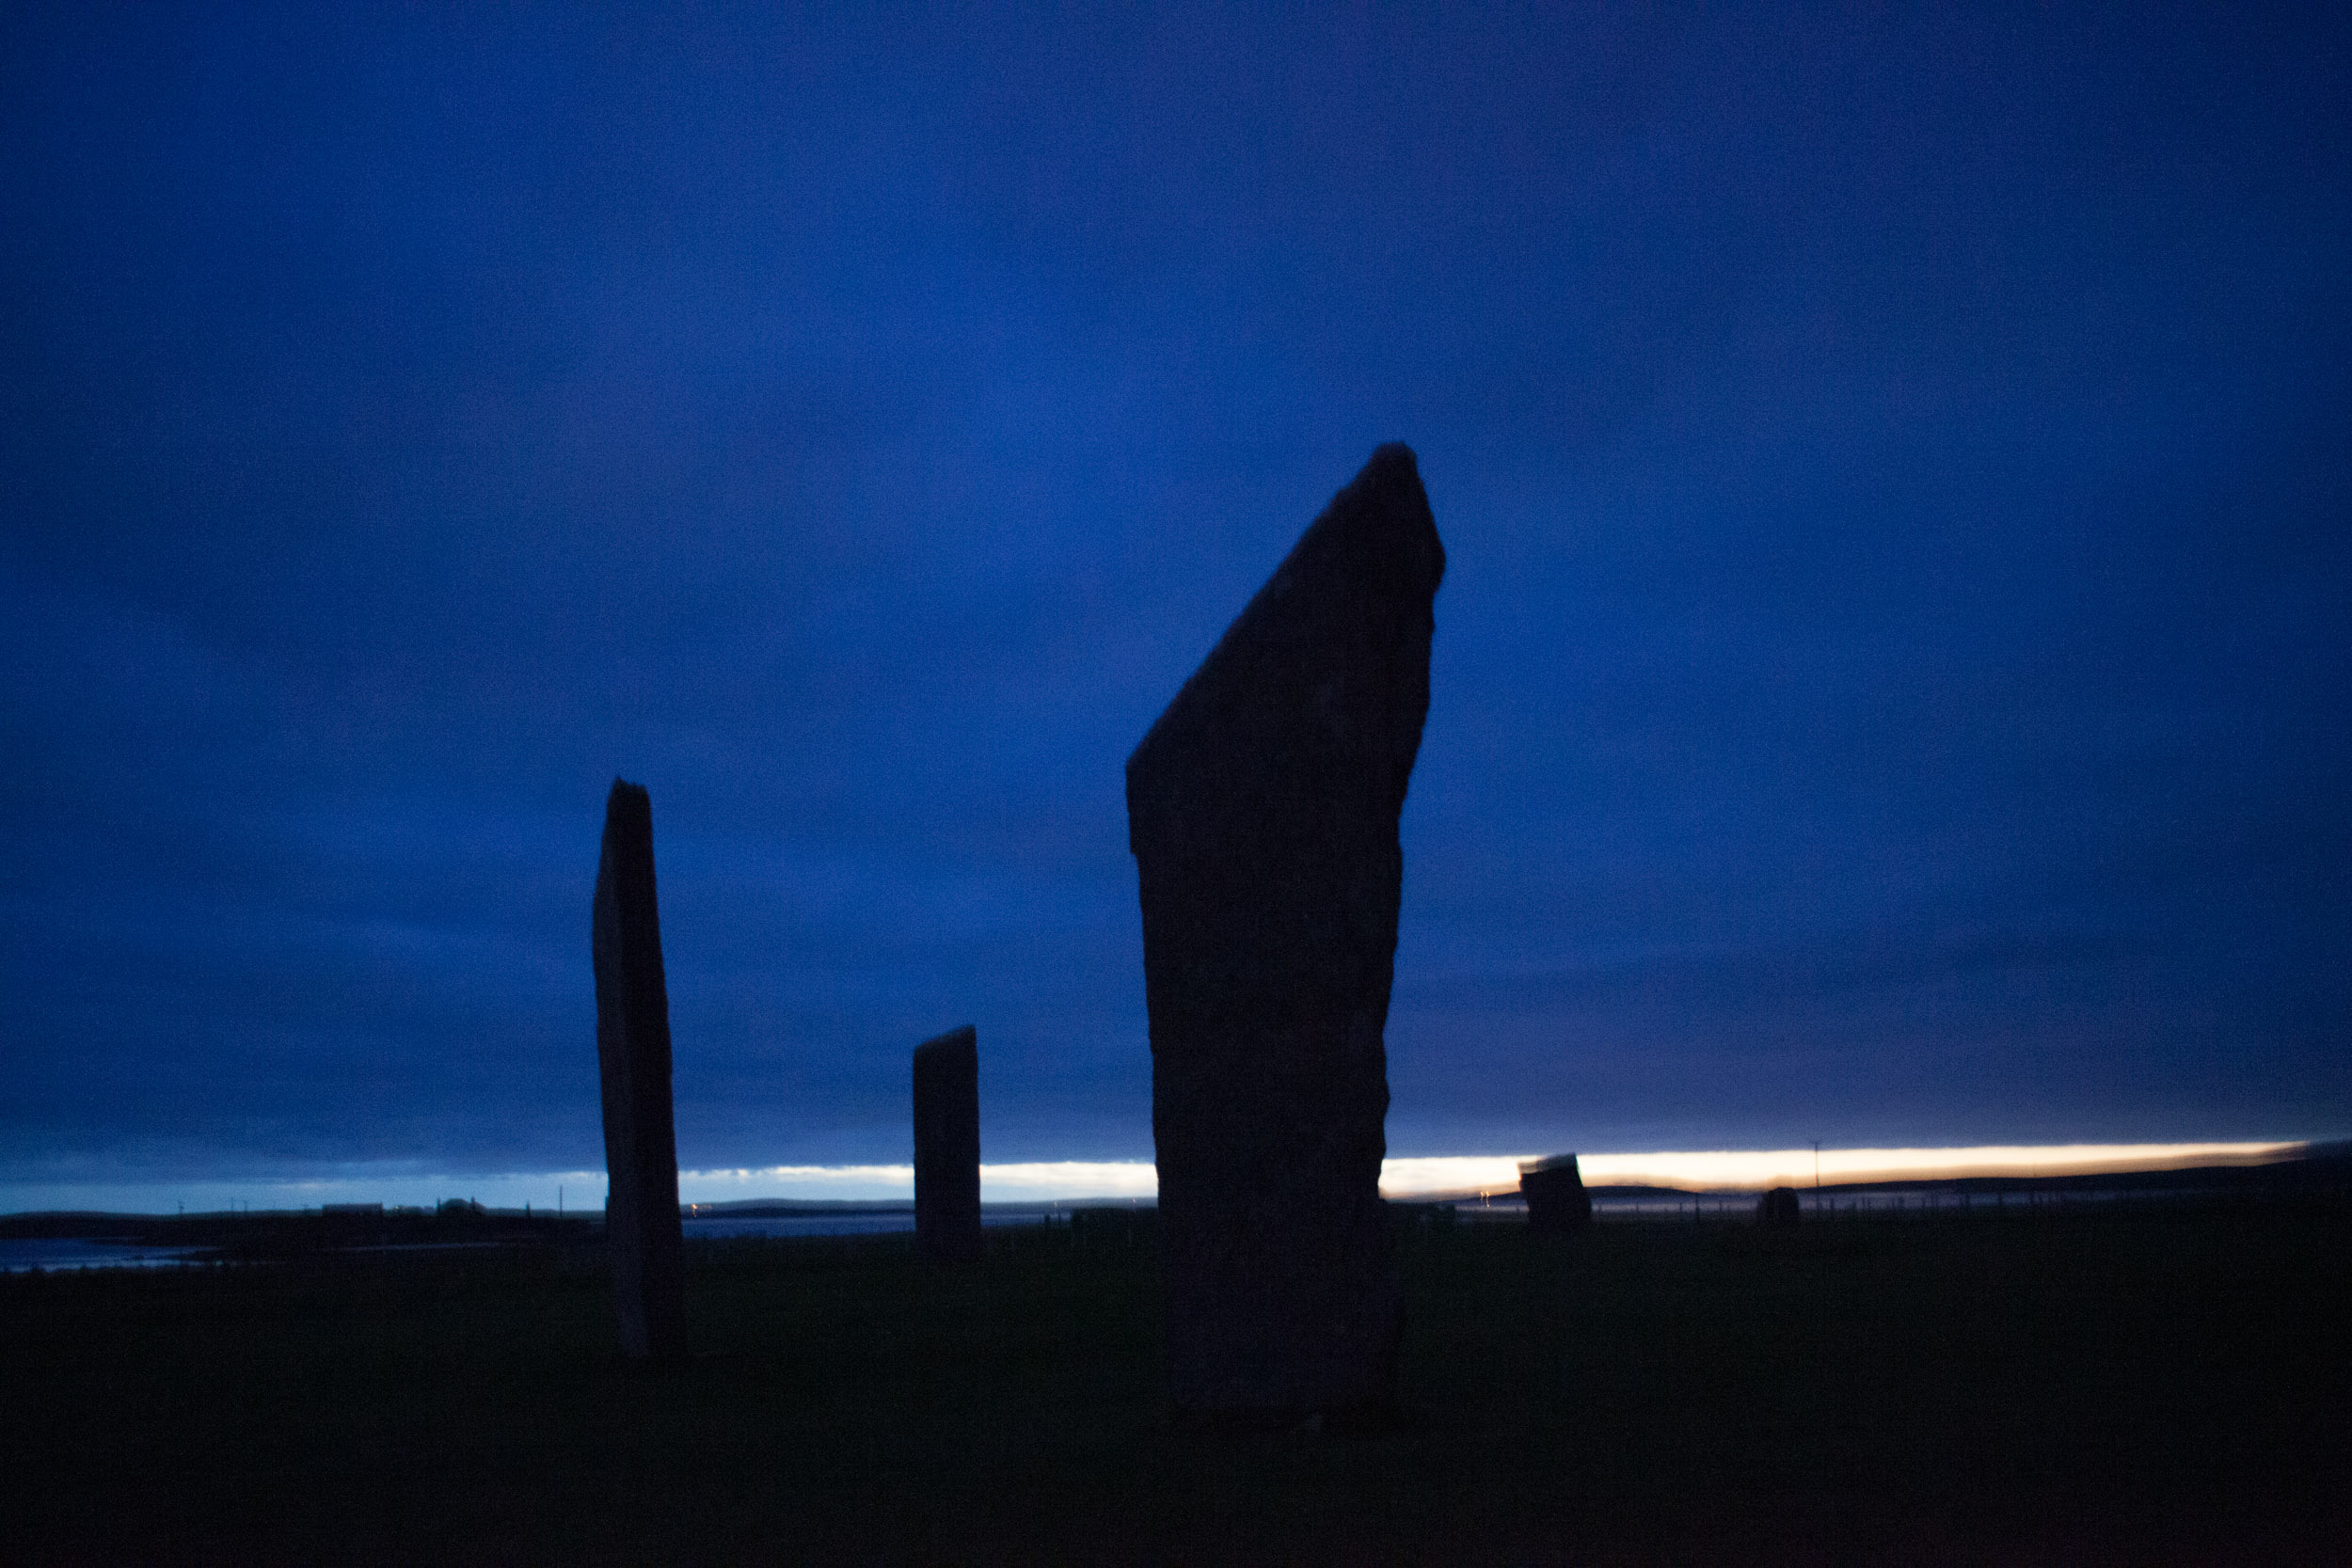
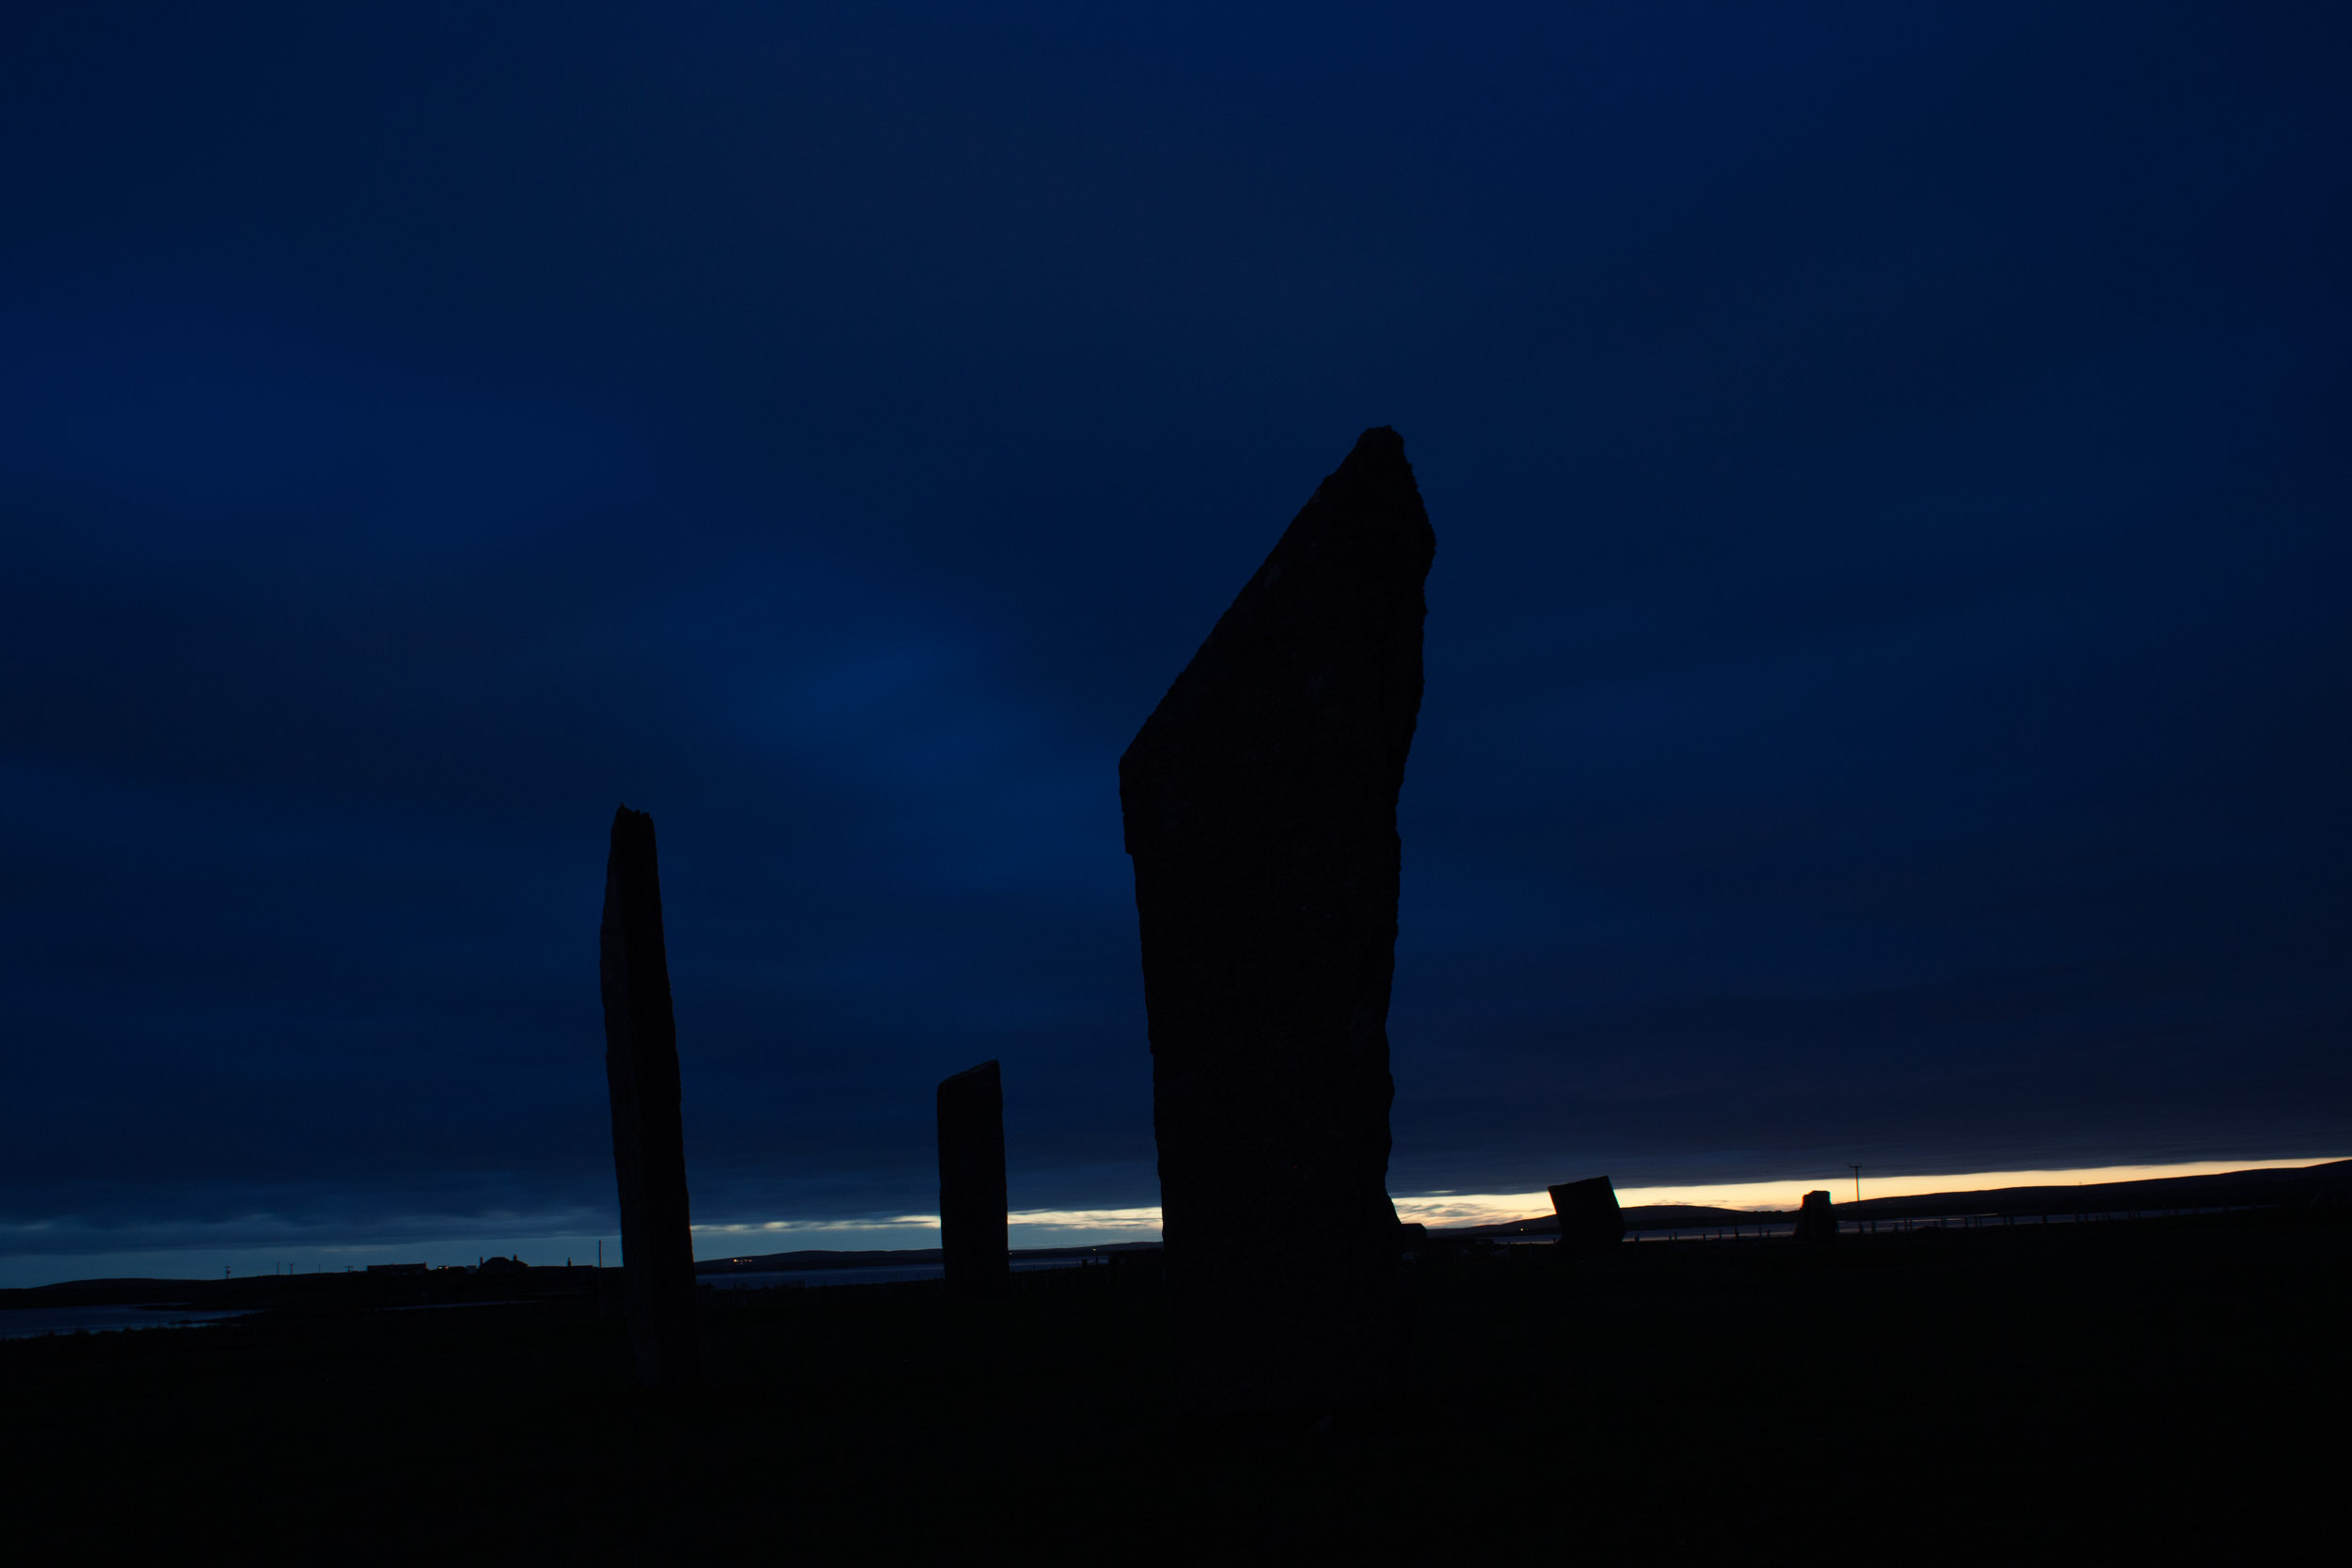
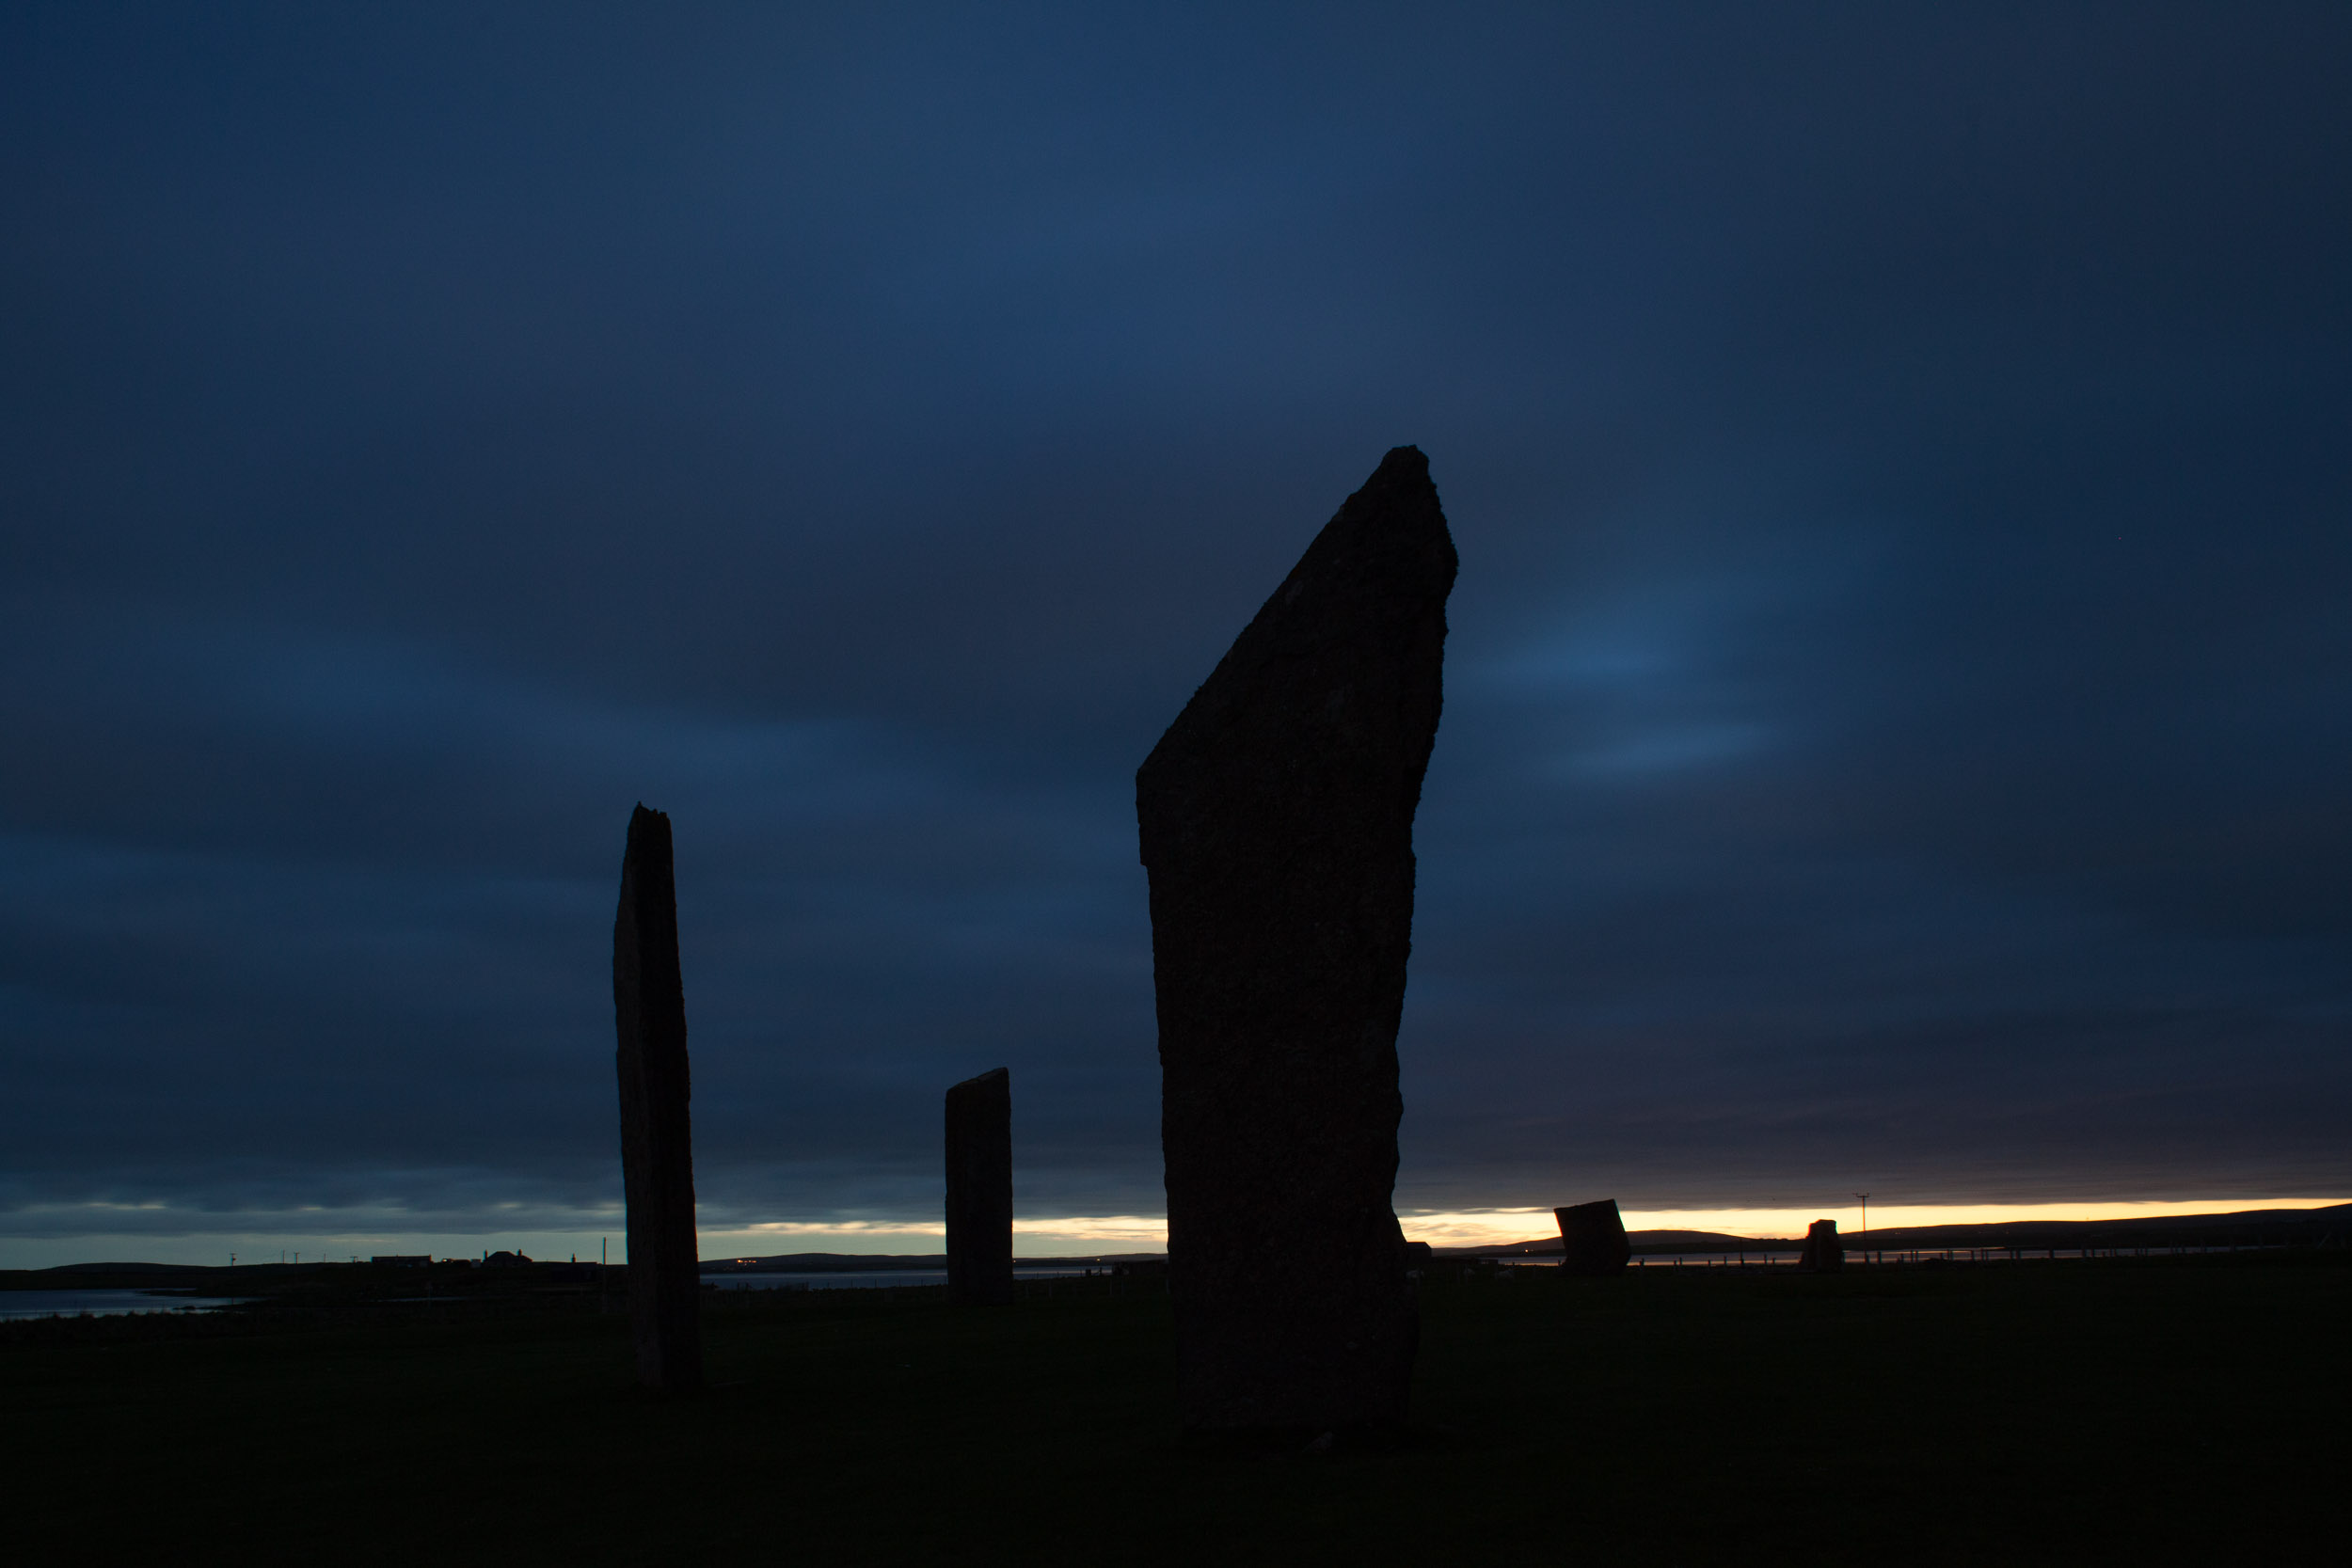
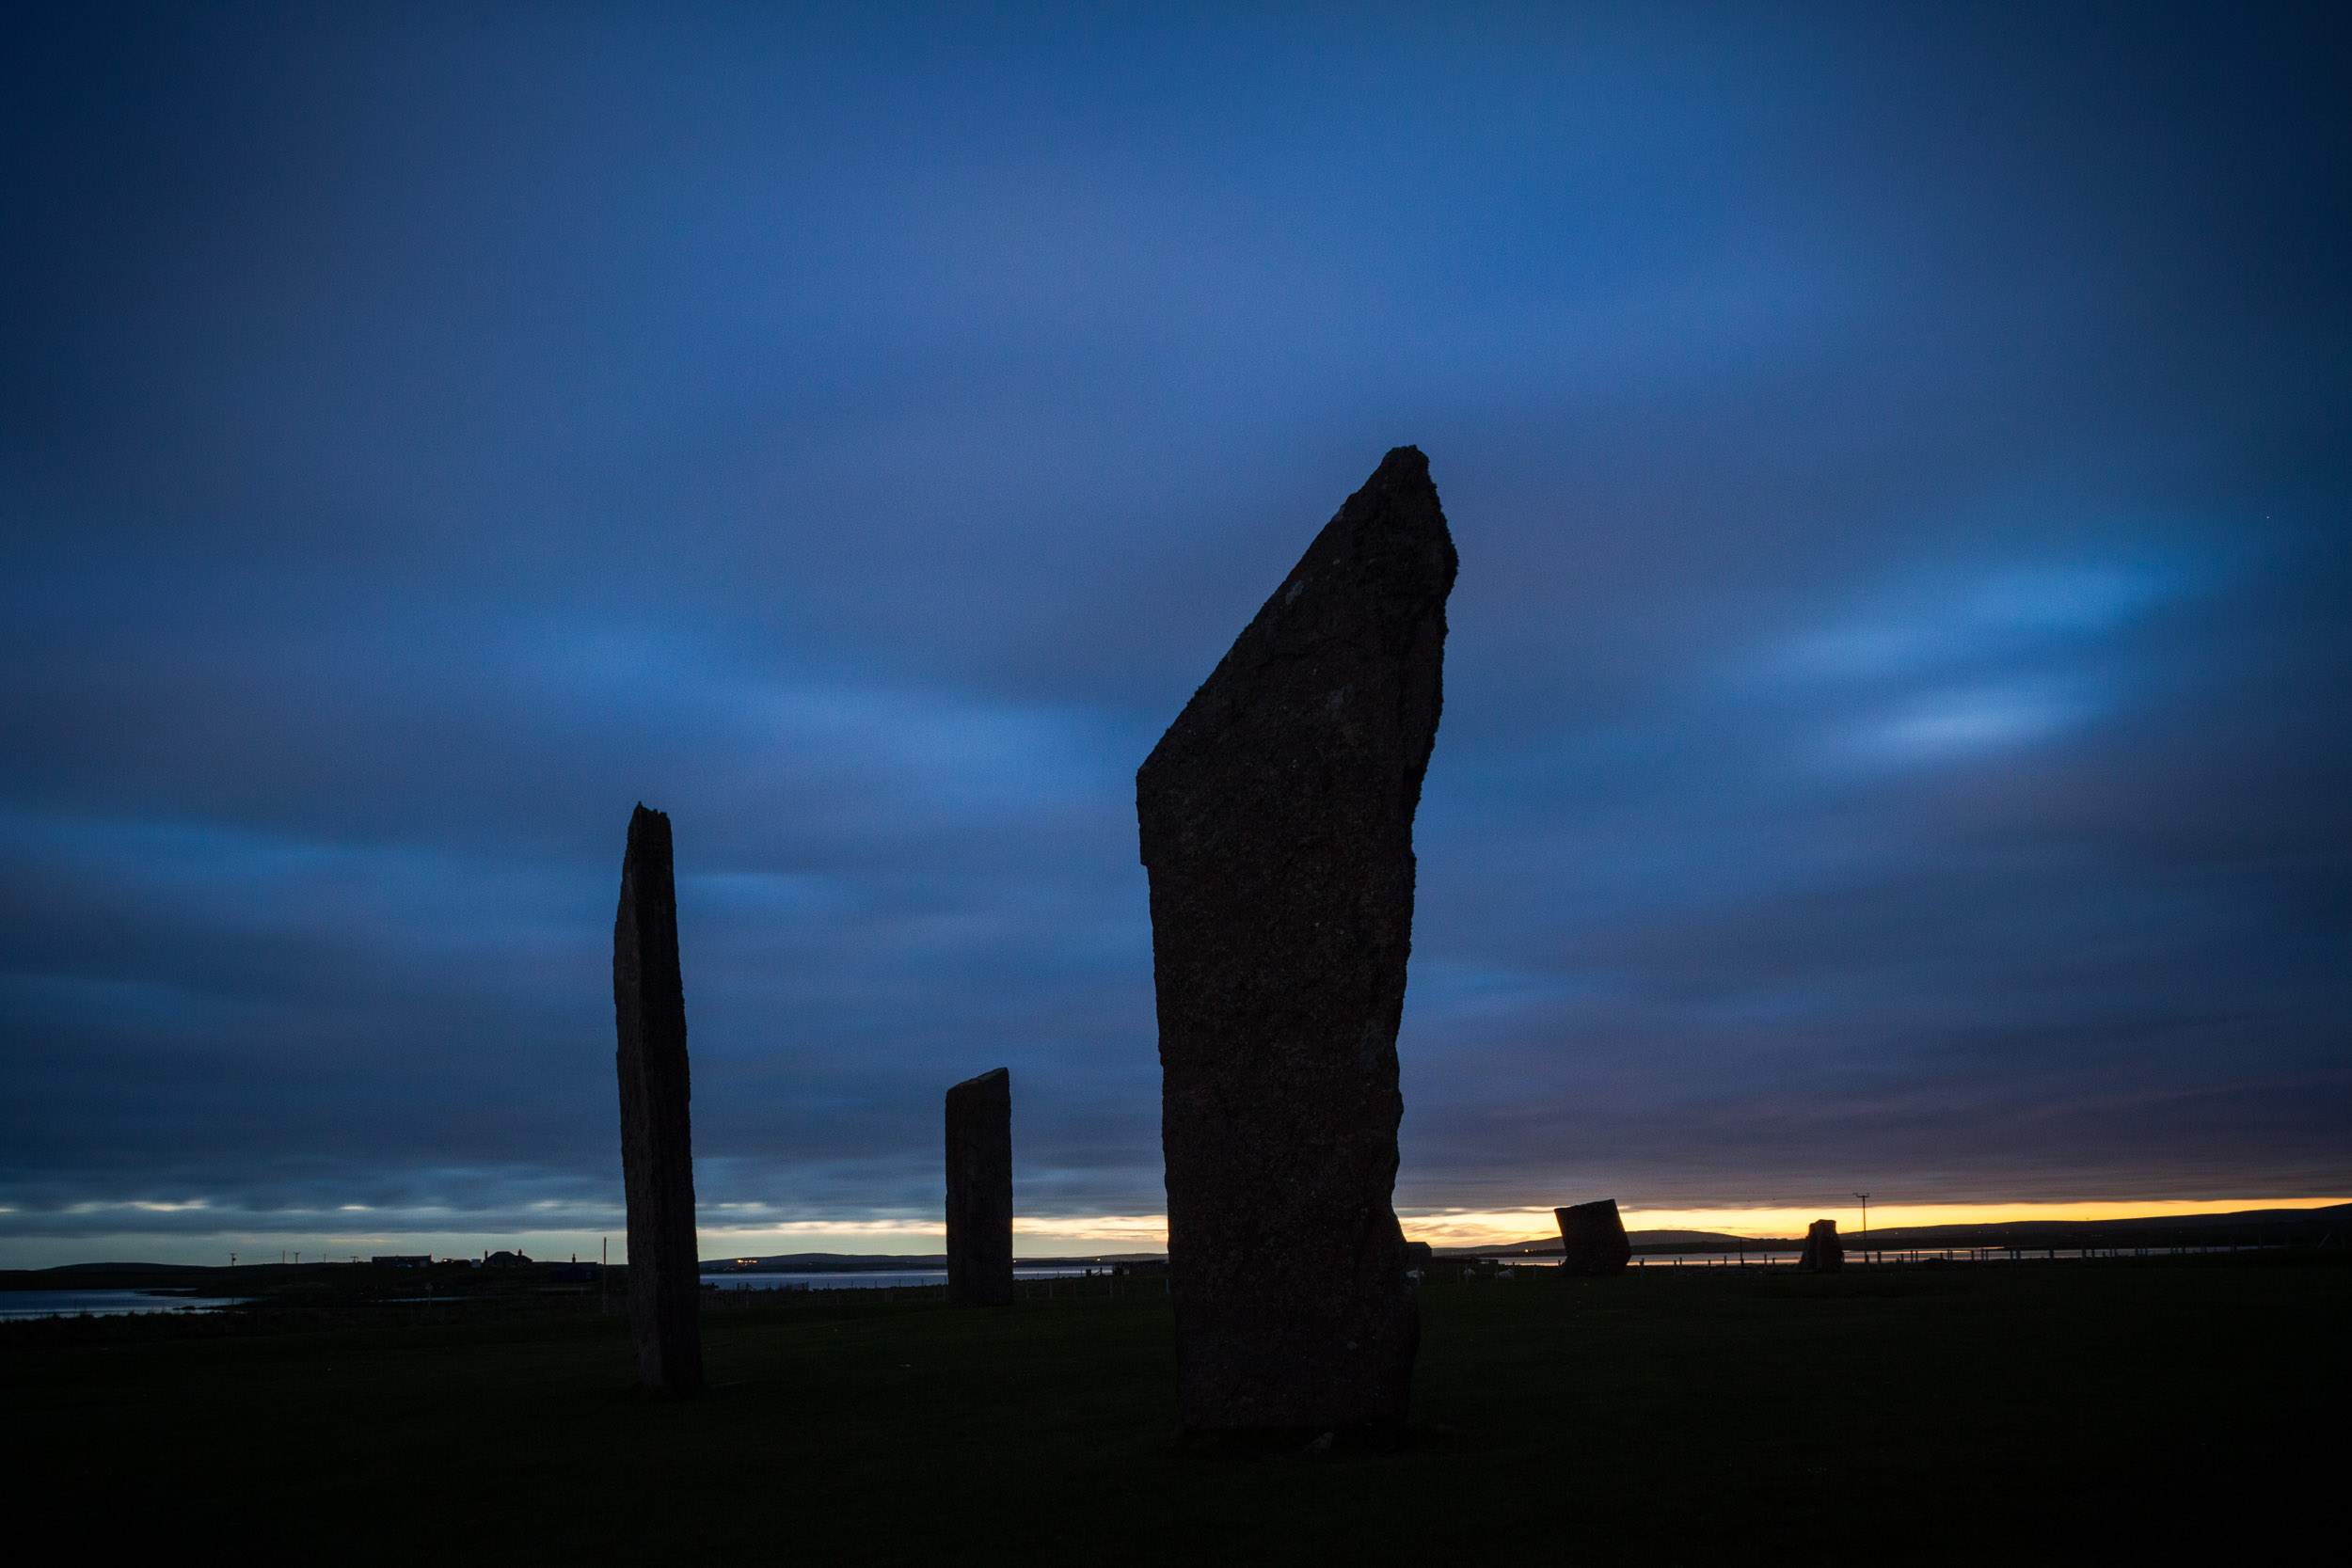
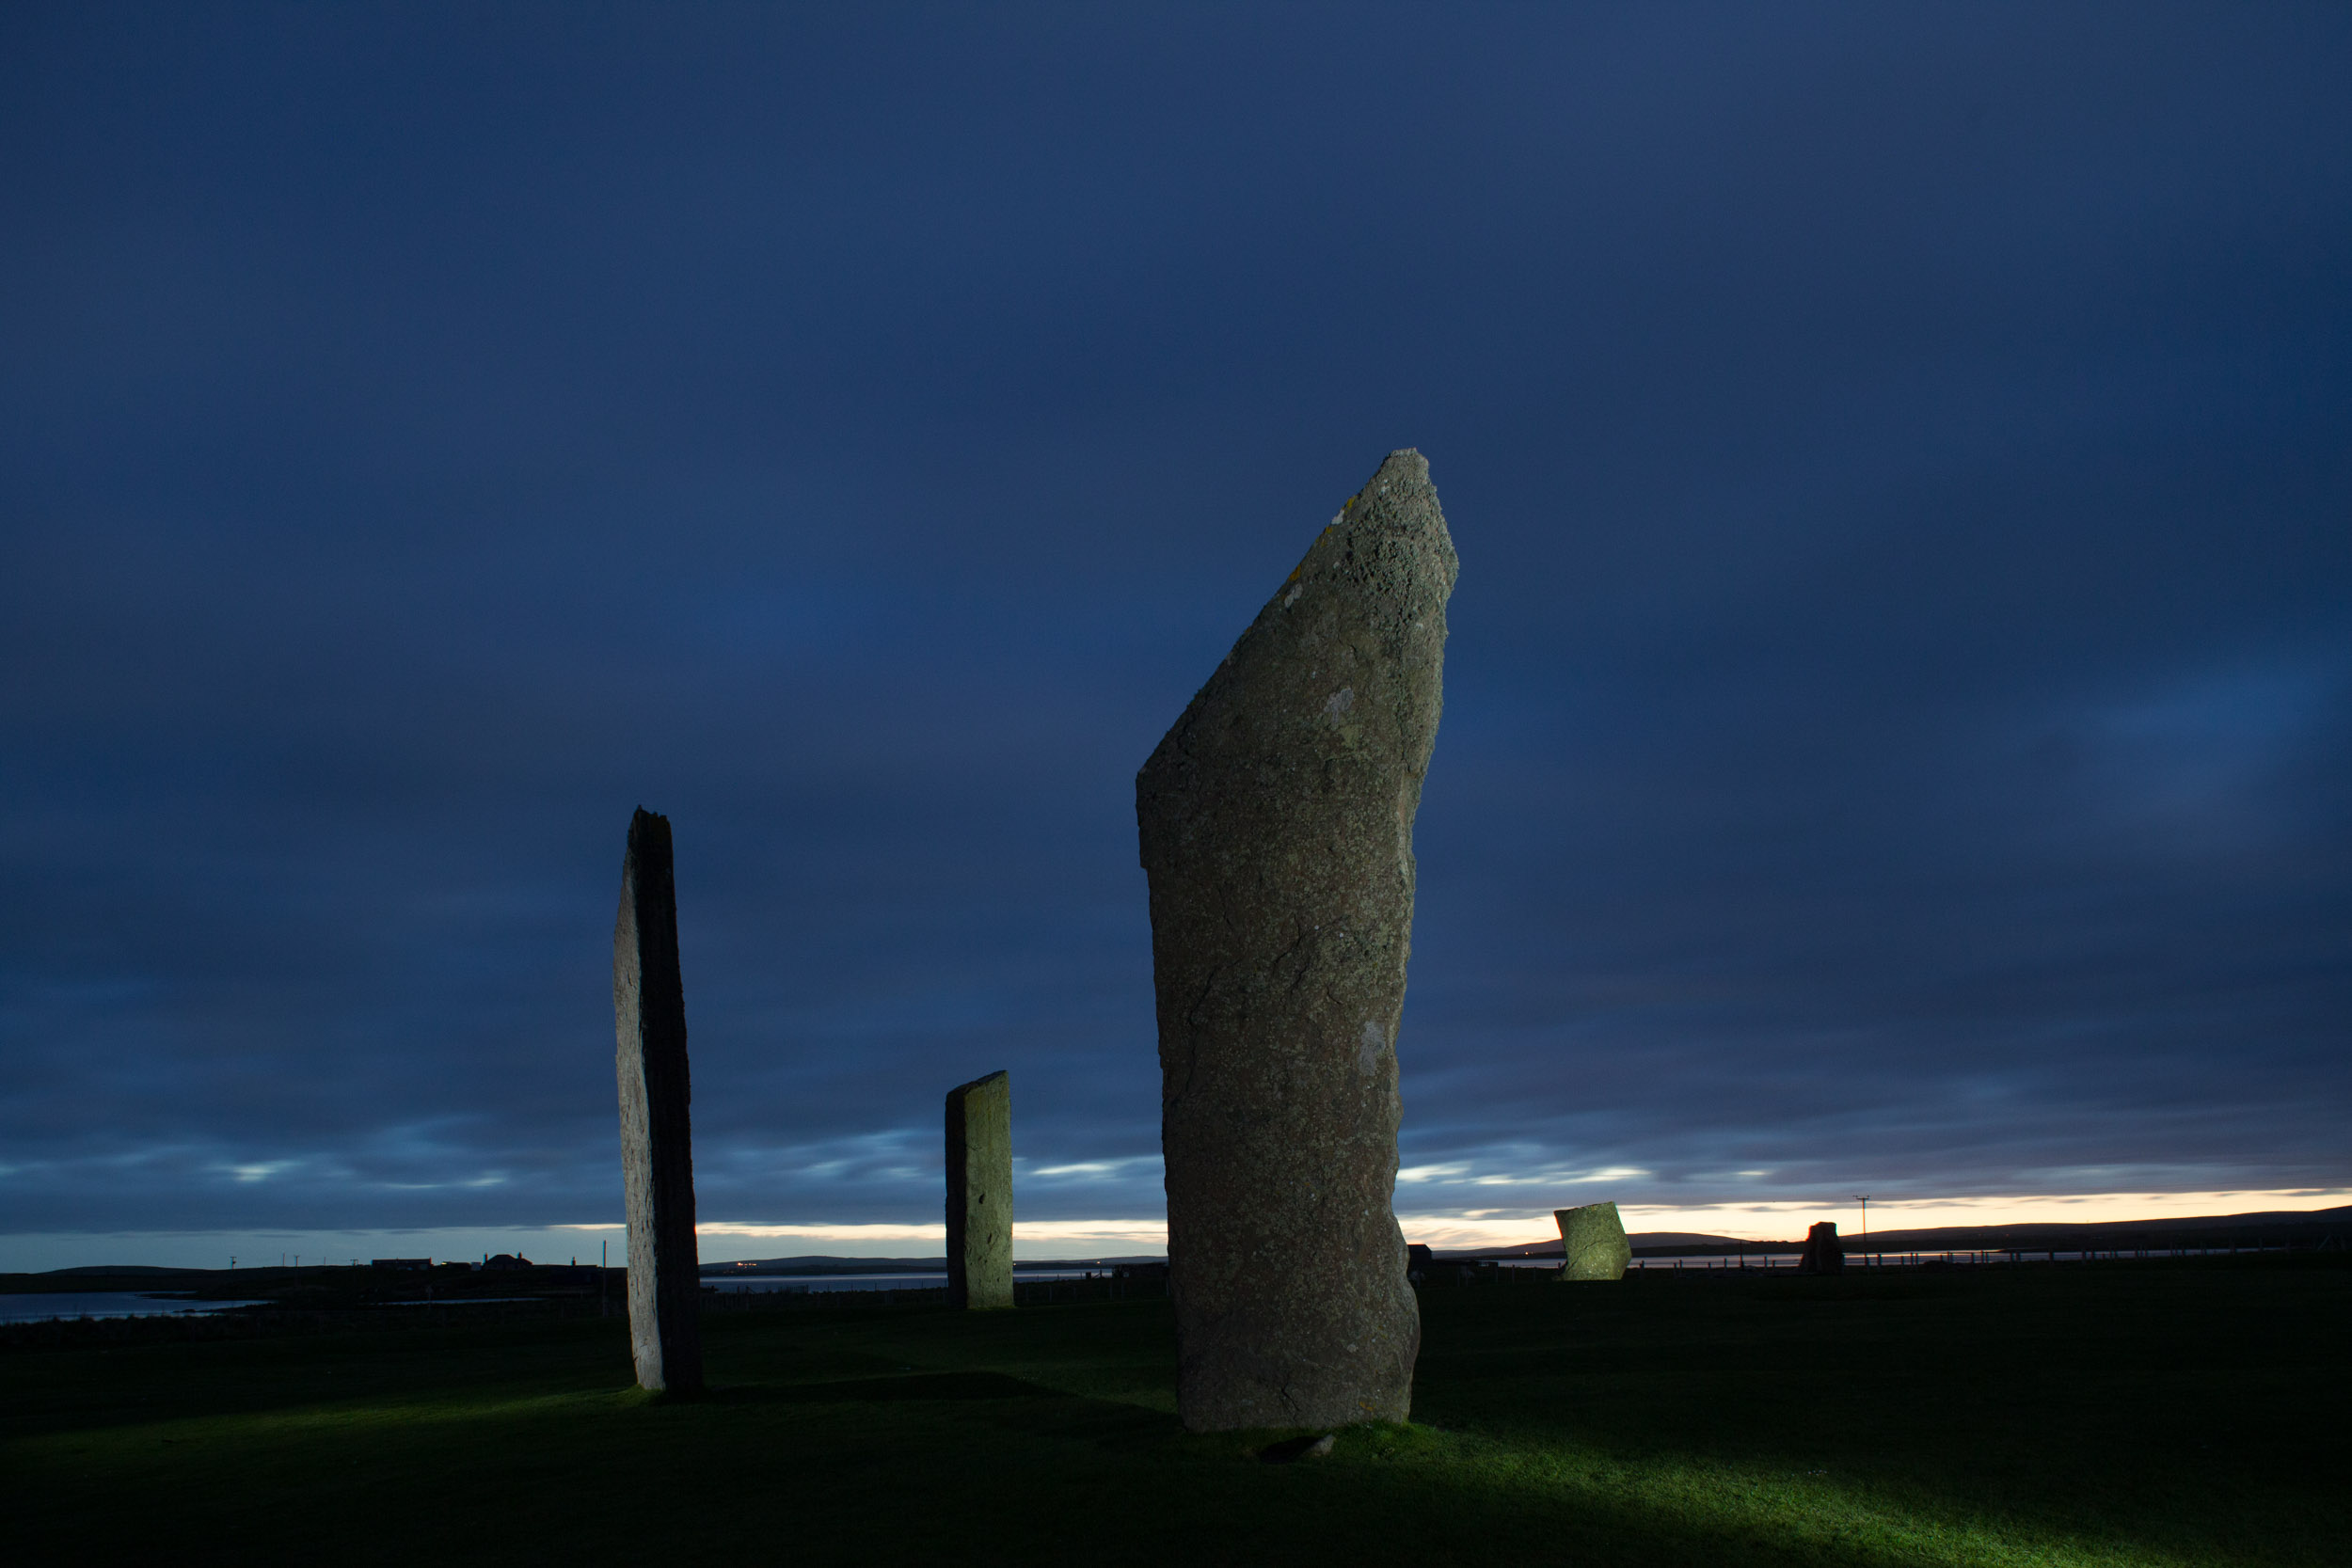
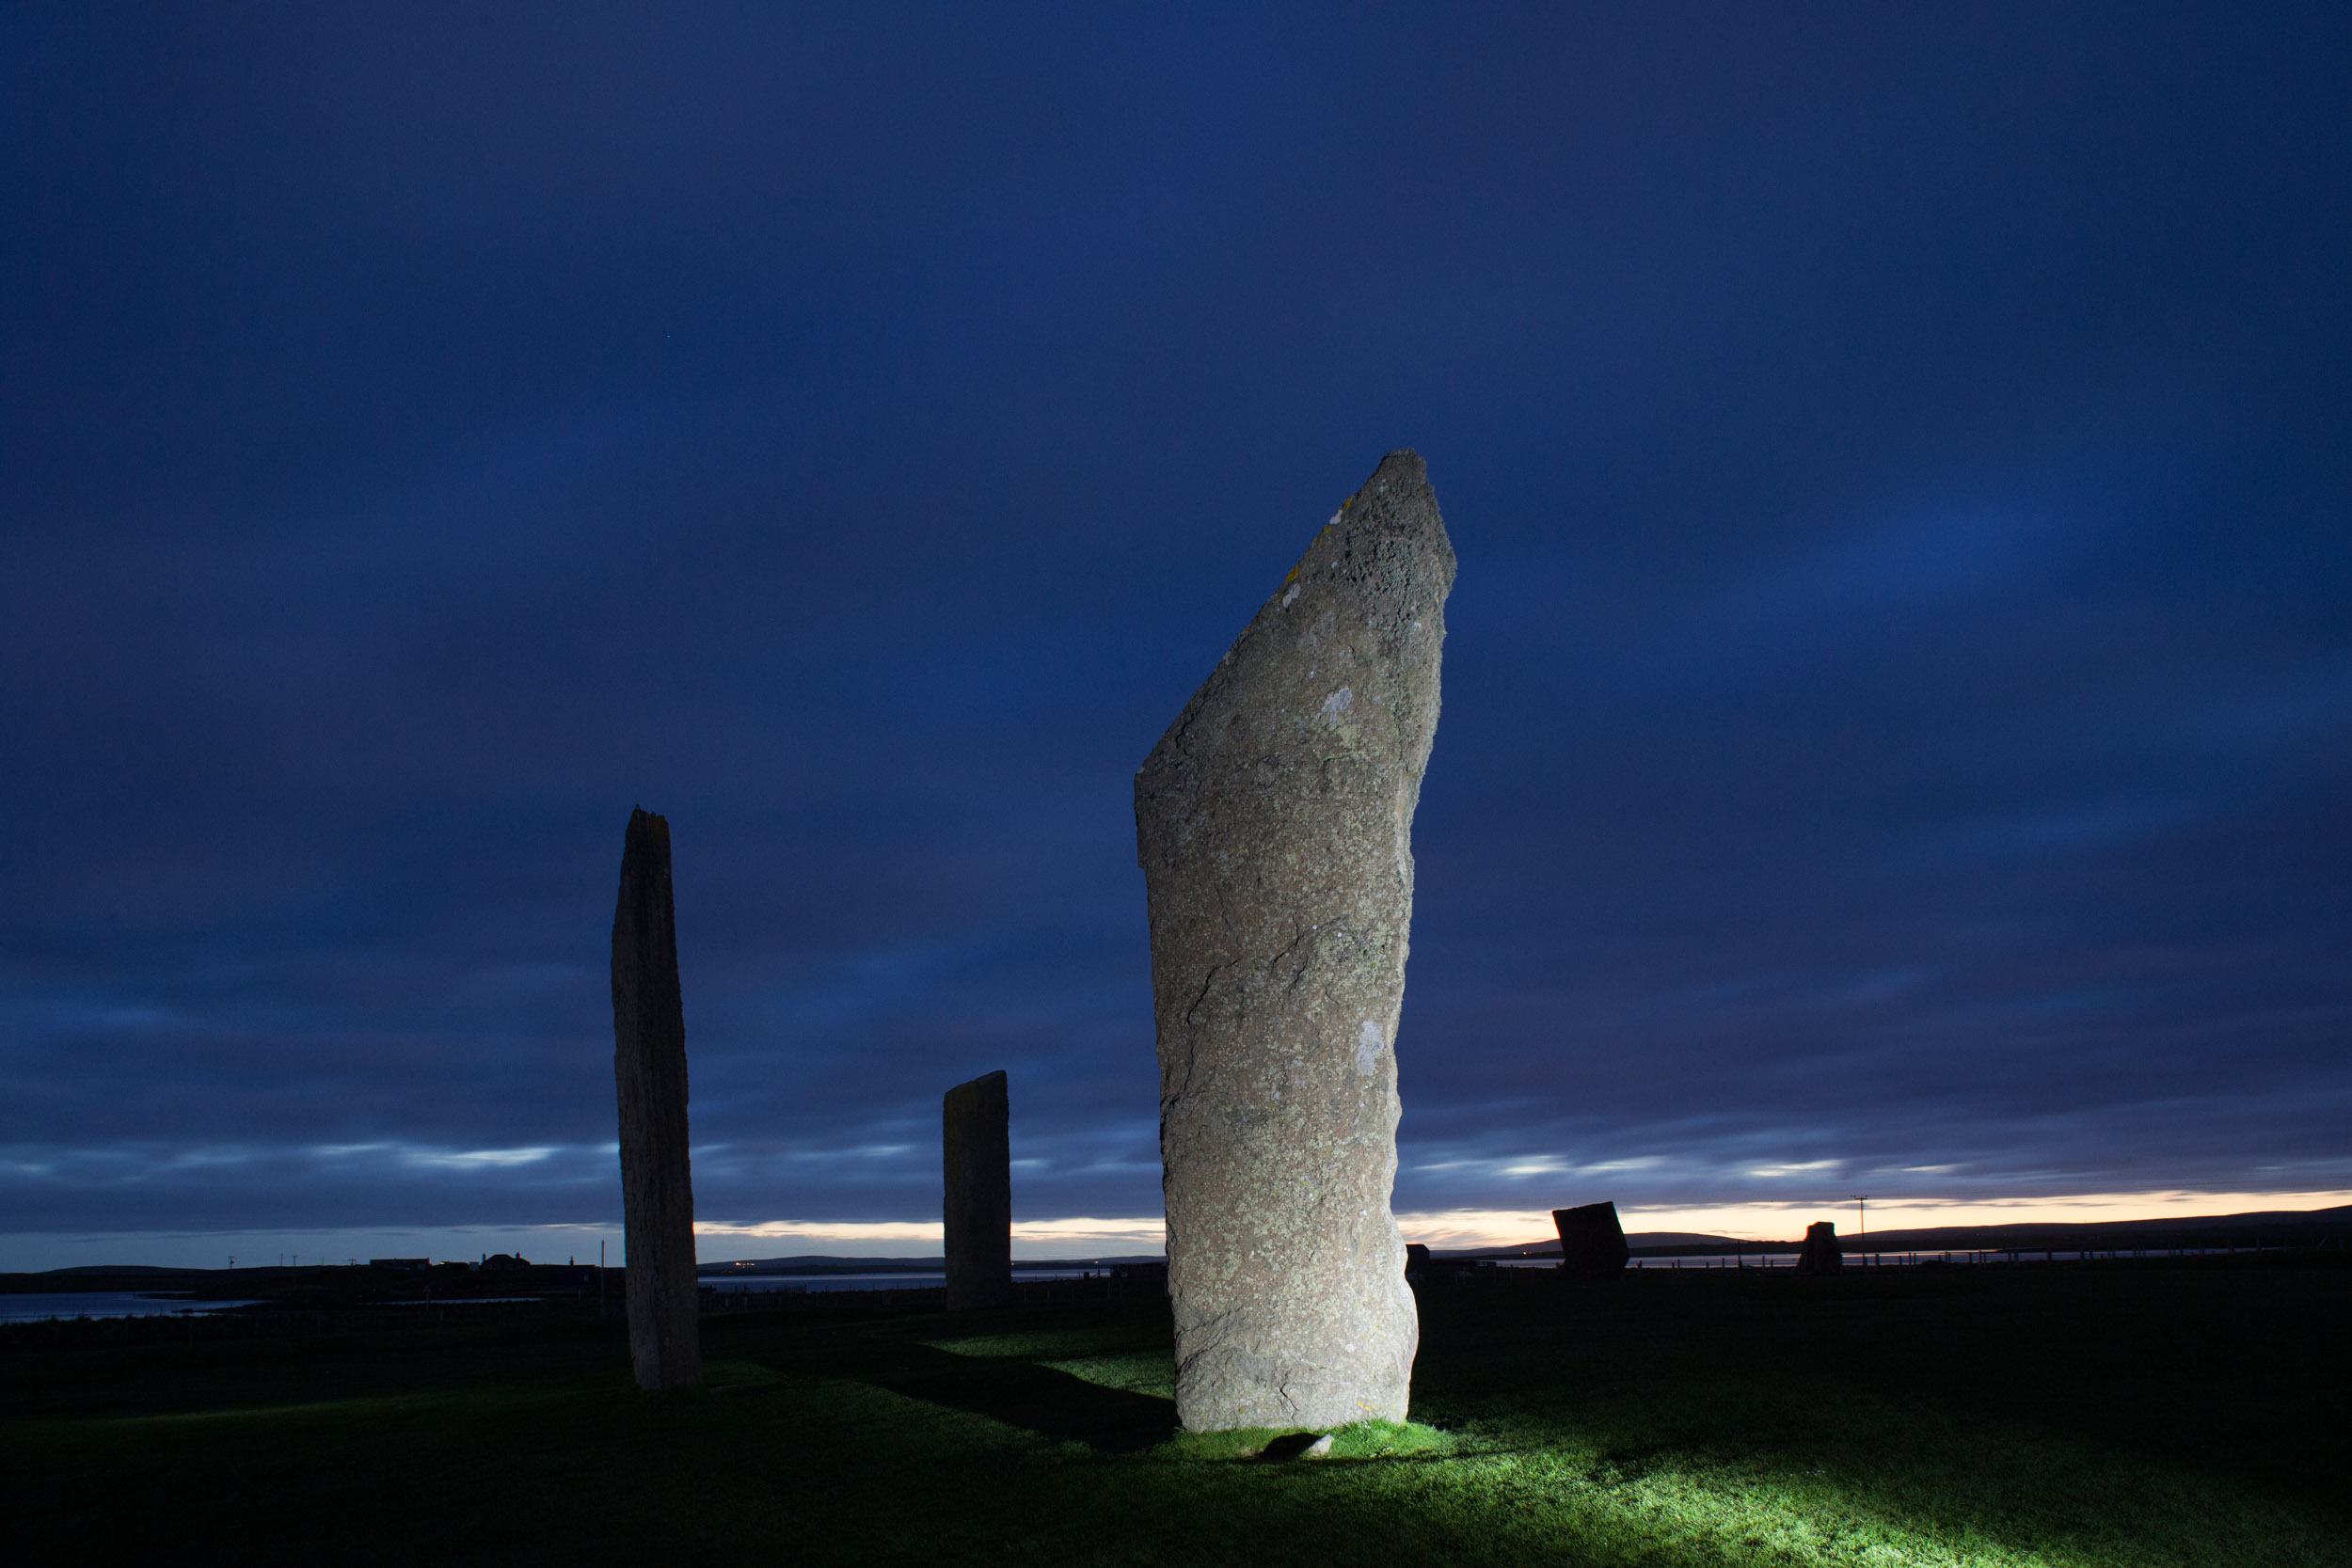
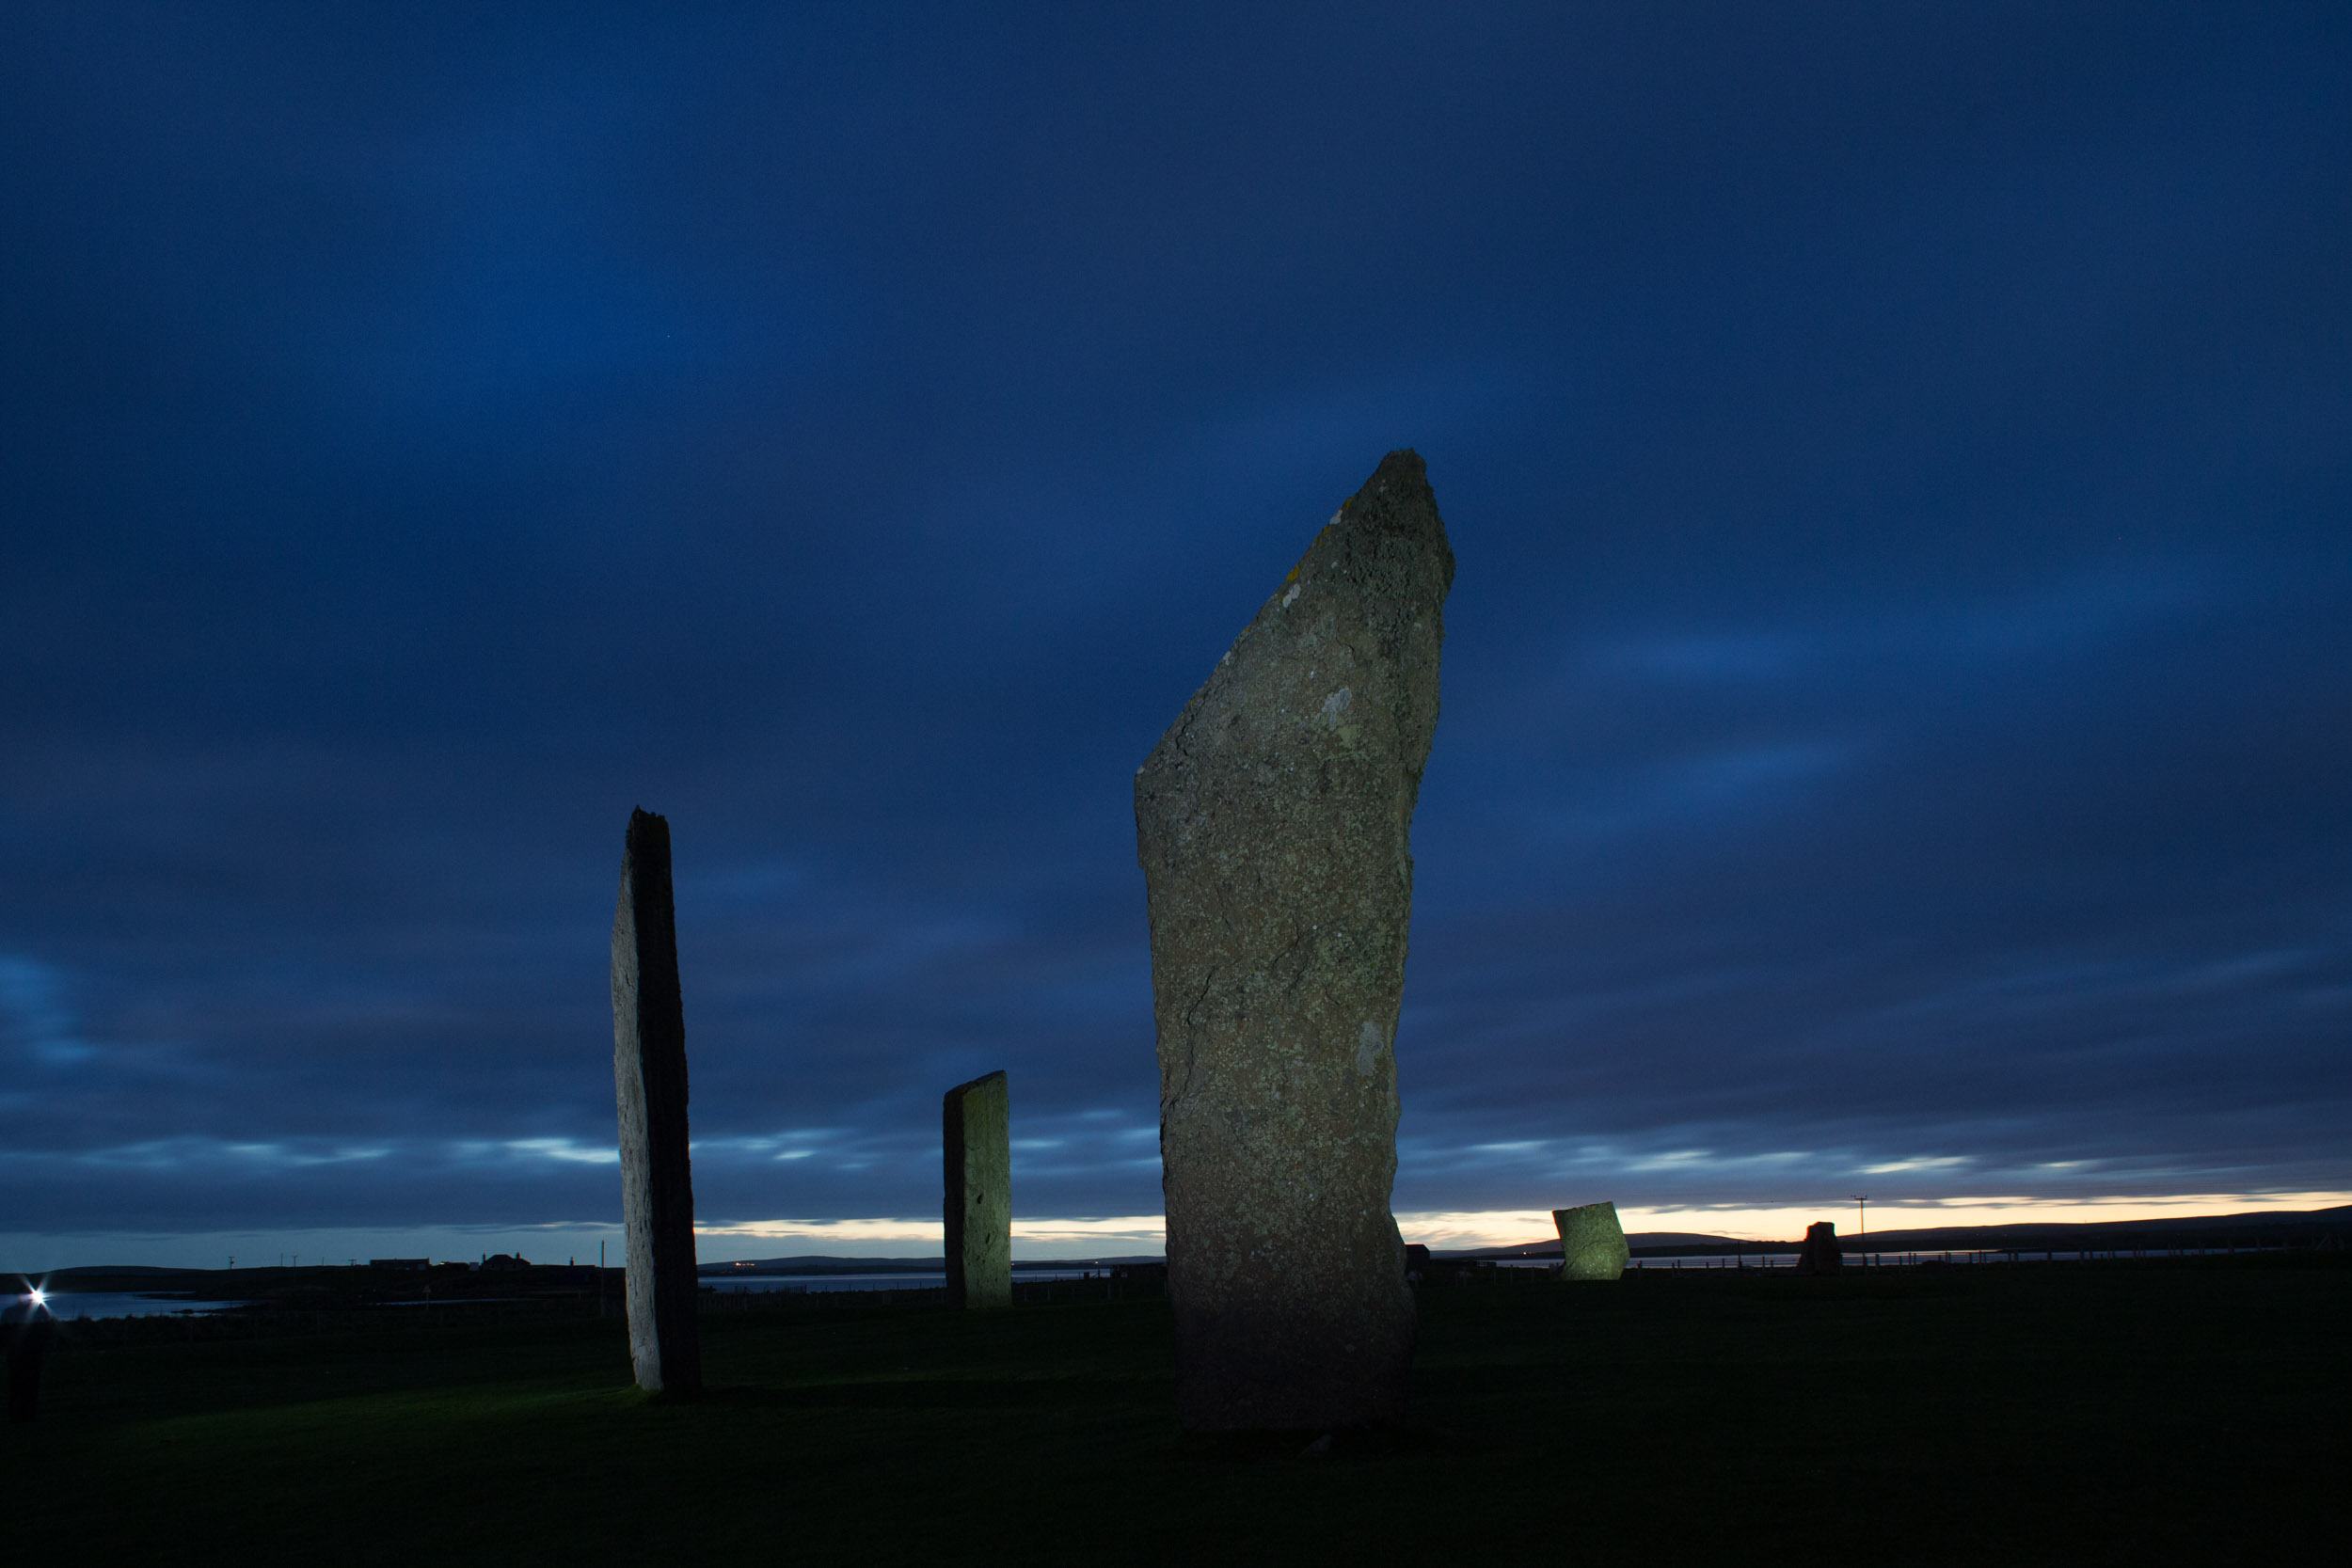
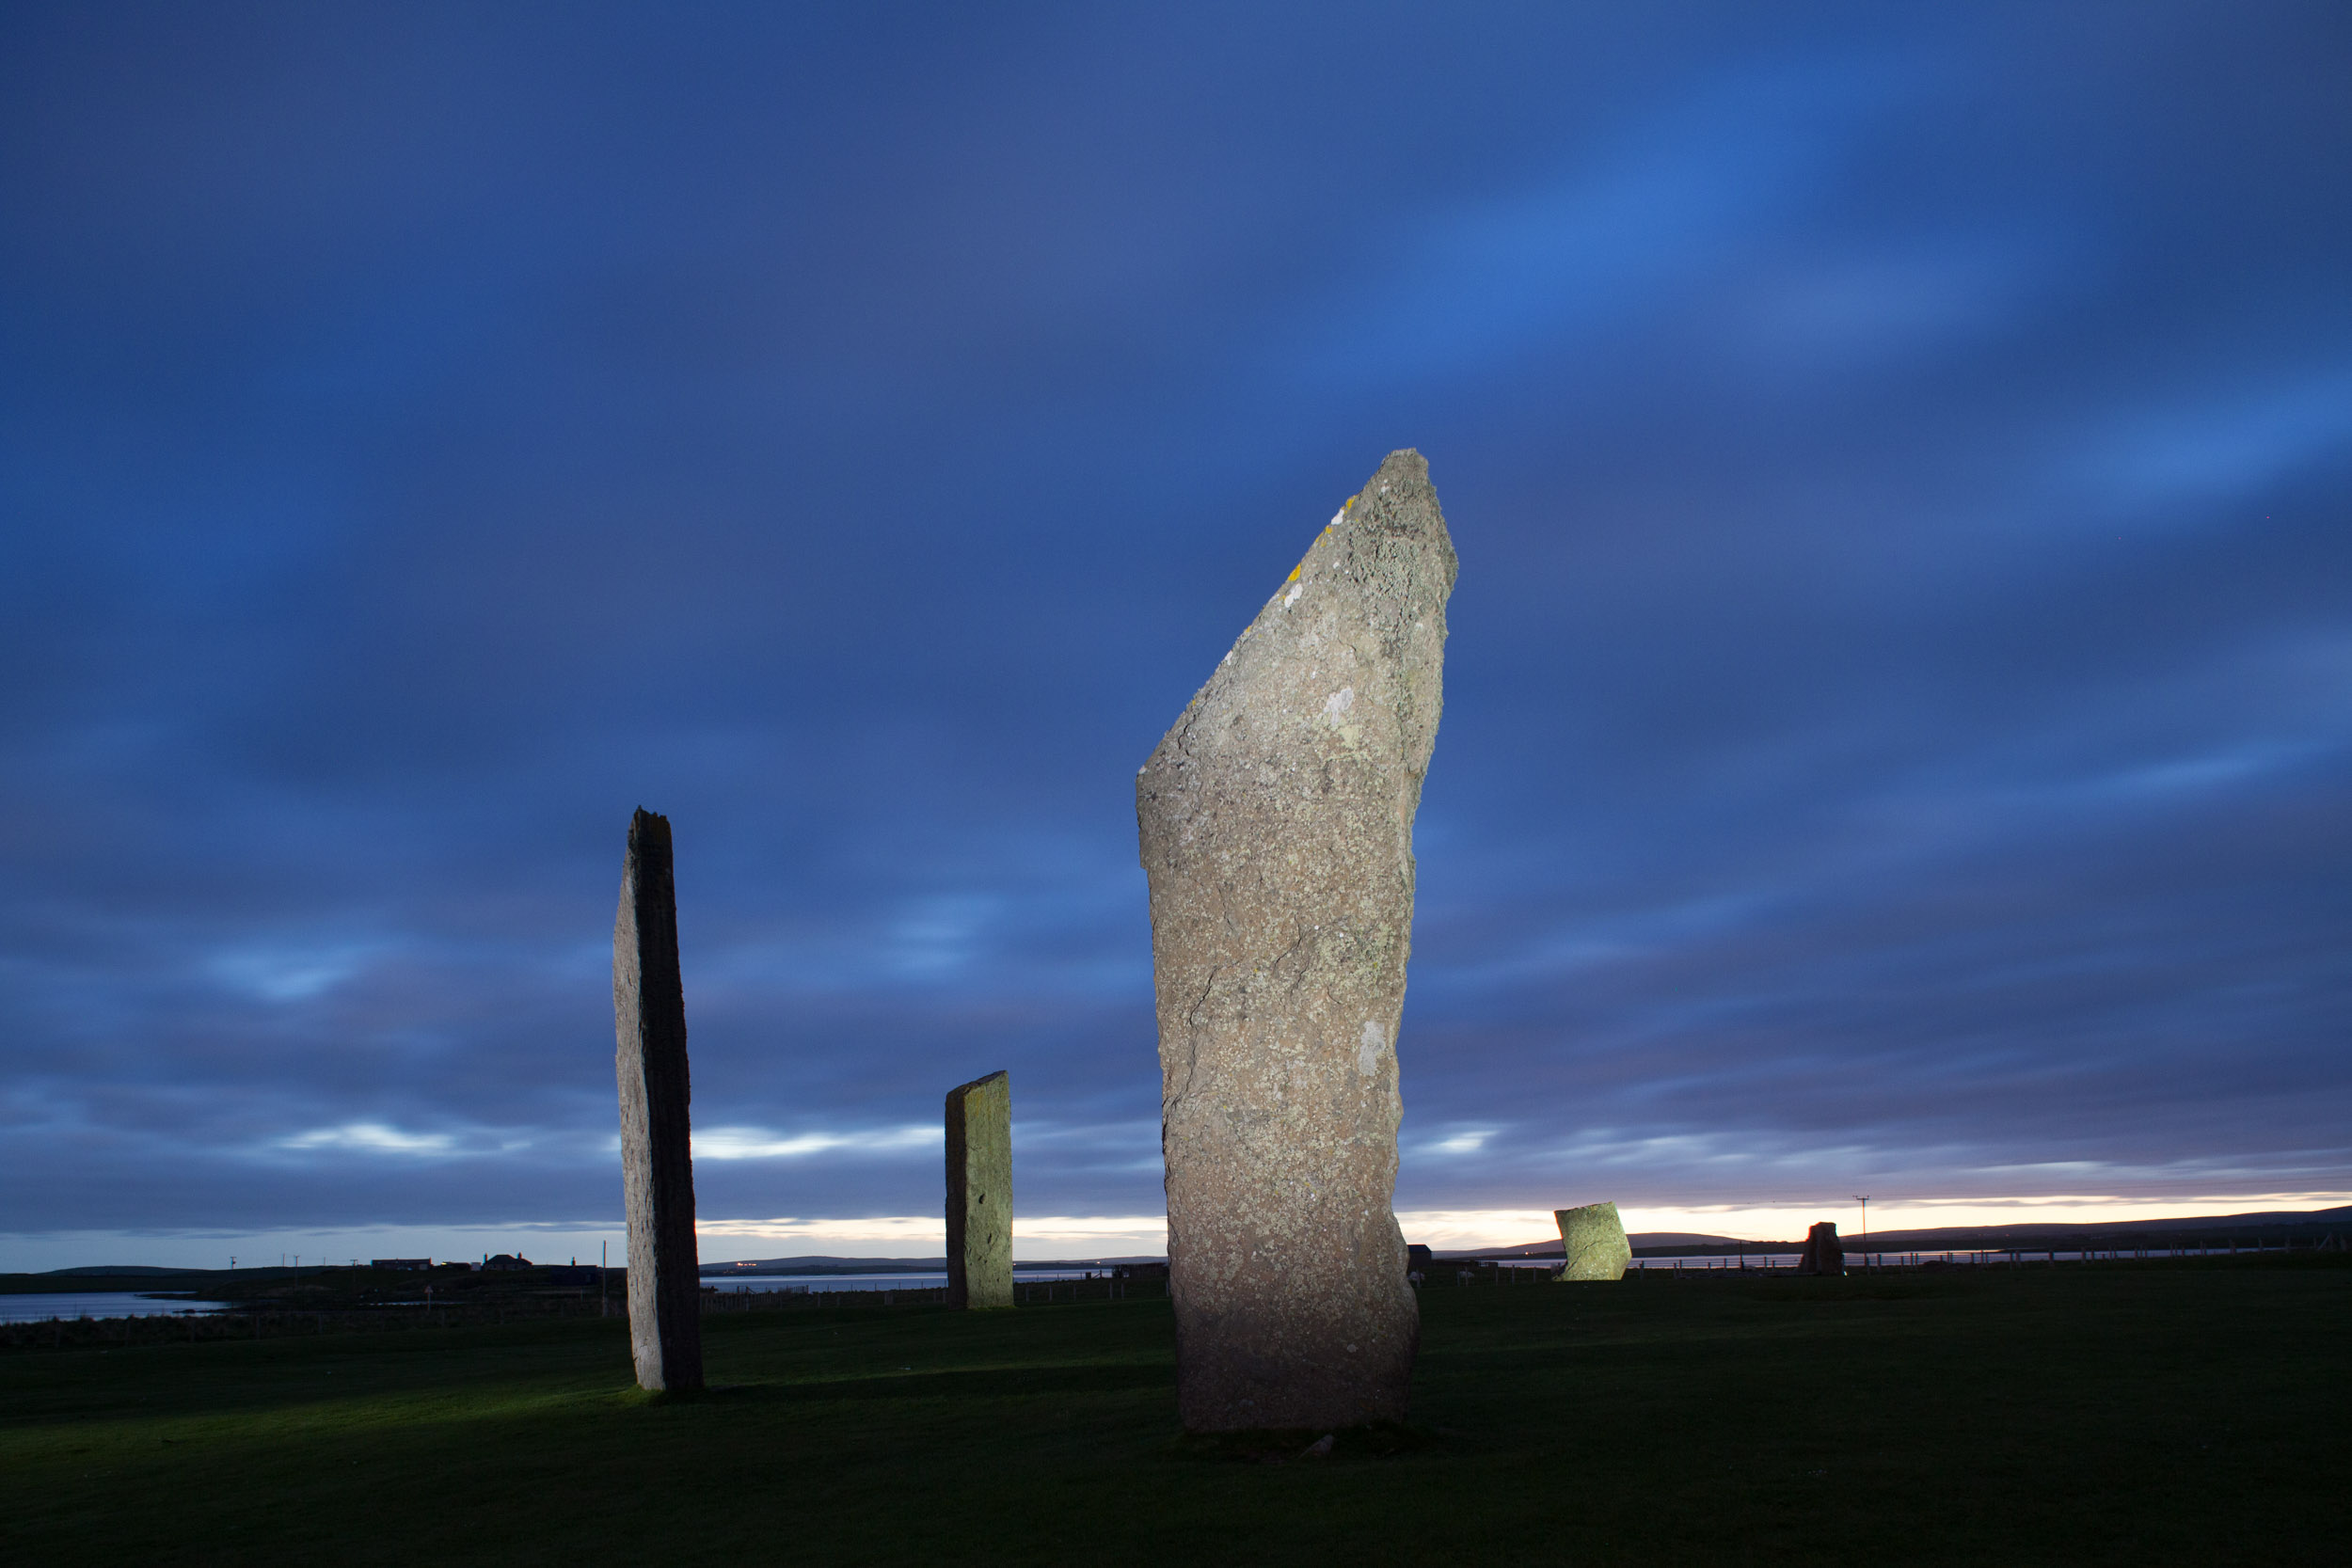
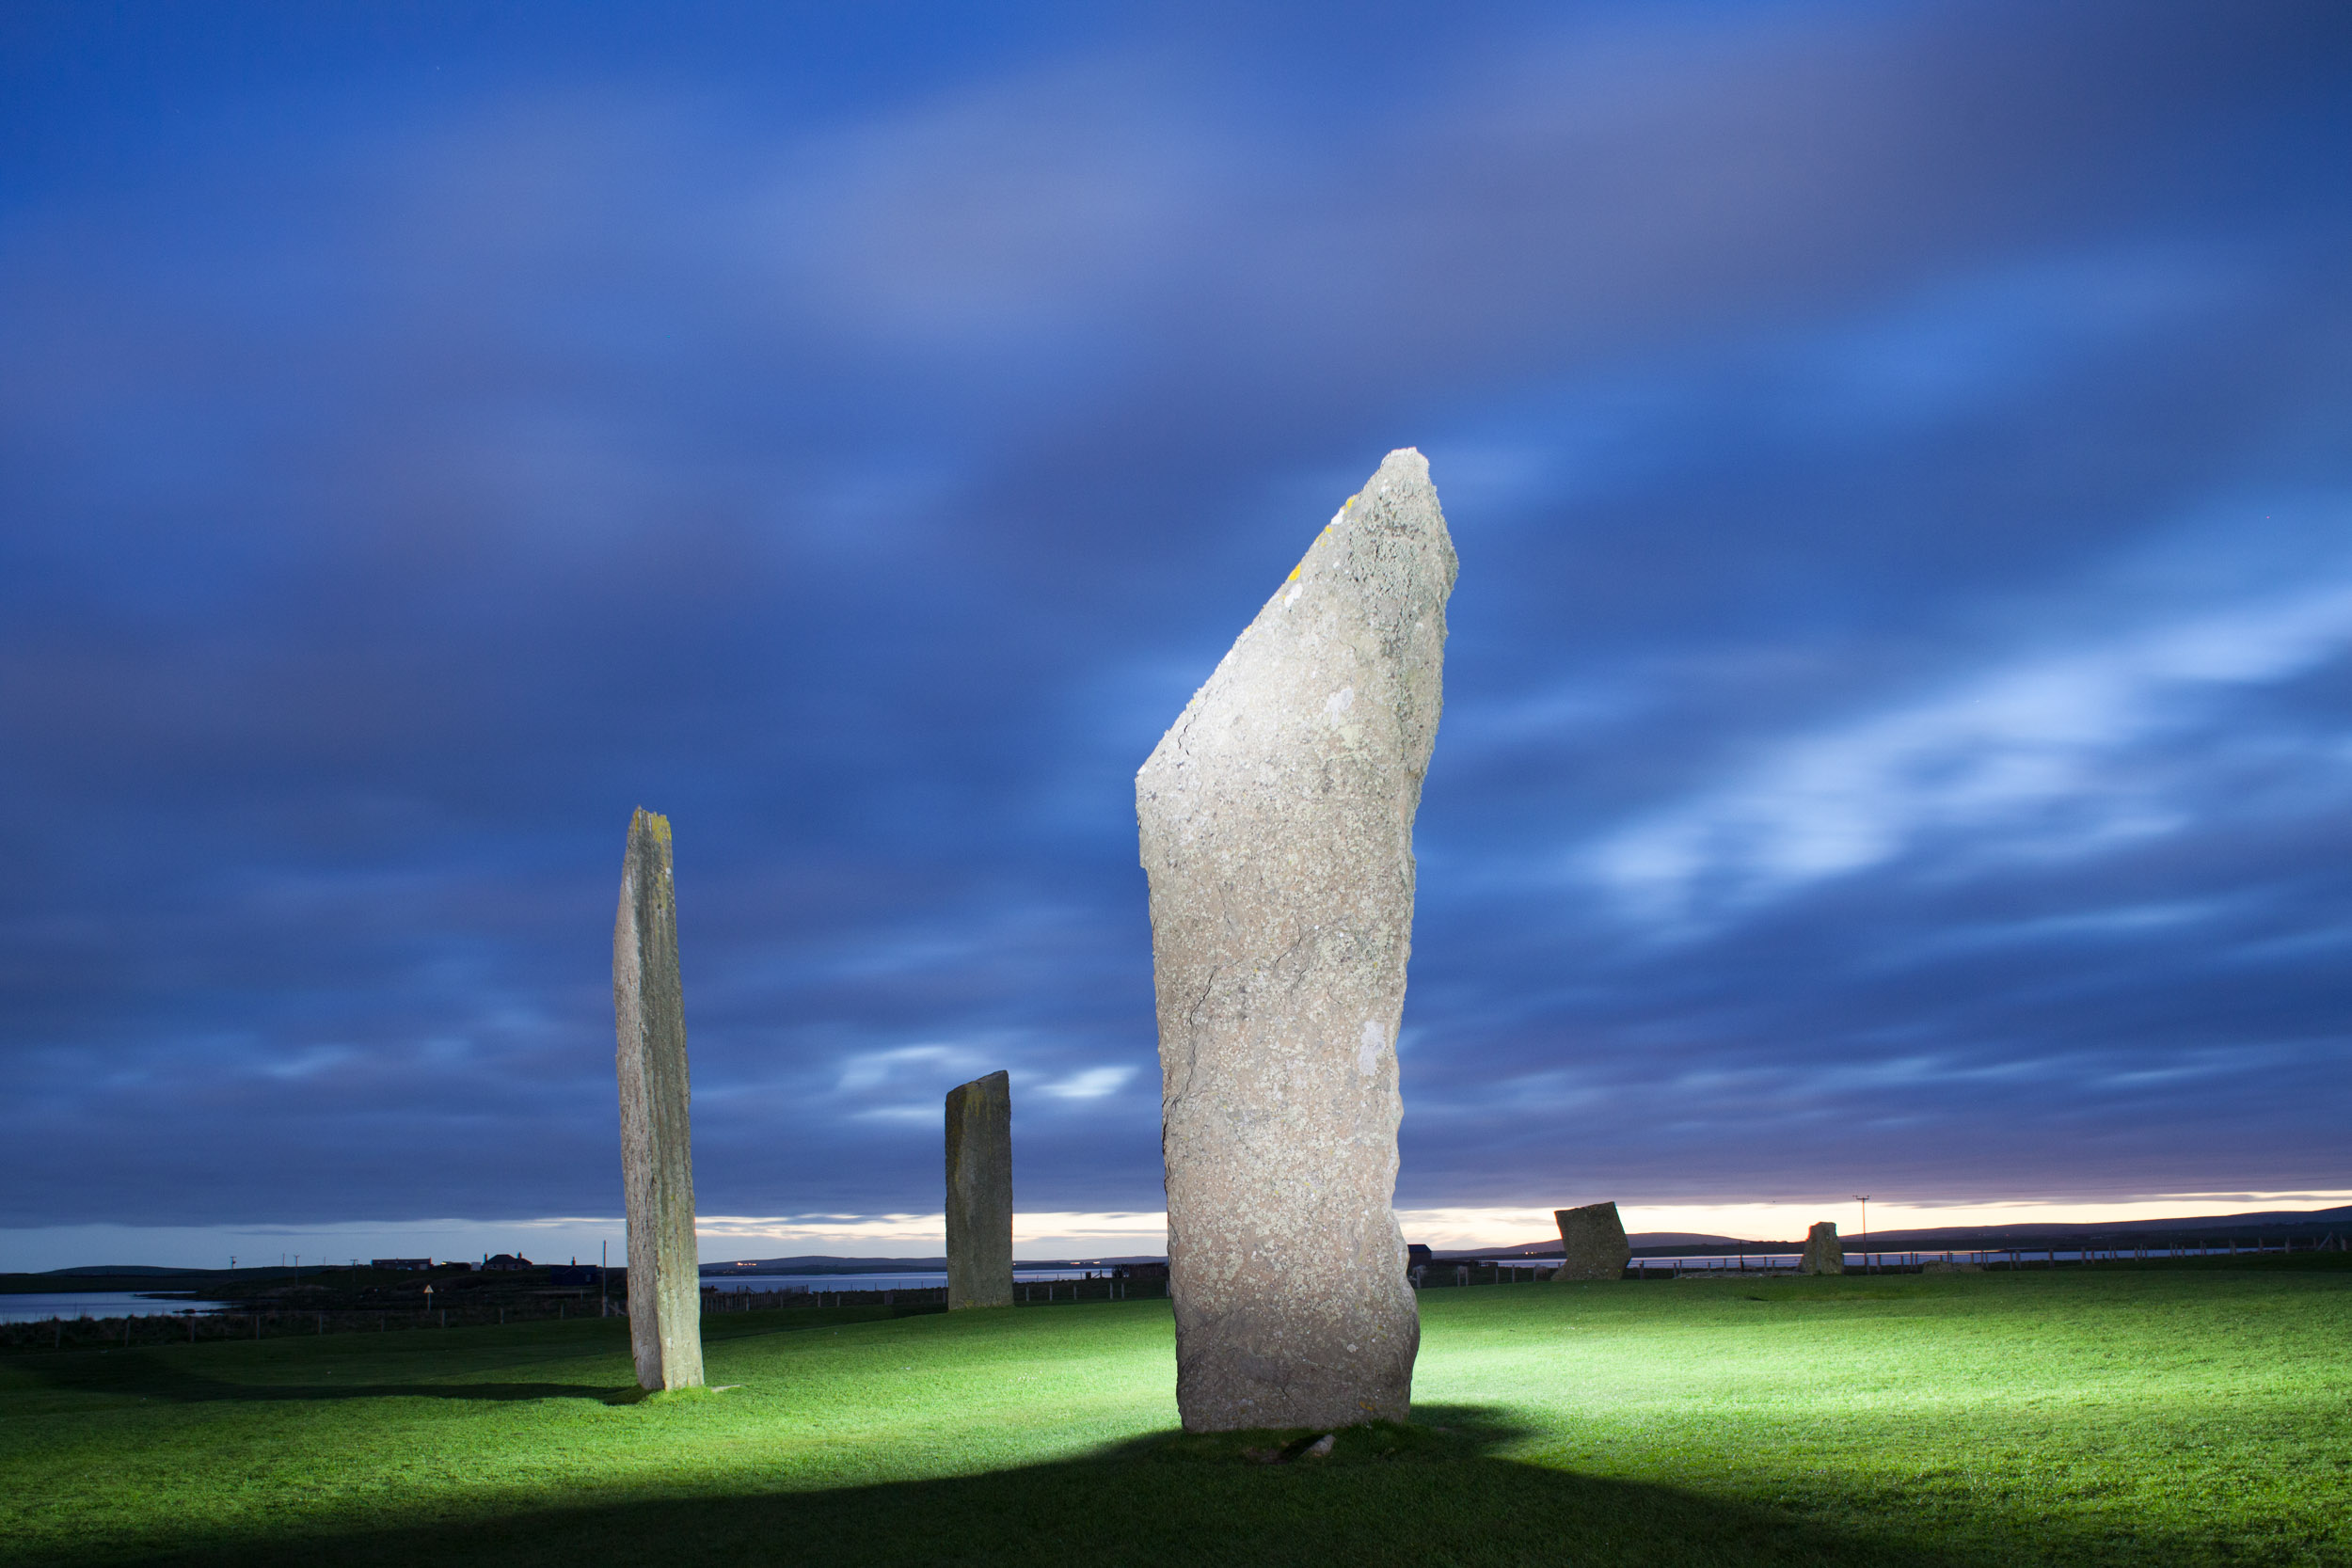
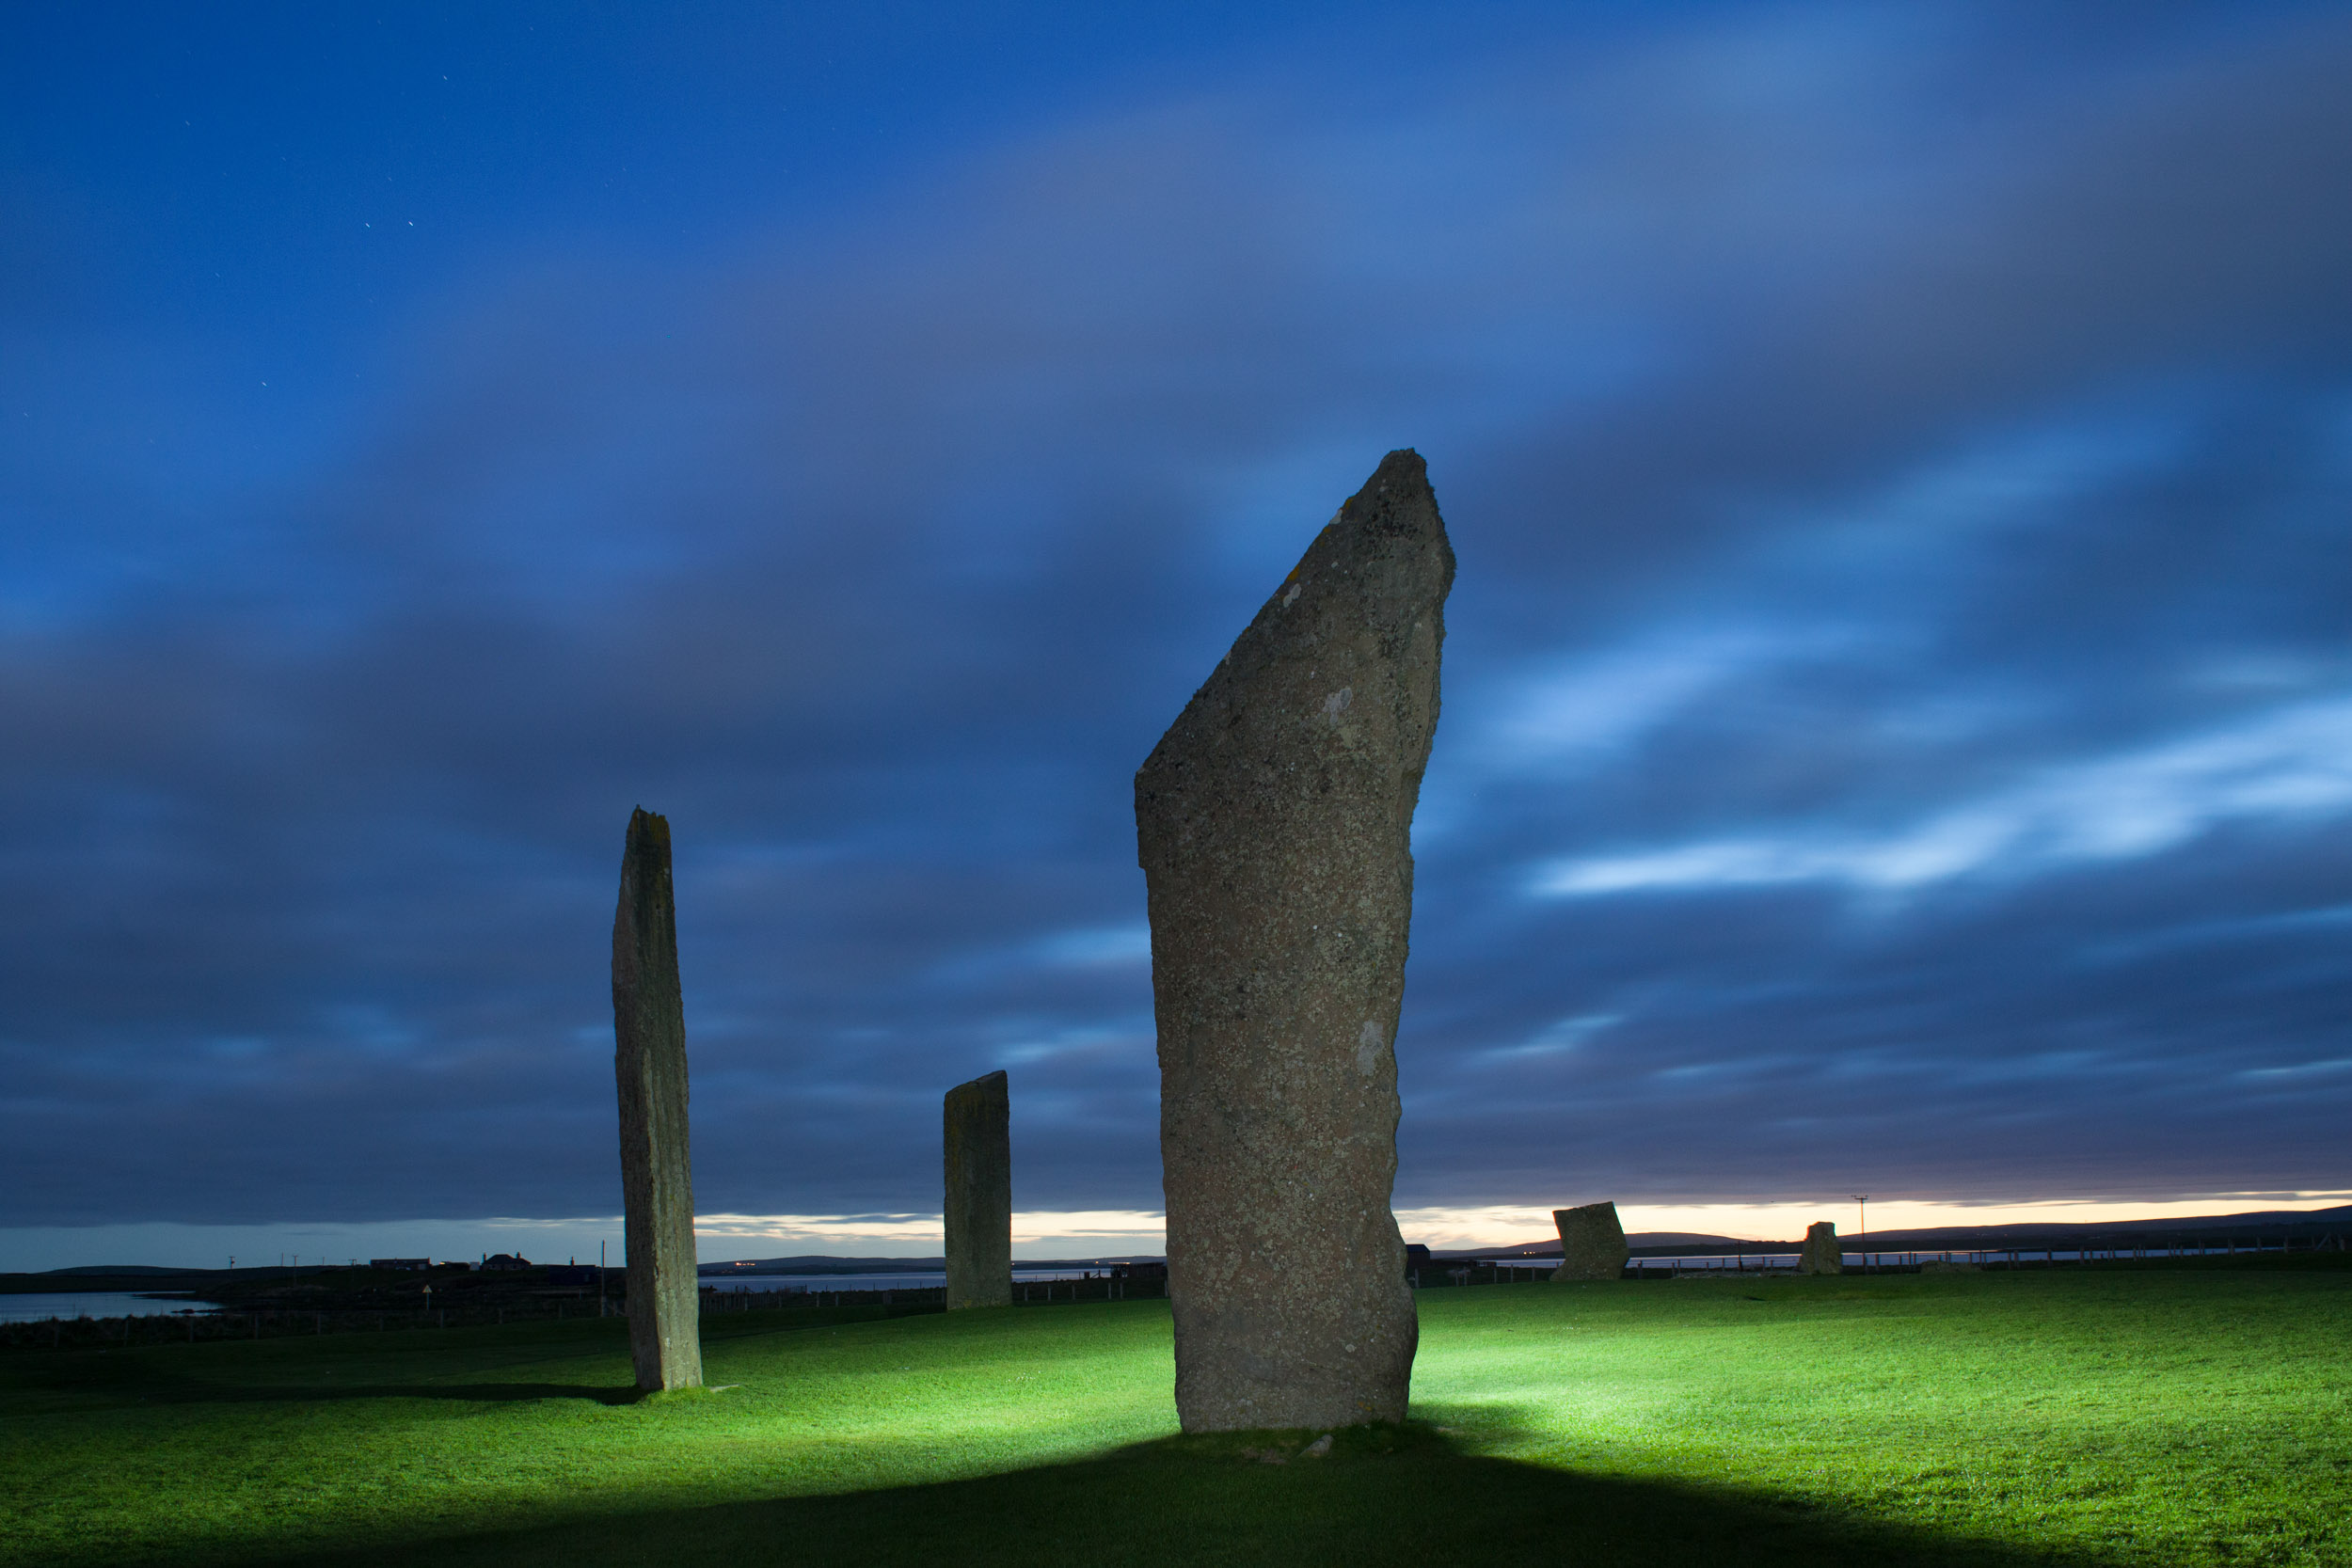
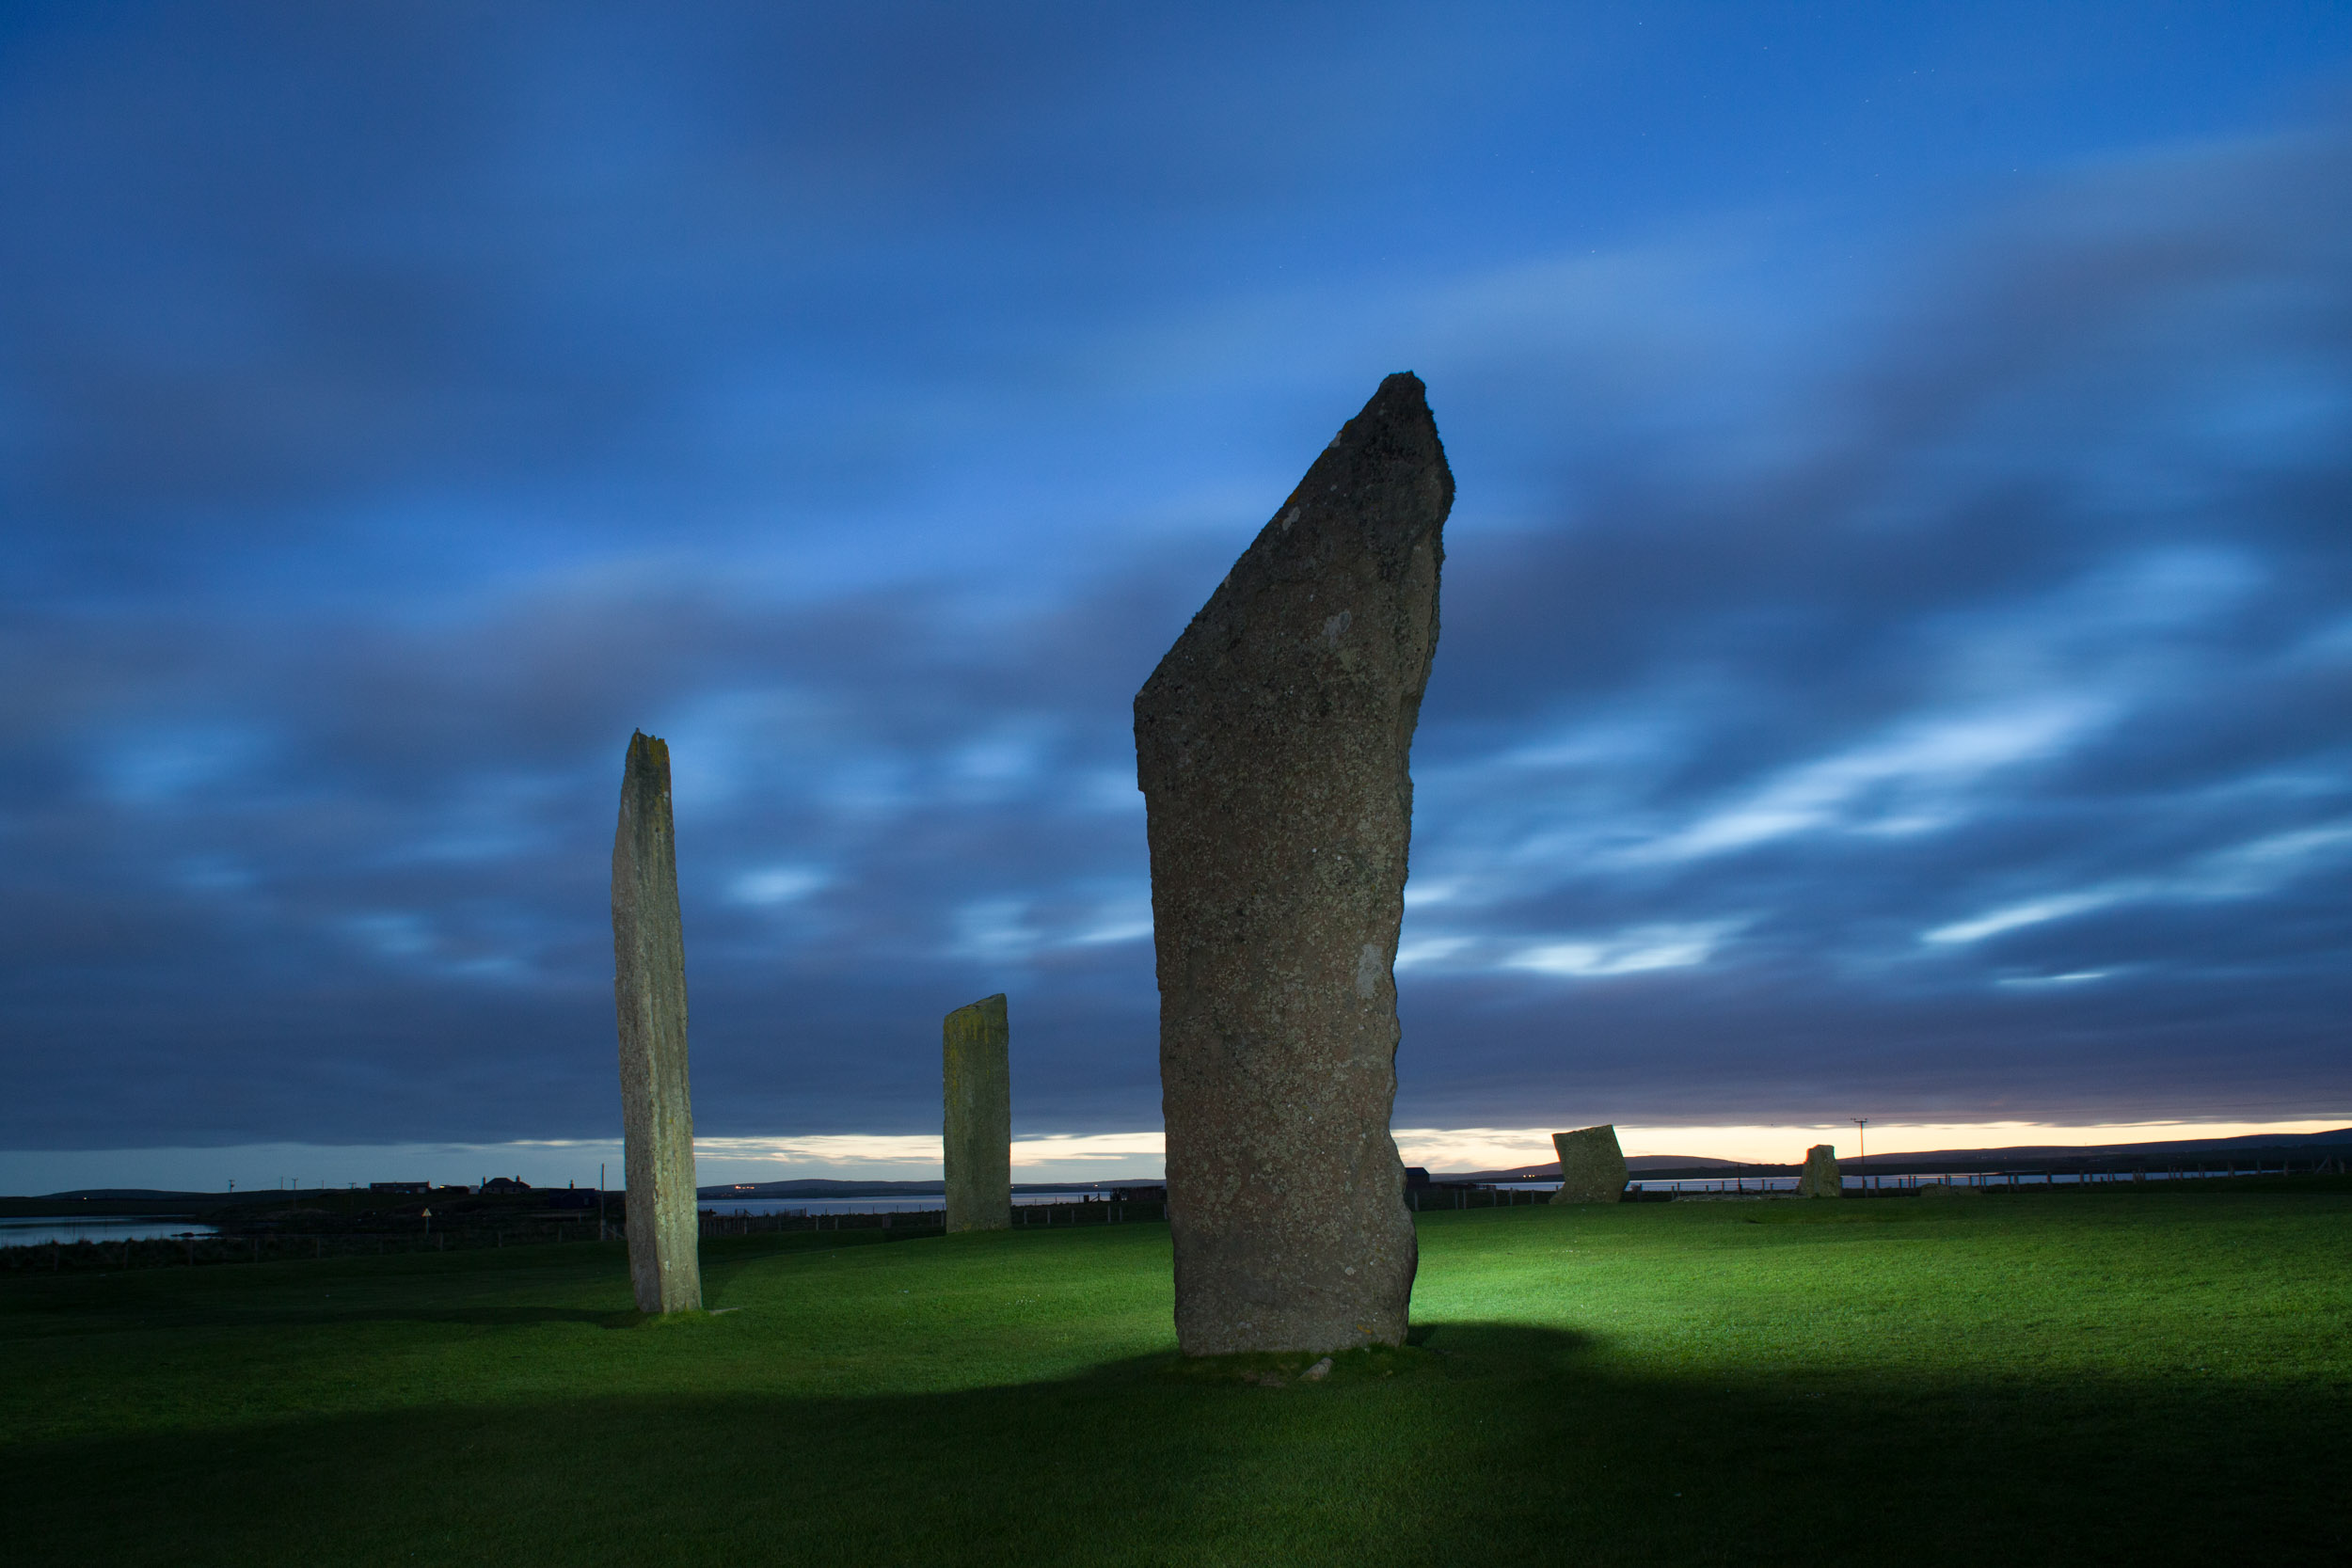

Field Workflow Example 2: Orkney, Scotland.
On Location
Step 3: On-Site Scouting
Arrive before dark if possible, explore the site and consider possible shots. How will the light change? What conditions are likely to impact photography? Are there likely to be other people, or other photographers? How about street lights or traffic? Are you under a busy flight path? Formulate a plan.
Step 4: Field Workflow
The order in which you do the following steps is up to you. I suggest experimenting with the sequence to see what feels right. The following is what I do––for every image.
A. Compose the shot. Without any regard for exposure or focus at this point, I roughly work out the composition. If there is enough light, I’ll do some quick hand-held high ISO shots just to see if the idea is going to work. If I need more than 2 to 3 seconds to get an exposure, I’ll go right to the tripod. It doesn’t matter if the lens is focused—I’m concerned only with framing the image. How do the foreground, middleground and background relate to each other? How does the subject fit within the frame? I’ll make multiple exposures, making little adjustments until the composition is perfect. It might take two or threeframes, it might take a dozen. Once I get to this point, I lock the camera down on the tripod, and I don’t move it until the image is completed.
B. Focus. Depending on the situation, I might use one of several different focusing techniques. If it’s an astro-landscape image with nothing in the foreground, I’ll focus at infinity for maximum sharpness of the stars. If there is an important foreground element, I’ll determine the hyperfocal distance to maximize the depth of field. I almost always use magnified live view combined with a flashlight for accuracy. (You can read more about focusing techniques in Chris’ post “Staying Sharp: 8 Ways to Focus in the Dark.”)
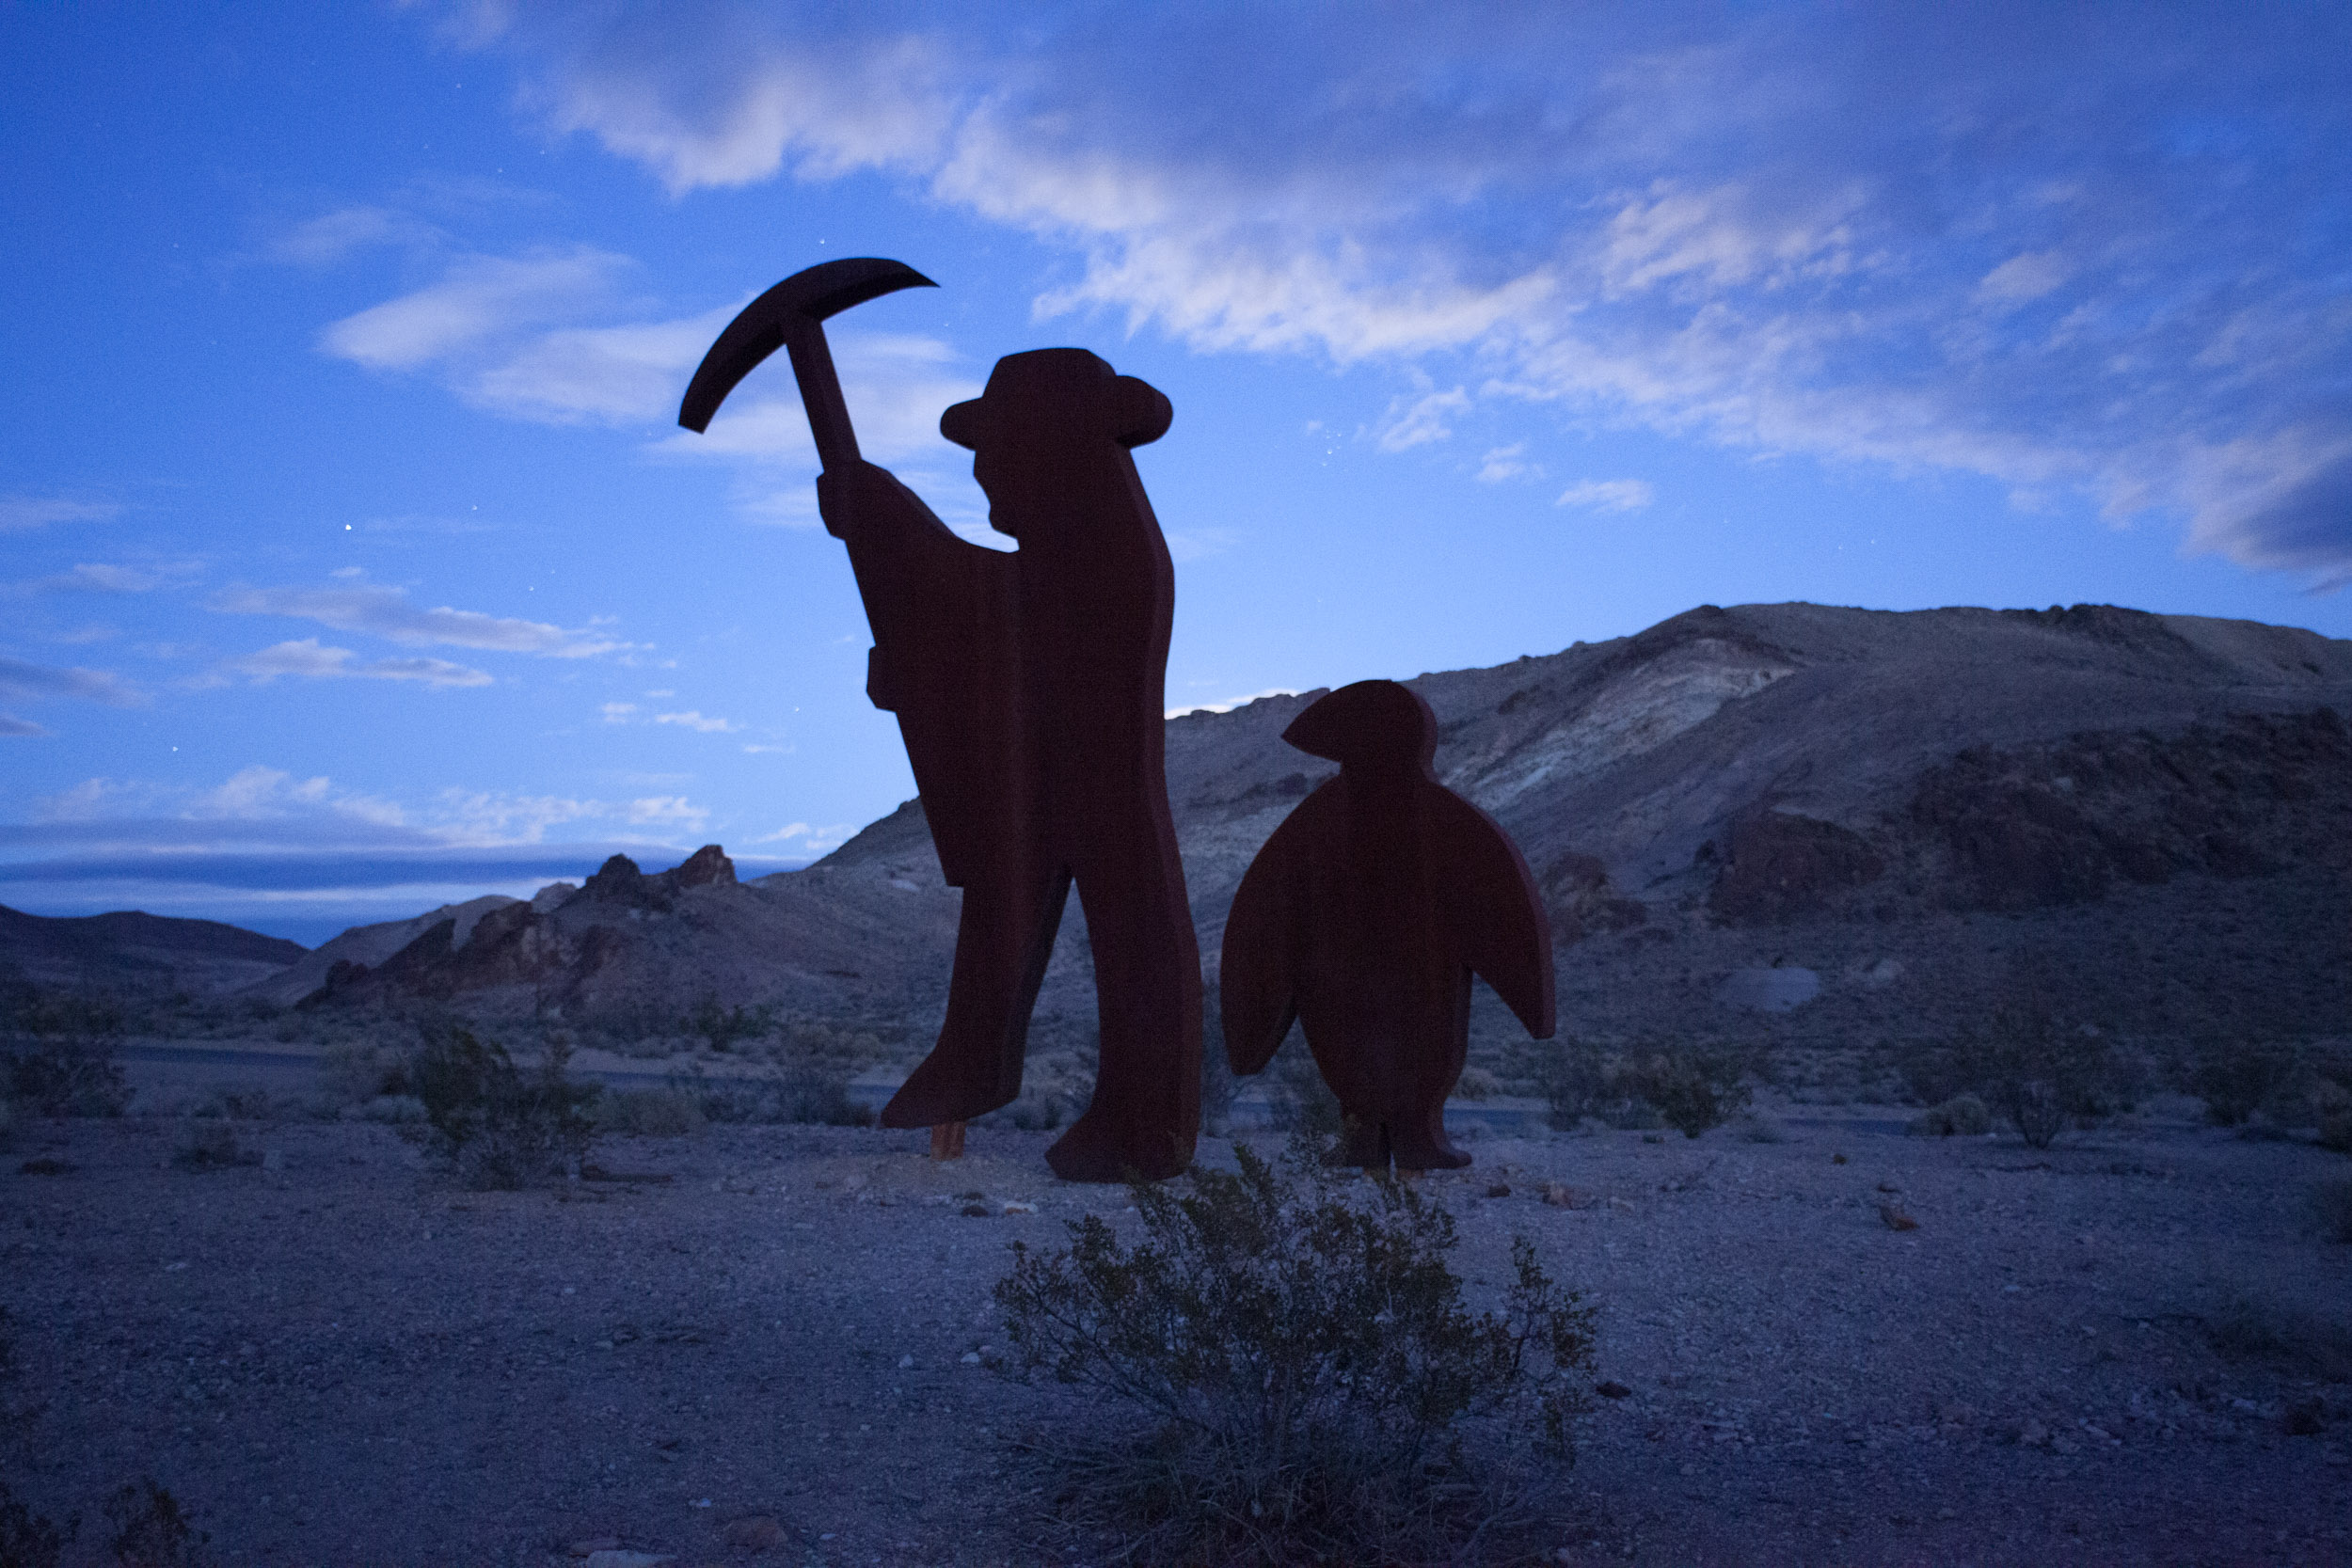
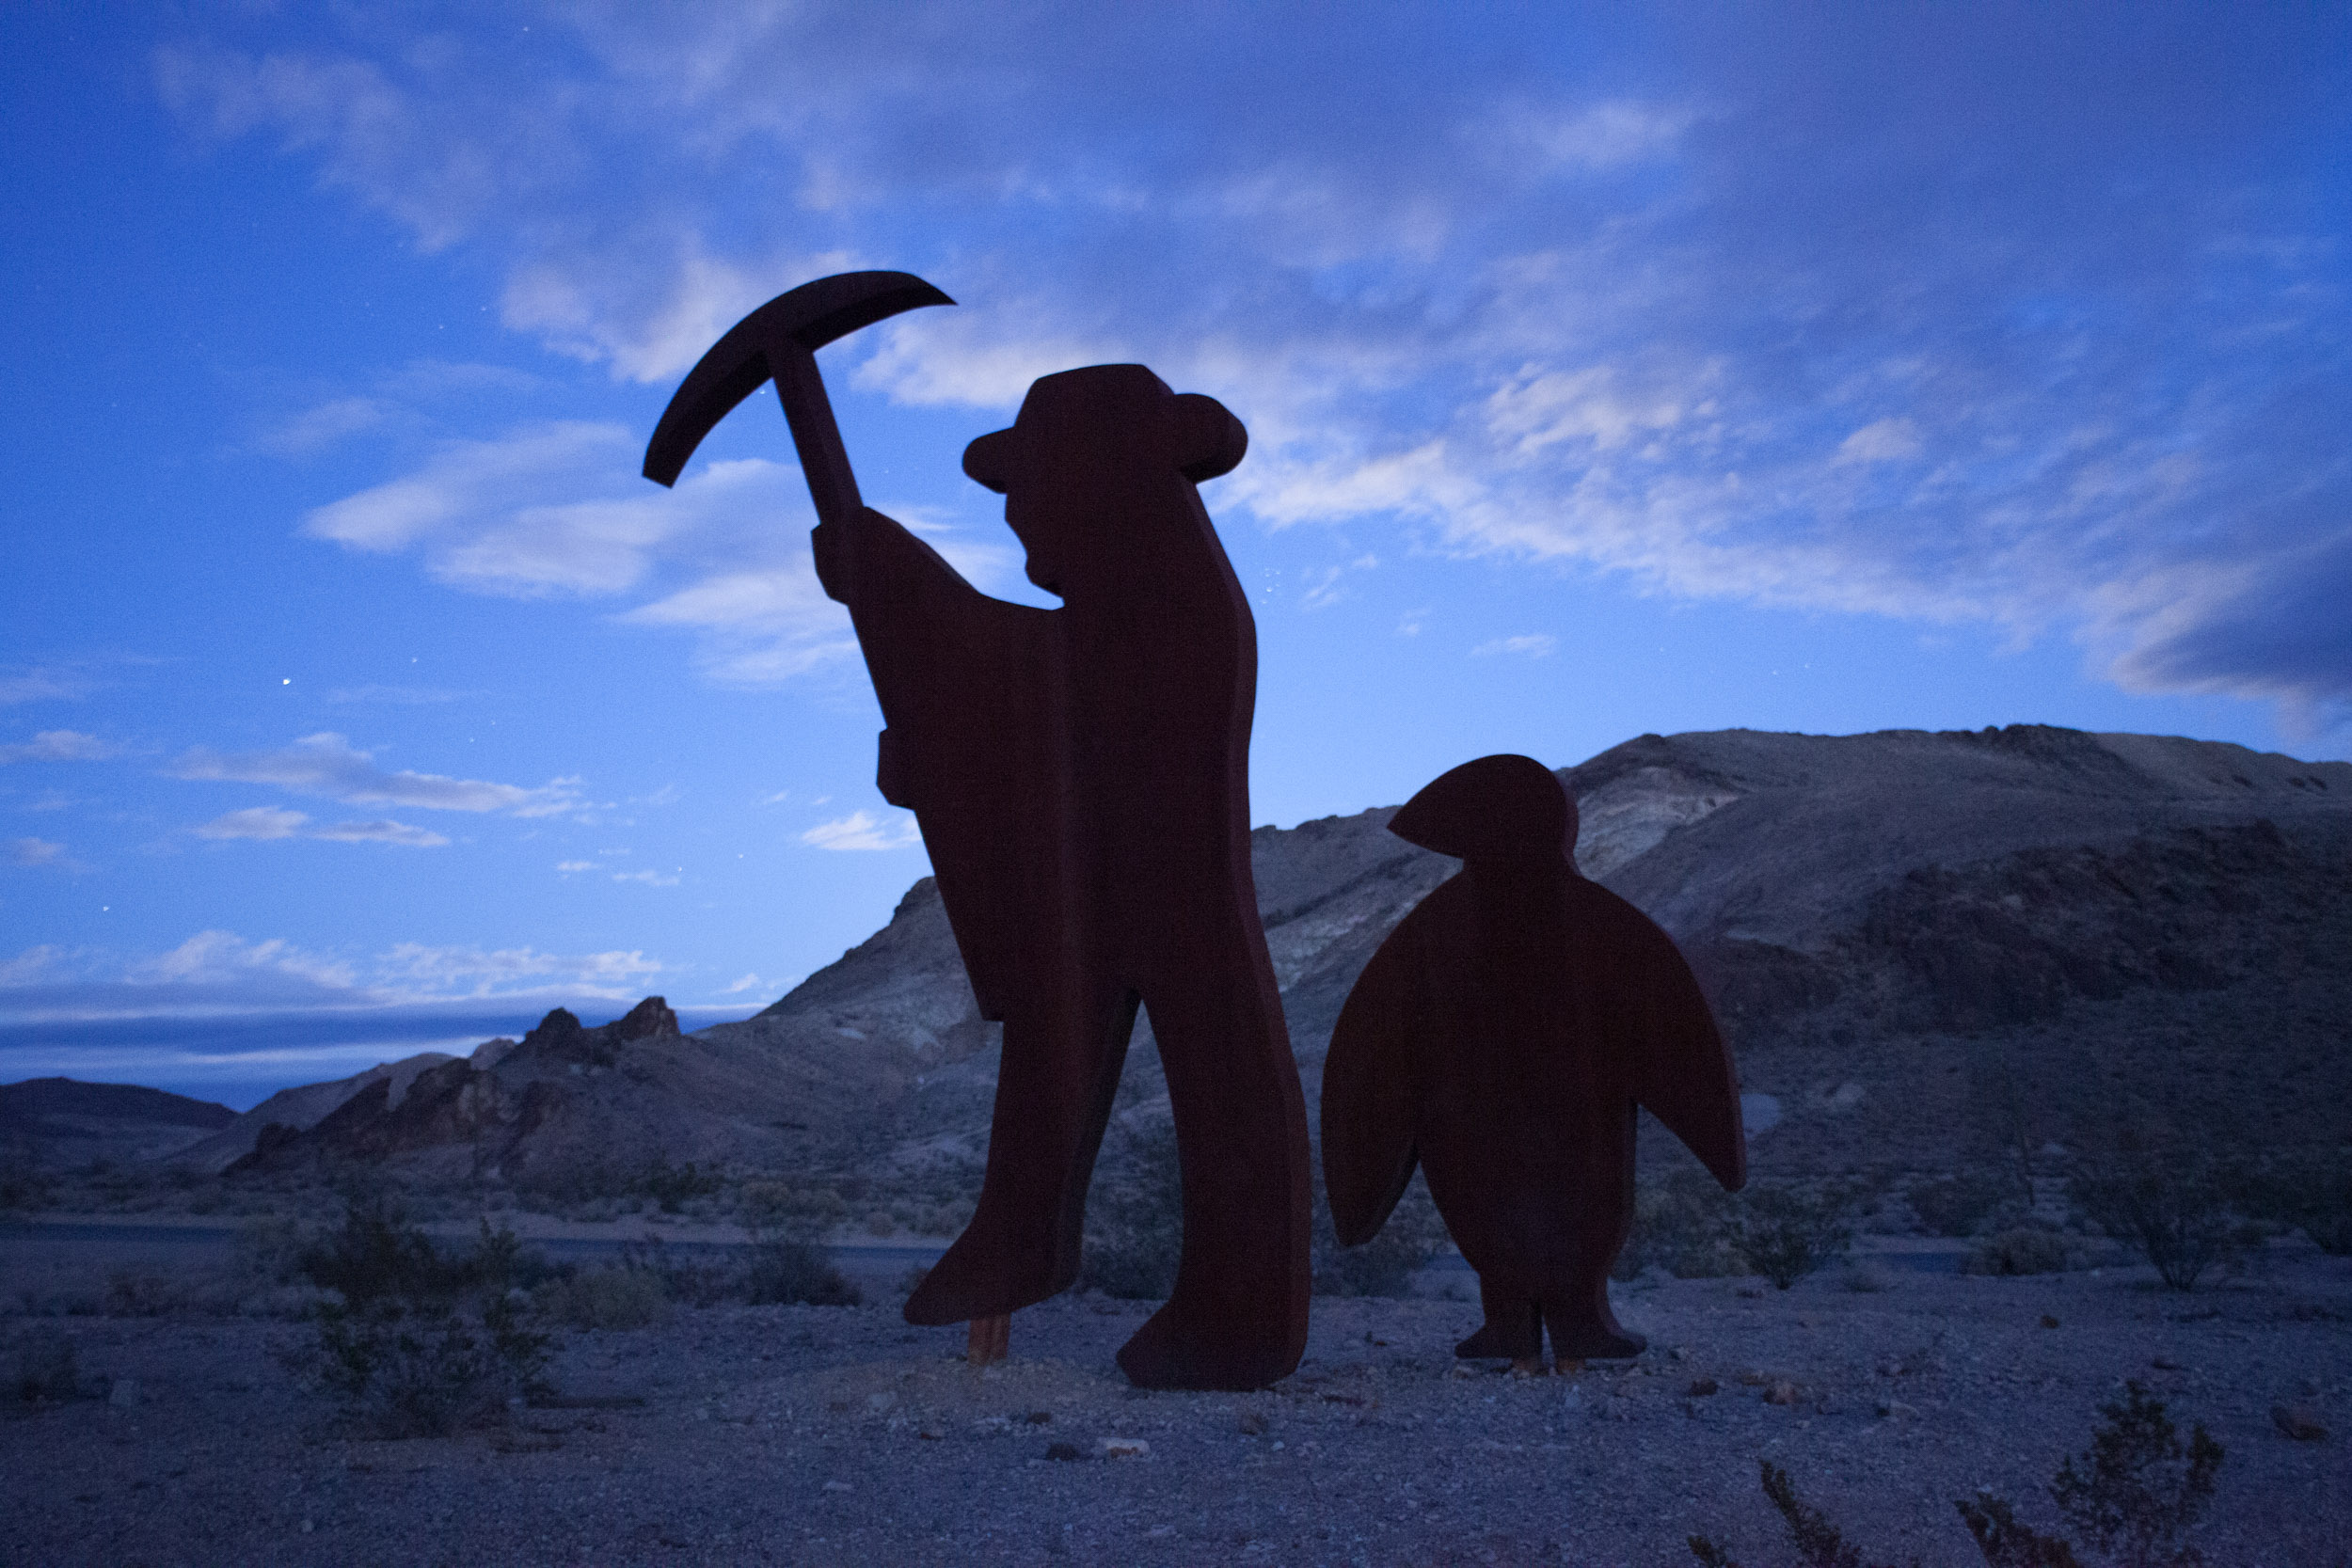
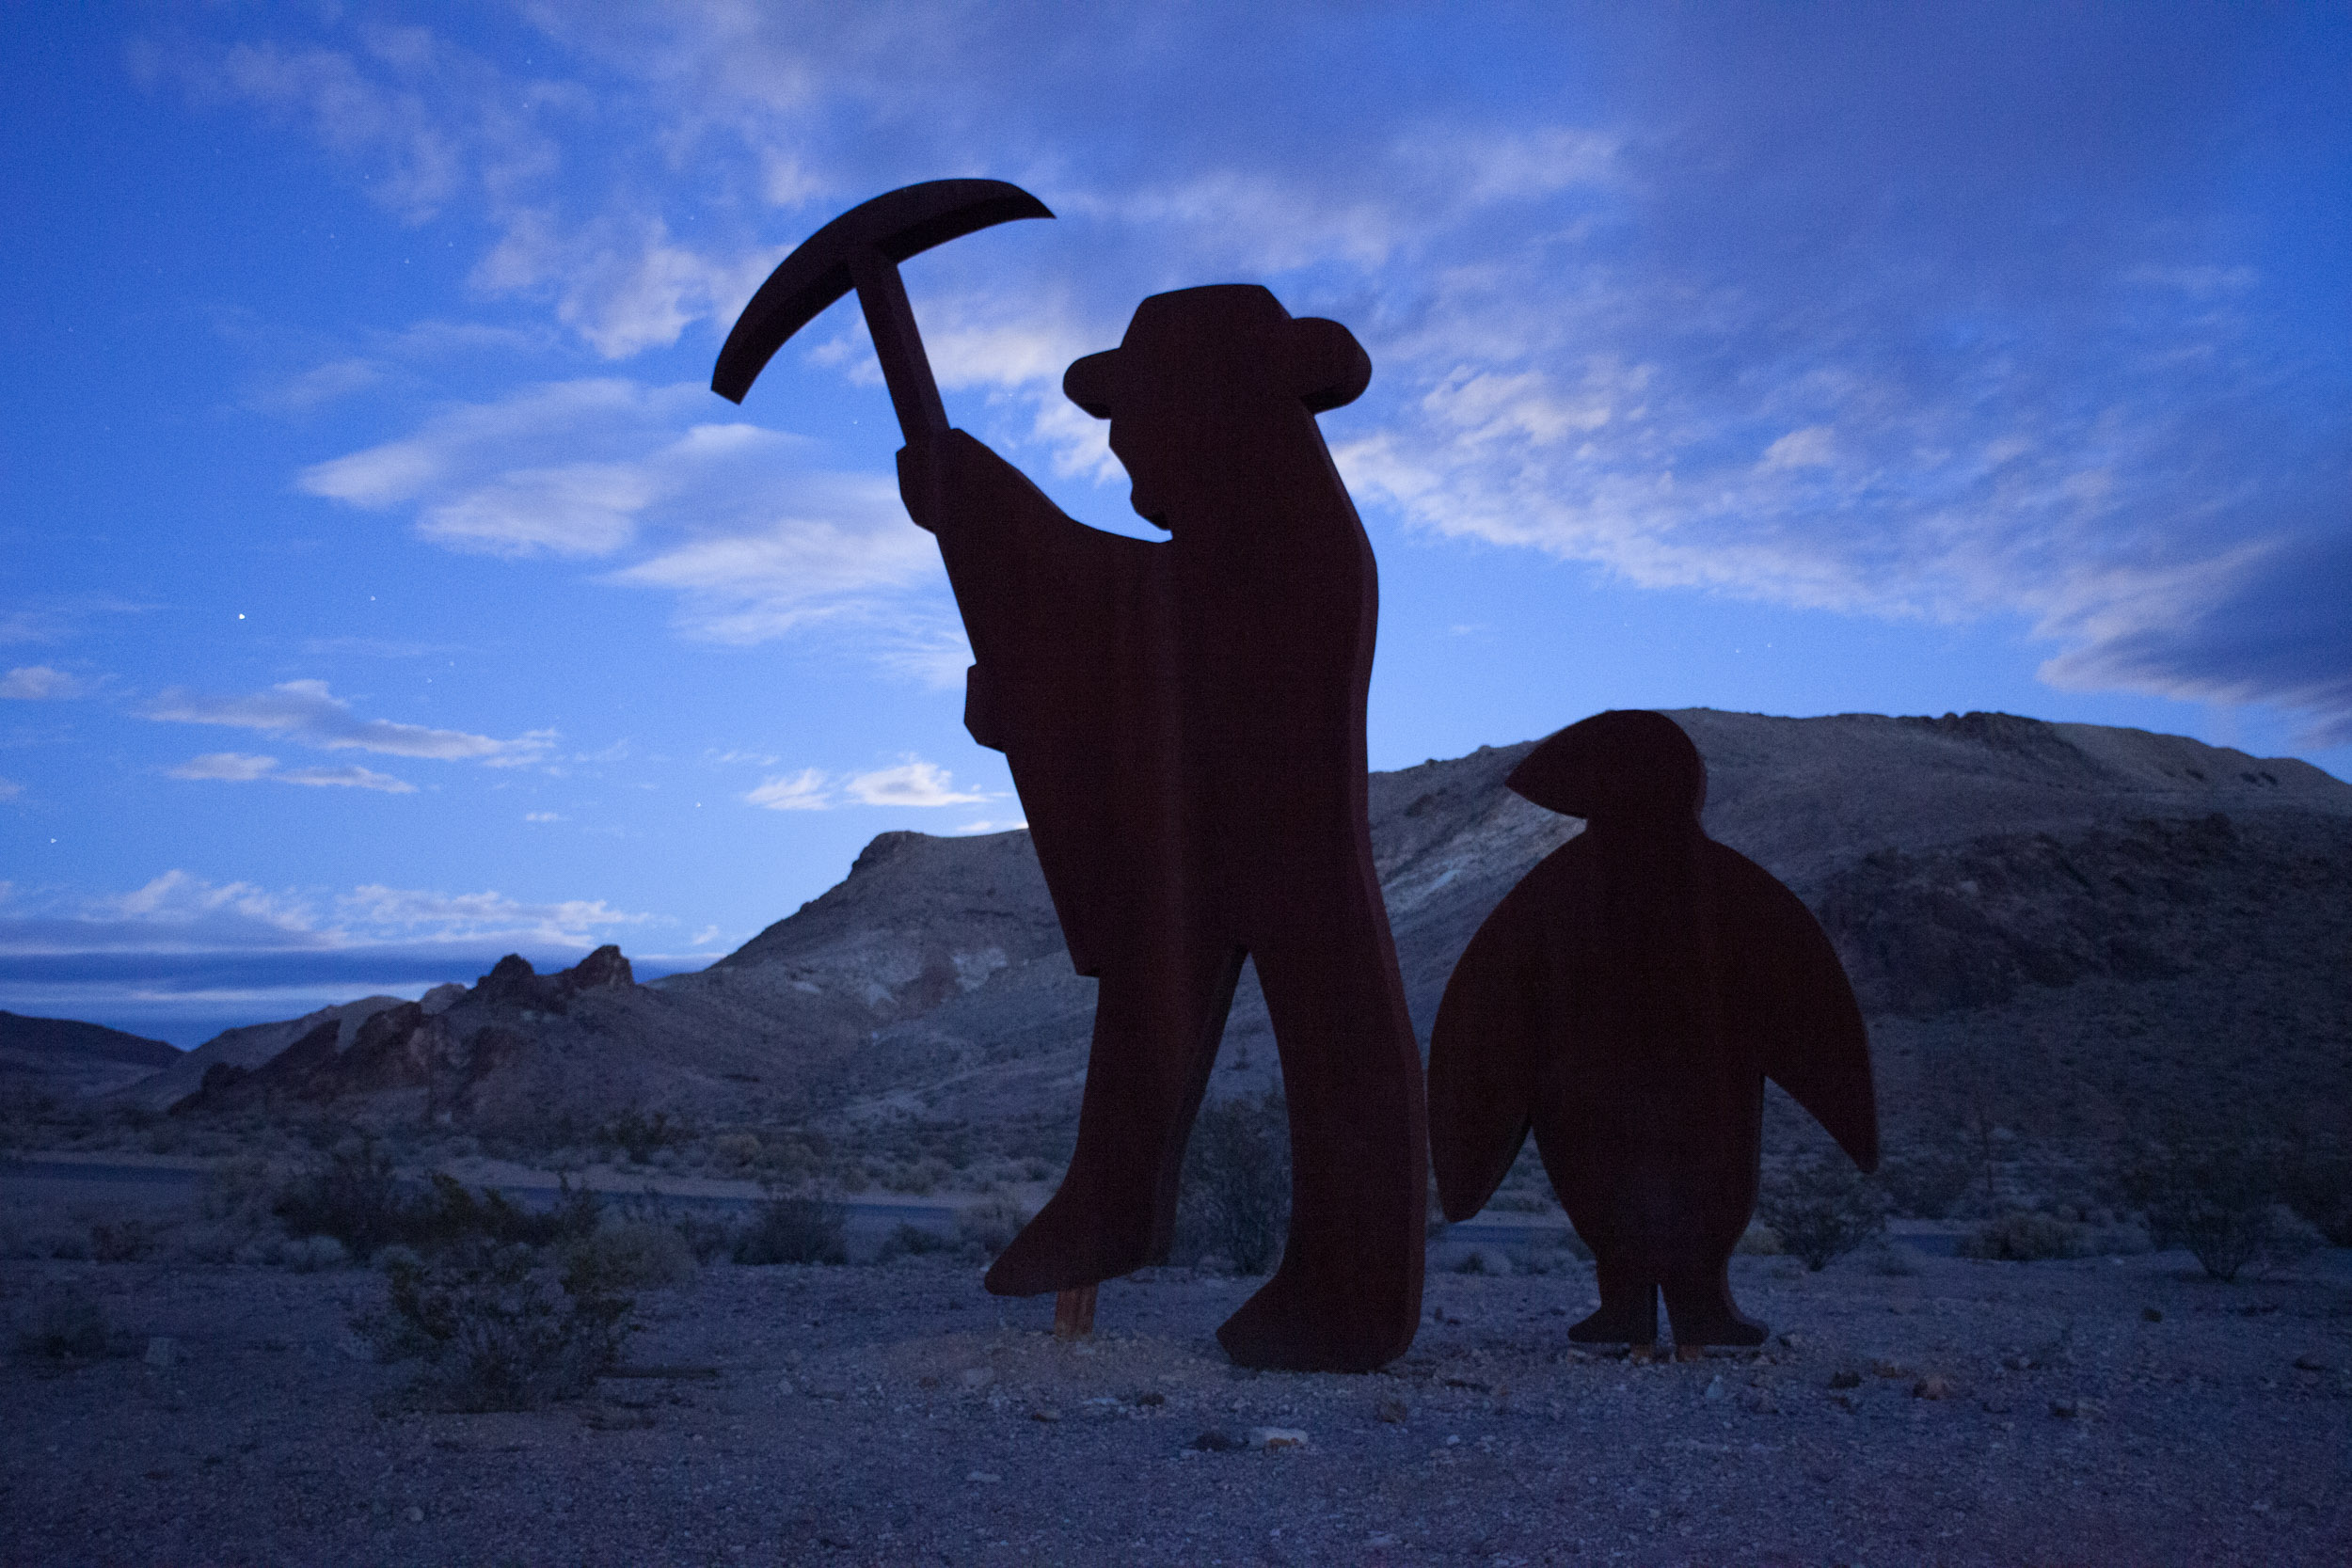
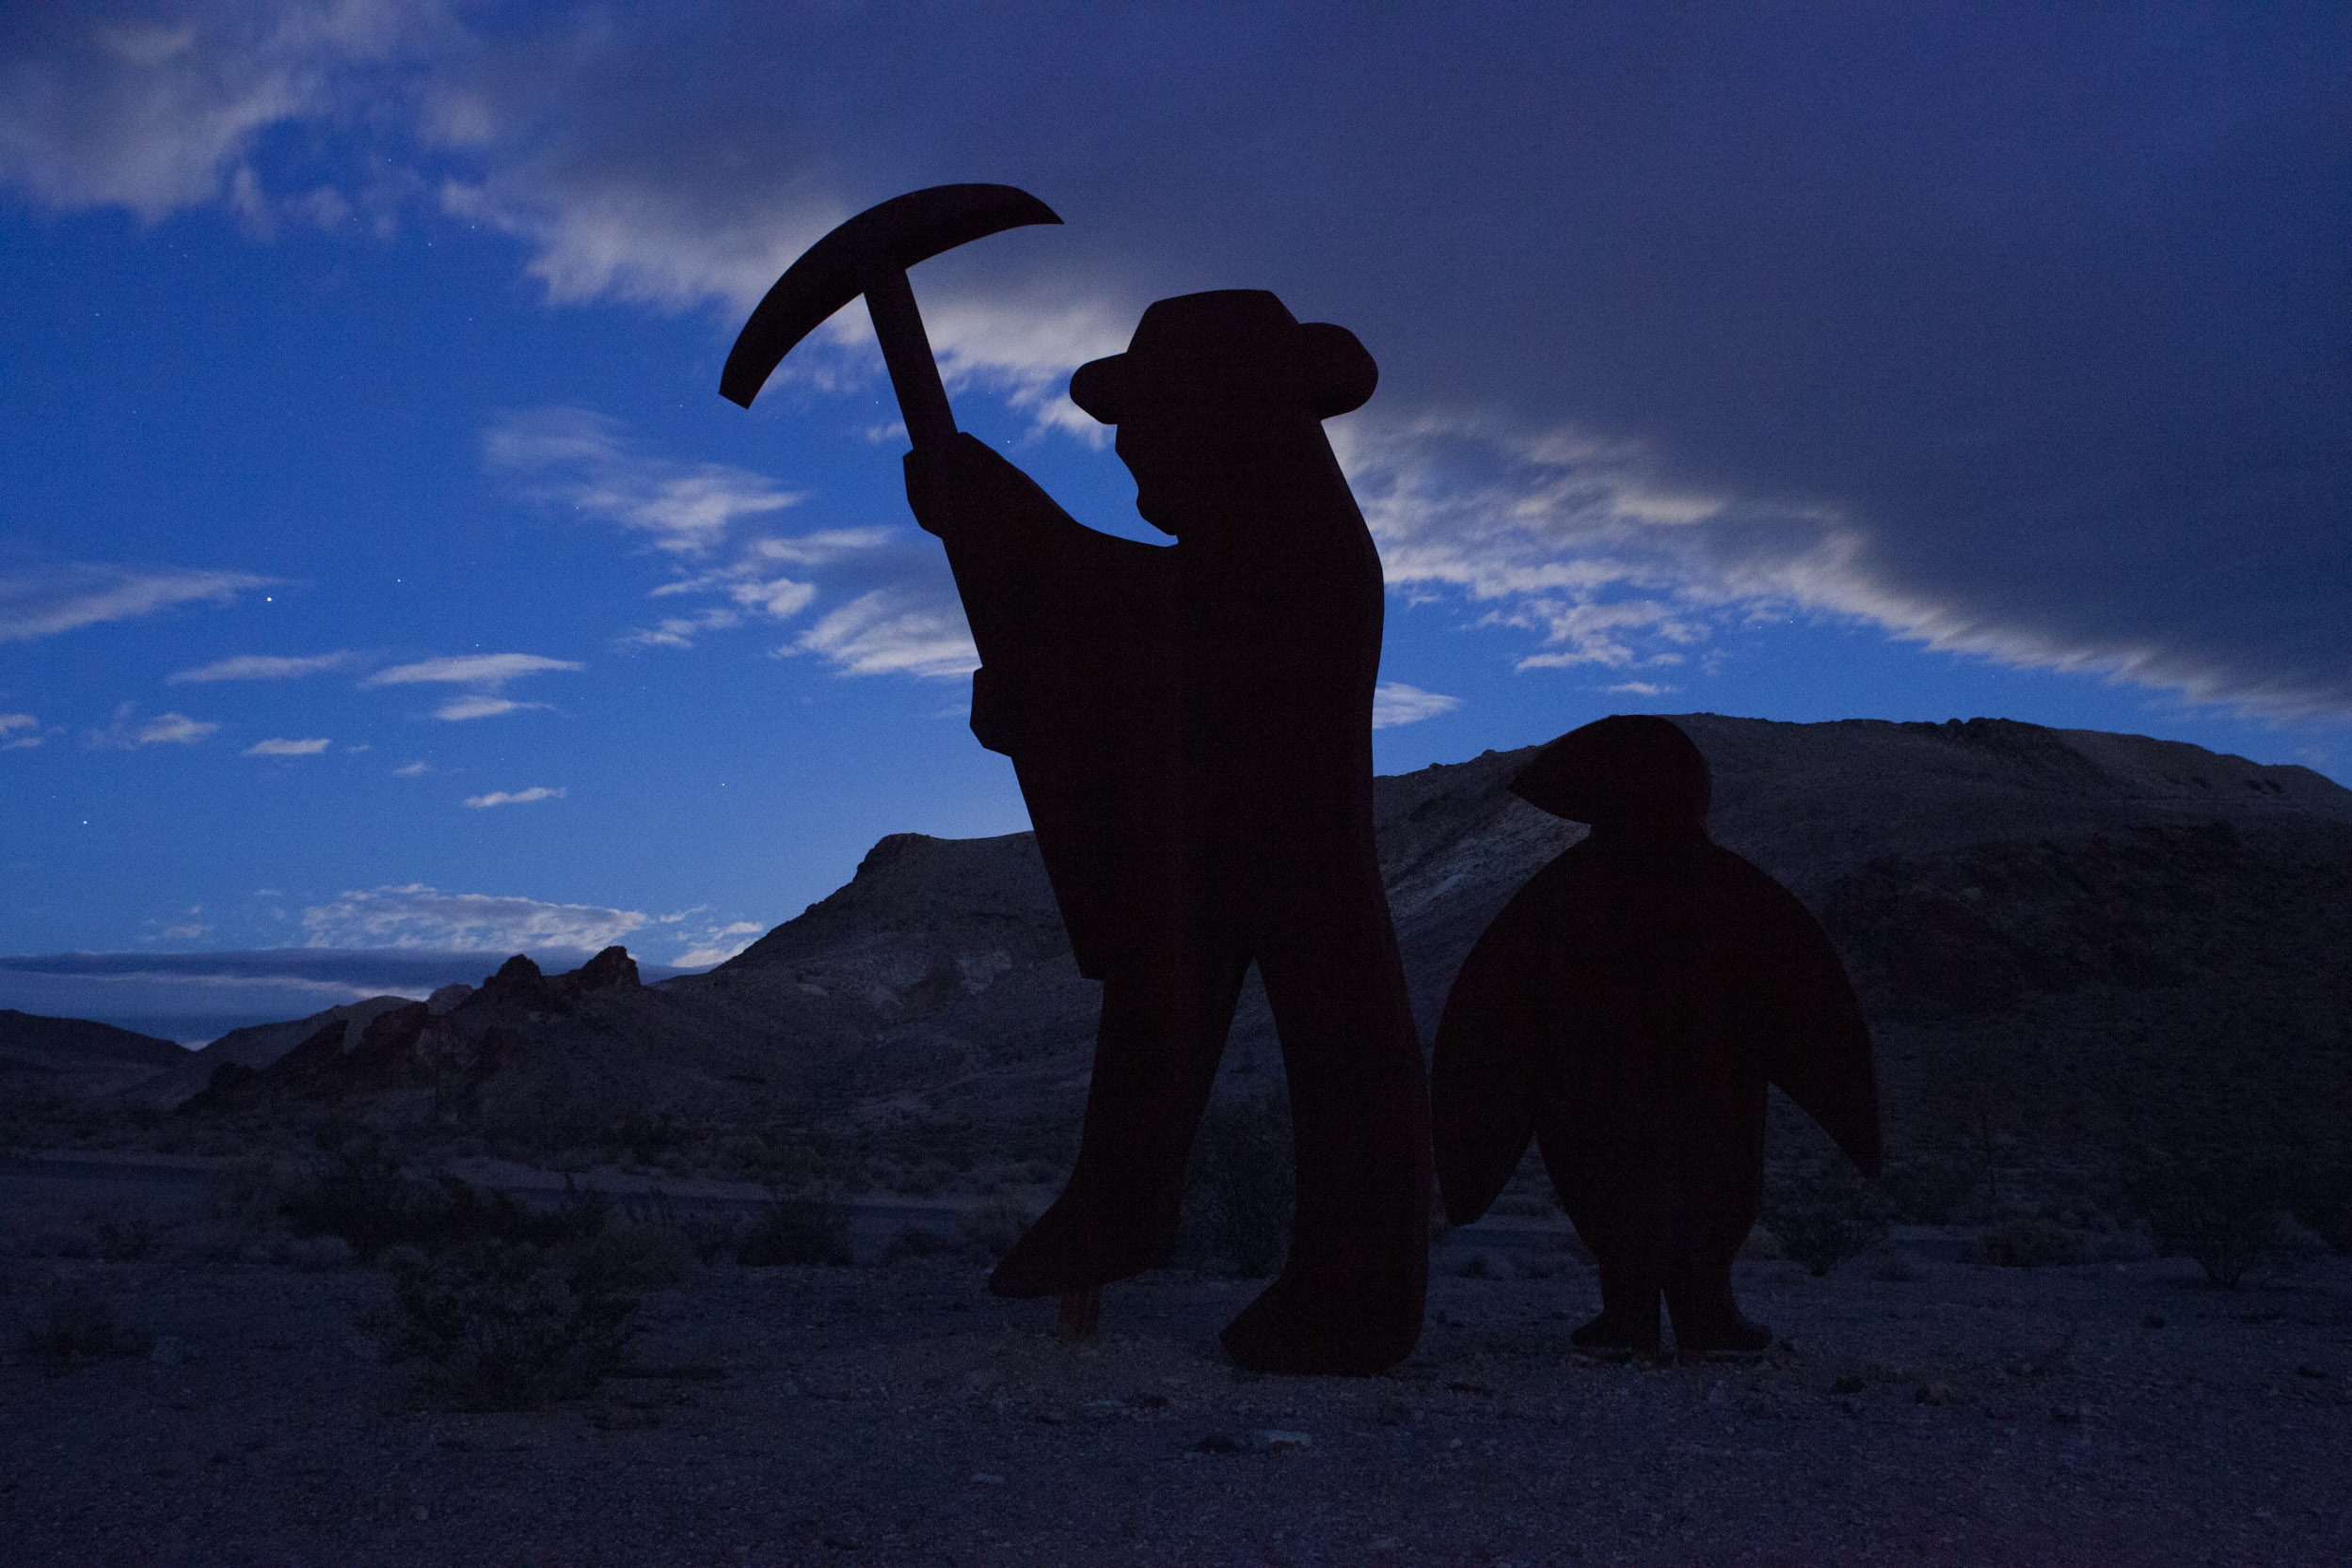
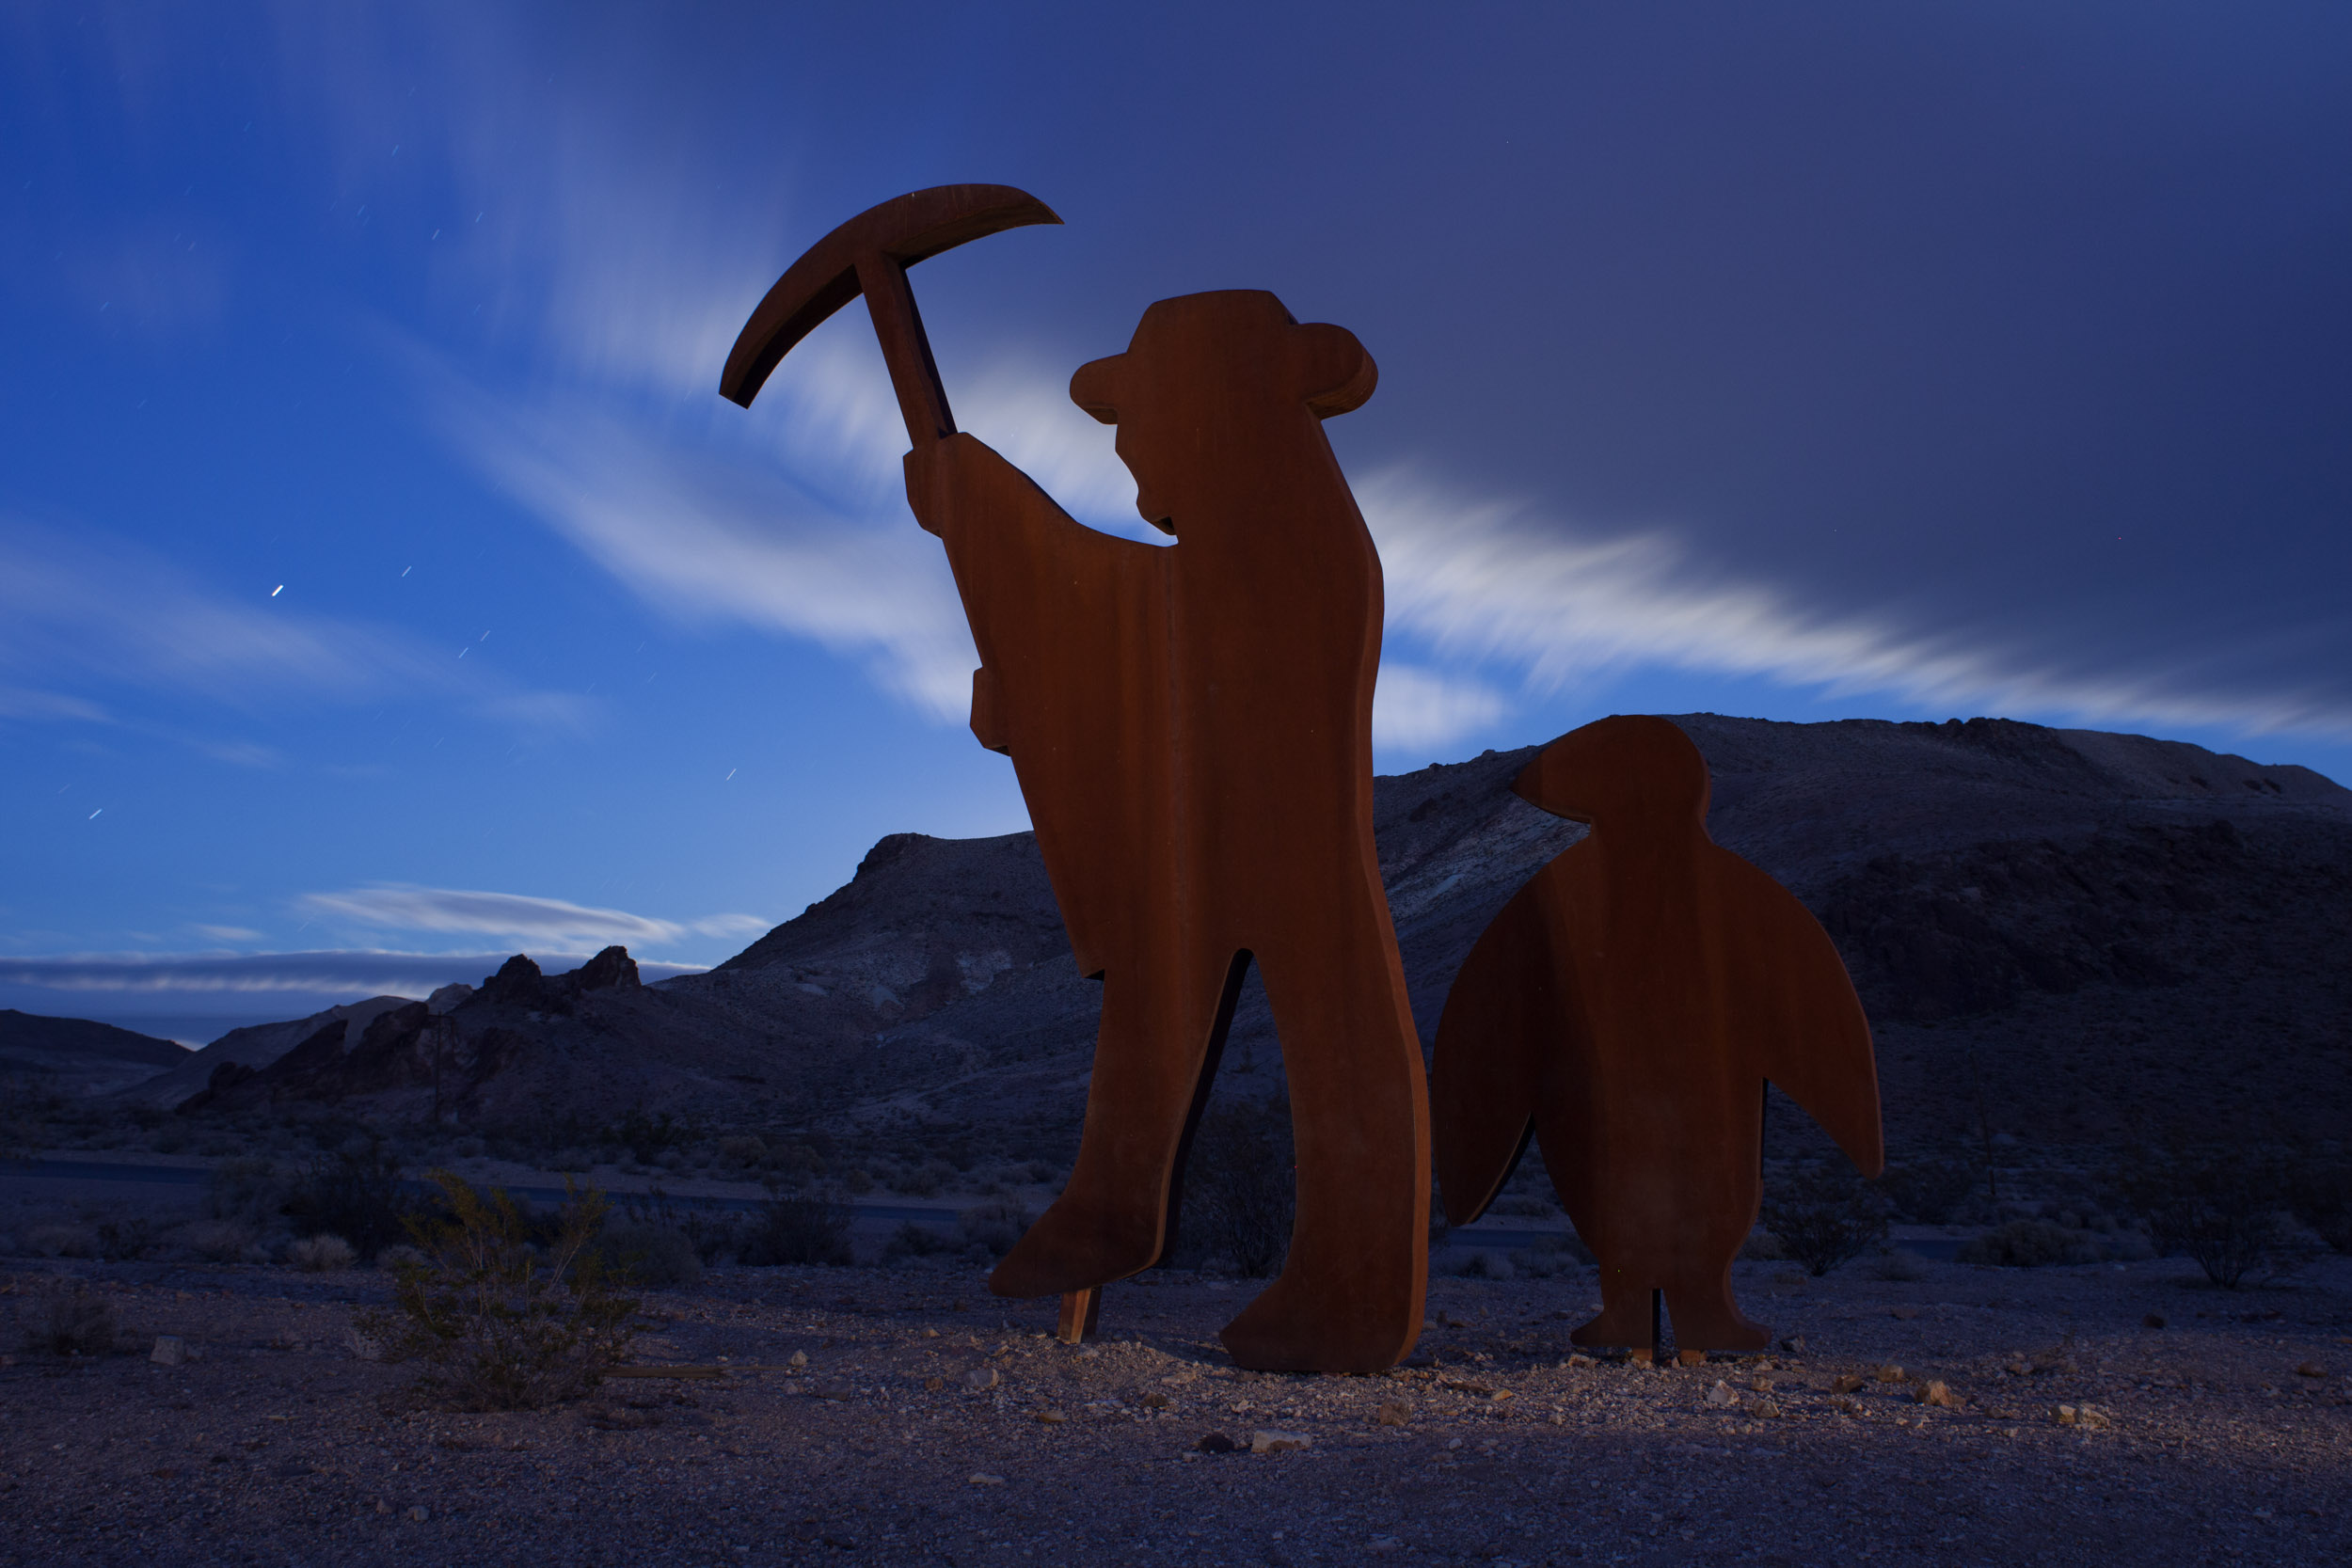
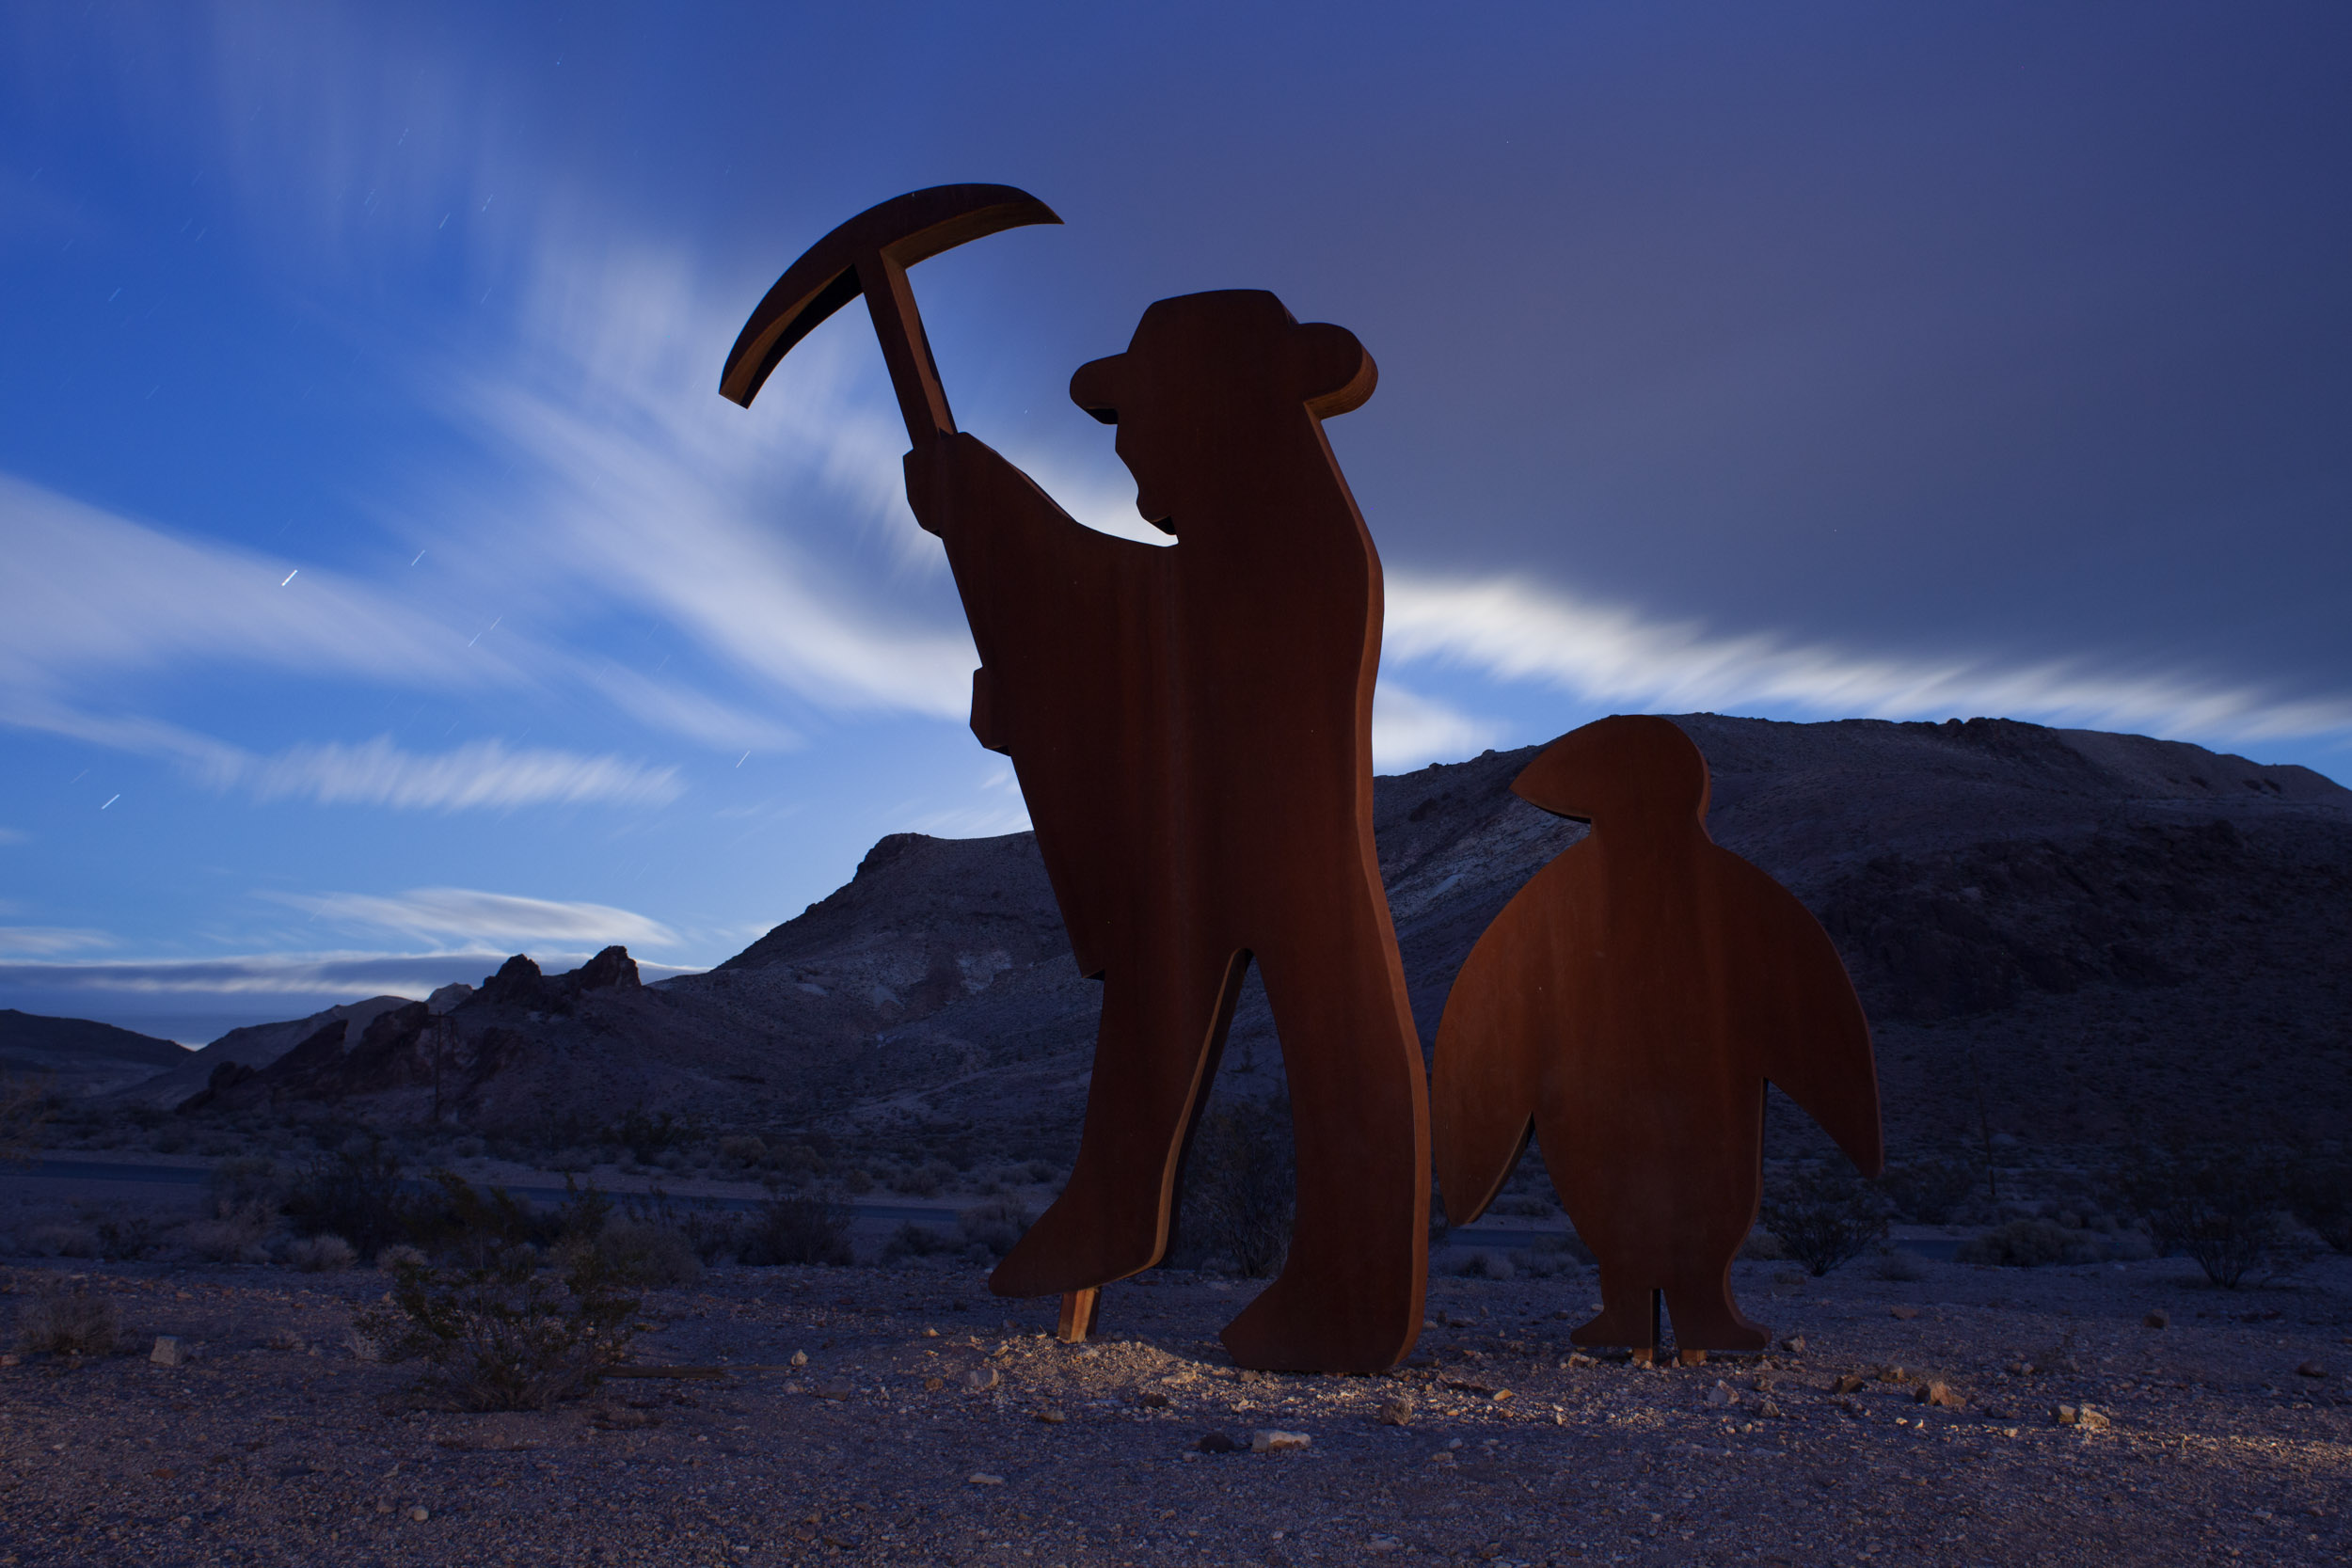
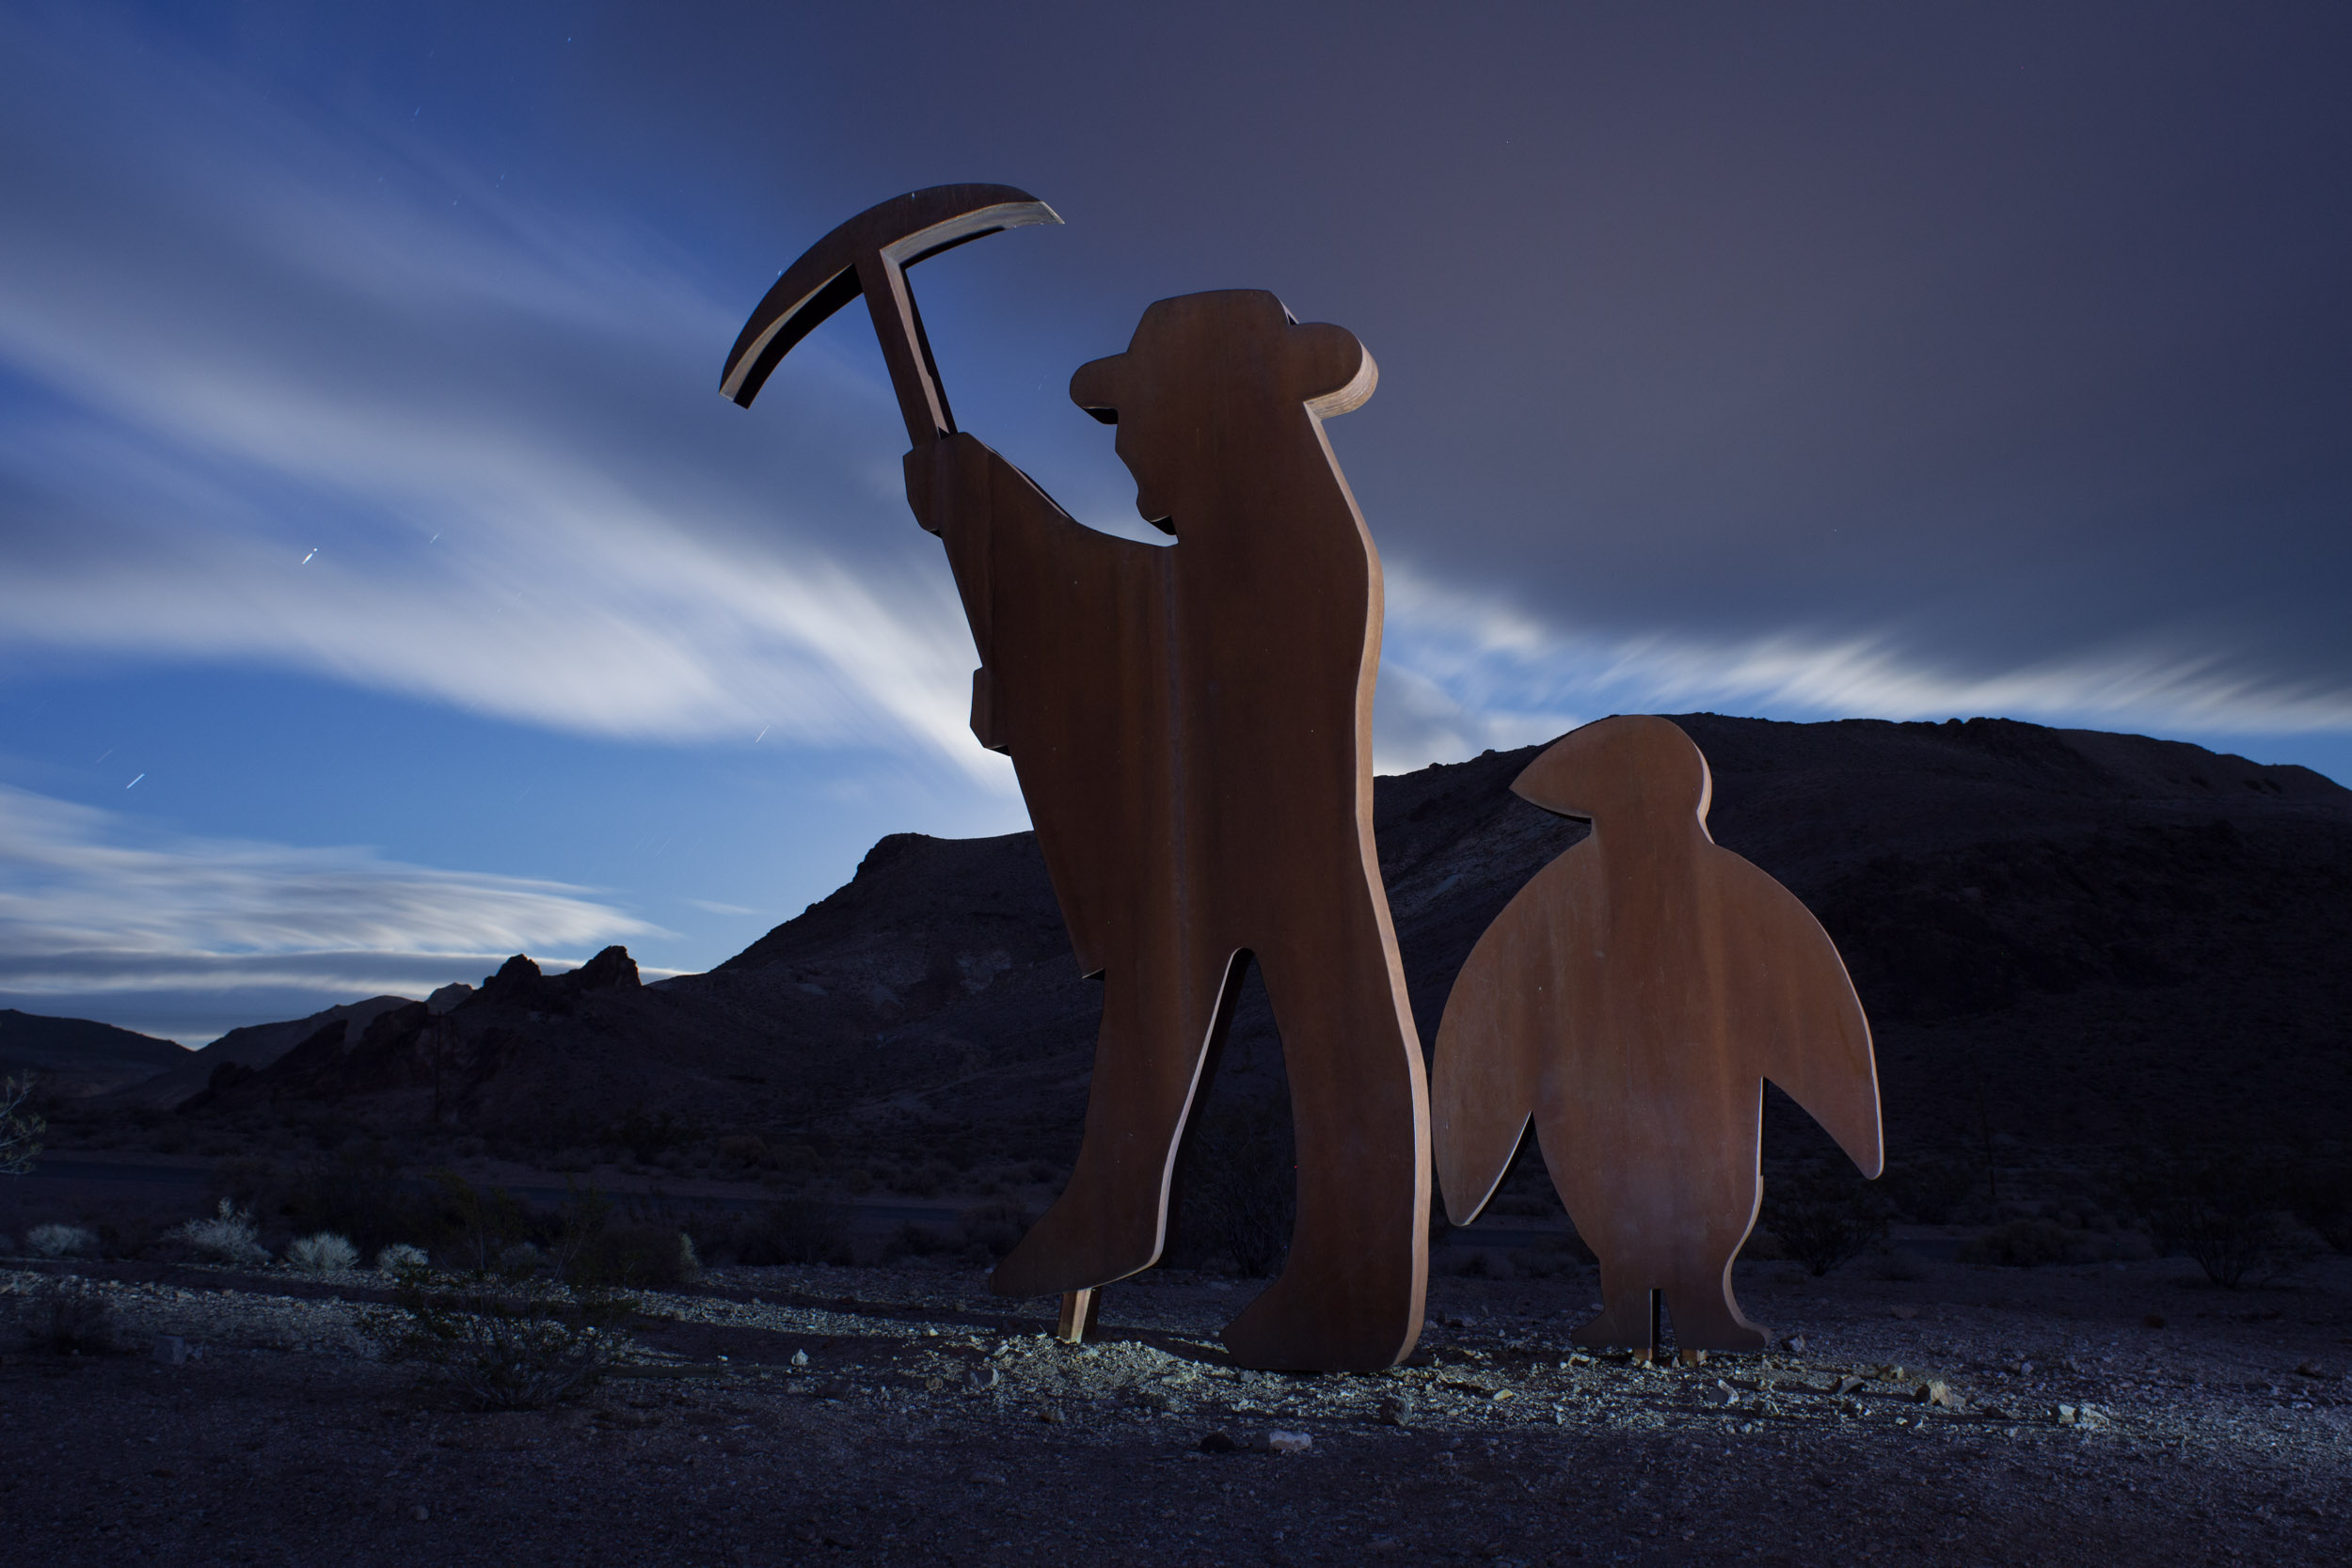
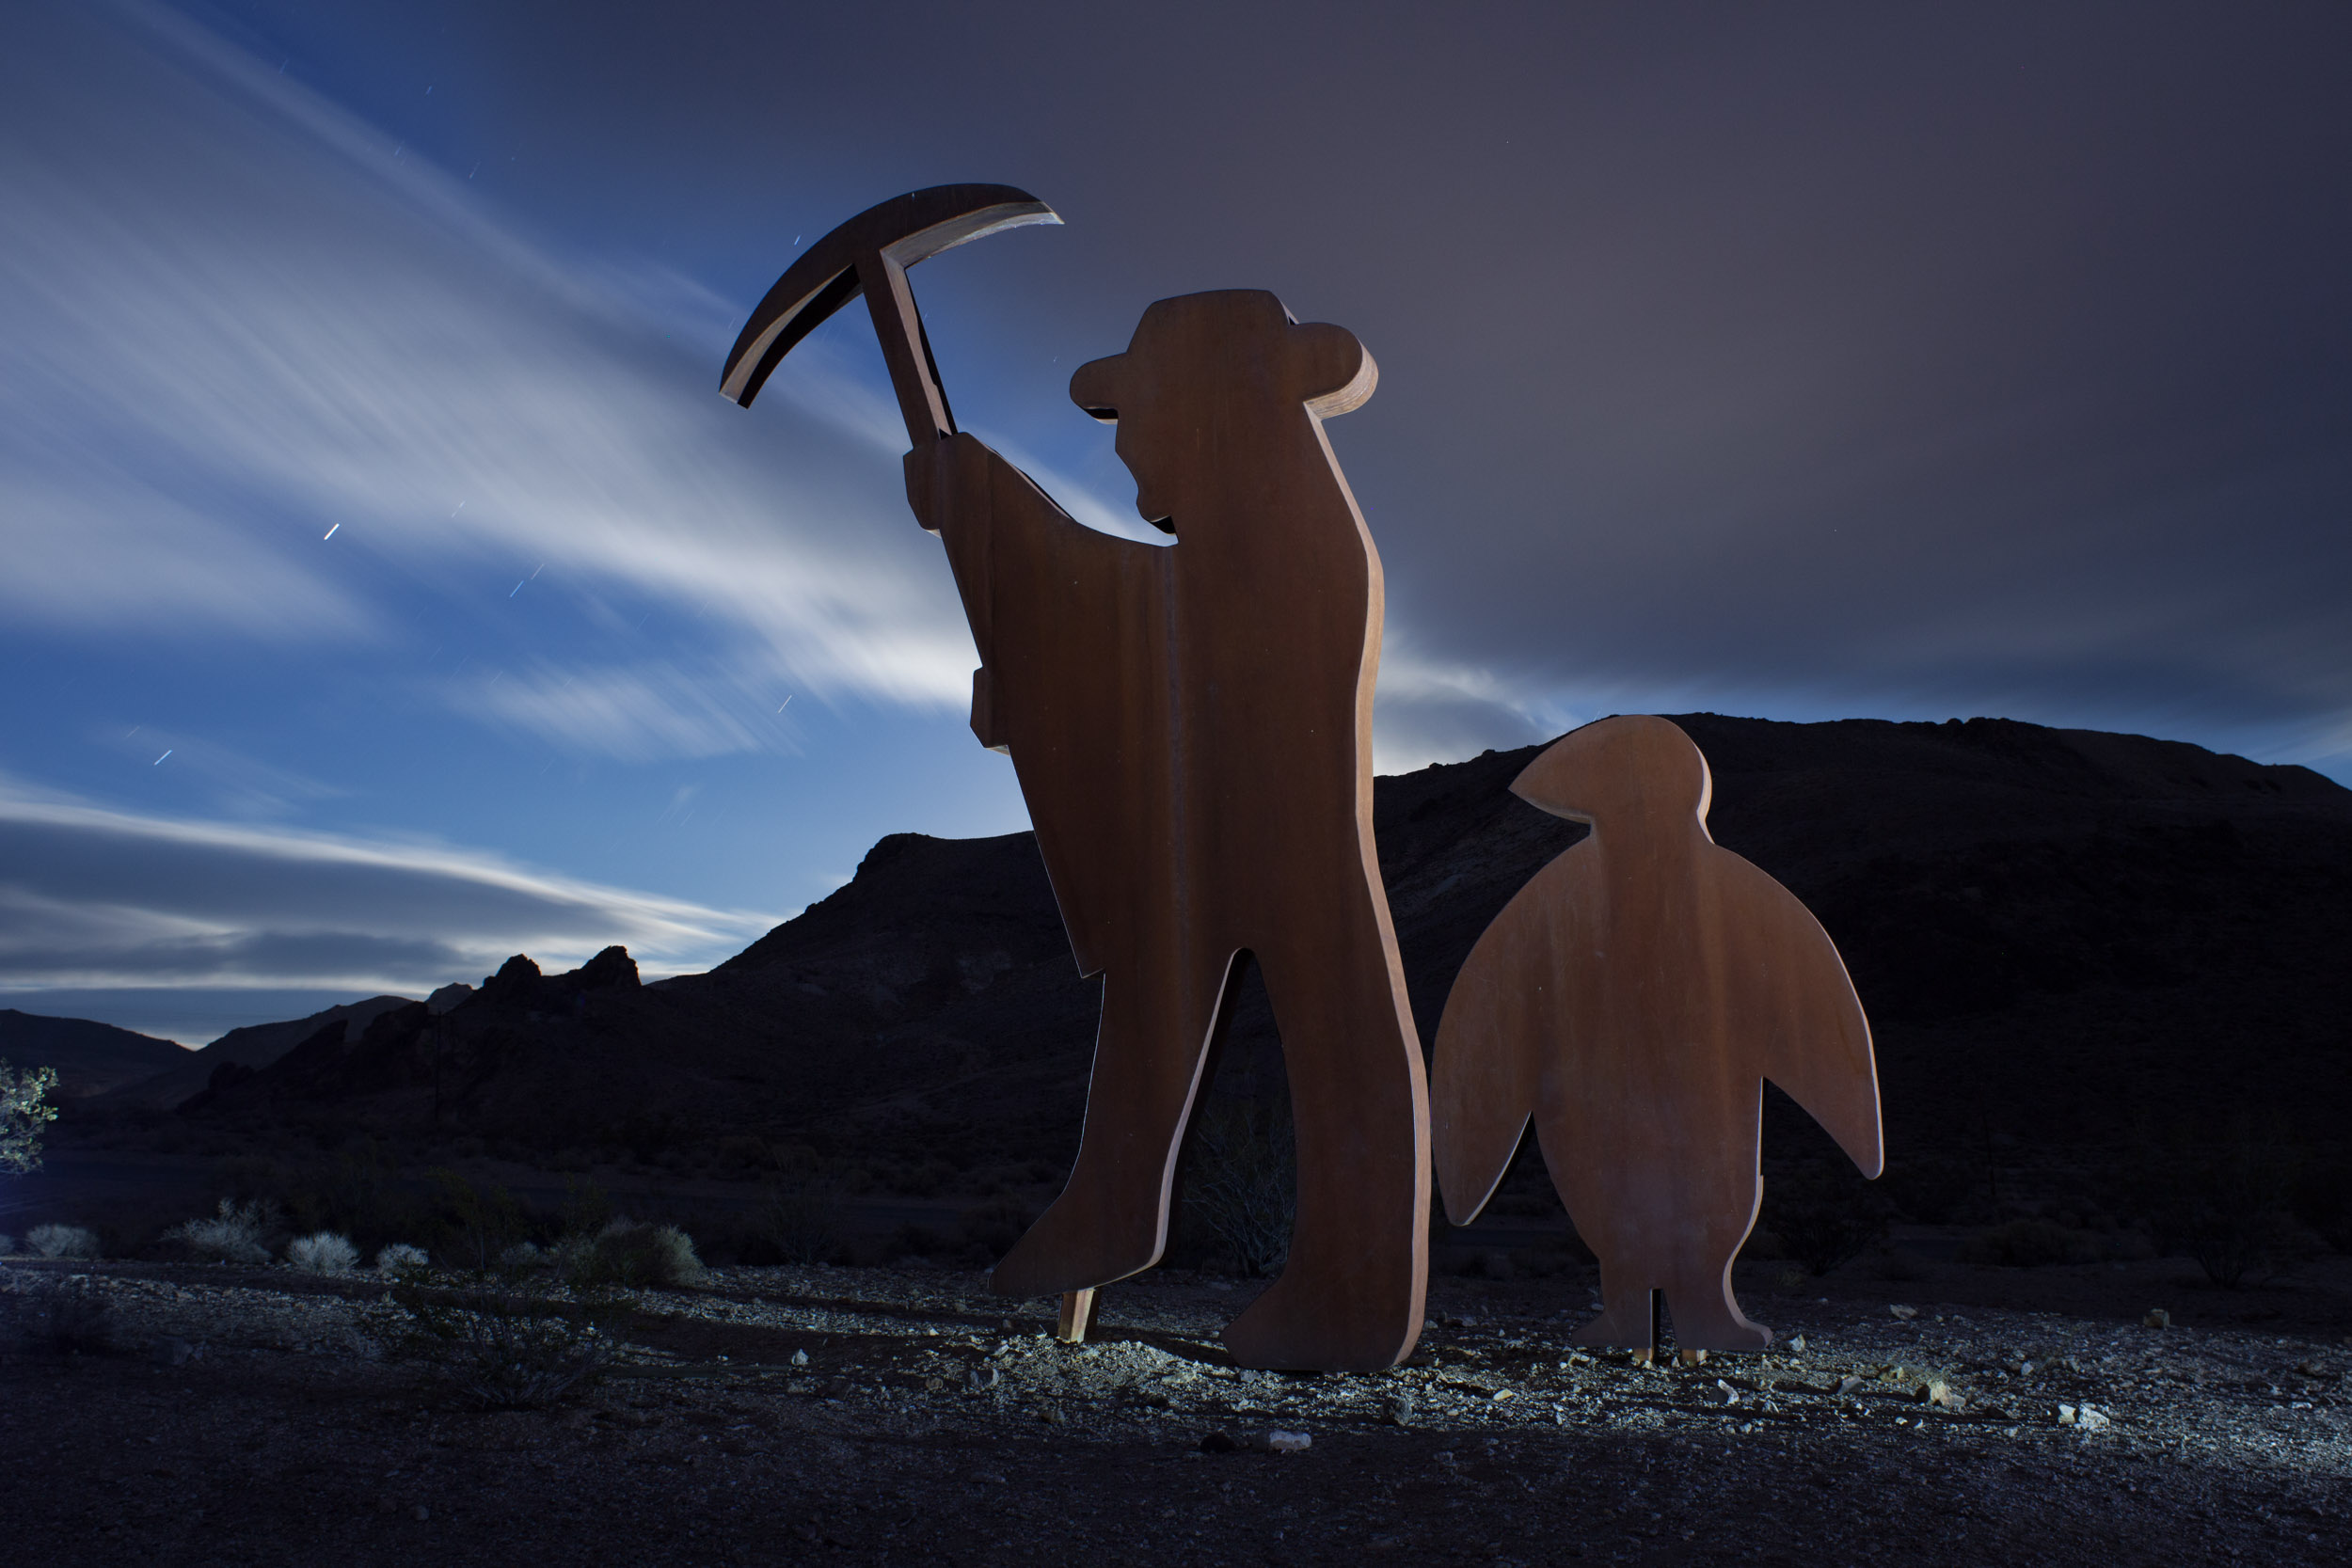
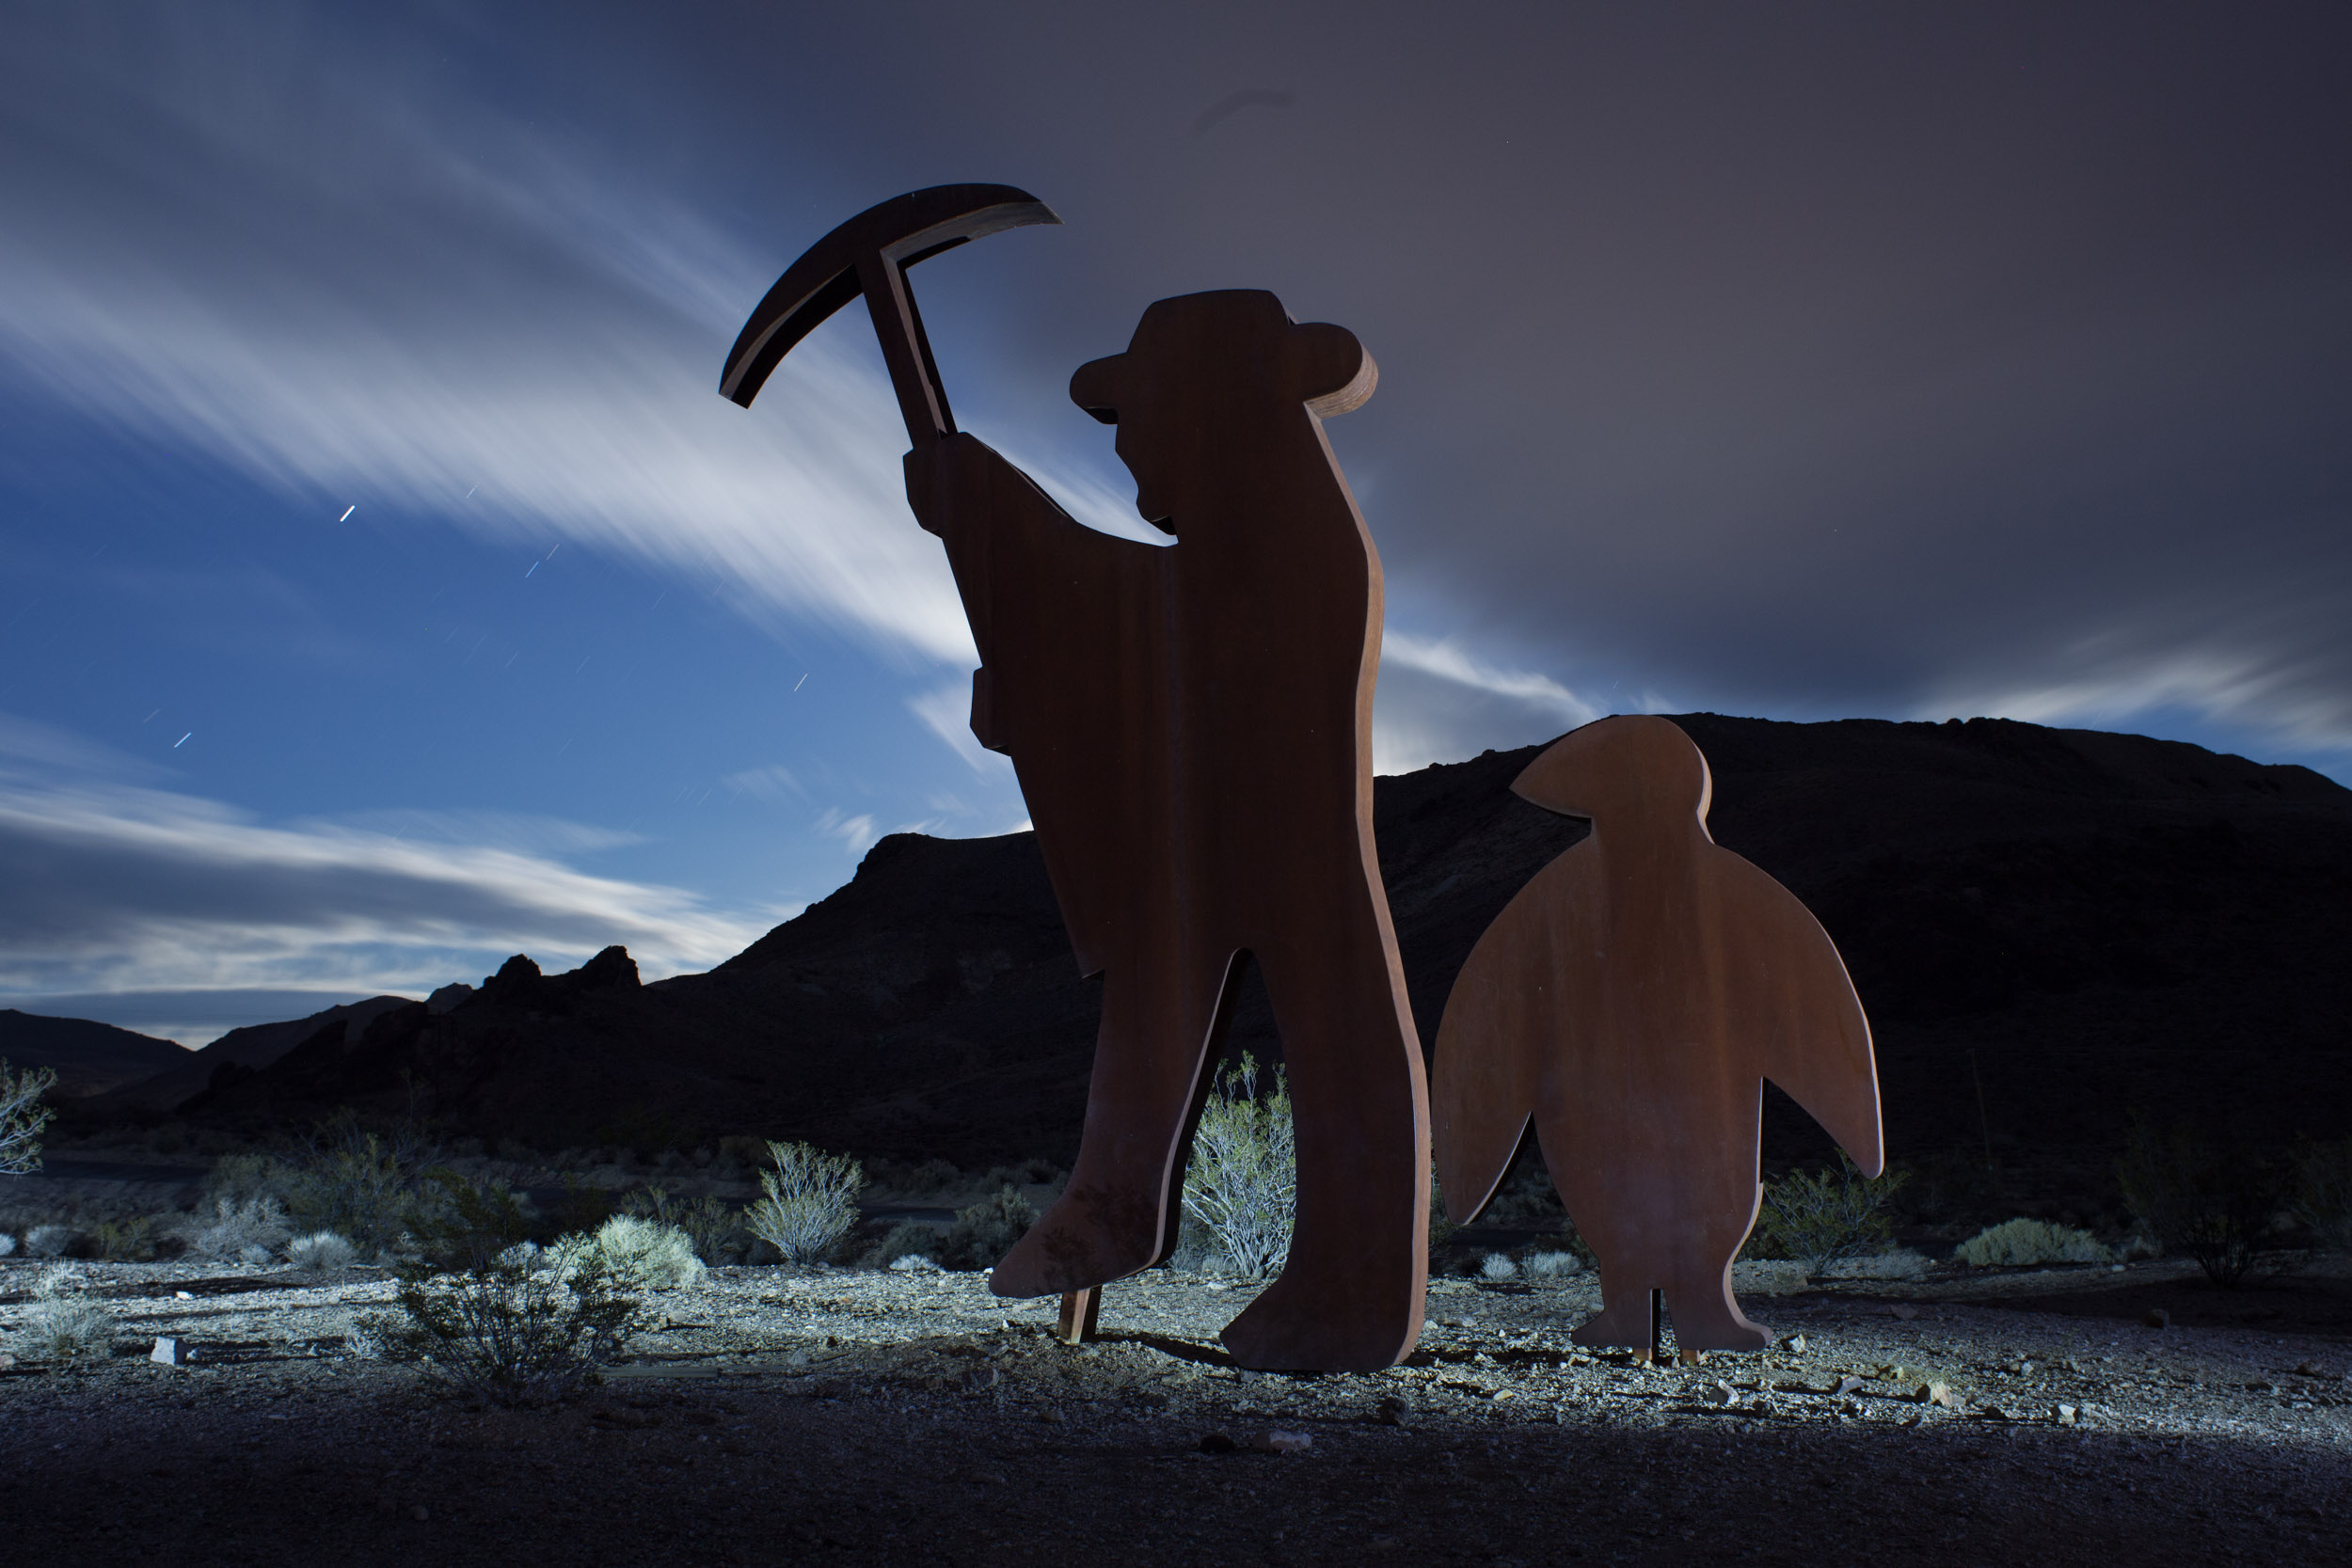
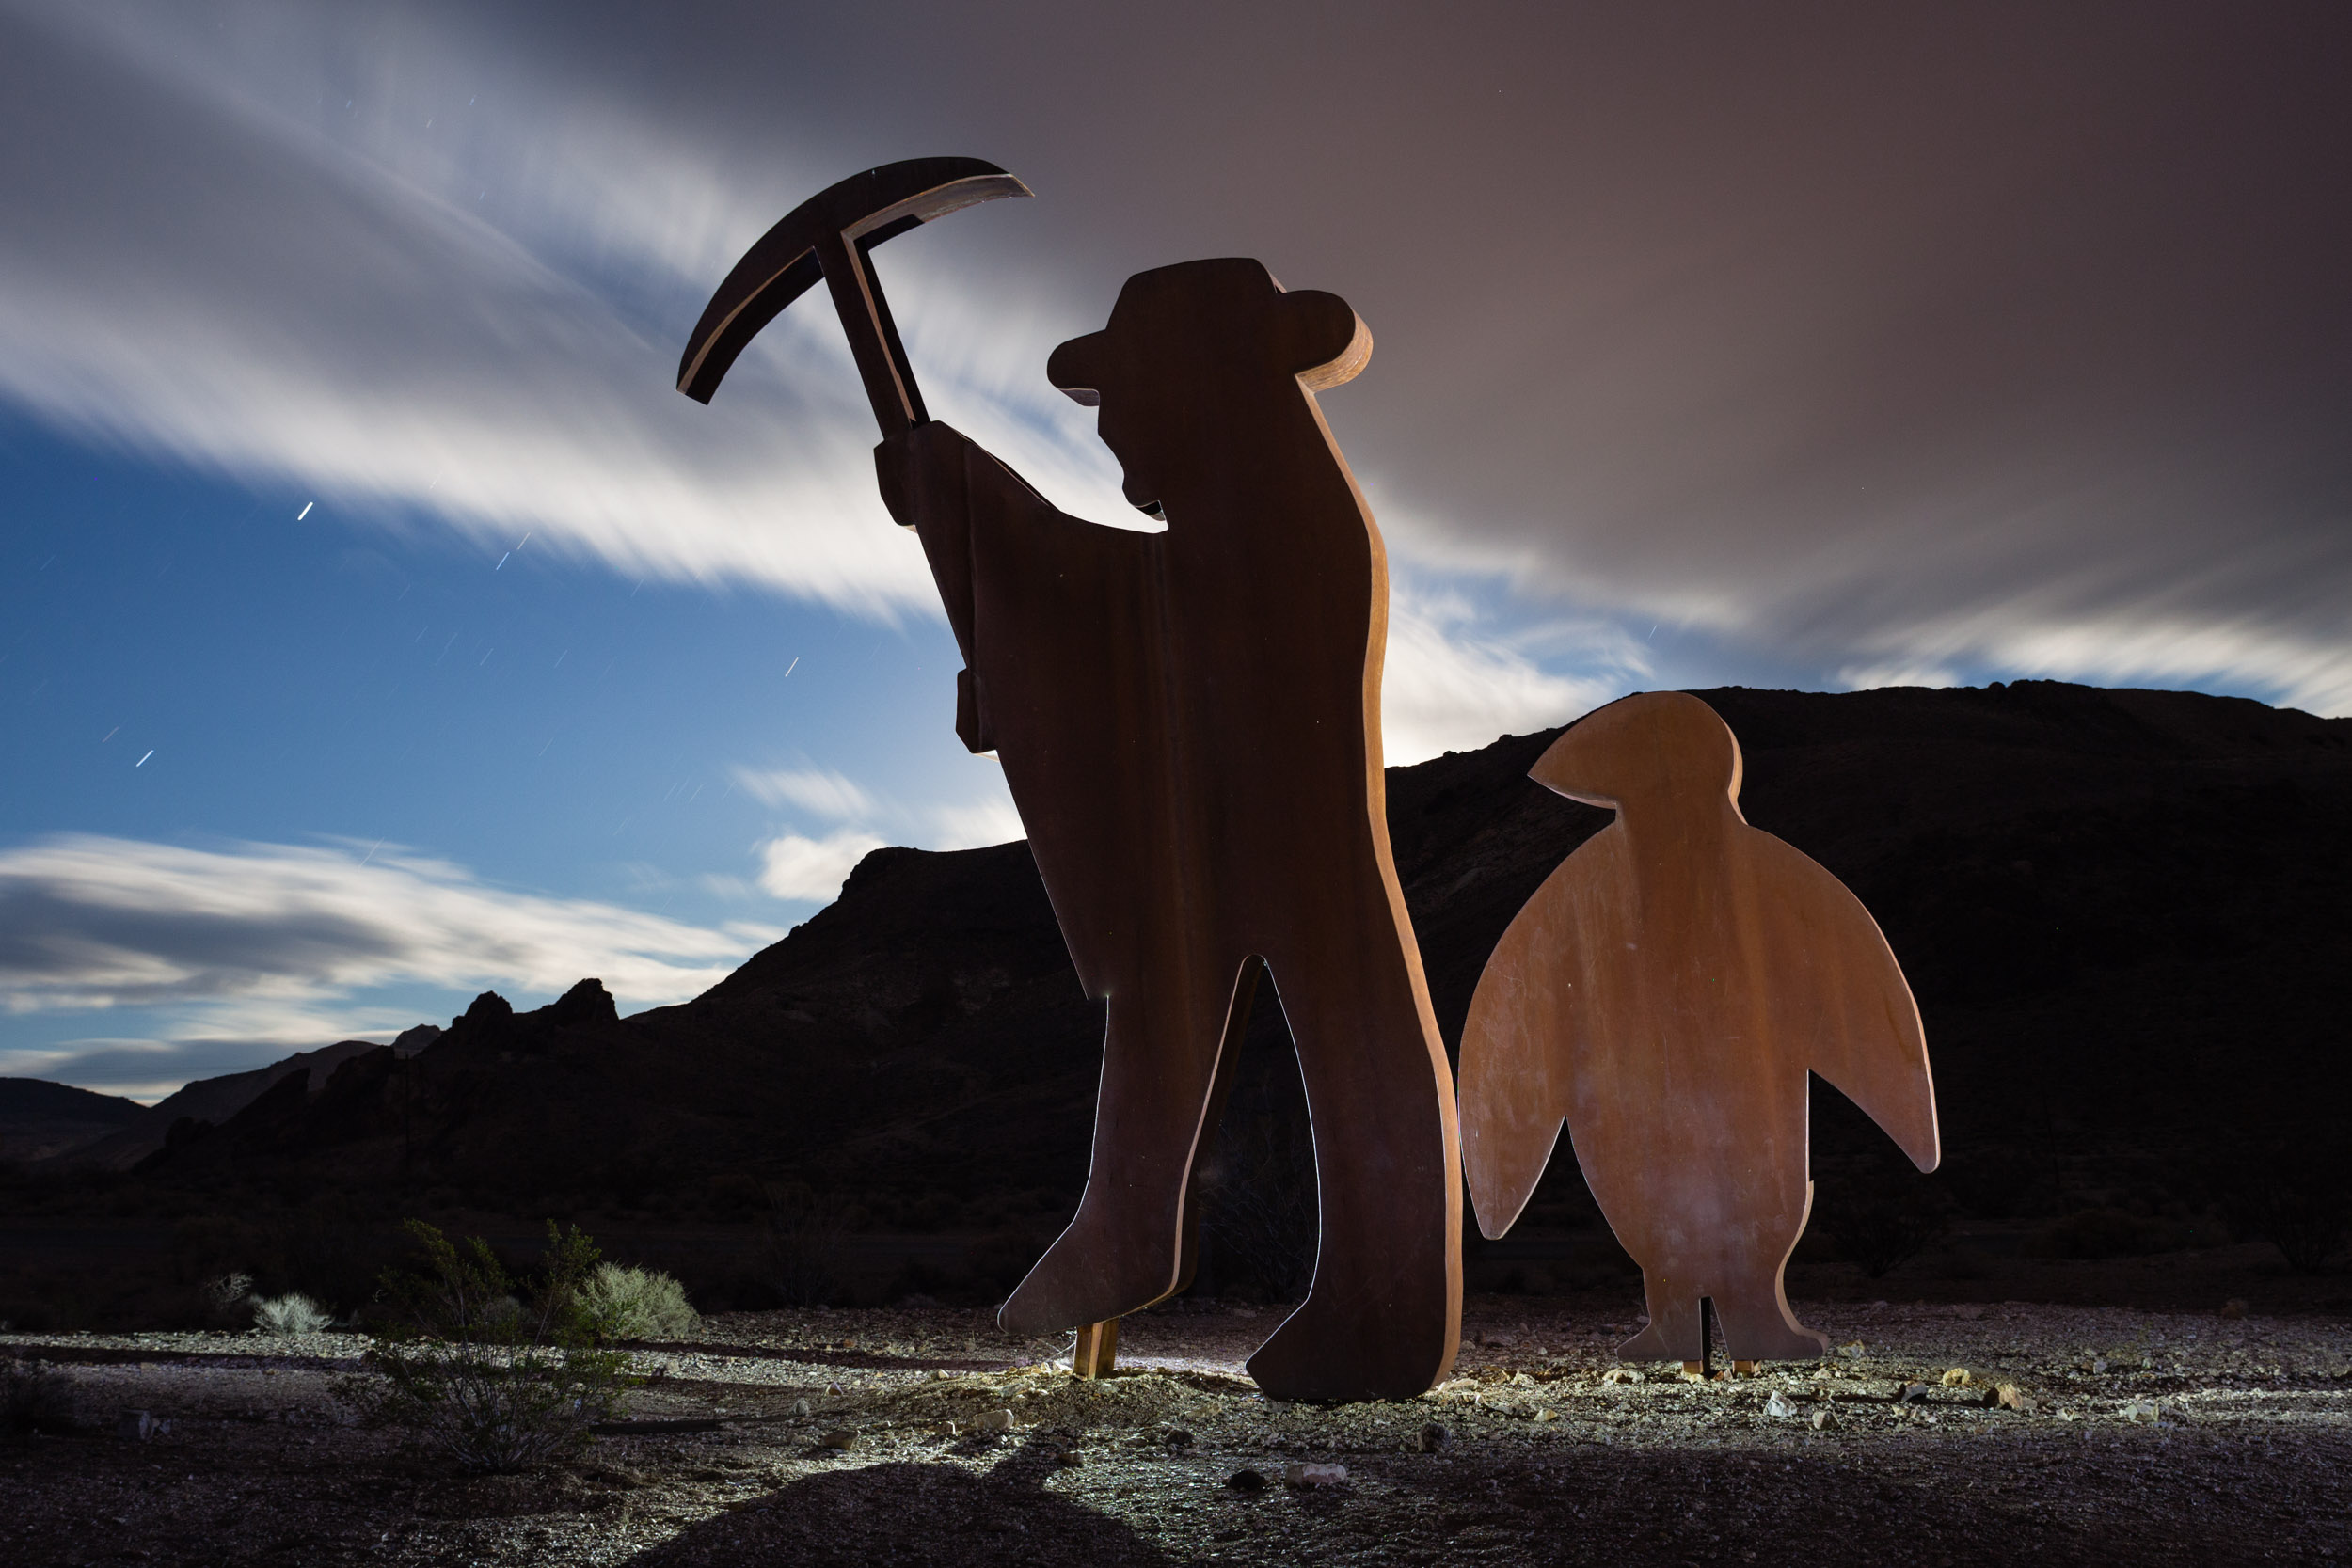
Field Workflow Example 3: Ryholite ghost town, Nevada.
C. Determine the exposure. Once the composition is set and focus is achieved, I turn to finding the ideal exposure. As before, the type of image will give me a clue as to the starting point. If I’m going for star points, then I’ll start with shutter speed, using the longest speed that will still render the stars as points of light rather than as trails. (I wrote two posts on this subject in 2017. Part one deals with subtleties of managing different variables to determine the best exposure for maintaining star points in astro-landscape photographs; part two explains the 250, 400 and 500 rules for calculating the best shutter speed for the conditions at hand.)
If I’m more concerned with depth of field than star points, I might start with aperture, and build the rest of the exposure around that. ISO is rarely the starting point of an exposure.
Regardless of my starting point, I’ll use the histogram as a guide to get the exposure where it needs to be. In natural light situations, the histogram is my primary exposure determinant. In dynamic, artificially lit environments, I’ll simply give the scene as much exposure as possible without clipping important highlight details. In most instances, I bracket exposures and decide which one(s) to use once I download the images. High ISO testing is a tool to help calculate the exposure quickly and easily.
D. Add light painting. By now, I have a pretty good idea of where, if not how to light the scene. The image is coming together, and I might want to emphasize a particular element of the scene with added light, or simply fill in the shadows to reduce the overall contrast. This last step can be the most challenging, but is also the most creative and rewarding aspect of night photography.
Years of experience guide me in making lighting decisions, but that simply means I might need only a couple of frames to work it out, while someone just getting started may need a few more attempts before they figure out what they are trying to achieve, and then how to achieve it. But the steps are the same: make an exposure, evaluate and adjust until as close to perfect as possible.
Once the quality and amount of added light are where I want them to be, the last step is to consider adjusting the ratio of ambient to added light. I will often reduce the overall exposure length to get a more dramatic effect, to make my lighting stand out. Again, it’s just trial and error until everything falls into place.
Wrapping Up
Hopefully, most of what I’ve written about here is fairly obvious and seems like common sense. Organize your gear, plan ahead, and work in an organized and methodical fashion. That’s the gist of it, with the goal being consistency and repeatability.
As I said before, I’m not trying to get you to work the same way that I do. It’s more important to have a plan that works and stick with it than to do what I or anyone else says you should do. This is what works for me. I encourage you to develop your own field workflow so that you’ll be able to #SeizeTheNight more effectively when you go out to photograph.


