Light painting on the Navajo Loop Trail in Bryce Canyon National Park. 30 seconds, f/4, ISO 400. Nikon D750 with a Zeiss Distagon 15mm f/2.8 lens.
While shooting in Utah during National Parks Week in 2016, I made this image in cooperation with Gabe Biderman and Chris Nicholson. Wanna learn how? Read on.
The Location
First off, let’s establish that Bryce Canyon is beautiful. The hoodoos rock me. It’s also at a pretty high altitude. Consider that if you hike down into the canyon—you must also hike back up!
Top that off with something unique to our visit: One small leg of the loop trail was not open, forcing us to go the long way around to get to the hoodoos. Of course that meant we had to go all the way back around to get back up. Talk about a workout carrying 35 pounds of photo gear on my back. I’m savage with myself that way—I never want to miss a shot because I left something in the car. (Hint: Do what I say and not what I do if you value your enjoyment.)
Anyway, on to how I “made the sausage.”
Working the Scene
The final image, above, is a combination of ambient illumination by a full moon in a clear sky, complemented by light painting by Gabe and Chris within the lens frame, and light painting by me to camera-right.
I saw the photo as I was gasping my way up the canyon. (I am not as fit as I could be 😊). To compensate, I was playing a game with myself: Walk until completely out of breath, plant the tripod and take a photo on the spot, no matter the view. It kept my mind off my physical condition … for 30 to 120 seconds at a time, anyway.
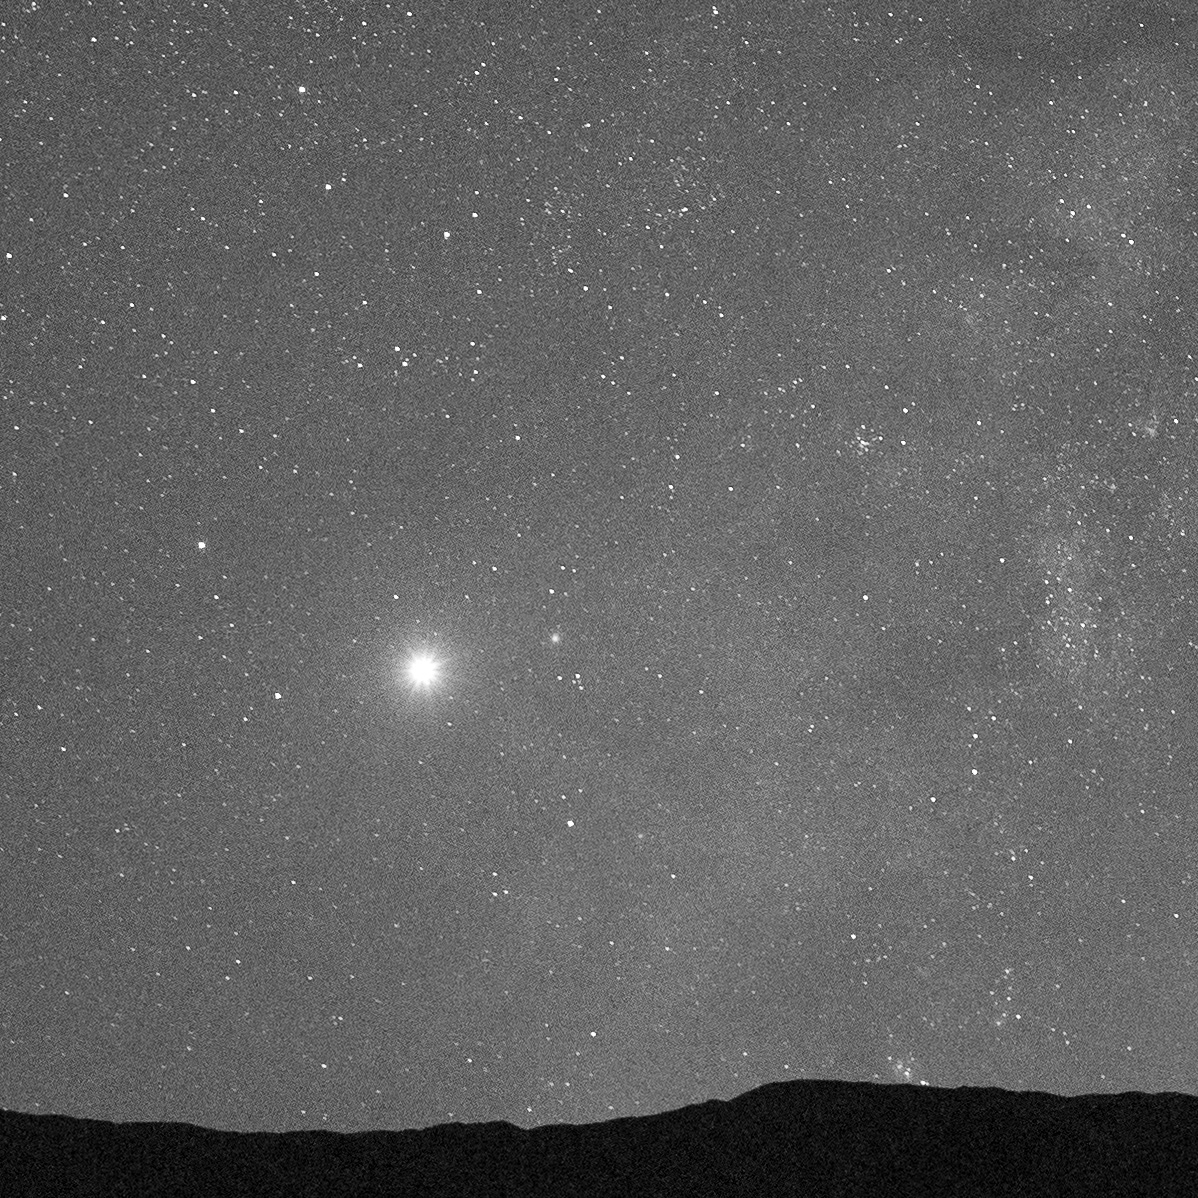
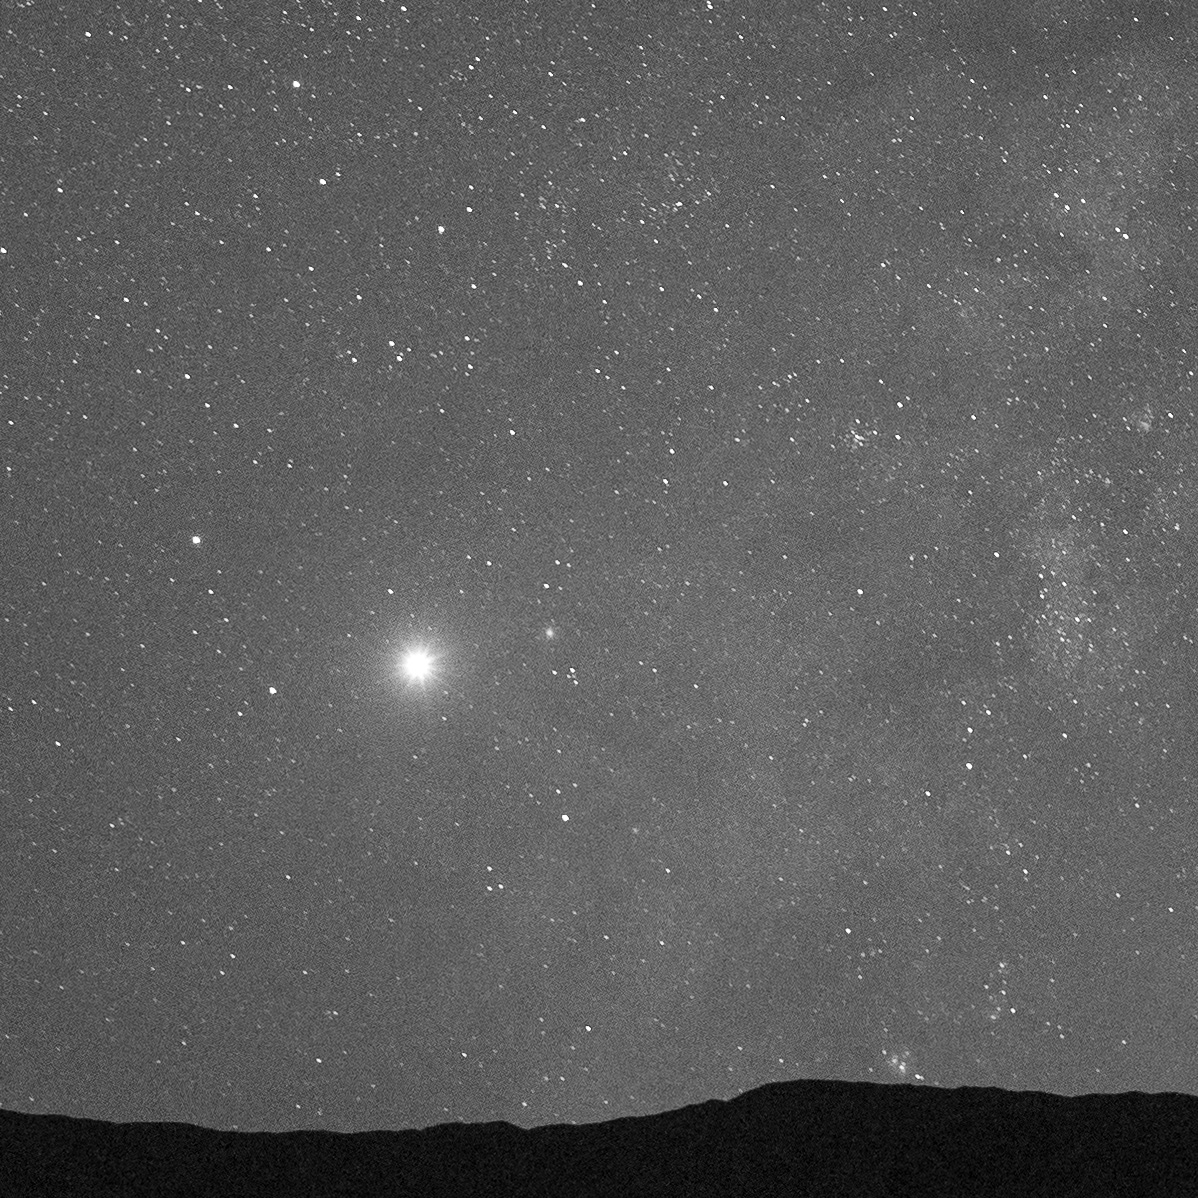
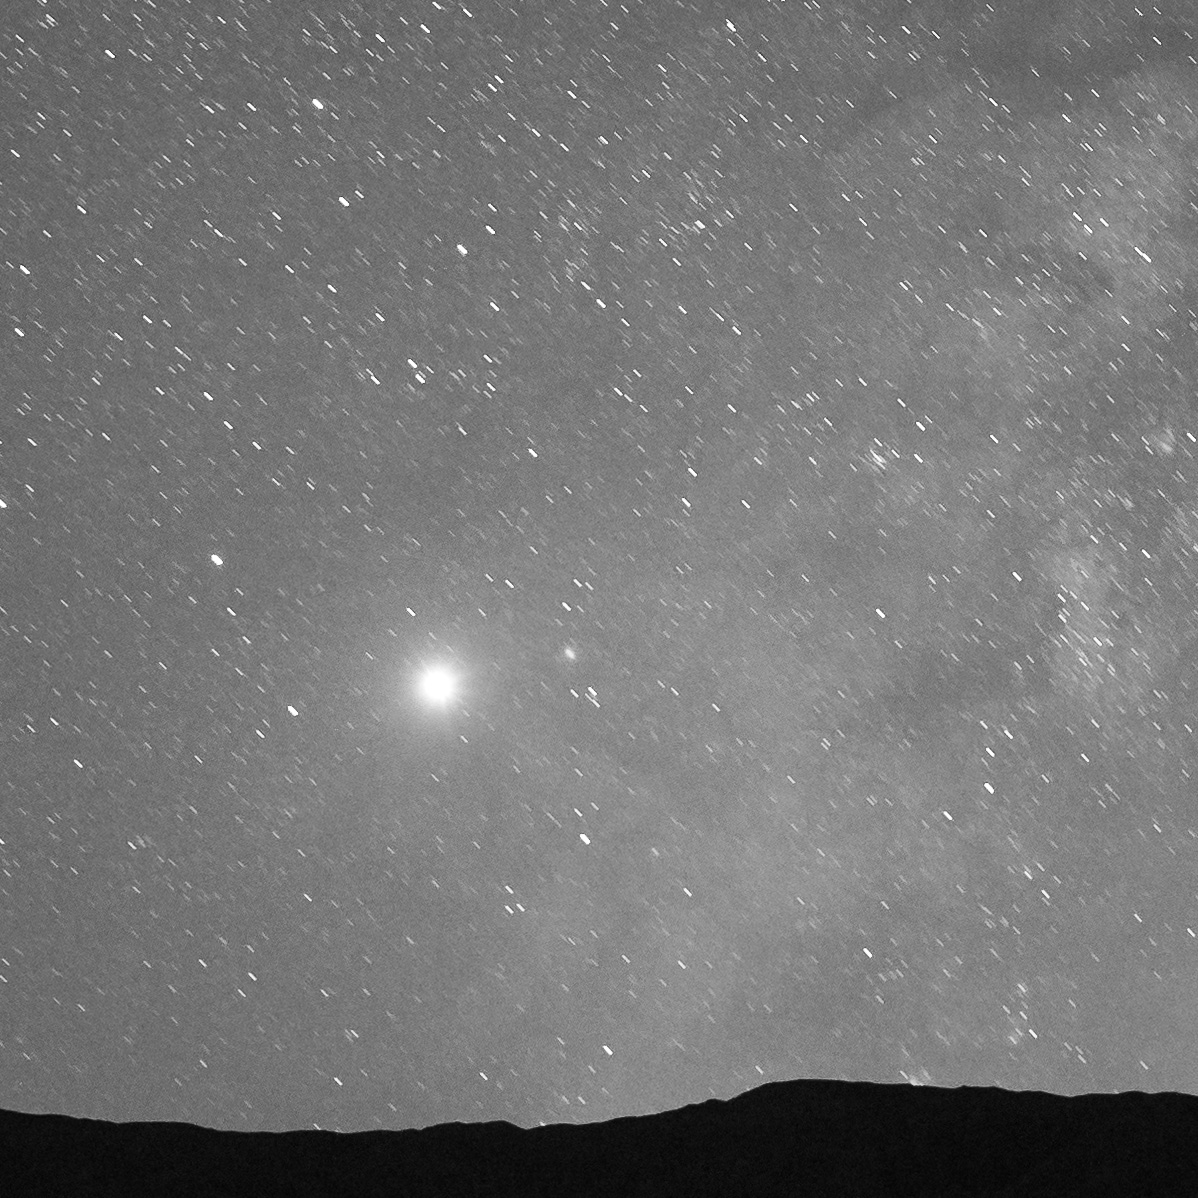
Figure 1 is an example of one of those shots. Meh. So is Figure 2. Less meh.

Figure 1. 30 seconds, f/4, ISO 400. Nikon D750 with a Zeiss Distagon 15mm f/2.8 lens.

Figure 2. 30 seconds, f/4, ISO 400. Nikon D750 with a Zeiss Distagon 15mm f/2.8 lens.
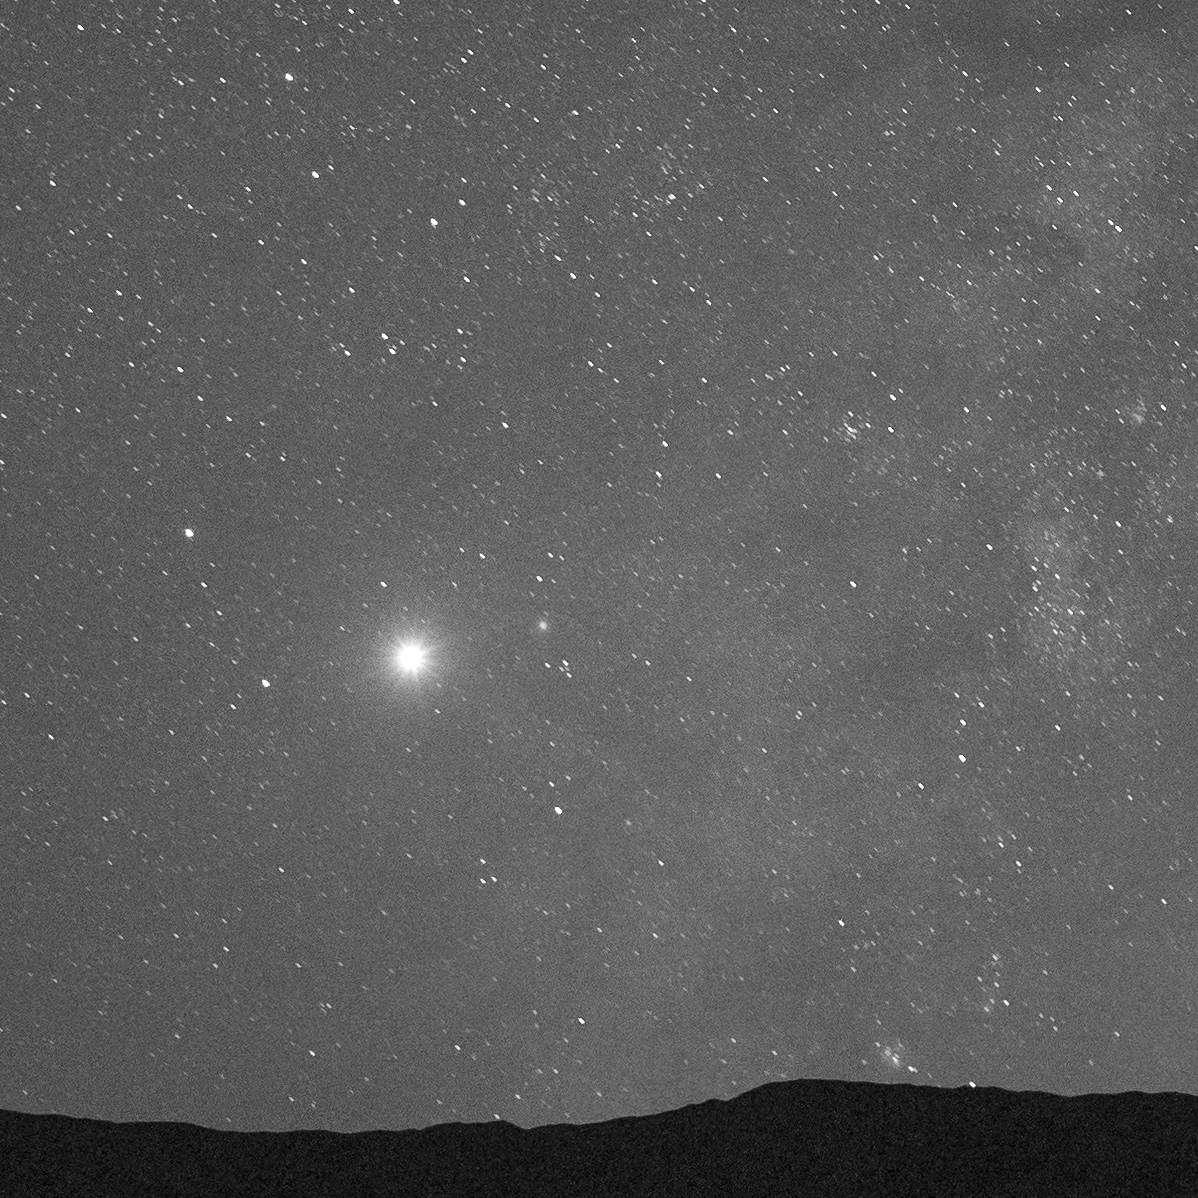
But when I stopped to make a photo of Chris making a photo (how meta), I started to think about how I love making night portraits. This photo is Figure 3, in which you can also see Gabe’s flashlight in the distance. He was working on a masterpiece of light painting.

Figure 3. 30 seconds, f/4, ISO 400. Nikon D750 with a Zeiss Distagon 15mm f/2.8 lens.
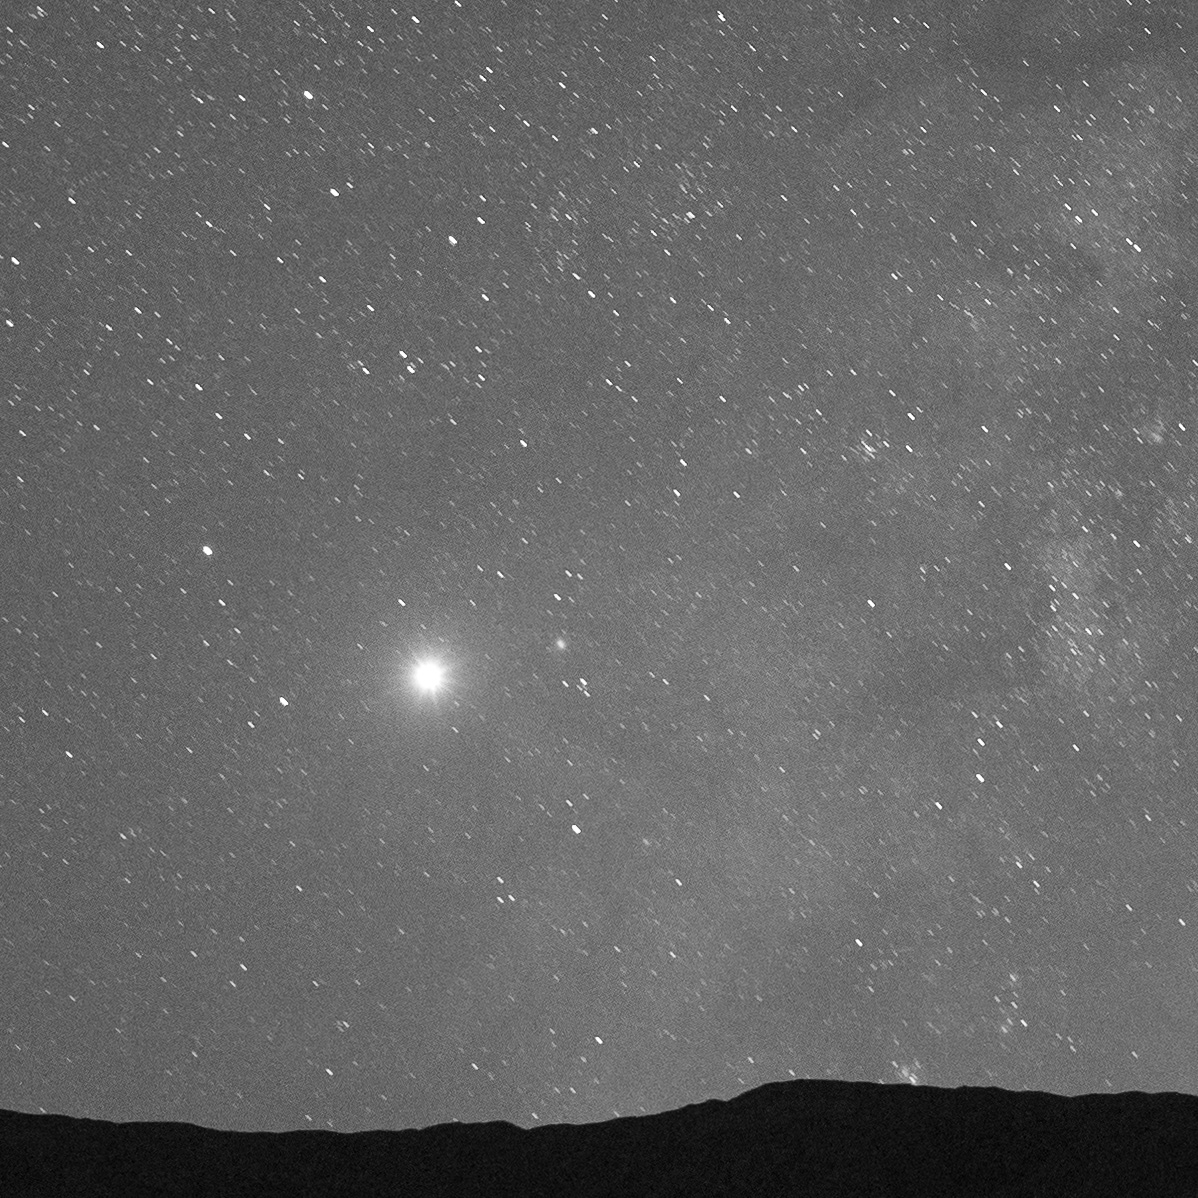
As it happened, I had a burst of energy and my next pit stop to breathe was above Gabe’s position. See Figure 4.

Figure 4. 30 seconds, f/4, ISO 400. Nikon D750 with a Zeiss Distagon 15mm f/2.8 lens.
As I observed Gabe light-painting and working on his image, I was struck with the thought, “This is the moment. People in a place I love doing the thing I love. Perfect moment for a portrait.”
I asked Gabe and Chris if they would indulge me, and somehow they seemed more than happy to stop climbing out of the canyon for a few minutes. We nailed it on the first shot, because Gabe had already been practicing for his photo, painting to the right. So I piggybacked on his hard work a bit. I asked Chris to paint the trees, and added my own twist by running to camera right and light-painting Gabe and Chris with short bursts of my flashlight (Figure 5). I took care not to sweep my flashlight, because I wanted a pool of light in the middle, with dark edges to the illumination.

Figure 5. Chris (left) is lighting the tree, and the arrows show where Gabe and I are light-painting.
Mission accomplished!
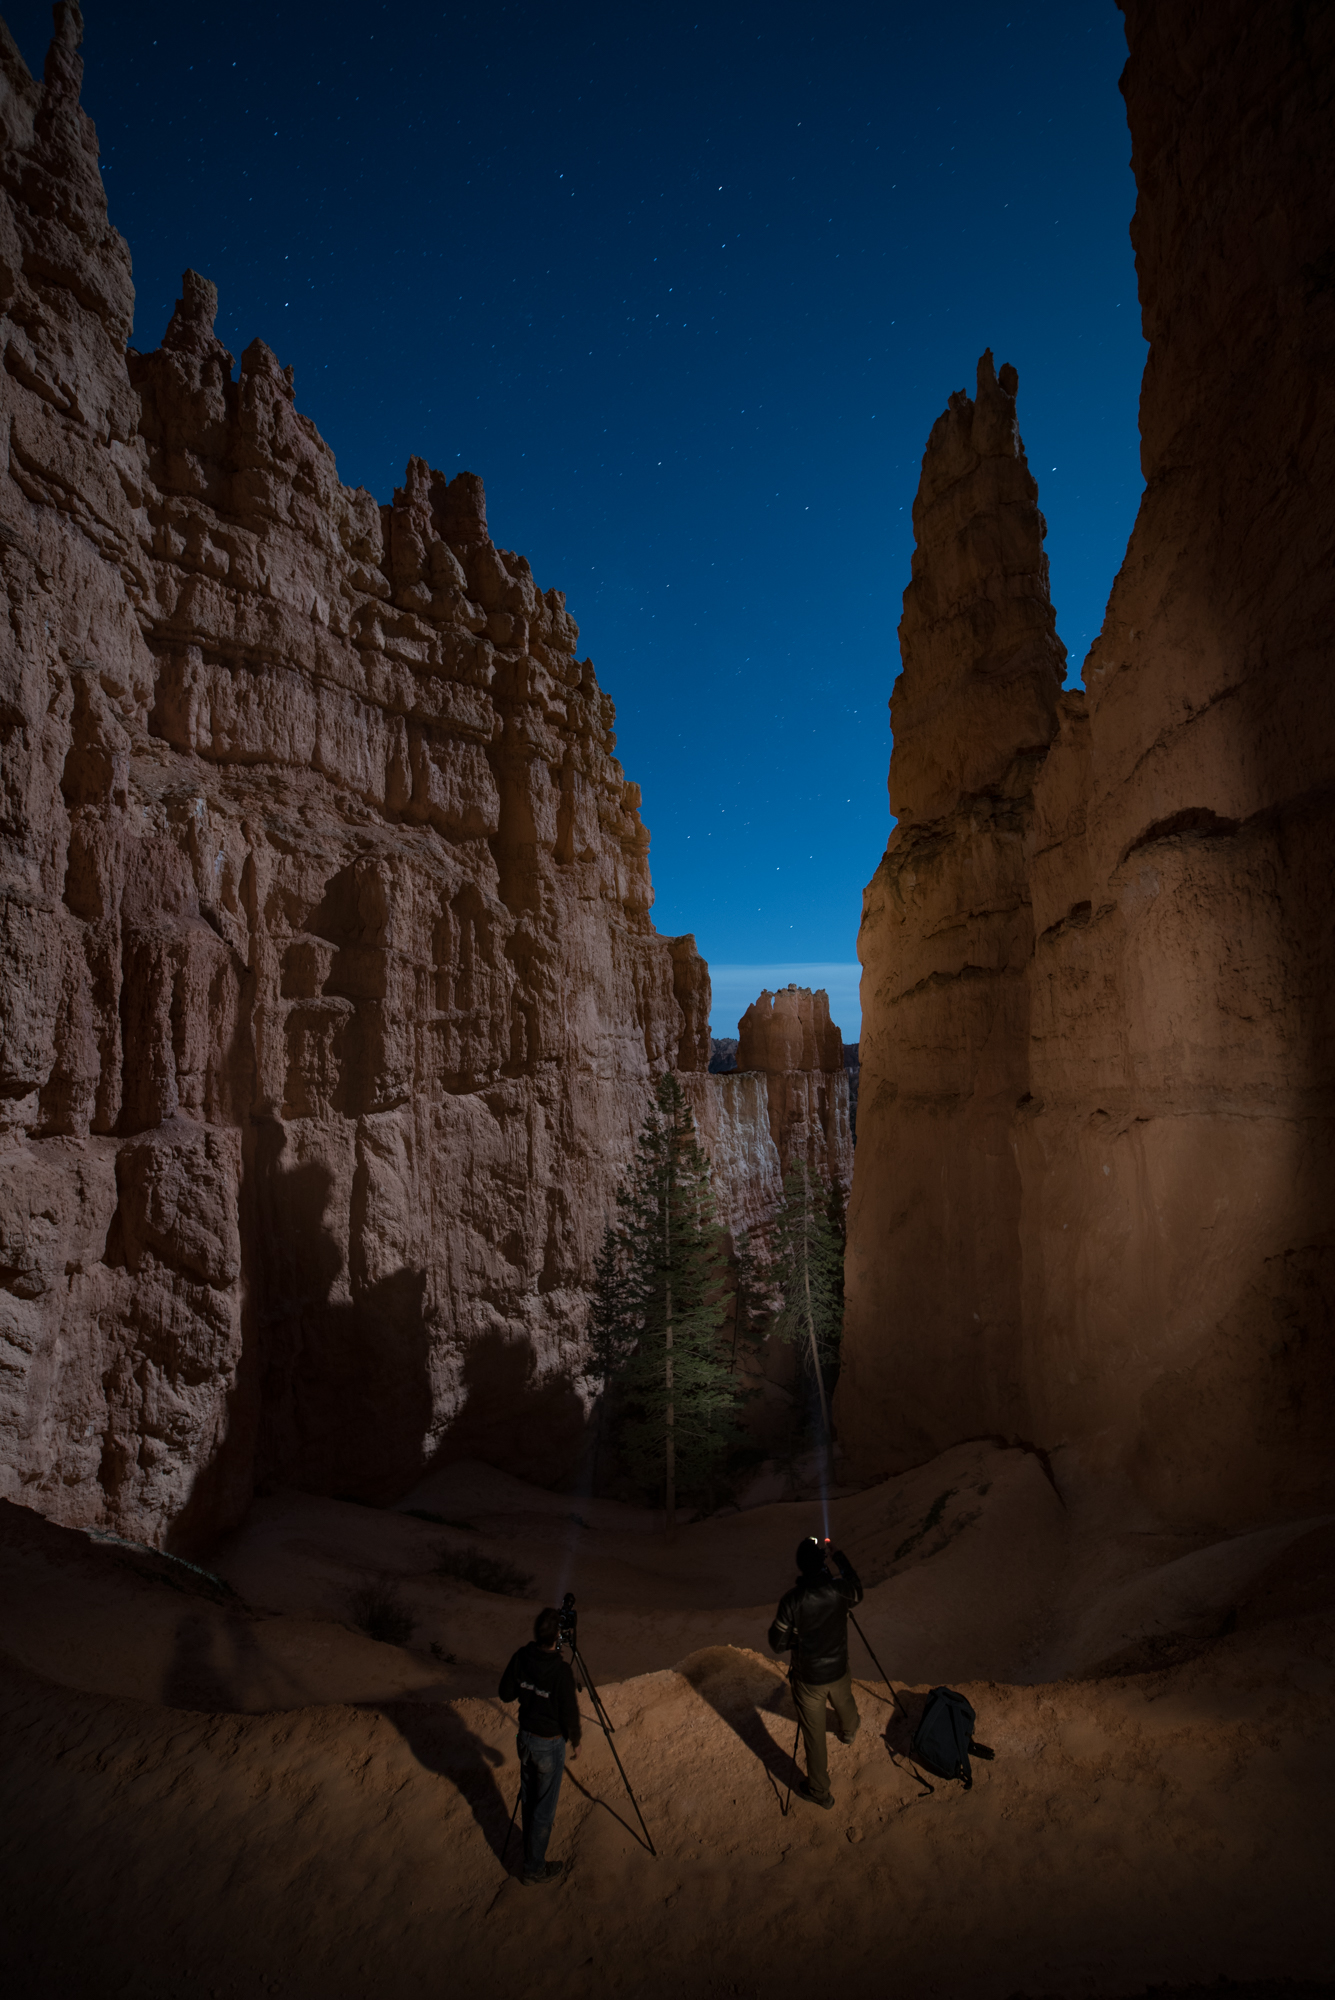
Figure 6, the final photo. 30 seconds, f/4, ISO 400. Nikon D750 with a Zeiss Distagon 15mm f/2.8 lens.
Details
Here are some more before/after details to spot how we added to the scene:
Figure 7. Painting distant hoodoo.
Figure 8. Light-painting trees takes more time since they are not reflective, but rather dark to begin with.
Figure 9. Gabe’s gentle painting of the canyon wall to his right.
Figure 10. Detail with and without Chris in frame.