northern lights

Five Questions: Offering Answers on Gear, Techniques and Etiquette

As you might imagine, we get emails from time to time asking us questions about night photography. We’re always happy to respond personally to those questions. However, there’s also the (largely correct) theory that for every person who asks a question, there are a hundred others who want to know the same thing but didn’t ask.

Therefore, we have decided that from time to time we will collect five of the questions that have recently been asked of us, and share them, along with our answers, with all of our blog readers. We hereby commence this “Five Questions” series today.

Our first foray into shedding some light on night photography conundrums includes some excellent questions on gear, techniques and etiquette.

1. SharpStar2 and the Nikon 14-24mm

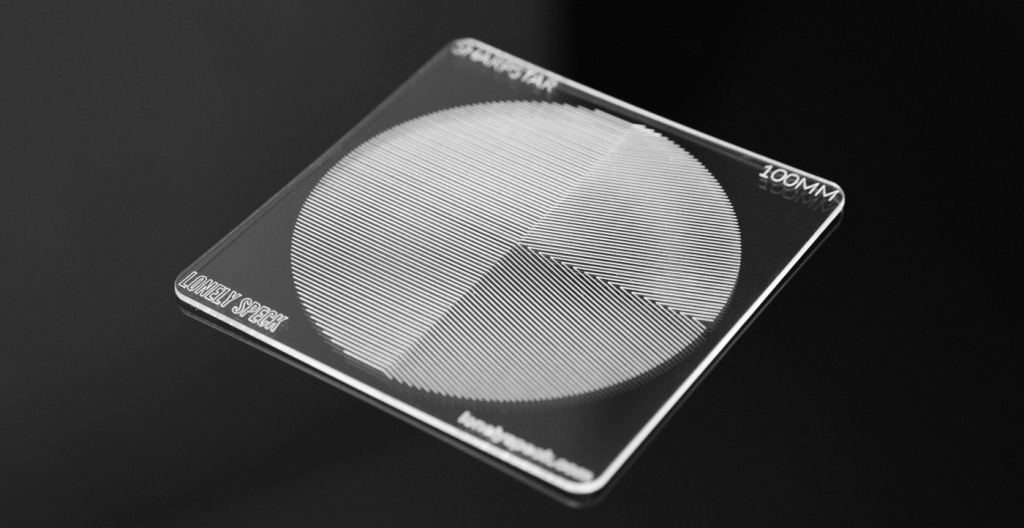
Q: I have the Nikon 14-24mm f/2.8 lens. I have just finished reading about the SharpStar2. In my very limited experience with photographing stars, I have yet to obtain anything close to a sharp focus on them. Thus I’m intrigued by the SharpStar2. Can this be used with the lens I’ve mentioned? I’m assuming I would have to purchase the appropriate square filter holder and the appropriate size SharpStar 2 filter. Could you tell me what size to order, and which filter holder you’d recommend? — Liela N.

A: Although the Nikon 14-24mm is one of the best lenses for night photography, it’s actually not one I can recommend for combining with the SharpStar2. In fact, I’m not sure there’s a way to get it to work at all. The issue is that lens has the bulbous front element, which means a flat filter can’t be used without retrofitting a holder. There’s a great article on Naturescapes titled “Adapting Filters to Fit the Nikon 14-24mm Lens” that explains why and offers a DIY solution, but it requires a 150mm filter, and the largest that SharpStar2 comes in is 100mm.

But I would definitely hold on to that lens for night photography! If you’d like to work on other techniques for focusing in darkness, I’ll offer three suggestions:

  1. Use Live View. It’s infinitely easier than trying to focus through your viewfinder.
  2. Try presetting your lens to infinity during daylight, then turn off autofocus and tape down the focus ring.
  3. Use hyperfocal distance.

Incidentally, if you’re interested in purchasing the SharpStar2 for other lenses, we have a discount code we can share with you. Use “NPAN10” to receive 10 percent off the SharpStar2 on LonelySpeck.com. — Chris

2. Stack-a-Matic

Q: I use Photoshop/Lightroom CS6. I am a new user to Photoshop so obviously still learning. I tried to download your recommended Stack-A-Matic but I get an error that says I need Photoshop 12 or higher. What is a good stacking program that goes with CS6? — Sue W.

A: Stack-a-Matic works with CS5 thru CC (latest). Did you download it from my website, and use the manual installation instructions? Sometimes it’s a little bit finicky, but it does work. You might have to do a restart, or possibly walk through the installation twice, but it’s worth it.

I’m sorry that I can’t offer more tech support than this for Stack-a-Matic; I’m just hosting it for Russell Brown. Alternatively, you can try StarStax for Mac, and Startrails.exe for PC. — Lance

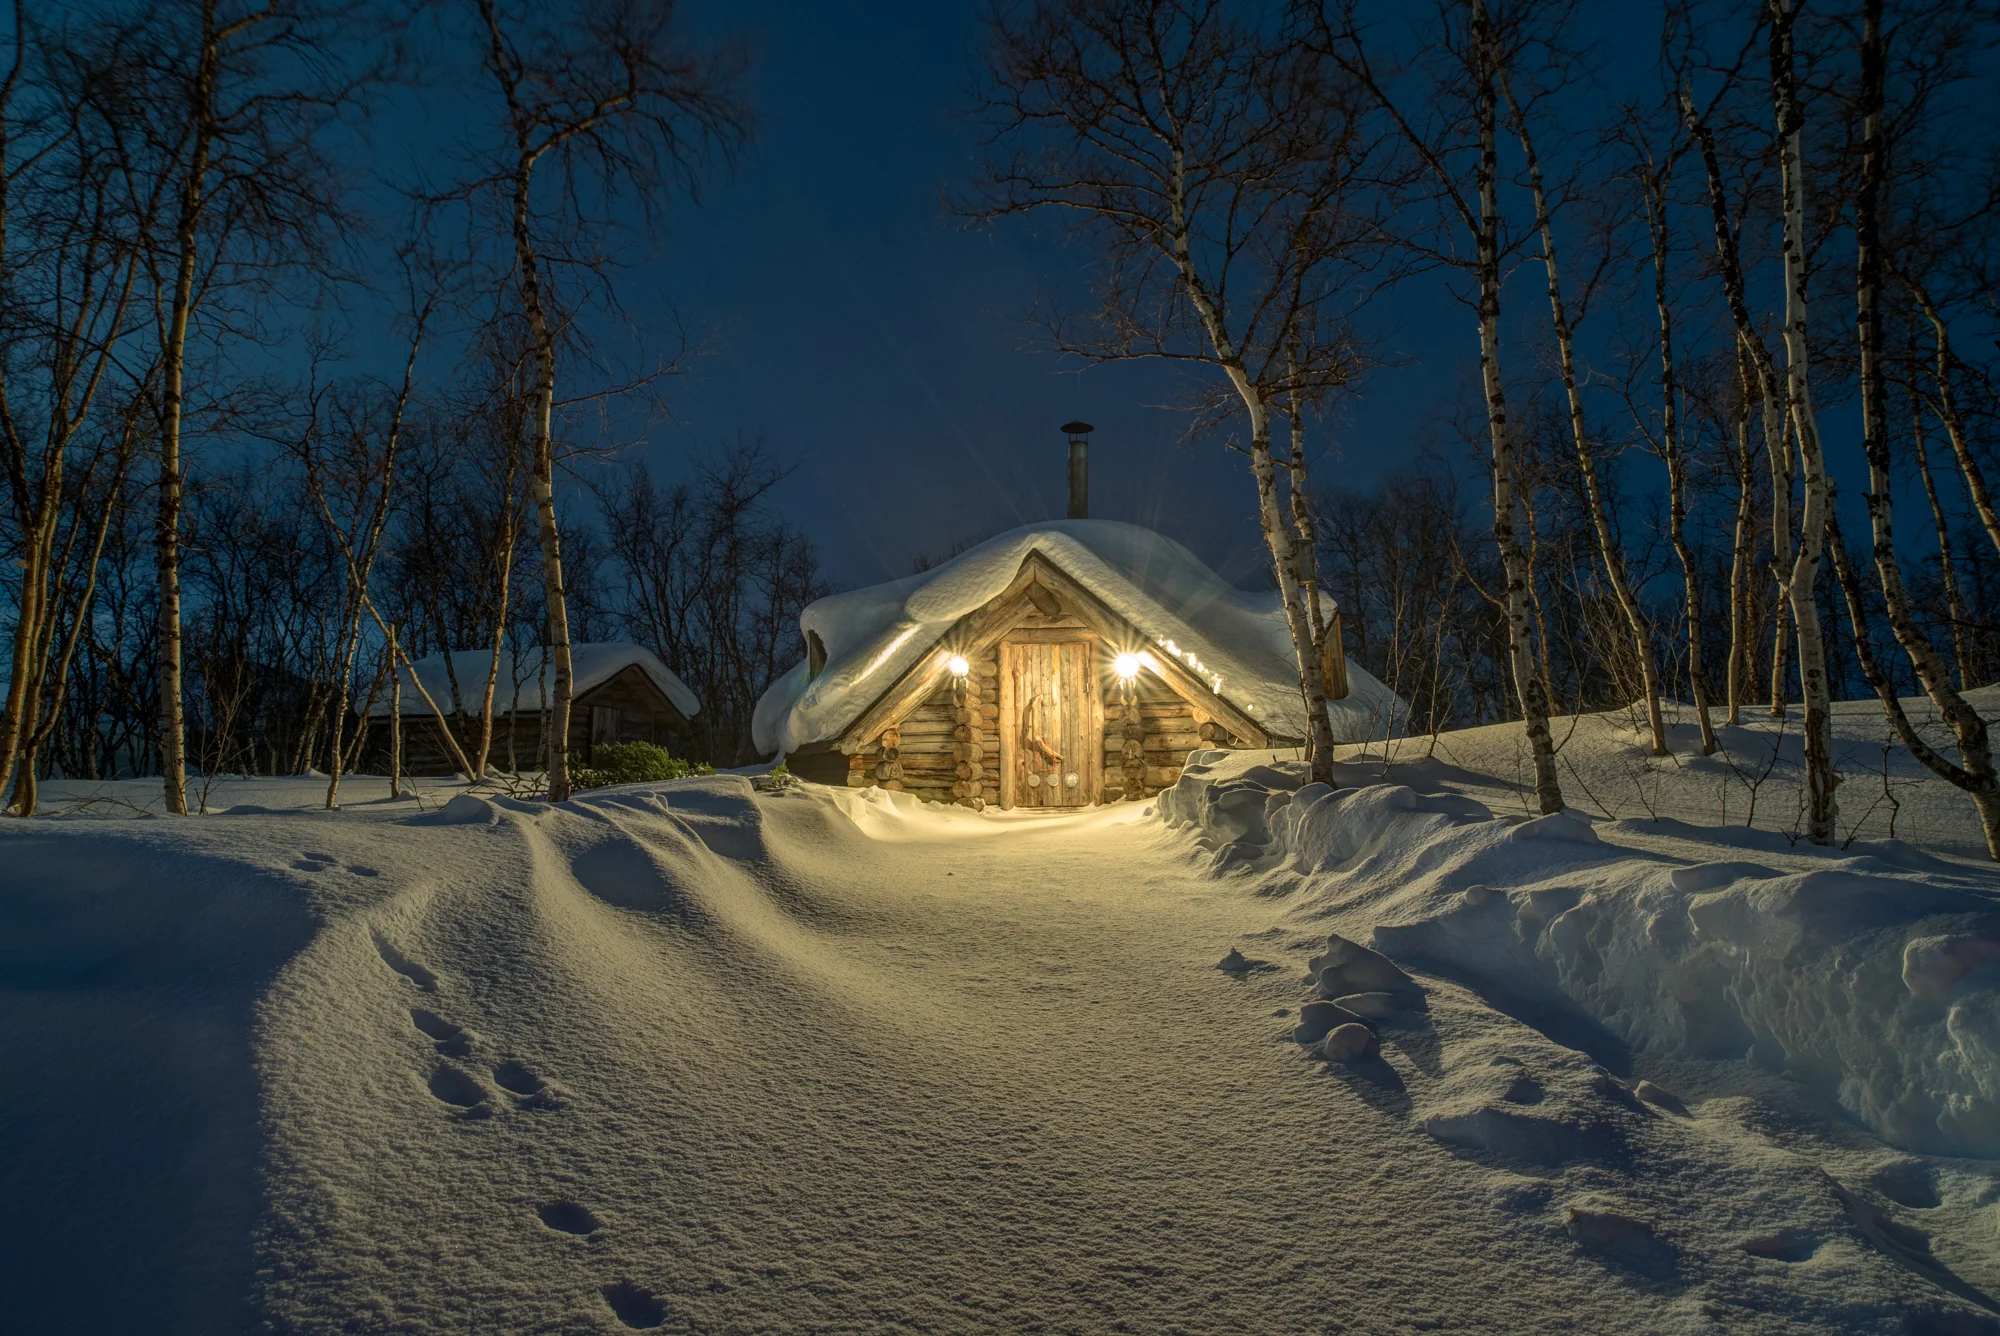
3. Light painting in Arches National Park

Arches National Park. © 2016 Tim Cooper.

Arches National Park. © 2016 Tim Cooper.

Q: I heard/read that Arches National Park has closed the permits for night photography. Does this mean for workshops or personal? — Juan Aguilera

A: Yes, Arches (and Canyonlands National Park) did institute a rule change this year, but it applies only to instructor-led groups using an official CUA (Commercial Use Authorization) permit, and for the moment it applies only to light painting.

If you go on your own as a photographer, there are no restrictions—for now. But if photographers don’t collectively respect that environment (i.e., behave ourselves), who knows what might change? While we don’t agree with a blanket rule change in Arches, we do understand why it was implemented. We always talk about the etiquette of doing night photography in a way that doesn’t negatively affect others who are enjoying the same dark skies that we’re photographing. (See the early sections of the “Night Photography in National Parks” presentation Lance and Chris did at the B&H Event Space a few months ago.)

However, it’s also good to note that if you’re planning to shoot in Arches in 2017, the park will be closed at night every Sunday through Thursday due to road construction. So you can do night photography only on Fridays and Saturdays, until the expected November completion date. — Matt

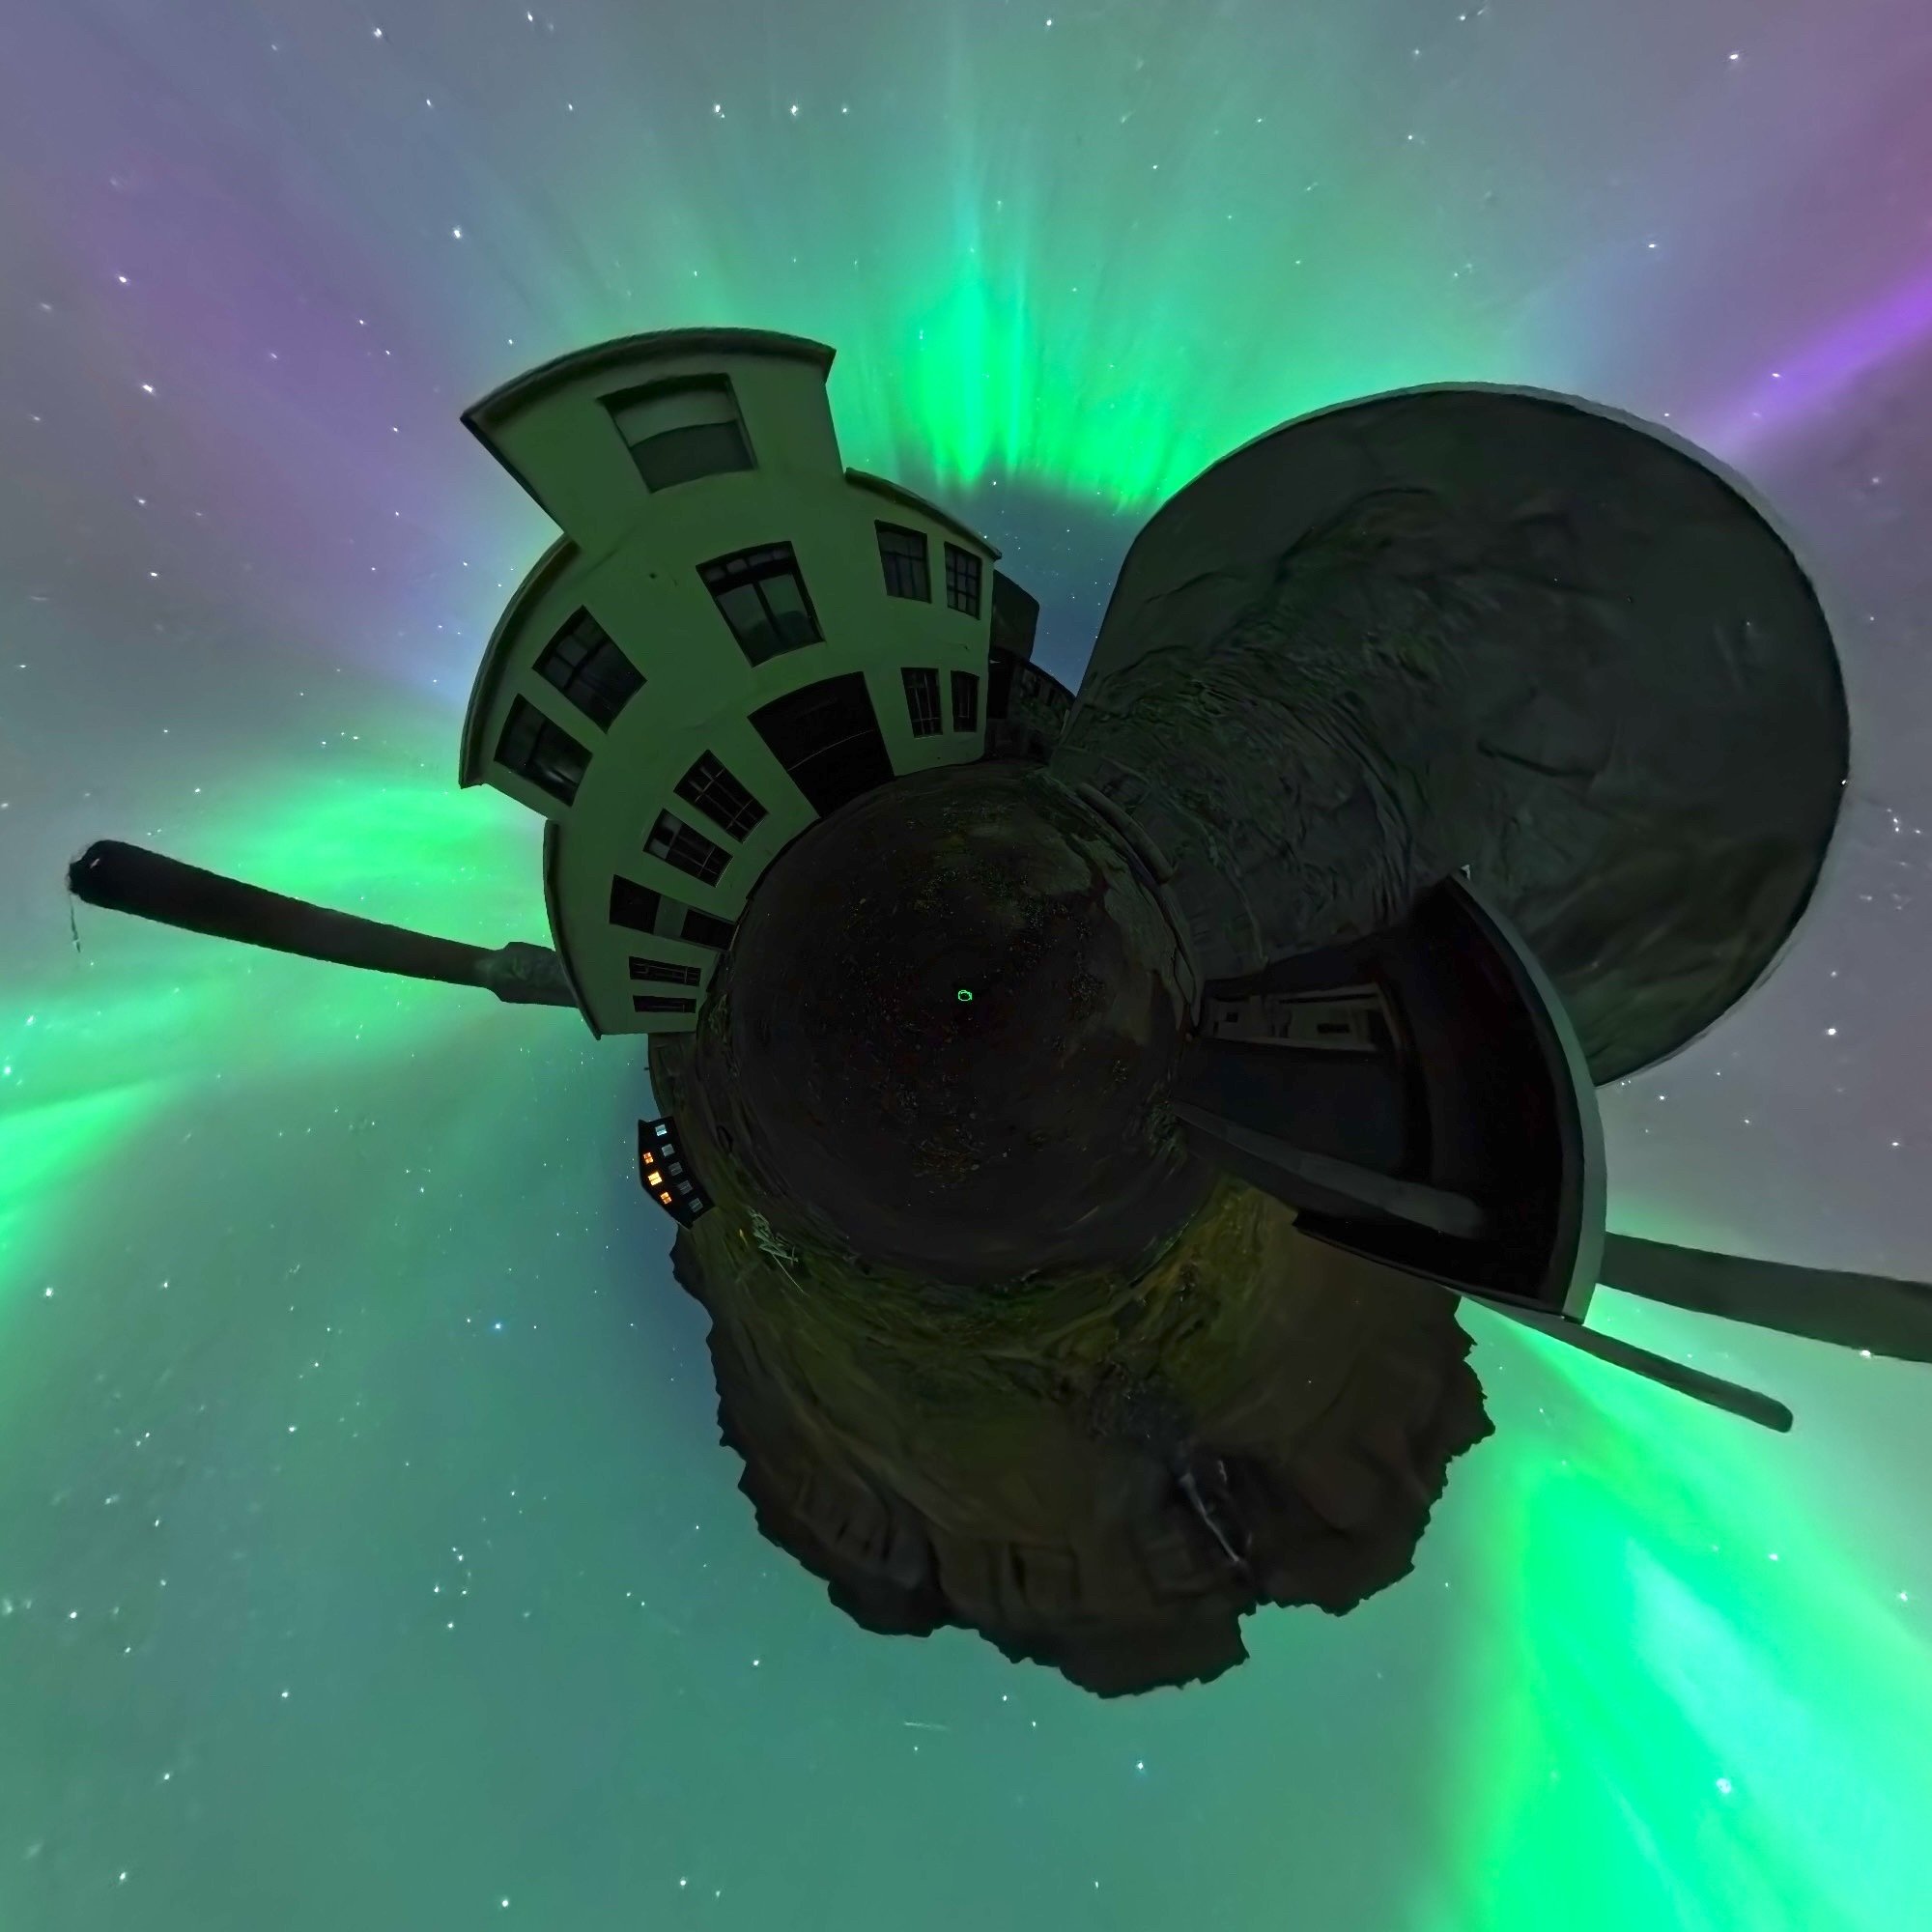
4. Aurora in New England?

Q: Is there any chance of seeing aurora in New England? And is there a good app that you use for potential activity? HersheyArtImages

A: The aurora can occasionally be seen in southern New England, but it is usually just a little bit of green near the horizon in the northern sky, when seen from a dark beach with a view to the north. In the northern parts of Vermont, New Hampshire and Maine, it is seen a little more frequently.

We use an app called Aurora Forecast, which is available for both iOS and Android. Once you download it, you can customize the settings to send you an alert for a kp (the unit of measurement of auroral activity) of 6 or higher in the middle latitudes. If the activity is much less than that, you are not likely to see anything.

You will never see aurora from a light-polluted area so far south. Really strong displays can sometimes be viewed right in the center of Reykjavik –– but that is a much smaller city, with much smaller suburbs. — Lance

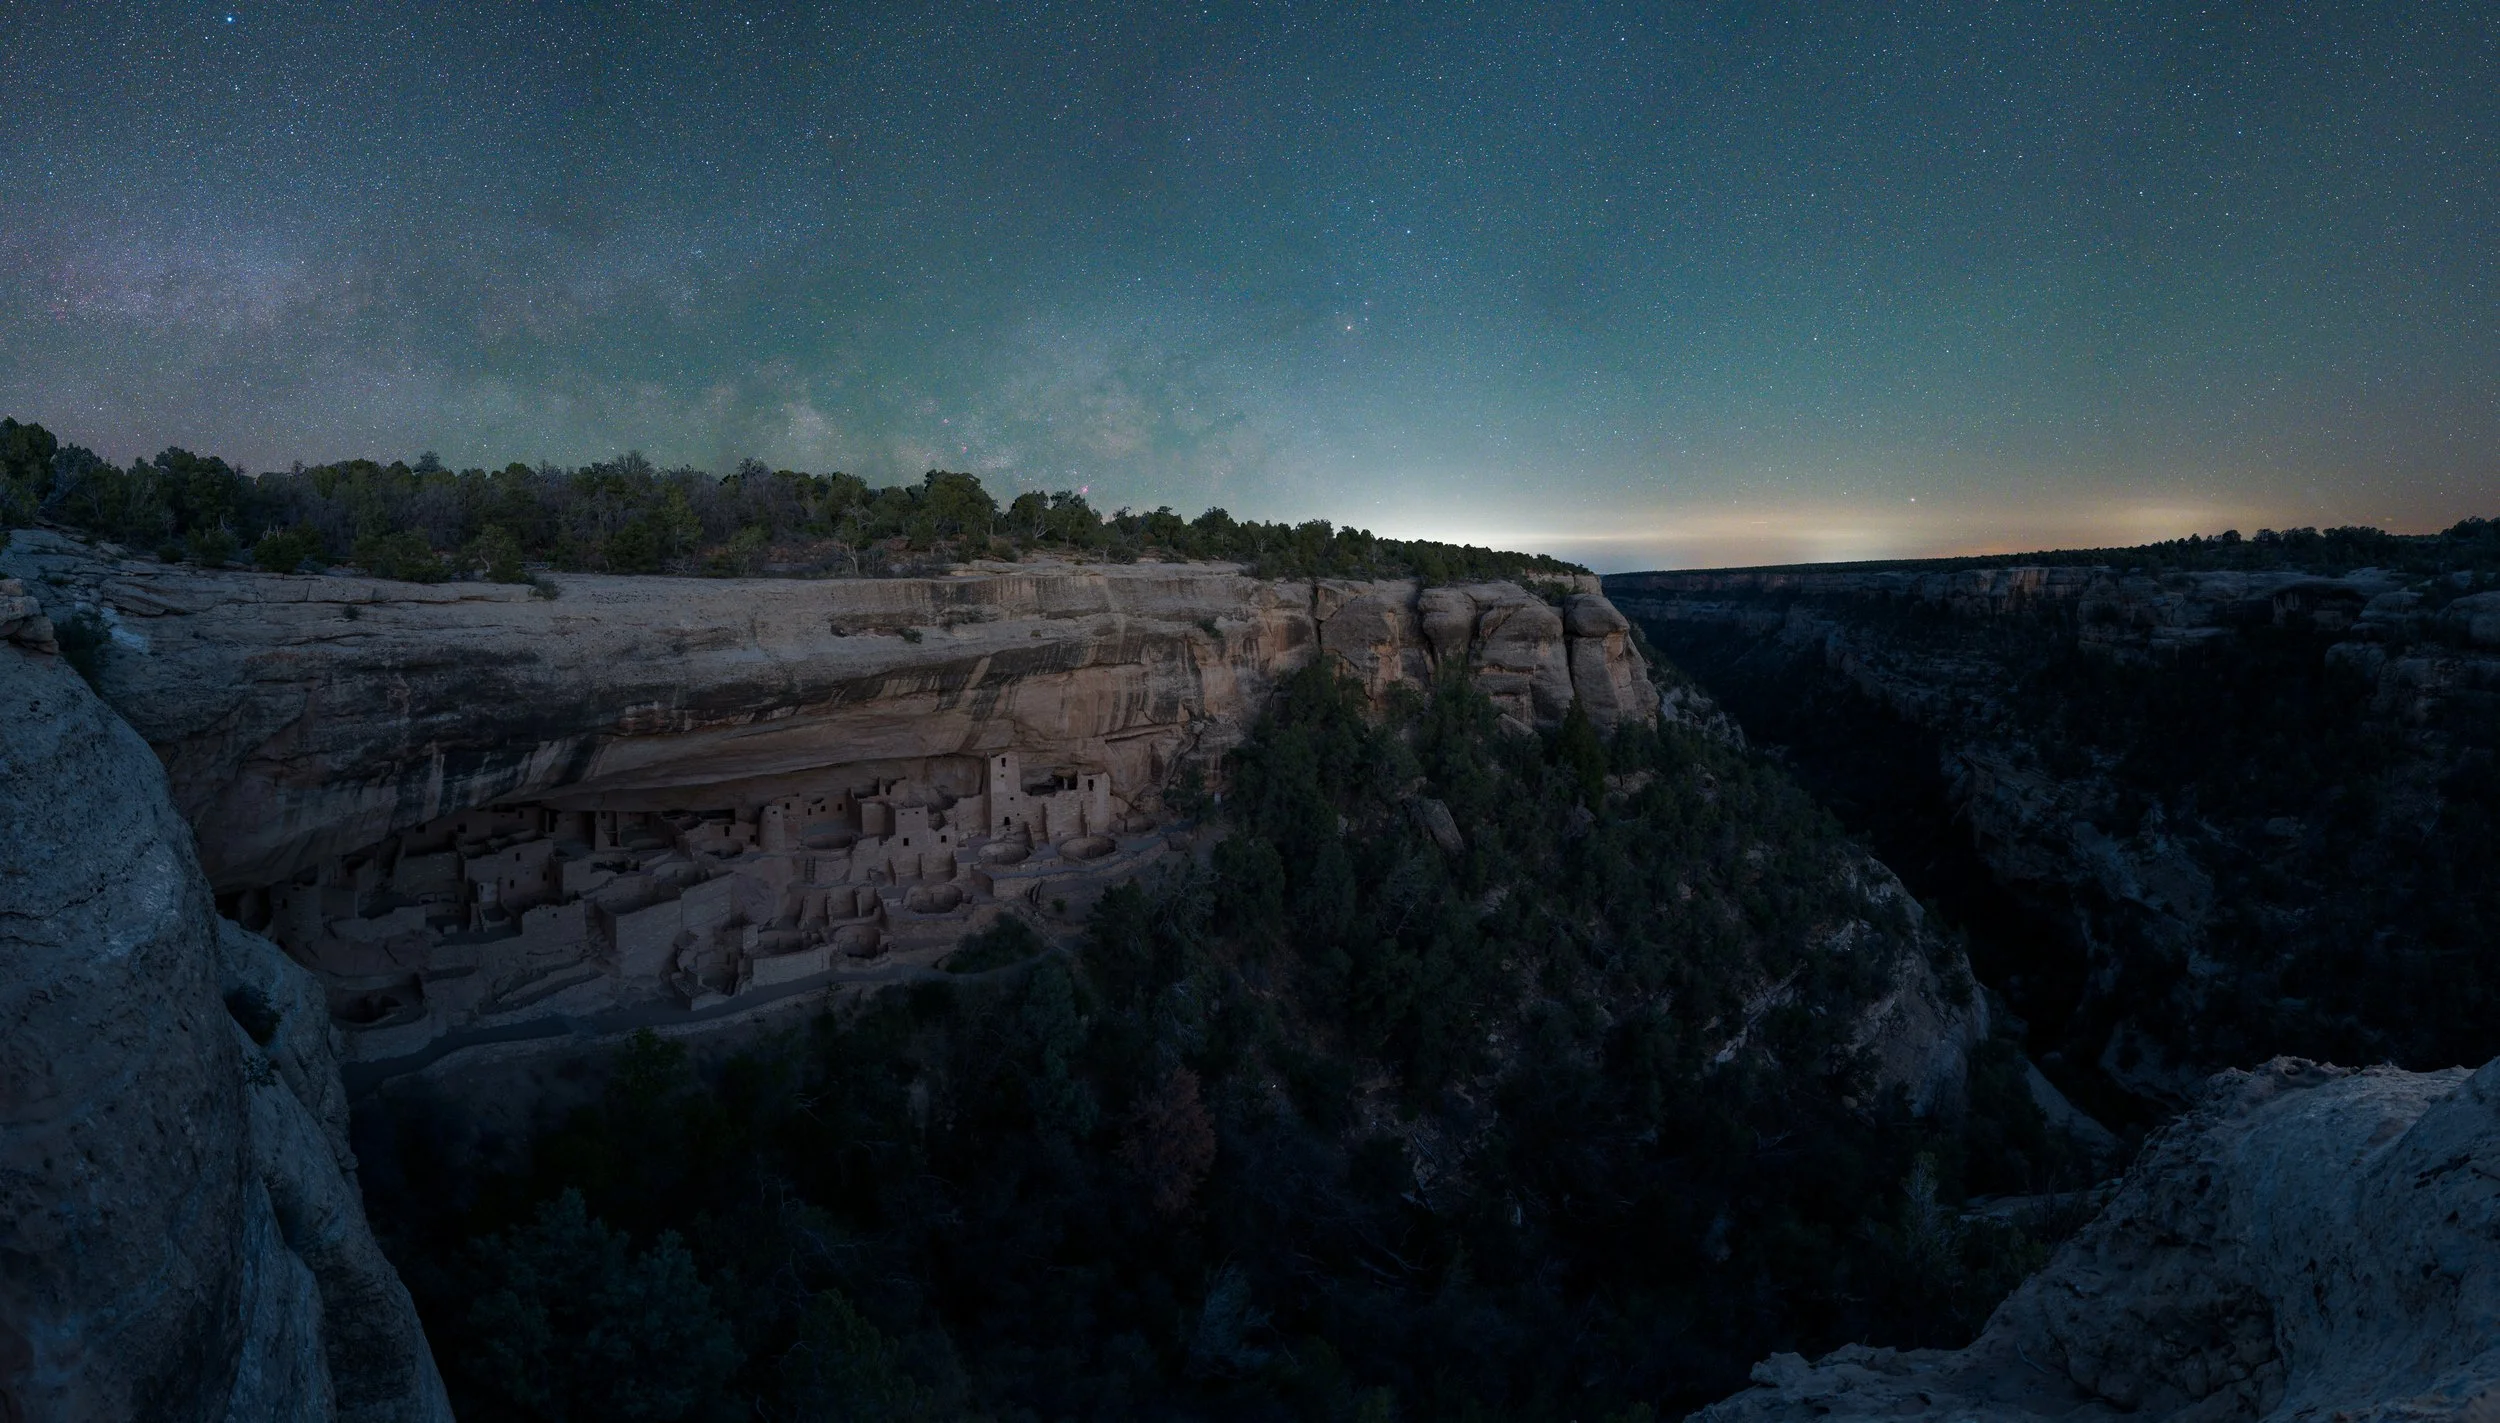
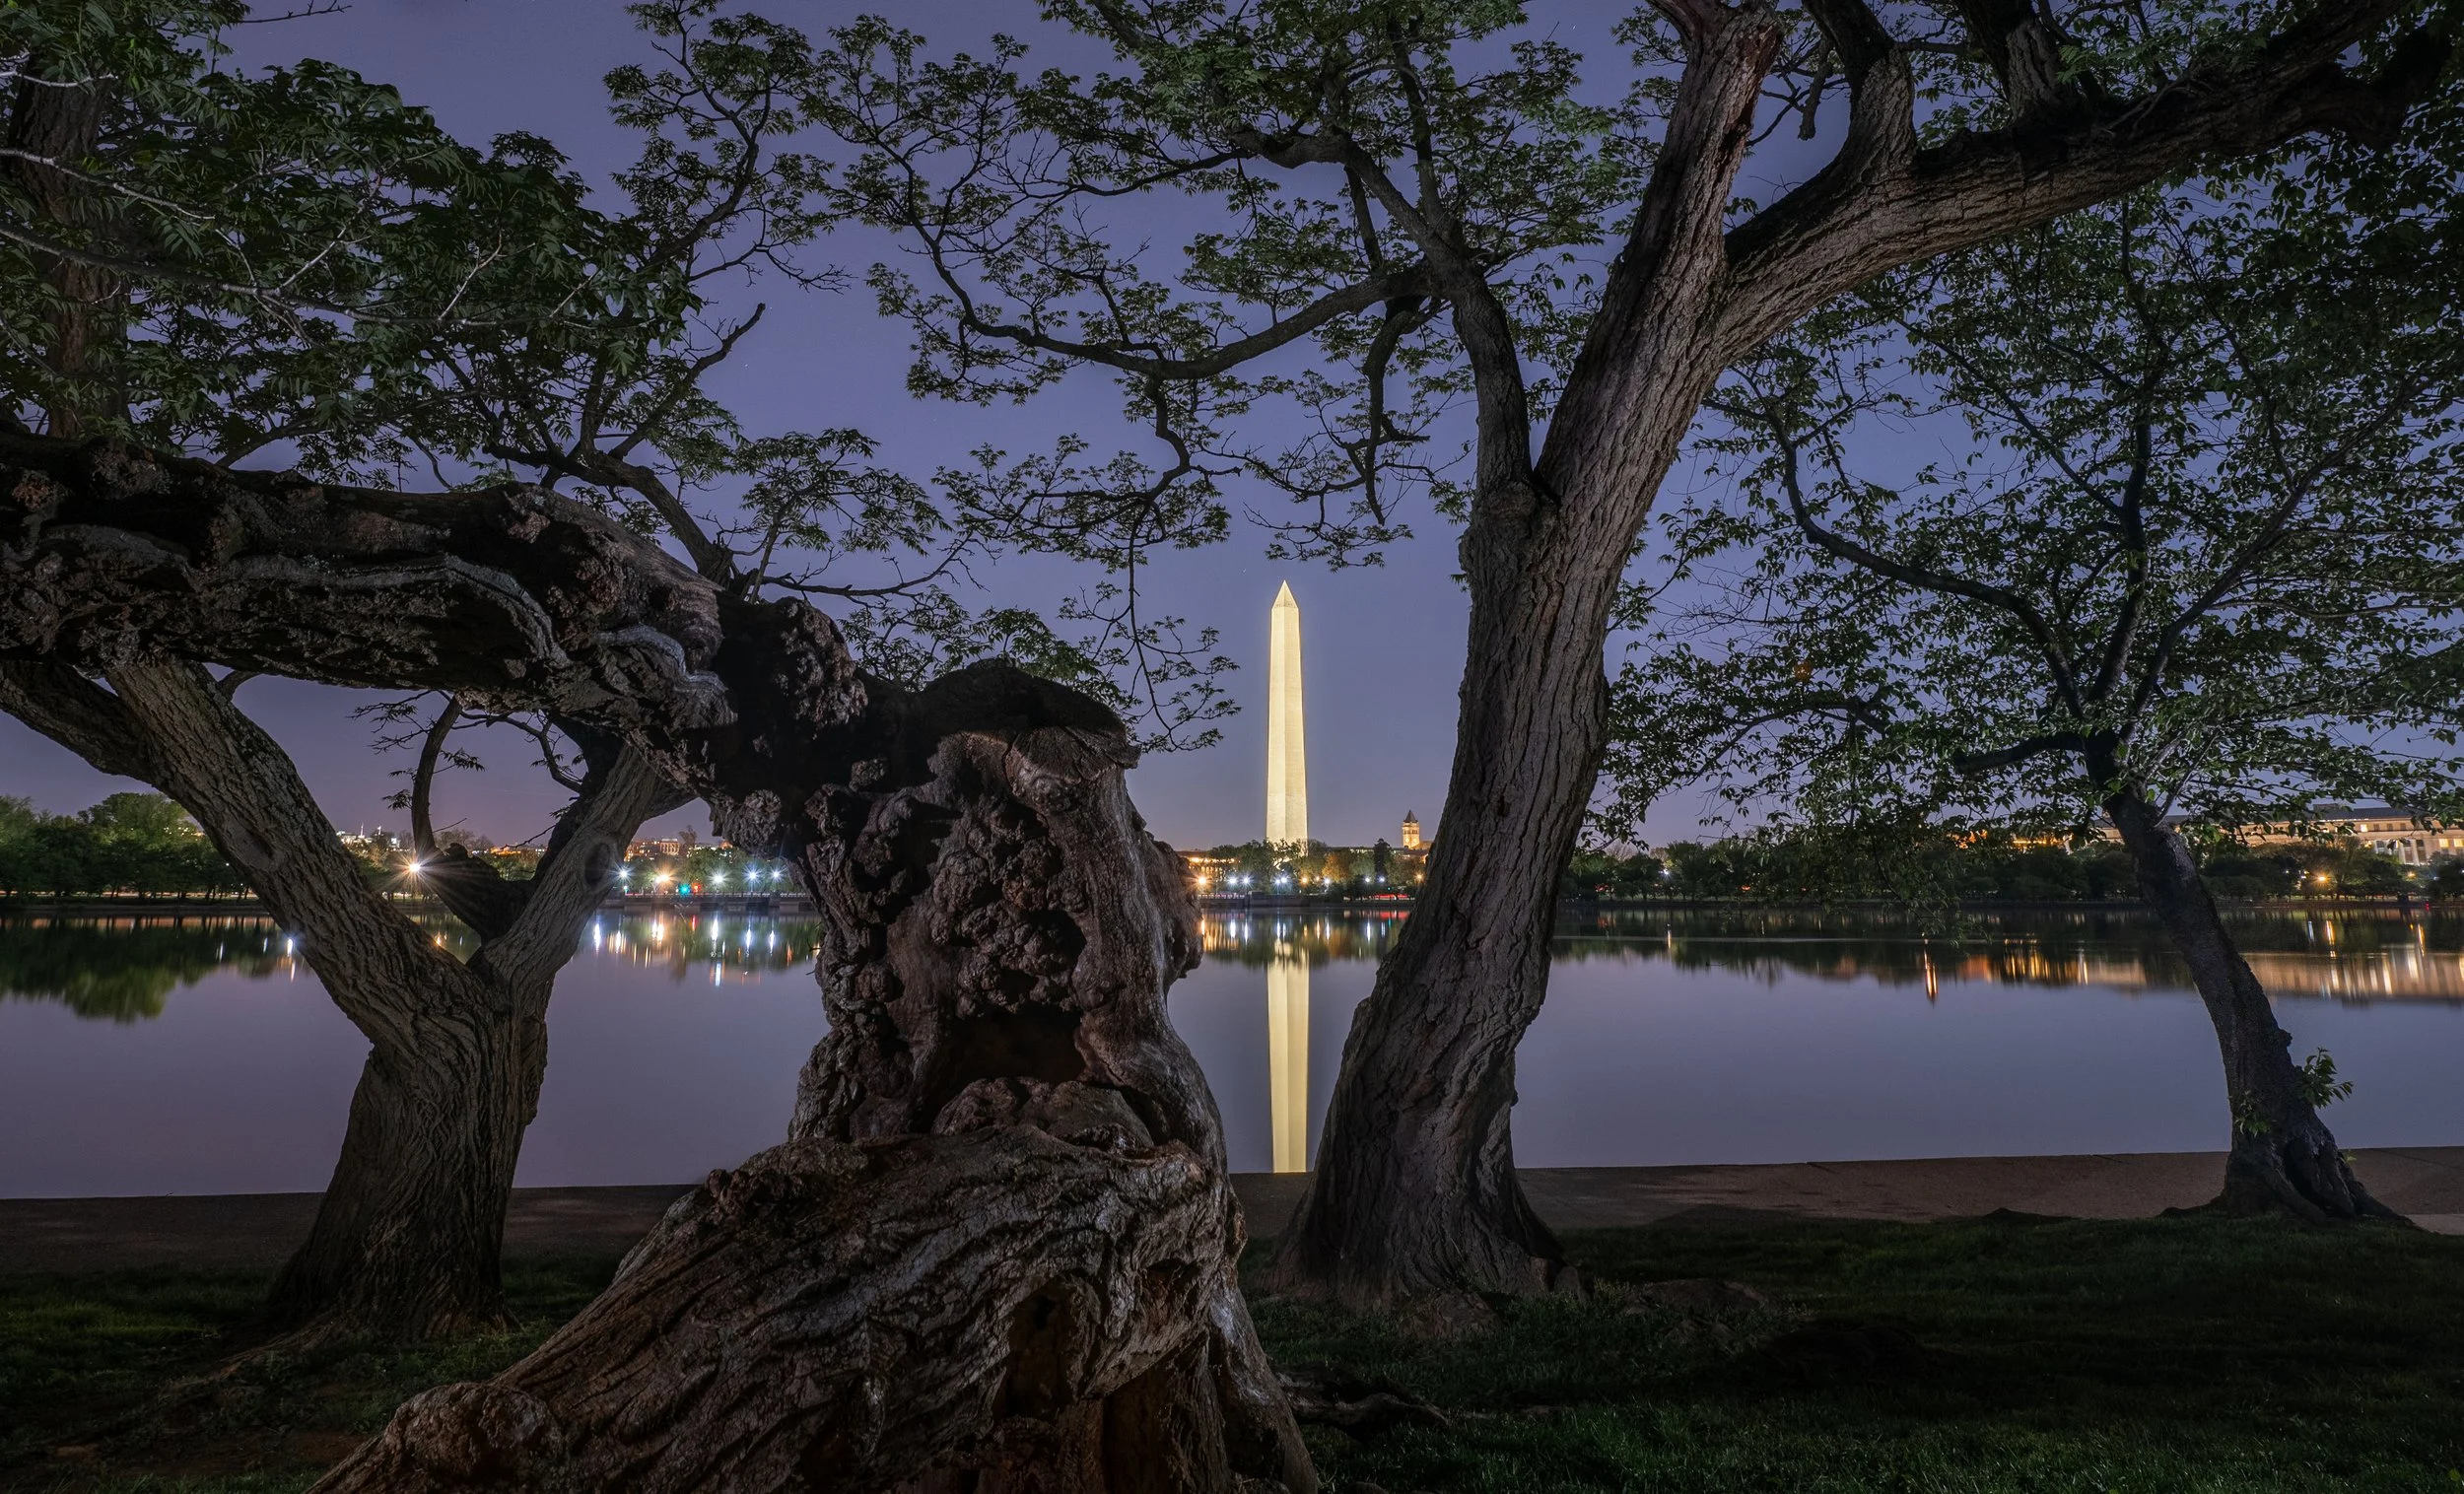
5. Dealing with light pollution

In this photo from Everglades National Park, light pollution from distant Miami builds up in a 30-second exposure to provide depth to the scene. © 2013 Chris Nicholson.

In this photo from Everglades National Park, light pollution from distant Miami builds up in a 30-second exposure to provide depth to the scene. © 2013 Chris Nicholson.

Q: I am struggling with processing wide-field astrophotography images (starscapes, Milky Way, etc.). In particular, with how to remove light pollution, which is an unfortunate fact of life for those of us living in the eastern part of the country. For wide-field photographs, the light pollution is usually graduated over the image, being brightest at the horizon and diminishing at you go higher. I would very much appreciate any tips you might have in this area. — David T.

A: Honestly, I generally don’t do anything to try to rid light pollution from my night photos, but rather try to use that extraneous light creatively. Specifically, I use the distant light to create silhouettes of mountains, for example, or to light clouds in the sky. Both of those tactics can provide depth to otherwise pitch-dark scenes.

If you do want to negate the color effect of light pollution in the night sky, a tech option is to try one of the new filters for eliminating the color cast in the sky that can be caused by light pollution. Our friends at Lonely Speck recently released the PureNight filter, which is made from a special didymium glass that reduces the transmission of light from sodium vapor lamps. We have yet to try it, but they know their stuff, so it’s likely an excellent solution. We also just heard about the NiSi Natural Night Filter from Ikan, but again, we haven’t had the pleasure of trying it yet. — Chris

Chris Nicholson is a partner and workshop leader with National Parks at Night, and author of Photographing National Parks (Sidelight Books, 2015). Learn more about national parks as photography destinations, subscribe to Chris' free e-newsletter, and more at www.PhotographingNationalParks.com.

UPCOMING WORKSHOPS FROM NATIONAL PARKS AT NIGHT

Be Out in the Cold: Why Winter is Great for Night Photography

'Tis the season to photograph at night!

There is a reason we call it a winter wonderland. Snow can cover the world as we know it and turn it into something white, pure and surreal.

Most of us dread snow, as it can become a deterrent to get from point A to B. But remember, it was only a few years ago that we would dream of winter weather cancelling our schools so we could stay home and create people, igloos and all sorts of fantastical things in the snow and ice. There has been a recent uptick in ice castles made by farmers, ski resorts and cold-region locals who for one or two months during the winter open these spectacular ice worlds that are often lit up at night!

So as we get ready to celebrate the longest night of the year, I wanted to share some tips to hopefully inspire you to bundle up and create some wonderful winter wonderland images.

This was taken of a kota, or warm hut, in the Lapland region of Finland. I passed by this perfect scene a few times, but when I saw the animal’s footprint in the fresh snow I ran and grabbed the gear. I shot at a low angle to emphasize the footprint…

This was taken of a kota, or warm hut, in the Lapland region of Finland. I passed by this perfect scene a few times, but when I saw the animal’s footprint in the fresh snow I ran and grabbed the gear. I shot at a low angle to emphasize the footprint and make the hut seem a little larger than life.

1. Find a new way to photograph the holiday lights

If you drive or walk around your neighborhood, you’ll see lots of outdoor lights covering the many streets and houses. These can be fairly simple to photograph, especially when they are also under the streetlights, but try to find a new way to interpret them.

With your camera on a tripod, zoom your lens during the exposure to add motion, or perhaps go in close for a detail shot that throws the rest of the scene out of focus. The holiday lights that hang across the streets look better when we have car trails going through them. Places like Rockefeller Square in New York City can be difficult to shoot because of the mass amounts of people—good luck setting up a tripod! Look instead for quieter, neighborhood scenes that also epitomize the holiday cheer.

In an age when people can certainly overdo the holiday lights, I really was drawn to the simplicity of the paper bag luminarias that this house put out. I shot low and angled myself so the full moon was casting the dramatic shadow of the trees towar…

In an age when people can certainly overdo the holiday lights, I really was drawn to the simplicity of the paper bag luminarias that this house put out. I shot low and angled myself so the full moon was casting the dramatic shadow of the trees toward me.)

2. Get out there and play in the snow!

I still act like a kid when I see snowflakes falling. I can’t sled as fast as I used to but the snow adds such an added dimension to both day and night images—you have to shoot it!

Obviously be careful with your gear if you are shooting while it is snowing. Either have an umbrella or a camera/lens wrap with you to protect your equipment from getting too wet.

A few ideas:

  • If the snow isn’t blowing too badly, shoot under an awning of a house that offers protection. Set up a time-lapse that shows the snow accumulating around the environs.
  • Try to freeze the snow with flash as well as play with shorter exposures like 1/4-second to 2 seconds to create more confetti-like snow.
  • Once the snow stops falling, head out to the park ASAP to try to capture some pristine snow -covered scenes. That fresh snow can add white-sand-dune-like surreality to an otherwise normal place. Shoot at a low angle to emphasize that rolling blanket of snow.
  • Look for animal or human footprints and compose them to tell more of a story.
  • Remember to overexpose by 1 to 1 1/2 stops to properly capture the white snow—otherwise our camera meters will turn the snow gray.
One of my all-time favorite snow scenes. Shot with a point-and-shoot camera as I came out of the subway in NYC. I stayed under the awning and leaned against the wall, turning myself into a tripod. I put the camera on burst mode and shot exposures be…

One of my all-time favorite snow scenes. Shot with a point-and-shoot camera as I came out of the subway in NYC. I stayed under the awning and leaned against the wall, turning myself into a tripod. I put the camera on burst mode and shot exposures between 1/4-second and 1 second. Of the 50-plus frames I took, 6 or 7 were sharp enough to use, with this one being the winner. The person and the umbrella became the final pieces to the composition.

3. Be more productive

The biggest reason I love the winter is because I can start shooting night scenes earlier and still go to bed at a reasonable time! With the sun setting around 5 p.m. for most of the continental United States, you can skip out of work early and do a quick 1- to 2-hour shoot and still be home for dinner with the family!

Or plan longer/weekend shoots with friends where you can really take advantage of the time. If you are comfortable with your night skills, bring two kits and be incredibly productive in the field! The ultimate would be to visit Alaska between December and February and have 20 hours of night photography per day!

I went out to Central Park with Chris Nicholson last year after the NYC blizzard. It was hard to find many snow scenes that weren’t walked through but I loved this classic shot of the San Remo building reinterpreted with the trodden snow, blowing cl…

I went out to Central Park with Chris Nicholson last year after the NYC blizzard. It was hard to find many snow scenes that weren’t walked through but I loved this classic shot of the San Remo building reinterpreted with the trodden snow, blowing clouds and city night lights. And we were both home in plenty of time to get a full night's sleep!

4. Keep warm and safe

The No. 1 reason most people don’t like to photograph in the winter is the cold. Add the cooler nighttime temperatures and you have nixed probably 80 percent of photographers, if not more.

But shooting in winter doesn’t need to be a physically miserable experience. Bundle up with layers, and wear wool instead of cotton.  The former will wick the sweat off your body. I’m a big fan of Smartwool products, especially for socks and a base layer.

Also, protect extremities like your feet and fingers—they get colder first. We just started using these amazing new Vallerret photography gloves. They are made in Norway and have a pocket to place hand warmers to ensure you can keep on clicking no matter what the temperature!

Whatever gloves you use, bring several hand warmers that you can put inside for added warmth.

Boots that have a great tread are also important. You don’t want to slip on ice and take a spill. Walk carefully and use your tripod as a walking stick if need be—without the camera on it of course! And if you’ll be working around a lot of ice, Chris Nicholson swears by Ice Trekkers to keep you on your feet and your gear off the ground.

5. Experience the northern lights!

Summers have lighting storms and tumultuous thunderstorms, but the most spiritual and jaw-dropping weather phenomenon to photograph are the aurora borealis, or northern lights. It’s definitely on most people’s “bucket list,” and rightly so!

However, the northern lights are difficult to predict and of course generally located in the colder regions of the Arctic Circle. Alaska is probably the easiest location for most Americans to find the phenomenon, but you’ll still want to travel a good distance from Anchorage to really experience them at their best.

I’m a big fan of the northern Scandinavian region that includes Norway, Sweden and Finland. The fjords and Lofoten Islands in Norway offer incredible landscapes and water for the northern lights to reflect and bounce off. Don’t forget the trending glass igloos where you can stay indoors and watch the dancing green fairies in the comfort of your bed all night long!

Iceland is a close second and definitely has plenty of epic landscapes, but because it is located on the Gulf Stream, a lot of weather and clouds can cover the night skies. The Arctic Circle has fewer weather patterns and offers a reliable amount of crisp and clear nights throughout the winter months.

A big misnomer about the auroras is that they can be photographed only during a new moon. In reality, the lights are definitely bright enough to shoot and see under a full moon, plus you get the benefit of the moon lighting your foreground! If you shoot the auroras only under a new moon, you will have a lot of the same shots—silhouetted foregrounds and vibrant northern lights. I’d rather shoot during a partial moon—so I get some silhouettes, some light painting and some moonlit scenes at different times of the night.

The full moon rising with the aurora borealis dancing all around it—proof that you can shoot the northern lights during a full moon. ‘Nuff said.

The full moon rising with the aurora borealis dancing all around it—proof that you can shoot the northern lights during a full moon. ‘Nuff said.

So throw another log on the fire and layer up for a productive winter wonderland. And remember, there’s a bonus; This is the best season to enjoy a cup of hot chocolate after a long night out exploring!

Gabriel Biderman is a Brooklyn-based fine art and travel photographer, and author of Night Photography: From Snapshots to Great Shots (Peachpit, 2014). During the daytime hours you'll often find Gabe at one of many photo events around the world working for B&H Photo’s road marketing team. See his portfolio and workshop lineup at www.ruinism.com.

UPCOMING WORKSHOPS FROM NATIONAL PARKS AT NIGHT