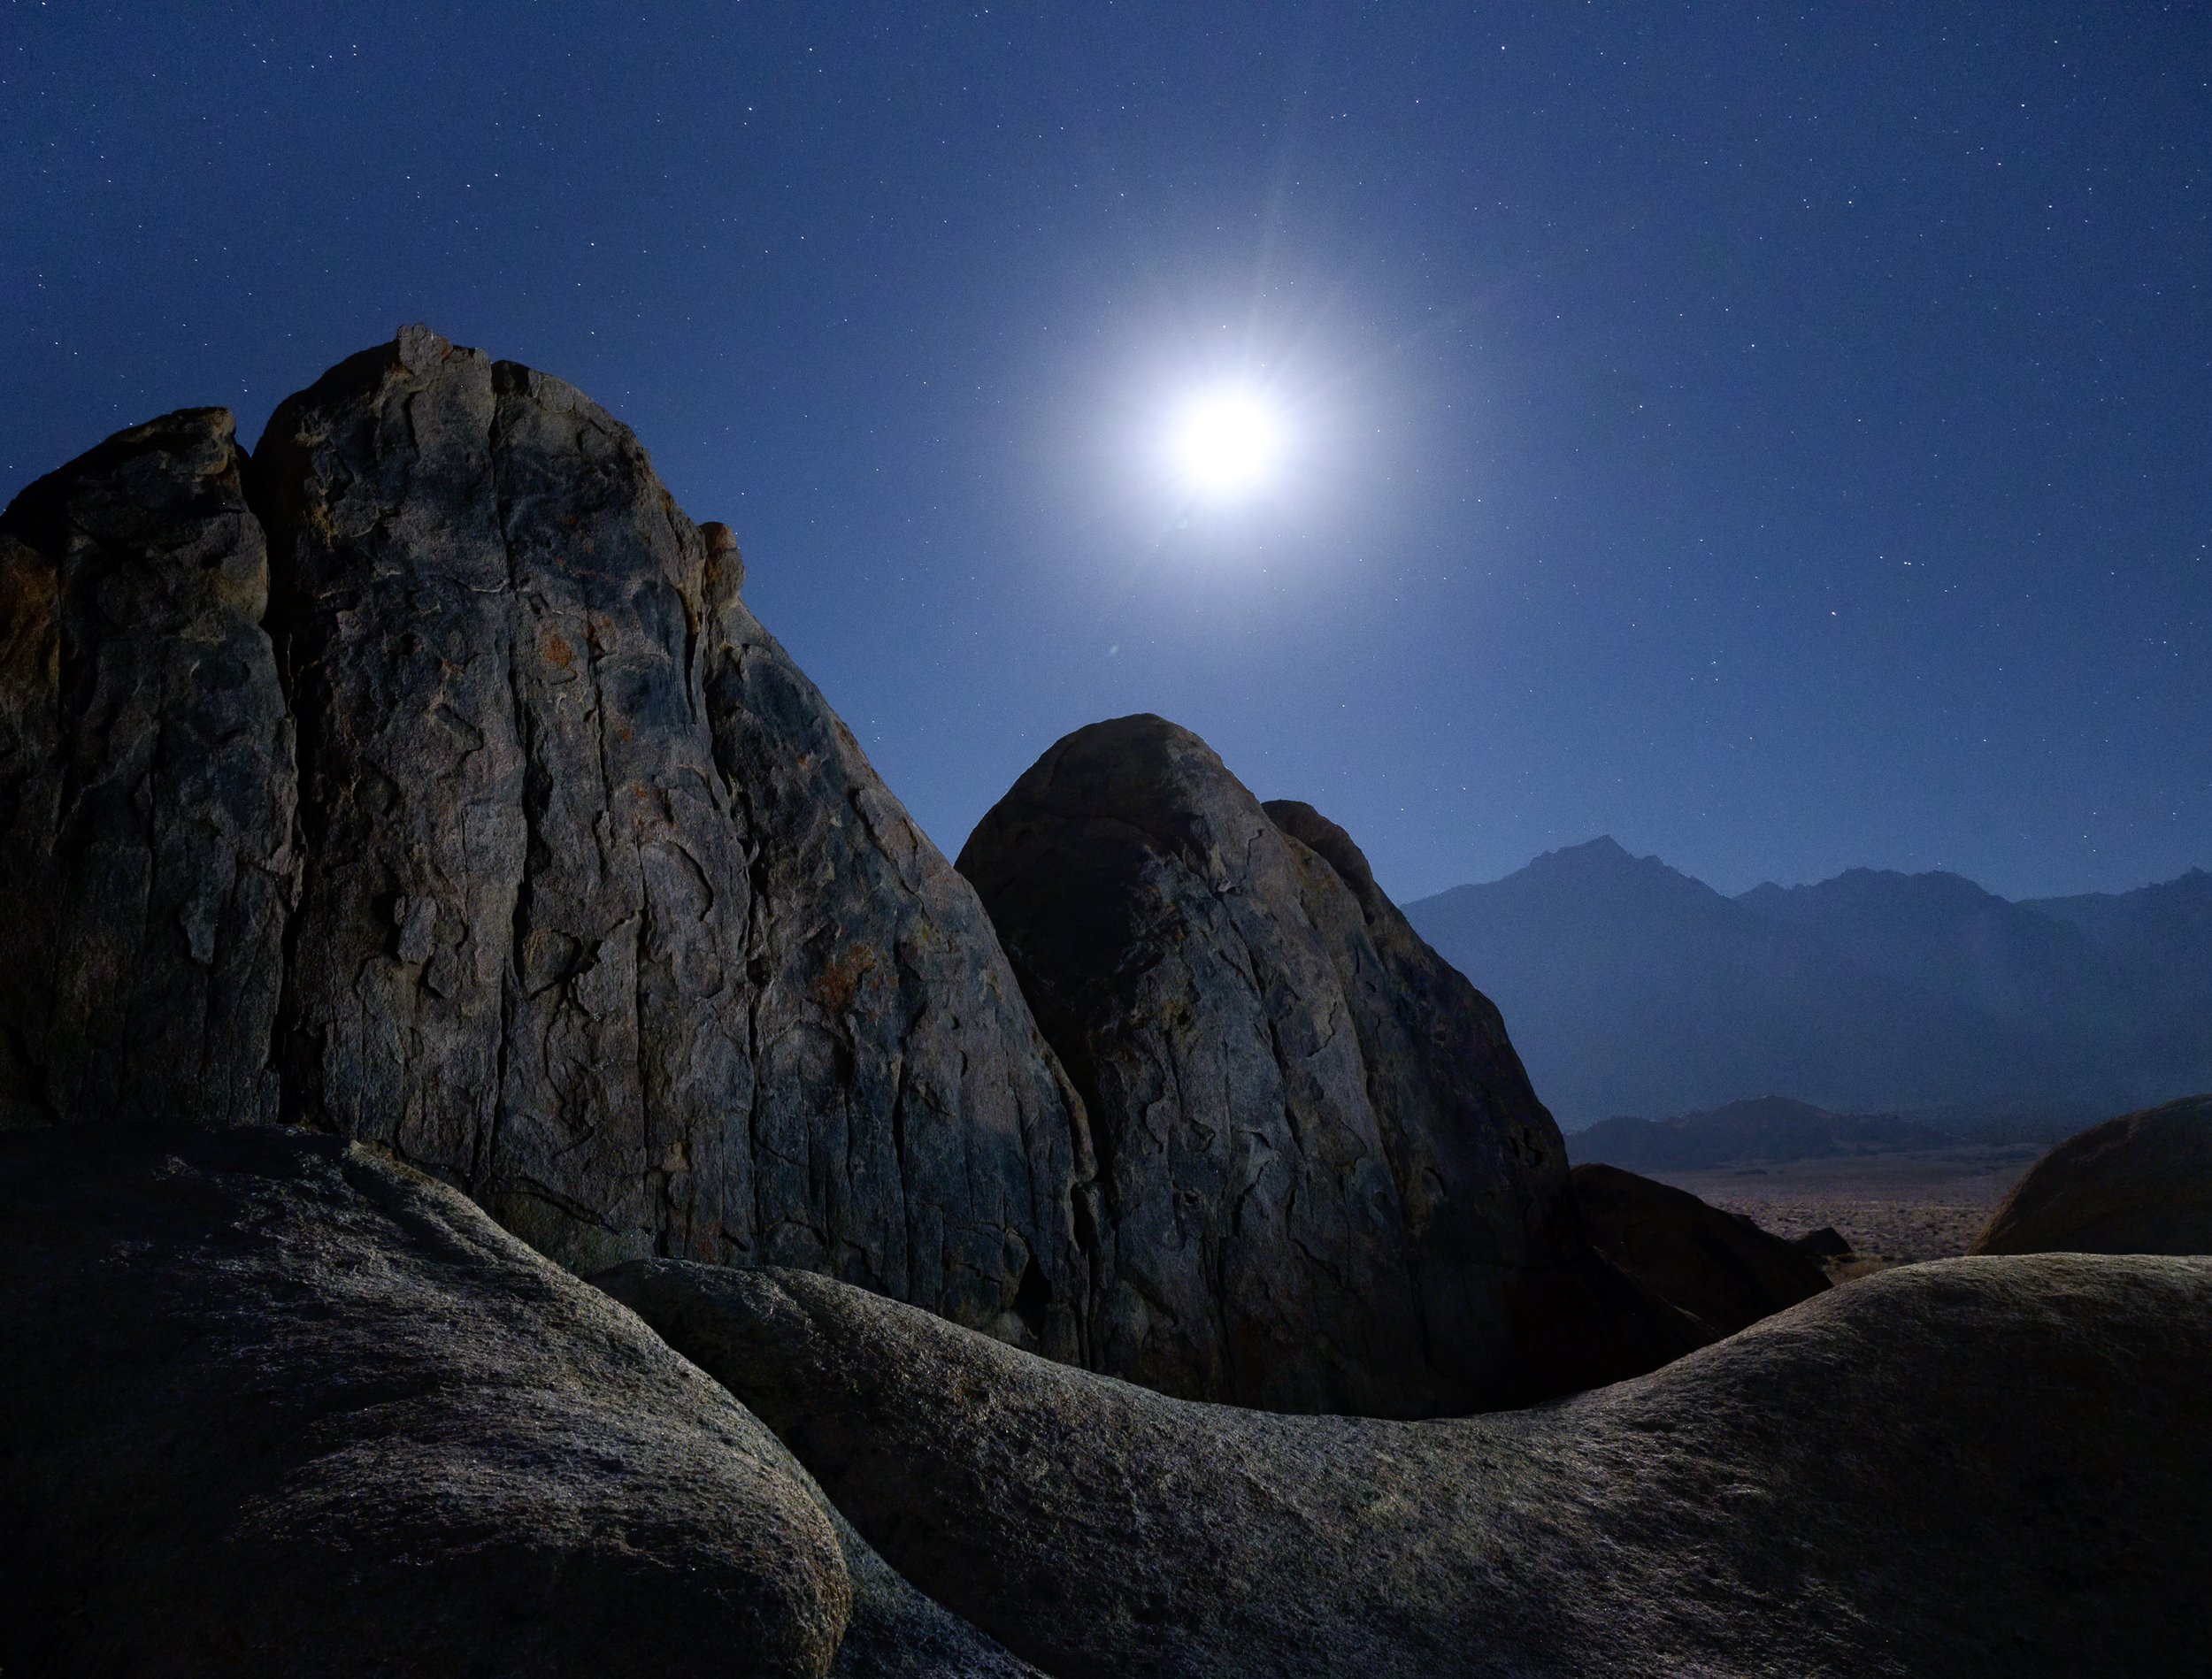
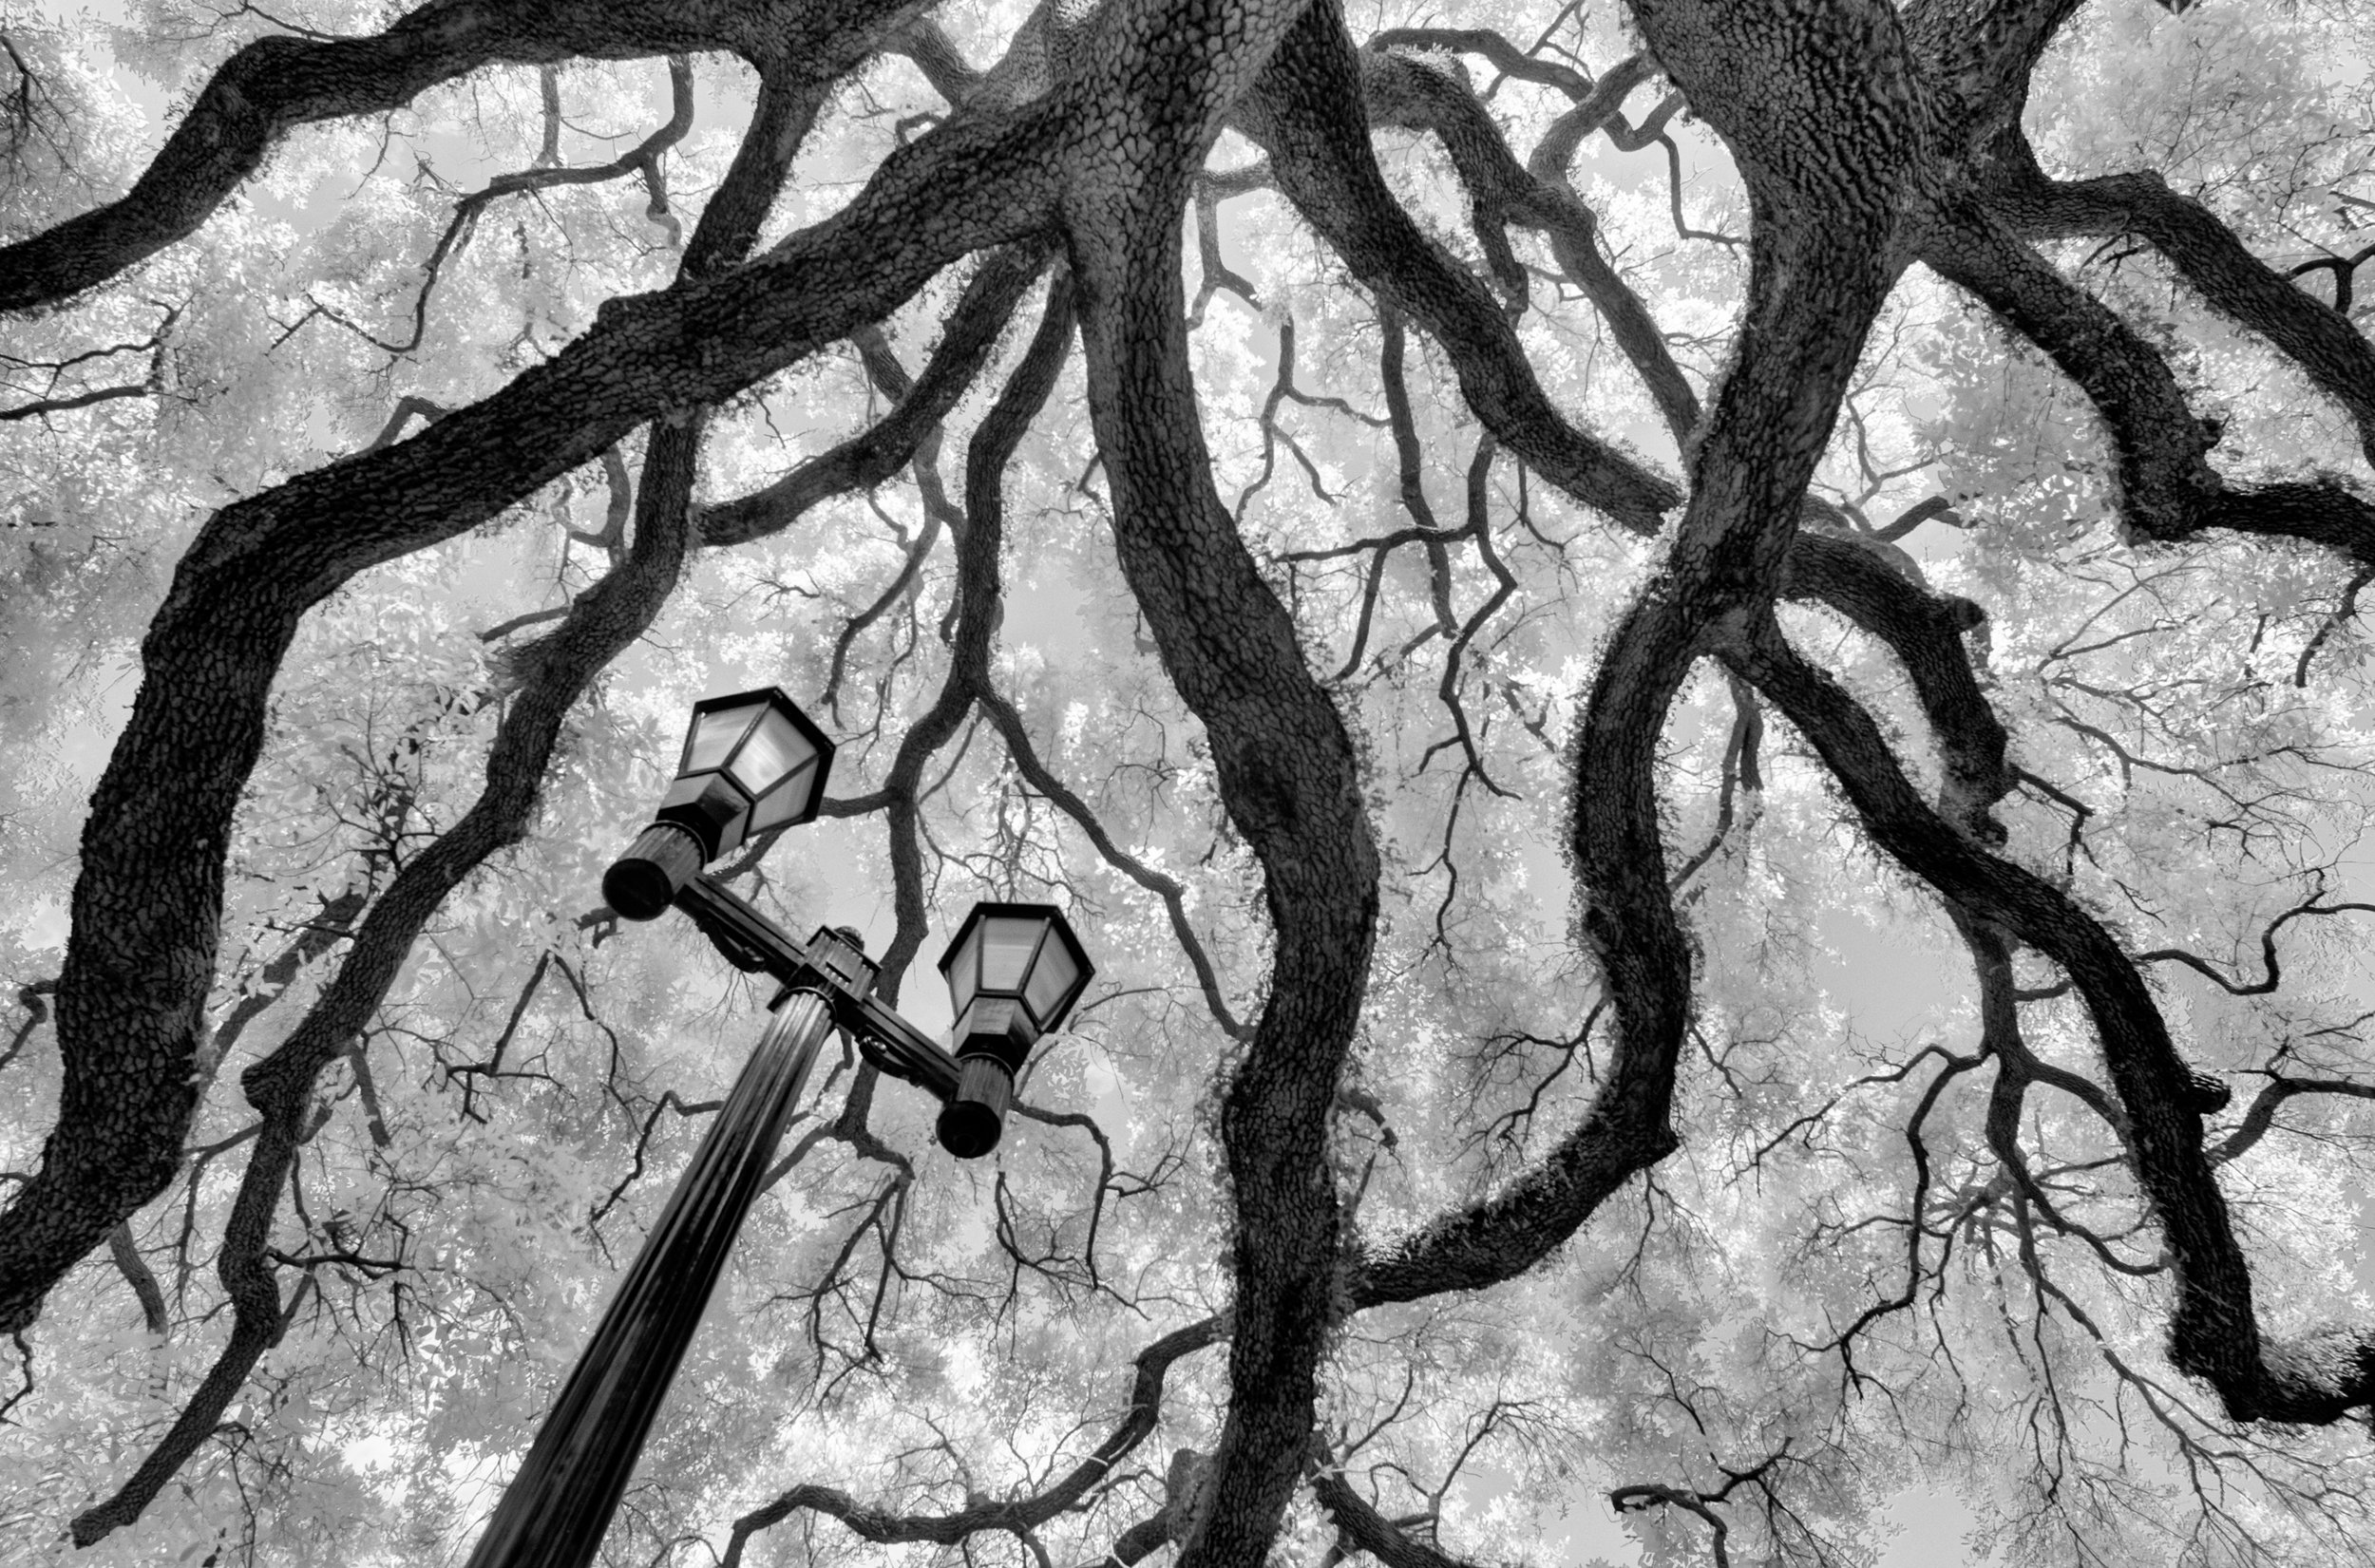
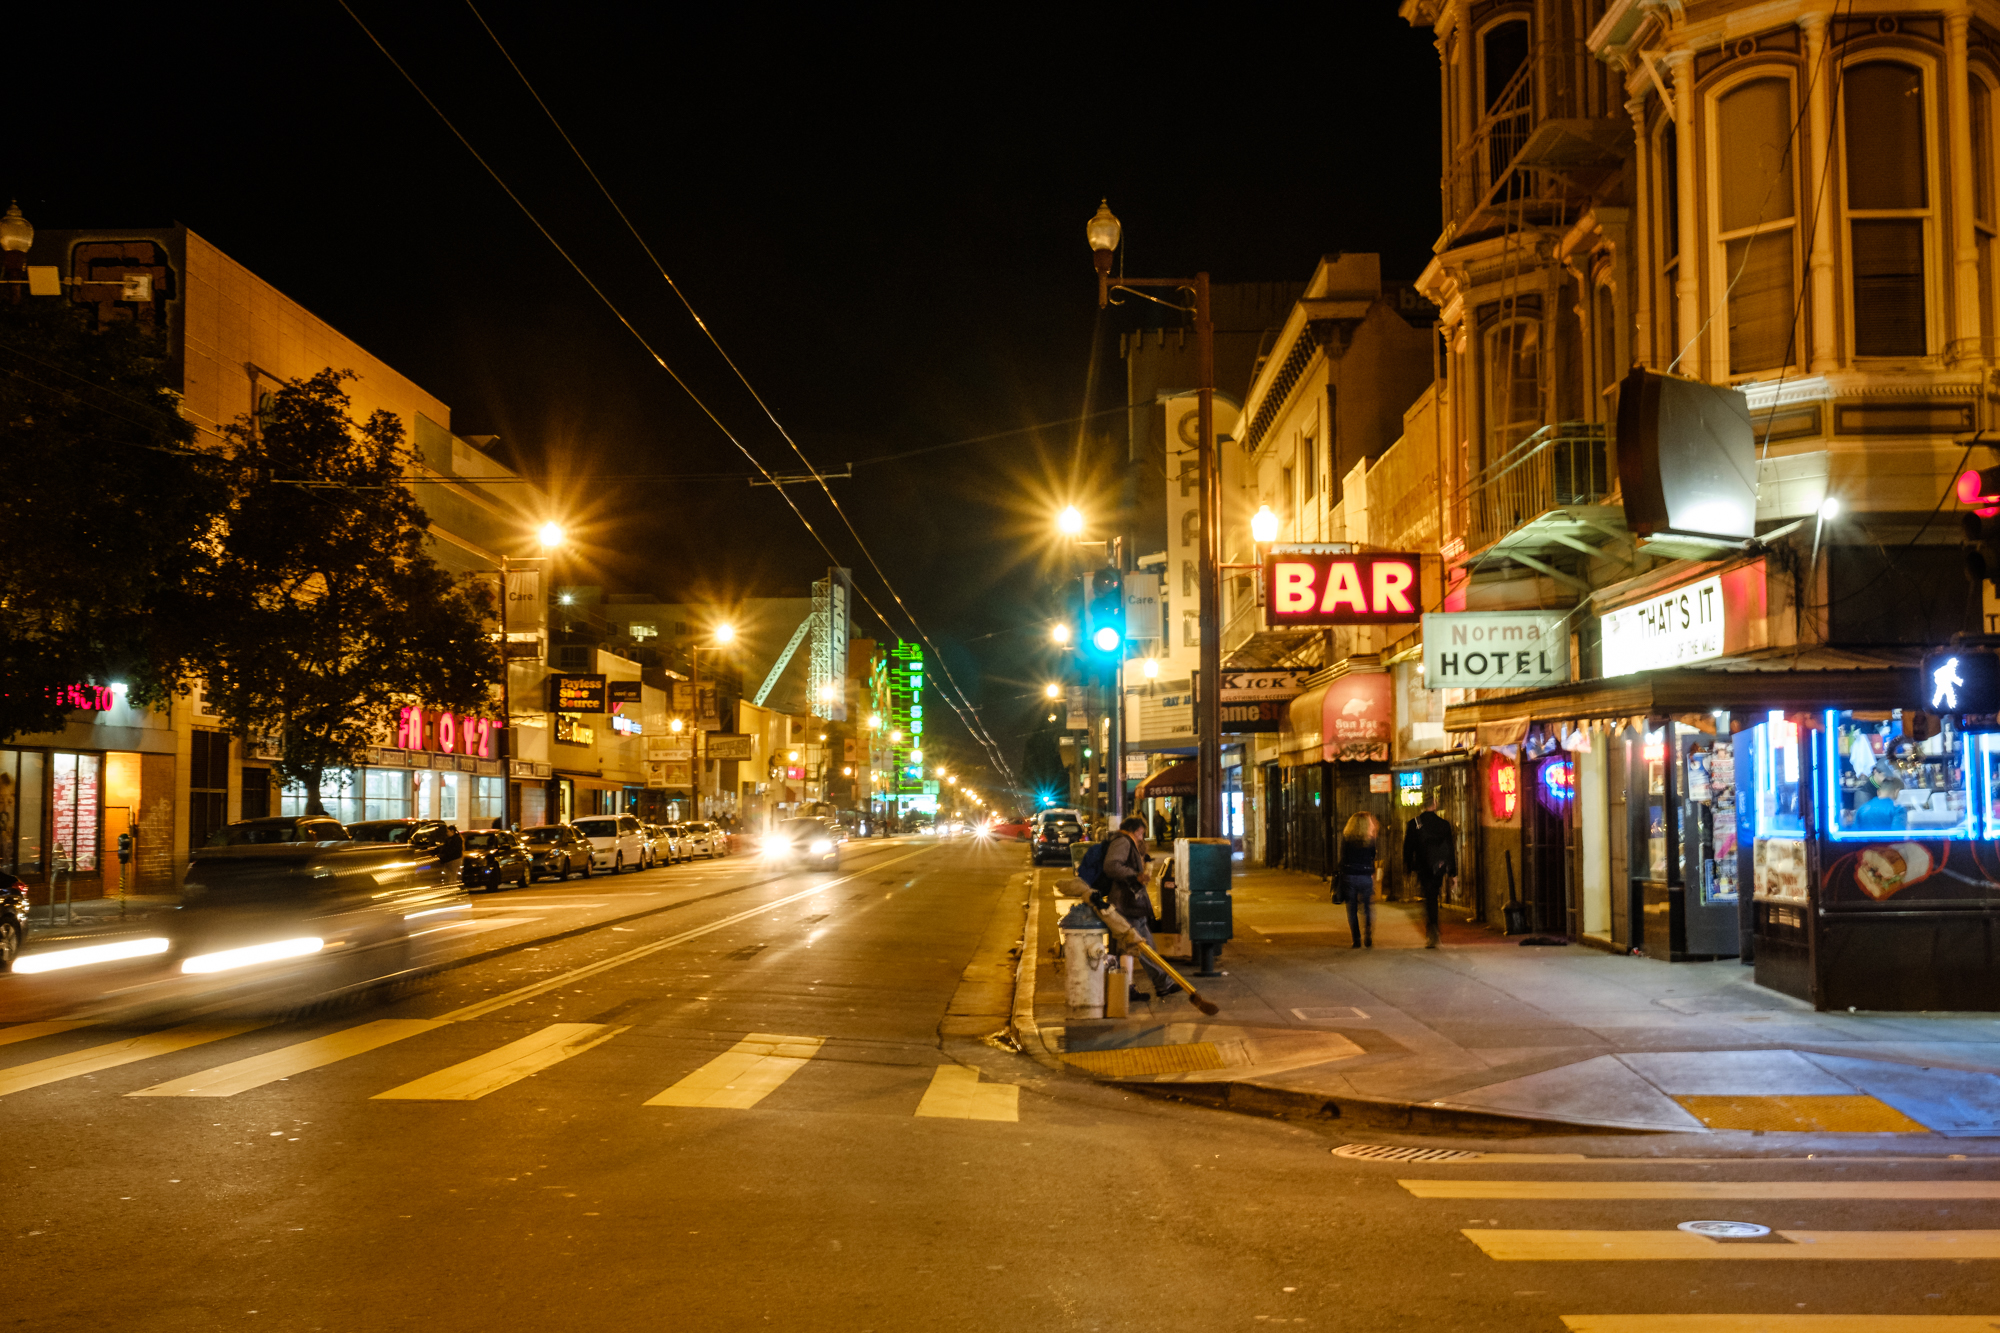
It’s not as far as it looks from here to there. Fujifilm XT-1, 7Artisans 7.5mm f/2.8 lens. 1/60, f/2.8, ISO 1000.
What follows is one of my favorite moments of our 2017 season—a moment of candor and clarity from a student during our workshops at Olympic National Park.
During the daily group image review she expressed, “I learned that I need to own my settings.”
I paused. I sensed Chris pause, too. It was a pivotal moment for her.
She further elaborated, “Too often I counted on my fellow students to aid me when choosing the right settings. And this took part of the ‘work’ out of this workshop. I’m taking it back. I will own my own settings.”
This was a poignant moment. I was awfully proud of her, and actively thanked her for sharing and committing to the idea—and for stating it in a manner so succinct that it became profound. For the remainder of the workshop, she made rapid progress and took ownership of her mistakes, and explored what she learned from each.

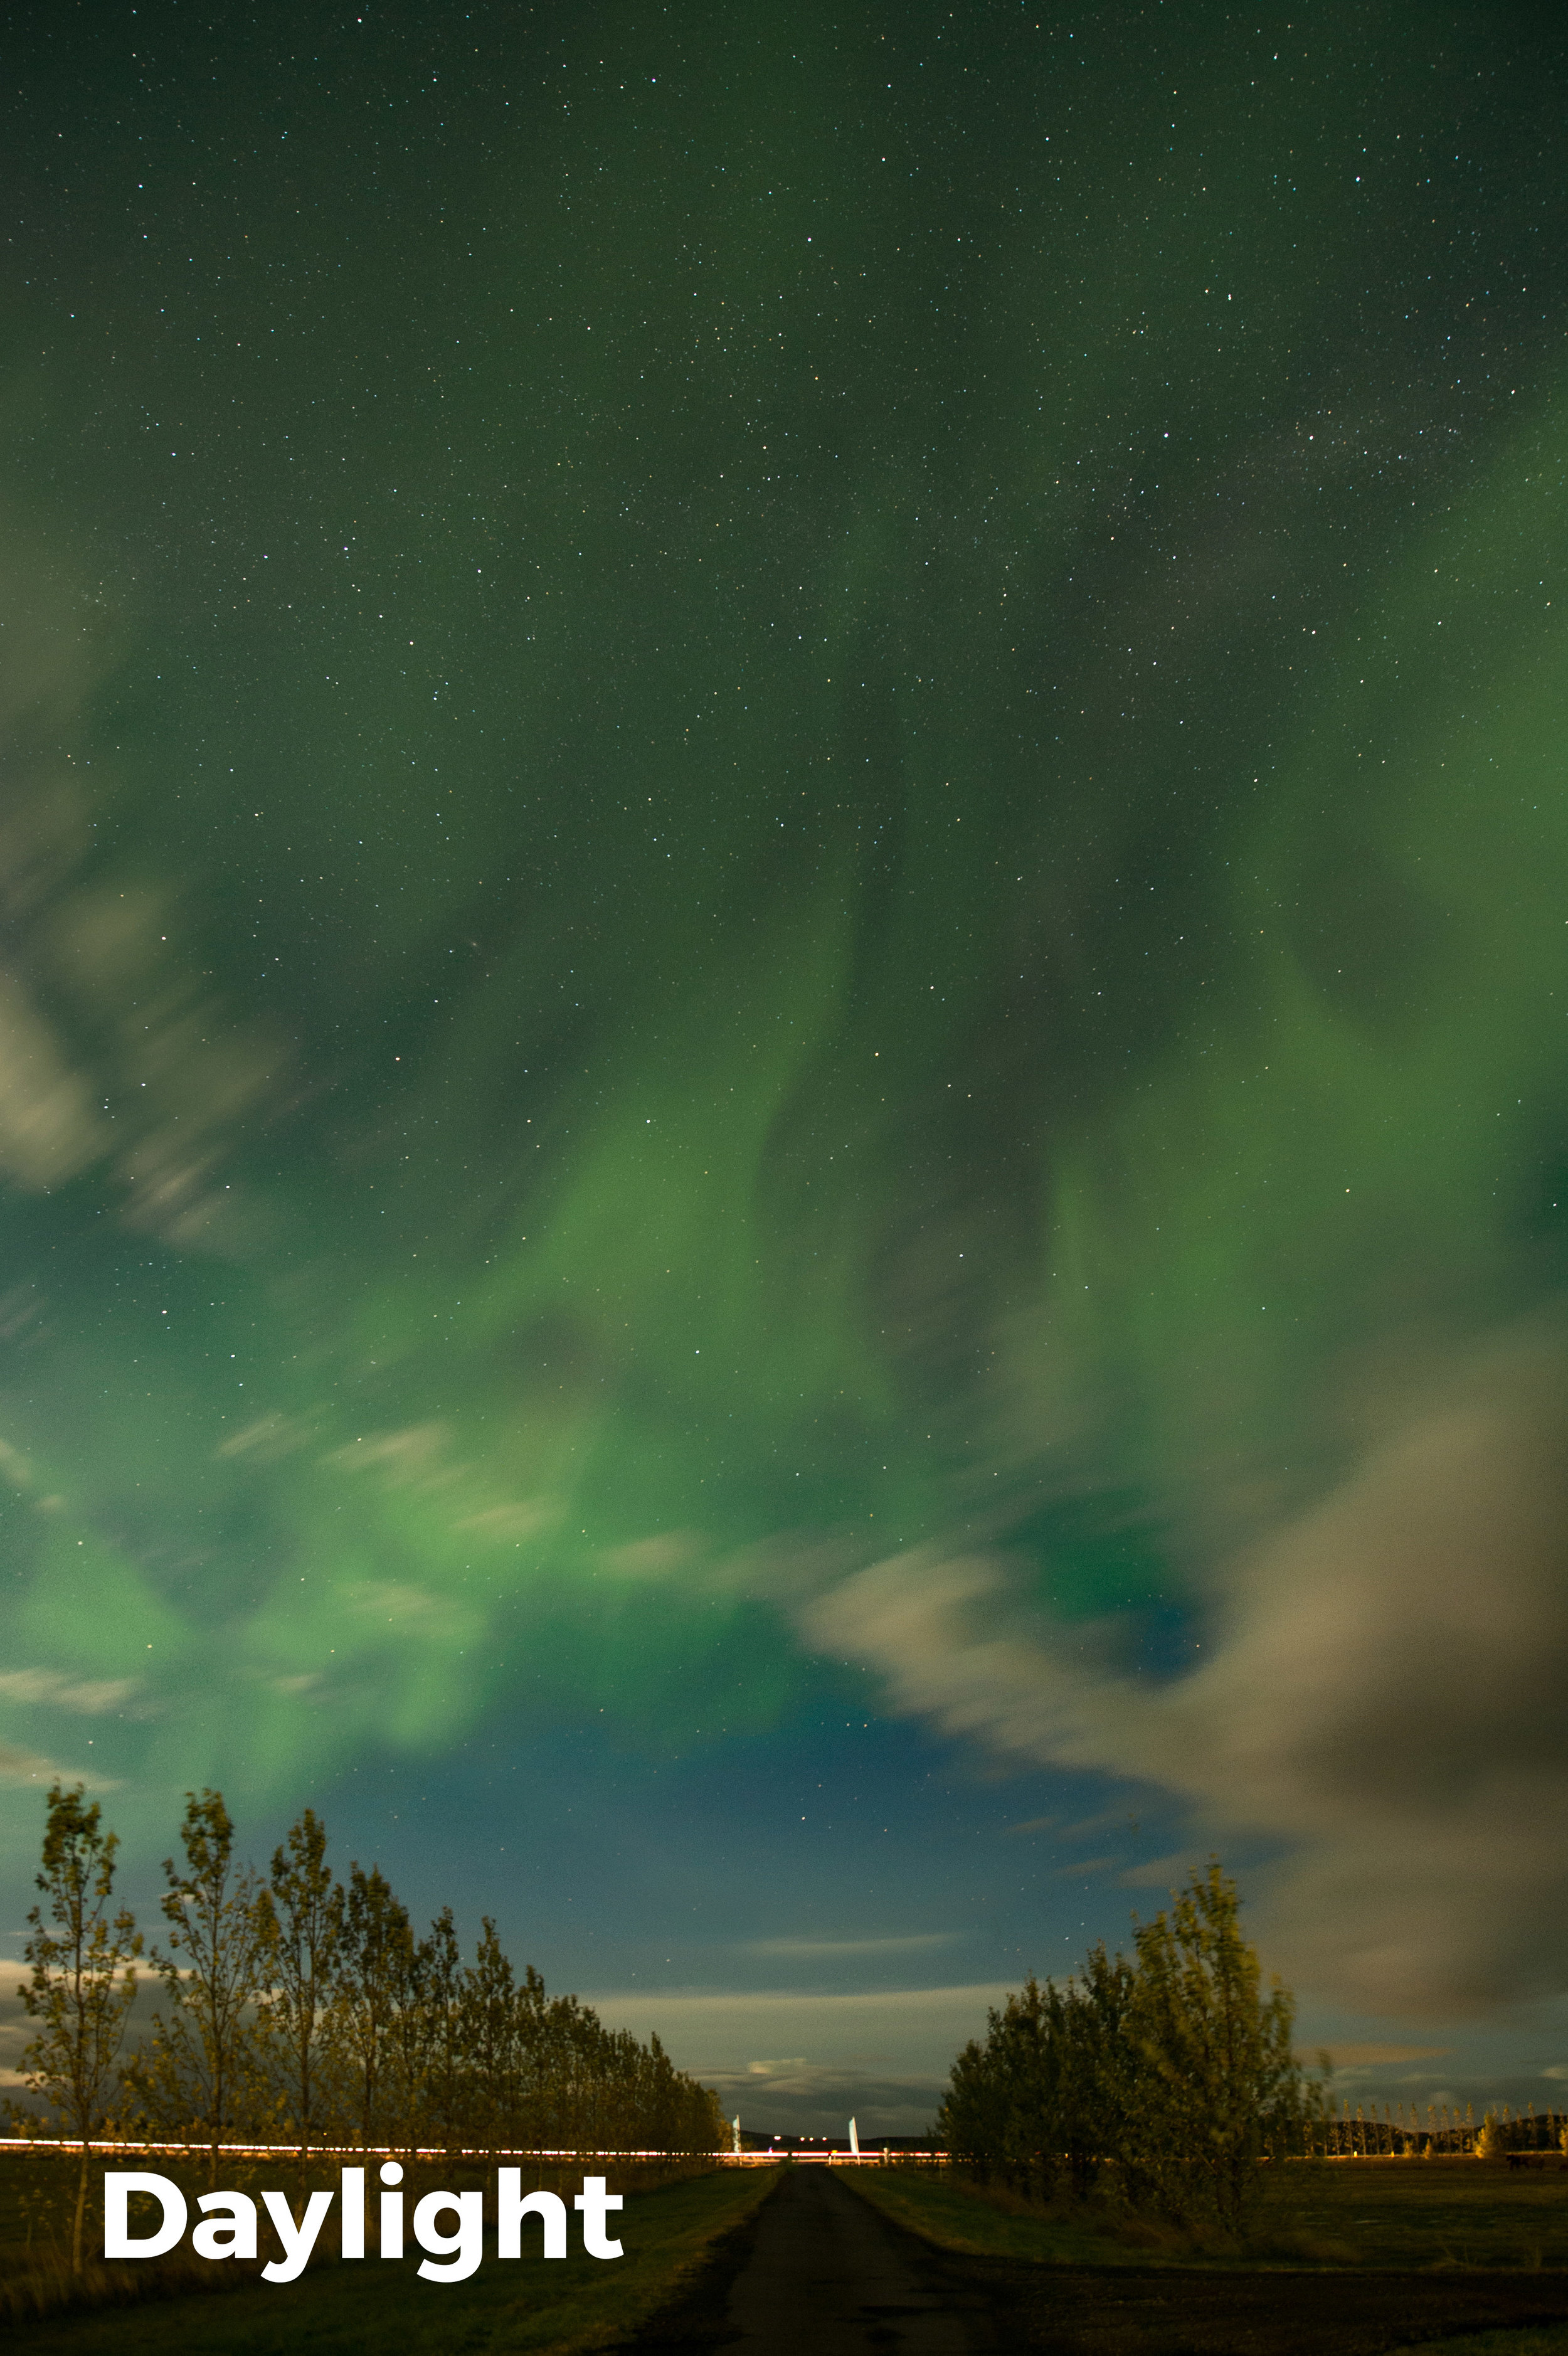
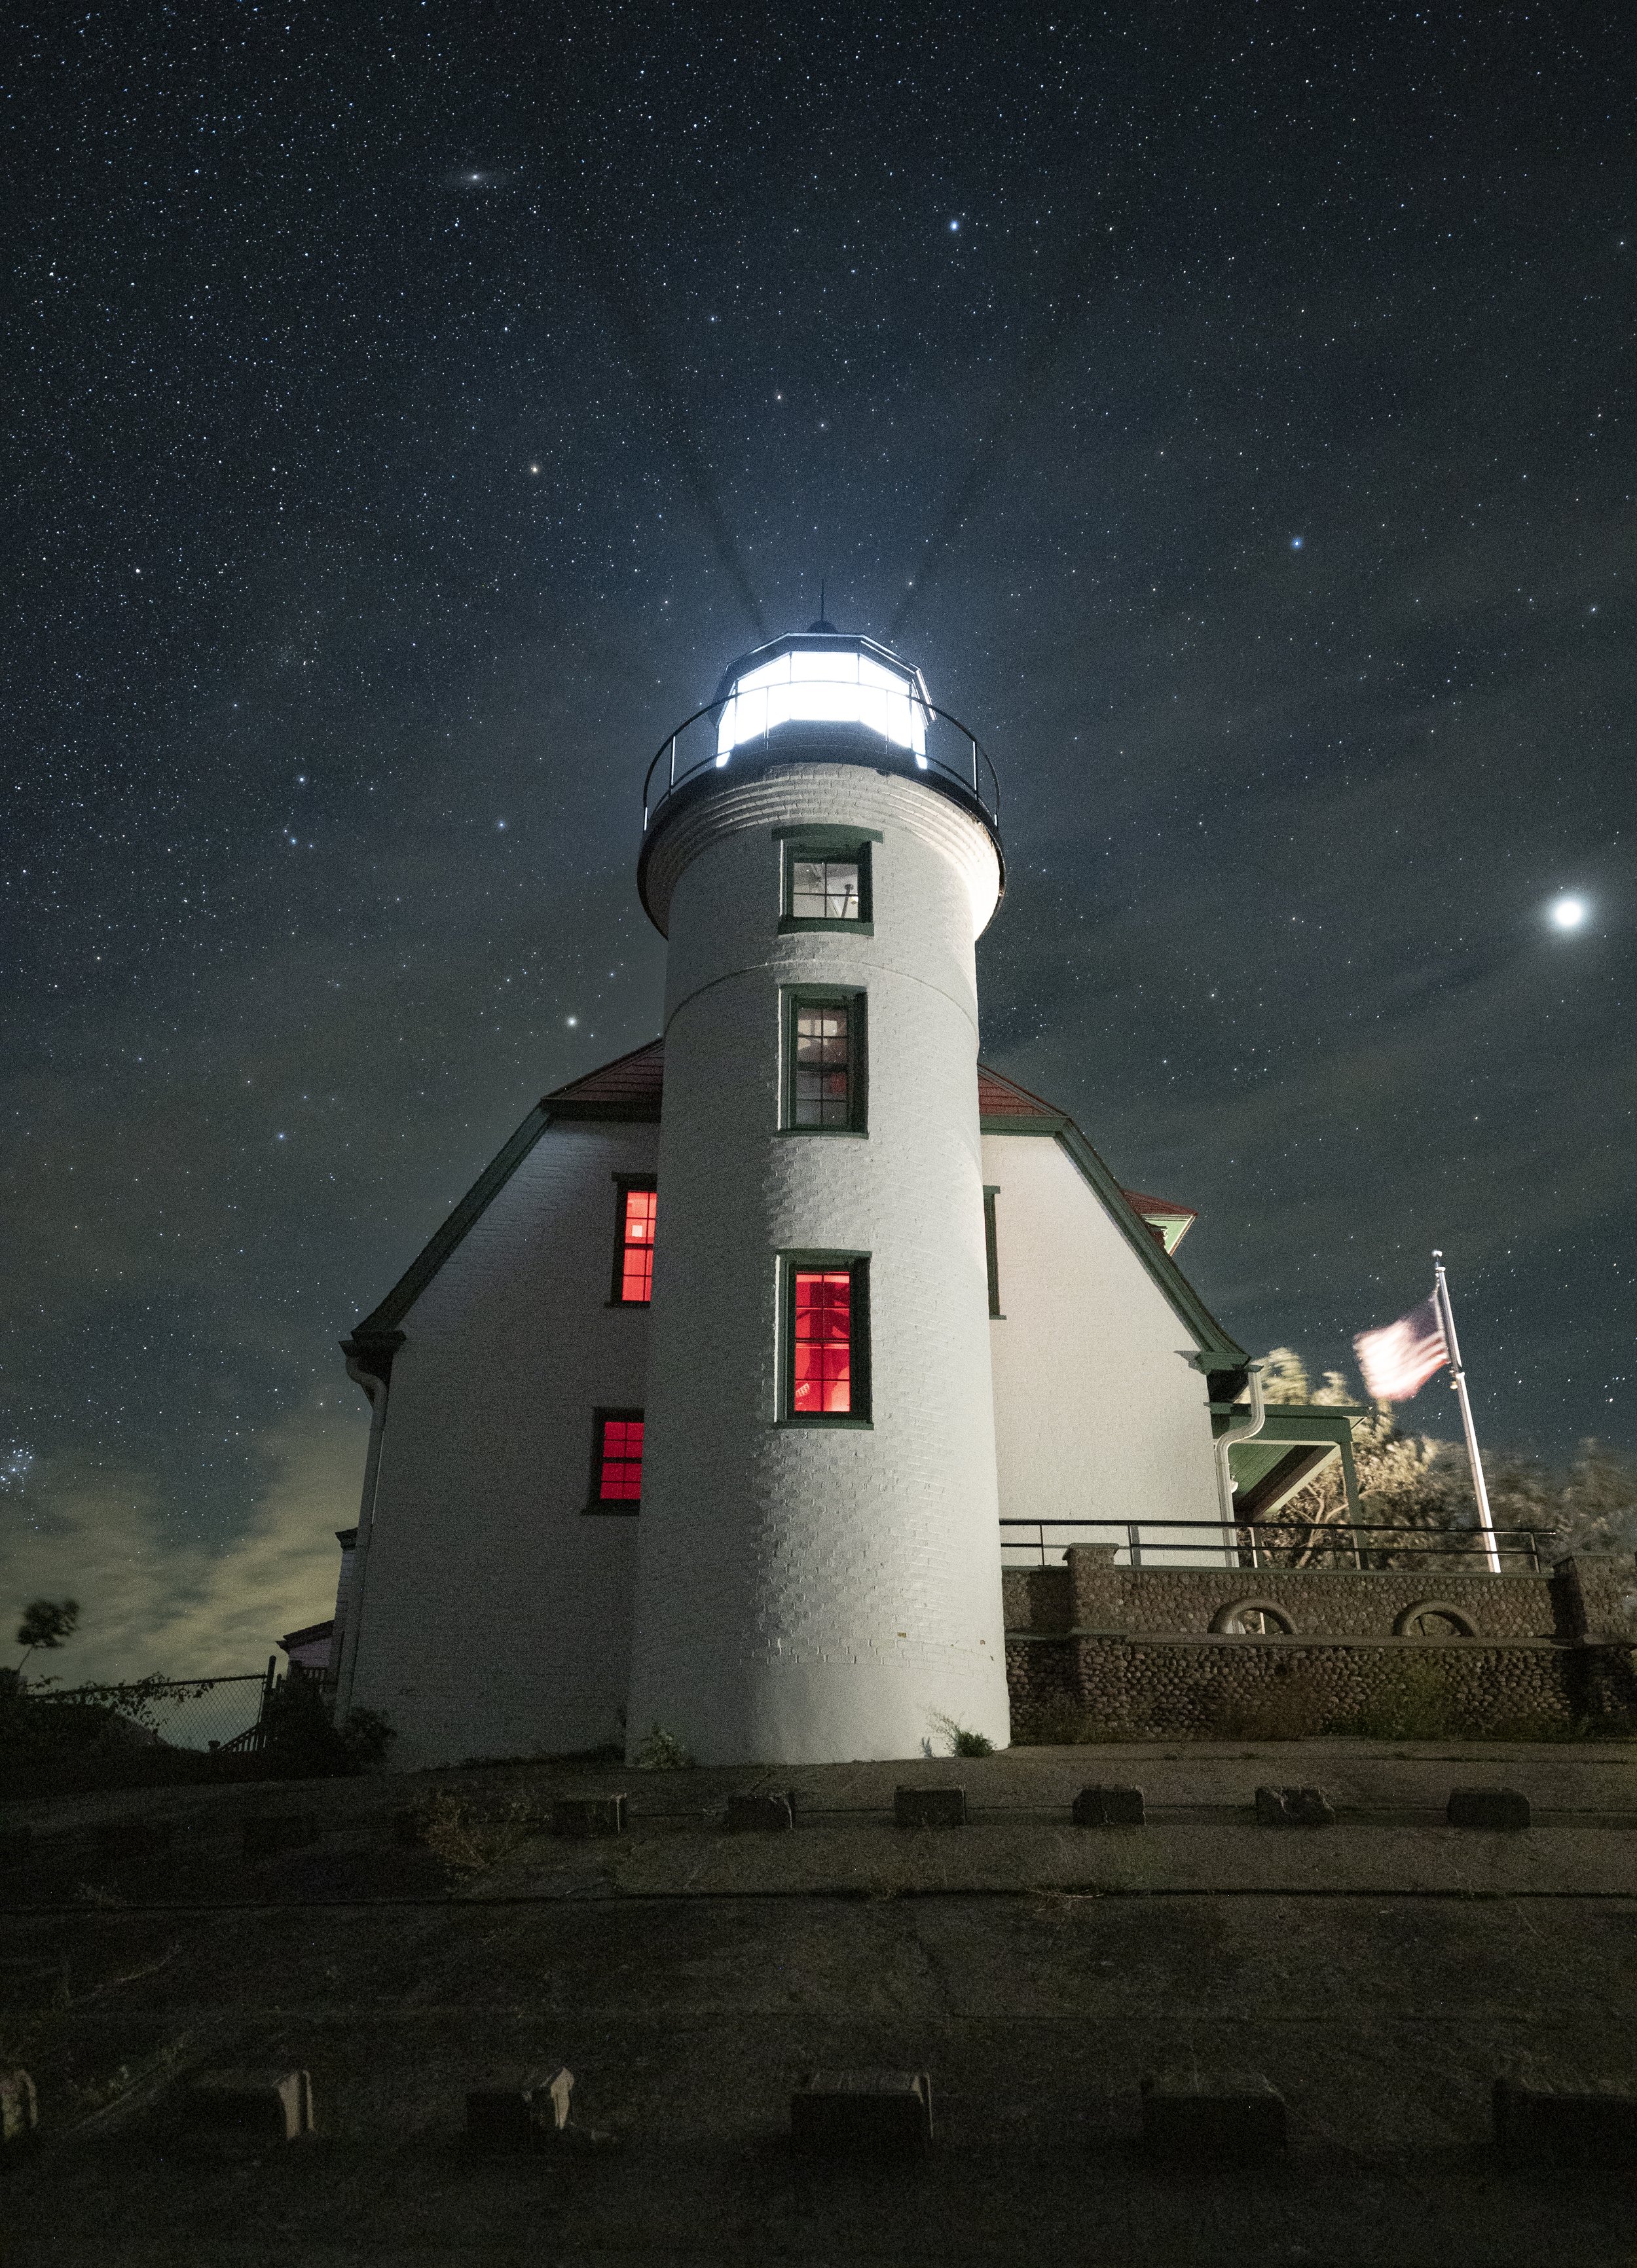
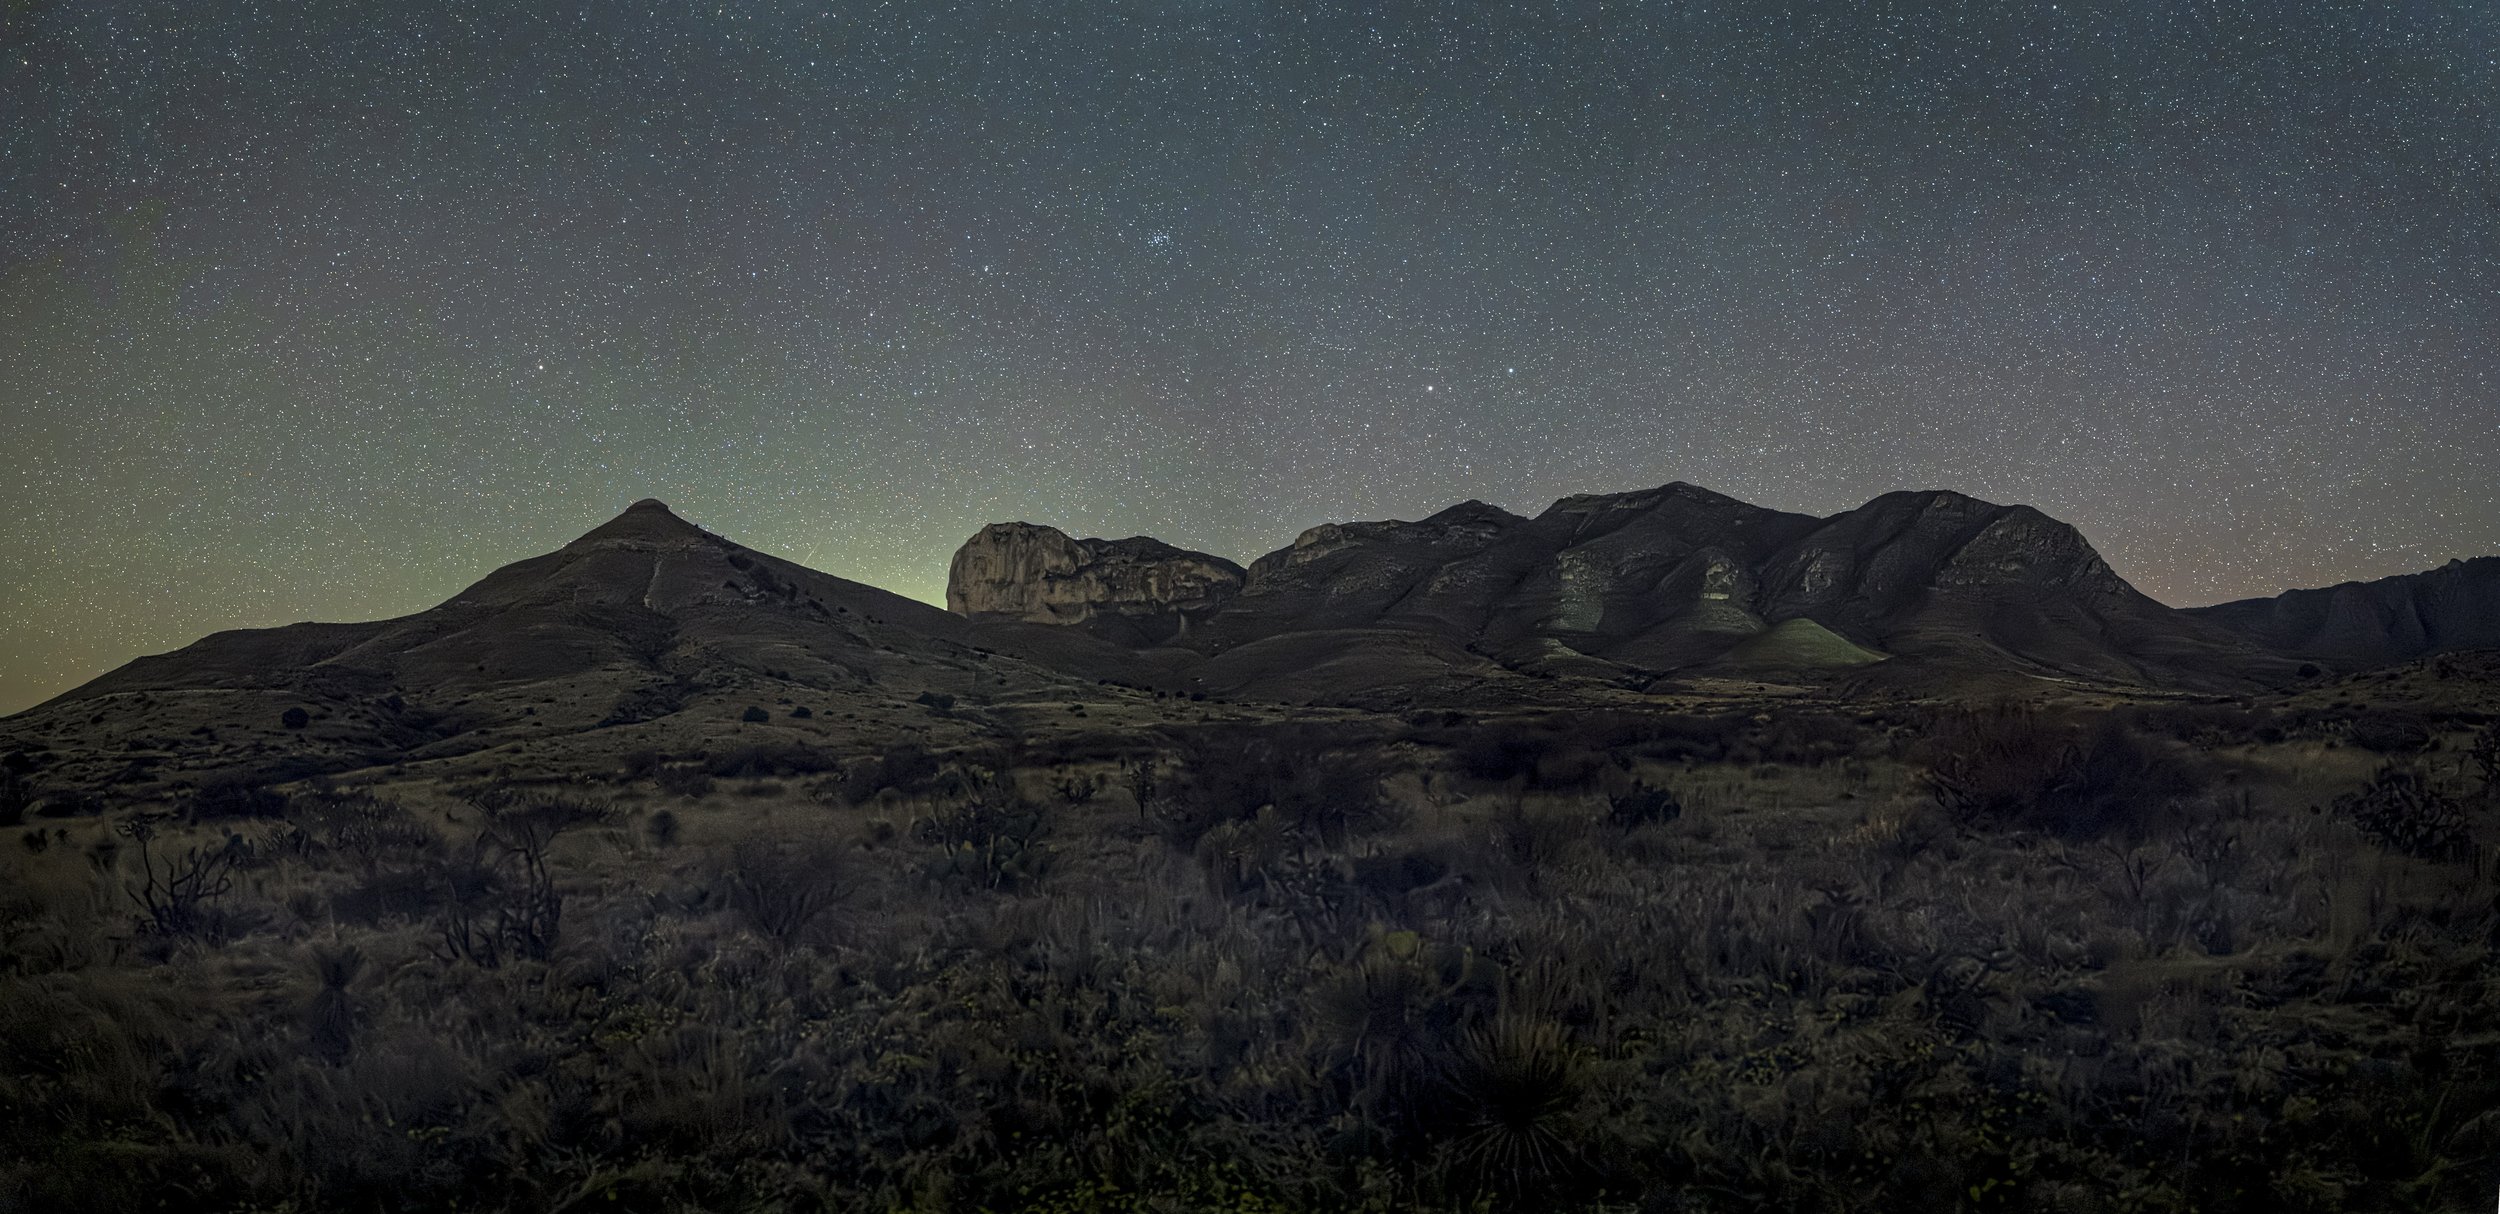
You can be transparent in many ways. Nikon D750 and 70-200mm f/2.8 lens. 2 seconds, f/16, ISO 100.
Moments like these are a core reason we love holding workshops. You have good chances for making extraordinary images, but the true purpose is to put in the hard work by facing your own gaps in knowledge by trying things outside your comfort zone.
Often photographers, or anyone learning challenging material in the field, look for any lead to follow. It’s natural, it’s human nature. Much can be learned by doing what the photographer next to you is doing. But it works best when it’s followed by two more steps: 1) dissecting why the borrowed knowledge works, and 2) taking off those training wheels and figuring it out yourself. Or, as this student said, by owning your settings.
I’ll take that even further. To “own your settings” I suggest you commit to:
- doing the math
- trying things that may not work
- asking why a photo failed and making a process to ensure you won’t make the same mistake repeatedly
- exploring your gear, including its strong capabilities and disadvantages
- developing your own system of process
Let’s break these down.
Doing the Math
We supply “cheat sheets” to workshop attendees for the 400 Rule and the high ISO test. It’s intended as a backup for when you have what I lovingly call a “brain fart.”
But knowing the math is vital. Doubling and halving the shutter speed or ISO is something that should come as easy as breathing. Well, breathing doesn’t take practice, but getting used to these numbers does. And you get used to them by shooting over and over again—you know, while working through your first 10,000 photos.
Similarly, being able to perform a high ISO test on demand will increase your enjoyment of night photography forever. Knowing you got a proper exposure frees your mind to bend on creativity.
Trying Things That May Not Work
As a rule, doesn’t this apply to shooting in darkness? LOL.
What I intend by this is truly to adopt an attitude that rewards creative risk-taking. There is no harm when making a photograph that does not work.
But what if it does work? Then you have another piece of evidence you can file away in your mental bank of “settings” for future use.

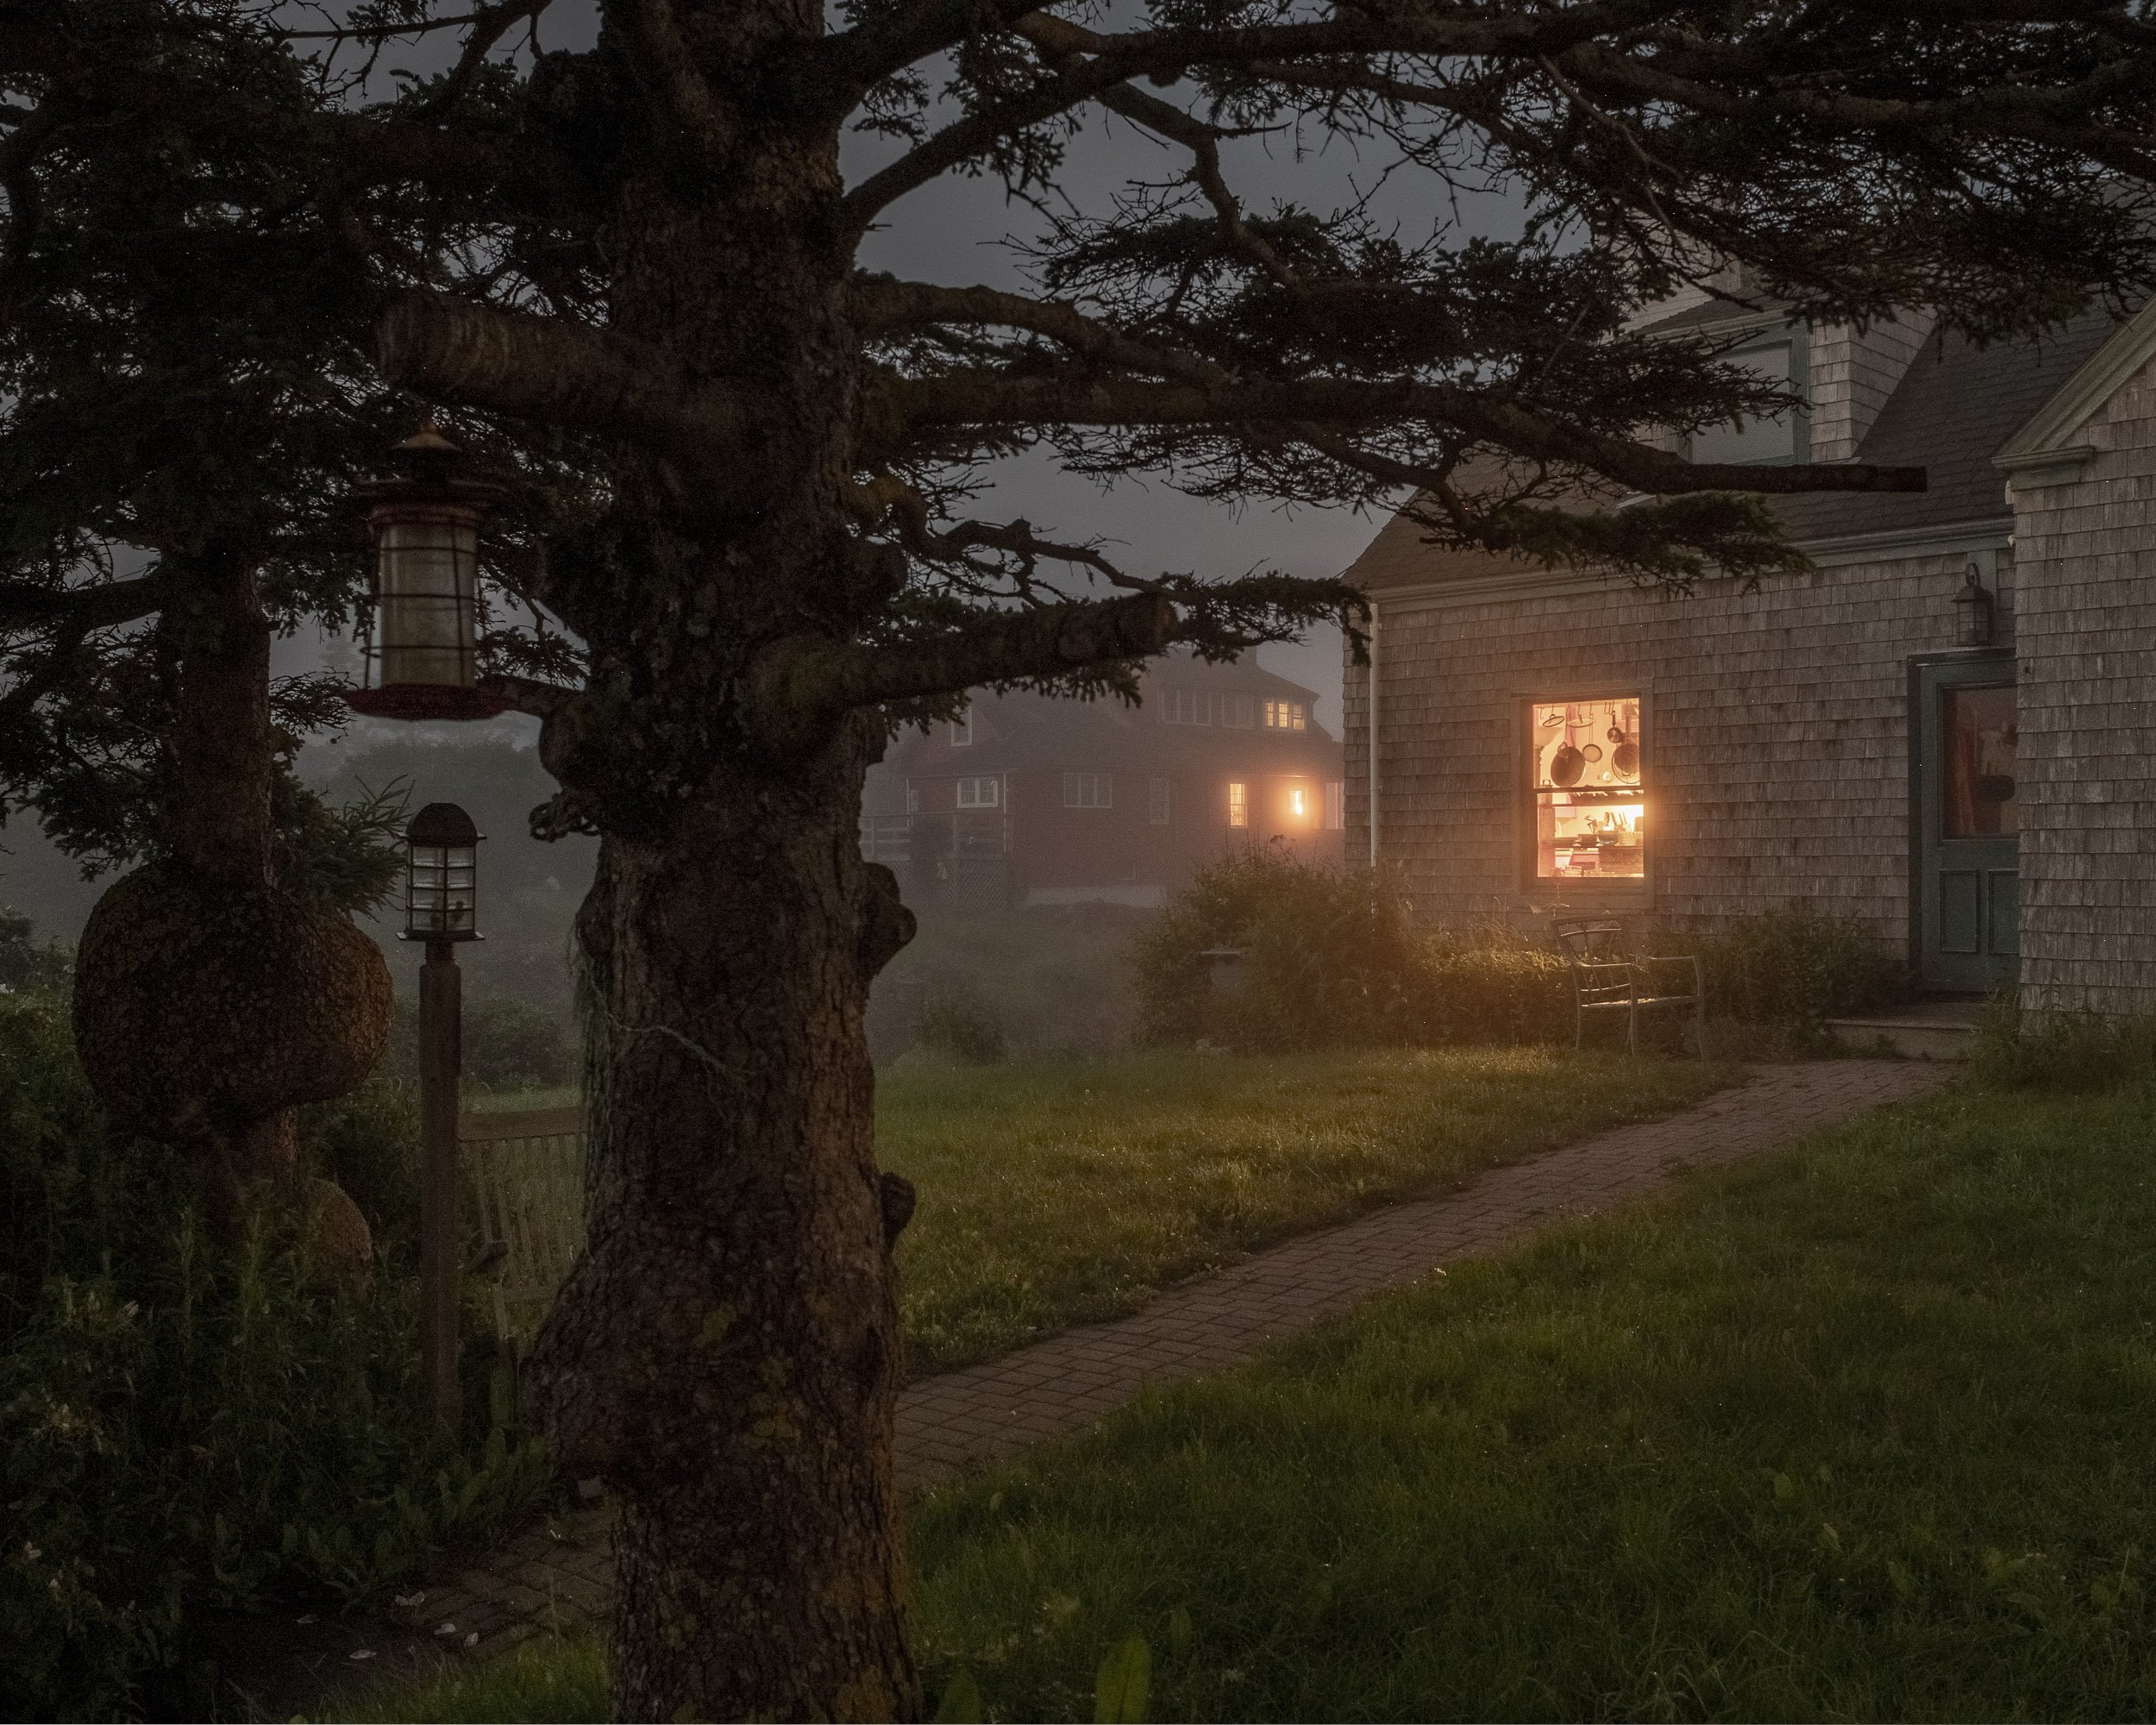
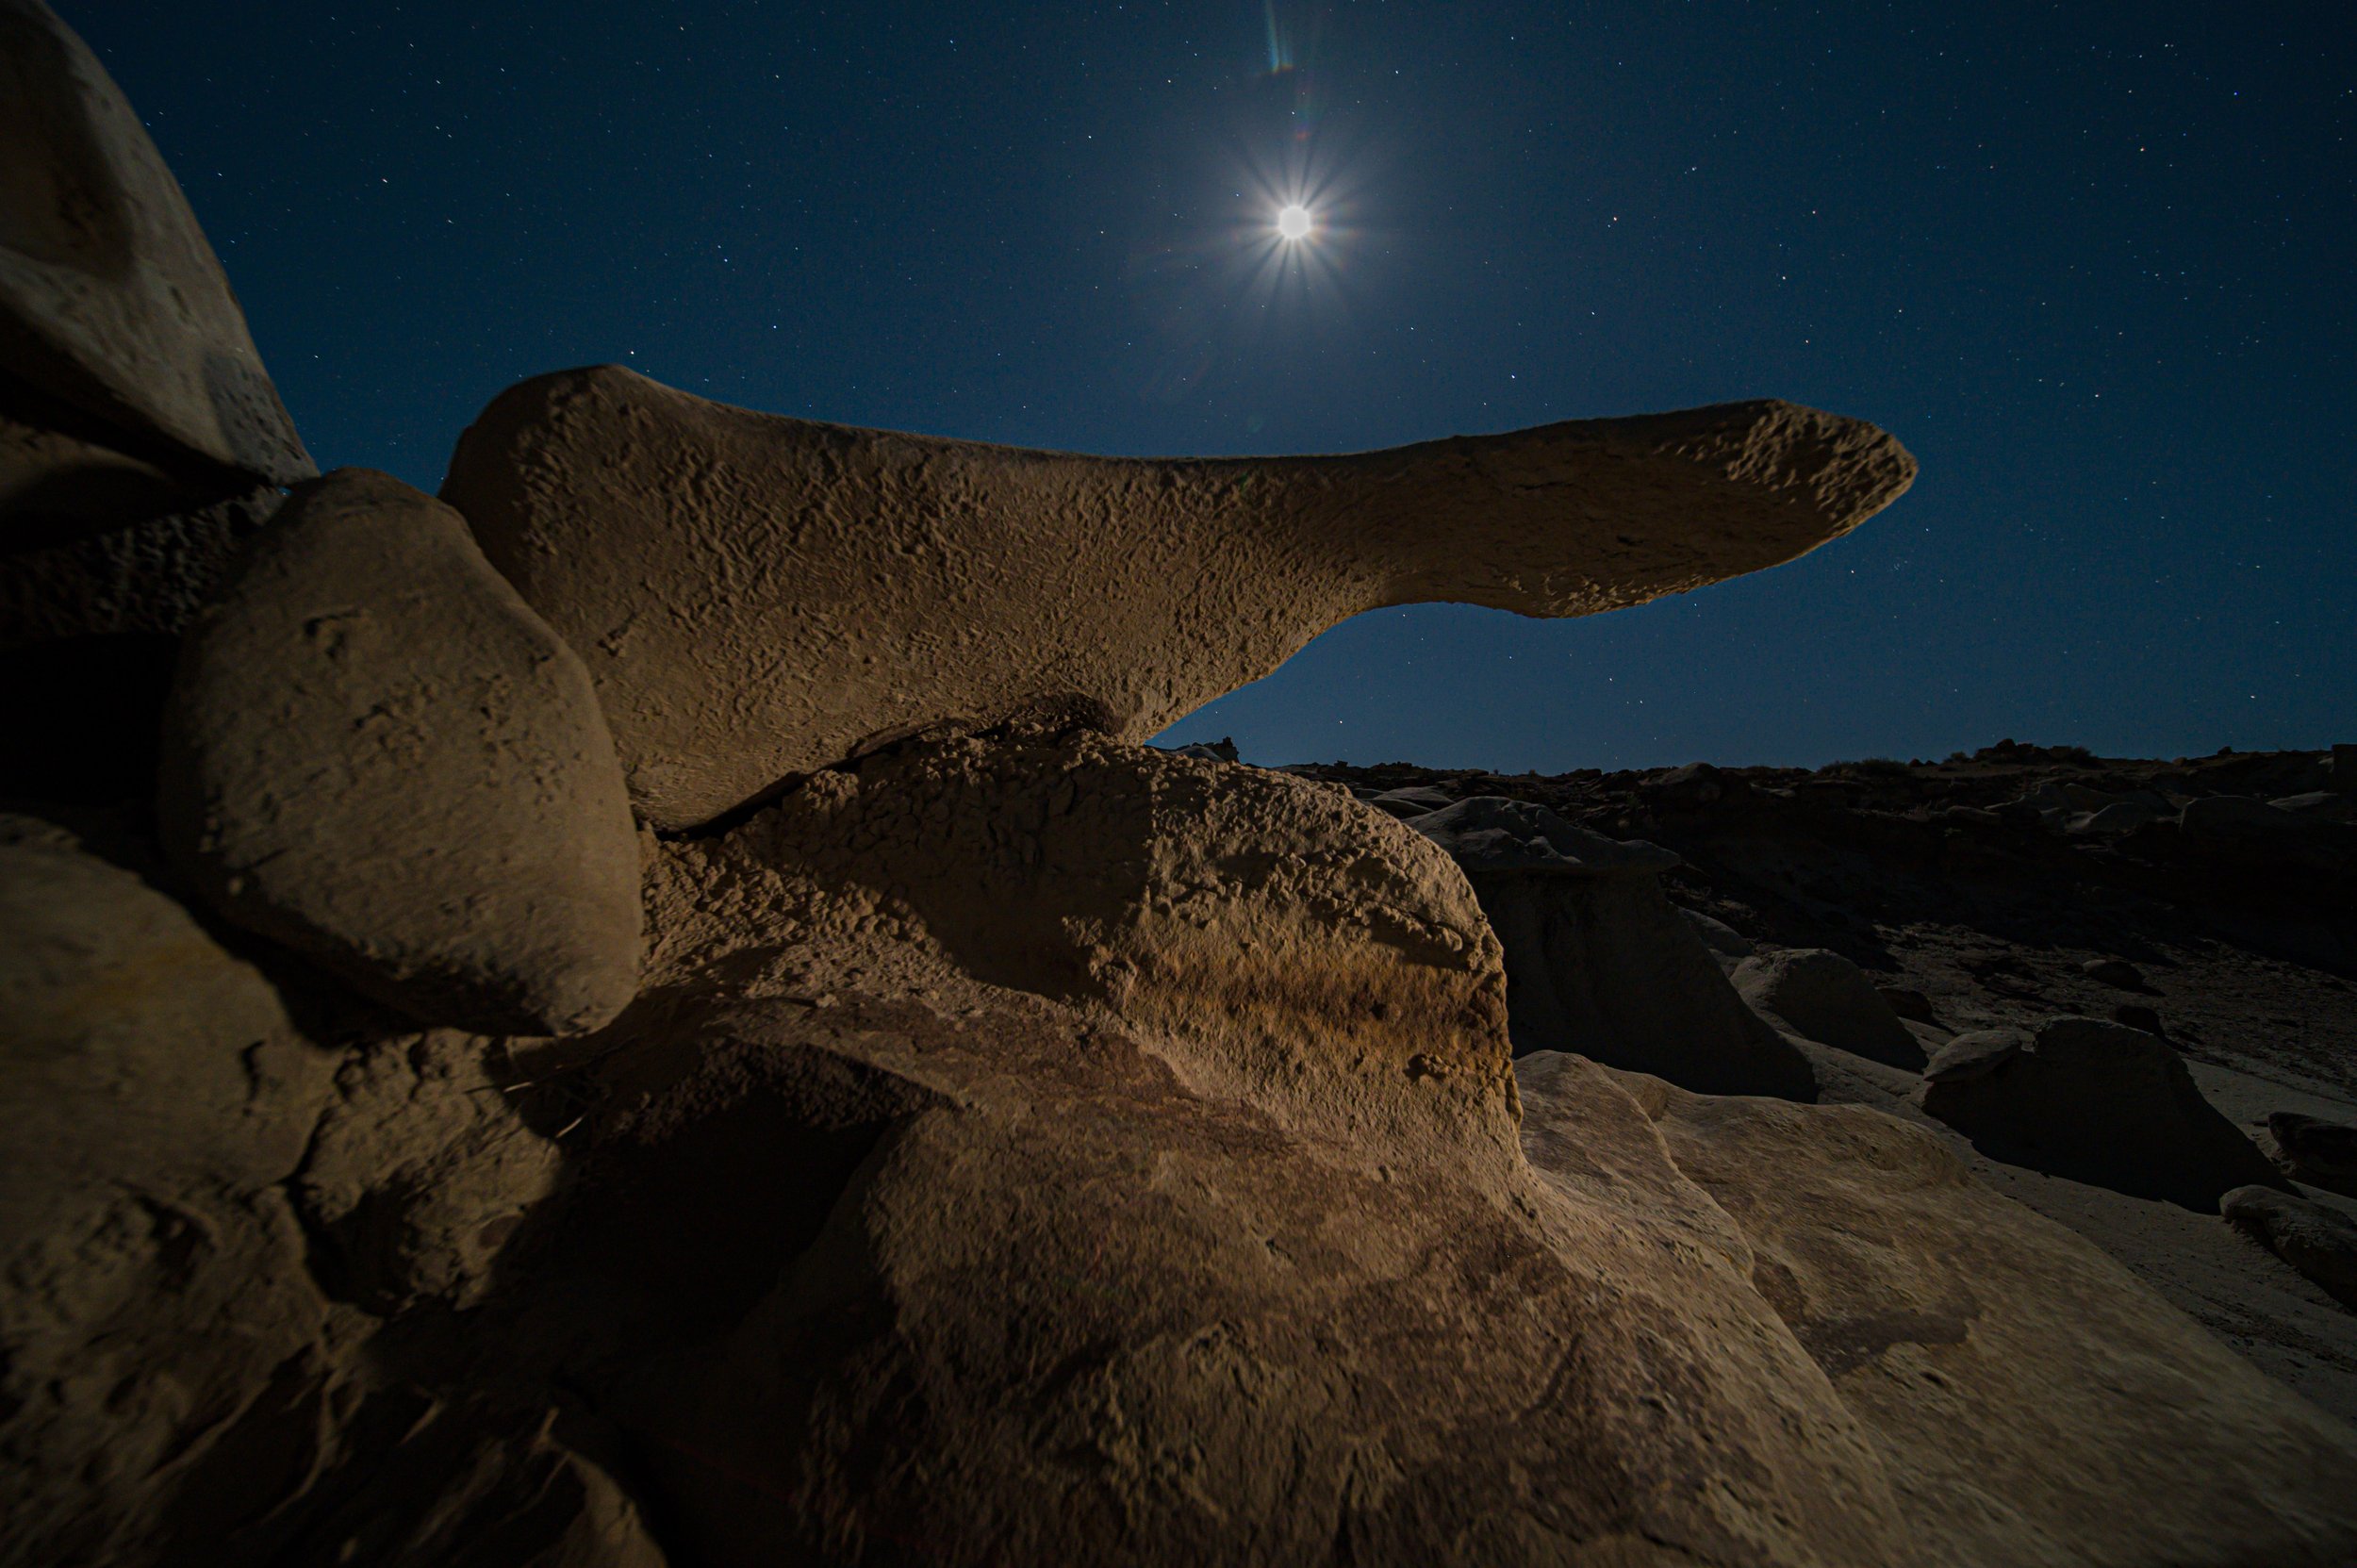
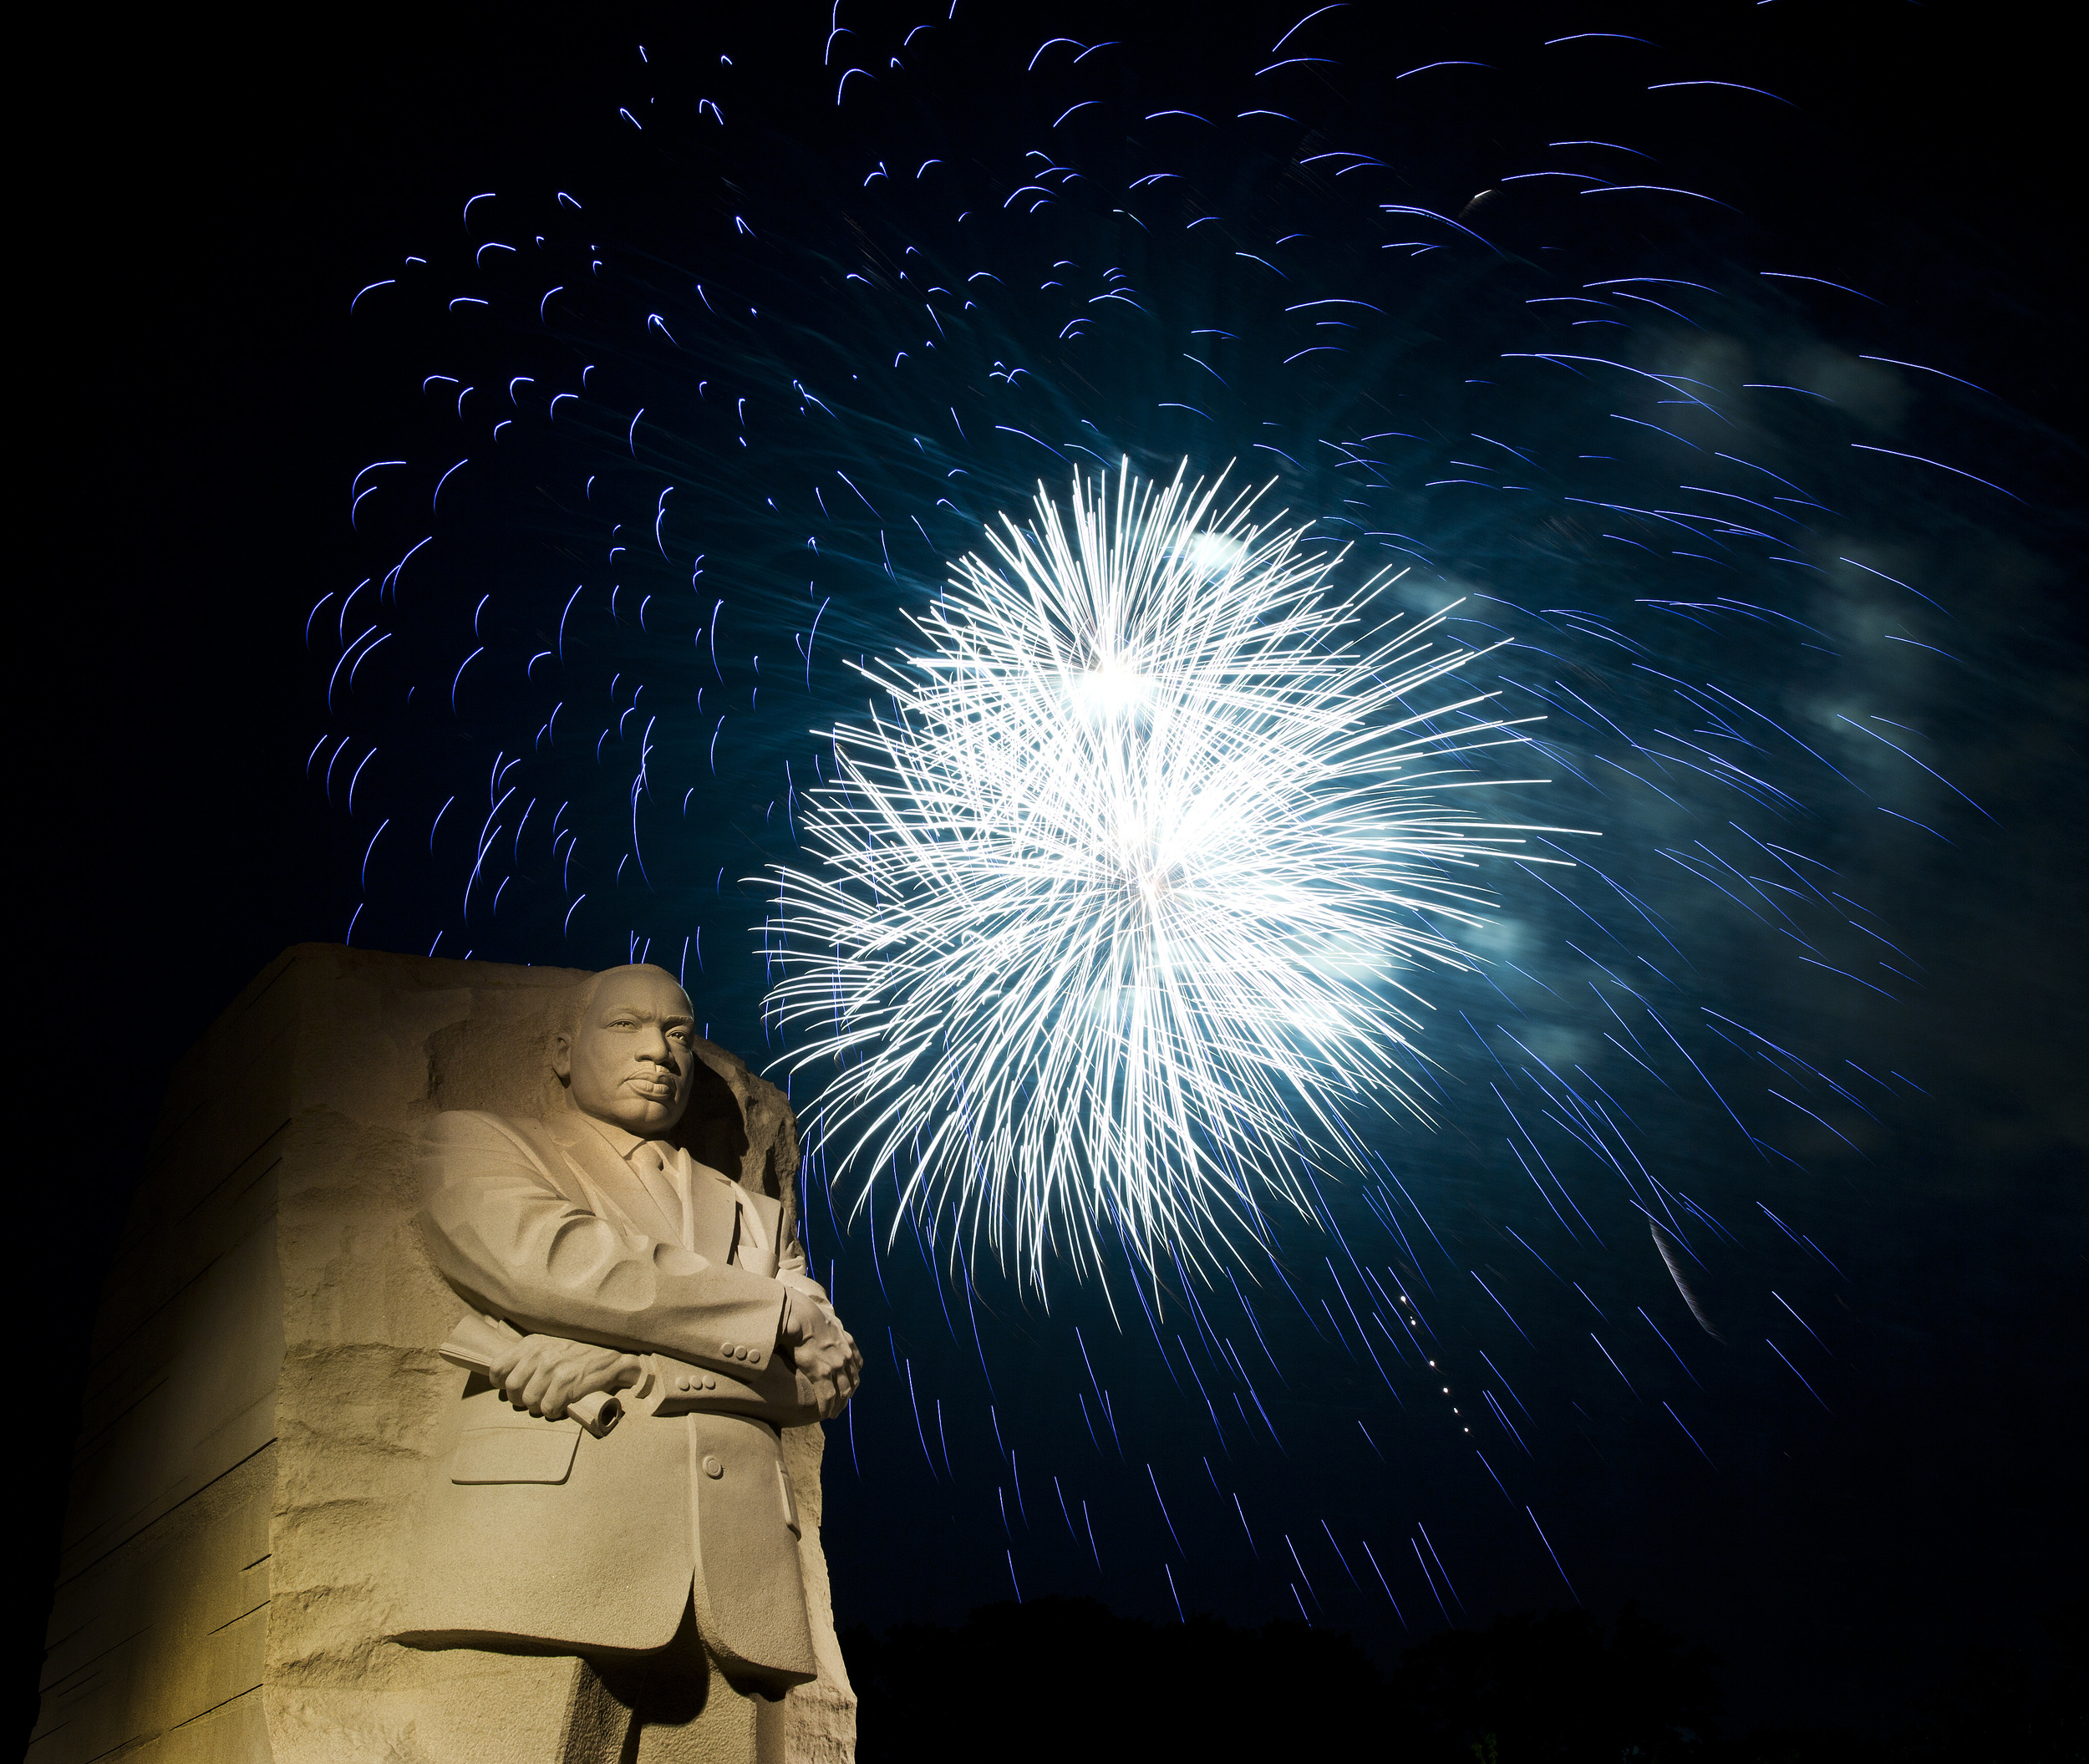
This may not have worked … but it did. Nikon D750, 15mm Zeiss Distagon f/2.8 lens. 75 seconds, f/2.8, ISO 400.
Asking Why A Photo Failed
… And Making A Process To Ensure You Won’t Make The Same Mistake Repeatedly
Great leaders often say, “I learned more from my mistakes than my successes.” There are many reasons for this. Some are emotional. Some are scientific.
My favorite quote about learning from failure comes from Seth Godin:
The rule is simple: The person who fails the most will win. If I fail more than you do, I will win. Because in order to keep failing, you’ve got to be good enough to keep playing.
So, if you fail cataclysmically and never play again, you only fail once. But if you are always there shipping, putting your work into the world, creating and starting things, you will learn endless things.
You will learn to see more accurately, you will learn the difference between a good idea and a bad idea and, most of all, you will keep producing.
Developing a habit to accelerate the study of failure includes:
- acknowledging your mistakes via self-review
- engaging in peer review
- soliciting feedback from people whom you aspire to be like, or hold in high technical or creative esteem
- putting your work out there, be it on Facebook, Instagram, your website or on gallery walls
On the technical side, if you have trouble identifying how a photo went sideways and your peers fail you for an explanation, you can always book some time with us for a remote critique.
But please fail often, and well.
Exploring Your Gear
… Including Its Strong Capabilities And Disadvantages
I know that my Nikon D750 can’t make a quality file over 60 seconds in duration when the temperature is above 90 F. When does your gear fail? Knowing is important.
I also know that I can shoot a half-hour single exposure at 45 F with no quality degradation. At the same temperature I also know that after 8 minutes I should turn on Long Exposure Noise Reduction (LENR).

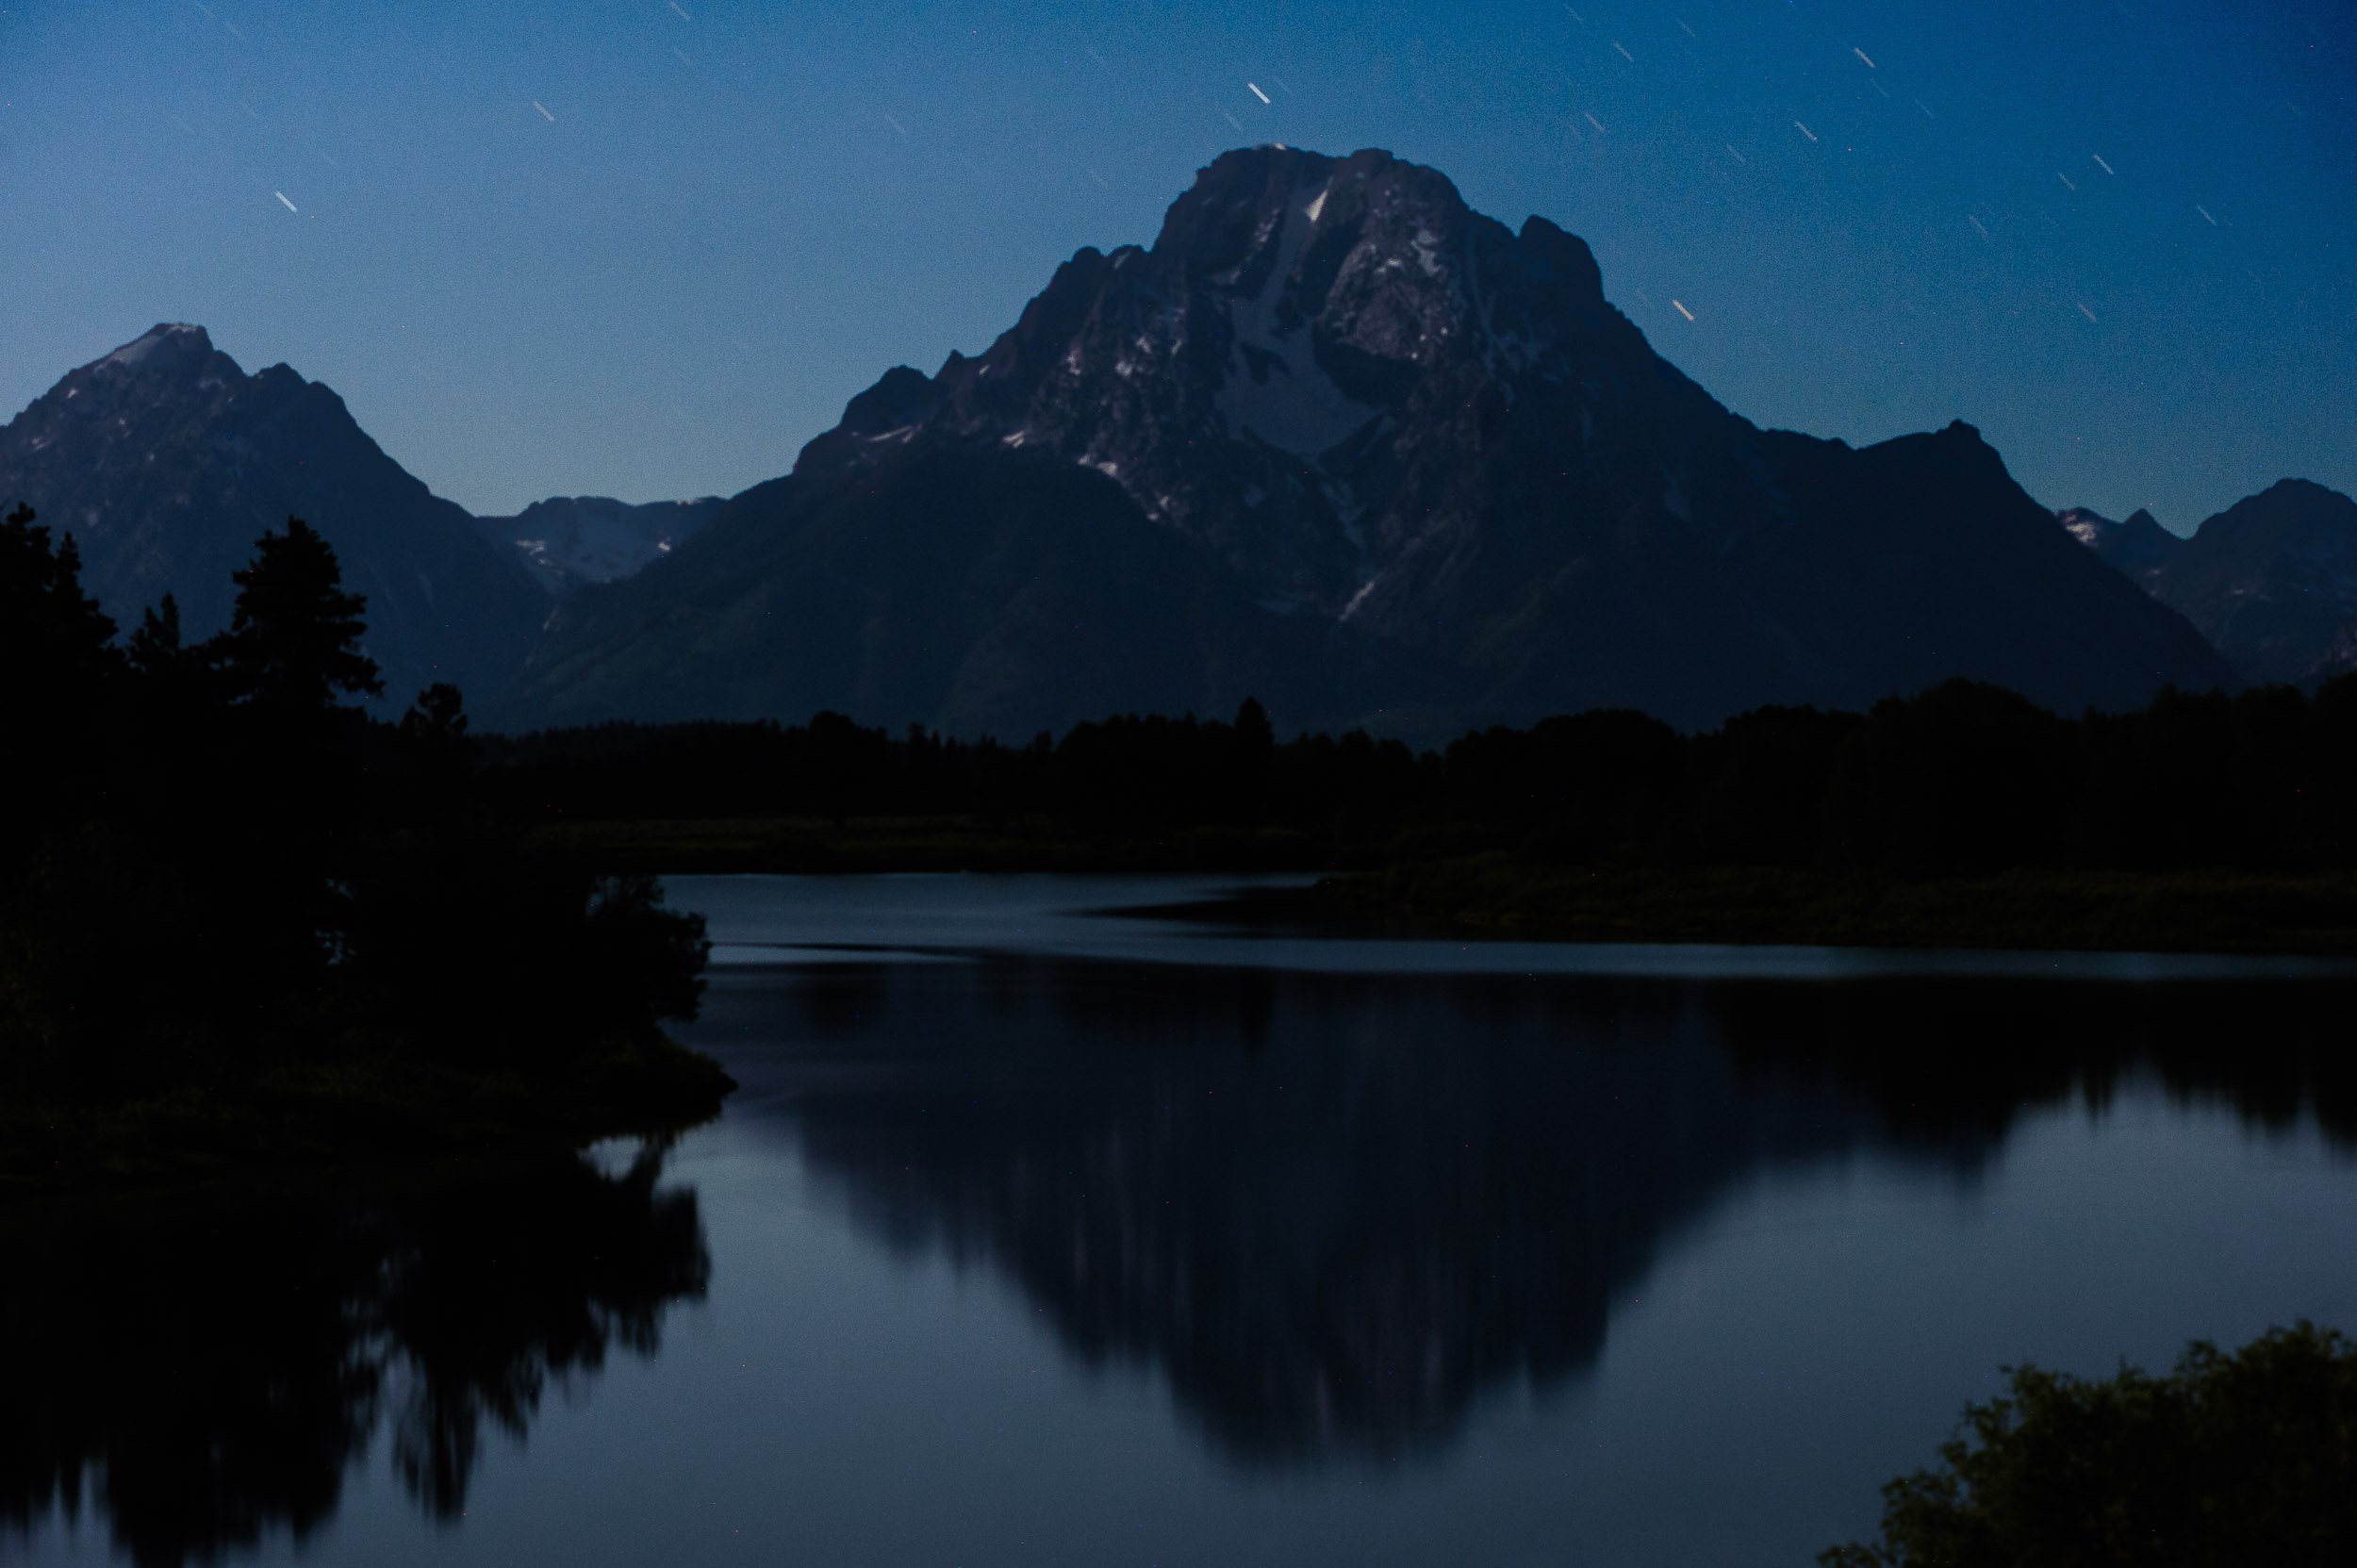
Elwha Valley, Olympic National Park. Nikon D750, Zeiss Distagon 15mm Zeiss Distagon f/2.8 lens. 60 minutes, f/5.6, ISO 400, plus LENR.
How do I know these things? I scrub my Lightroom. I look at the settings. I take notes. And I keep this info in my backpack just in case I need a reference about the technical boundaries of my camera.
Another example: You may have a lens that can’t focus on stars via live view, but does OK with a strong flashlight and a subject relatively nearby.
Knowing these things helps you avoid the future frustration of committing time making exposures when your gear just can’t handle it. No one camera system can do everything right. So it’s a practice of working within the boundaries of possibility.
Developing Your Own System Of Process
What works for me may not work for you. So please don’t take any of this as dogma. A final belief you may choose to hold about owning your settings is to make a system that helps you recall the things you need to do at the right time.
I’ve recently started using the Bullet Journal to manage my priorities, ideas and commitments. I started a page in there where I have a living list of steps for night photography that I had (until recently) kept only in my head.

Zig when others zag. Nikon D750, Zeiss Distagon 15mm Zeiss Distagon f/2.8lens. 26 seconds, f/2.8, ISO 6400.
No matter how you choose to do it, establishing a process—instead of trusting your brain to have perfect recall—is a sound choice. Because when it’s dark, and when everything is unfamiliar, wouldn’t having your own step-by-step guide, tailored to you, help appease anxiety and help you focus on making gorgeous night photography?
It does for me.
Wrapping Up, Taking Ownership
The path to owning your settings is just that: a path, a journey. It’s not a destination reached quickly or by accident, especially in night photography. But it’s a journey worth making, because when you get there, you will have the confidence required to take responsibility for your own creative process, which includes mastering the techniques necessary to level up.
We love the “work” part of workshop. When participants choose to share images that didn’t work, expressly to learn how to avoid that mistake in the future, it helps the whole group grow.
Many thanks to our student who had the clarity to speak aloud, in front of her peers, “I will own my settings.”
And thank you, dear reader, for being part of the adventure. Now go, and seize the night, as well as your settings.