No Legs to Stand on: How to Take Night Photos Without a Tripod

About a month ago, fellow NPAN instructor Chris Nicholson and I had the honor of teaching at the Out of New York Photography Conference. During the event we led a night walk, but when we met the students, there was a surprise for usβ€”none of them brought tripods!

Tripods had been listed as required gear on the instructions list, but … well, I guess things happen. We could have cancelled the walk, but Chris and I chatted and decided on a different tack: Let’s teach how to overcome the challenge of shooting at night without a tripod! There are thousands of makeshift tripods on the streets of NYCβ€”so we went out to find them.

What happened next was a magical β€œletting go” and a total embrace of what the night has to offer. We started by leaning our cameras against poles, buildings and even mailboxes (yes, there are a few left in NYC!). We challenged the students to place the cameras higher and lower than their normal point of view, and the sidewalks and stairs became our stabilization. We searched for movement in cars, people and water fountains, and we braced our cameras against chairs, tables and benches.

It was one of the most fun nights out that I have had in a long time. We were constantly searching for something stable, and we were smiling back to each other whenβ€”Eureka! We got it! This forced all of us way out of our normal clicking boxes, which is always an excellent place to be.

With that in mind, I wanted to share a few of the tips that helped us survive a night without tripods. As much as good support is some of the most important night-photography gear, these tips will help you in a pinch, not to mention stretch your creative capacity.

Bursting for sharpness

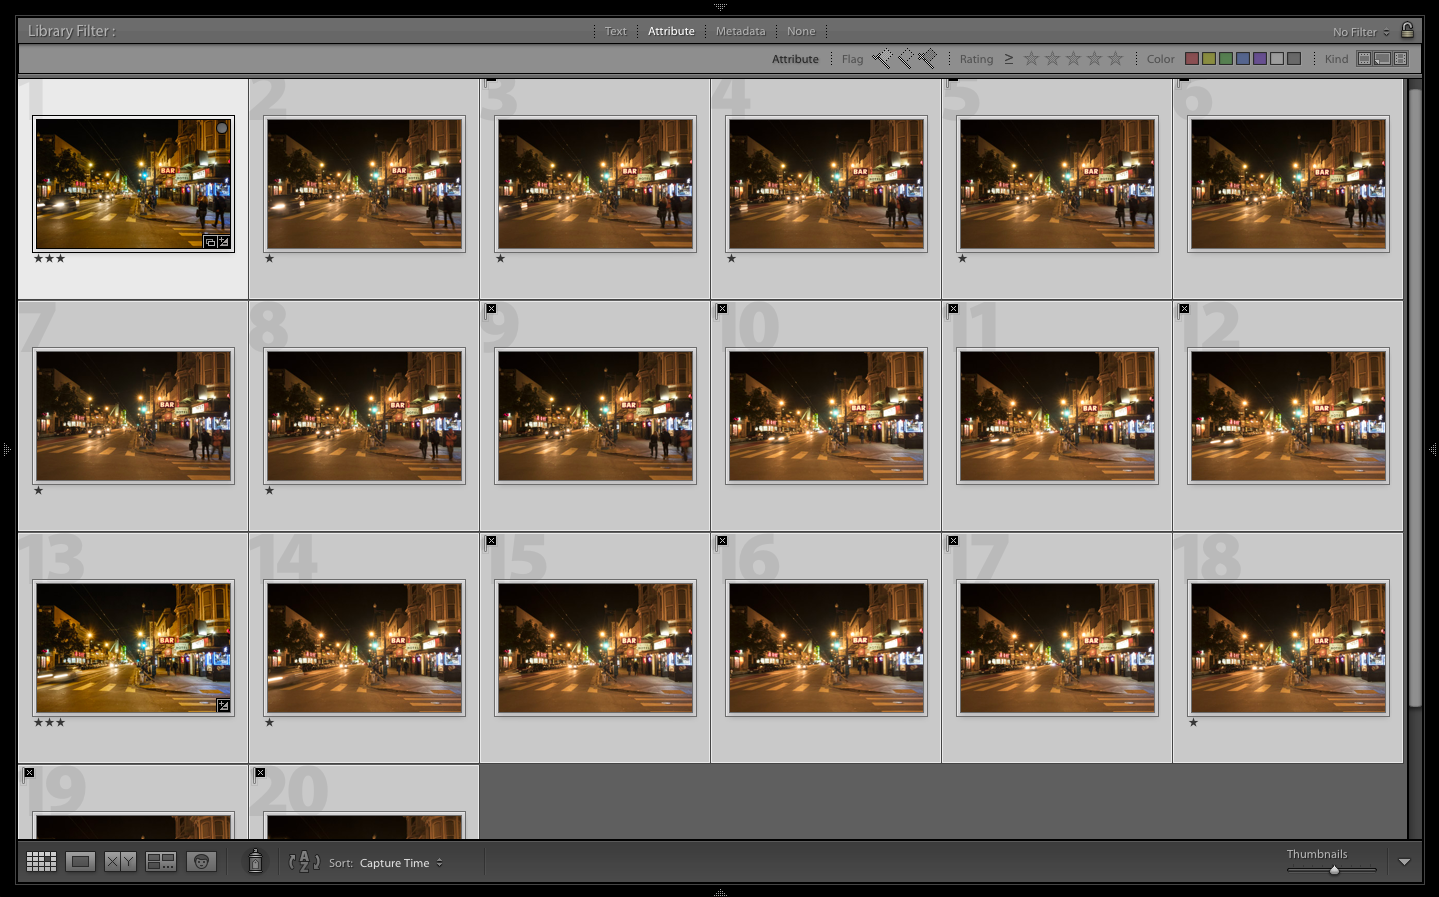
Burst Rate is your friend. I like it for a few different reasonsβ€”it greatly helps your β€œhit rate” when shooting handheld below 1/60 second (but no longer than 1/4 second). Set your camera to its fastest frame rate, hold the camera as still as possible, then fire off a bunch of frames.

Your first couple of shots will be blurry because of the shake created by triggering the shutter, as will your last few because of taking pressure off the shutter release. But if you keep your finger on the button for 10 to 15 shotsβ€”you’ll most likely get 2 or 3 in the middle that are acceptably sharp.

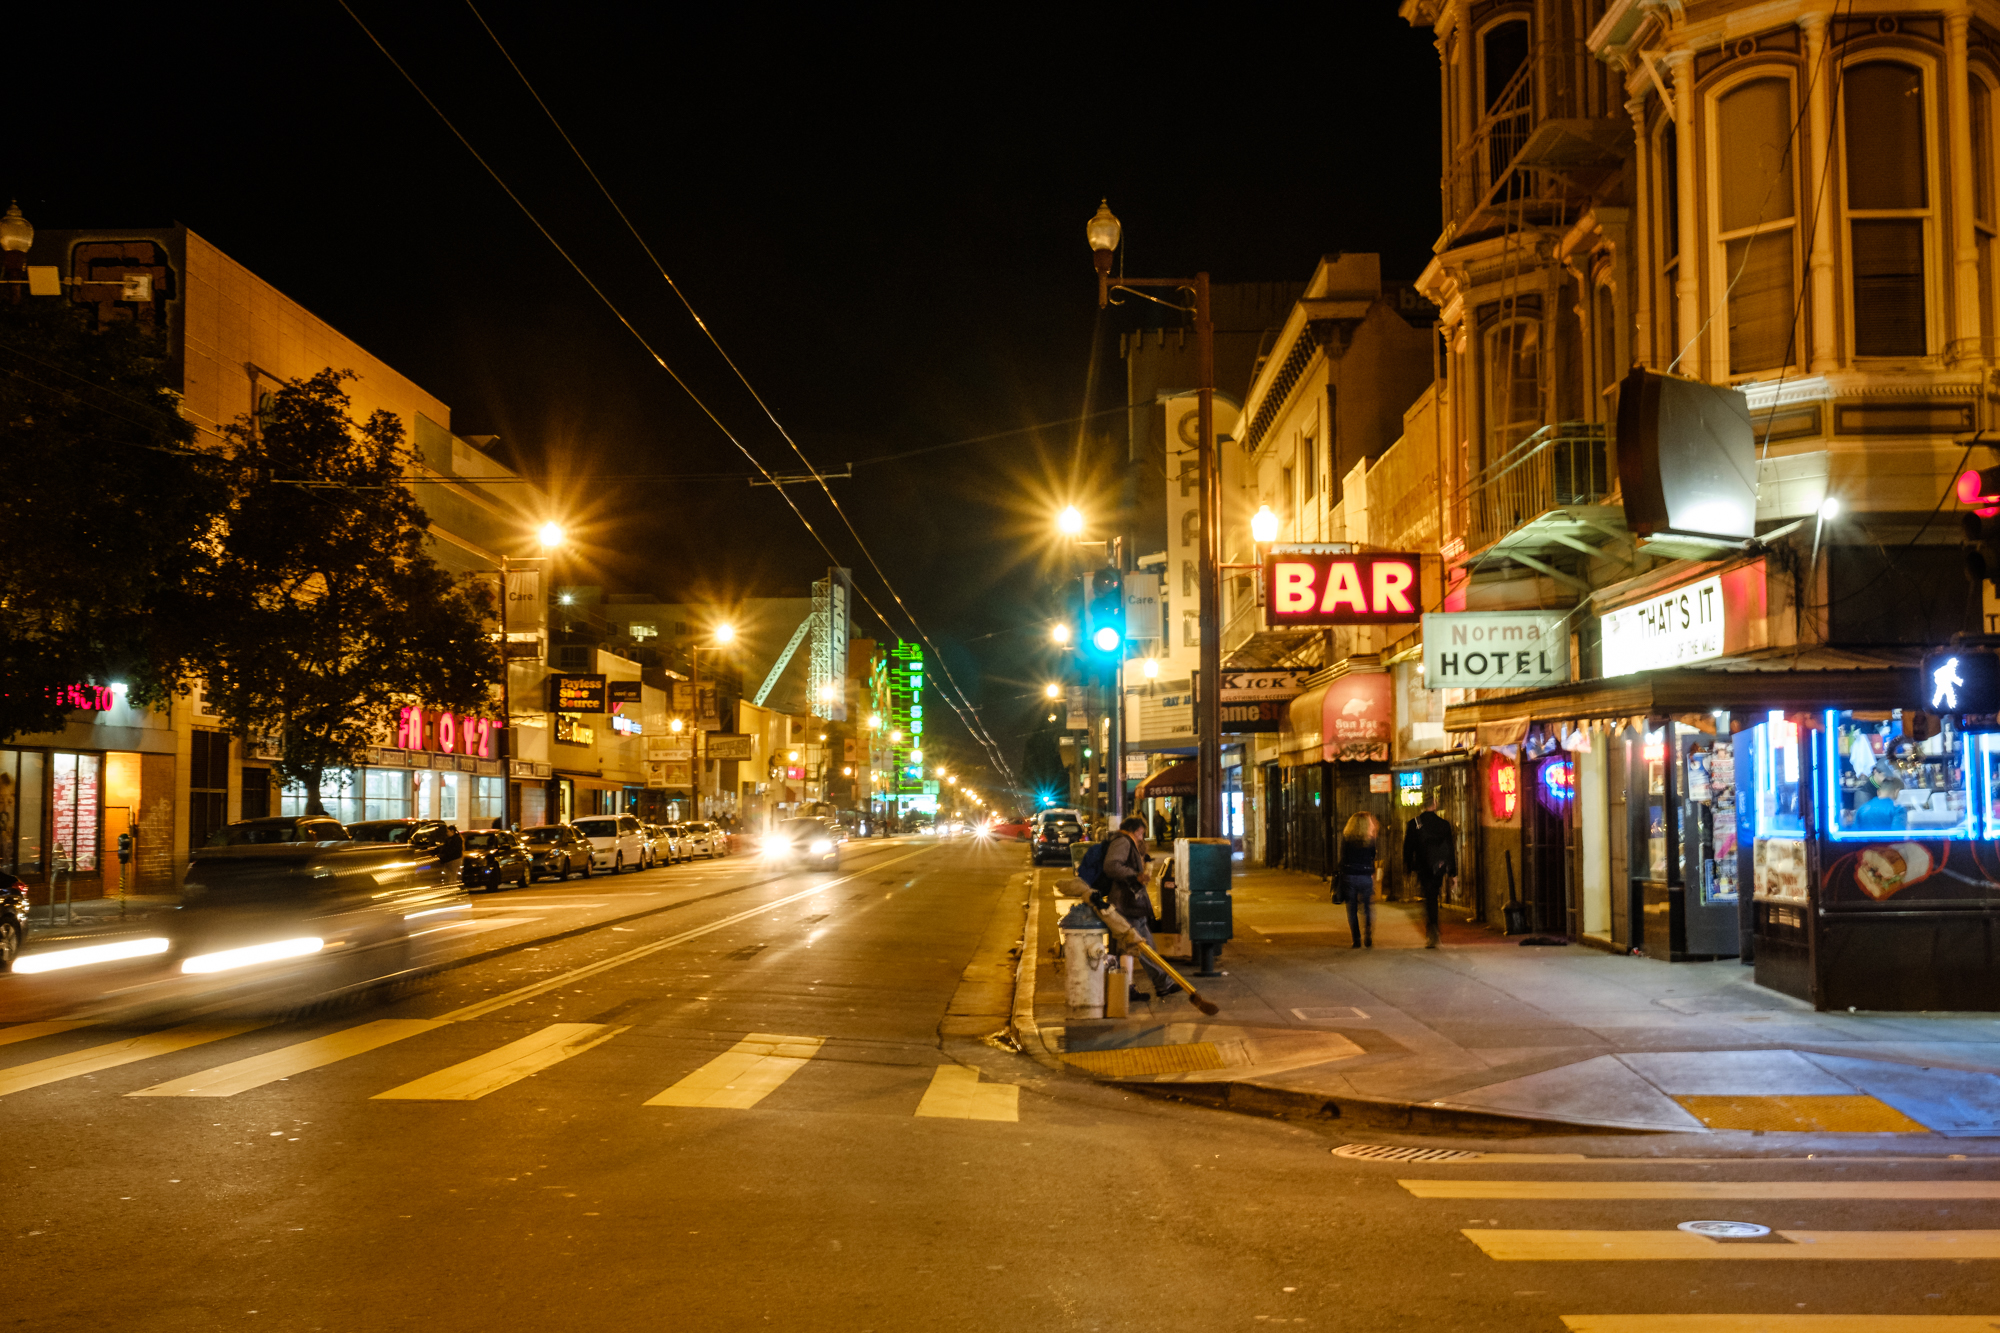
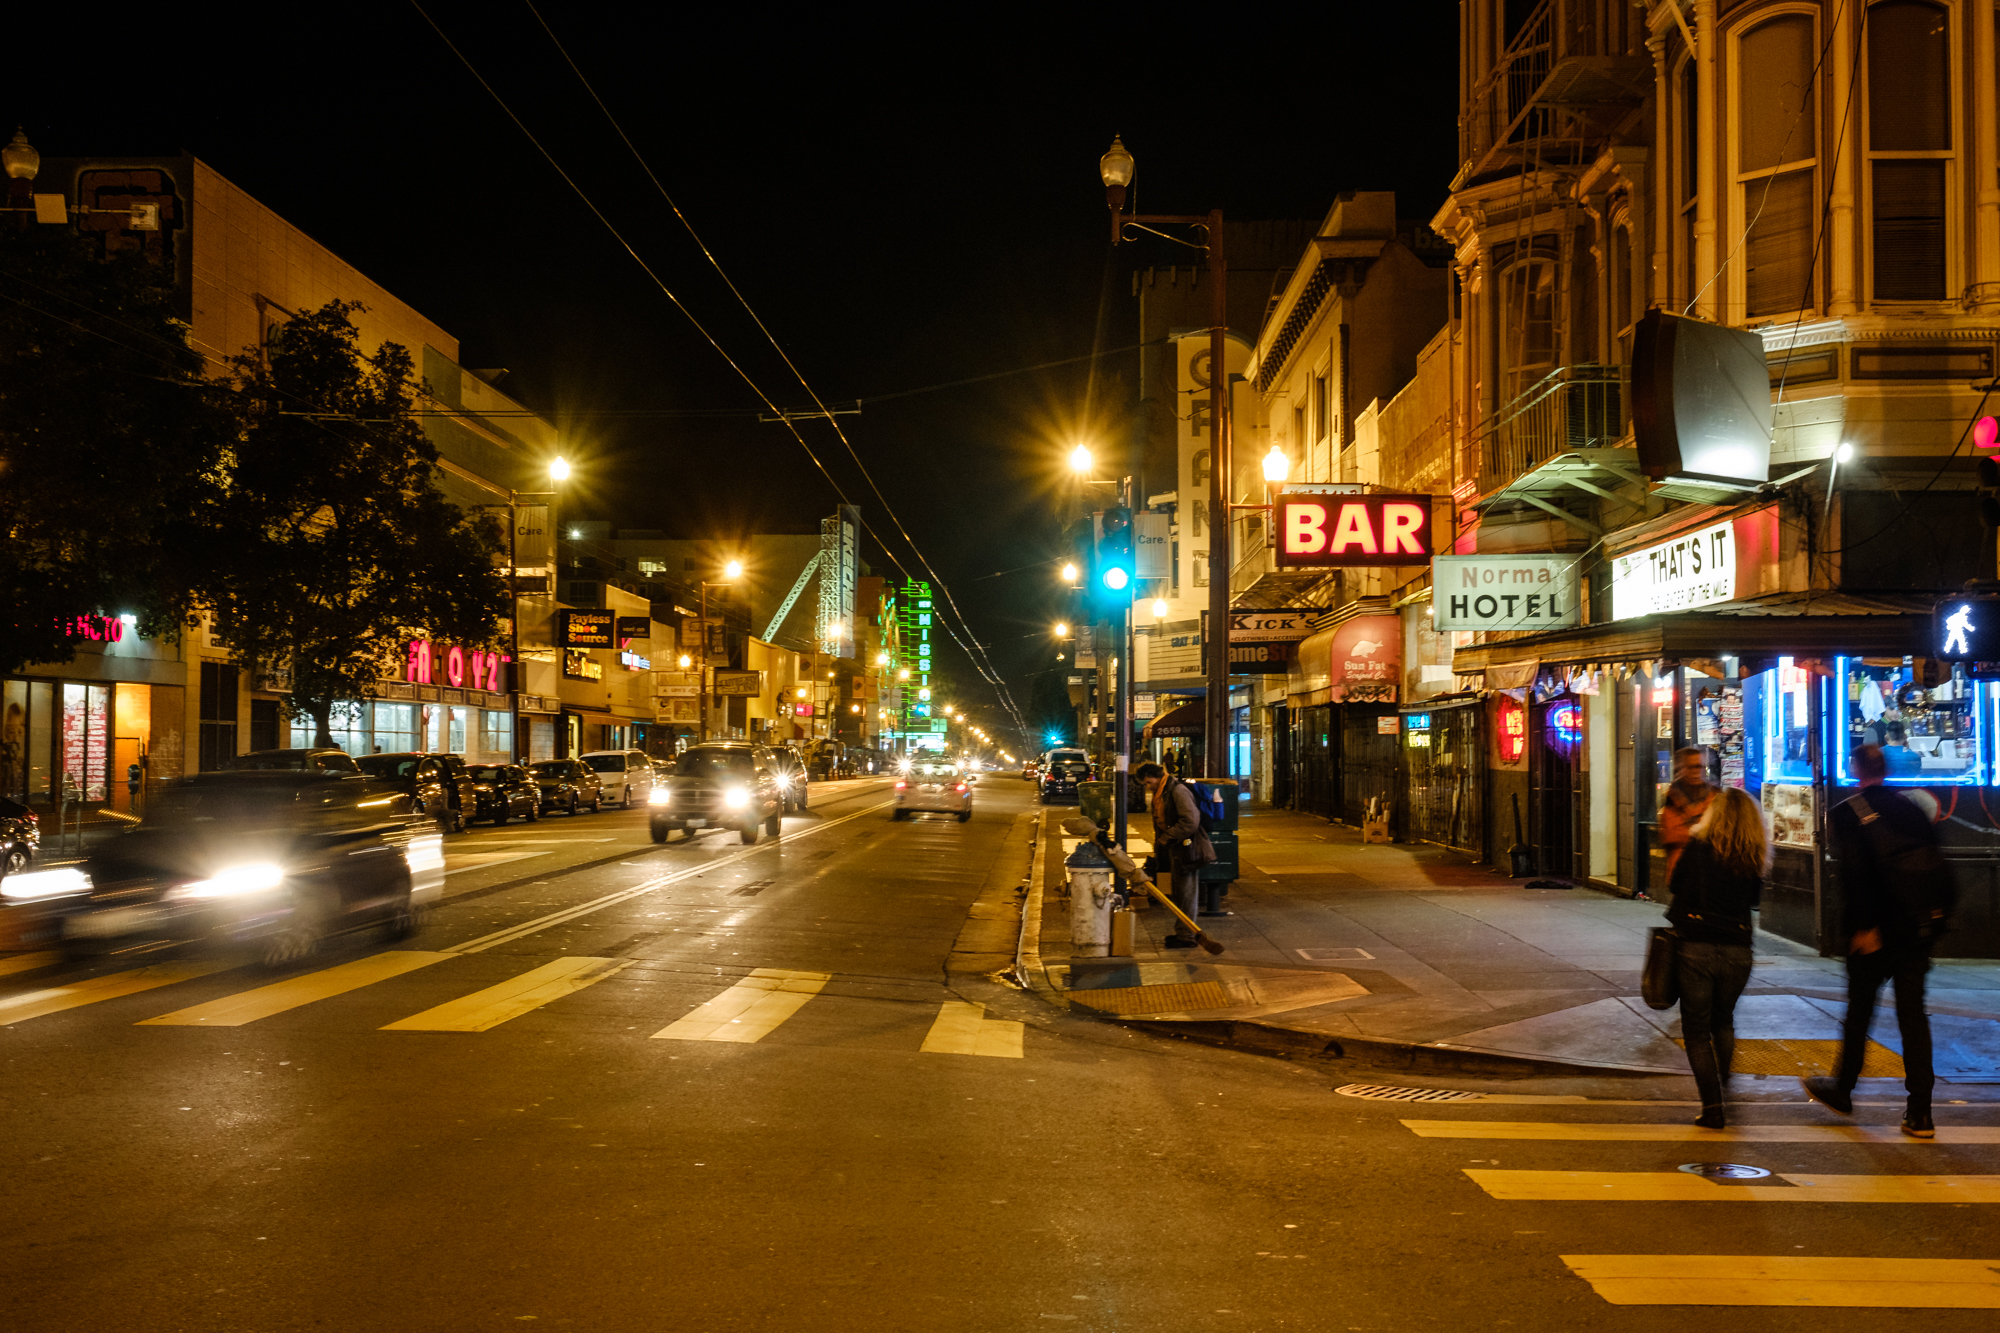
Above you can see the two bursts of approximately 10 shots I did at shutter speeds of 1/8 and then 1/4 to get more movement in the cars. The starred frames are the ones sharp enough to use and the ones flagged with an X are too blurry. (Click the β€œNext” arrow to see the two sharpest frames.)

To gain a little more stability, here’s a more advanced technique: If your camera has a strap, wrap the strap around your neck, and then extend your arms and the camera until the strap is taut (see below). The tautness will help you keep the camera a little more stable while shooting your burst.

And as for all those extra photos, you don’t necessarily need to delete them. It will require more editing afterward, but you could see how they look as an animated GIF. That is my second reason to shoot in burst modeβ€”I love creating little GIFs or flip books of these moments.

Animated GIF created from a burst of photos.

Animated GIF created from a burst of photos.

Grounding for stability

Of course, everyone has their limit to how steady they can hold a camera. I can typically shoot as slow as 1/4 second, but if I need to go 1/2 second or 1 second, I’ll tuck in my arms and try to lean against a wall to create more stability. Breath in and then trigger that burst on the exhale. Your hit rate will be substantially less with these longer exposuresβ€”maybe 1 in 10 frames will be sharp enough to use.

I typically don’t advise hand-holding for exposures longer than 1 second. When opening the shutter for that long, you need find something solid to place your camera on. Be creative. In an urban environment, find stable objects like we used in NYC. In the wilderness, use the ground, a boulder, a ledge, a tree stump, a sturdy branch, etc.

Hand-held at 1/15.

Hand-held at 1/15.

If you happen to have a cable release, greatβ€”use it. But chances are, if you forgot your tripod then you probably didn’t bring your cable release! In that case, use the camera’s self-timerβ€”generally 2 seconds is sufficient. That way any vibration caused by you pressing the shutter release will subside before the shutter opens.

Also, many modern cameras have a built-in intervalometer. This is a good solution for shooting car trails, or anything else with lots of constant motion. When using the built-in intervalometer, turn off the self-timer. Set the interval timer to fire every 2 seconds for 10 to 20 frames or more. The first shot might be blurry because of manually triggering the camera, but the subsequent ones should be sharp.

I hope these tips will help you keep on clicking for longer exposures even when you forget your tripod. We had so much fun that night that we are thinking of offering an annual no-tripod night walkβ€”stay posted for that!

Traveling light

Lastly, one final tip. If you didn’t β€œforget” your tripod but rather just don’t like the idea of carrying one around, then at least consider investing in a travel or lightweight model. Even though the above tips can save your night, using the right tool for the jobβ€”a quality tripodβ€”will guarantee you get the steadiest shot possible.

Our favorite travel tripod at NPAN is the Gitzo 2545, which weighs only 4 pounds and can hold up to 26 pounds of gear (which is well under pretty much any DSLR and lens combo). This tripod can easily fit into a messenger or tote bag and is a professional joy to always have with you. It is pricey, but that’s because it’s one of the best. Moreover, it will last you a lifetime.

If you are on a budget, check out the Manfrotto 190go! tripod (available in aluminum or carbon fiber), which you can match with the head of your choice.

Gabriel Biderman is a Brooklyn-based fine art and travel photographer, and author of Night Photography: From Snapshots to Great Shots (Peachpit, 2014). During the daytime hours you'll often find Gabe at one of many photo events around the world working for B&H Photo’s road marketing team. See his portfolio and workshop lineup at www.ruinism.com.

Upcoming workshops from National Parks at Night

Level Up: Re-Editing Your Night Photography Images (Video)

I made a screencast for you, dear readers and passionate night photographers. I'm about to join Tim Cooper in Arches National Park next week for one of our final workshops for 2016, and I thought I'd reveal some of my creative process.

It's important to revisit processed photographs from time to time to apply new tastes and techniques. You'll grow faster by identifying old mistakes you made while making better versions of your favorite images, and you may also be able to improve old work because you now know more post-processing techniques or simply because you're better at them.

When you re-edit photos, you'll leave the experience strengthening your new abilities, with more confidence, and with a further developed aesthetic. Give it a shot. I guarantee you'll learn something about yourself, and maybe make a good image great.

My challenge to you: 

  1. Re-edit one of your favorite images.

  2. Write a blog post on your website.

  3. Post a link in the comments. We'd love to see what you do!

Here is the video. Grab a cup of coffee and lean into it. You'll watch along as I re-edit three images from Arches and talk through how I've leveled up since I first shot and edited them.

Example images

Below are the images from the video, much larger so you can see the before and after. Click to view.

Image 01 from the video, before and after.

Image 02 from the video, before and after.

Image 03 from the video, before and after.

How I Got the Shot: Under the Bridge in Cuyahoga Valley National Park

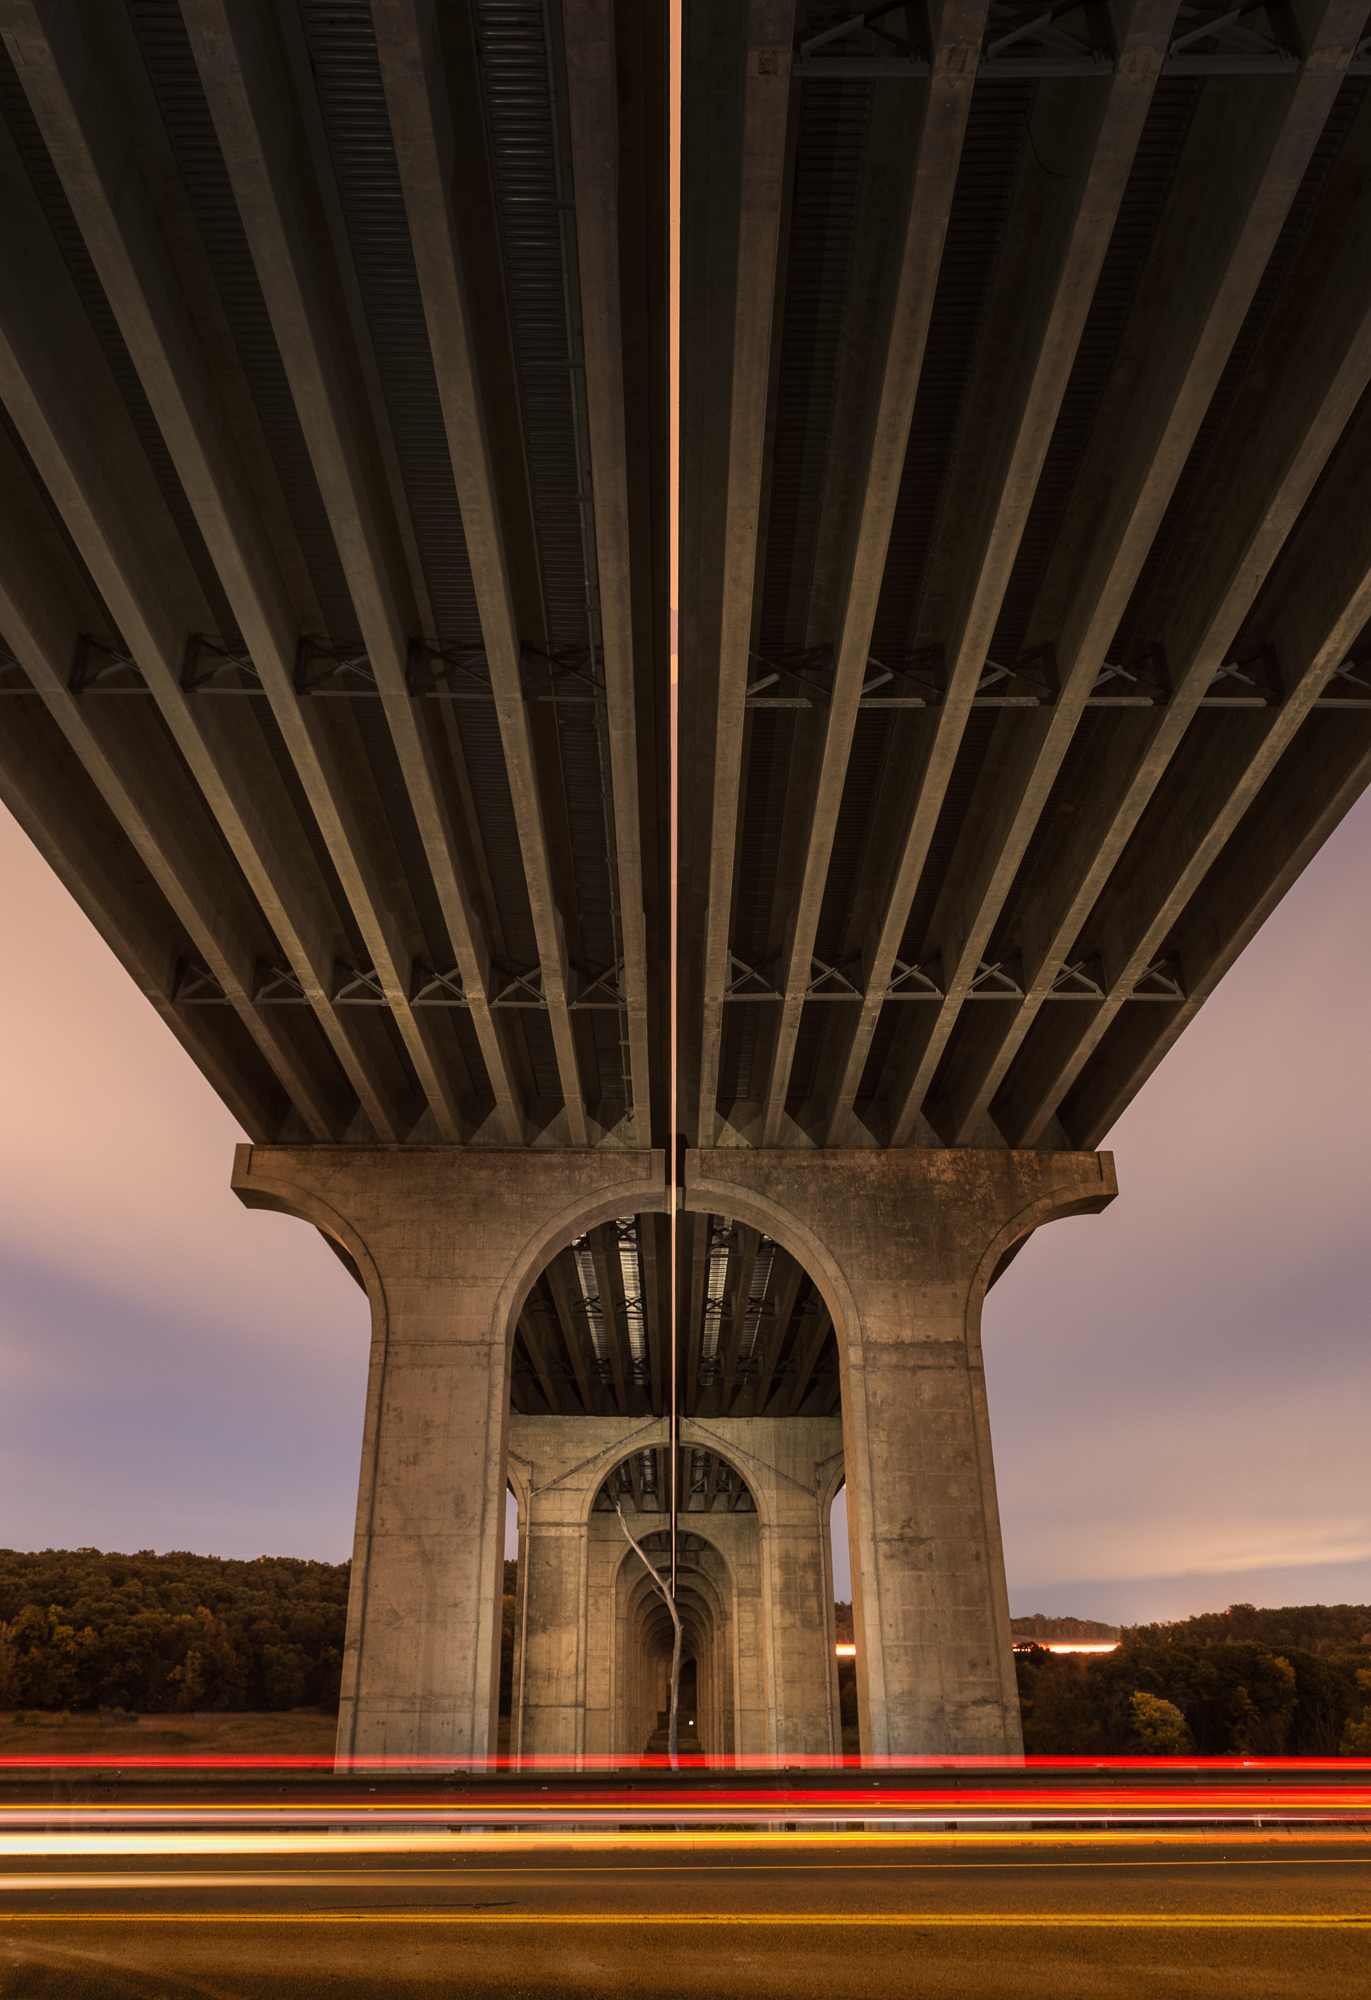
Under I-80, Cuyahoga Valley National Park. Β© 2016 Tim Cooper.

Under I-80, Cuyahoga Valley National Park. Β© 2016 Tim Cooper.

The Location

Cuyahoga Valley National Park is a gem in our system of parks. It has a completely different flavor and feel than its western counterparts.

Being located so close to Ohio’s metro areas of Akron and Cleveland, it provides a host of photographic opportunities that other more remote parks may lack. Old train stations, bridge spans, barns, farms, railroad tracks and turn of the century towns all provide unique light painting subjects. This is one of the very many reasons I’m excited to be leading a night photography workshop in Cuyahoga Valley with fellow NPAN instructor Chris Nicholson next May.

During a recent visit I tried my hand at light painting the I-80 bridge span that floats over part of the park like a Roman aqueduct. I knew this would be a challenging shot that would require different white balance settings and multiple exposures to give me time to paint the entire underside of the bridge plus the headstock and piers. Here’s how it went …


Getting the Shot

The first order of business was to determine a rough composition and exposure, so I arrived at the location just after sunset. This allowed time to focus and compose in the fading light. My initial exposure was at ISO 100 for 90 seconds at f/13 (Figure 1). I used my Nikon 24-70mm f/2.8G lens on my Nikon D4s. The overcast sky created a heavy blue cast that was apparent when I left my camera’s white balance set to daylight as seen in the image below.

Figure 1: Test shot to determine composition and sky exposure

Figure 1: Test shot to determine composition and sky exposure

By the time I was finished fine-tuning the composition and settings, the scene became dark enough to begin light painting. I made my first exposure to capture the proper brightness and color of the night sky. The sky was a mix of low clouds that were picking up the pink/orange cast of the sodium vapor lights of nearby Cleveland, so I set my white balance to 3900 K to keep the color cast from being overly pink/orange.

The exposure was ISO 200, 5 minutes at f/8. This longer exposure would allow enough time for me to move around while painting the underside of the bridge. The image below (Figure 2) shows the night sky from this exposure, which is the sky I used in the final composition.

Figure 2: Sky exposure

Figure 2: Sky exposure

The next order of business was to nail my light painting. I used my 300-lumens Coast HP7R flashlight to paint the underside of the bridge. I placed a warm gel inside of the Coast LF100 filter holder so that my bridge would have a warmer look than the sky. After some experimentation I decided that the gel I had with me wasn’t warm enough, so I changed the white balance setting on my camera back to Daylight (direct sun).

I began painting by moving about 100 feet to the right of my camera so that I could paint the bridge at an oblique angle. I was able to cover the entire right half of the bridge in about 2 minutes. After painting from this position I moved about 100 feet to the left of my camera and painted the other side of the bridge. During the remaining minute I crossed the road and shed a little light on the near bridge piers.

Notice in Figure 3 that the light on the underside of the bridge comes from both camera right and camera left. Working from so far off axis from the camera kept the painting on the underside of the bridge from looking flat.

After experimenting with light painting, I found that ISO 400, 5 minutes at f/8 provided the right amount of time and illumination for the underside of the bridge.

Figure 3: Light-painting underside of the bridge

Figure 3: Light-painting underside of the bridge

My first exposure (my first "real" exposure, not the test shot) from earlier provided the night sky. The second provided the illumination of the underside of the bridge. For the last exposure (which remained at ISO 400, 5 minutes at f/8), I focused my attention on the bridge piers (Figure 4).

Crossing the road, I again went off camera right and painted the nearest pier at steep angle. I then moved to camera left and painted the other pier. Painting at an angle to your subject always provides a richer, deeper image that reveals more texture in the subject. Due to the sheer length of the bridge I was unable to paint the distant piers from an angle so I had no choice but to paint them from the front. Light dims over distance so I spent the bulk of the exposure illuminating the far piers. The close piers received the same amount of light in far less time.

Figure 4: Light painting bridge piers

Figure 4: Light painting bridge piers

Sometimes our subjects are just a bit to big to paint in one exposure. In these cases, it’s helpful to know a little about post-processing. My final image (Figure 5) is a composite of the photos seen in Figure 2 for the sky, Figure 3 for the underside of the bridge and Figure 4 for the bridge piers. I used Adobe Lightroom for the initial tonal and color edits on the images, and then finished the composite in Adobe Photoshop.

Figure 5: Final Image

Figure 5: Final Image

Learn more techniques from Tim Cooper’s book The Magic of Light Painting, available from Peachpit.

UPCOMING WORKSHOPS FROM NATIONAL PARKS AT NIGHT

Recapping Our 1st Three Workshops: Acadia, Zion & Crater Lake

It’s hard to believe we are only 60 percent through our first year of National Parks at Night workshops. We’ve experienced some dramatic weather and forest fires, as well as gorgeous landscapes and plenty of starry night skies.

Our first year’s itinerary is about to wrap up in a few weeks when we complete our simultaneous workshops in Arches and Death Valley national parks. As we nail down our final preparations for those, we’d like to share a brief rundown of how our first three workshop went. Below you’ll find a summary of our experiences in Acadia, Zion and Crater Lake.

We appreciate the first round of students who let us guide them to some pretty amazing locations as well as sharpen their night visions. And we look forward to working with you all again, along with new participants, on our 2017 workshops and beyond!

Acadia National Park

May 2-6, 2016,
by Chris Nicholson

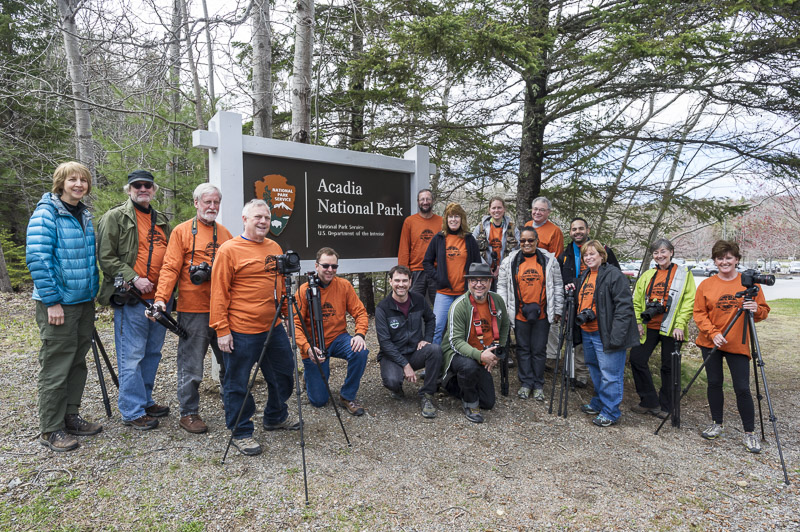
I don’t remember the first time I ever saw Acadia’s coastline, but I’ll never forget watching our workshop students descend upon that rocky shore. For many of them, it was their first glimpse of the finest shores in not only the entire national park system, but in the entire United States. I could see in their eyes that maybe they needed a few minutes to enjoy the view before we jumped into scouting for our night photos.

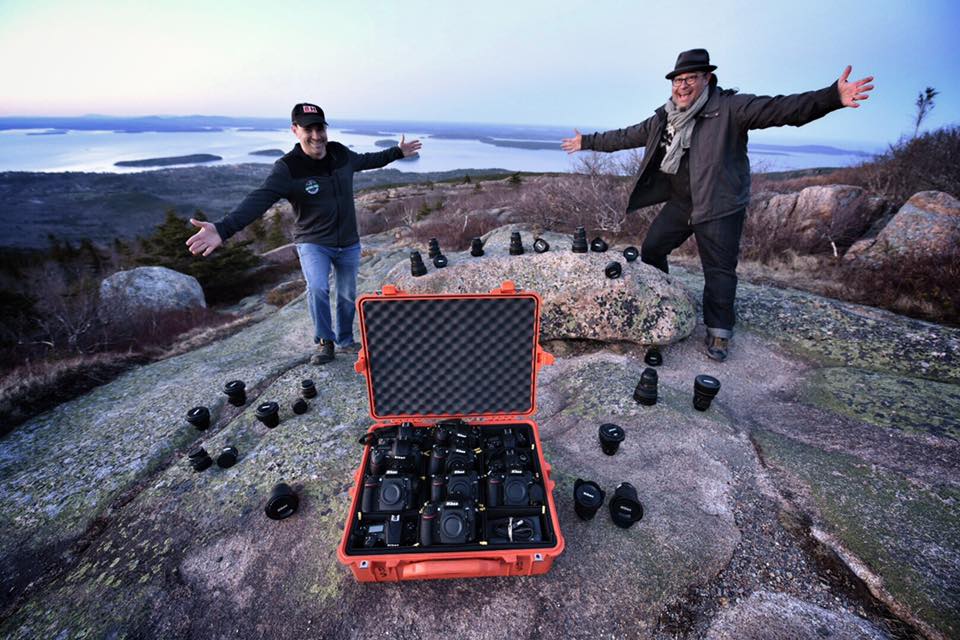
Co-leading this workshop with me was Gabe Biderman. We all spent the first morning and afternoon in our meeting space at the local branch of Machias Savings Bank, which hosted us in their beautiful and spacious meeting room on the second floor all week. Being right in downtown Bar Harbor gave us easy access to coffee, supplies, and breakfast and lunch. (Blueberry pancakes at Jordan’s, anyone?!) We handed out some goodies, including gift flashlights from Coast, complimentary artisan coffee from our friends at Brooklyn-based Oslo Coffee Roasters, and some great gear that Nikon sent the students to try out, including D810’s, and fisheye, 14mm and 20mm lenses!

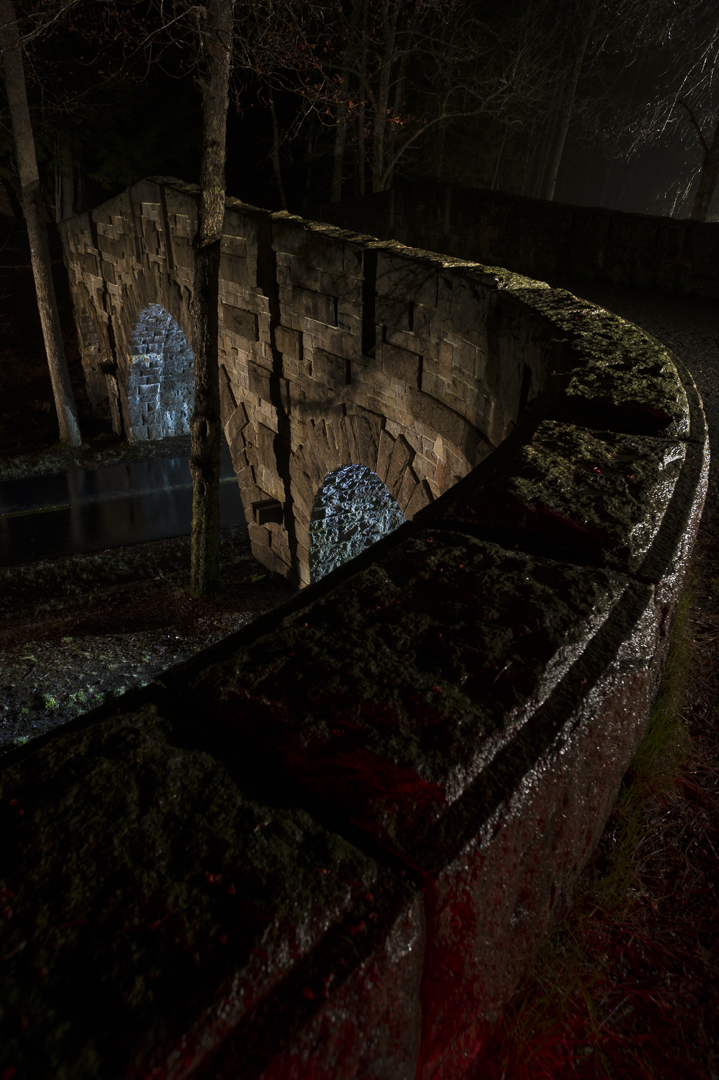
Clouds had been creeping in that first day, and they lingered for most of the workshop. In fact, four of the five nights were overcast. That kept us from seeing and shooting the stars most nights, but gave us opportunities for creative workarounds. We did a light-painting primer at Stanley Brook Bridge, one of the 17 unique stone bridges that serve as overpasses on Acadia’s 57-mile system of carriage roads. Everyone got some great photos, many participants helped with the light painting, and then we got the Pixel Stick and other toys out to create some interesting light patterns beneath the bridge.

On the second night we used the rain as an opportunity to do street photography in Bar Harbor, with the wet roads providing reflections for neon signs, fountains and boat houses. Subsequent night shoots found us atop Cadillac Mountain and at Eagle Lake, among other spots, and daytime jaunts brought us to Jordan Pond, Bass Harbor Head Lighthouse and the birch groves of Sieur de Monts. We also spent a couple of hours at the park Visitor Center, where we received a private screening of the fabulous informational film, which included stunning footage of Acadia scenery.

For the last day of the workshop, we headed out to Schoodic Point, first scouting locations, then sharing a dinner at the local pub in rural Birch Harbor, then photographing under the finally clear, pristine night skies of Acadia National Park. We had glorious views of the Milky Way as it moved through the southern heavens. We didn’t see a lot of stars that week, but the show at the end sure made up for it.

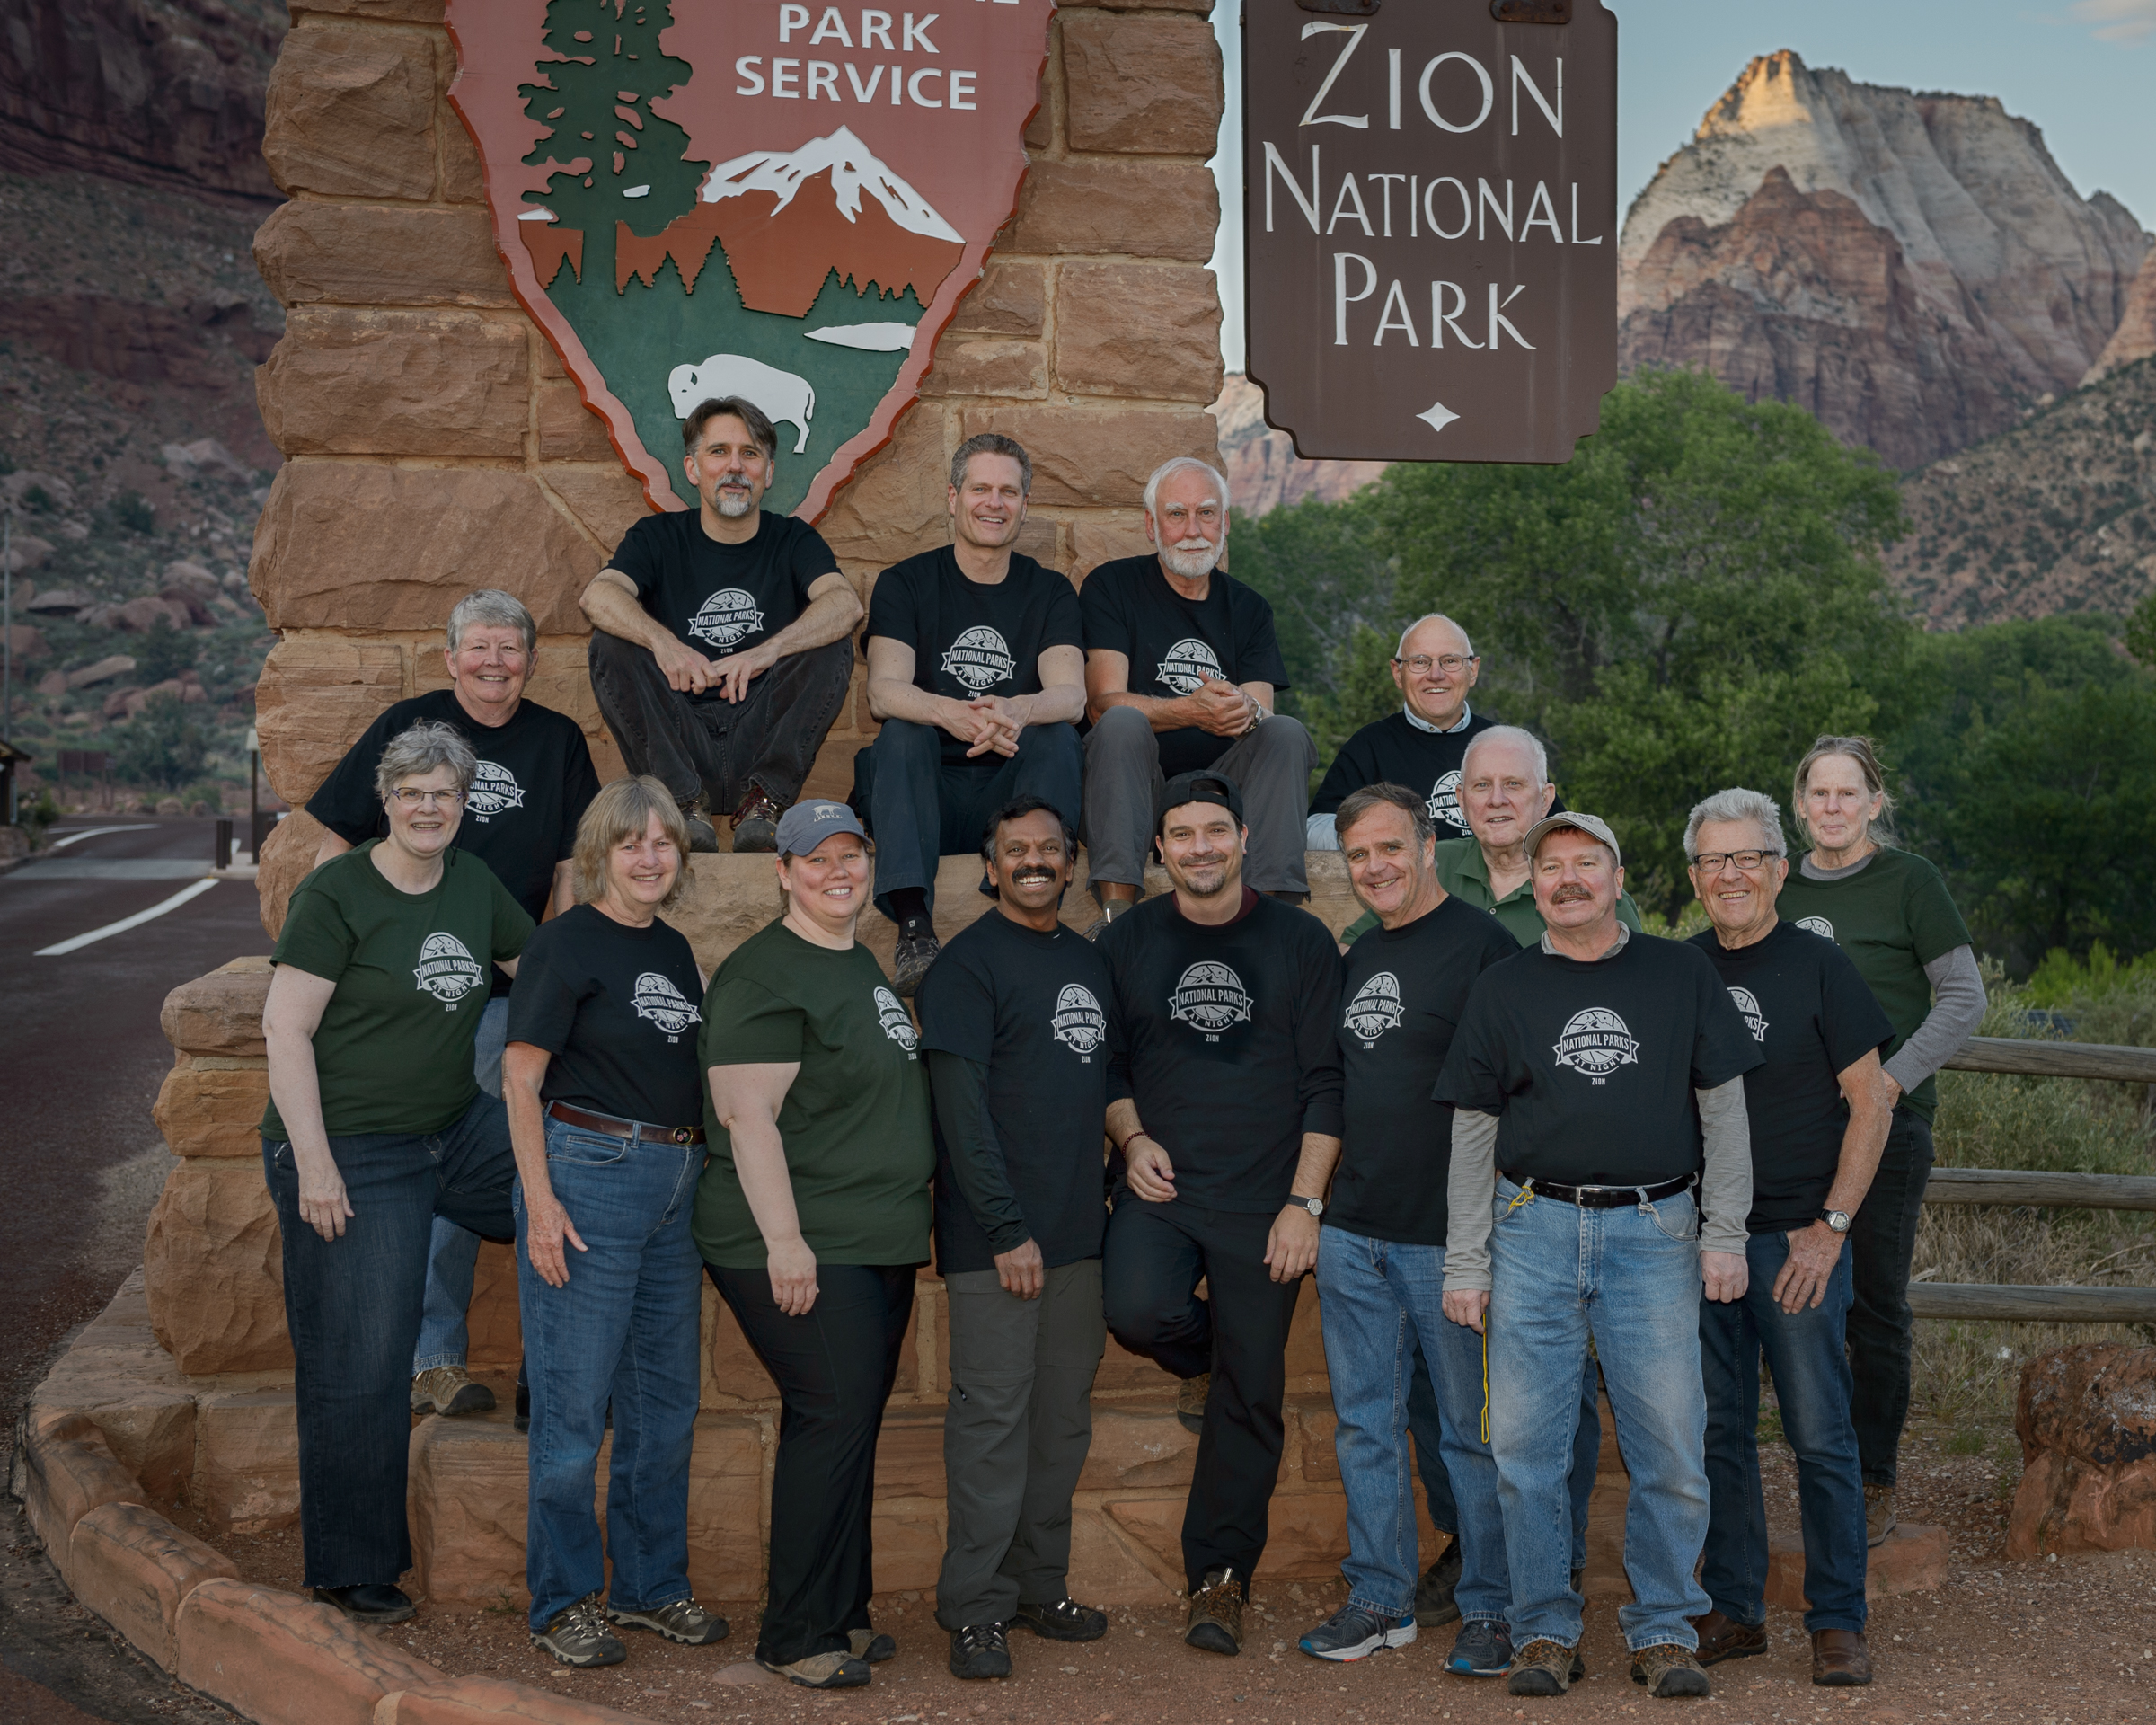
Zion National Park

May 23-27, 2016
by Tim Cooper

Zion was one of the first parks that I came to know intimately back in the early 1990s. I still remember my first visit like it was yesterday. Living in Montana I was accustomed to the mountainous topography of both Yellowstone and Glacier, but nothing in my experience prepared me for the sheer diversity and unique land forms of the Desert Southwest. When we were deciding which parks we should visit during our inaugural year, I leaped at the chance to return to Zion.

This of course was not the first time I had done night photography in Zion, but it was the first time I was able to fully focus an entire week on the venture. I was not only getting to revisit one of my favorite parks, but I was looking forward to working with my colleague Lance Keimig for the first time. It was going to be a great week!

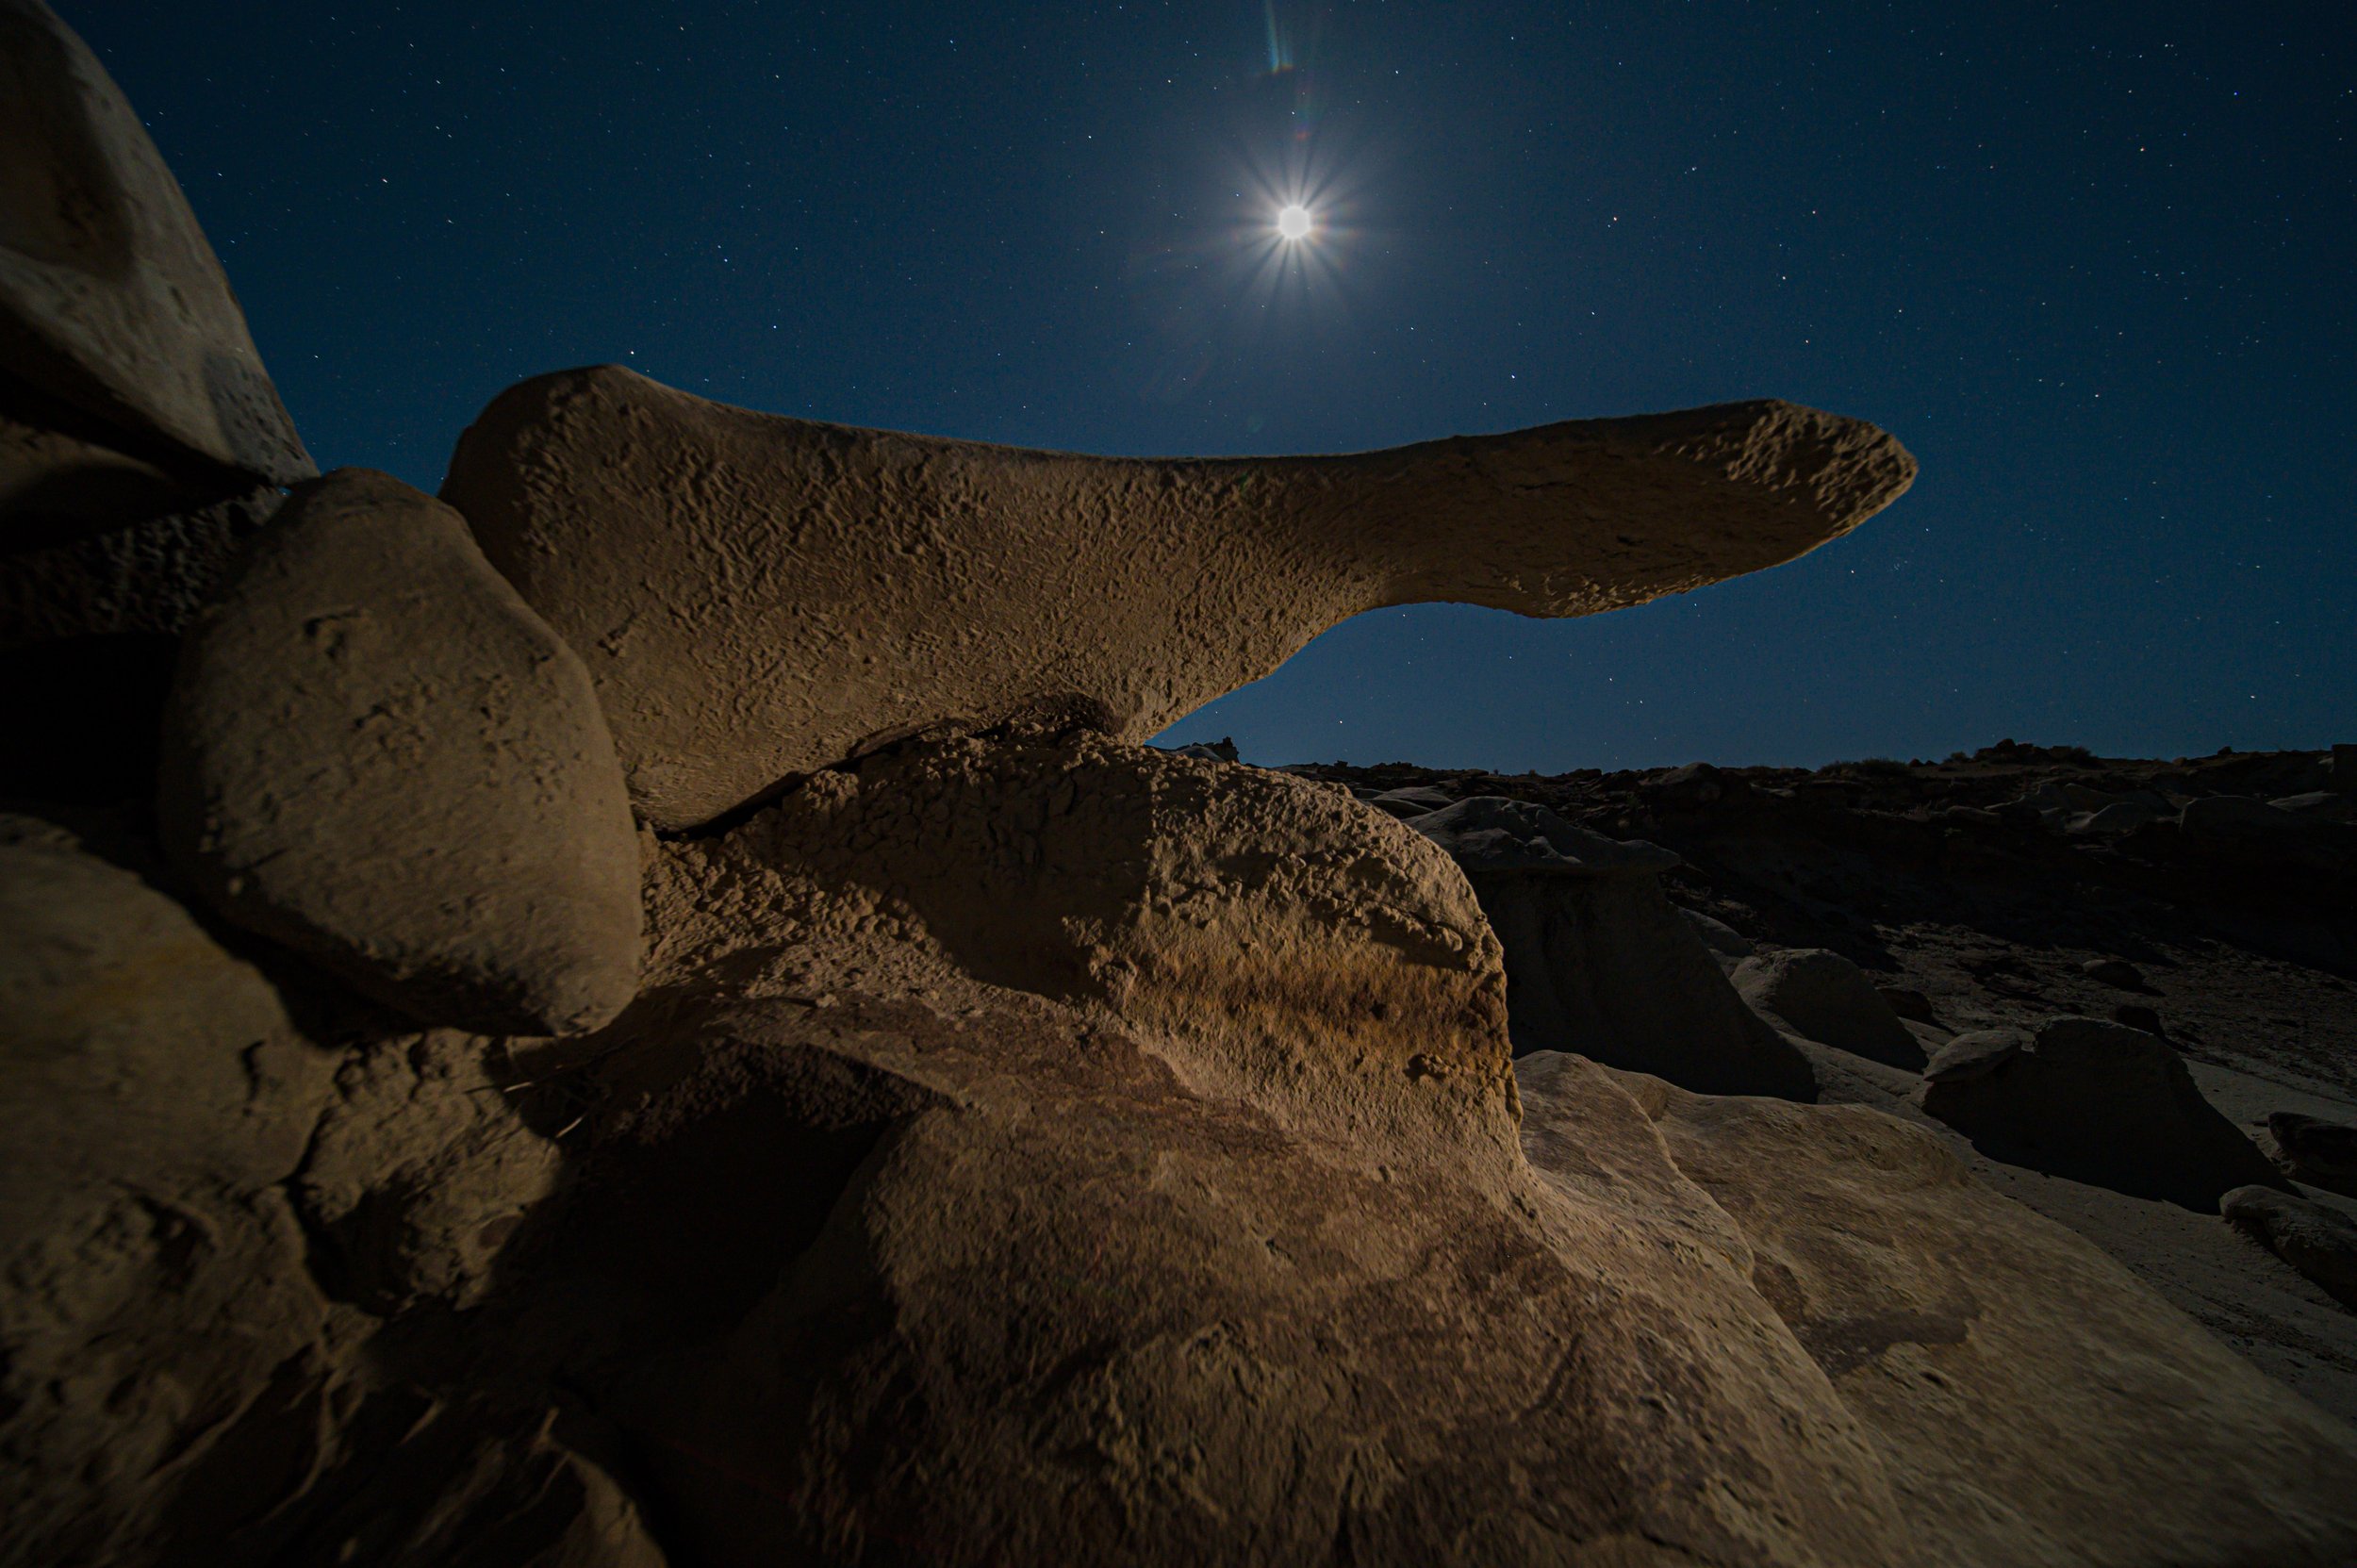
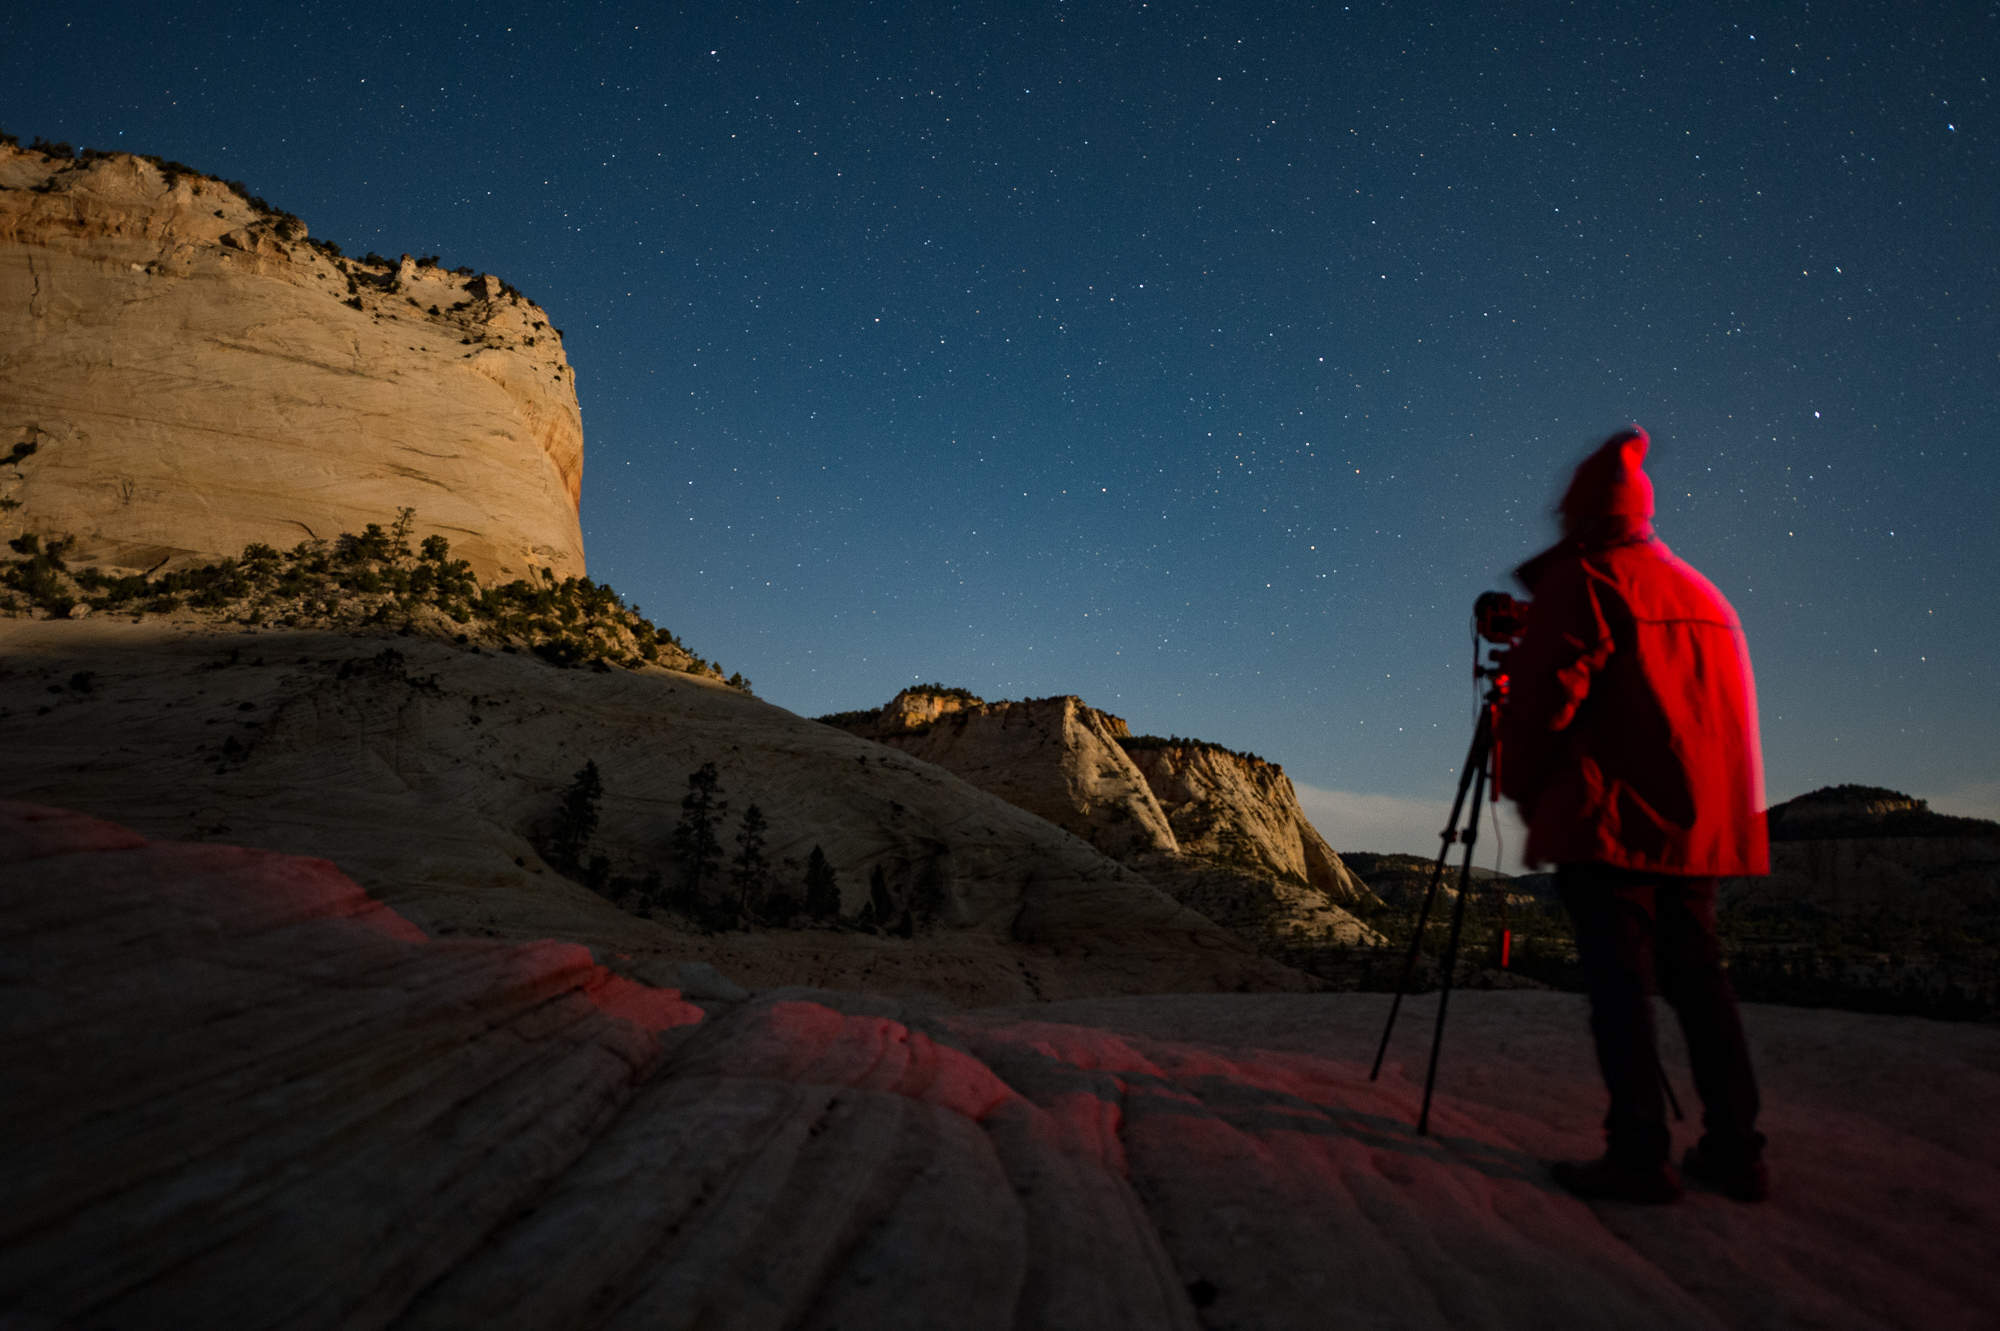
And it was. The weather in May is typically very nice, but this week it was perfect. A welcome mix of clear skies, clouds and moonlight. Lance and I had planned out a variety of different locations matching the moonrise times with appropriate subject matter. Due to the sheer beauty of Zion under the moon, Lance and I were eager to balance the workshop with a nice mix of dark sky nights for star trails and moonlit landscapes to highlight Zion’s natural beauty. Starting the workshop just after the full moon provided just the right combination.

The first night we struck out to the Checkerboard Mesa area on the east side of the park. The group was in great spirits as we navigated the sandy hillside to get to our location. We had scouted a great spot that provided a view of the moonlit scene while our foreground remained in the shade of a nearby mountain. A perfect combination for light painting! Everyone came away with great imagery as they became accustomed to working in the dark and illuminating their subjects with flashlights.

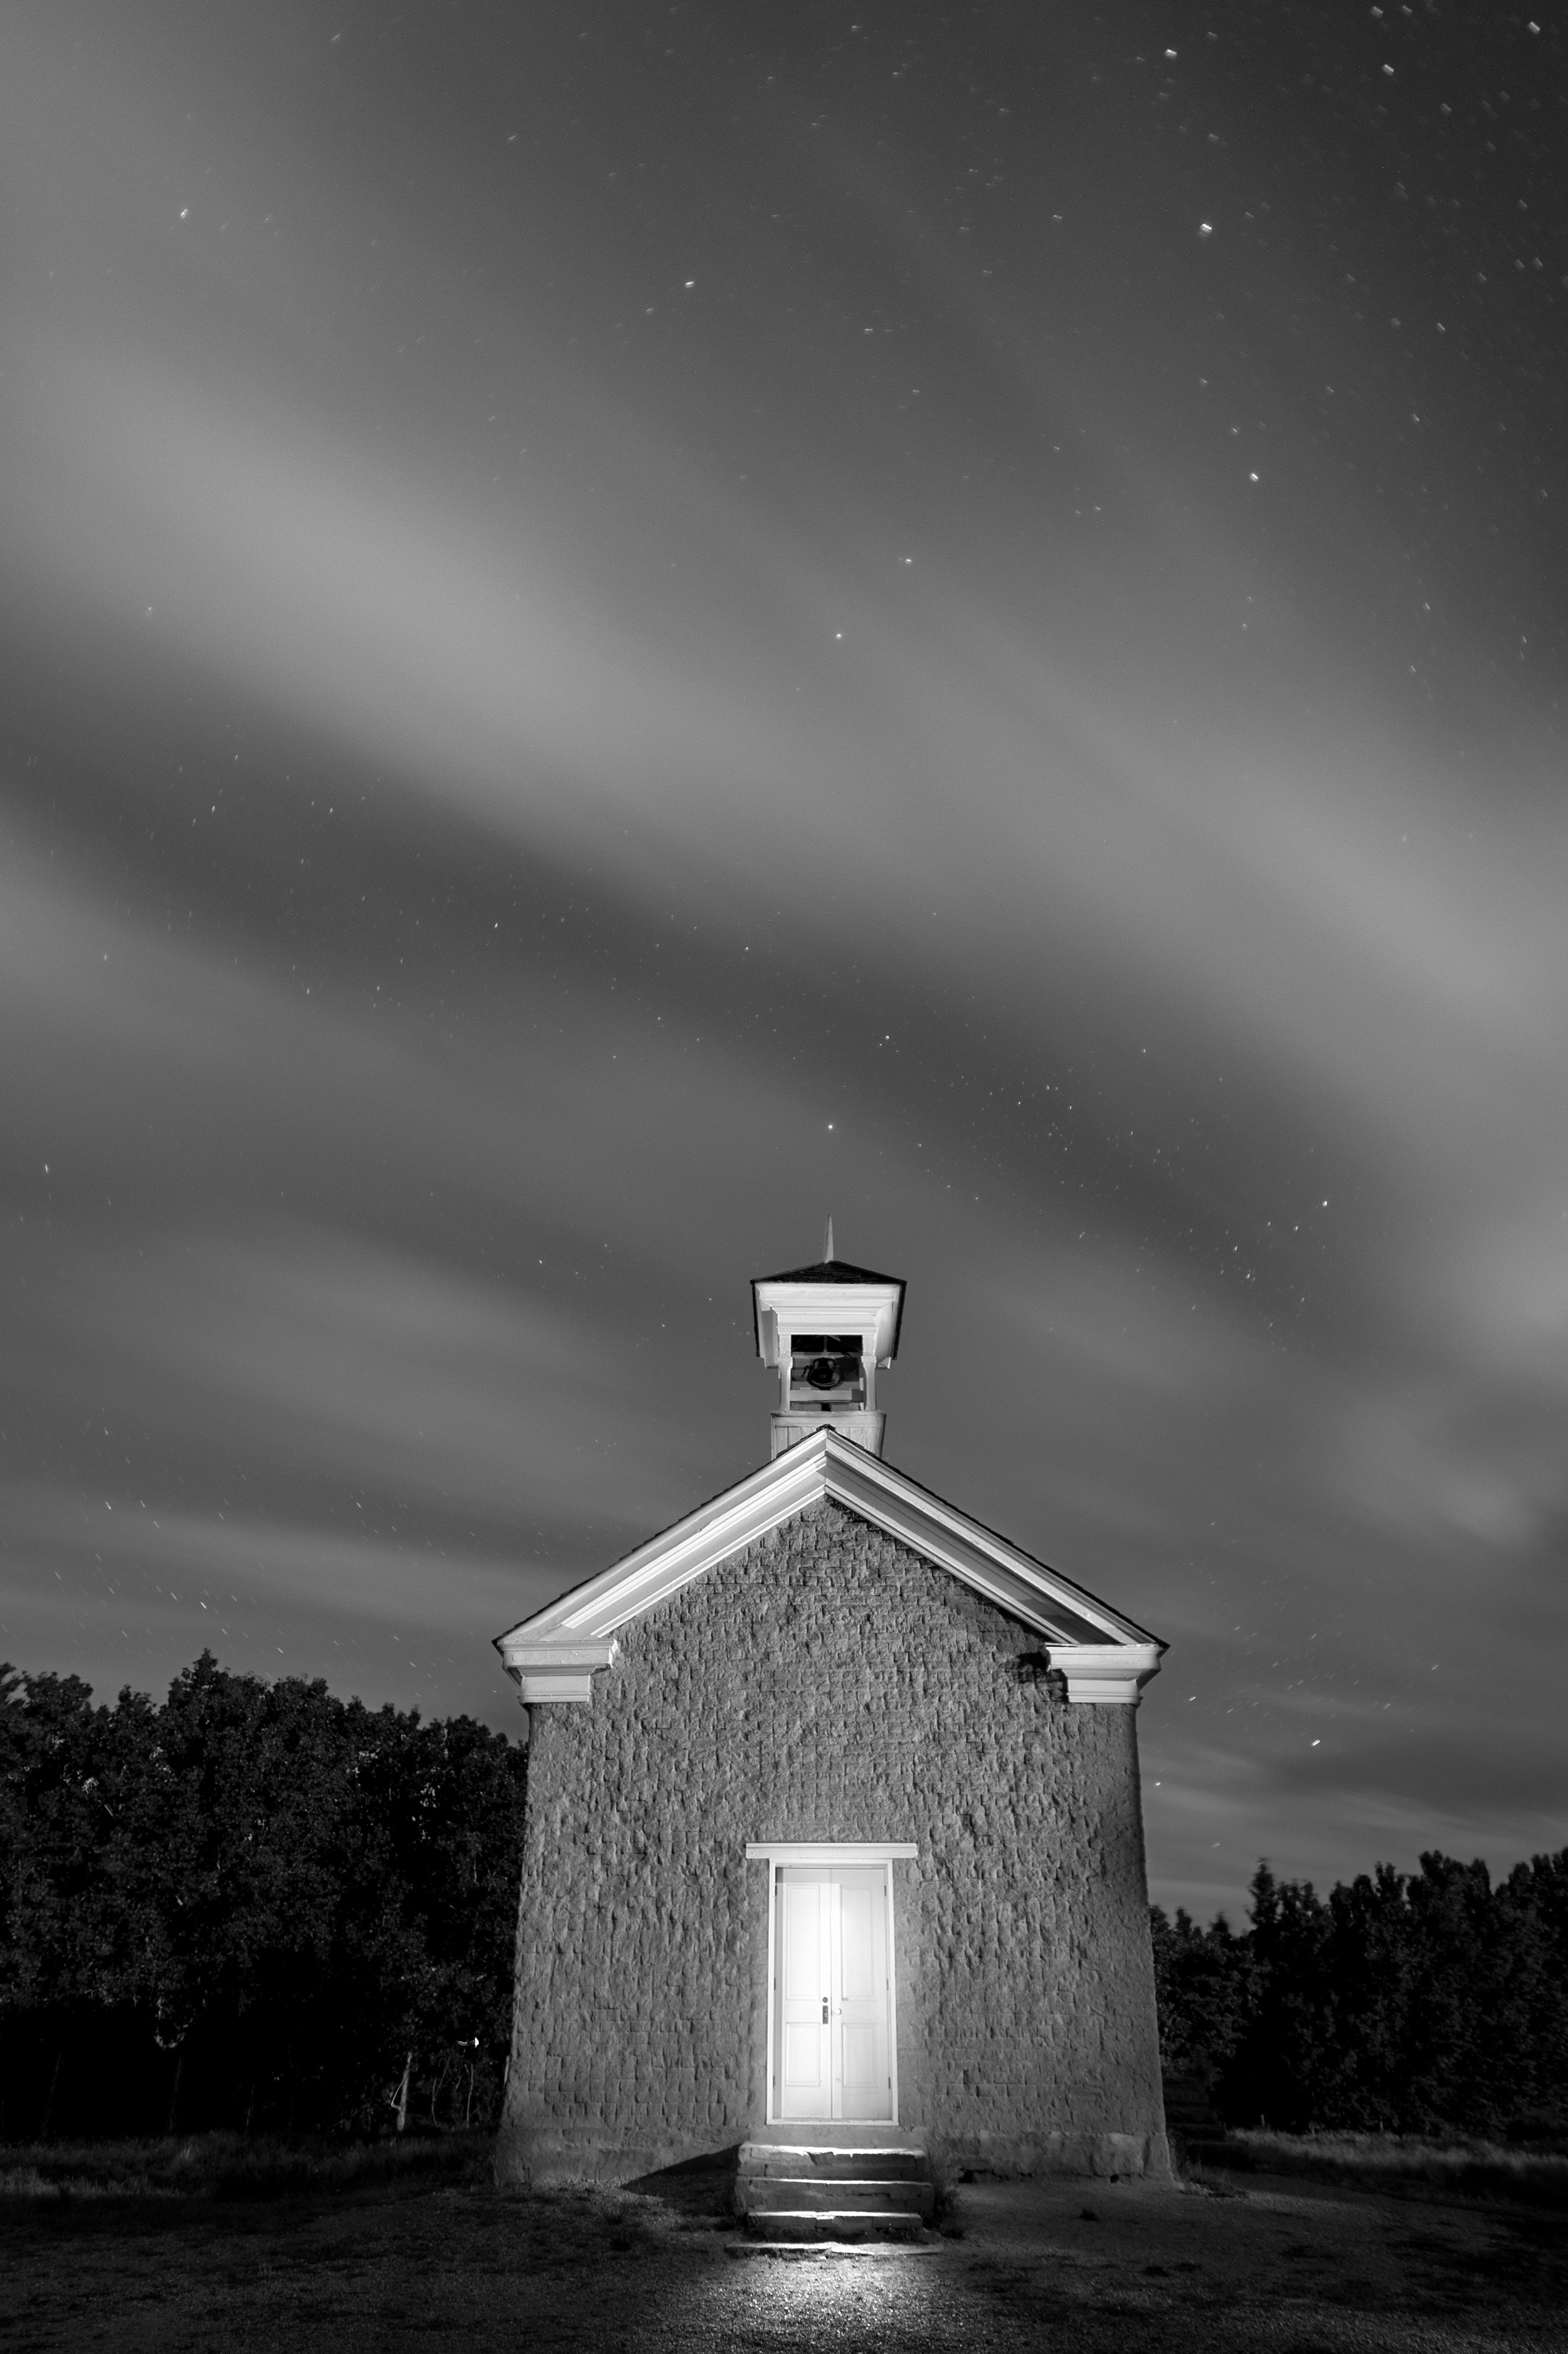
Over the next several nights we continued to explore the areas in and around the park. Lone pine trees, petroglyphs, sandstone walls, canyons, ghost towns and desert flora all provided a wealth of subject matter. Moonlit sandstone, starry skies and streaking clouds supplied a variety of aesthetic conditions. Camaraderie, enthusiasm and a sense of adventure among the group was the icing on the cake.

For the participants, Lance and myself, Zion at night was a wonderful first NPAN adventure. I am now just counting the days until the next one!

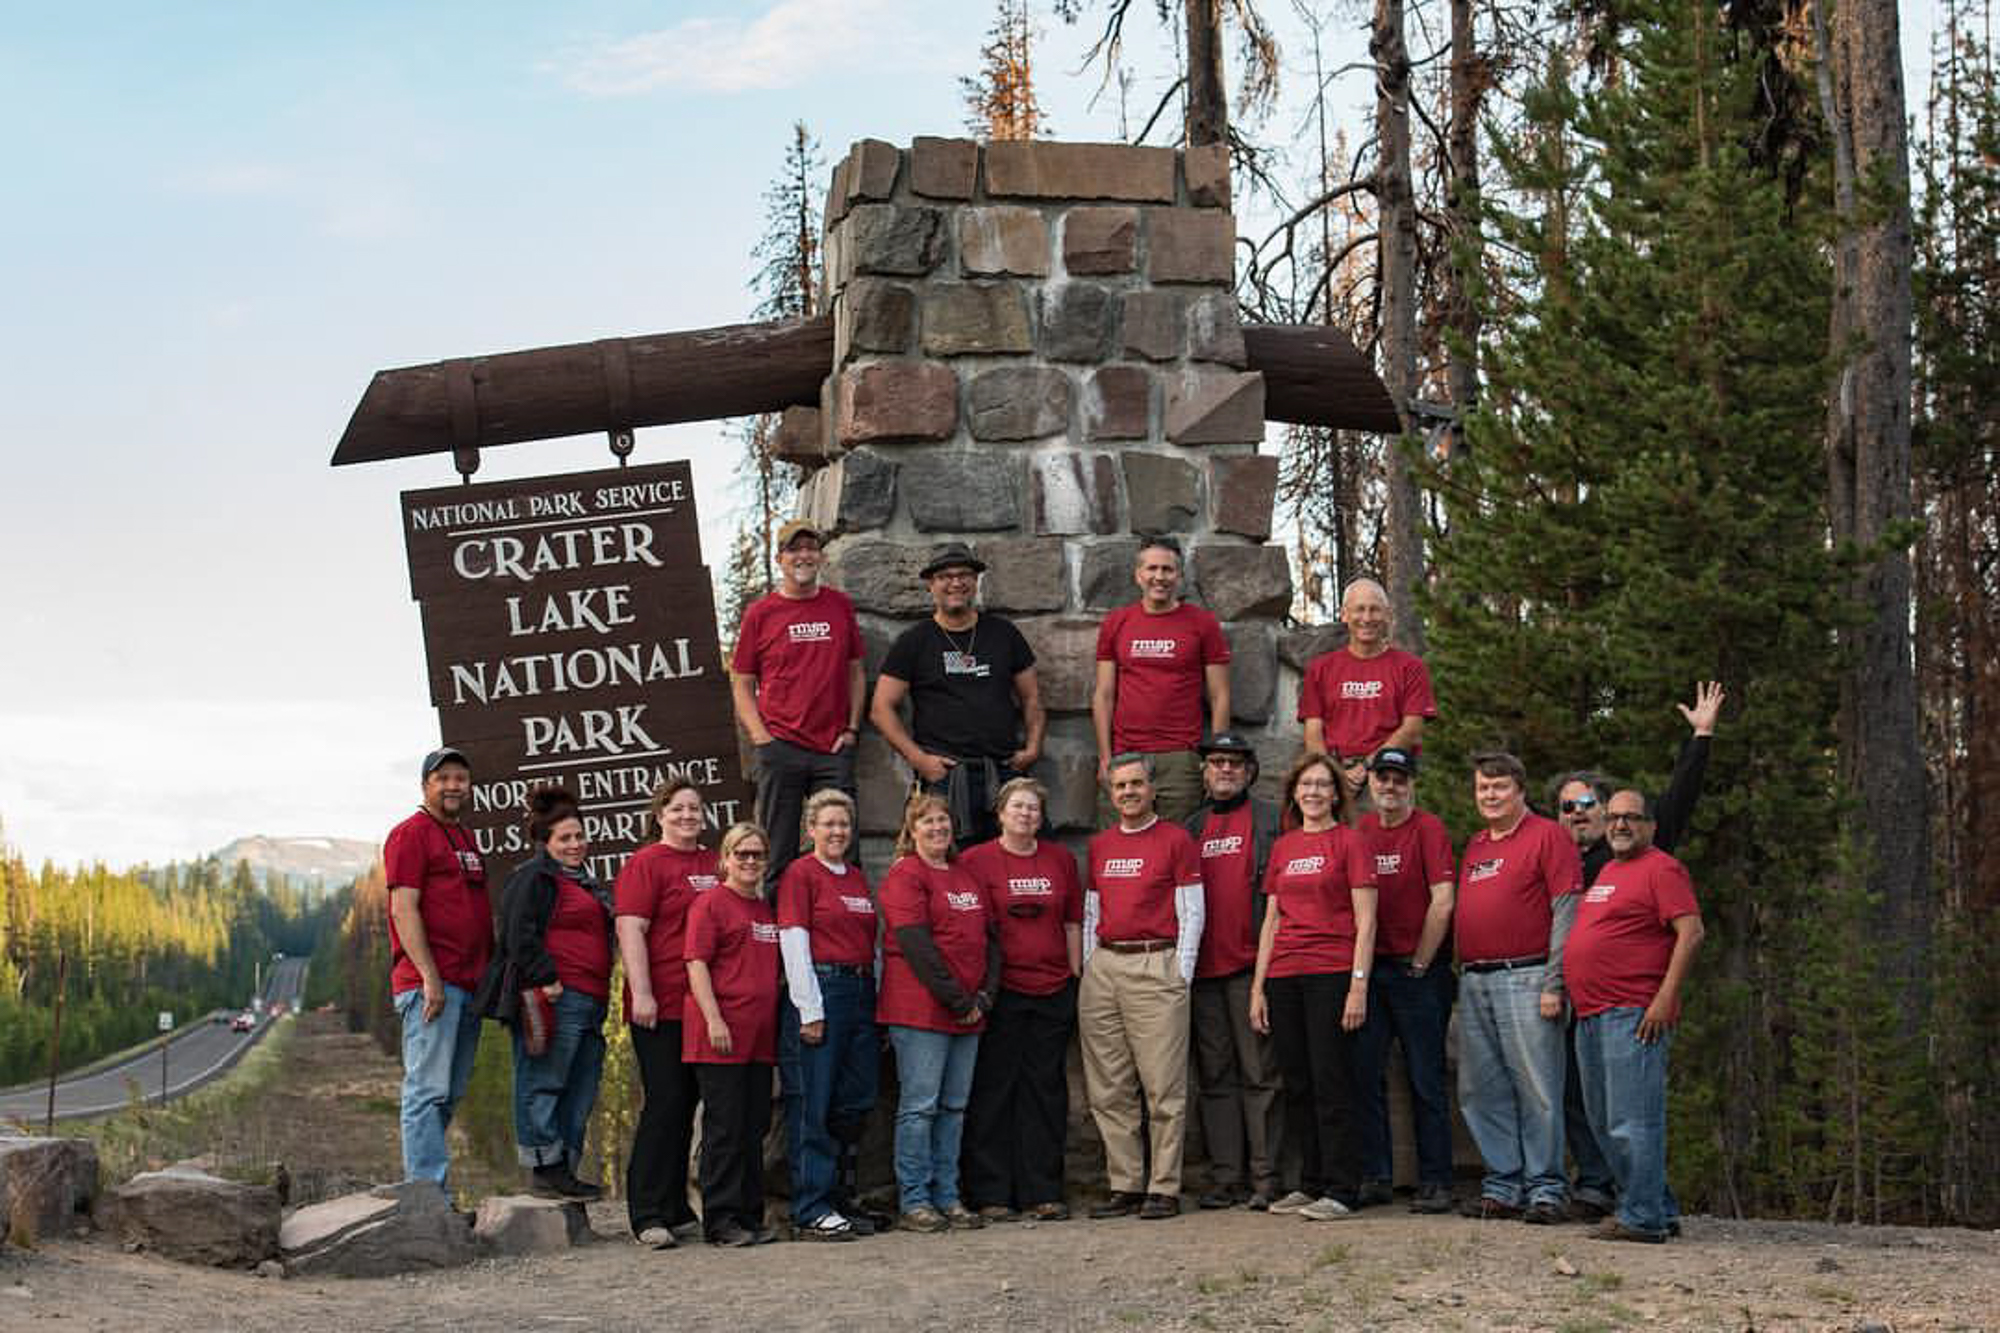
Crater Lake National Park

August 4-6, 2016,
by Gabriel Biderman

On the day that Matt Hill and I were about to drive from Portland, Oregon, to Crater Lake, we received word that a fireβ€”a big forest fireβ€”had just started at the southwest rim of the park. We kept monitoring the situation and kept in constant communication with the rangers as well as the students. Things seemed to be somewhat under control, thanks to the quick action of the firefighters, but the possibility remained that a big wind could change it all very quickly.

When Matt and I arrived, the rim road leading to the south was closed and would remain so for the next week. But there was a bright side: The smoke from the fire was staying clear of the caldera and actually added a nice complementary warm light when shooting from the north. The weather was absolutely perfect for the workshop; we enjoyed warm 80-degree temperatures during the late-summer days. And the temperatures quickly dipped each evening to a sensor-cooling mid-40’s, with incredibly clear skiesβ€”every night!

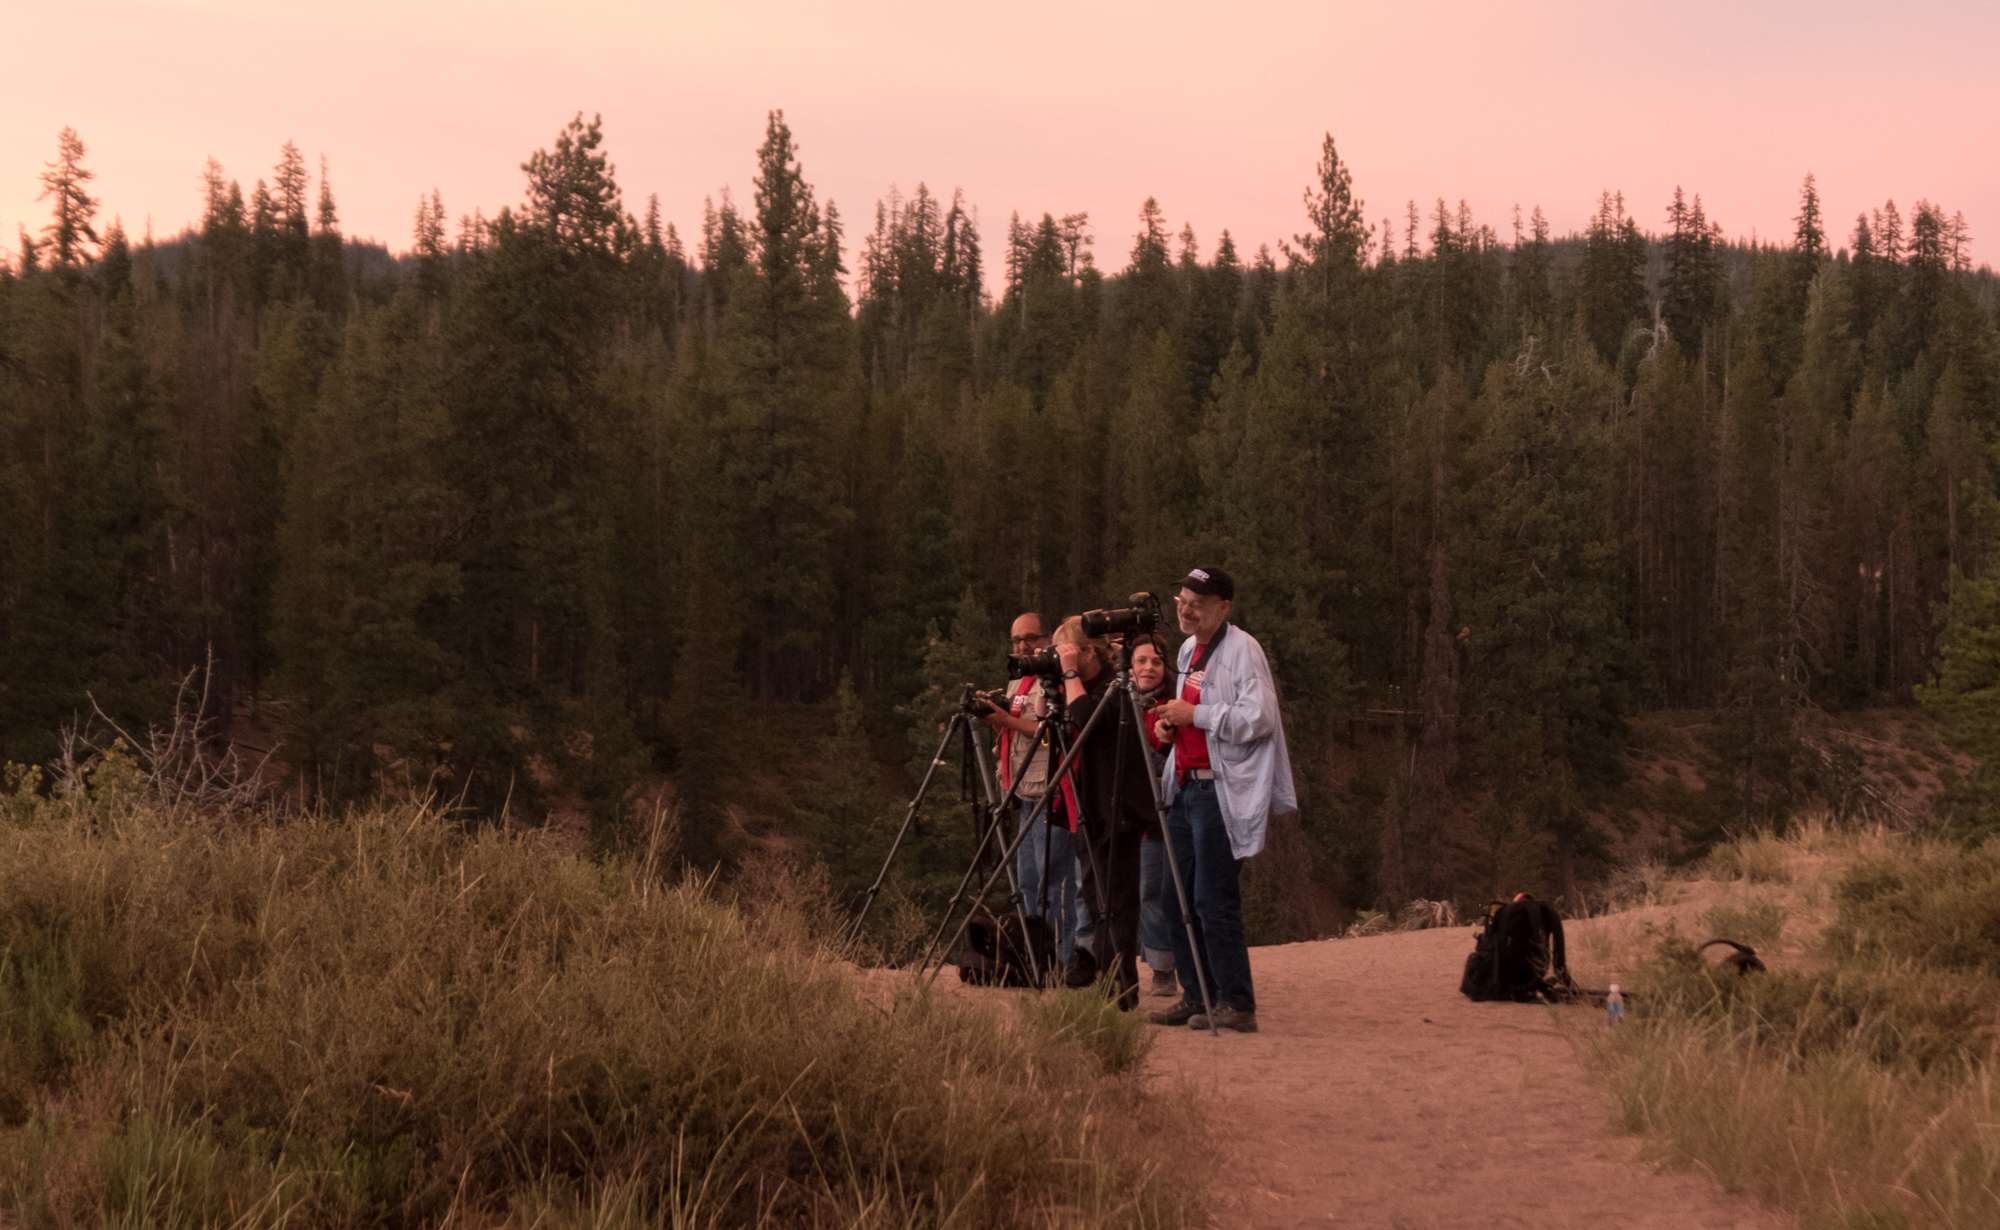
Each day began with a hearty and late breakfast at the Diamond Lake Resort followed with lecture and image reviews. We made sure to visit and experience the park during the day, as well as the night. Scouting is such an essential part of night photography and is best done while the sun is up. So we spent a couple of afternoons leading the participants as we scouted the rim, filled the theater at the visitor center, and ran briefly from the twilight mosquitoes.

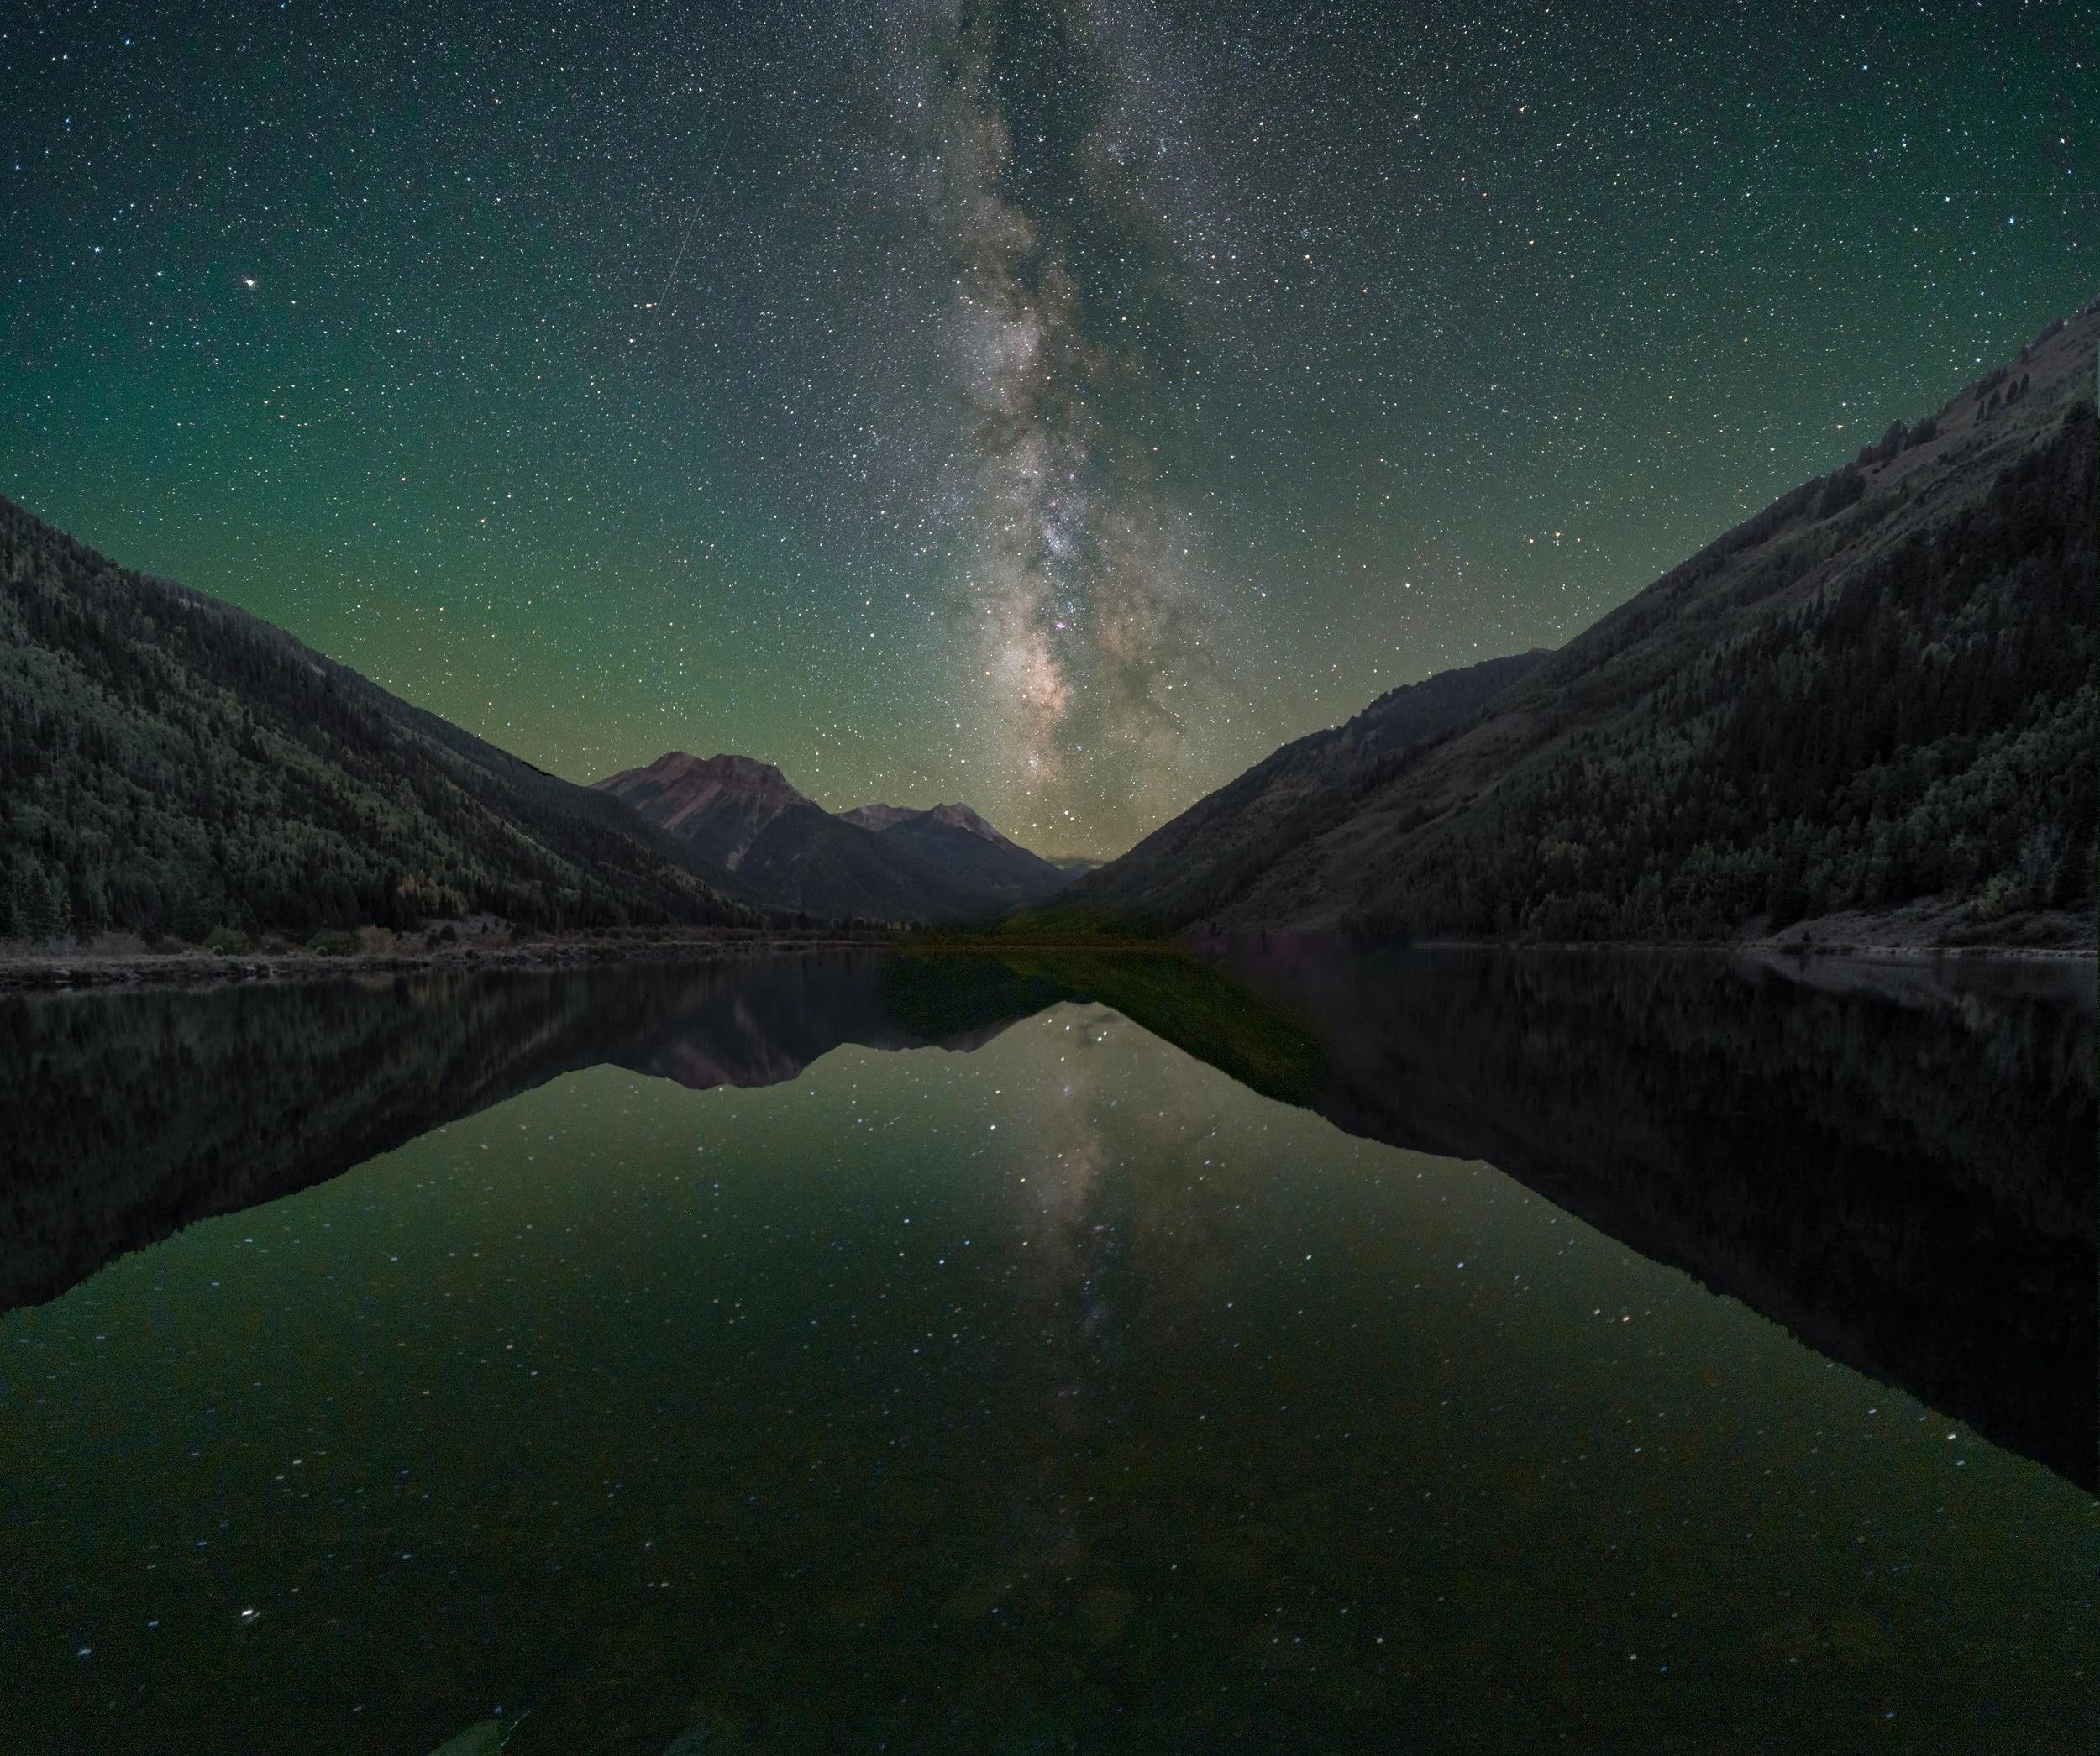
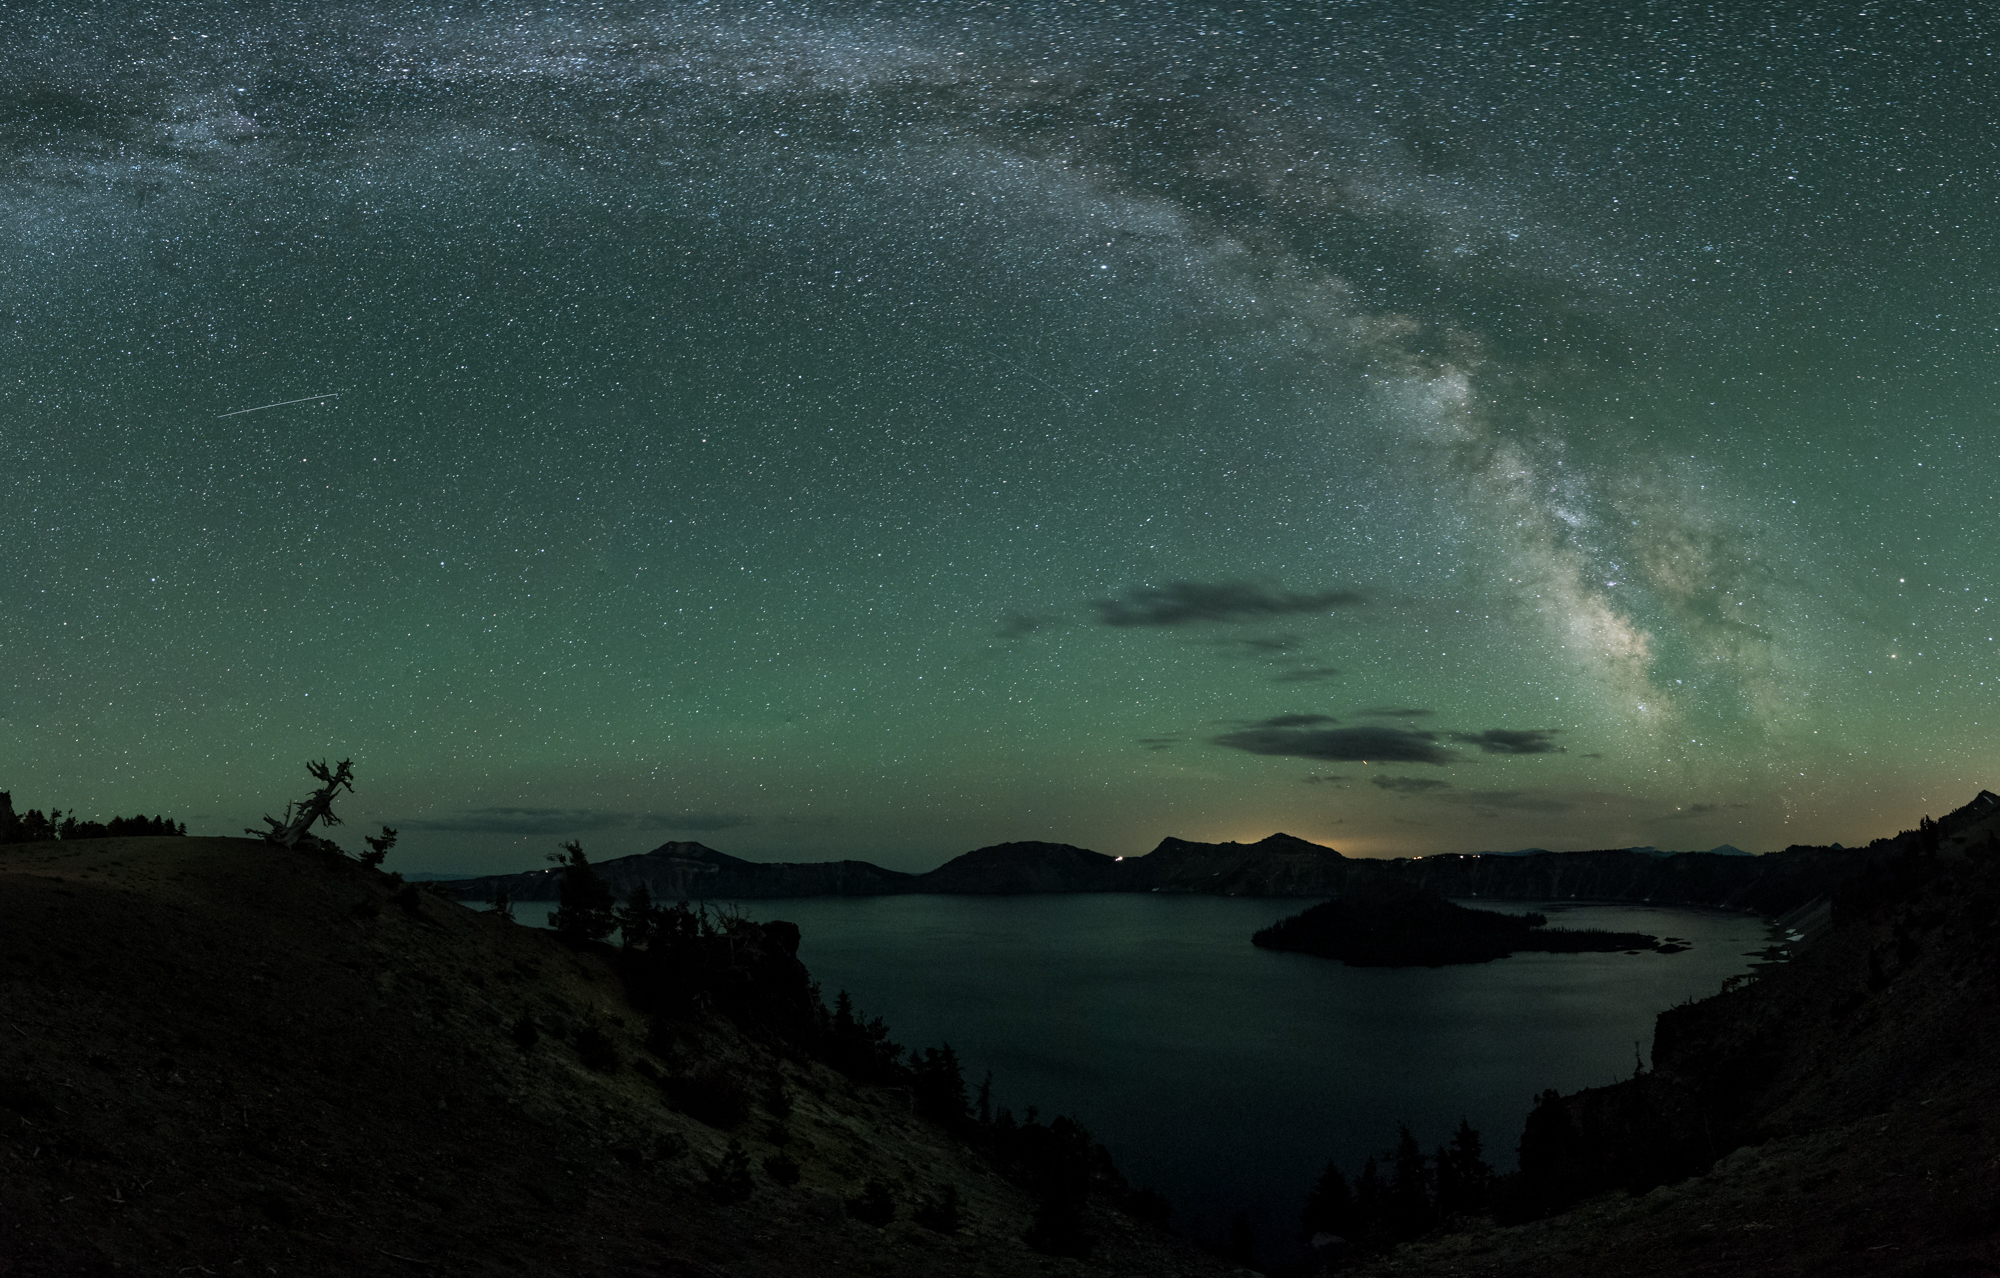
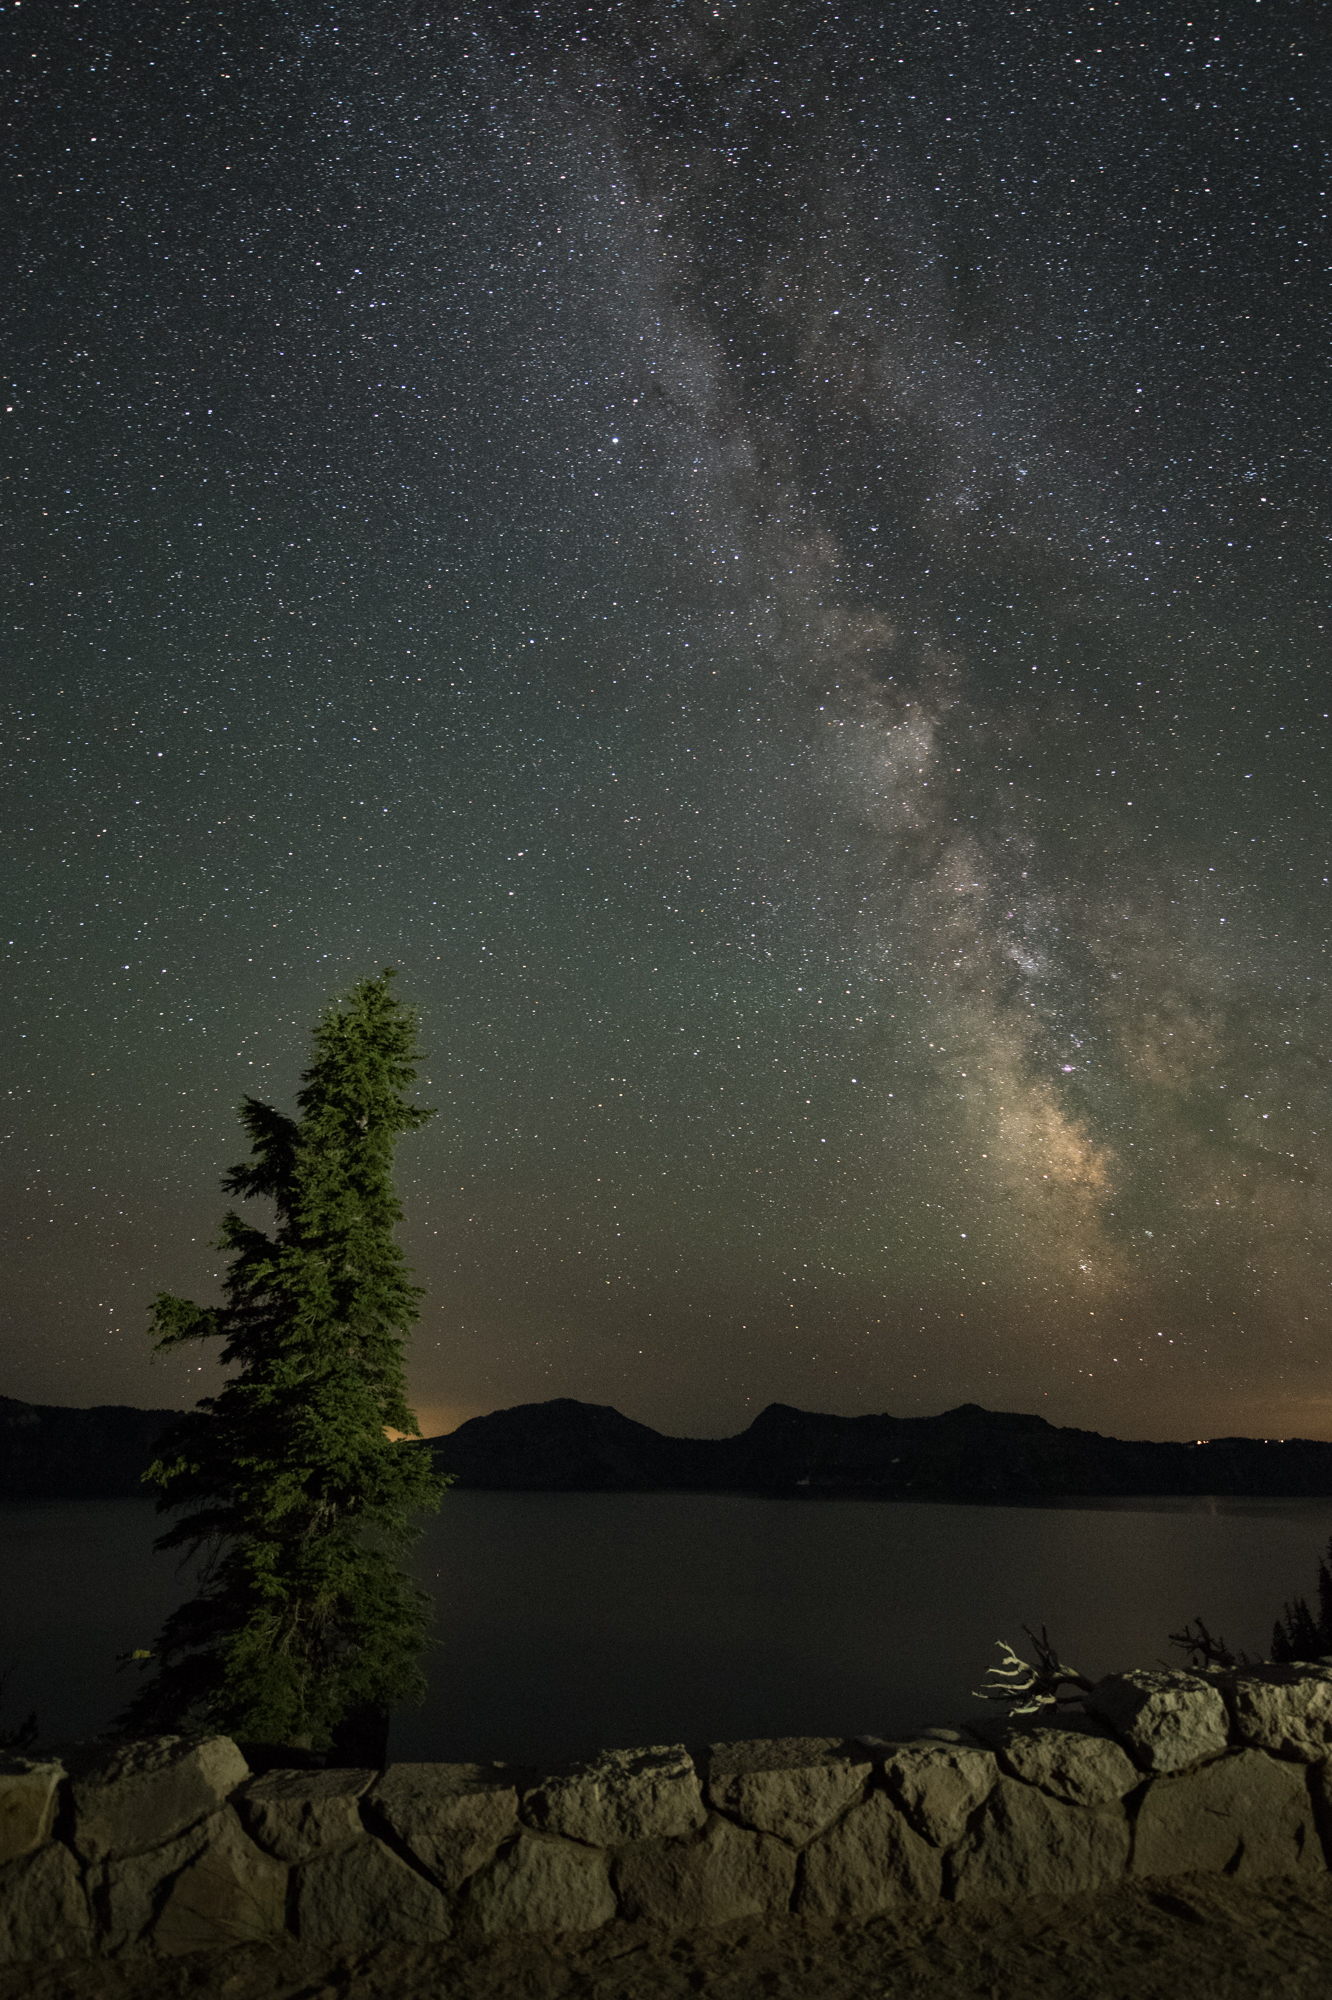
When we asked the students what they were looking forward to doing at the workshop, each replied, β€œCapture the Milky Way!” About 75 percent of the class had never even seen our galaxy in all its glory. We ecstatically checked that off our list half way through the first night.

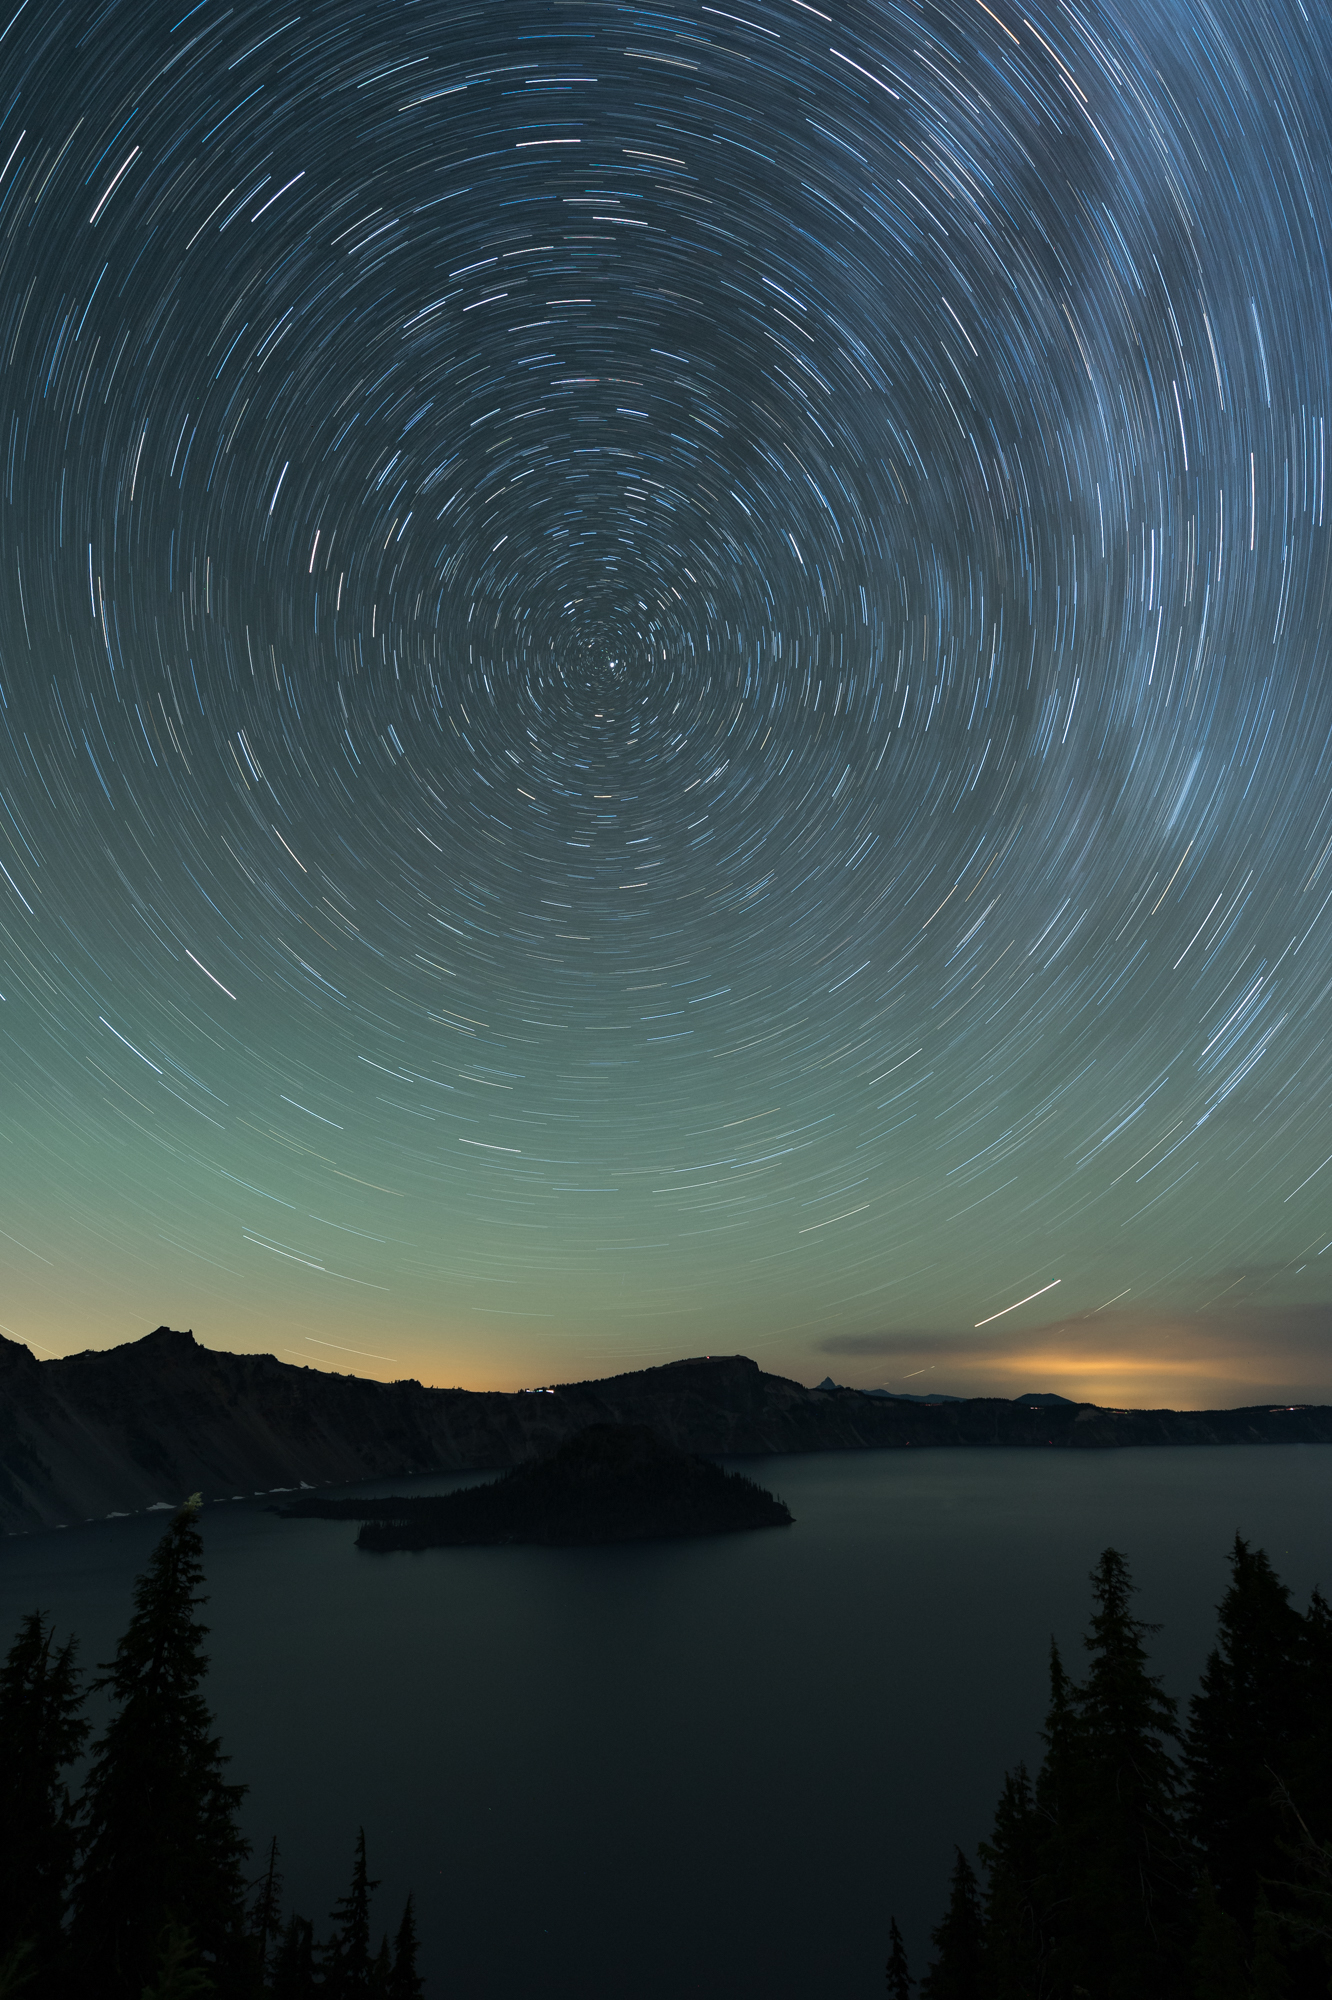
Over the next three nights we explored the Crater Lake caldera to the fullest. We nailed focusing in the dark, star points, star trails, light painting, and capturing and processing night-sky panoramas. The Milky Way greeted us each evening and stood high with the galactic core gliding along the horizon.

It was a real joy to share this experience with everyoneβ€”I’ve never seen so many people so excited to be under the Milky Way as well as go home with a wonderful portfolio of images of Crater Lake at night.


UPCOMING WORKSHOPS FROM NATIONAL PARKS AT NIGHT

Happy Birthday to NPAN. Thank You for an Amazing First Year!

All five of us from National Parks at Night say, "Thank you." It's been only one year since this beautiful dream started, and we're so grateful for those who believe in us.


A PEEK ON THE INSIDE

You may not know it from the surface, but NPAN (the acronym we use to refer to our business on the inside), is not just a workshop program. It's a living, blossoming dream that the five of us nurture and grow.

Seriously. 

We really love education, and night photography, and amazing national parks. But what we're really reaching to do is build amazing experiences for people centered around this quiet, nocturnal craft. 

I cannot count the number of times we've had passionate discussions about our workshop attendees, what would make them happy, and leveling up those ideas through spirited debate, critique and a lot of asking, "What if?"

It's all couched in mutual respect and a really egalitarian approach where we all take responsibility for growing this program together. More simply stated, we're all very involved in the business, as well as running our own workshops. There is no coasting for any of us; no passing of any bucks. We all are in this program to make something extraordinary happen every time.

And we know it sets us apart. Not from other workshop programs (we have many friends who also run their own programs and love them!), but from many businesses. We eschew hierarchy in favor of cooperation and respectful discourse. We trust each other and hold each other responsible to be true to those who choose to take an adventure with us. We know the real product is for our customers (who really become our friends) to have a positive and meaningful experience.

Why mention any of this to you? Well, because I am just so proud that these other four people chose to sign on to create National Parks at Night. And that they continue to be passionate about it, day after day, week after week, and month after month.

OH, THE PLACES, WE'VE BEEN

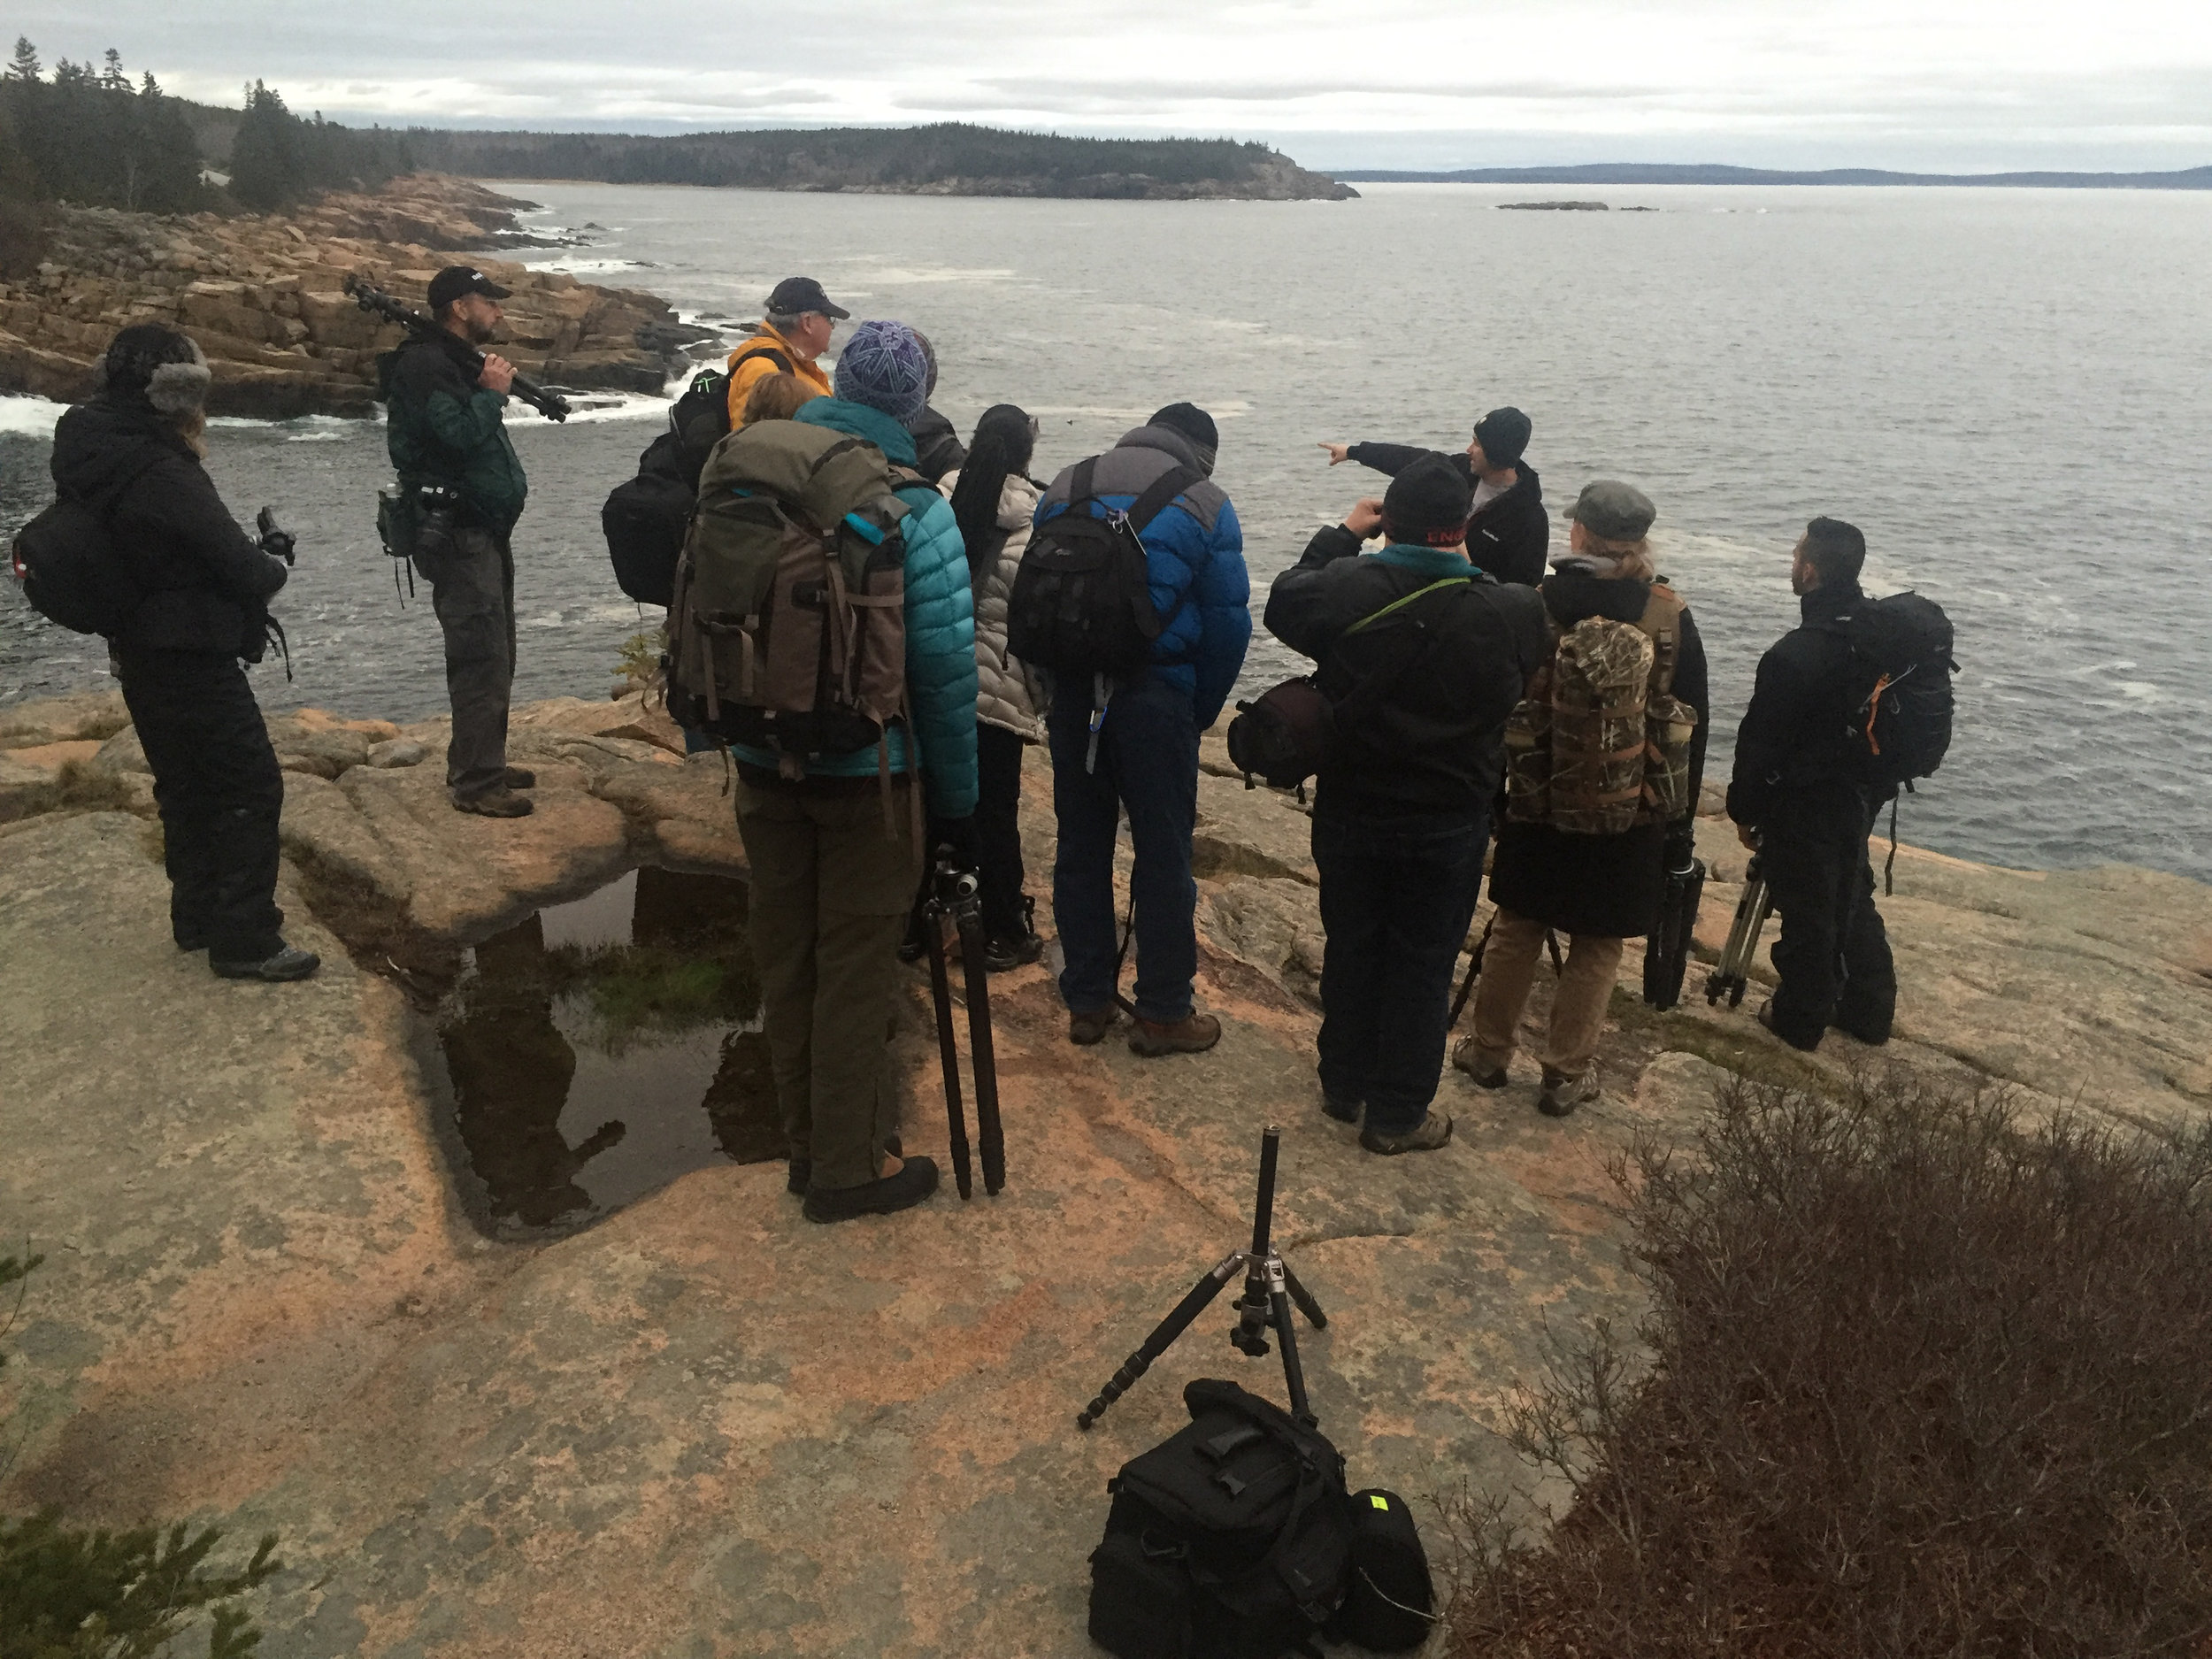
In our first year, individually and as a team we presented at PhotoPlus Expo, B&H and Lindblad Expeditions' OPTIC Imaging Conference, the new and exciting Out of New York Conference, numerous local camera clubs, Photoville, PSA, Maine Media Workshops, NECCC, RMSP, the New York Adventure Club, the B&H Event Space, the Photographic Resource Center in Boston, the Sierra Club, Photo Field Trip, local Meetup Groups and more. We love participating in local community events and hope to see you soon in your area during our second year.  
GRATITUDE FOR OUR SPONSORS

We have the trust and support of some amazing companies that dig night photography and superior customer service as much as we do. Thank you to them for partnering up with us. Here is a little about each of them: 

Gear is essential to the practice of night photography, and we choose our sponsor/partners with great care. It's a relationship that is valuable to the instructors, the workshop attendees and the brands. Everyone has to find value in it. 

Thanks to our sponsors, we can also offer our customers some great opportunities, many of which you discover during a workshop.

IF YOU CAN'T COME ALONG, JOIN US ONLINE:

And last, but not least, the crazy/amazing experience that was Night Photography Week on CreativeLive was bonkers in a very positive way. Special thanks to Kathy, Chelsea and Arlene for crafting a week-long experience that brings the night to a worldwide audience. 

LOOKING AT YEAR TWO

Here we are, one year later, seeing our dreams realized. All the 2016 workshops were enjoyed at full capacity. And the recently announced 2017 workshops are nearly full, too. The overwhelming support from our true believers makes us try even harder. So, we're talking about some other cool things that you'll know about soon if you're on our mailing list (hint, hint!).

Expect new ideas and offerings from NPAN in the coming year. We're growing our dreams, expanding our horizons.

This is really just getting started. We're both literally and figuratively exploring new ideas as you read this. Thanks again for supporting us, and for coming along on this dream to make beautiful nighttime photography in national parks in a community of like-minded people.

Matt

p.s. β€” I also want to express direct thanks to Gabe, Chris, Lance and Tim for being amazing human beings. It's a real pleasure to make this journey with you. You inspire me!

See more about Matt's photography, art, workshops and writing at MattHillArt.com. Follow Matt on Twitter Instagram Facebook.

UPCOMING WORKSHOPS FROM NATIONAL PARKS AT NIGHT