
One of the most common issues we hear about from people learning to photograph at night is the challenge of getting the subject in focus when you can’t … well, when you can’t see anything.
Is focusing in the dark a trick? A skill? An art? A science?
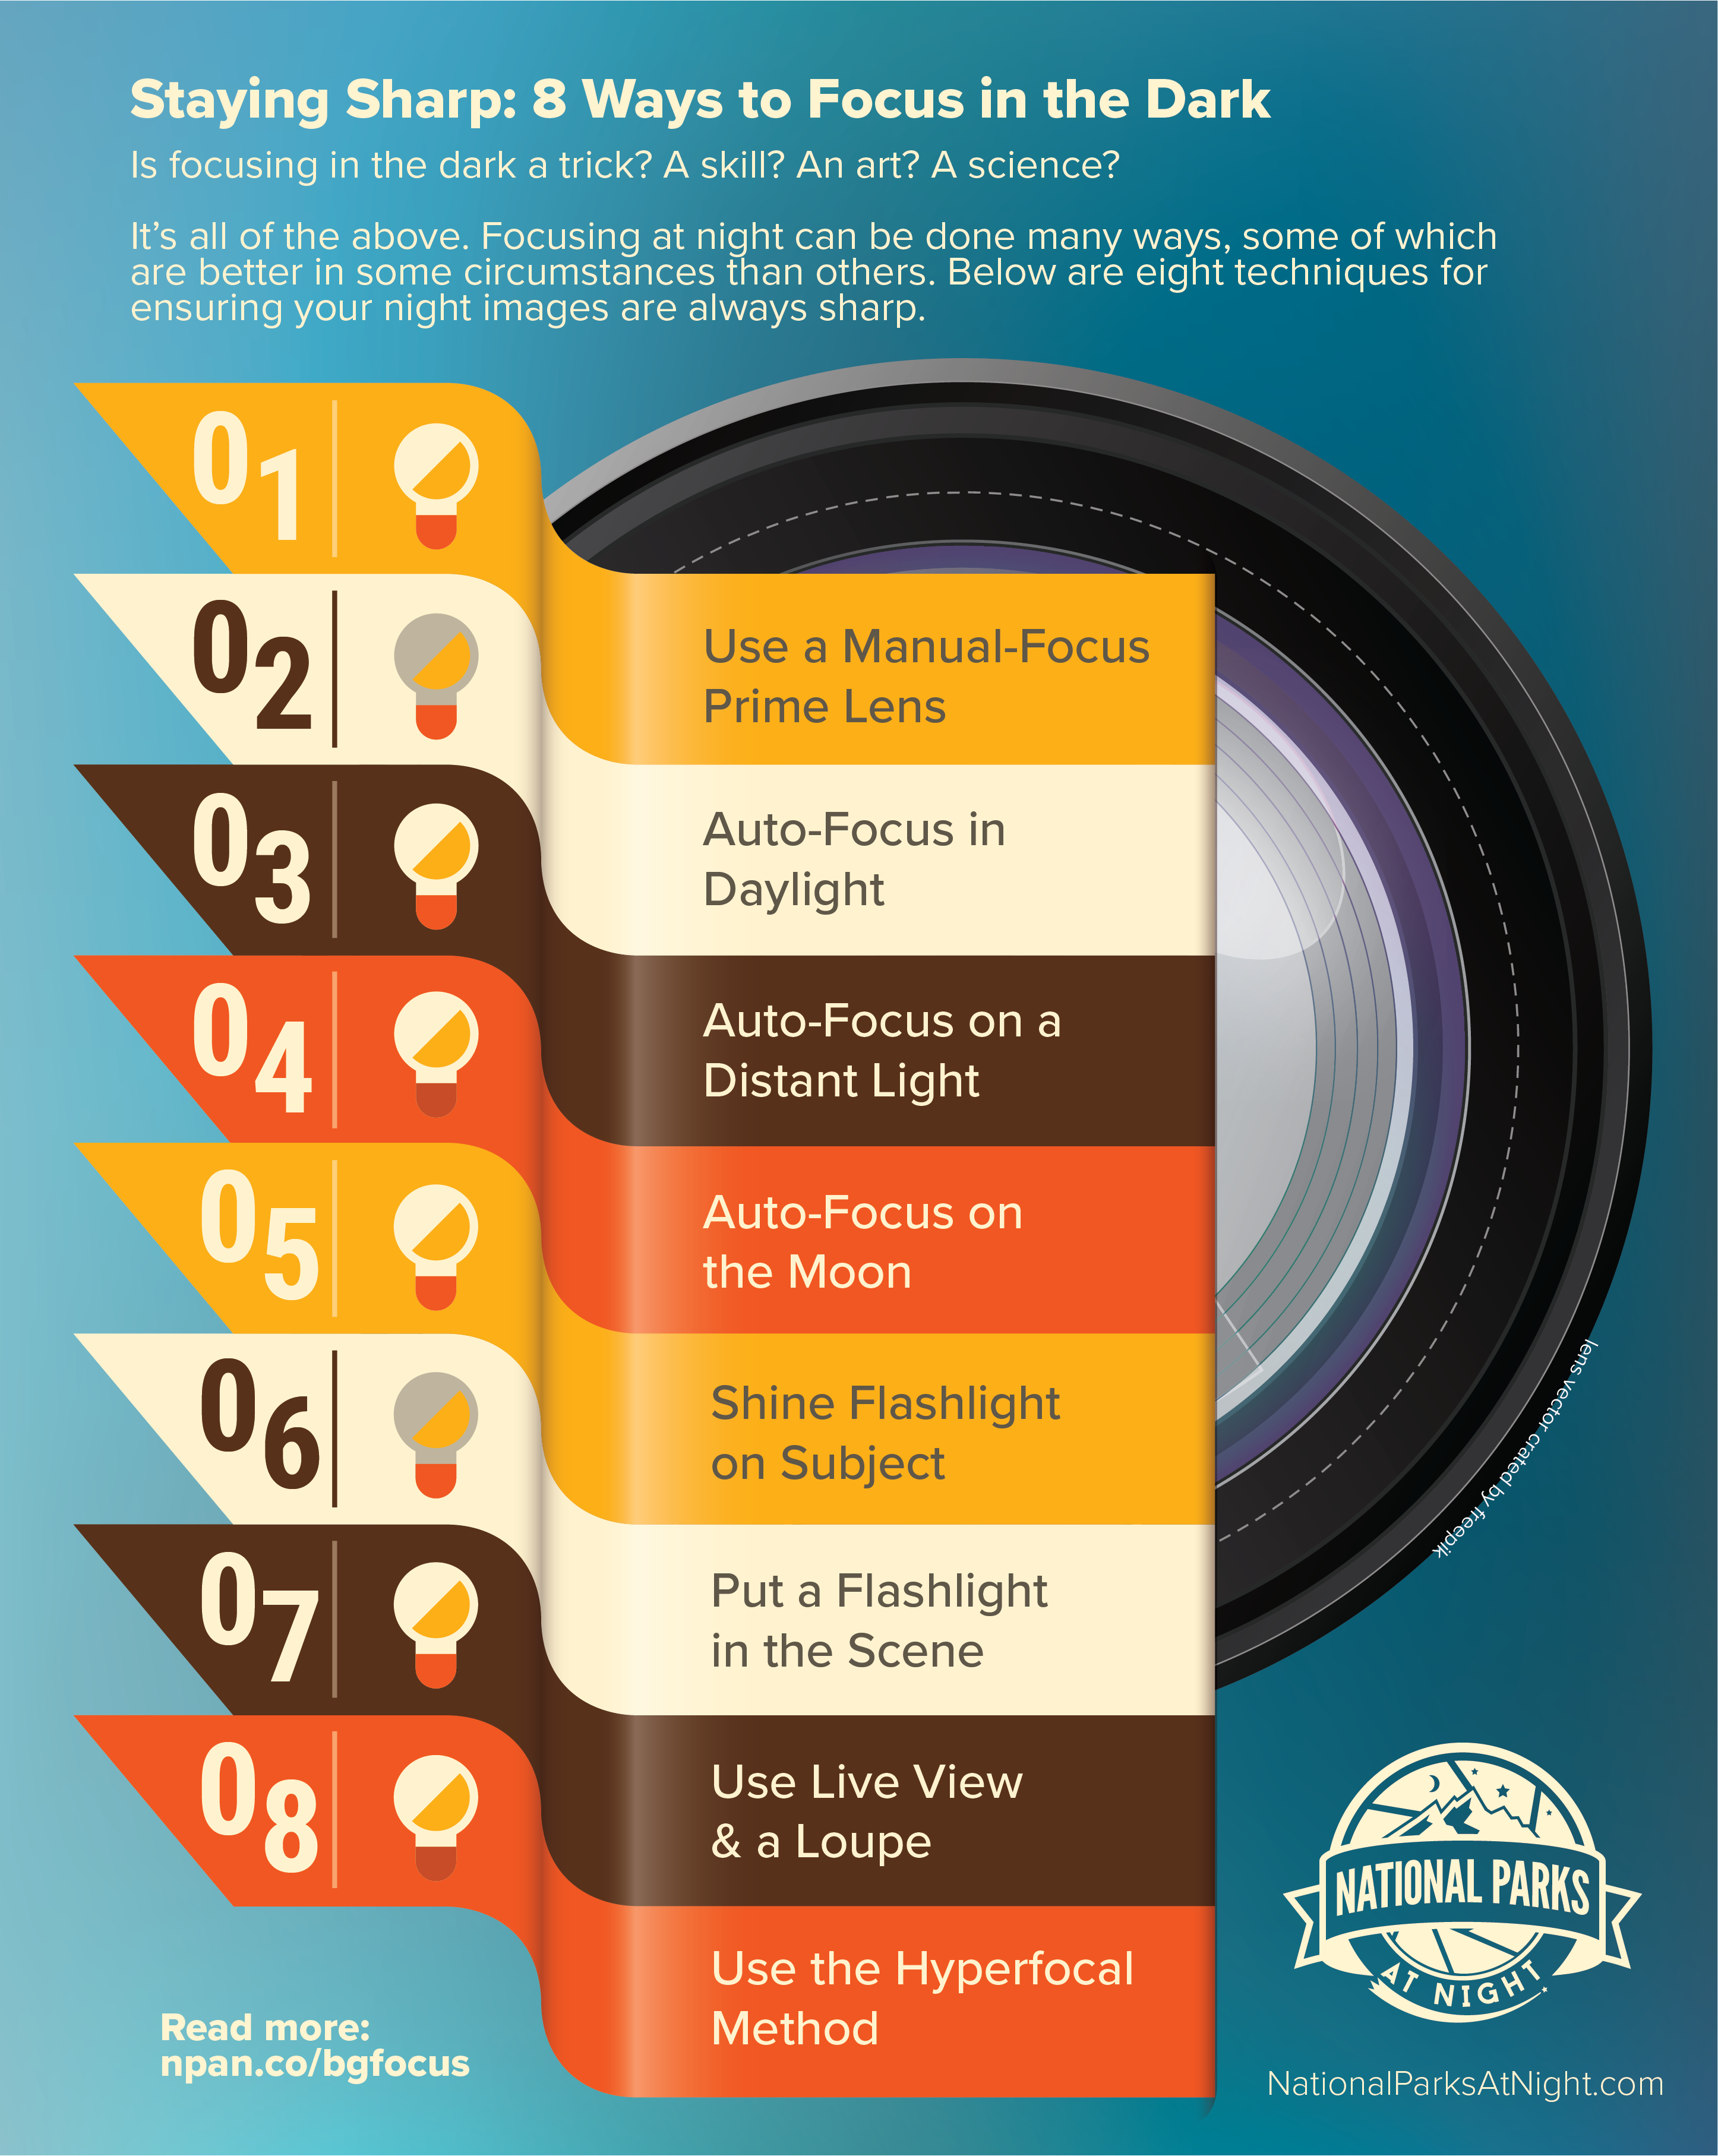
In fact, it’s all of the above. You have options. Focusing a lens in the dark is not only possible, but it’s possible to do in many ways, some of which are better in some circumstances than others.
Below are eight techniques for ensuring your night images are always sharp.
1. Use a Manual-Focus Prime Lens
This is the simplest way to focus in the dark. If you’re focusing on infinity (which is the case for many, many night scenes in natural spaces), then it’s remarkably quick and simple to mount a manual-focus prime lens to your camera and turn the focus ring to infinity. Boom. Done.
For this photo in Big Bend National Park, the rock ridge was far enough away so that I knew I could focus on infinity and get everything sharp. So I did the easiest thing possible: I used a manual-focus prime lens (in this case, the Irix 15mm f/2.4) and moved the focus ring to the infinity mark (which, with this lens, clicks into that setting). Nikon D850. 20 seconds, f/2.8, ISO 6400.
2. Auto-Focus in Daylight
Focusing might be more difficult in the dark, but it’s a cinch in daylight, particularly with modern autofocus technology literally at our fingertips. When you’re wrapping up your daytime shoot, autofocus your lens(es) to infinity (or on your scouted subject), then turn off your autofocus and immobilize your focus ring with some gaffer tape. Once dark settles over the landscape, you’ll be ready to shoot without having to worry about focusing again.
While shooting with Gabe and Matt in Capitol Reef National Park, we all autofocused on infinity at sunset and taped down our focus rings before photographing Chimney Rock under the stars. Nikon D3s with a Nikon 28-70mm f/2.8 lens. 15 seconds, f/2.8, ISO 4000.
3. Auto-Focus on a Distant Light
Yes, you can actually autofocus at night, as long as you have some light to focus on. The more contrast, the better, and you can’t get a much harder edge than a bright light source surrounded by black. Unless you’re in the hinterlands, in the wildest areas of wilderness, you can often find such a light.
If you want to focus to infinity, you don’t need that light source to actually be at infinity. A street light 50 feet away will probably suffice—as far as a lens is concerned, that’s far enough to resolve infinity pretty sharply. Alternatively, autofocus on a city skyline, or on a car down the highway, or on anything that gives you a faraway bright spot to lock onto.
To find infinity in Iceland, I autofocused on a radio tower light about 75 feet down the road from my tripod (which can be seen in a photo by Lance, who was working nearby). Nikon D5 with a Nikon 24-70mm f/2.8 lens. 6 seconds, f/2.8, ISO 8000
4. Auto-Focus on the Moon
If you’re shooting on a moonlit night, know that our biggest and brightest satellite is plenty bright enough for an AF system to lock onto. Point your lens up at the moon, autofocus, remount the camera to your tripod, and you’re ready to shoot.
The moon was shining over The Grandstand in Death Valley National Park. I needed to focus on infinity, so quickly autofocused on the moon. Nikon D3s with a Nikon 14-24mm f/2.8 lens. 25 seconds, f/8, ISO 2000.
5. Shine a Flashlight on the Subject
The above methods work great for focusing on infinity, but sometimes you need to focus on a closer element of the composition. Perhaps it’s a windmill, or a Joshua tree, or a ferocious dinosaur eating the Milky Way. In those cases, try shining a bright flashlight on the subject, and see if that’s enough for the autofocus to lock on. (Except, come to think of it, maybe don’t do this with the ferocious dinosaur. Use another method for that.)
In Joshua Tree National Park, I used my Coast HP7R to illuminate the rock, which was plenty of light for autofocus to work. Nikon D5 with a Nikon 14-24mm f/2.8 lens. 20 seconds, f/5.6, ISO 4000.
6. Put a Flashlight in the Scene
If illuminating your subject doesn’t create enough light and contrast for your AF system, then walk into the scene and place your flashlight on or near your subject. (Again, probably not the best strategy for the dinosaur. Also not a great technique when your subject is 10 feet past the edge of a cliff.)
At Arctic Henge in Iceland, the fog made it tricky to illuminate our subject from a distance, so I put a Coast HP5R flashlight on the rock and autofocused on the lit bulb. Nikon D5 with a Nikon 14-24mm f/2.8 lens. 30 seconds, f/4.5, ISO 3200.
7. Use Live View & a Loupe
If neither flashlight method above enables you to autofocus, try a similar strategy with manual focus instead. Illuminate your subject or place a flashlight in the scene, then use your camera’s live view to focus on the subject. Using a loupe on the LCD makes this even easier and more accurate.
In the very dark skies of Death Valley National Park, I found a bright star in live view and used a Hoodman HoodLoupe to fine-tune the focus manually. Nikon D5 with a Nikon 17-28mm f/2.8 lens. 20 minutes, f/2.8, ISO 100.
8. Use the Hyperfocal Method
Chances are that the first seven methods will get you into focus. But even though it’s No. 8 here, the No. 1 surefire way to get sharp photos in the dark is to use hyperfocal distance. Hyperfocal is not easy to learn, but it’s an excellent educational investment, because it will allow you to focus on everything from your subject to the horizon without the need for AF, flashlights, or so on. (And it’s by far the safest method for focusing on a dinosaur.)
For a great primer on this method, see Lance Keimig’s blog post “Use Hyperfocal Distance to Maximize Depth of Field at Night.” (Alternatively, see Lance literally walk through the process in our Creative Live course.)
At the Goldwell Open Air Museum just outside of Death Valley National Park, I used hyperfocal distance to know that if I focused 3 feet, 10 inches away, then everything from about 2 feet to infinity would be sharp. Nikon D850 with a Nikon 14-24mm f/2.8 lens. 23 stacked exposures shot at 2 minutes, f/5.6, ISO 250.
Bringing it into the Field
When you want to make every frame count at night, try our eight suggestions for staying sharp. Nothing is more painful than well-composed, well-exposed images that end up being soft.
To make this a little easier to remember while you’re out shooting, we’ve created a handy infographic. Download it here, and feel free to keep it on your phone or print a copy to keep in your bag for when you're in the field and wondering what to do.

Pocket Guide
"Staying Sharp: 8 Ways to Focus in the Dark"


