This is the second part of Tim Cooper’s primer on light painting. For the introductory materials for this topic, see “Part I.”
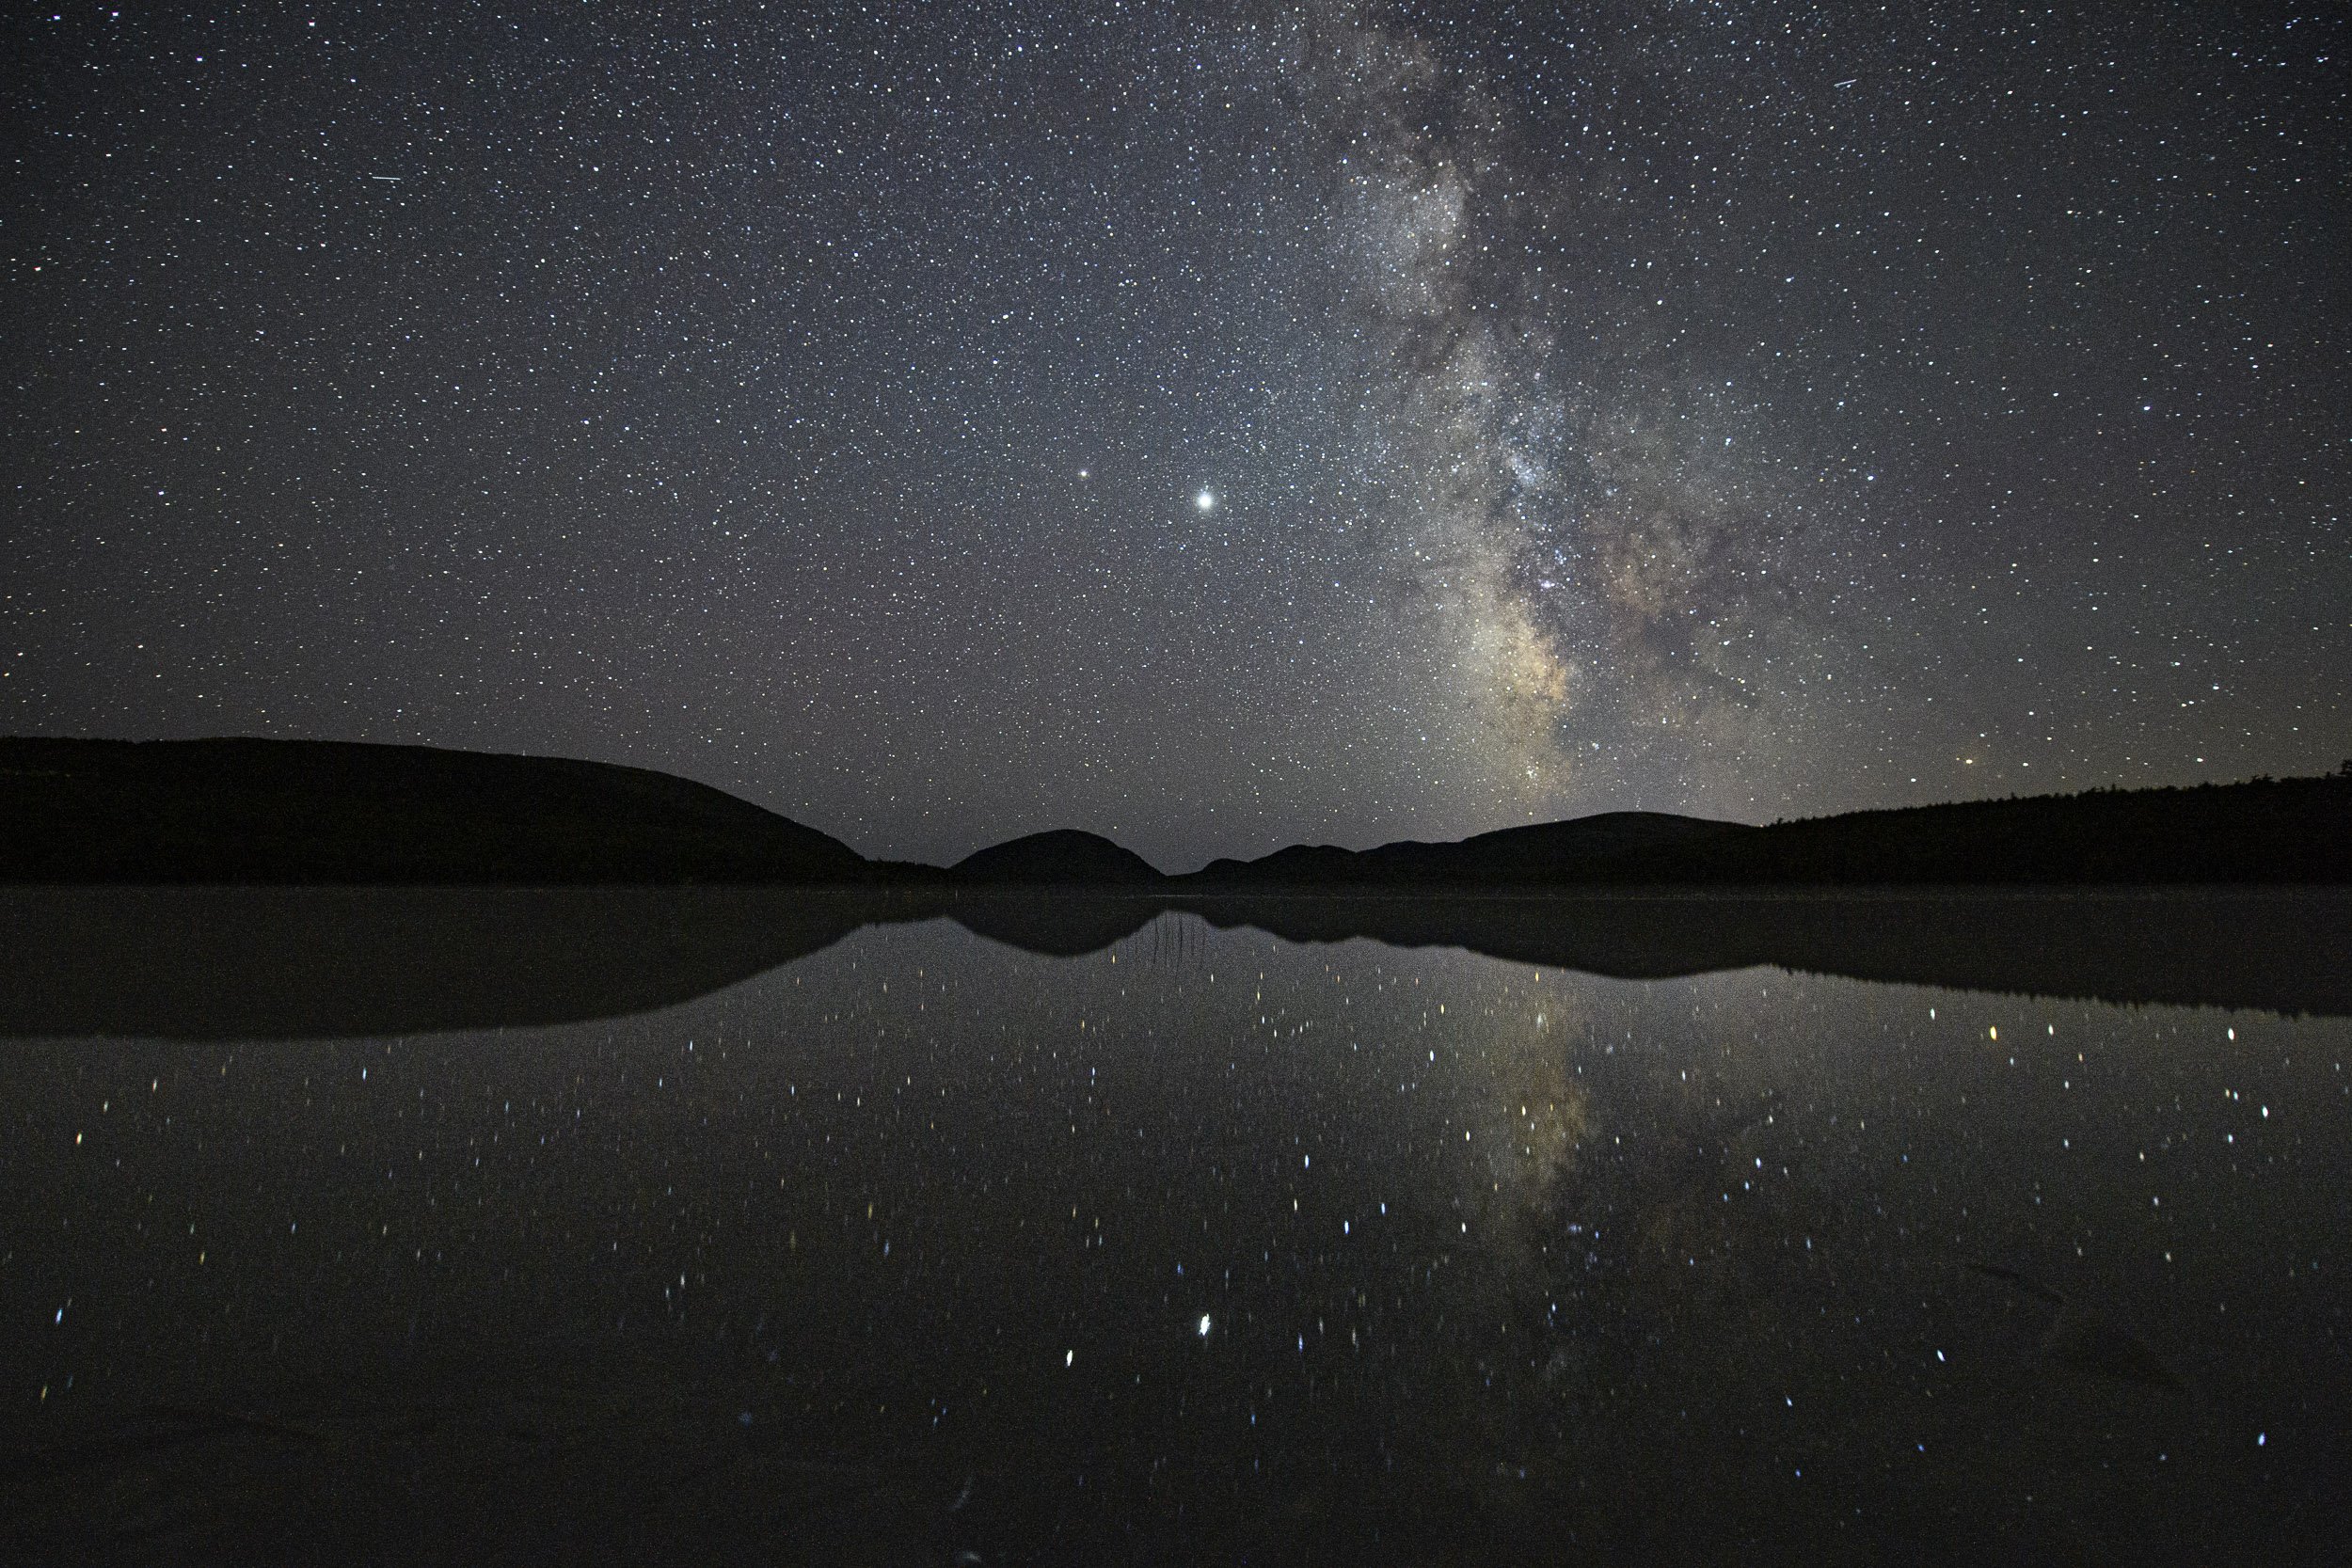
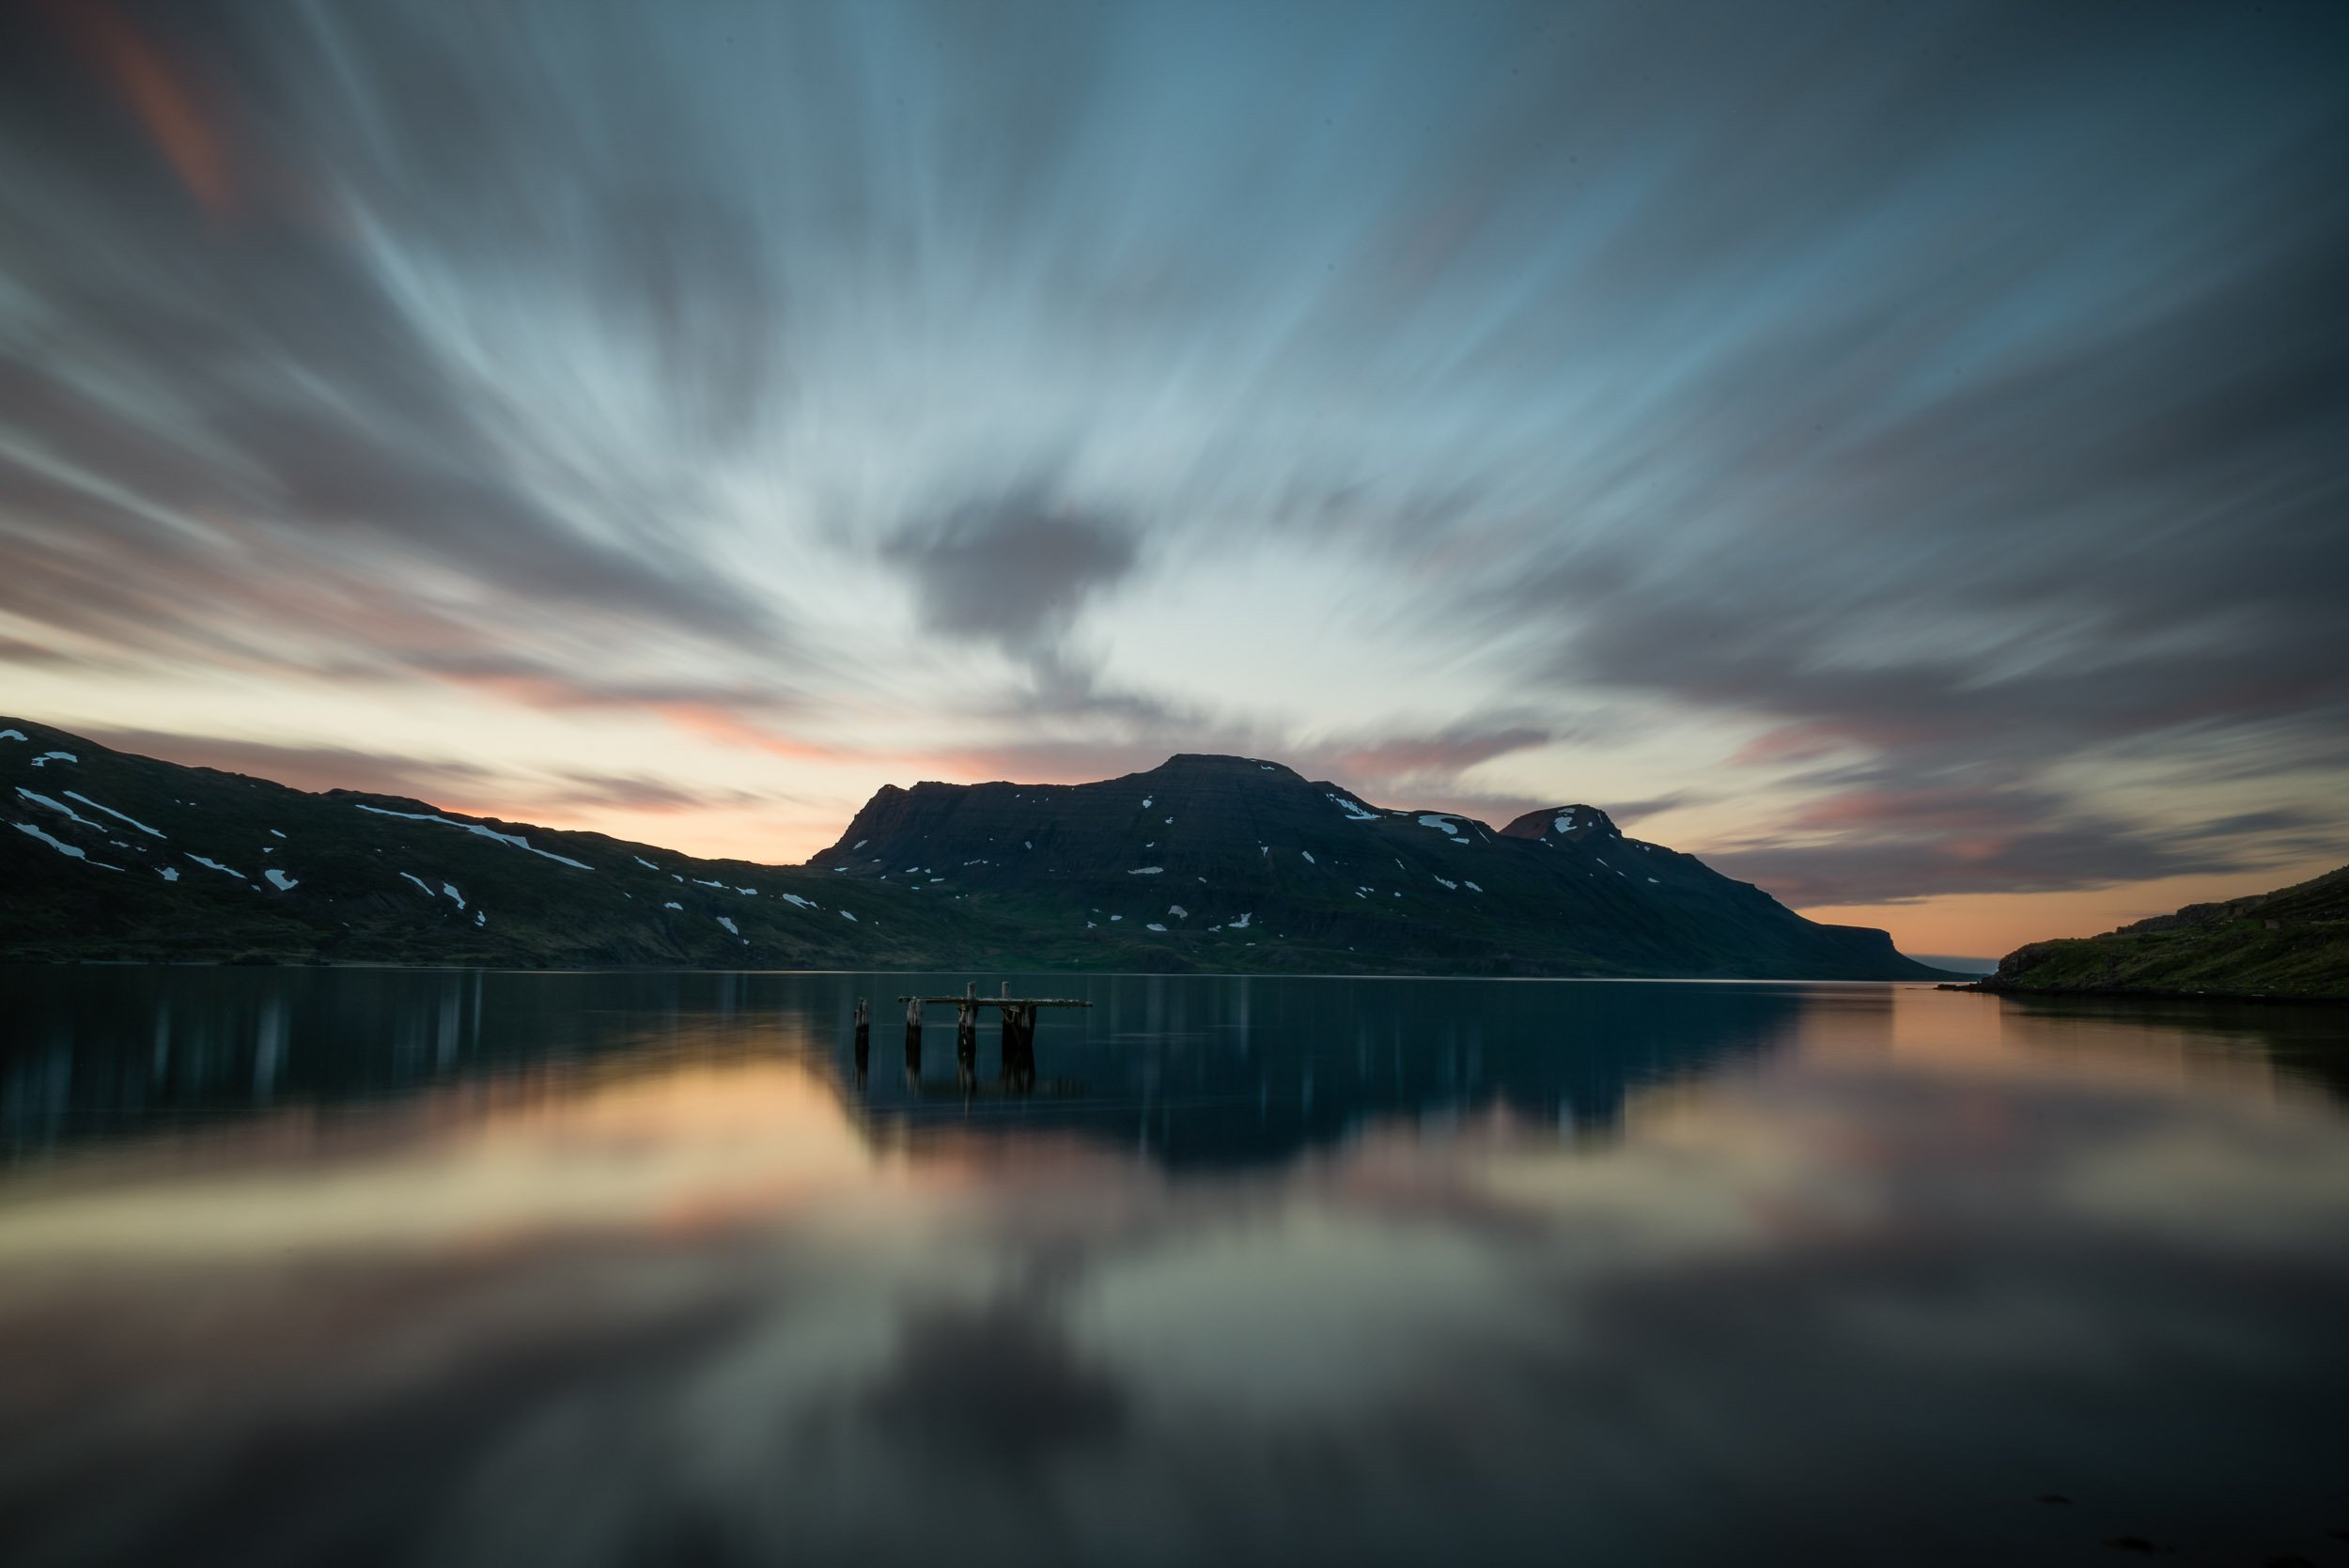
In my last post I talked about the basics of light painting. Now let’s dig a little deeper to see how we build an exposure for a light-painted photograph. This technique can be applied to many images, both simple (like the one in the examples later) and complex (like Figure 1).
This photo is a more complex light painting scenario that involved a lot of testing and different components of painting. But it started with the same concepts as below, and I worked out the final exposure in the exact same way.
Ambient Light and Test Exposures
For most light painting compositions, you’ll want an exposure between 30 seconds and 3 minutes to allow time to illuminate your subject. More complex scenes may require more time.
The first step is to establish your ambient exposure and composition using a high ISO. This will allow you to make test frames more quickly, because your shutter speeds will be in seconds rather than minutes. (To learn more about this, see Lance Keimig’s post from April, “Save Time by Using High ISO Testing to Set Up Your Night Shots.”
A great trick to use is often referred to as the Six Stop Rule, which says that when you close down your exposure by six stops, your original (test) shutter speed in seconds translates to the same shutter speed in minutes. For example, let’s assume you like an ambient-light test exposure that you made at ISO 6400 with a shutter speed of 1 second. You can then calculate your actual exposure—one long enough to allow for light painting—by closing down six stops of ISO and shooting for 1 minute rather than 1 second. Here are the steps, one stop at a time:
ISO 6400 for 1" equals
ISO 3200 for 2" =
ISO 1600 for 4" =
ISO 800 for 8" =
ISO 400 for 16" =
ISO 200 for 30" =
ISO 100 for 1 minute
The 1-minute exposure at ISO 100 now gives you time to illuminate your subject with your flashlight.
If you need even more time, remember that changing the aperture can also help. That 1-minute exposure could also be a 2-minute exposure if you close down your aperture by one stop (e.g., f/4 closes down to f/5.6, or f/5.6 closes down to f/8). Remember, though: Closing down your aperture makes the hole smaller, which in turn makes your flashlight “less efficient.” In cases where your flashlight is too bright, this will be to your advantage; in cases where your flashlight is barely bright enough, this will be a detriment.
Here is an example of how I used the Six Stop Rule to begin my light painting process.
I began by putting my camera into Manual exposure mode with Matrix metering. Next, I set my ISO to 6400 and my aperture to f/11. I pointed the camera to the sky and adjusted my shutter speed so that the indicated meter read -1 (Figure 2). This setting makes the sky appear darker than at midday, but not black.

Figure 2.
The resulting image (Figure 3) shows how the sky has a night feel and the foreground is completely black. This exposure was 4 seconds at f/11 with an ISO of 6400. The -1 setting on the sky is typical for me when shooting around city light, but is certainly not mandatory. You can experiment with different brightness levels to suit your taste.
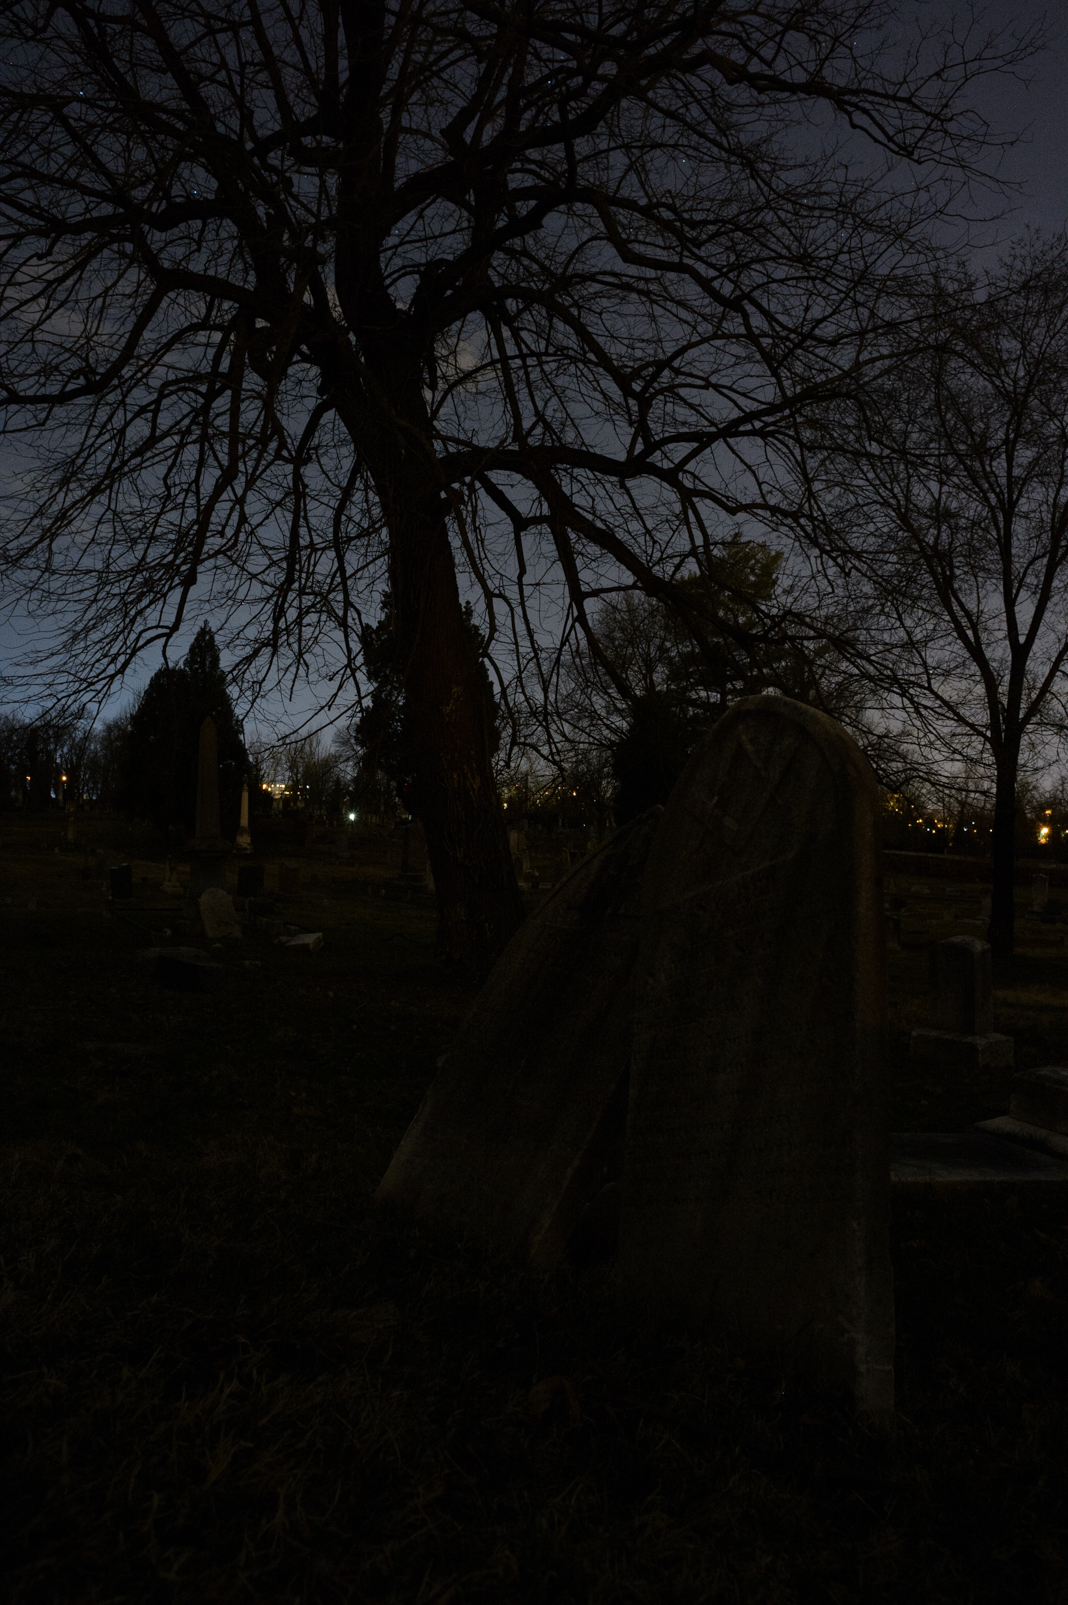
Figure 3. ISO 6400, f/11, 4 seconds. 24mm f/2.8D Nikon Lens, Nikon D4, Coast HP5R flashlight.
Next, I used the Six Stop Rule to calculate my final exposure. Again, the Six Stop Rule states that 1 second at ISO 6400 equals 1 minute at ISO 100. My test exposure was 4 seconds, so my final exposure was 4 minutes. Figure 4 shows the 4-minute exposure with my first attempts at painting the head stones.

Figure 4.
Add in the Light Painting
At this point it’s not necessary for me to run the full exposure while I test for light painting. I know the sky will look right at the 4-minute exposure, so now I am just testing the light painting. In other words, I’m building the final exposure one piece at a time.
Figure 5 was my next test shot. I painted the front headstones for longer (about 2 seconds for each stone). The total exposure for this shot was only 46 seconds, which makes the sky look black. But again, I’m not concerned about the sky at this point—I am simply trying to get my painting right for the main subject.

Figure 5.
After a couple of more light painting test shots, I learned that I needed to increase the time I spent painting the front headstones to about 3 seconds each. I then placed my flashlight at a low angle and painted the grass around the stones. Now I had all the information I needed to create the final image, as seen in Figure 6.

Figure 6.
This was taken using the full exposure of 4 minutes. The full exposure also gave me time to walk back into the scene and paint a few more monuments. Using Photoshop, I cloned out some of the brighter city lights at the rear of the cemetery to make for a less distracting background.
For more information about the equipment mentioned in this post, see the Our Gear page and the following links: